NZ Firefly VC - Italy 1945
England - East Anglia, United Kingdom
Joined: August 12, 2005
KitMaker: 14,499 posts
Armorama: 11,675 posts
Posted: Saturday, July 11, 2015 - 10:33 PM UTC
Hi folks,
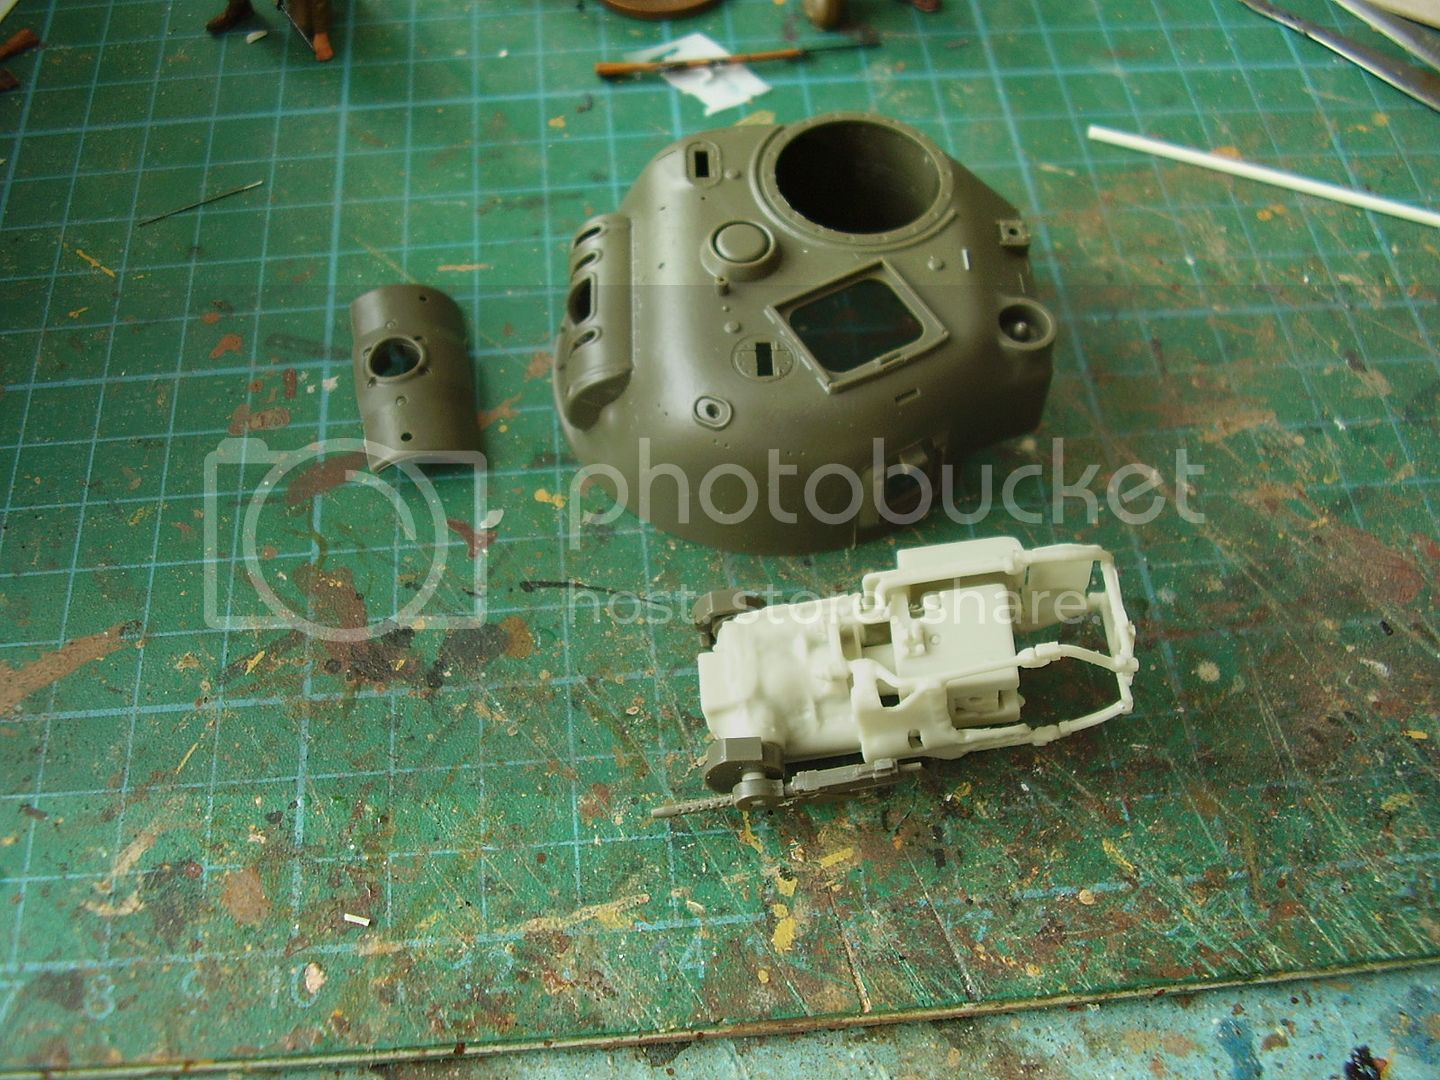
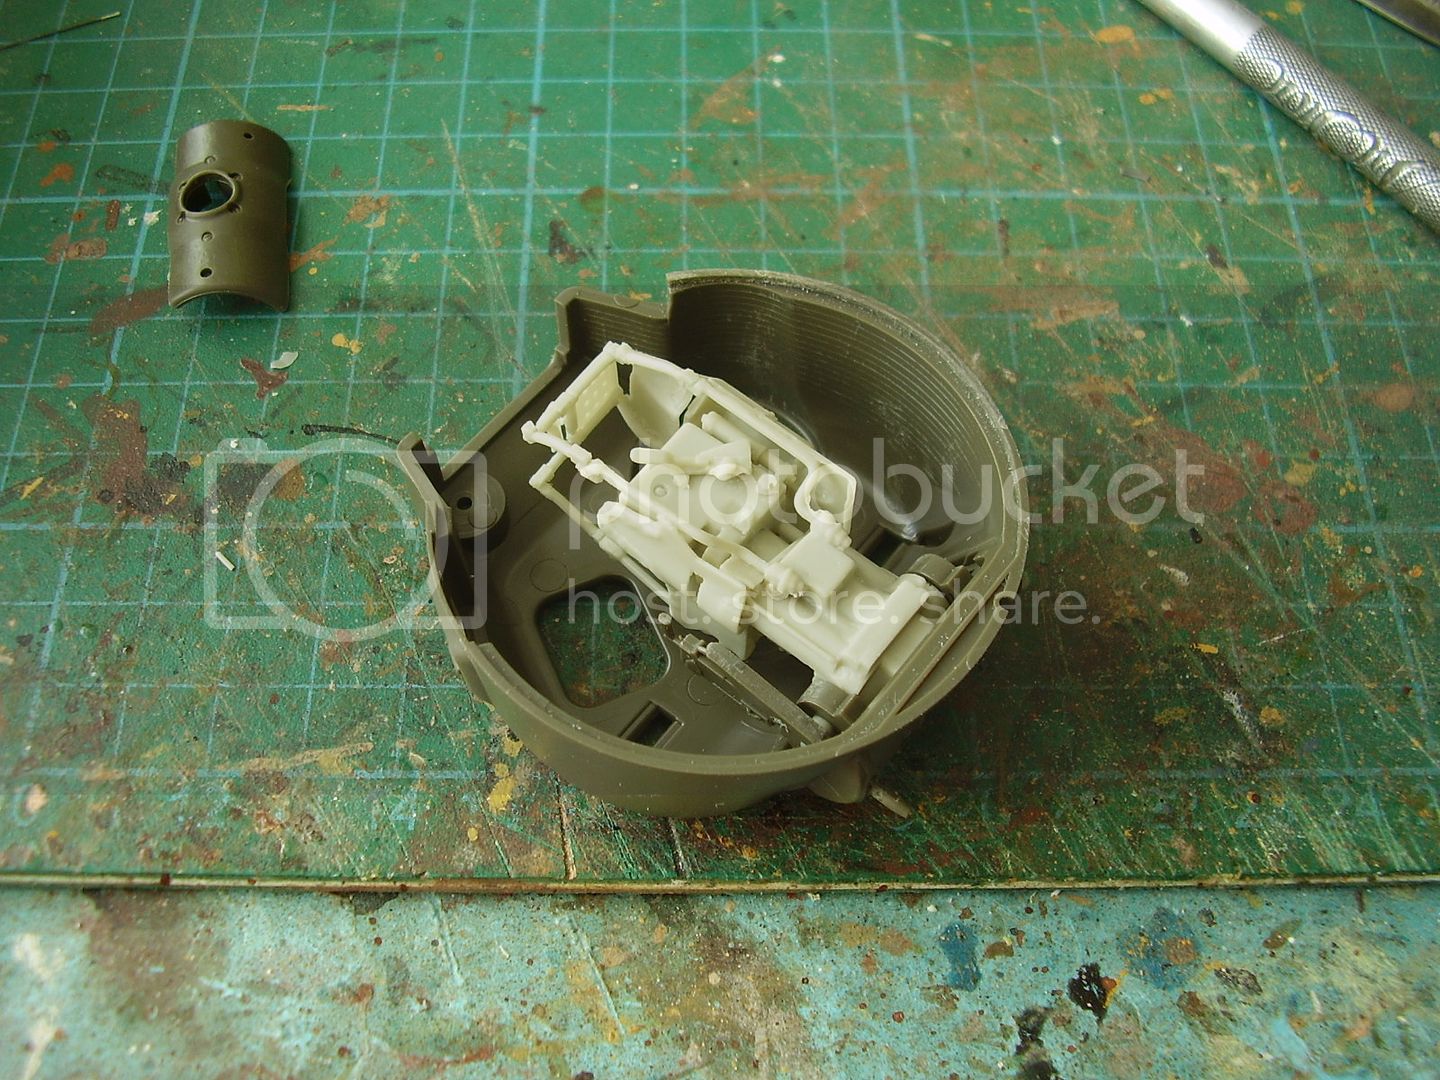
I had to open the Taska Firefly kit I have for a test fit of the new Resicast 17 pdr breech so I thought I'd build one of the options from the kit; C Sqn NZ 20th Armd Regt, 4 Armd Bde in Italy 1945. I got the NZ camo and markings book from ACG some time a go also with lots of good Sherman options.
Haven't built one of the Tasca Shermans before, but the kit looks good with different armoured radio boxes depending on your build.
Cheers
Al
'Action this Day'
Winston Spencer Churchill
United States
Joined: December 12, 2007
KitMaker: 170 posts
Armorama: 138 posts
Posted: Saturday, July 11, 2015 - 10:38 PM UTC
Hi Alan,
In my humble opinion, Tasca make the best Sherman kits on the market. The fit and detail are pretty impressive! Enjoy the build and I look forward to seeing this build!!

England - East Anglia, United Kingdom
Joined: August 12, 2005
KitMaker: 14,499 posts
Armorama: 11,675 posts
Posted: Saturday, July 11, 2015 - 10:49 PM UTC
Thanks Eric,
It's been quite a few years since I build one, so I'll have to re-read everything I've forgotten

.
Cheers
Al


'Action this Day'
Winston Spencer Churchill
Auckland, New Zealand
Joined: February 03, 2014
KitMaker: 1,042 posts
Armorama: 871 posts
Posted: Saturday, July 11, 2015 - 11:15 PM UTC
Nice start Al. You'll love this kit - literally falls together

Gary
Removed by original poster on 05/13/19 - 23:19:16 (GMT).
England - East Anglia, United Kingdom
Joined: August 12, 2005
KitMaker: 14,499 posts
Armorama: 11,675 posts
Posted: Sunday, July 12, 2015 - 02:13 AM UTC
Hi Matt,
No problem Eu 12.50.
Al

'Action this Day'
Winston Spencer Churchill
Washington, United States
Joined: October 13, 2007
KitMaker: 212 posts
Armorama: 208 posts
Posted: Sunday, July 12, 2015 - 04:46 AM UTC
Nice start Al, and I am looking forward to seeing your NZ camo scheme!
Terry
England - East Anglia, United Kingdom
Joined: August 12, 2005
KitMaker: 14,499 posts
Armorama: 11,675 posts
Posted: Sunday, July 12, 2015 - 09:49 AM UTC
Hi Terry,
Thanks, according to the book it just OD by April 45.
Cheers
Al

'Action this Day'
Winston Spencer Churchill
England - East Anglia, United Kingdom
Joined: August 12, 2005
KitMaker: 14,499 posts
Armorama: 11,675 posts
Posted: Sunday, July 12, 2015 - 10:02 PM UTC
Hi folks,
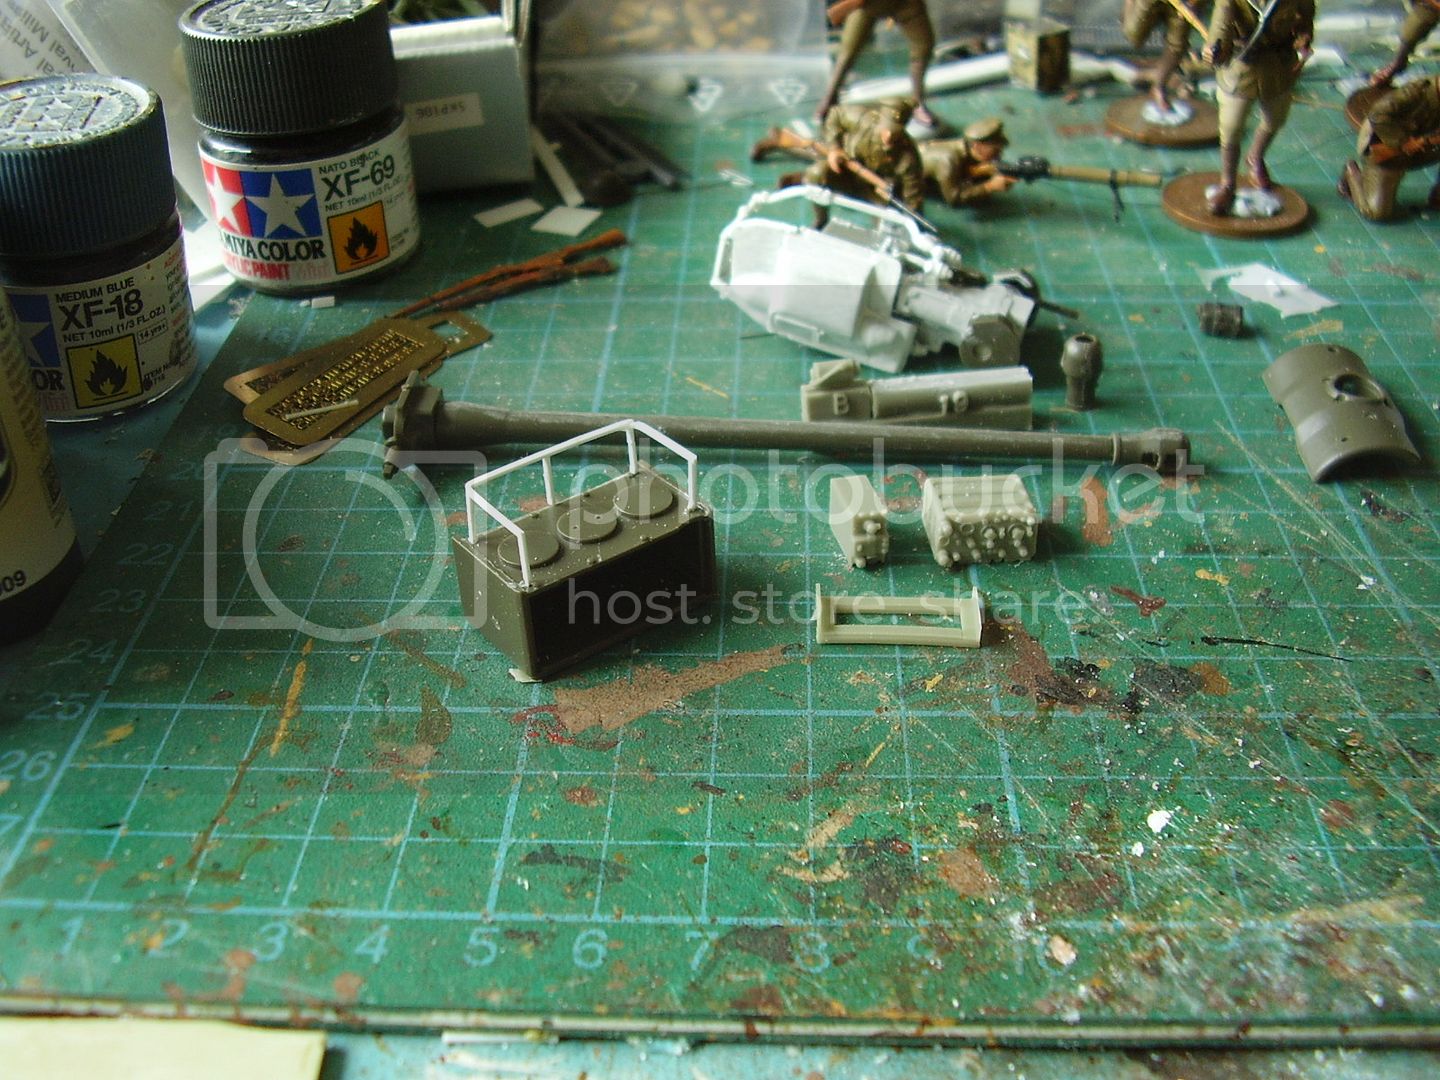
This version didn't have the blanket box on the end of the armd radio box, rather a small rail around the top. As I satred on the turret I'll build down. I'll also add a No 19 radio to the kit.
I like the fact you get different radio boxes and muzzel breaks.

Cheers
Al
'Action this Day'
Winston Spencer Churchill
England - East Anglia, United Kingdom
Joined: August 12, 2005
KitMaker: 14,499 posts
Armorama: 11,675 posts
Posted: Saturday, August 15, 2015 - 04:33 PM UTC
Hi folks,
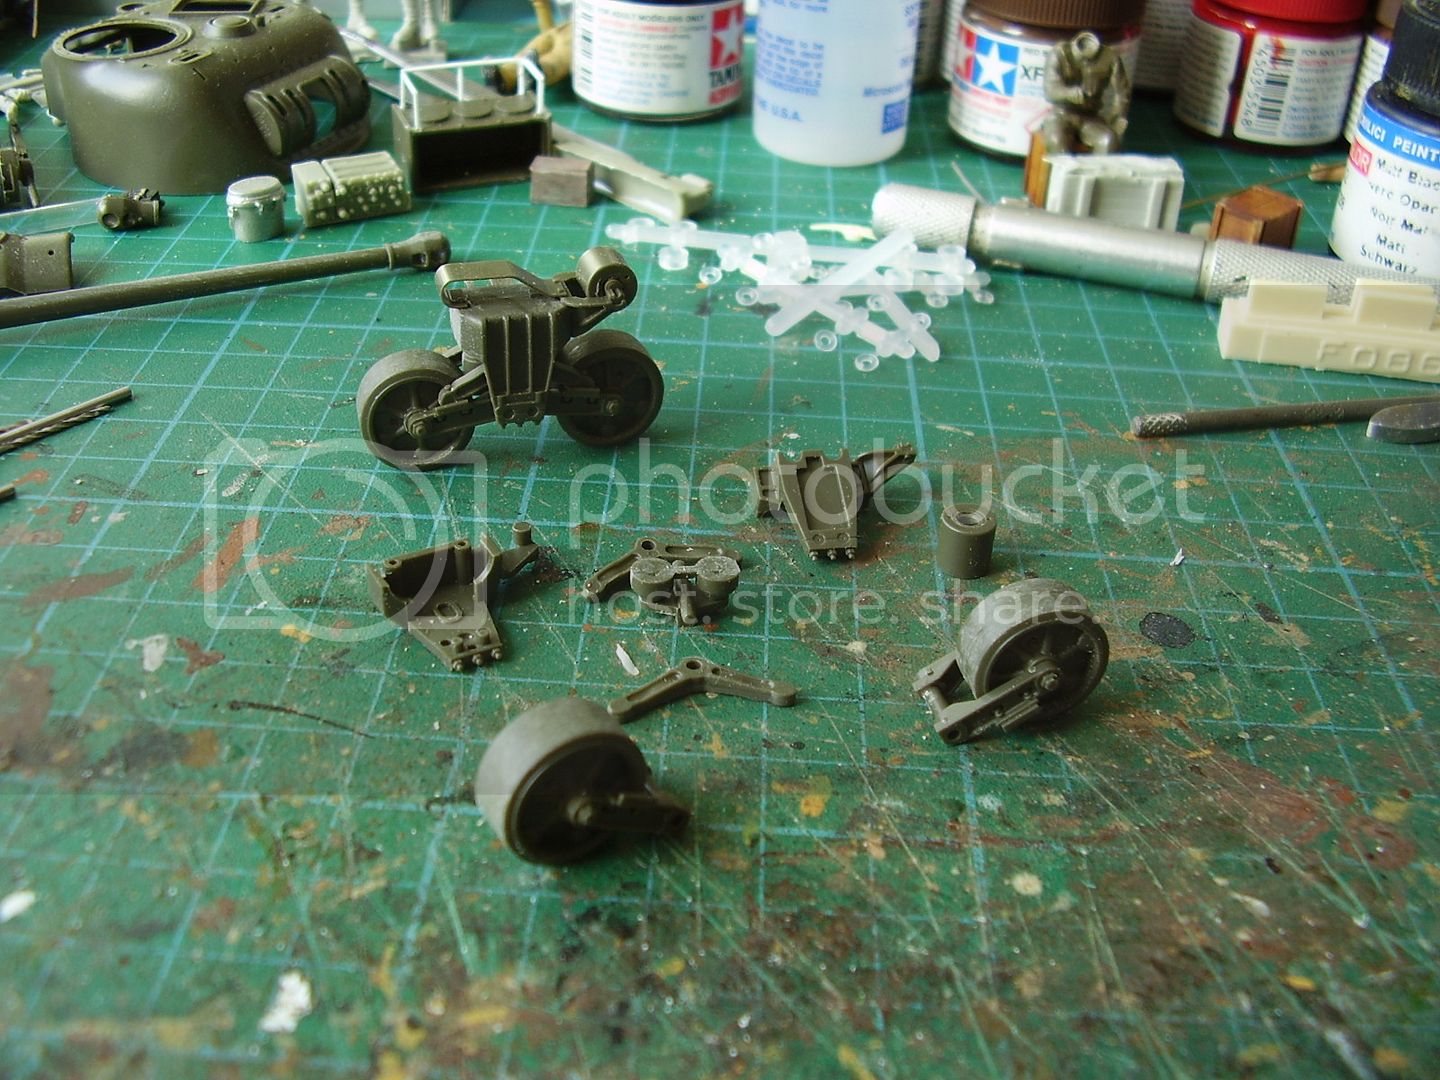
A bit more porgress, the boggies and wheels are done, lower hull assembled, and a test fit of the top hull.
Does anyone know the measurement of the turret basket floor in 1/35 scale and how many fixings held it to the turret?
I'm going to put in a partial interior, drivers seat and ransmission. I believe the gunners seat was removed for extra ammo stowage.
Anyway a few updates.
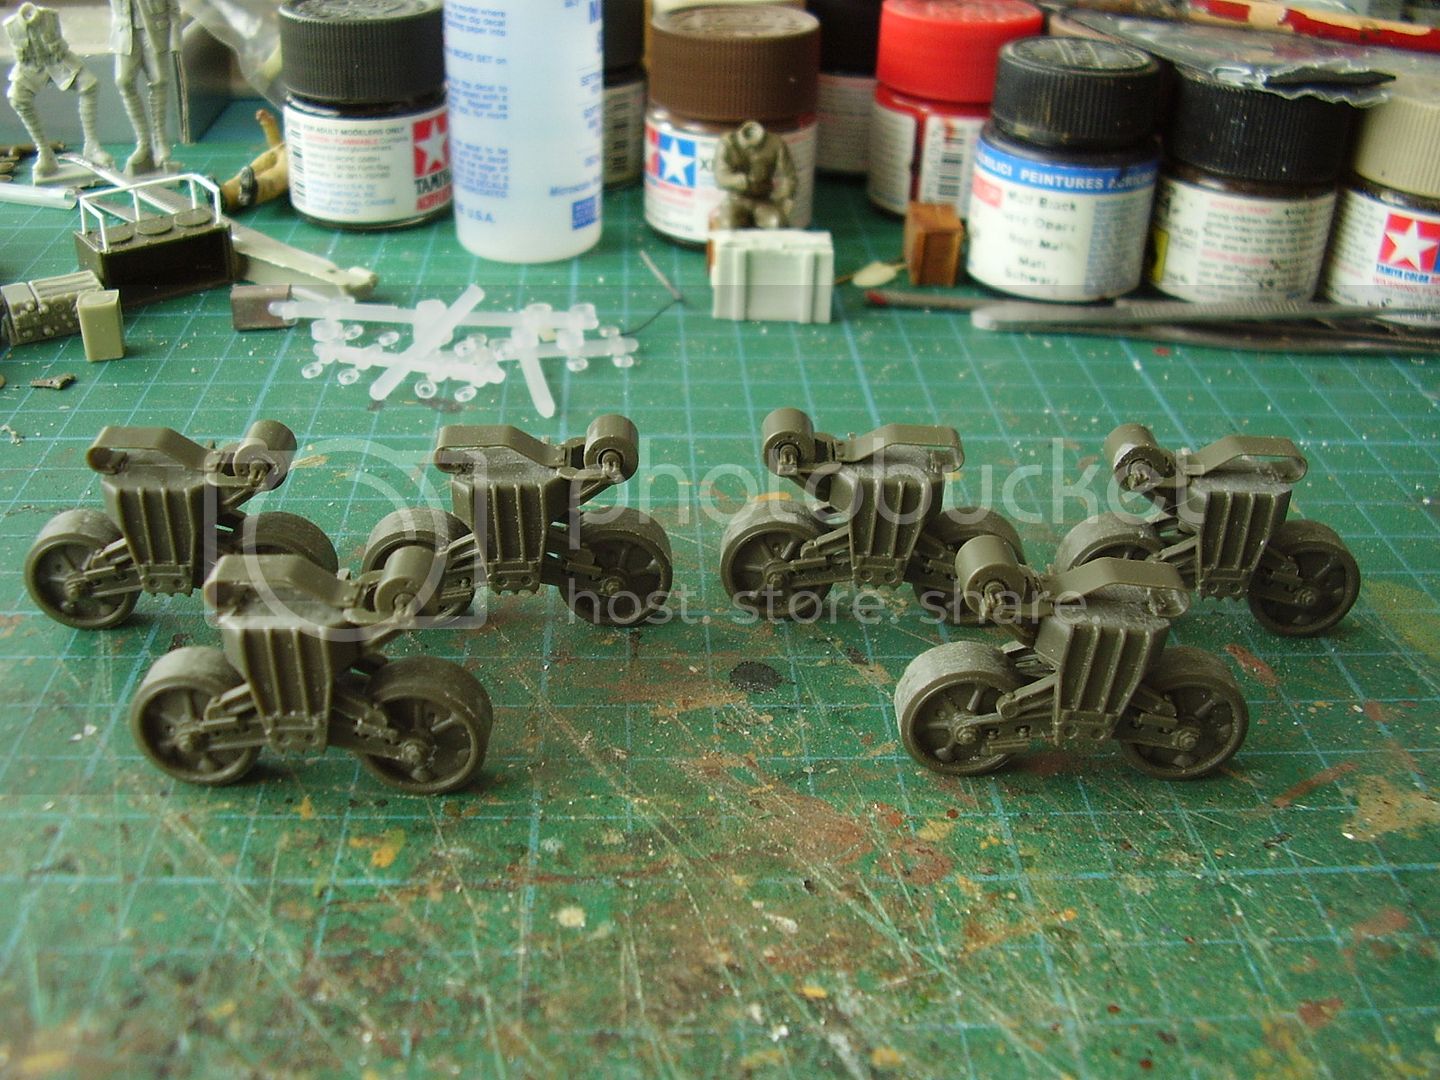
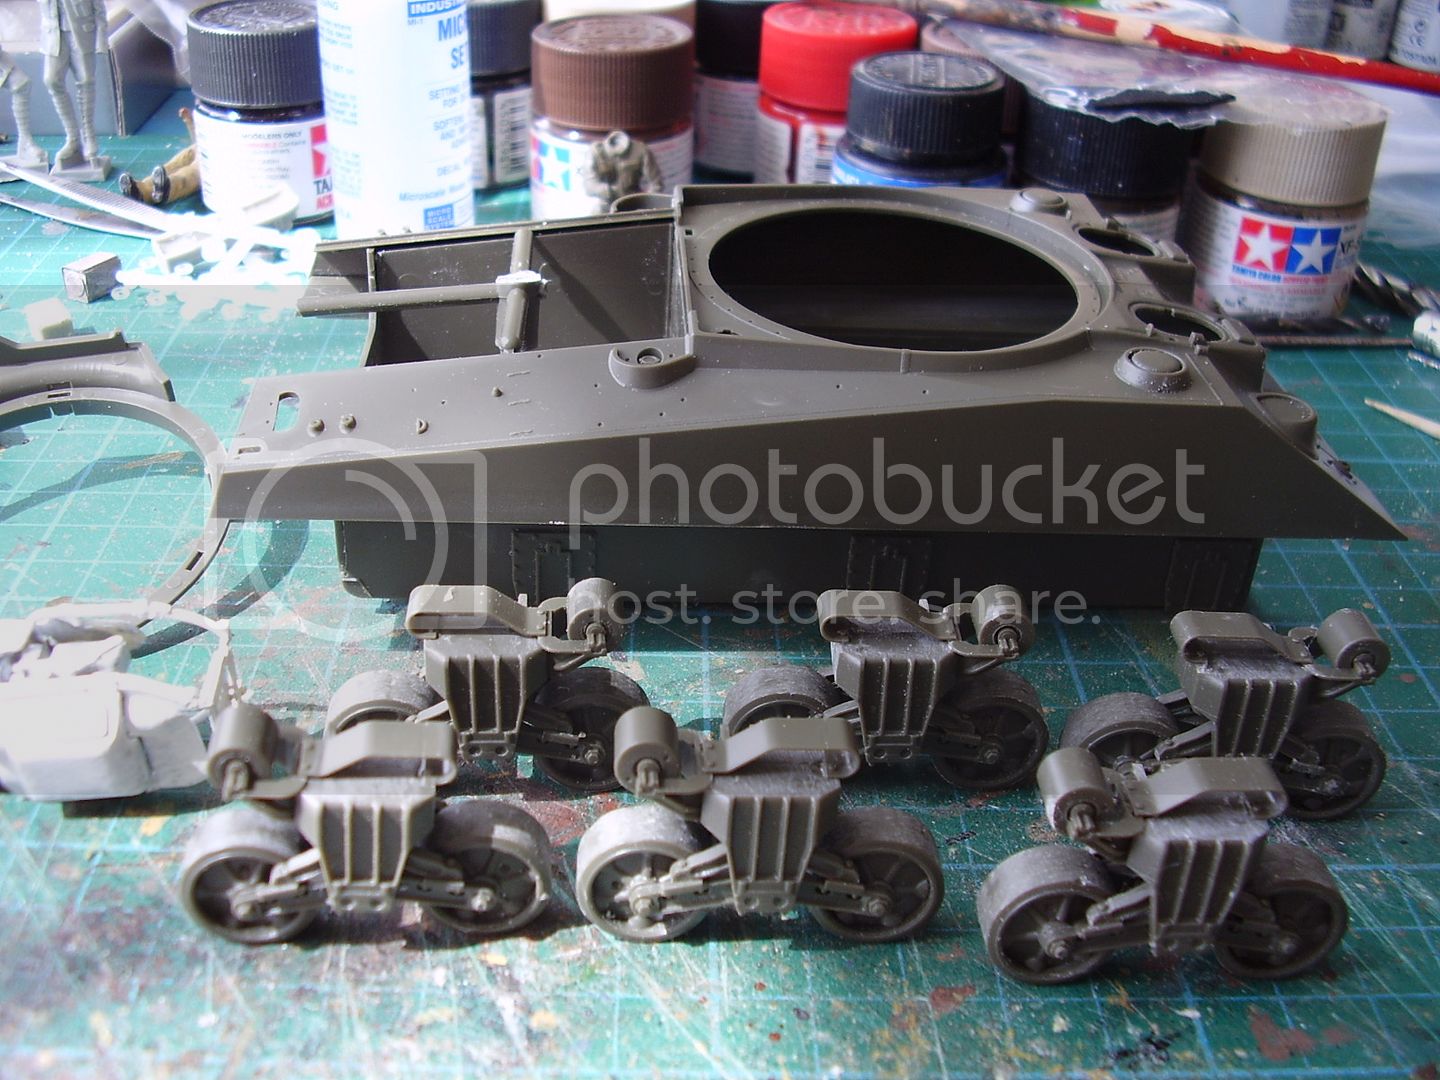
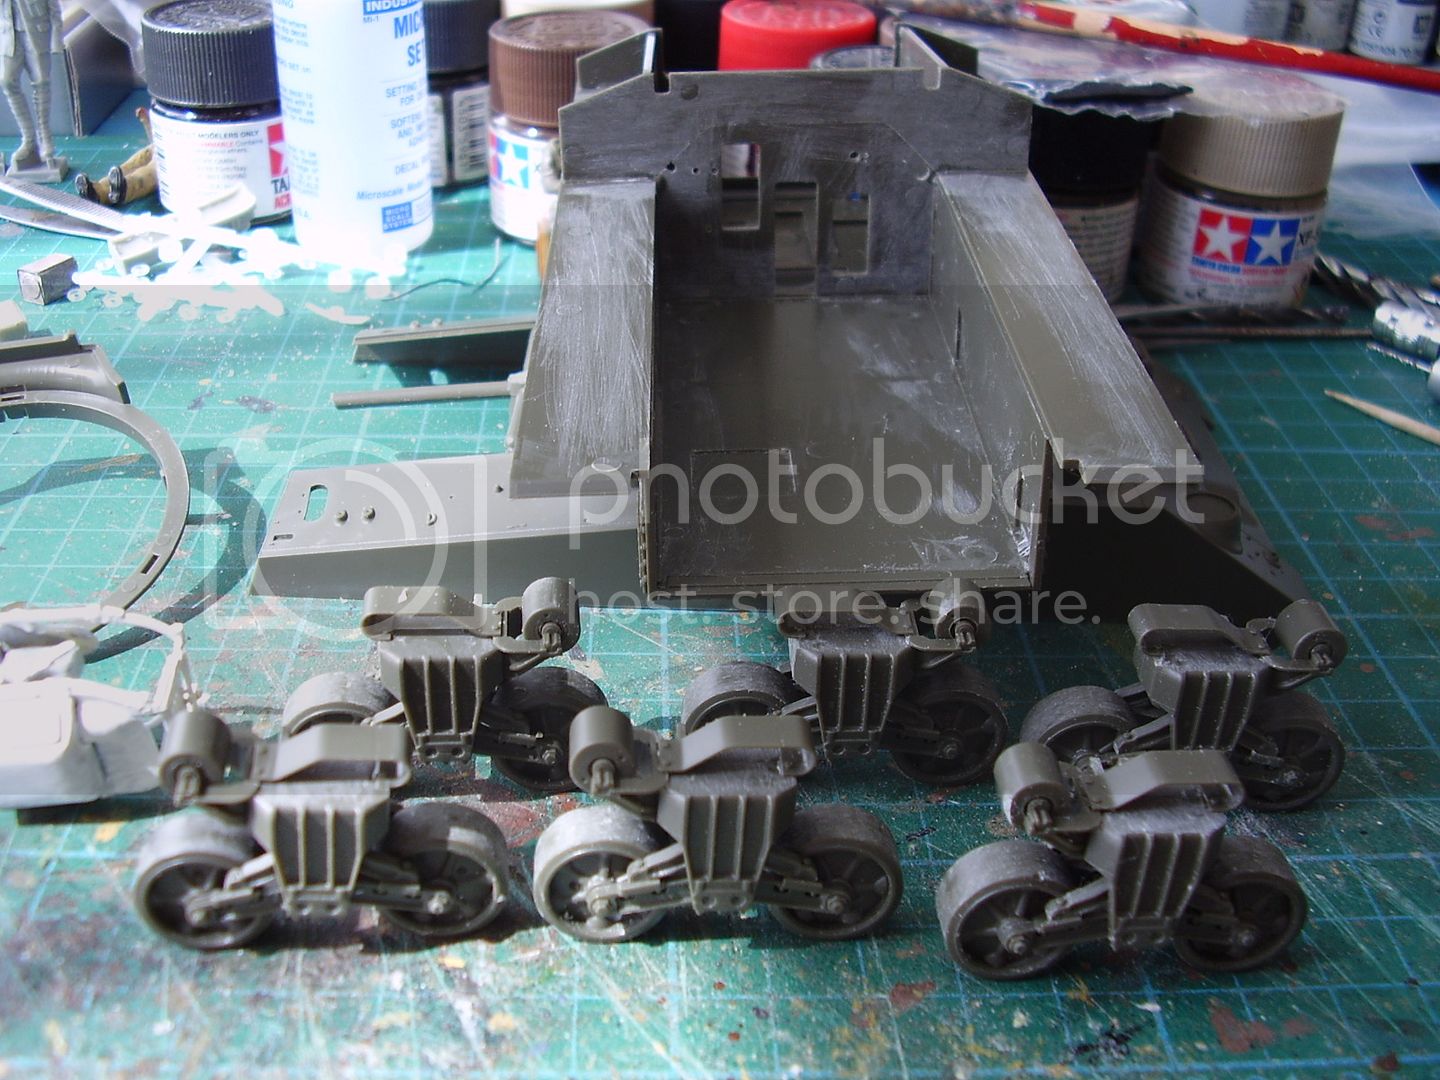
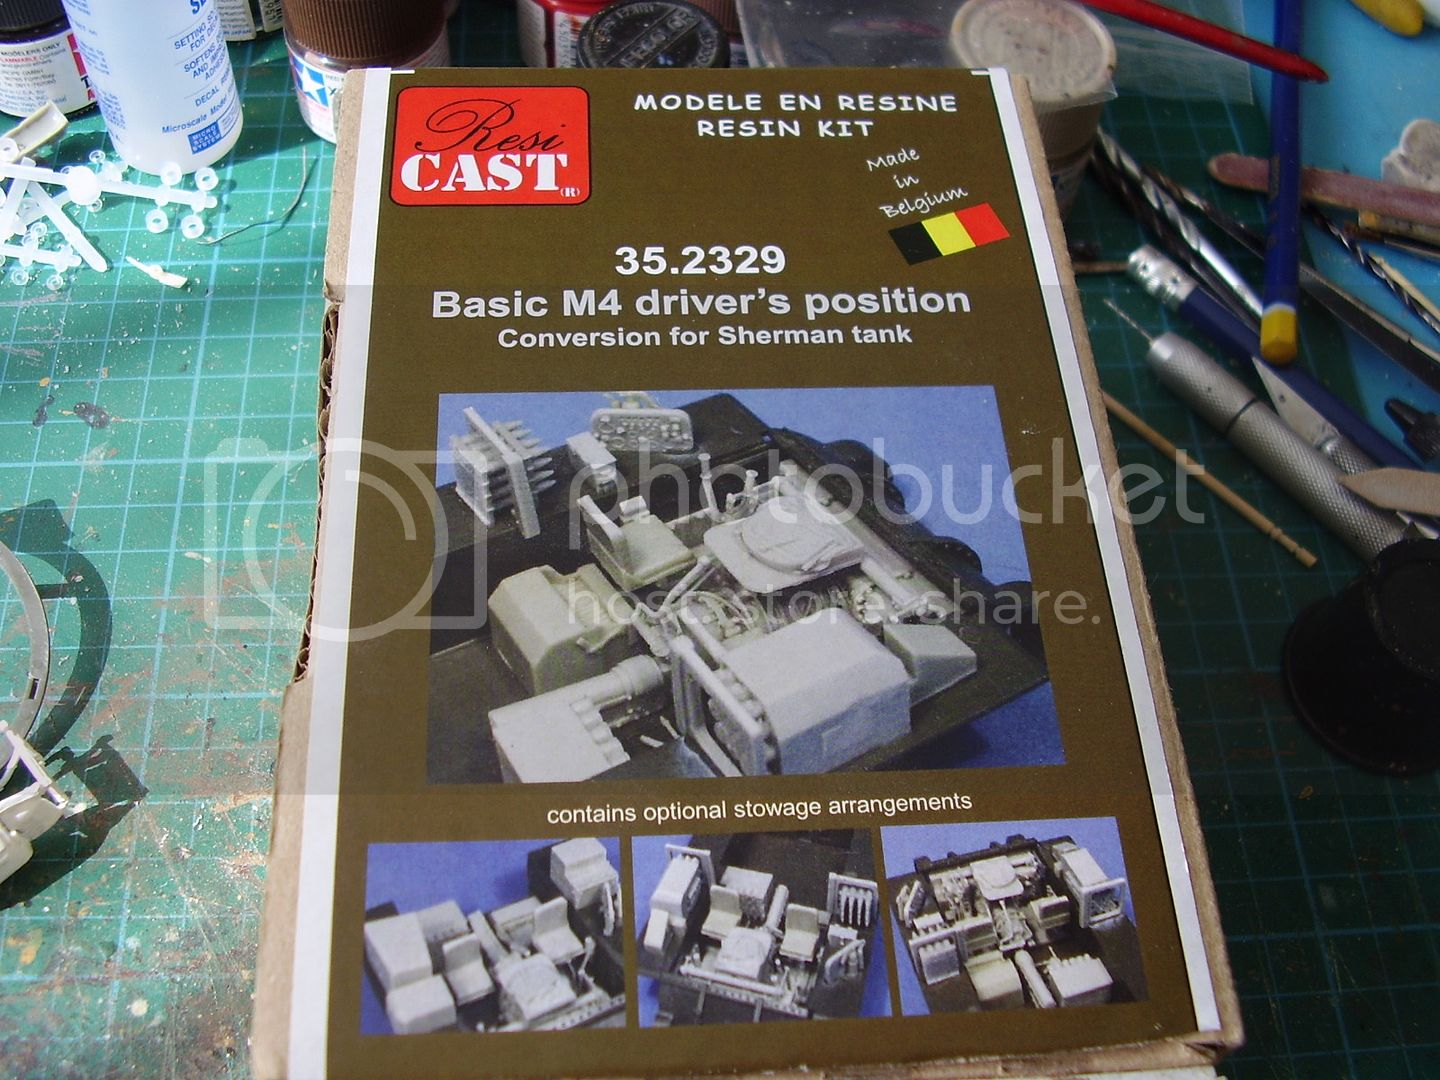
Cheers
Al


'Action this Day'
Winston Spencer Churchill
England - East Anglia, United Kingdom
Joined: August 12, 2005
KitMaker: 14,499 posts
Armorama: 11,675 posts
Posted: Saturday, August 15, 2015 - 06:46 PM UTC
Hi folks,
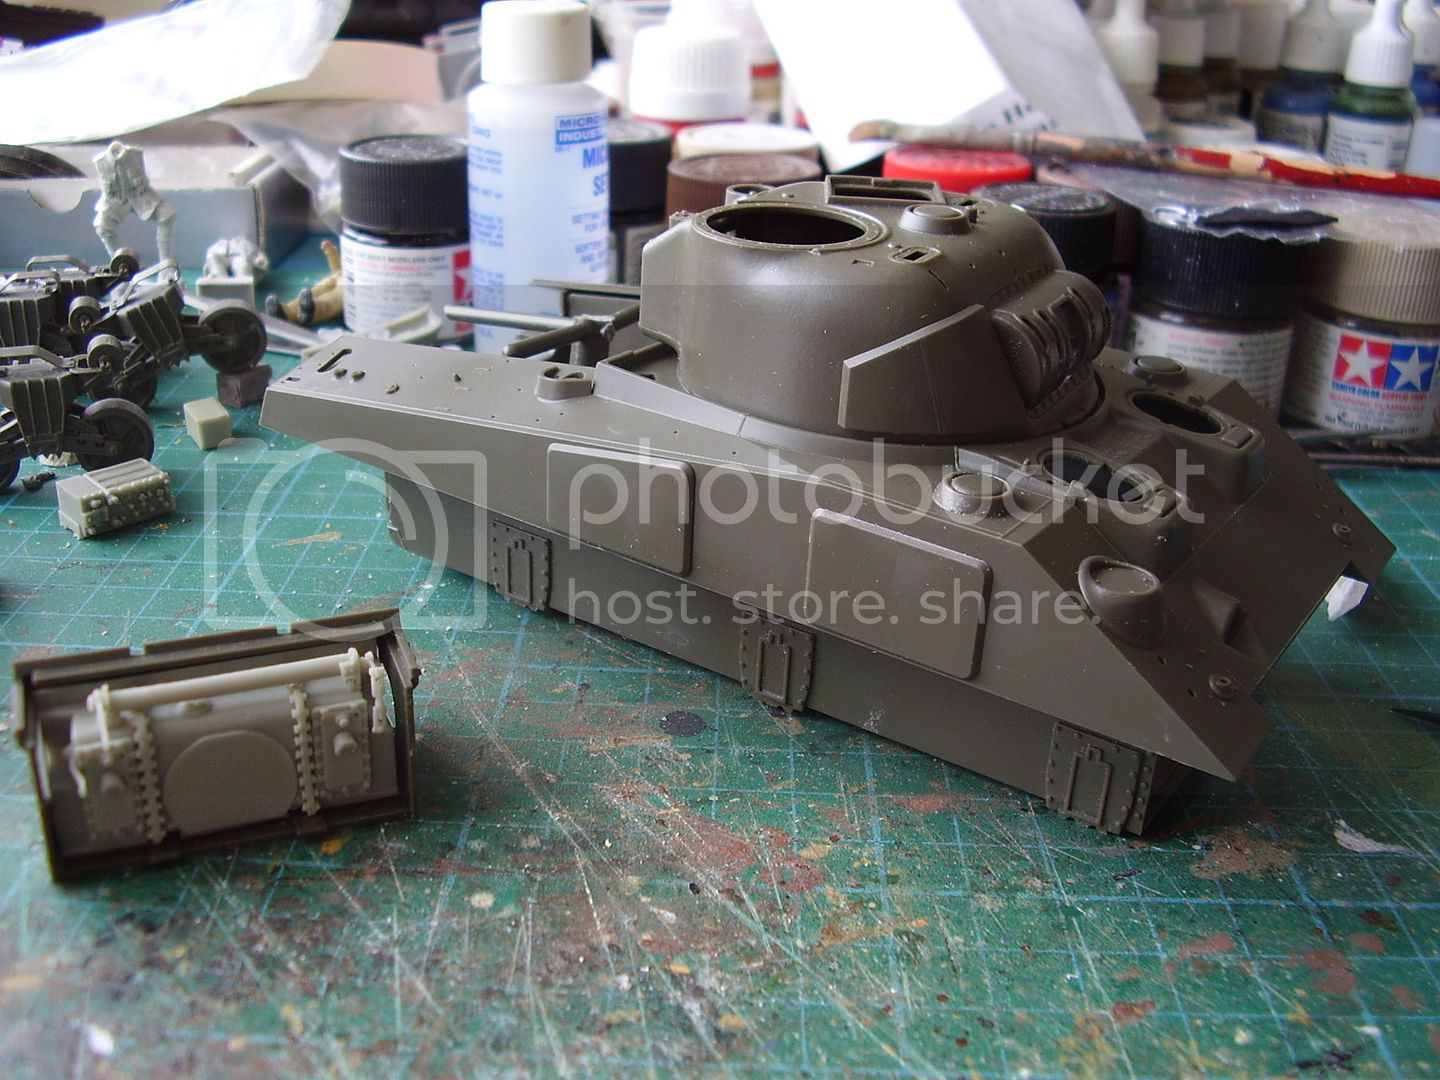
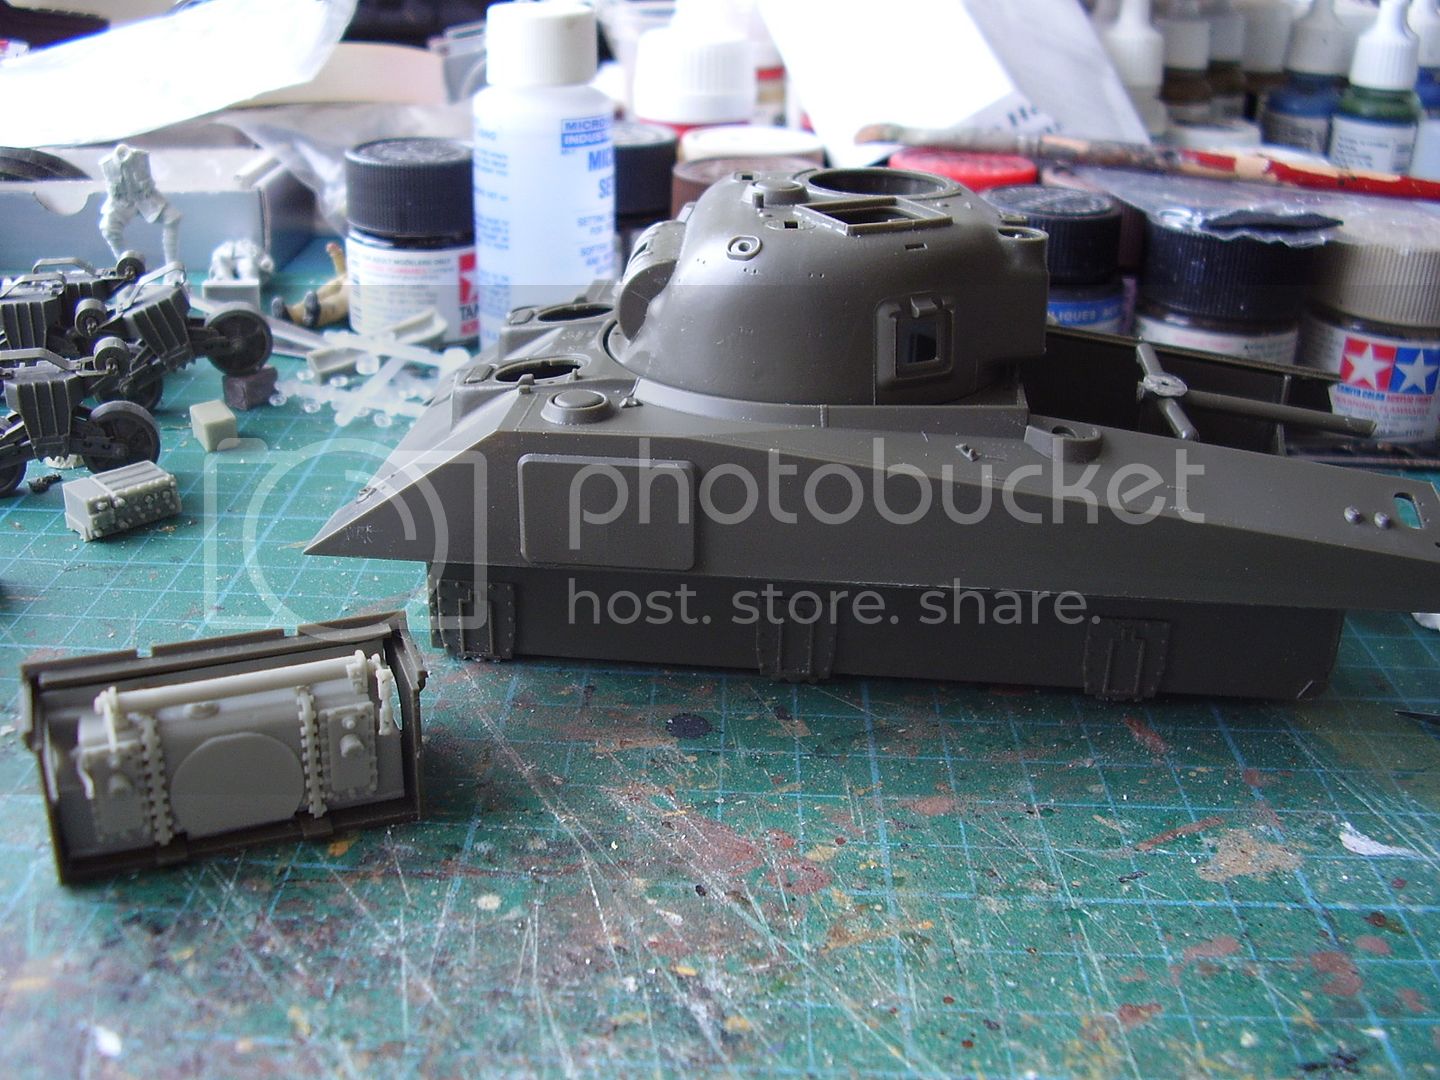
This particular vehicle had applique armour, and I've added that to the hull sides and turret.
The strips for the side come in PE format, so they will have to be added.
Also started on the transmission.
Al
'Action this Day'
Winston Spencer Churchill
England - East Anglia, United Kingdom
Joined: August 12, 2005
KitMaker: 14,499 posts
Armorama: 11,675 posts
Posted: Saturday, August 22, 2015 - 01:54 PM UTC
Hi folks,
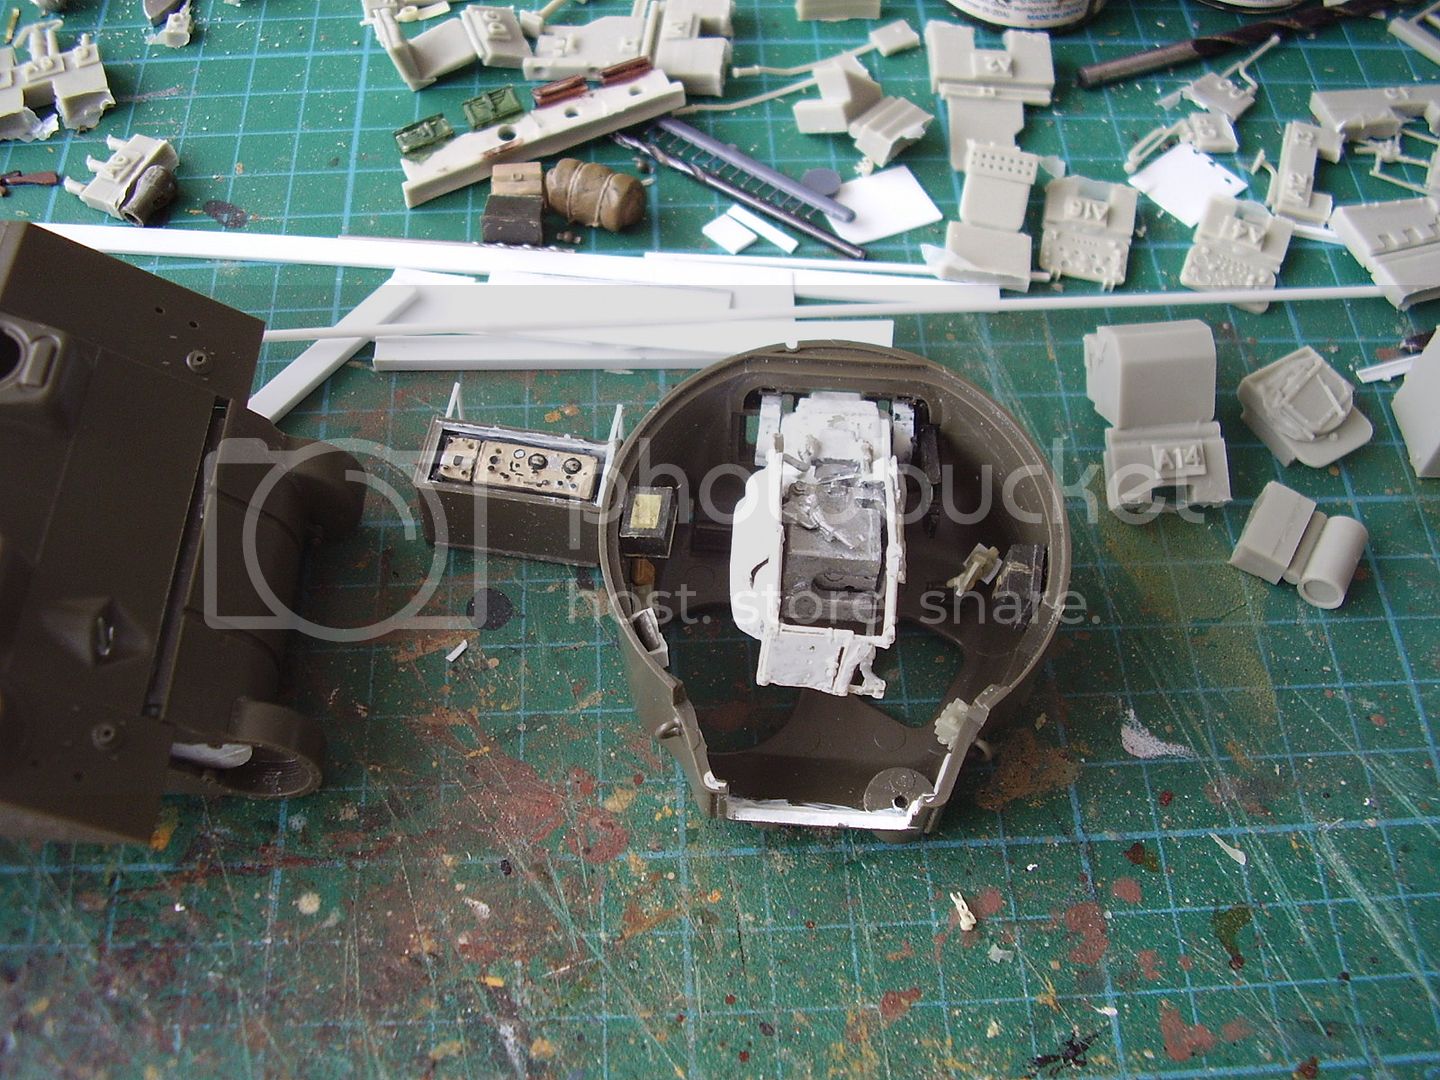
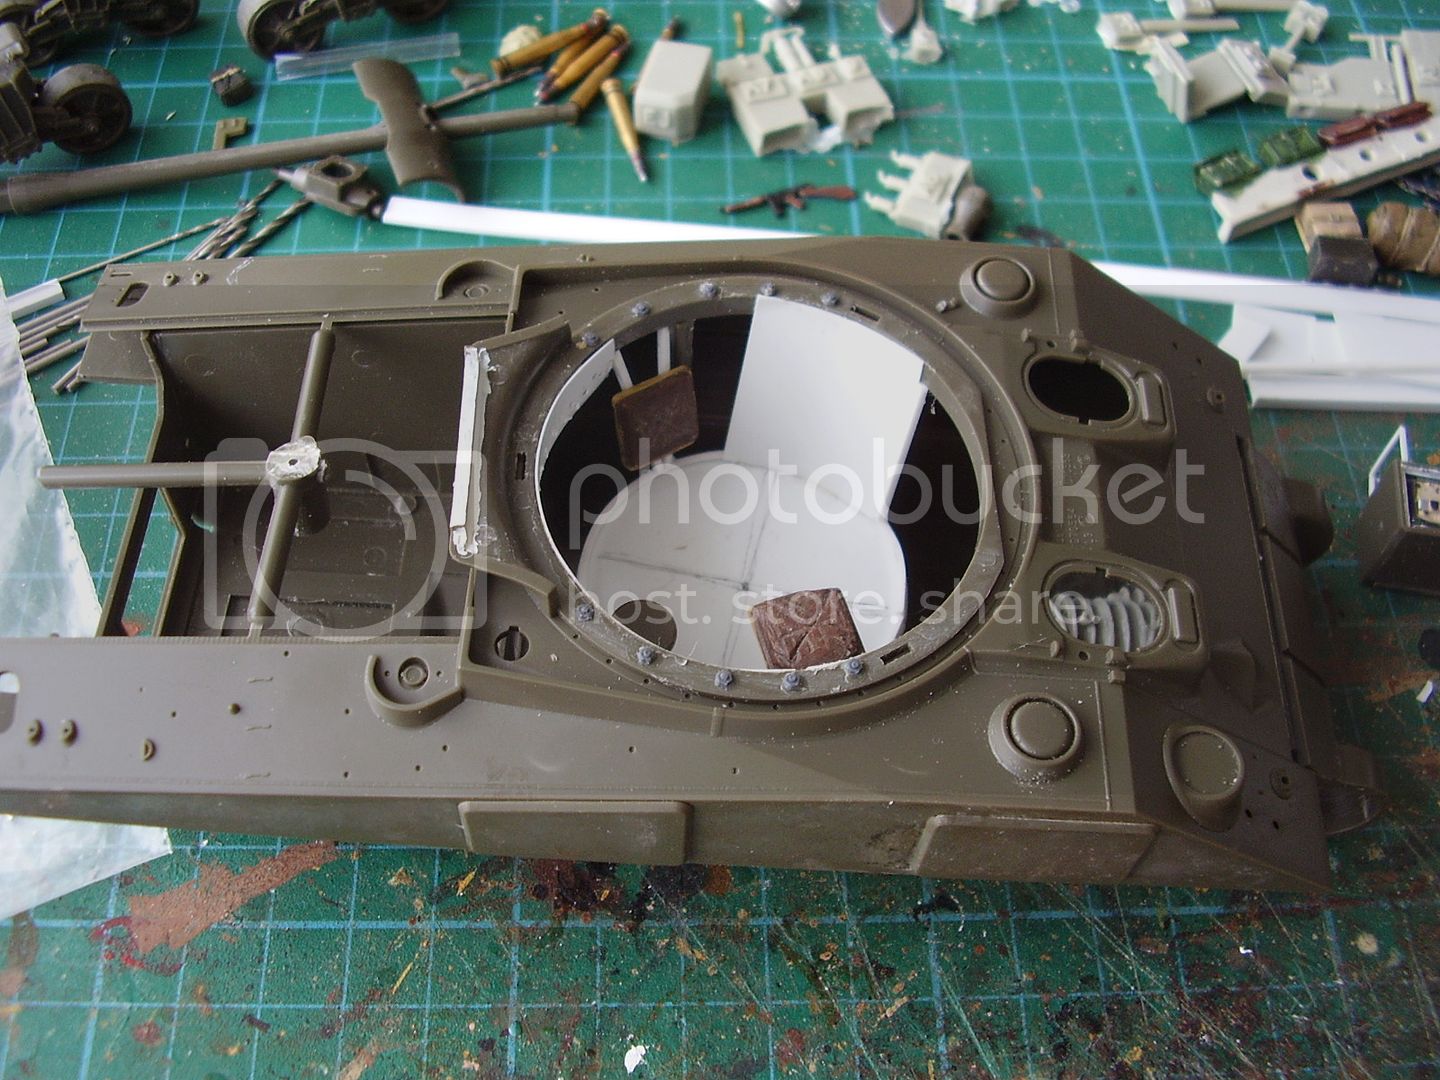
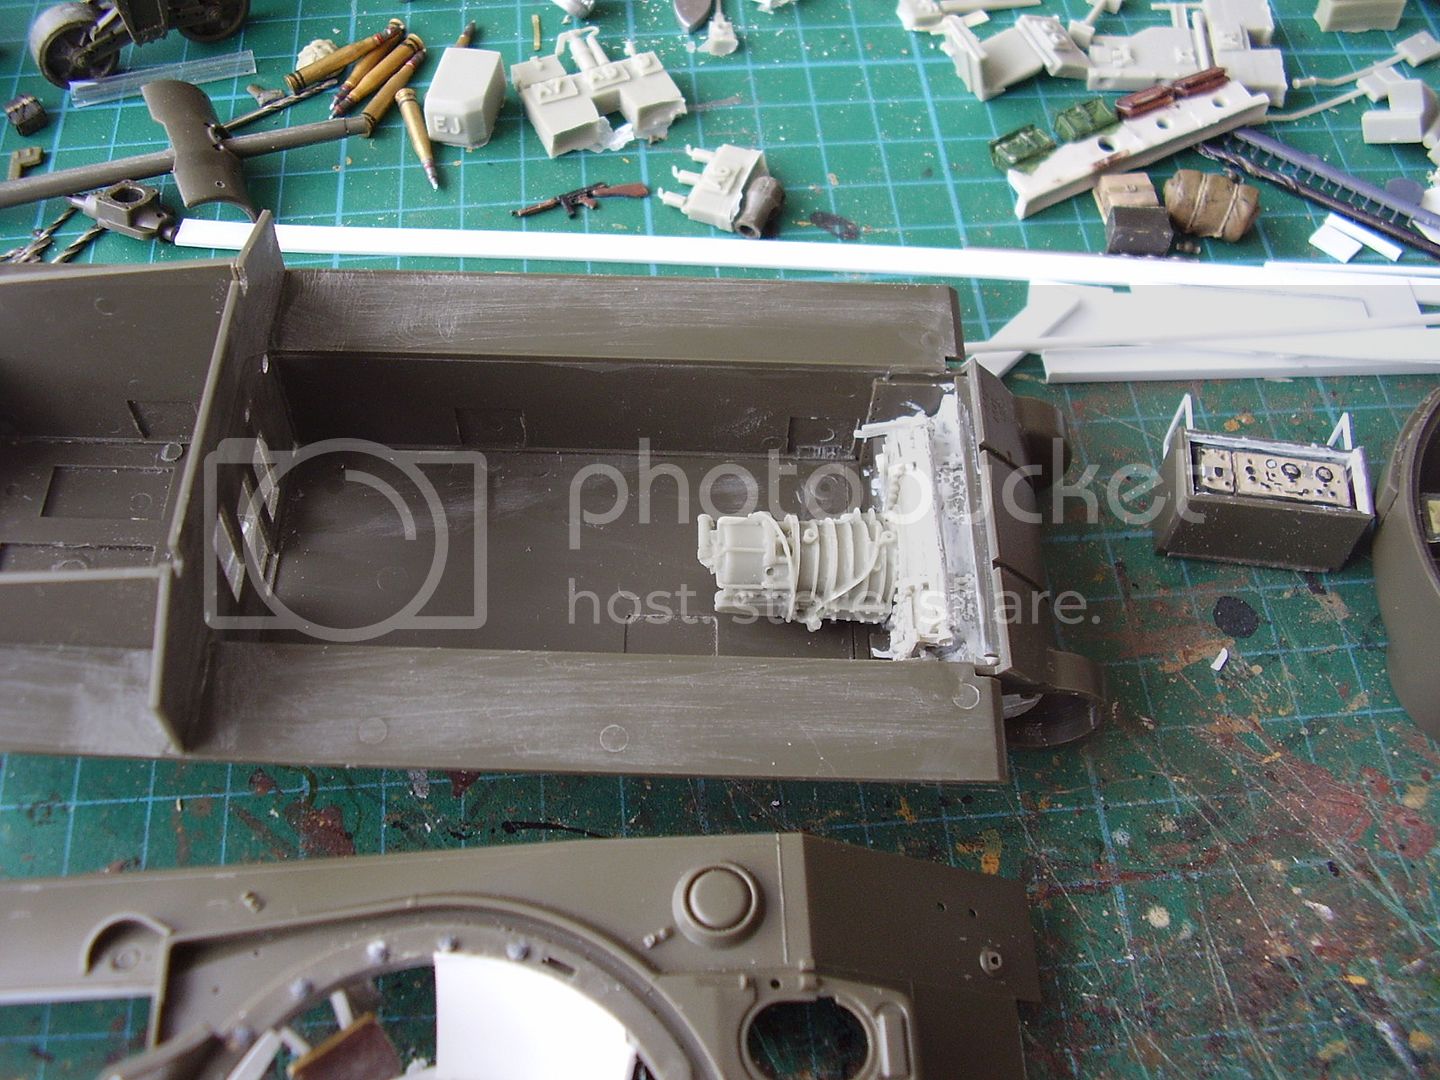
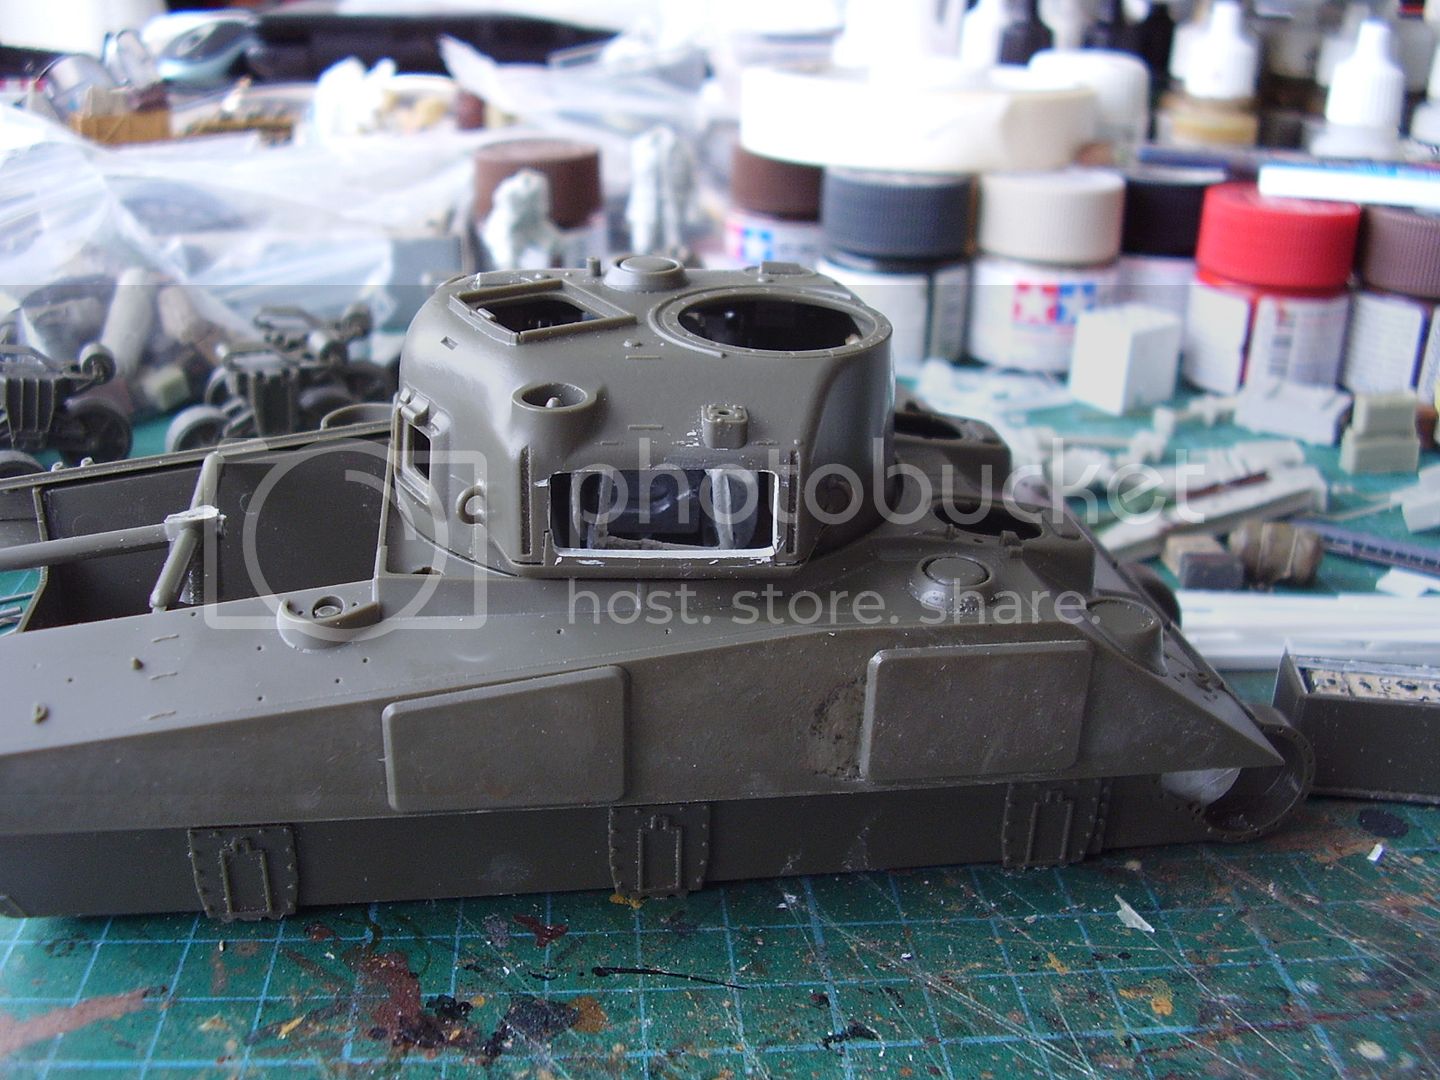
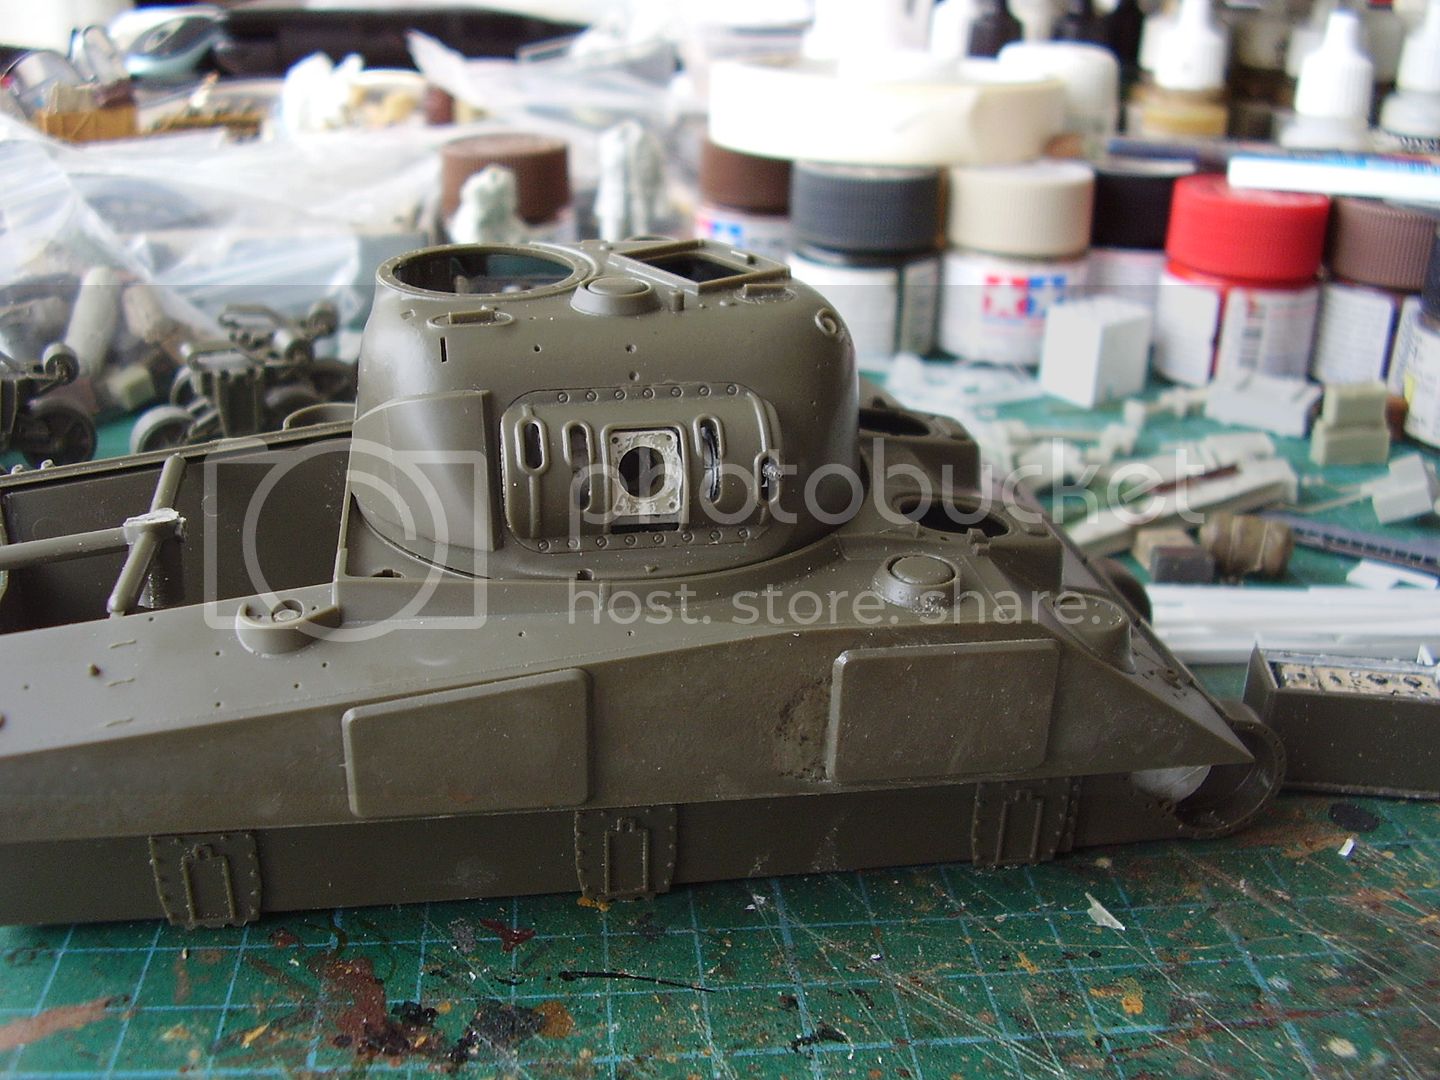
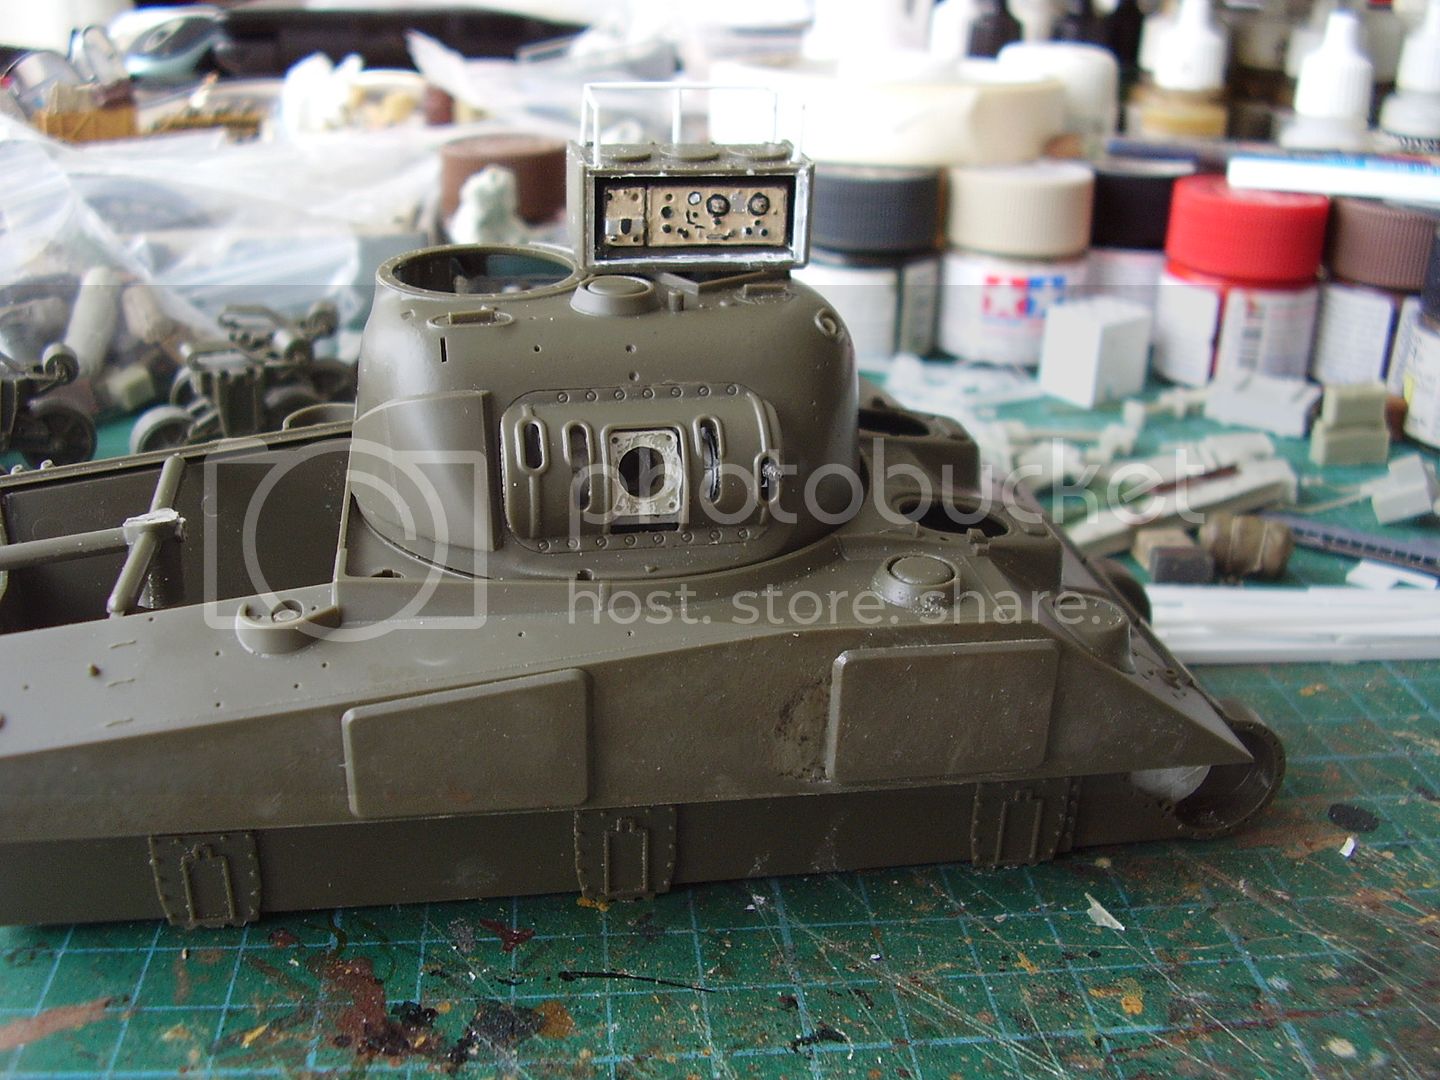
A bit more progress. Added the transmission and engine into the front. Fashioned a not very accurate basket to help fill the empty space and I used one of the Bronco radios. You'd need to file out the rear of the turret if you want to fit a radio, given the way the turret ring and turret connnect in the kit. I also added a 2" mortar and a few items to fill the turret a bit.
The stowage in the Firefly was different to that of a normal Sherman to cope with the 17pdr ammo so the interior won't be totally complete or accurate but more a space filler to give the illlusion of internals.
I have several Mk Vs to build and the Chrysler engine so I may try and do a more accurate version on the next build.
Cheers
Al
'Action this Day'
Winston Spencer Churchill
Auckland, New Zealand
Joined: February 03, 2014
KitMaker: 1,042 posts
Armorama: 871 posts
Posted: Saturday, August 22, 2015 - 02:02 PM UTC
Coming along nicely Al

Gary
Netherlands
Joined: May 20, 2015
KitMaker: 335 posts
Armorama: 266 posts
Posted: Saturday, August 22, 2015 - 02:29 PM UTC
Love the work on your turret, maybe buy a Meng PE set for the radio to compliment the stellar detail of your Resicast parts? Lord knows I'd splurge on one of their interior sets however mucho expensive and they don't make one for the M4A3.
England - East Anglia, United Kingdom
Joined: August 12, 2005
KitMaker: 14,499 posts
Armorama: 11,675 posts
Posted: Saturday, August 22, 2015 - 03:48 PM UTC
Hi Gary,
Thanks, first time I've worked with the Tasca kits, great detail but very delicate parts in places.
Hi Willem,
I used the Bronco radio as little will be seen and it's not complete or detailed enough to use elsewhere. I have both Formations and Resicast sets so will compliment it with some additional bits, but those sets I want to use with some radio trucks I have a mind to build.
Cheers
Al

'Action this Day'
Winston Spencer Churchill
Ontario, Canada
Joined: November 03, 2012
KitMaker: 2,275 posts
Armorama: 2,233 posts
Posted: Saturday, August 22, 2015 - 06:24 PM UTC
kool. Is this the same kit that is in the new Tamiya Firefly kit? How many Firefly variants did Tasca make? Their new company Asuka lets you buy individual Tasca Sprues for all the kits they made...I think that is ace, however..most are sold out.
http://tasca-shop.ocnk.net/product-list/6
Michigan, United States
Joined: October 28, 2002
KitMaker: 4,021 posts
Armorama: 3,947 posts
Posted: Saturday, August 22, 2015 - 06:55 PM UTC
Actually, I think Asuka has plenty in stock. I think they aren't updating that particular page. Here's a link to their domestic sprue selling pages
http://store.shopping.yahoo.co.jp/asukamodel-netshop/12f35a5b7a2.htmlClick onto the base model and a page of the individual sprues comes up. Funny thing is they have options for overseas selling.
Roy Chow
Join AMPS!
www.amps-armor.org
England - East Anglia, United Kingdom
Joined: August 12, 2005
KitMaker: 14,499 posts
Armorama: 11,675 posts
Posted: Saturday, August 22, 2015 - 10:39 PM UTC
Thanks David. Hopefully it will trun out OK.
Al

'Action this Day'
Winston Spencer Churchill
New South Wales, Australia
Joined: February 28, 2006
KitMaker: 1,605 posts
Armorama: 1,565 posts
Posted: Monday, August 24, 2015 - 04:56 AM UTC
Sadly the ones I want (M4A2) are out of stock when you try and order. I really hope they put the Sherman III back in production
Queensland, Australia
Joined: April 15, 2006
KitMaker: 915 posts
Armorama: 797 posts
Posted: Monday, August 24, 2015 - 05:06 AM UTC
Wow Alan,
Very nice work , keep them images rolling .
Thanks
Michael
England - East Anglia, United Kingdom
Joined: August 12, 2005
KitMaker: 14,499 posts
Armorama: 11,675 posts
Posted: Monday, August 24, 2015 - 09:09 PM UTC
Thanks for looking in Michael, I've been wanting to do a New Zealand Vehicle for a while now.
Cheers
Al

'Action this Day'
Winston Spencer Churchill
Netherlands
Joined: May 20, 2015
KitMaker: 335 posts
Armorama: 266 posts
Posted: Monday, August 24, 2015 - 09:22 PM UTC
From the M4 Composite and others they only have partial kit content available from their kits

England - East Anglia, United Kingdom
Joined: August 12, 2005
KitMaker: 14,499 posts
Armorama: 11,675 posts
Posted: Tuesday, August 25, 2015 - 08:04 PM UTC
Hi folks,
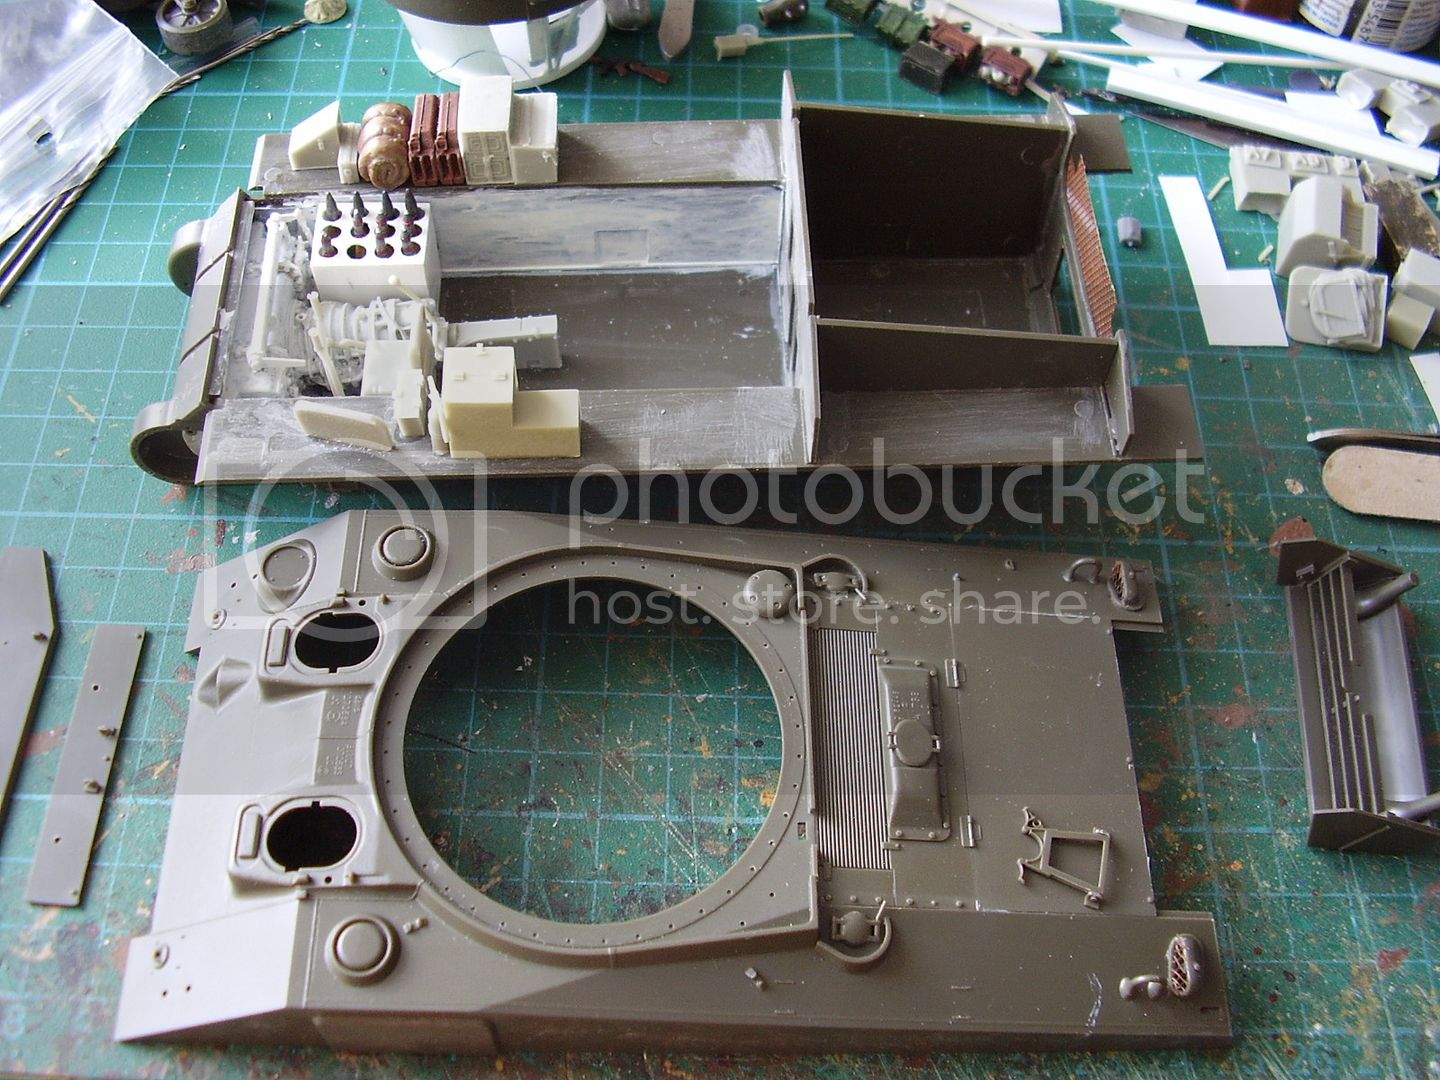
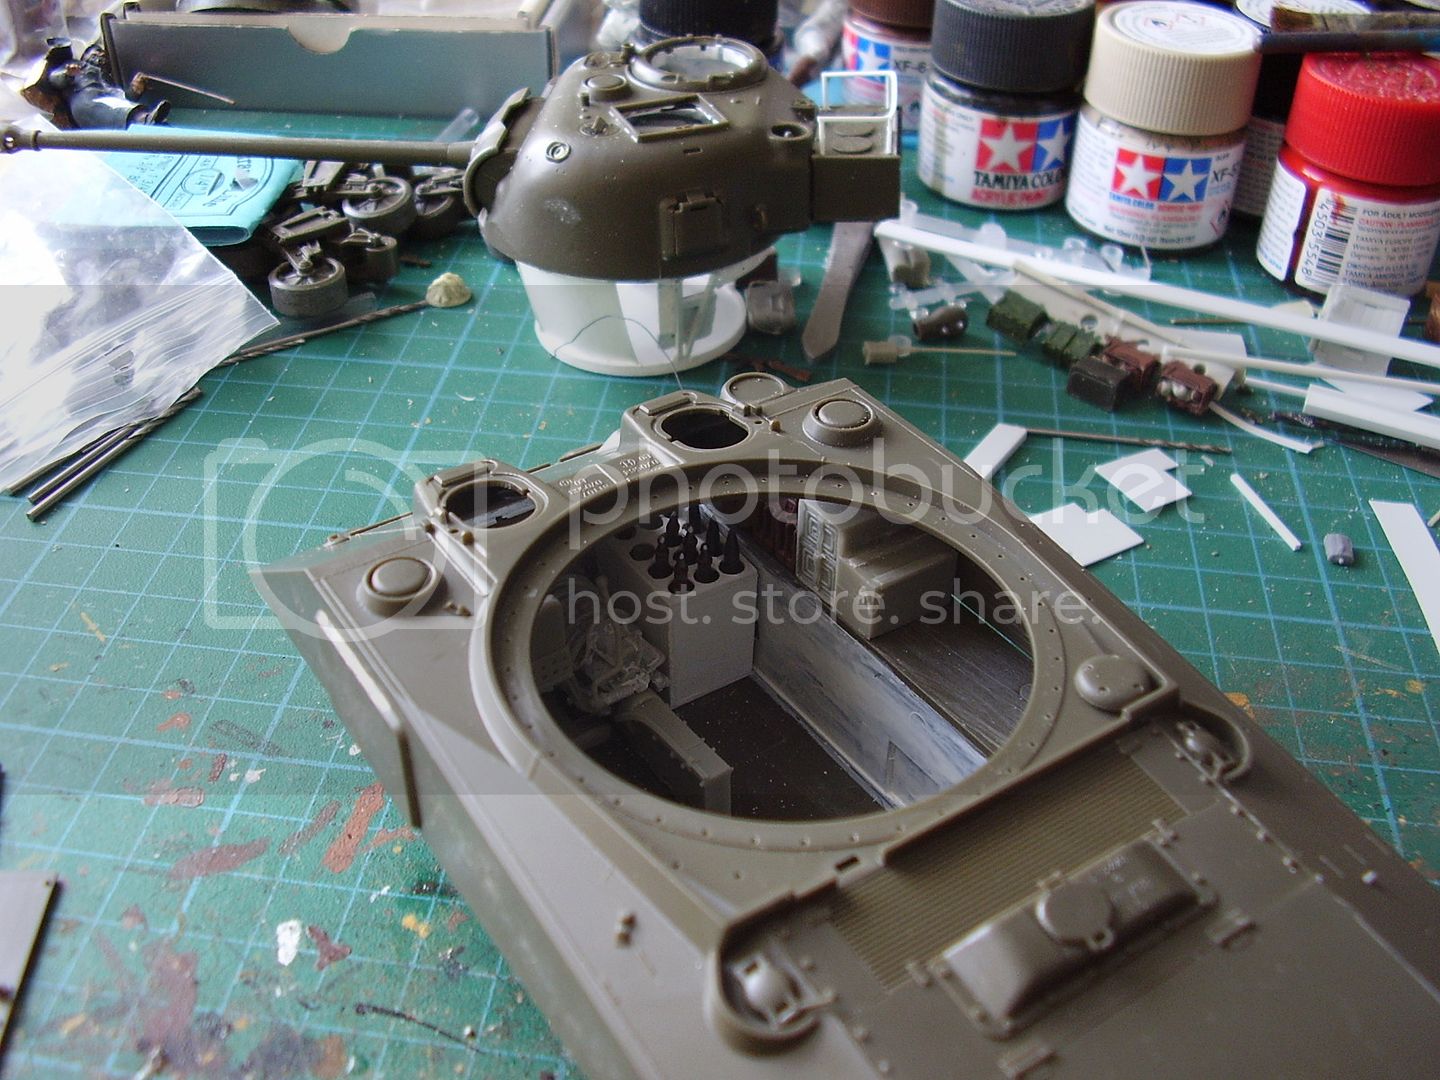
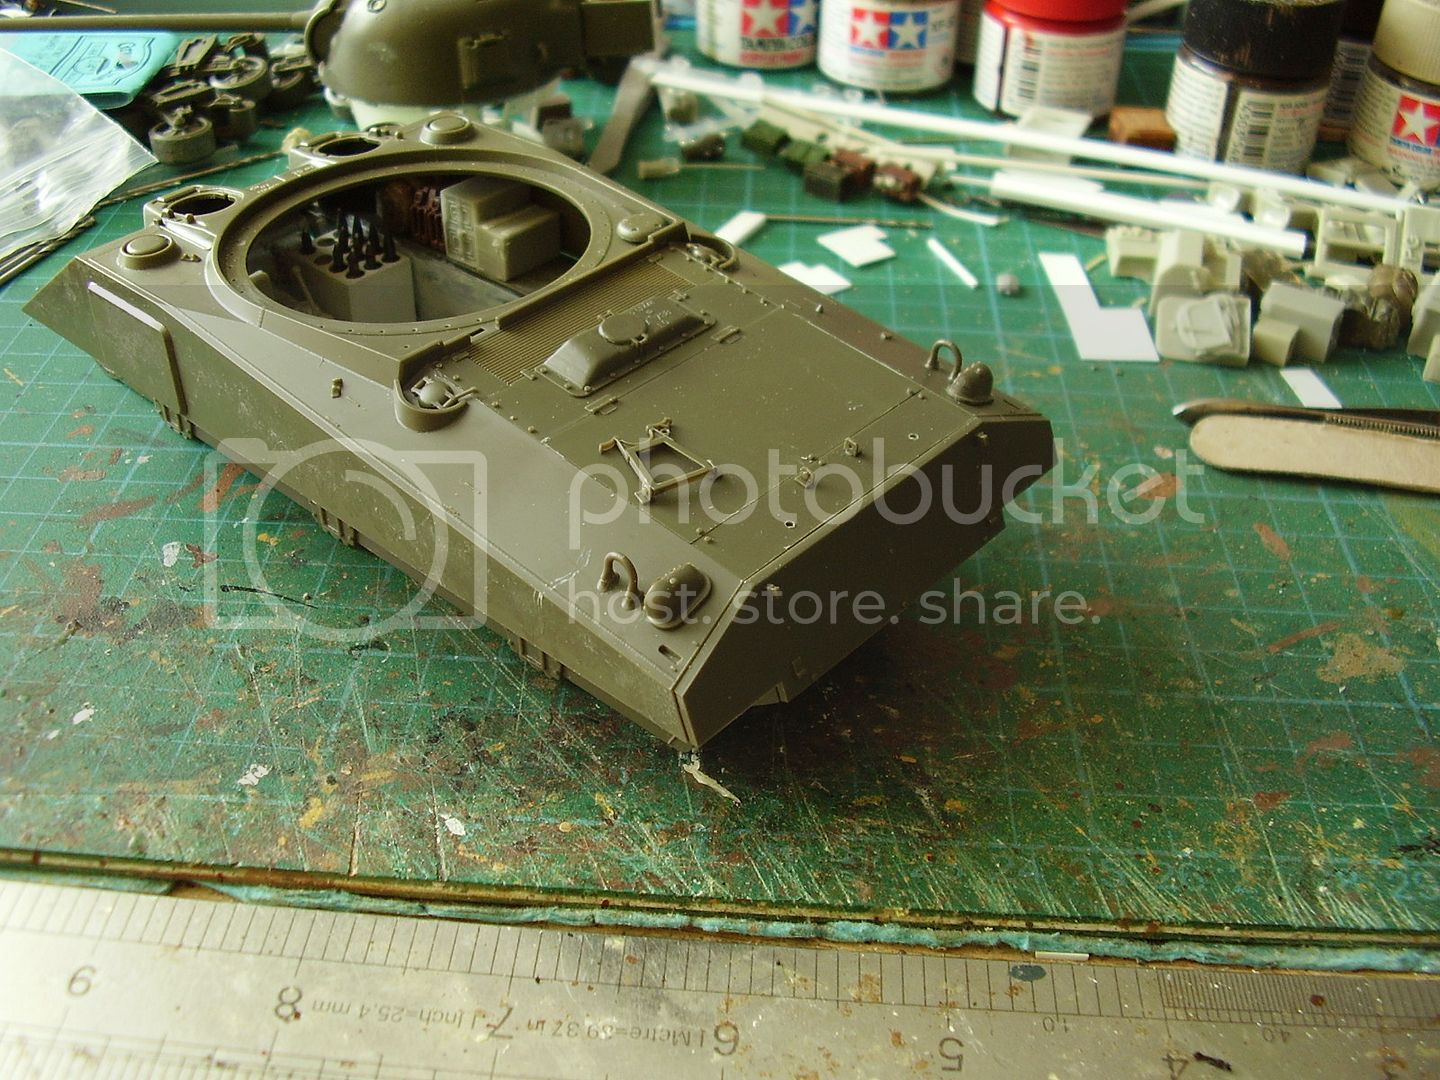
A bit more progress. Added the drivers eat and controls and a bit of stowage on the front LHS. The gunners seat was removed and this area used for stowage of about 14 x 17 pdr rounds. The rounds sat in a box with a diamond lattice type top. I couldn't figure out a way to do this in plastic easily so I opted for some rounds just to fill that space althouh I have one idea that moght work!. Also amde a start on the engine deck by adding some of the fittings.
I also added the kit 17pdr barrel to the turret and joioned things up.
British Fireflys didn't carry the cleaning rods externally but it appears that the New Zealanders did. Anyway a few update pics.
Al
'Action this Day'
Winston Spencer Churchill
Michigan, United States
Joined: October 28, 2002
KitMaker: 4,021 posts
Armorama: 3,947 posts
Posted: Tuesday, August 25, 2015 - 10:02 PM UTC
Nice work on that Asuka kit! May I offer these 2 tips?
Engine plate E31 was supposed to have weld seams on the rearmost and side edges. .
Another enhancement isthe thickening up the armor slabs at the front of the drivers’ hoods using putty. The M4A4’s hood front faces have distinct bulges created by the casting process with the right bulge being thicker as evidenced by a deeper shadow in all photos. I simply applied a thicker coat of putty on the right hood than the left hood. You may ignore this if you plan on using the applique armor slabs. But I thought you might want to know.
Roy Chow
Join AMPS!
www.amps-armor.org
England - East Anglia, United Kingdom
Joined: August 12, 2005
KitMaker: 14,499 posts
Armorama: 11,675 posts
Posted: Wednesday, August 26, 2015 - 12:43 AM UTC
Thanks for the tips Roy,
Been a while shince I did a Sherman. This one is from Tasca, just been a while getting around to it. They are lovely kits and I'm glad the range got taken over.
Cheers
Al

'Action this Day'
Winston Spencer Churchill


