OK !!
Enlist, Campaign page:HERE!
KitMaker Gallery: HERE
Hosted by Richard S.
Back to Basics
Nito74

Joined: March 04, 2008
KitMaker: 5,386 posts
Armorama: 4,727 posts

Posted: Friday, February 05, 2016 - 05:45 AM UTC
spongya


Joined: February 01, 2005
KitMaker: 2,365 posts
Armorama: 1,709 posts

Posted: Tuesday, March 08, 2016 - 06:09 PM UTC
I don't know if it's cheating, but I have an ARL44 by Cromwell Models to build. I'm saying "cheating" because it's a very simple build.
If it's acceptable, do I have to use hairy sticks, or can I use an airbrush to paint it? Do weathering products (oil paints, pigments, etc) count?
If it's acceptable, do I have to use hairy sticks, or can I use an airbrush to paint it? Do weathering products (oil paints, pigments, etc) count?
Posted: Thursday, March 10, 2016 - 04:49 AM UTC
Andras,
From the rules I would take it to mean that painting and finishing methods / materials is not included in the count. As a further reference here's the sample pic provided by the campaign lead, Ian:
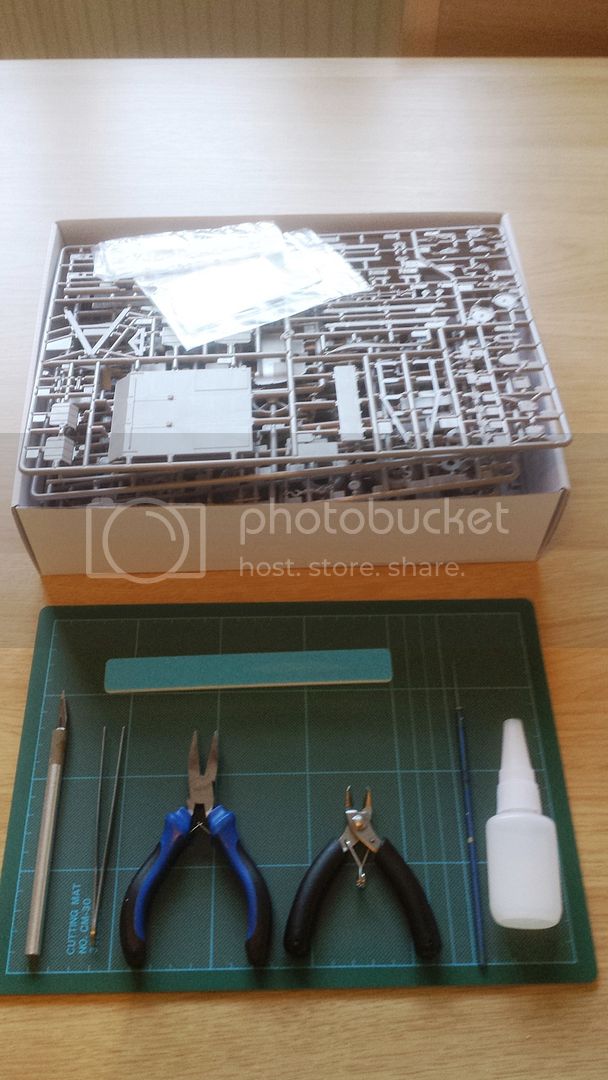
I plan to build a simple, no-frills kit as well.
Cheers,
Tat
From the rules I would take it to mean that painting and finishing methods / materials is not included in the count. As a further reference here's the sample pic provided by the campaign lead, Ian:

I plan to build a simple, no-frills kit as well.
Cheers,
Tat
Posted: Saturday, March 12, 2016 - 09:48 PM UTC
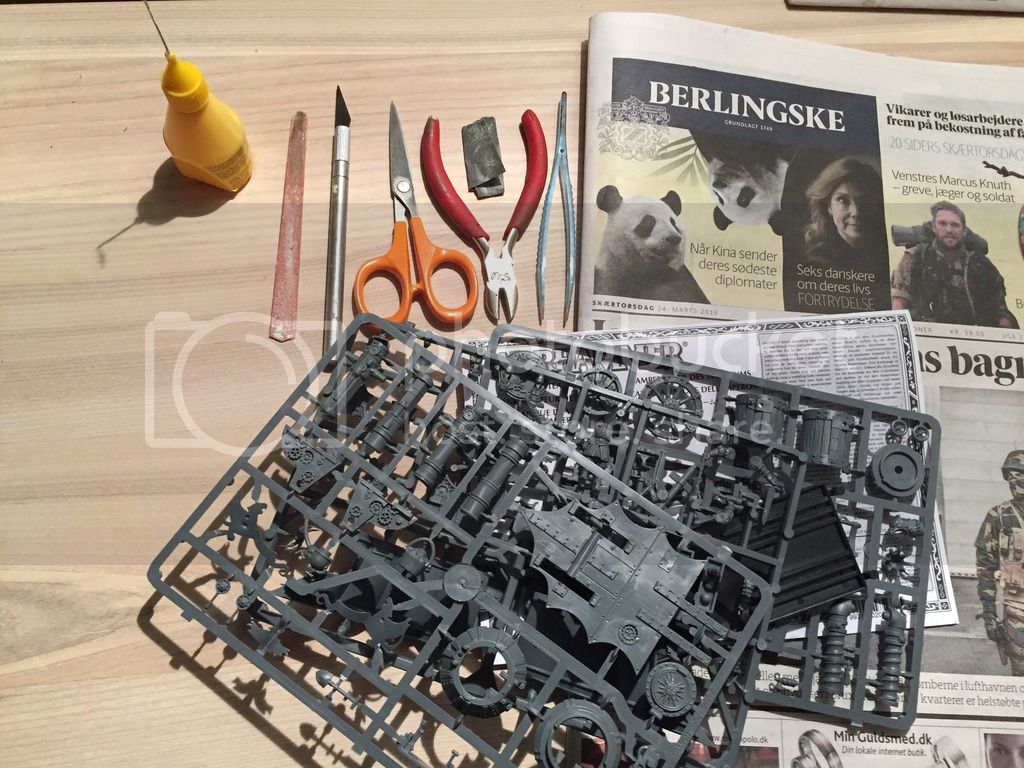
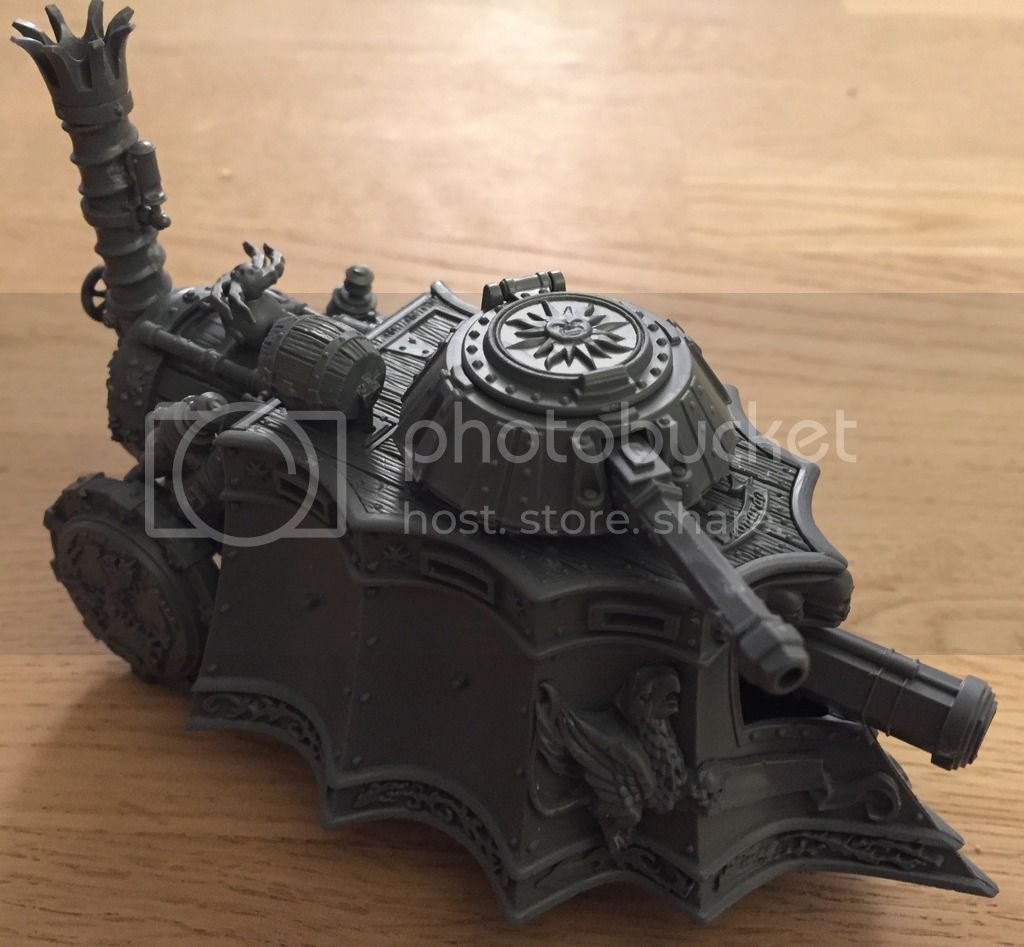
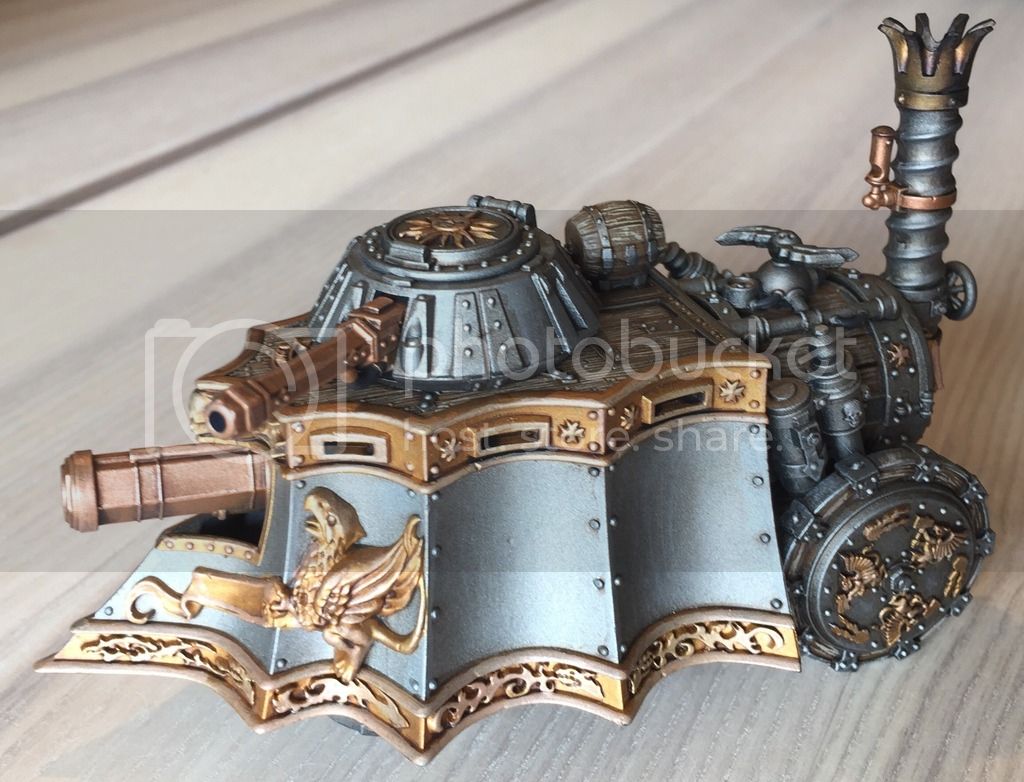
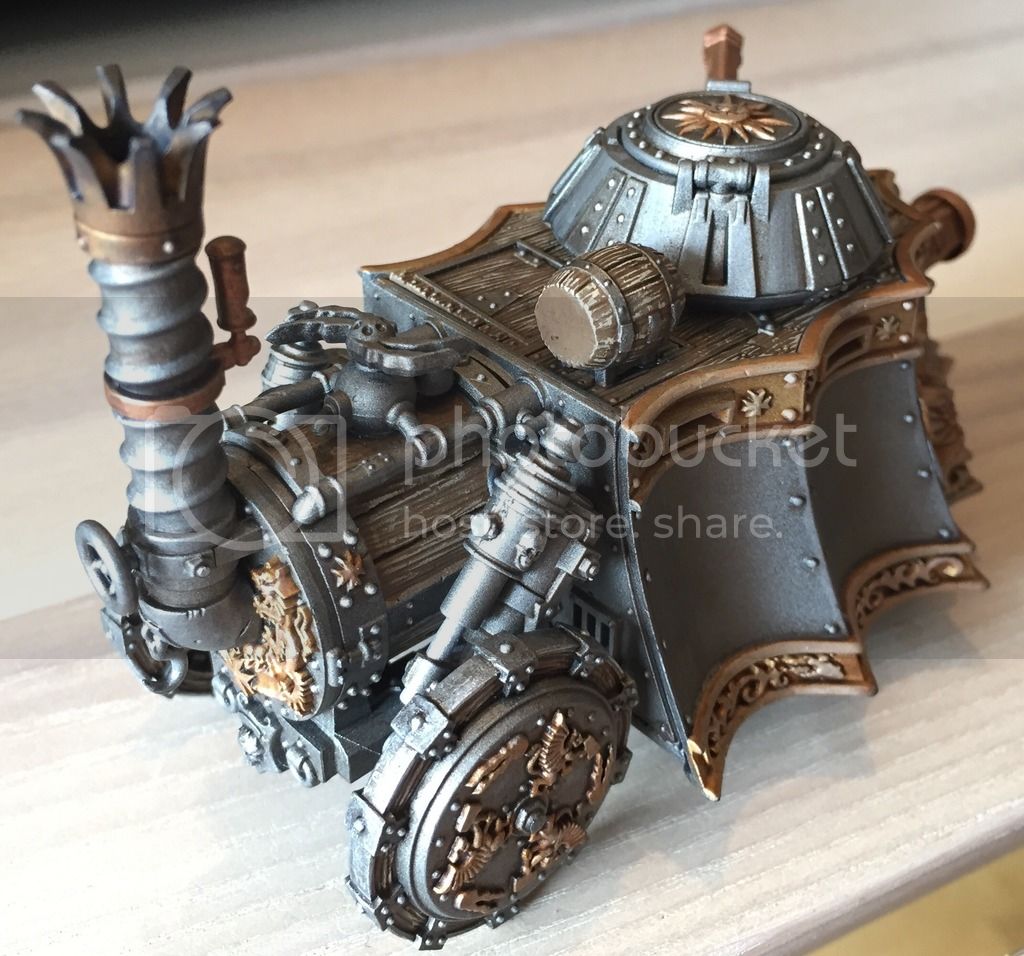
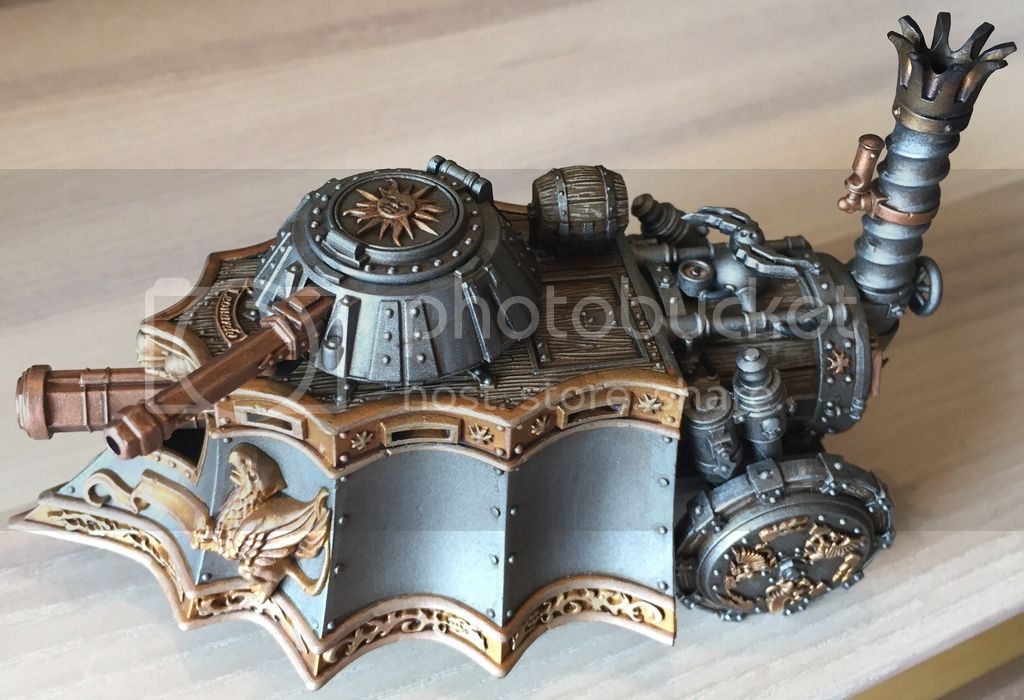
I have not decided on the kit yet, but probably something simple as well. Maybe a games workshop steam tank. For sure it will be a pure plastic kit.
Posted: Friday, March 25, 2016 - 01:11 AM UTC
Posted: Friday, March 25, 2016 - 03:48 AM UTC
Posted: Friday, March 25, 2016 - 05:49 AM UTC
That sure was a quick build Jesper. Looking forward to its progress. 

Posted: Friday, April 01, 2016 - 03:16 AM UTC
Posted: Tuesday, April 05, 2016 - 10:25 PM UTC
I like the theme of this campaign. My skills are basic already and that makes this project fit like a glove.
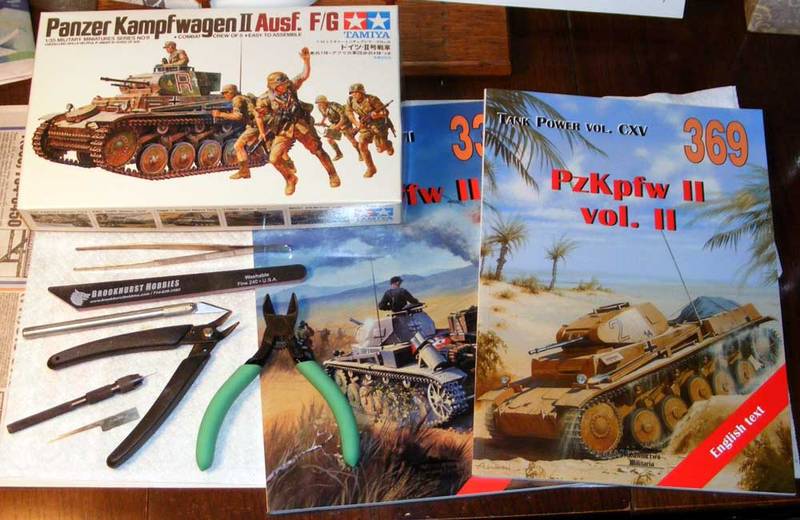
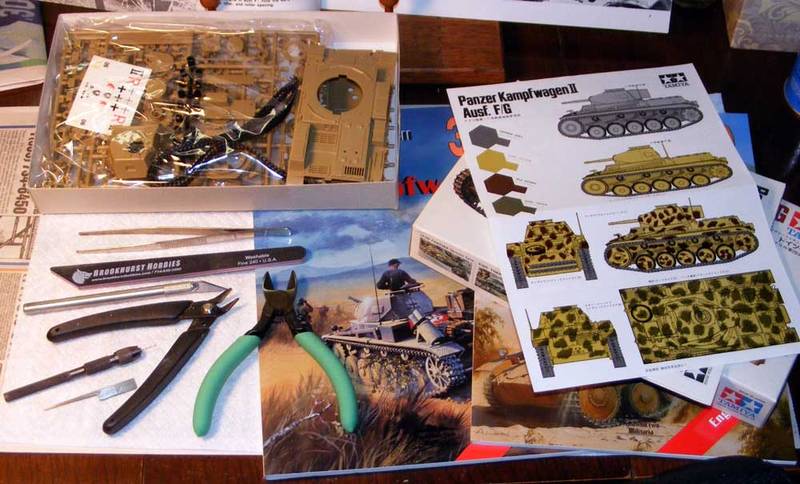
I have an old Tamiya Panzer II Ausf F that has been in my pile for years. The date molded into the hull is 1971 and it was made back when Tamiya wasn't sure if it was a toy company or a model company. This kit was originally motorized and has some compromises to accommodate the monkey motion parts that it was designed to have.
Despite its age, the kit parts look pretty good and I expect it to make a decent little model. I have ordered a set of Fruil metal tracks to improve the appearance and so have included a pair of nippers in the tool selection to cut the metal wire.
Here are a couple of pics taken last night before any construction has taken place.


The way I'm doing the pictures results in thumbnails linking to larger pictures. I see others manage to get the complete pictures into their posts. Can anyone tell me how to do this?
I have an old Tamiya Panzer II Ausf F that has been in my pile for years. The date molded into the hull is 1971 and it was made back when Tamiya wasn't sure if it was a toy company or a model company. This kit was originally motorized and has some compromises to accommodate the monkey motion parts that it was designed to have.
Despite its age, the kit parts look pretty good and I expect it to make a decent little model. I have ordered a set of Fruil metal tracks to improve the appearance and so have included a pair of nippers in the tool selection to cut the metal wire.
Here are a couple of pics taken last night before any construction has taken place.


The way I'm doing the pictures results in thumbnails linking to larger pictures. I see others manage to get the complete pictures into their posts. Can anyone tell me how to do this?
Posted: Wednesday, April 06, 2016 - 06:40 PM UTC
Quoted Text
I like the theme of this campaign. My skills are basic already and that makes this project fit like a glove.
I have an old Tamiya Panzer II Ausf F that has been in my pile for years. The date molded into the hull is 1971 and it was made back when Tamiya wasn't sure if it was a toy company or a model company. This kit was originally motorized and has some compromises to accommodate the monkey motion parts that it was designed to have.
Despite its age, the kit parts look pretty good and I expect it to make a decent little model. I have ordered a set of Fruil metal tracks to improve the appearance and so have included a pair of nippers in the tool selection to cut the metal wire.
Here are a couple of pics taken last night before any construction has taken place.
The way I'm doing the pictures results in thumbnails linking to larger pictures. I see others manage to get the complete pictures into their posts. Can anyone tell me how to do this?
Nice choice Paul, I plan to do the same kit too.
Re pics: when you go to your gallery pic, look for that small squarish icon at at the end of LINKED THUMBNAIL. Click on it and it will give you a couple of choices below it. One is HTML CODE -- that's what you need to copy and paste to your post, as below:
Cheers,
Tat
Posted: Wednesday, April 06, 2016 - 09:08 PM UTC
Thanks Tat, I'll give this a try and see how it goes.
You are also doing this kit. Does your set of instructions give any details about the decal markings? Mine is completely mute on the where and when the markings were used. Even the placement is breezy at best.
You are also doing this kit. Does your set of instructions give any details about the decal markings? Mine is completely mute on the where and when the markings were used. Even the placement is breezy at best.

Posted: Wednesday, April 06, 2016 - 09:09 PM UTC
Yes, the picture came out full size. Thanks for the tip!
Posted: Thursday, April 07, 2016 - 04:21 AM UTC
Glad to be of help Paul! Re decal placement, it should be part of the instruction sheet. Here's a link:
https://www.scalemates.com/kits/132349-tamiya-35009-panzerkampfwagen-ii-ausf-f-g
Scroll down midway and there's a PDF file you may download.
I have a couple of campaigns to get across the line so I may be starting on my build a bit later.
Cheers,
Tat
https://www.scalemates.com/kits/132349-tamiya-35009-panzerkampfwagen-ii-ausf-f-g
Scroll down midway and there's a PDF file you may download.
I have a couple of campaigns to get across the line so I may be starting on my build a bit later.
Cheers,
Tat
Posted: Saturday, April 09, 2016 - 12:30 AM UTC
Quoted Text
Glad to be of help Paul! Re decal placement, it should be part of the instruction sheet. Here's a link:
https://www.scalemates.com/kits/132349-tamiya-35009-panzerkampfwagen-ii-ausf-f-g
Scroll down midway and there's a PDF file you may download.
I have a couple of campaigns to get across the line so I may be starting on my build a bit later.
Cheers,
Tat
I checked that PDF, thanks for the link. This turned out to be just what I have in the box. There are side profiles showing the decal locations but the front & back locations are somewhat breezy. Worse for me, the descriptions are all in Japanese, a language I do not read or speak so the color call outs, dates & places for the markings are just a guess.
I do have a couple of books that will help with this and will just take a best guess approach.
I too am working on builds for other camps. Right now I'm having great fun with a StuG III for the 500+ campaign.
Posted: Wednesday, April 20, 2016 - 01:45 AM UTC
Posted: Thursday, April 28, 2016 - 05:27 PM UTC

Bigrip74

Joined: February 22, 2008
KitMaker: 5,026 posts
Armorama: 1,604 posts

Posted: Thursday, May 12, 2016 - 09:15 AM UTC
It has been a while since I visited the site and this campaign looked like fun. I have a kit in mind and will put the tools together and take a photo to show my start.
Bob
Bob

Bigrip74

Joined: February 22, 2008
KitMaker: 5,026 posts
Armorama: 1,604 posts

Posted: Friday, May 13, 2016 - 05:12 AM UTC

Bigrip74

Joined: February 22, 2008
KitMaker: 5,026 posts
Armorama: 1,604 posts

Posted: Saturday, May 14, 2016 - 07:04 PM UTC
Jesper, that is a really neat looking build.
I am looking for another kit in my stash to build for this campaign. The build that I started is now in my parts bin after an accident.
I found a DRAGON Pz.Kpfw.I Ausf.B that I will use for the campaign.
Bob
I am looking for another kit in my stash to build for this campaign. The build that I started is now in my parts bin after an accident.

I found a DRAGON Pz.Kpfw.I Ausf.B that I will use for the campaign.
Bob
Removed by original poster on 05/15/16 - 23:24:34 (GMT).
Removed by original poster on 05/15/16 - 23:41:14 (GMT).

Bigrip74

Joined: February 22, 2008
KitMaker: 5,026 posts
Armorama: 1,604 posts

Posted: Sunday, May 15, 2016 - 04:56 AM UTC
Posted: Sunday, May 15, 2016 - 03:12 PM UTC
Thanks for the comment, Bob.
Nice choice for this campaign. Looking forward to see more
Nice choice for this campaign. Looking forward to see more

Anmoga

Joined: November 18, 2004
KitMaker: 456 posts
Armorama: 333 posts

Posted: Monday, May 16, 2016 - 09:24 PM UTC
Hi guys,
This is going to be my entrance for the campaign.


I will build Italeri Nebelwerfer 41 and my tools are pretty basic: Tamiya's extra thin glue, Gunze's Mr. Surfacer 500, Tamiya's sharp pointed side cutter, nail file and a scalpel.
I keep several kits in one box and that is the reason for the pieces you don't see on the sprues but as you can see I didn't cut them close to the pieces.

Best regards,
Angel
This is going to be my entrance for the campaign.


I will build Italeri Nebelwerfer 41 and my tools are pretty basic: Tamiya's extra thin glue, Gunze's Mr. Surfacer 500, Tamiya's sharp pointed side cutter, nail file and a scalpel.
I keep several kits in one box and that is the reason for the pieces you don't see on the sprues but as you can see I didn't cut them close to the pieces.
Best regards,
Angel
adeath

Joined: May 11, 2016
KitMaker: 7 posts
Armorama: 7 posts
Posted: Tuesday, May 17, 2016 - 11:29 PM UTC
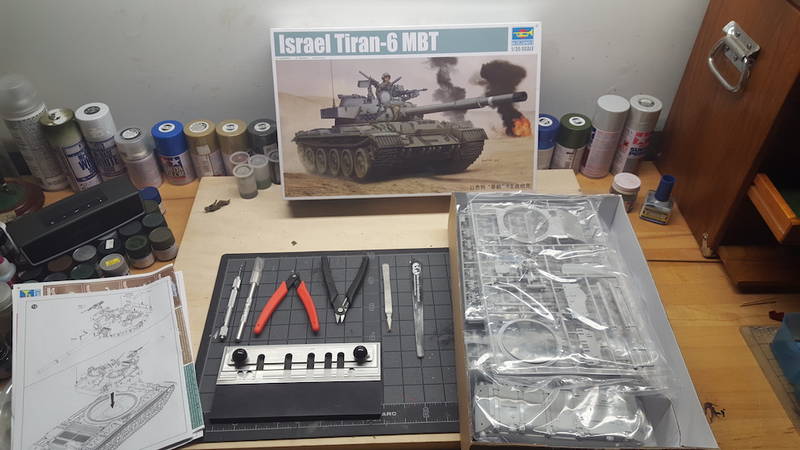
Put me in coach I'm ready to play.
Alex

Alex
 |


