Napier, New Zealand
Joined: August 01, 2005
KitMaker: 1,049 posts
Armorama: 841 posts
Posted: Monday, February 22, 2016 - 03:03 PM UTC
Nice progress on your Zero Ernest, I like the subtle pre-shading effect too.
And got most of the changes made to the turret, pistol port indentation smoothed over, trimmed the tracks guards back, loaders oval hatch replaced with a split hatch (left over from a Hobby Boss Sherman), fabricated the counter-weight and made a new barrel for the T15E1 L/73 90mm.
Front spaced armour next .....
cheers
Brent

Available for commissions,visit my Flickr Albums and modelling/painting blog to discuss .......
http://houseofqueeg.wordpress.com/
https://www.flickr.com/photos/134514258@N04/albums
Bayern, Germany
Joined: January 17, 2006
KitMaker: 673 posts
Armorama: 116 posts
Posted: Monday, February 22, 2016 - 10:27 PM UTC
Thanks Brent, that is quite the modification job you are doing on your build. What did you use to fill the gap? It looks like you did a first class job.
Ernest
New York, United States
Joined: June 19, 2015
KitMaker: 74 posts
Armorama: 70 posts
Posted: Monday, February 22, 2016 - 11:03 PM UTC
Thats a long gun there brent. Looking nice
- steve
European Union
Joined: January 28, 2015
KitMaker: 2,099 posts
Armorama: 1,920 posts
Posted: Monday, February 22, 2016 - 11:21 PM UTC
Brett, do you have a side on view of your build? The L/73 barrel seems to be drooping from the picture you posted.
Never gonna' give EU up, never gonna' let EU down.
Oklahoma, United States
Joined: September 30, 2015
KitMaker: 2,493 posts
Armorama: 2,344 posts
Posted: Tuesday, February 23, 2016 - 01:51 AM UTC
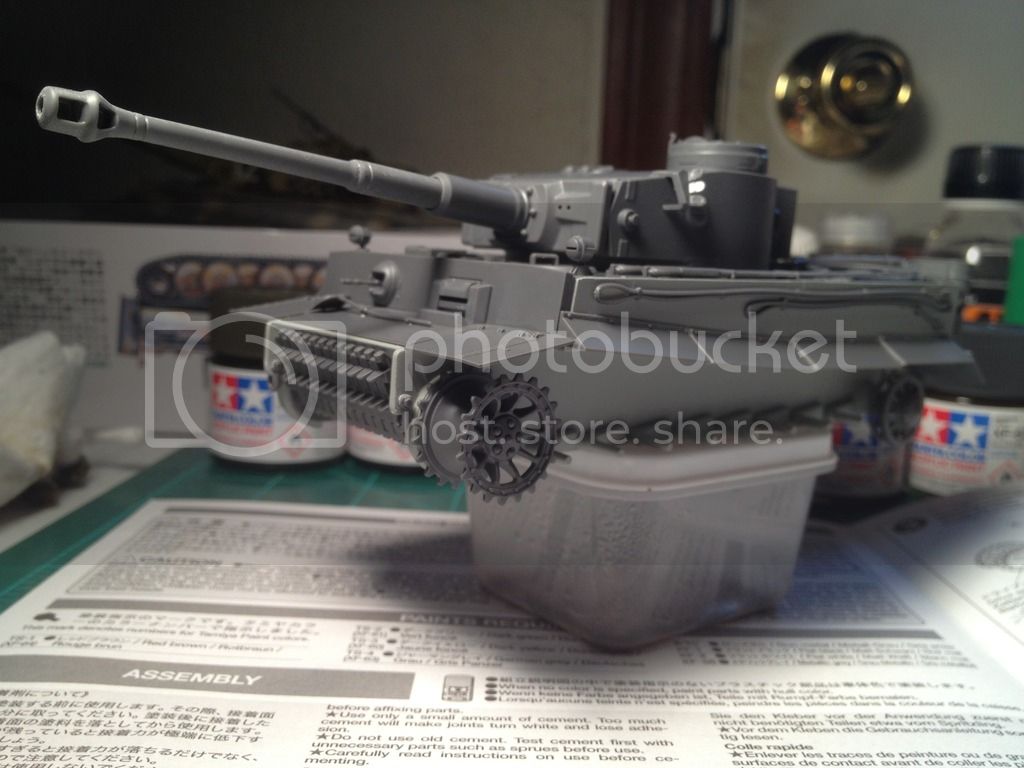
Just road wheels and tracks now.
"Only the dead have seen the end of war." - Plato
Napier, New Zealand
Joined: August 01, 2005
KitMaker: 1,049 posts
Armorama: 841 posts
Posted: Tuesday, February 23, 2016 - 03:16 AM UTC
Thanks gents. Nice Tiger so far Dustin, any idea what colours it'll be finished in yet?
Quoted Text
Thanks Brent, that is quite the modification job you are doing on your build. What did you use to fill the gap? It looks like you did a first class job.
Ernest
Hi Ernest. I fitted a shaped bit of scrap which was braced underneath for strength. I fluked the fit and after sanding didn't need filler, the grey is paint used to show any flaws.

Quoted Text
Brett, do you have a side on view of your build? The L/73 barrel seems to be drooping from the picture you posted.
Hey Tim. The barrel is made from three pieces and the parts pinned. It's not glued yet (won't be until the turret armour is finished) Hopefully that and maybe camera parallax which is a problem with digitals and trying to focus on such a long barrel is the cause of any apparent droop ....

cheers
Brent
Available for commissions,visit my Flickr Albums and modelling/painting blog to discuss .......
http://houseofqueeg.wordpress.com/
https://www.flickr.com/photos/134514258@N04/albums
Oklahoma, United States
Joined: September 30, 2015
KitMaker: 2,493 posts
Armorama: 2,344 posts
Posted: Tuesday, February 23, 2016 - 04:36 AM UTC
Hi Brent,
Thank you, I believe I'll do a simple German Grey on this Tiger.
Yours is looking very nice as well.
Cheers,
Dustin
"Only the dead have seen the end of war." - Plato
Oklahoma, United States
Joined: September 30, 2015
KitMaker: 2,493 posts
Armorama: 2,344 posts
Posted: Tuesday, February 23, 2016 - 09:41 AM UTC
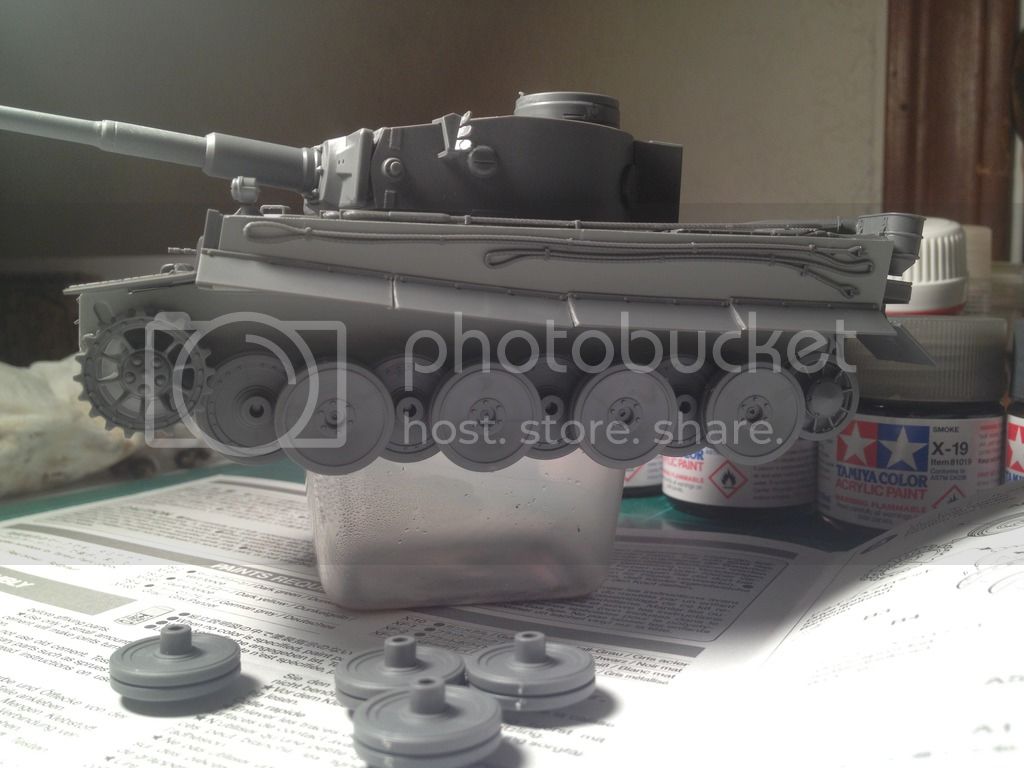
A bit of road wheel action for test fit. Now to clean up and install.. And hopefully the set up level. Lol
Cheers,
Dustin
"Only the dead have seen the end of war." - Plato
Bayern, Germany
Joined: January 17, 2006
KitMaker: 673 posts
Armorama: 116 posts
Posted: Tuesday, February 23, 2016 - 12:29 PM UTC
Your Tiger I is coming along nicely Dustin. Painting road wheels has always been one of my least favorite modeling tasks.
Ernest
Queensland, Australia
Joined: July 10, 2011
KitMaker: 653 posts
Armorama: 273 posts
Posted: Tuesday, February 23, 2016 - 05:08 PM UTC
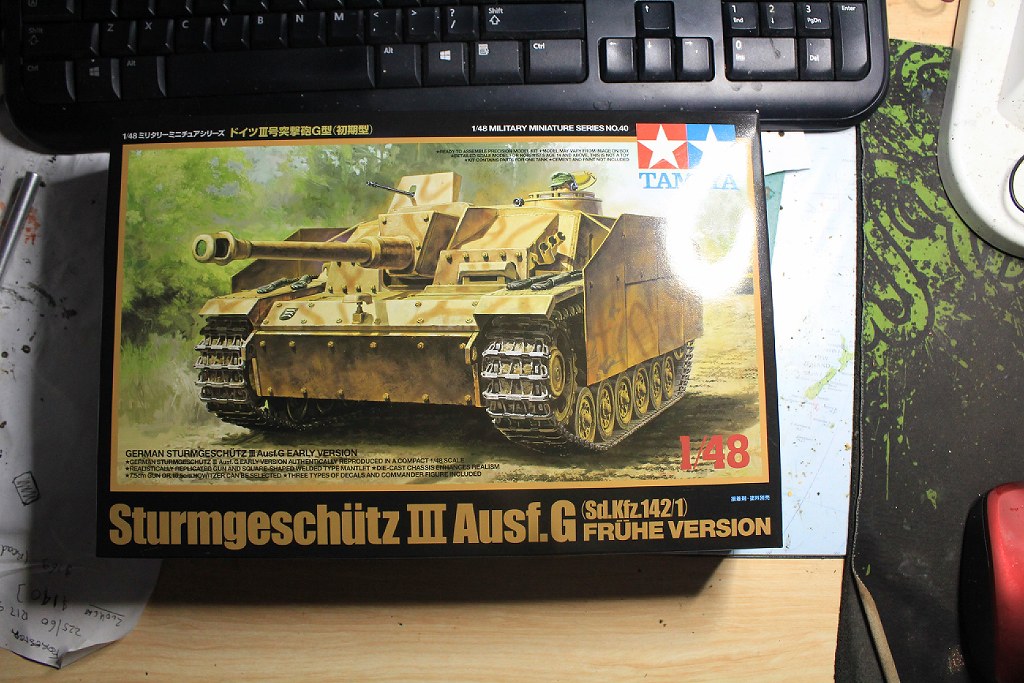
My entry arrived today !
"Give me the strength to be the man my dogs think I am"
Oklahoma, United States
Joined: September 30, 2015
KitMaker: 2,493 posts
Armorama: 2,344 posts
Posted: Tuesday, February 23, 2016 - 08:04 PM UTC
Thank you Ernest.
Road wheels are definitely my kryptonite.
Cheers,
Dustin
"Only the dead have seen the end of war." - Plato

#110
Florida, United States
Joined: September 20, 2005
KitMaker: 248 posts
Armorama: 224 posts
Posted: Tuesday, February 23, 2016 - 08:21 PM UTC
Scott,
Good luck with the Stug. III. Nice to see the 1/48 armor showing up here. I have built a few of these kits, a couple for the 1/48 campaigns in days past. They were quite enjoyable builds and very nice models, once completed.
Have fun and model on! Hopefully back to work on the MkIV this evening....
Stephen
Oklahoma, United States
Joined: September 30, 2015
KitMaker: 2,493 posts
Armorama: 2,344 posts
Posted: Tuesday, February 23, 2016 - 11:19 PM UTC
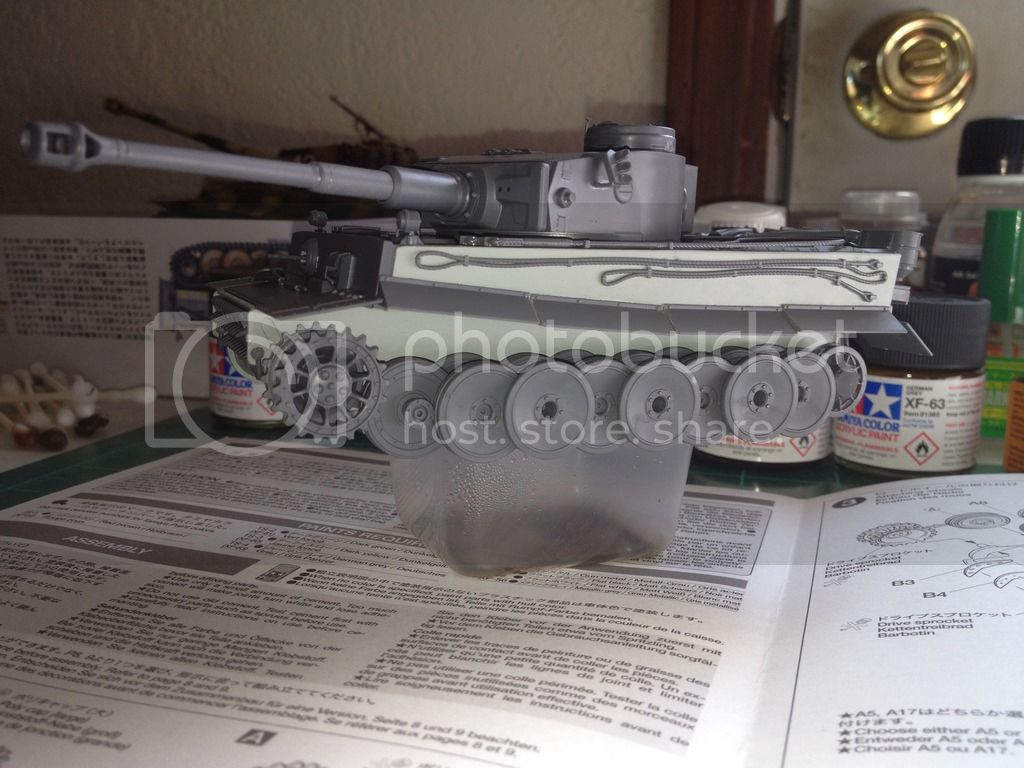
Left side road wheels completed and glued on.
"Only the dead have seen the end of war." - Plato
Napier, New Zealand
Joined: August 01, 2005
KitMaker: 1,049 posts
Armorama: 841 posts
Posted: Wednesday, February 24, 2016 - 12:24 AM UTC
Spaced armour is finished and most of the Tamiya detail parts are on, the last few will be added after the base paint goes on.
Brent

Available for commissions,visit my Flickr Albums and modelling/painting blog to discuss .......
http://houseofqueeg.wordpress.com/
https://www.flickr.com/photos/134514258@N04/albums
Oklahoma, United States
Joined: September 30, 2015
KitMaker: 2,493 posts
Armorama: 2,344 posts
Posted: Wednesday, February 24, 2016 - 08:11 AM UTC
All finished and ready for paint, then to do the tracks.
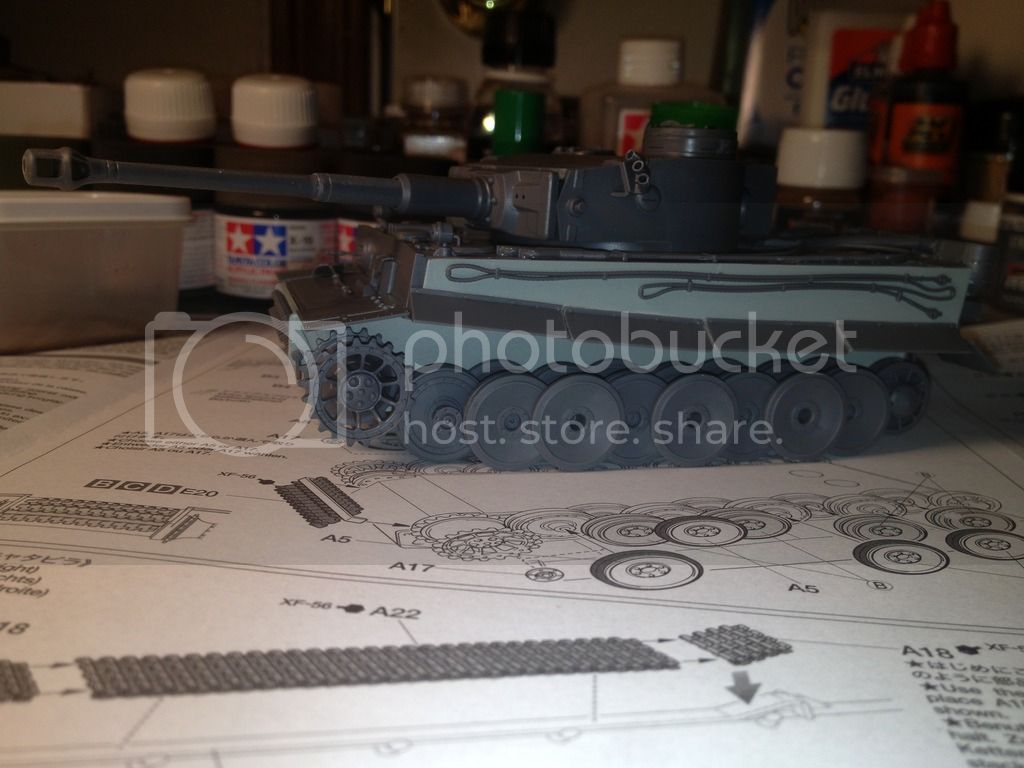
I may install the tracks and then just paint and weather while on the tank. I have seen a guy in YouTube that does this with every build and it turns out great. I may try that this time.
Cheers,
Dustin
"Only the dead have seen the end of war." - Plato
Oklahoma, United States
Joined: September 30, 2015
KitMaker: 2,493 posts
Armorama: 2,344 posts
Posted: Wednesday, February 24, 2016 - 08:18 AM UTC
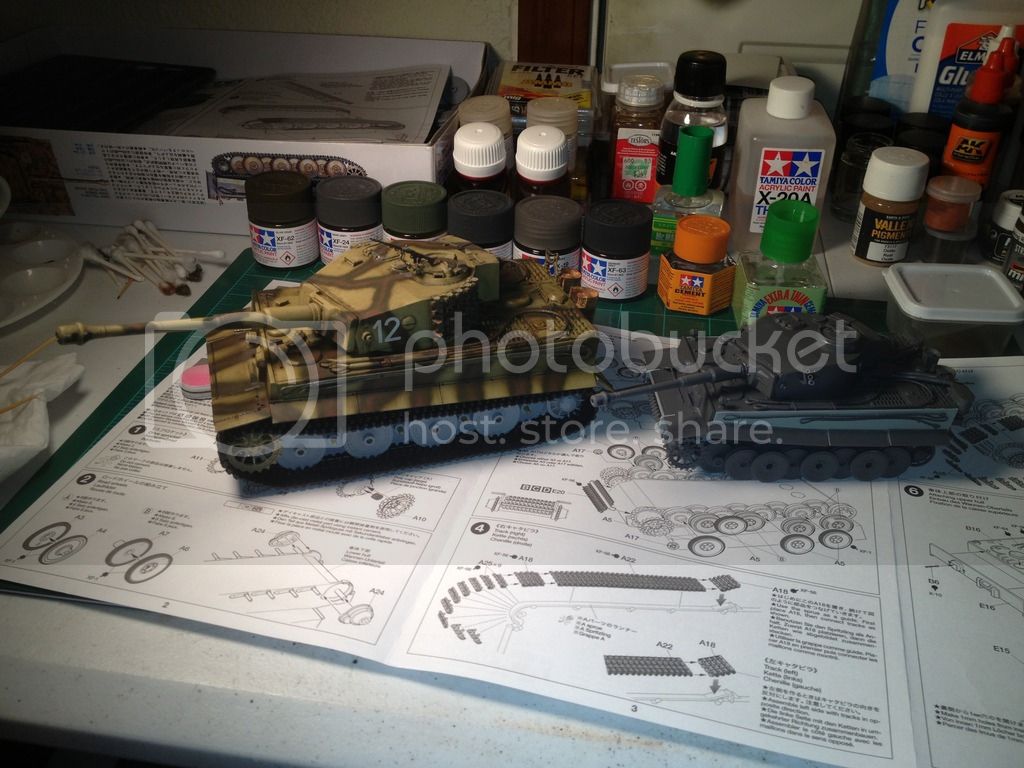
A little side by side with a 1/35th Tiger.
"Only the dead have seen the end of war." - Plato
European Union
Joined: January 28, 2015
KitMaker: 2,099 posts
Armorama: 1,920 posts
Posted: Wednesday, February 24, 2016 - 09:12 AM UTC
Is that a rare photo of a mother Tiger and baby in their natural habitat?

Never gonna' give EU up, never gonna' let EU down.
Oklahoma, United States
Joined: September 30, 2015
KitMaker: 2,493 posts
Armorama: 2,344 posts
Posted: Thursday, February 25, 2016 - 12:10 AM UTC
Lol, it certainly seems that way.
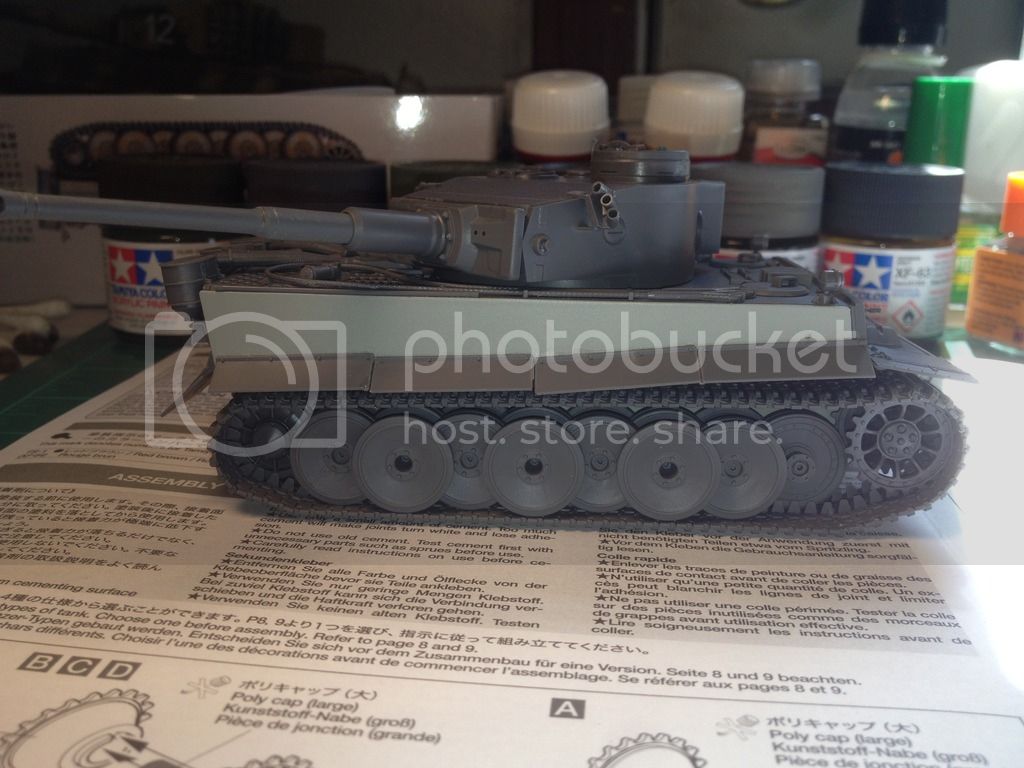
I installed one side of the tracks. It wasn't that bad at all.. But it doesn't depict track sag like I'd like. Oh well, this was just for the fun of a quick build so I could splash some paint.
Cheers,
Dustin
"Only the dead have seen the end of war." - Plato
Wisconsin, United States
Joined: July 30, 2013
KitMaker: 584 posts
Armorama: 525 posts
Posted: Thursday, February 25, 2016 - 04:30 AM UTC
some great work so far, and great builds!
I'll have to get busy on my build!
Bayern, Germany
Joined: January 17, 2006
KitMaker: 673 posts
Armorama: 116 posts
Posted: Thursday, February 25, 2016 - 02:04 PM UTC
Decaling is complete. The Hinomarus were a real bear to get to lay down properly, I used several applications of MicroSol and the hot compress technique to get them to lay down fairly well. I am also finished touching up a few areas with a bit of post shading. Again, the photos do not show the effects very well, but I am pretty pleased with how it turned out. I'll touch up the underside this evening and than airbrush a matt coat. Next up will be the fading.
Overall shot from above

Post shading touch up complete. The effect is very subtle and hard to make out in the photo. I used AK Interactive's Afrika Korps Wash for the post shading.

Close up of port wing, you can see the pre/post shading.

Oklahoma, United States
Joined: September 30, 2015
KitMaker: 2,493 posts
Armorama: 2,344 posts
Posted: Thursday, February 25, 2016 - 02:31 PM UTC
Looking very nice Ernest.
"Only the dead have seen the end of war." - Plato
Queensland, Australia
Joined: July 10, 2011
KitMaker: 653 posts
Armorama: 273 posts
Posted: Thursday, February 25, 2016 - 04:58 PM UTC
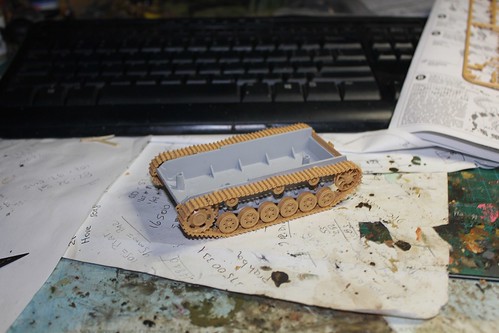
Tonight's work and the lower hull is complete.
A lot is said about Tamiya tracks but I for one enjoy assembling them, if only to marvel at how exquisitely they go together
"Give me the strength to be the man my dogs think I am"
South Carolina, United States
Joined: December 03, 2009
KitMaker: 2,160 posts
Armorama: 1,906 posts
Posted: Friday, February 26, 2016 - 11:33 AM UTC
A little late of a start. We had a death in the family. At this point I really need a quick and easy build. I'll be doing the Tamiya M41 Walker Bulldog. I'm unsure what scheme I'll be going with. I'd kind of like to do it in Jordanian markings. I have Tamiya's Modern AFV Decal sheet so I may do something from it.
I'm getting very annoyed with Photobucket of late. I might streamline the progress pictures a bit on this one.

Napier, New Zealand
Joined: August 01, 2005
KitMaker: 1,049 posts
Armorama: 841 posts
Posted: Friday, February 26, 2016 - 12:31 PM UTC
Nice progress gents!
The post shading looks great Ernest. Q - is it just a problem with this kits decal or are all big scale Tamiyas known for thick/tough decals?
Scot, I agree with the Stug being a nice build, I think I've made about 6 of them!
And Alex, sorry to hear of your families loss. Looking fwd to seeing the Bulldog progress though .....
And made some progress on the Super Pershing. Added some Blackdog stowage nestled down onto the hull using a Dremel and a greenstuff base layer. Shot it with Tamiya rattlecan OD as a primer although it'll be all acrylics and brushes from here on in ....
cheers
Brent


Available for commissions,visit my Flickr Albums and modelling/painting blog to discuss .......
http://houseofqueeg.wordpress.com/
https://www.flickr.com/photos/134514258@N04/albums
Bayern, Germany
Joined: January 17, 2006
KitMaker: 673 posts
Armorama: 116 posts
Posted: Friday, February 26, 2016 - 02:37 PM UTC
Some excellent armor models getting built in this campaign guys. I am normally a plane guy, but do build the odd armor kit from time to time, After looking at some of the fine work here I think I'll have to dig out one of my armor kits for my next build!
I finished the fading effects yesterday. It took around 2.5 hours to complete the job. I used my H&S Infinity setup exactly as I do when spraying Luftwaffe camo i.e. 5-10 psi and very light on the trigger; this is the only time I use the trigger travel limiter built into the handle, to ghost on the product. It is an acrylic glaze made by True Earth and once you get the hang of spraying, or brushing it works pretty well. I sprayed mostly in the center of panels and other areas varying the coverage to simulate uneven fading by the sun. I also "feathered" the effect on the fuselage, reducing coverage to zero as I worked my way towards the bottom. Other than the cowling, which I think I faded a but too much, I am satisfied with how it turned out. I took the photos while the plane was in my airbrush cabin, which has great lighting for airbrushing, but not so much for taking pictures, being a bit to direct and bright. Some of the subtleness is lost in the photos as a result.
Upper surfaces finished

Close up of the port wing.

The cowling

Starboard fuselage.

Port Hinomaru.


