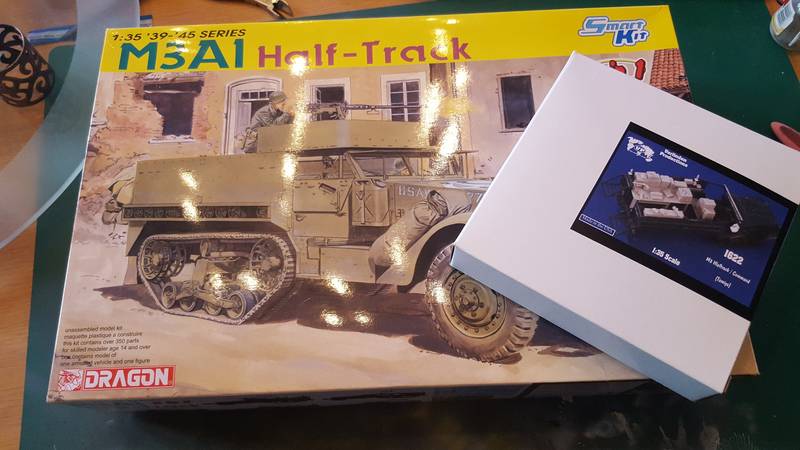
Evening everyone. Well after a two day rearrange of the spare bedroom and my man cave room I managed to get a full afternoon of modelling the half track done today. And apart from a couple of tiny little parts to add the chassis is now built with just a tiny bit of weathering to do to it.
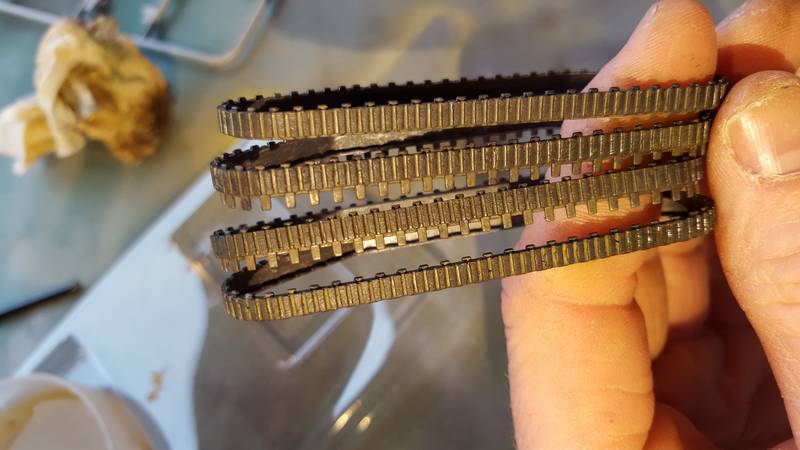
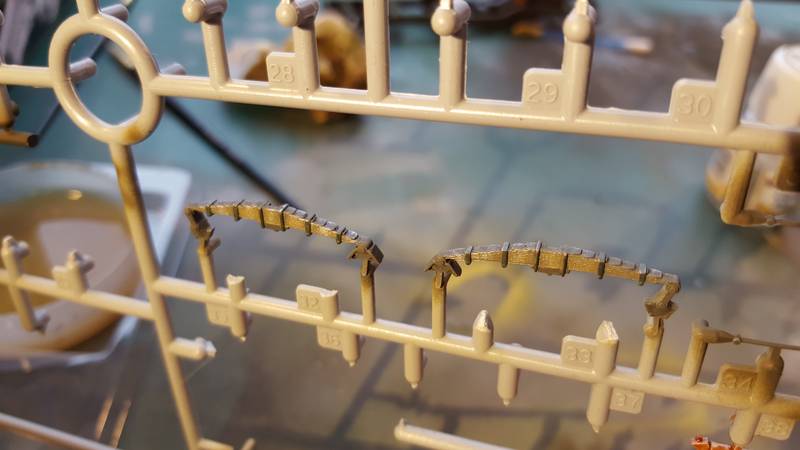
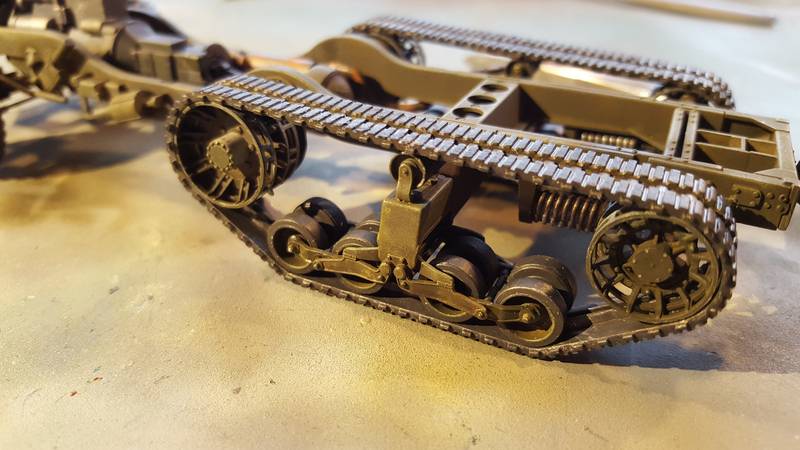
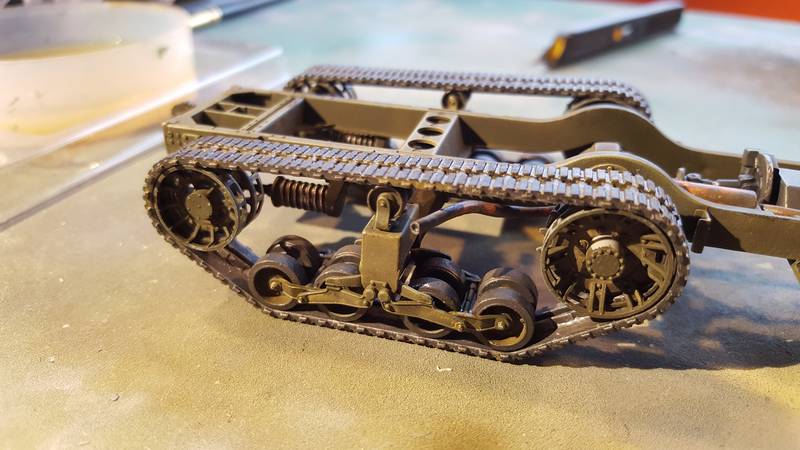
So firstly after going off Davids insight into the tracks I gave them the grey/black colouring with a silver dry brush on the inside running area. From there I used the Humbrol weathering powders to give them a slightly dirty look.
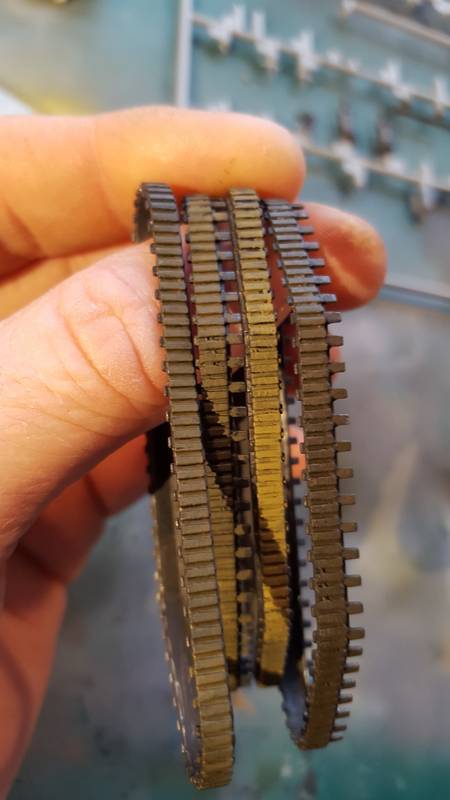
Using a damp cotton bud I wiped the access from the raised parts of the track. Picture doesn't do it justice but it does look subtly dirty now.
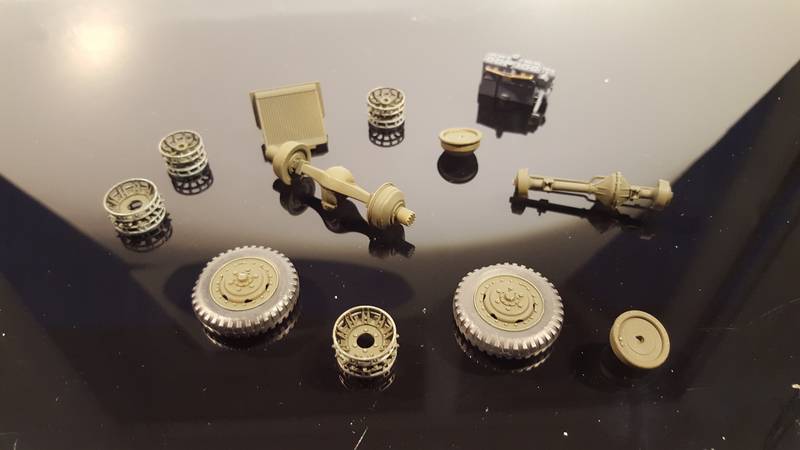
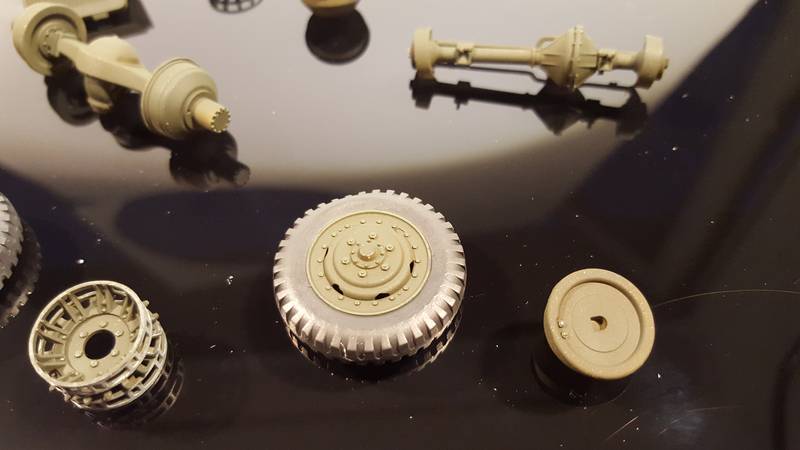
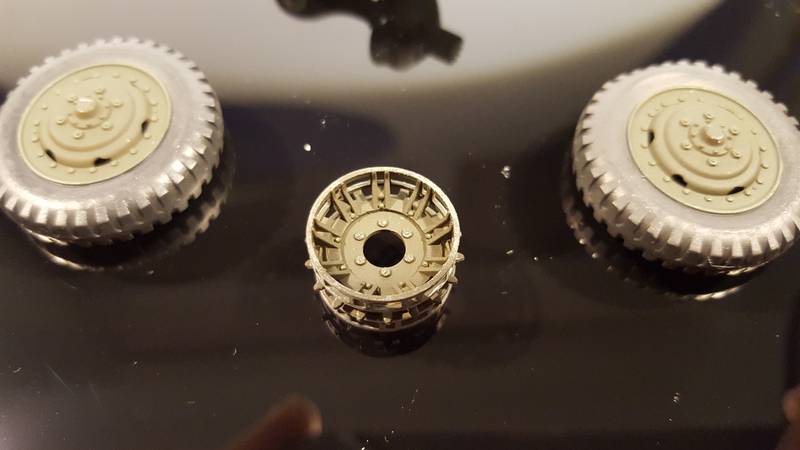
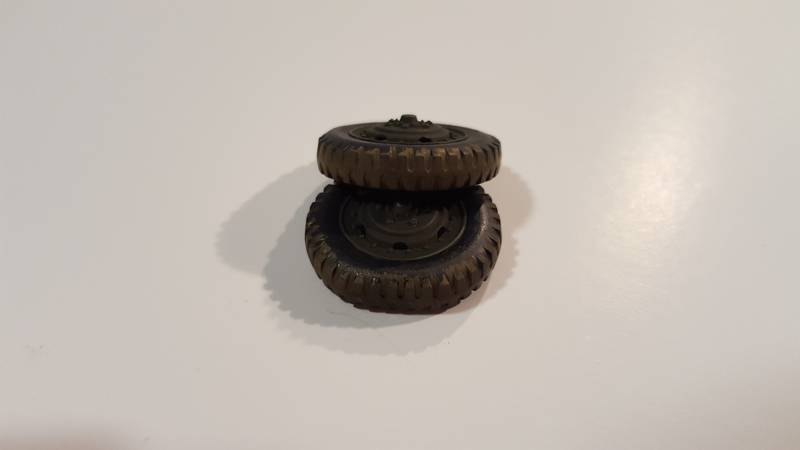
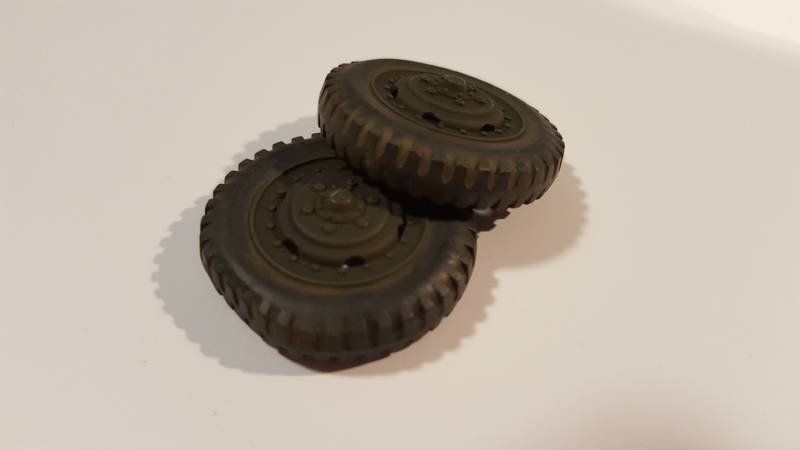
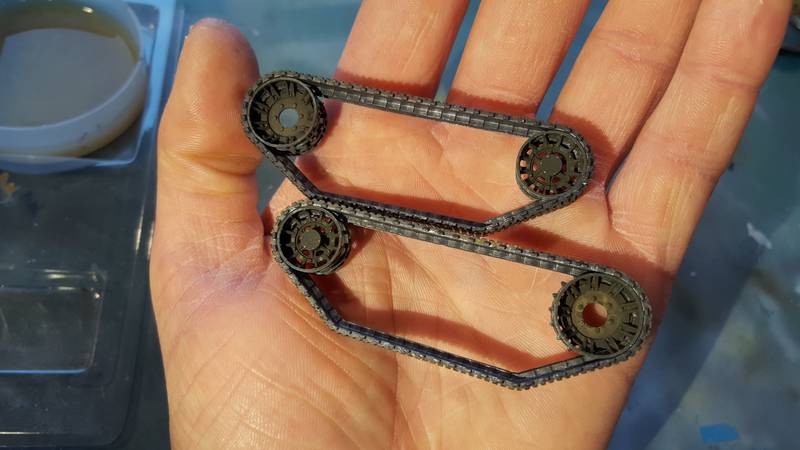
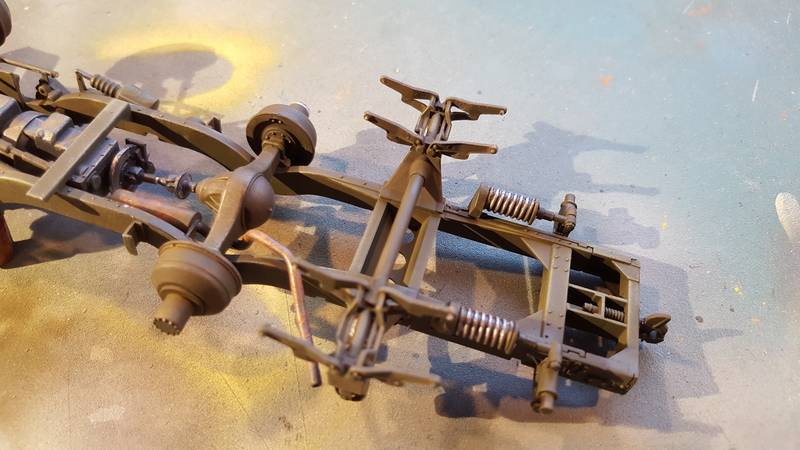
After that all dried I fitted the Bogi wheels in it.
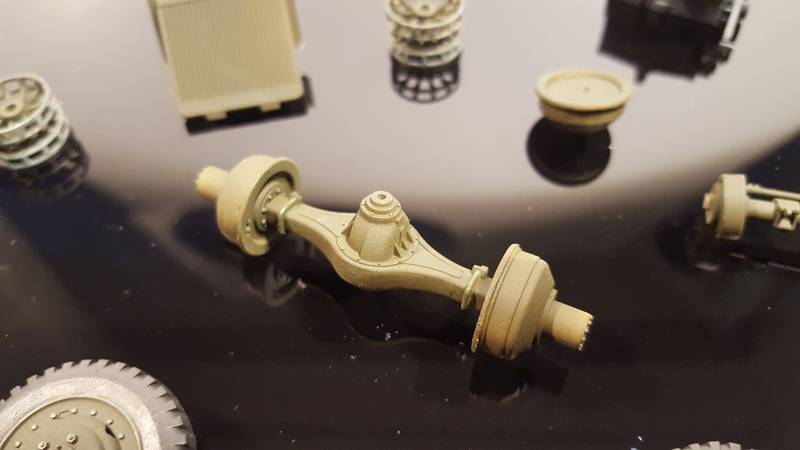
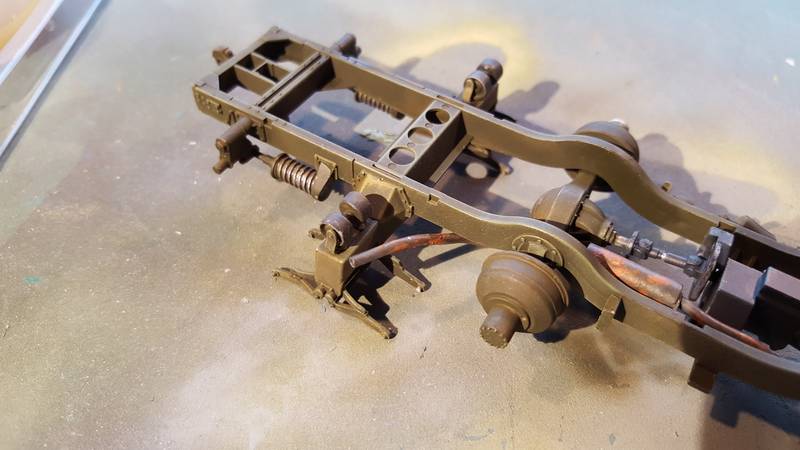
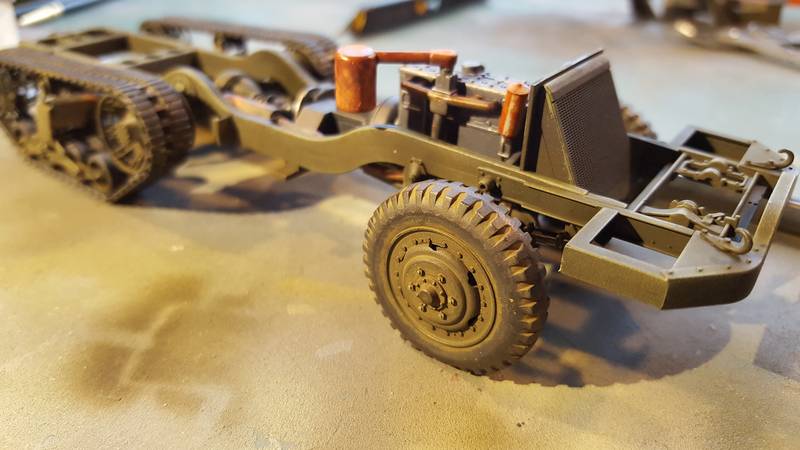
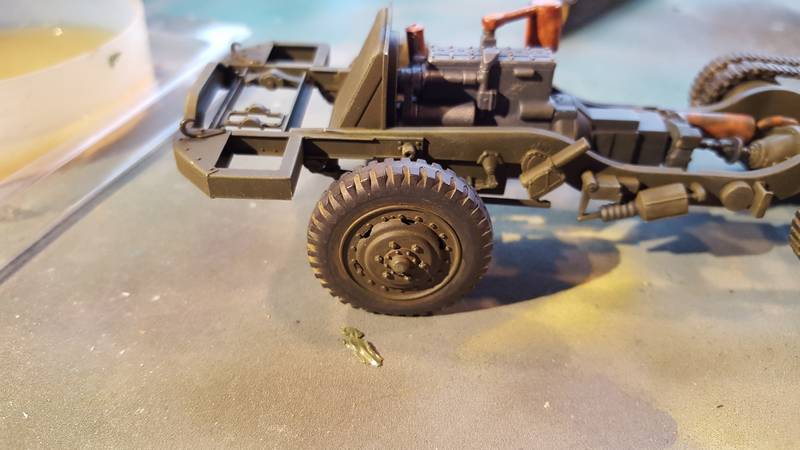
Next was the front suspension. Simple Olive Drab paint scheme followed by some highlight, weathering powder and dry brushing and thats them all done.
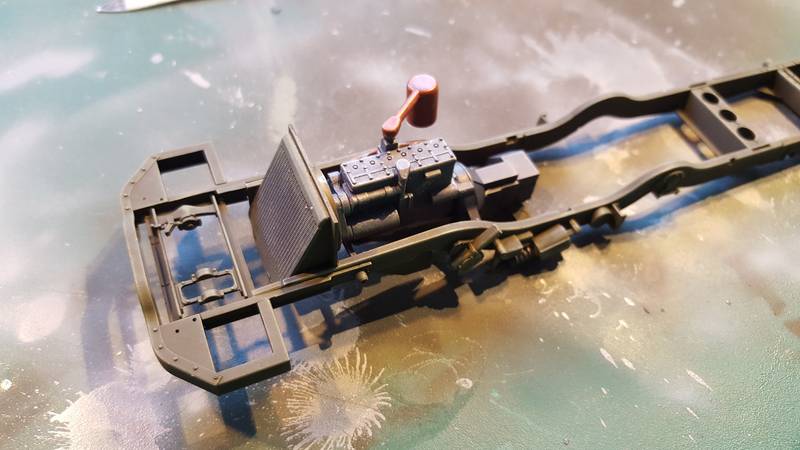
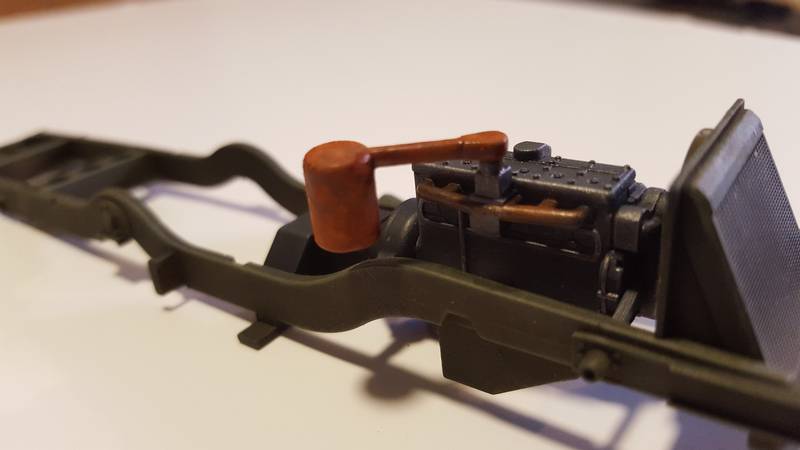
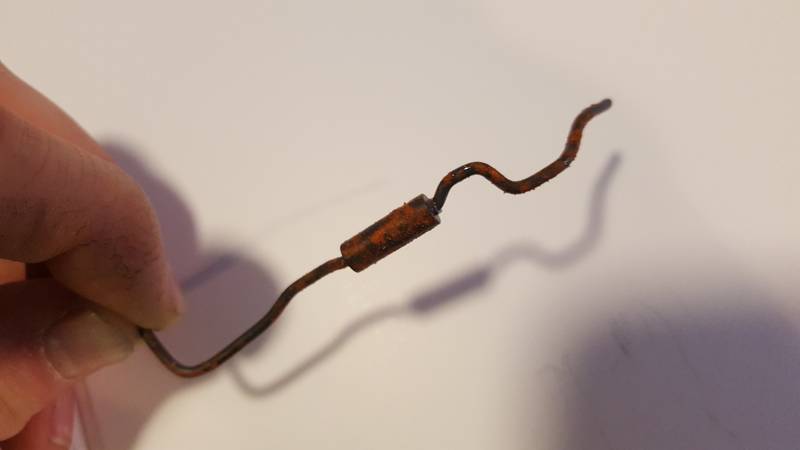
Little bits and bobs added to the front of the chassis.
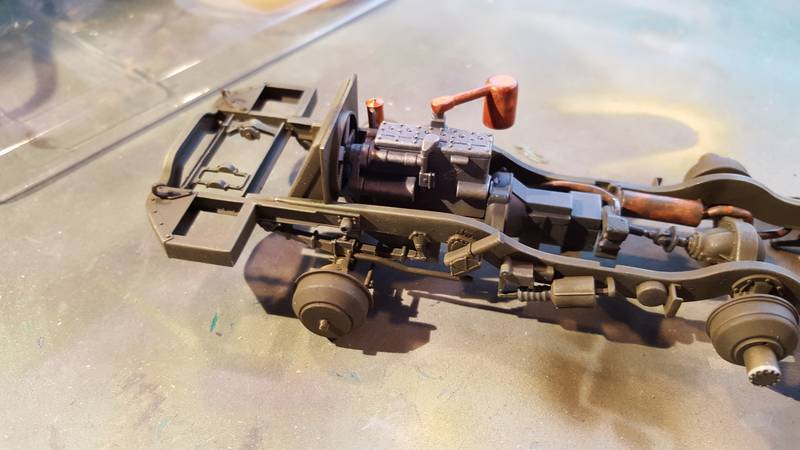

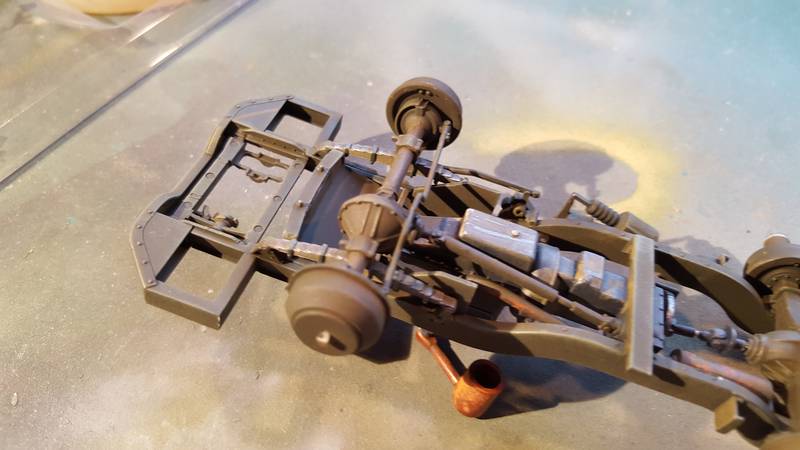
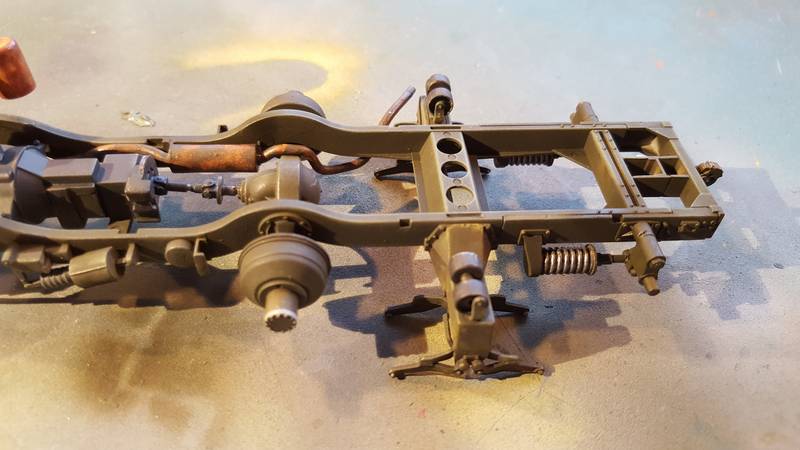
Moving down the chassis I then went on to add the rear wheel assembly.
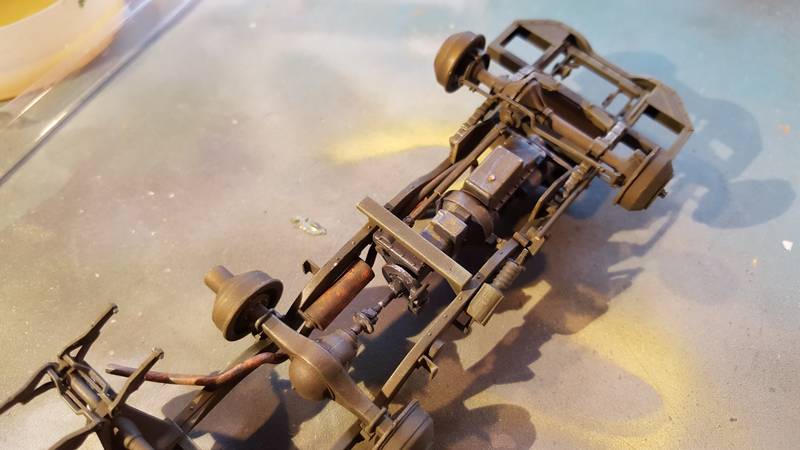
Once that had all dried and the glue marks had been touched up the track was added.
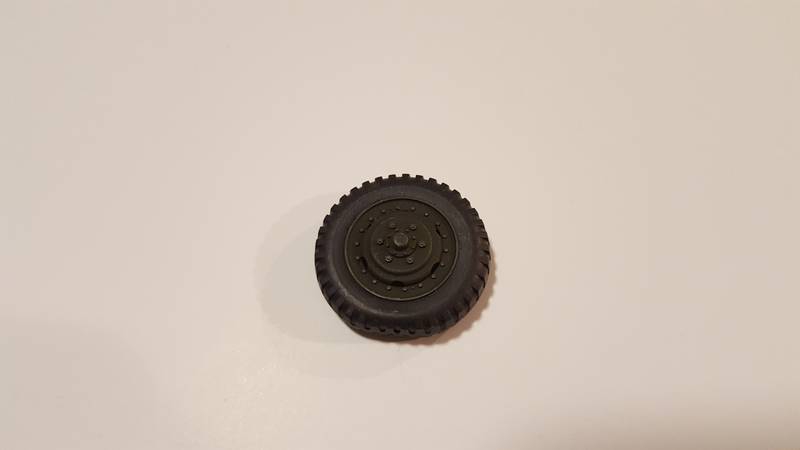
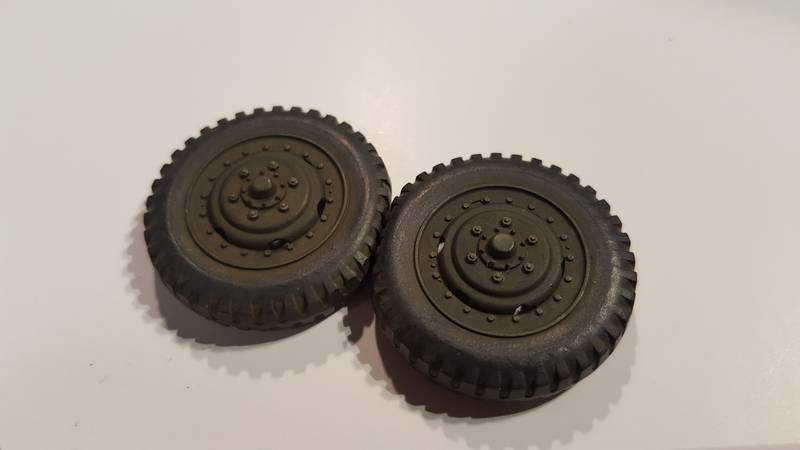
Front wheels blue tacked on.
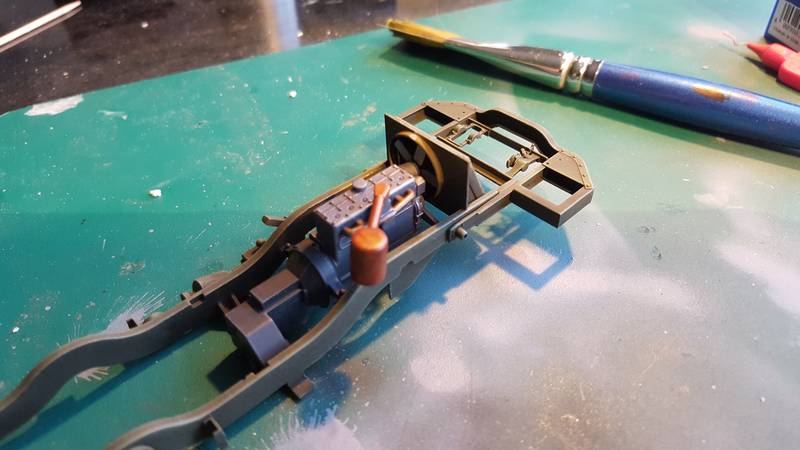
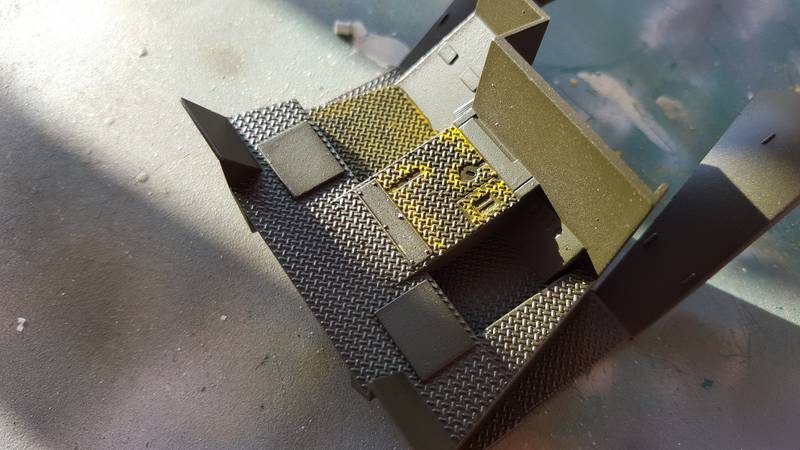
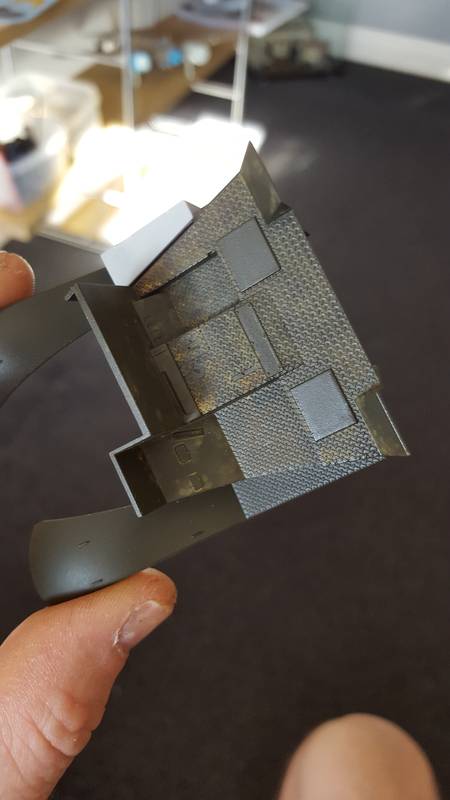
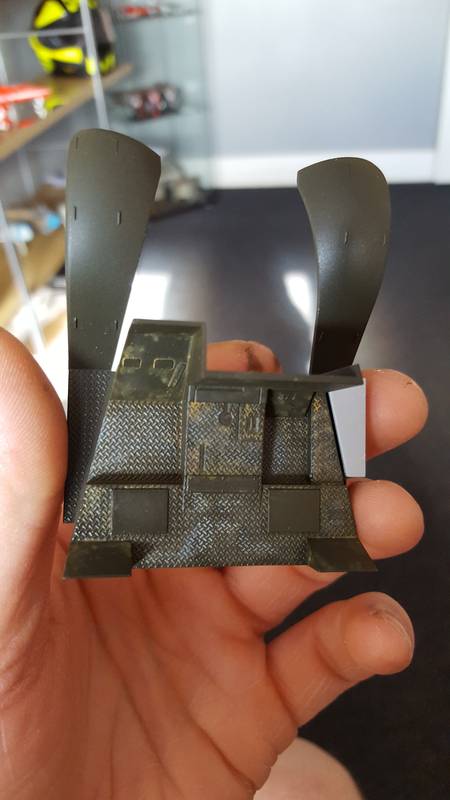
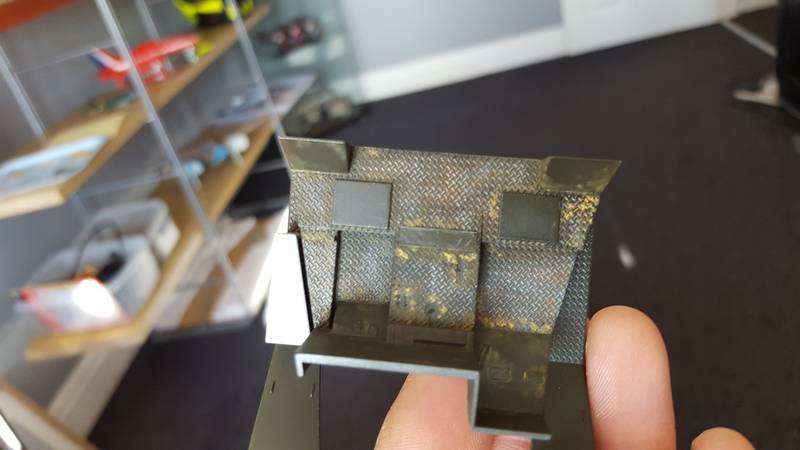
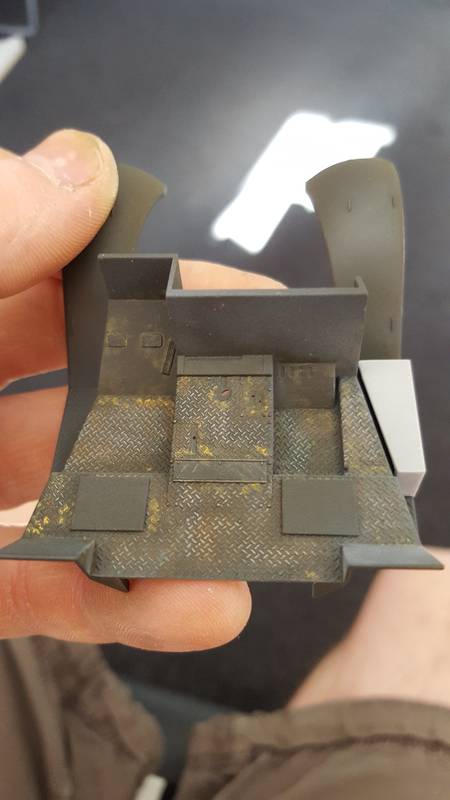
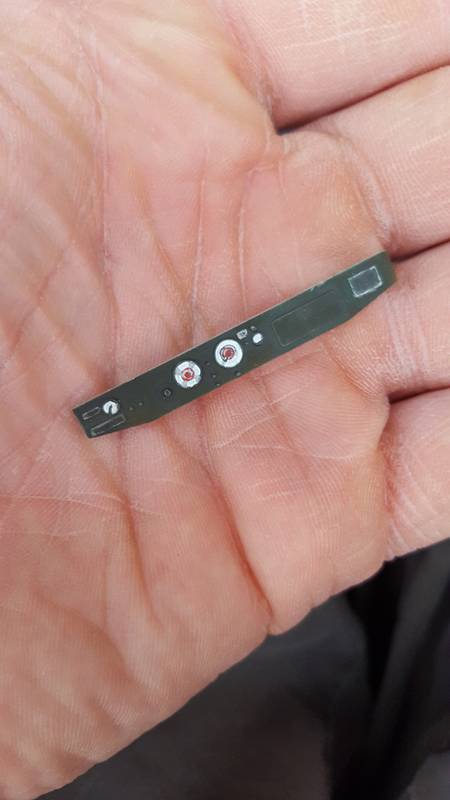
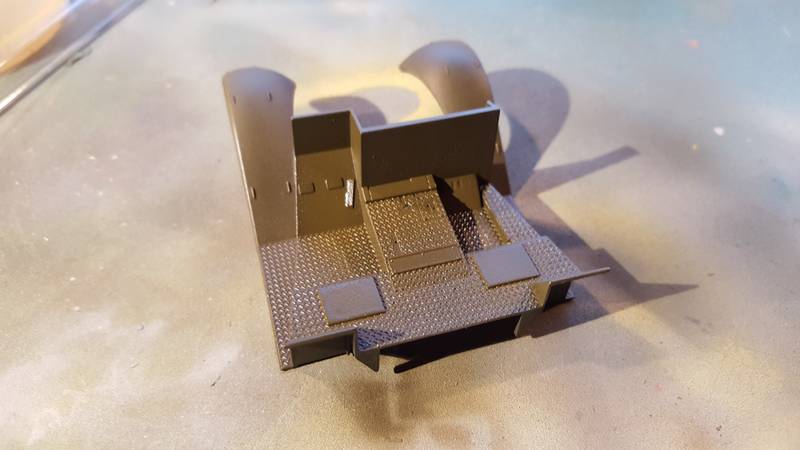
Whilst that was all drying I moved to the drivers cab. The underneath got a coat of dark green and the interior got the good old olive drab followed by a gloss coat ready for weathering tomorrow.
Thats all for today's instalment, hope everyone's enjoying the build.
And if anyone knows a good feed that shows how to heavy weather an interior can they point me in the right direction please
Cheers