During Easter I had some time to work.
The gun is an intricate assembly; the only issue was the attachment of the gunner's sight to the gun assembly. The pin is tiny, and it's not very strong. Some blue tac held it in place until the glue dried, but it still will need to be handled with care, not to detach it with a careless move.


Painting the gun assembly


Inside of the hull is primed with white, and ready to be painted.

The bottom hull is painted in a greyish-bluish color. According to the assembly guide the whole thing is painted this color. On a youtube video of the tank I've seen only the bottom and a strip of the sides painted, the rest was left white. I have decided to follow the references, not the instructions.

I've only did some subtle weathering; the tank would probably not be heavily worn.

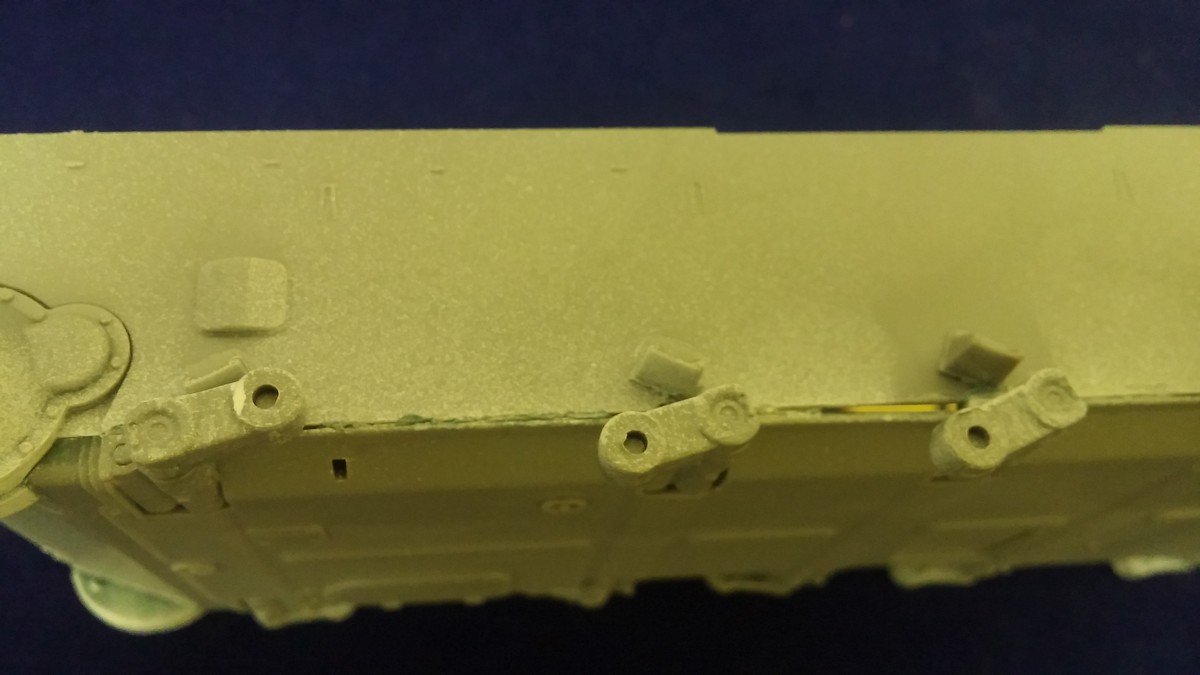
Sides of the hull are being finished and fitted.

Firewall between the crew compartment and the engine compartment

The dry fitting of the hull was not very promising; there are some gaps between the bottom of the hull and the sides.
The hatch for the driver -moveable if you can manage not to glue it shut.


The turret is also made out of several parts -bottom, top, two sides.

Ammo rack at the back of the turret

Assembly proceeding -fitting small parts before gluing the turret together.


The top of the turret -workable hatches if you don't glue the tiny parts shut.

Engine

Well, that's it for now. I'm going to assemble the hull, and see how big of a problem the fit is. (Or isn't. We'll see.)