Dragon 35th scale Jagdtiger
England - North West, United Kingdom
Joined: March 27, 2007
KitMaker: 803 posts
Armorama: 793 posts
Posted: Saturday, June 25, 2016 - 06:29 PM UTC
Hi All,
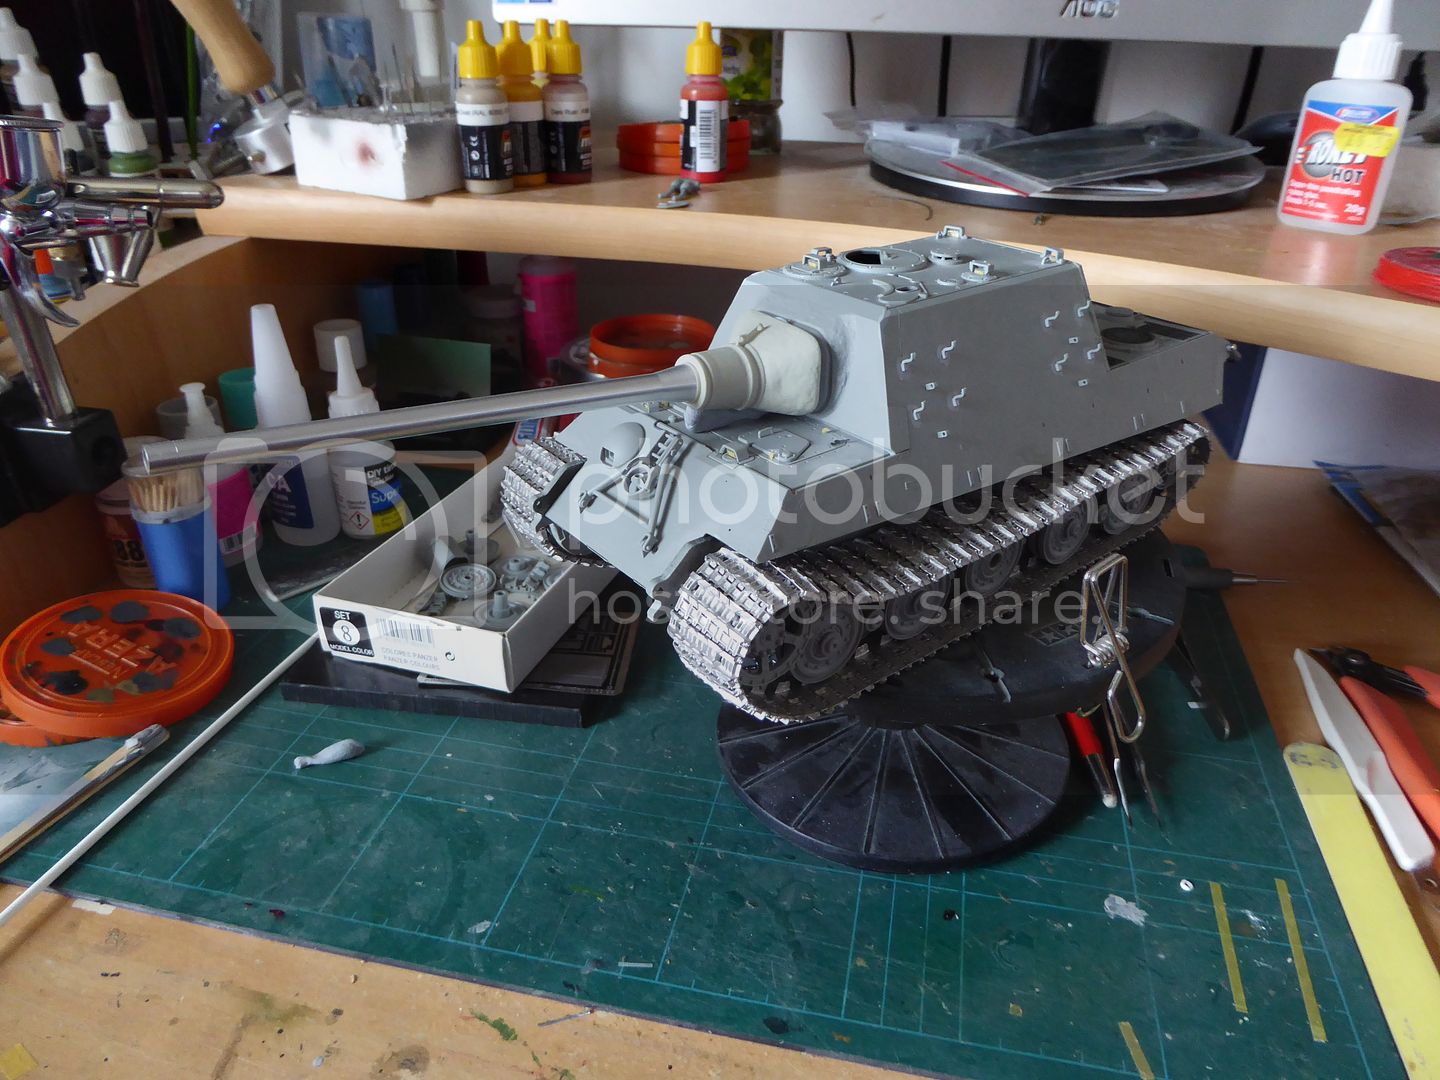
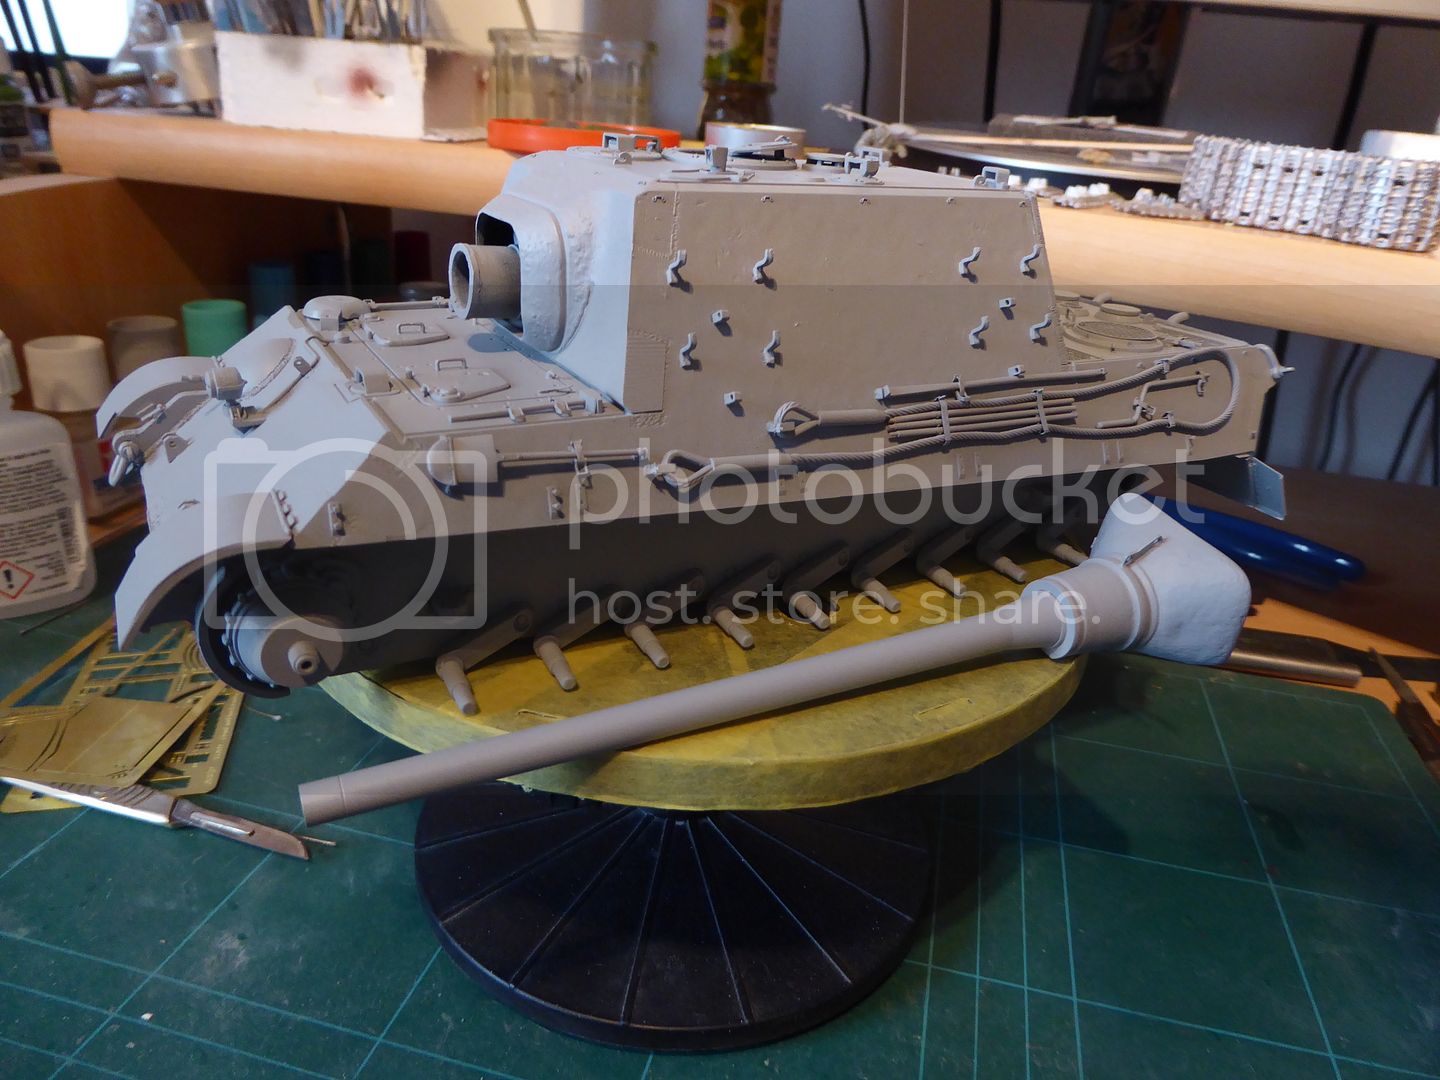
Started this build about 10 years ago and have decided to get it off the bench.
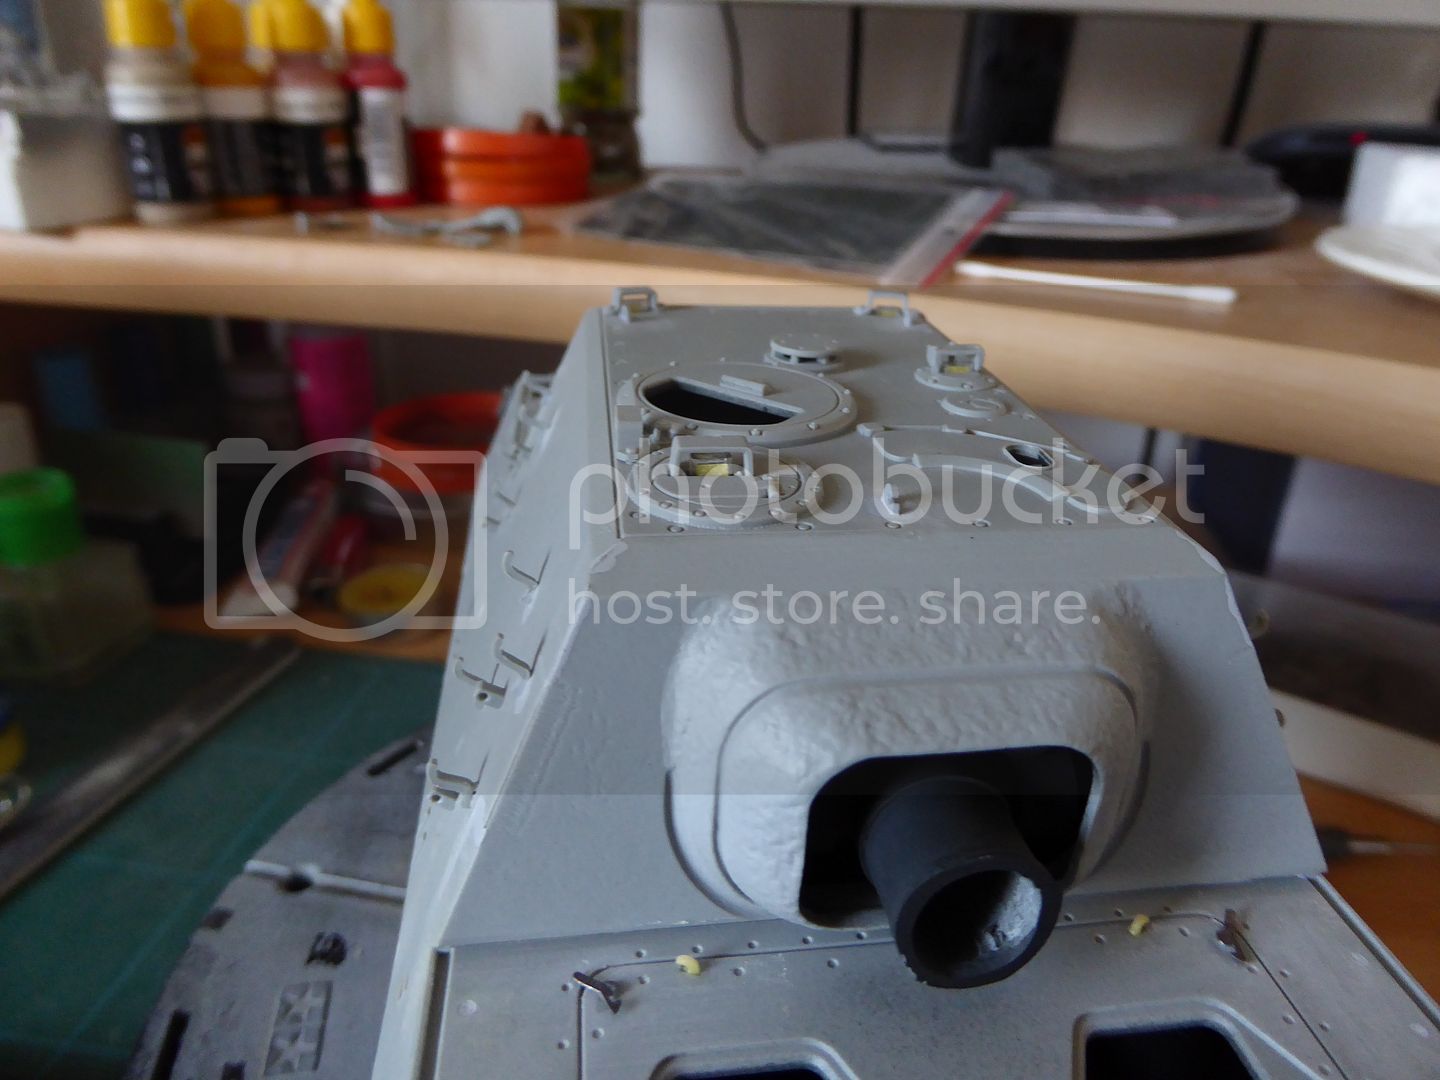
So I have made some real progress in getting this one finished, I basically left it 10 years ago with the hull partially complete.
This is how it looked.

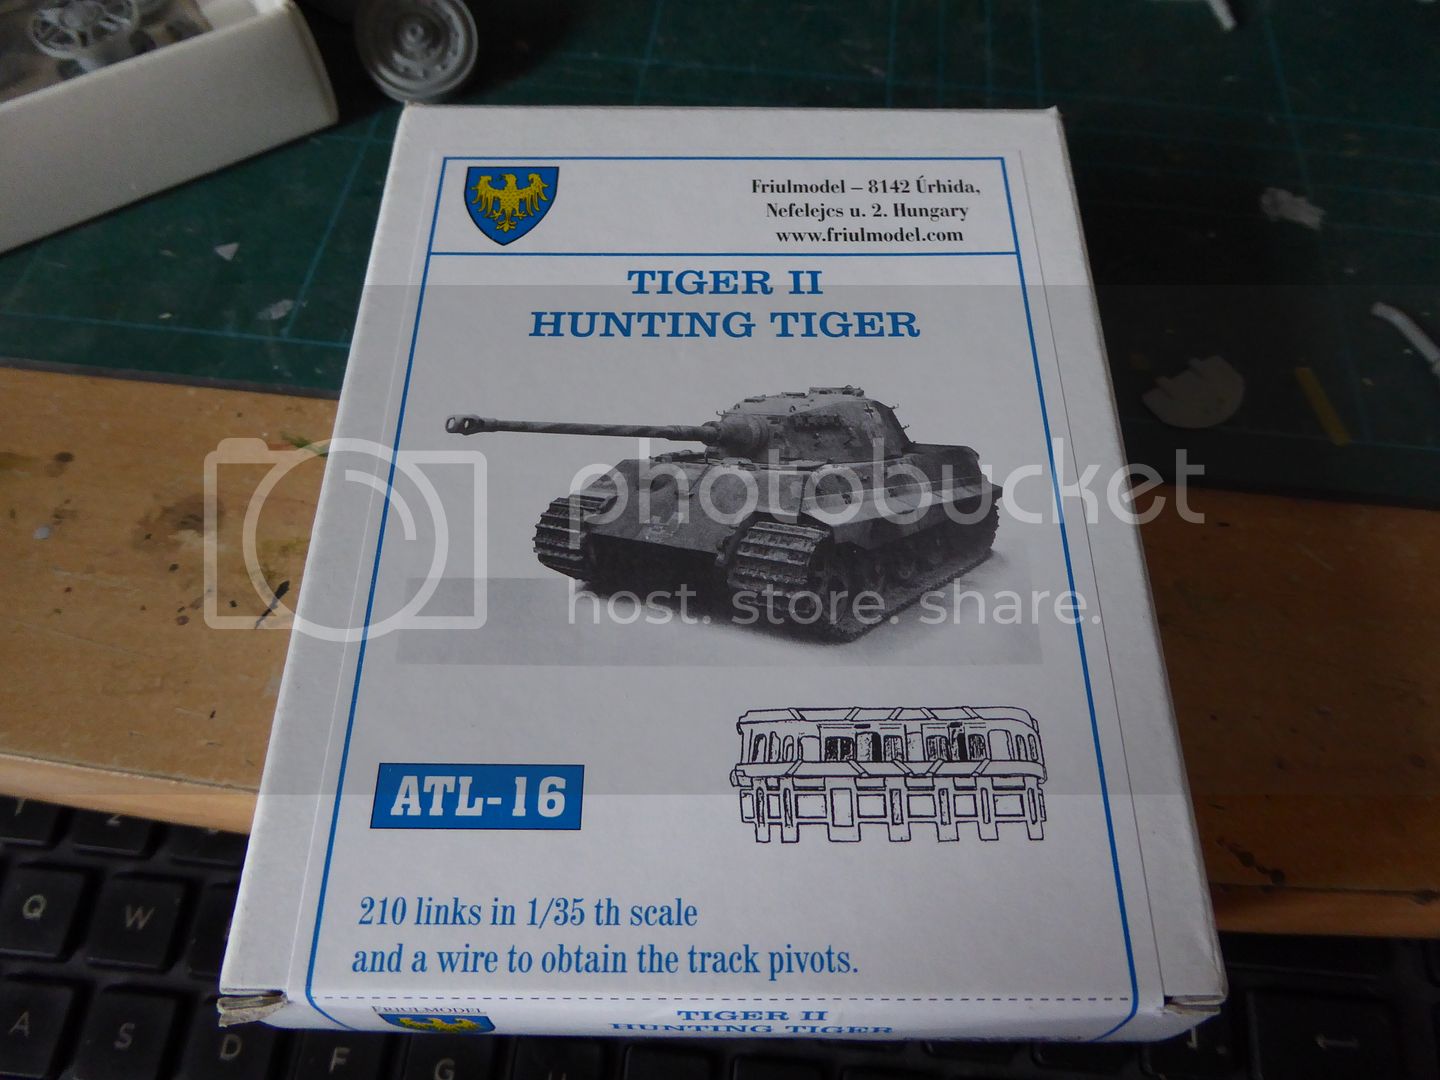
Fruil tracks and a corrected Armourscale barrel along with Eduard and Aber.
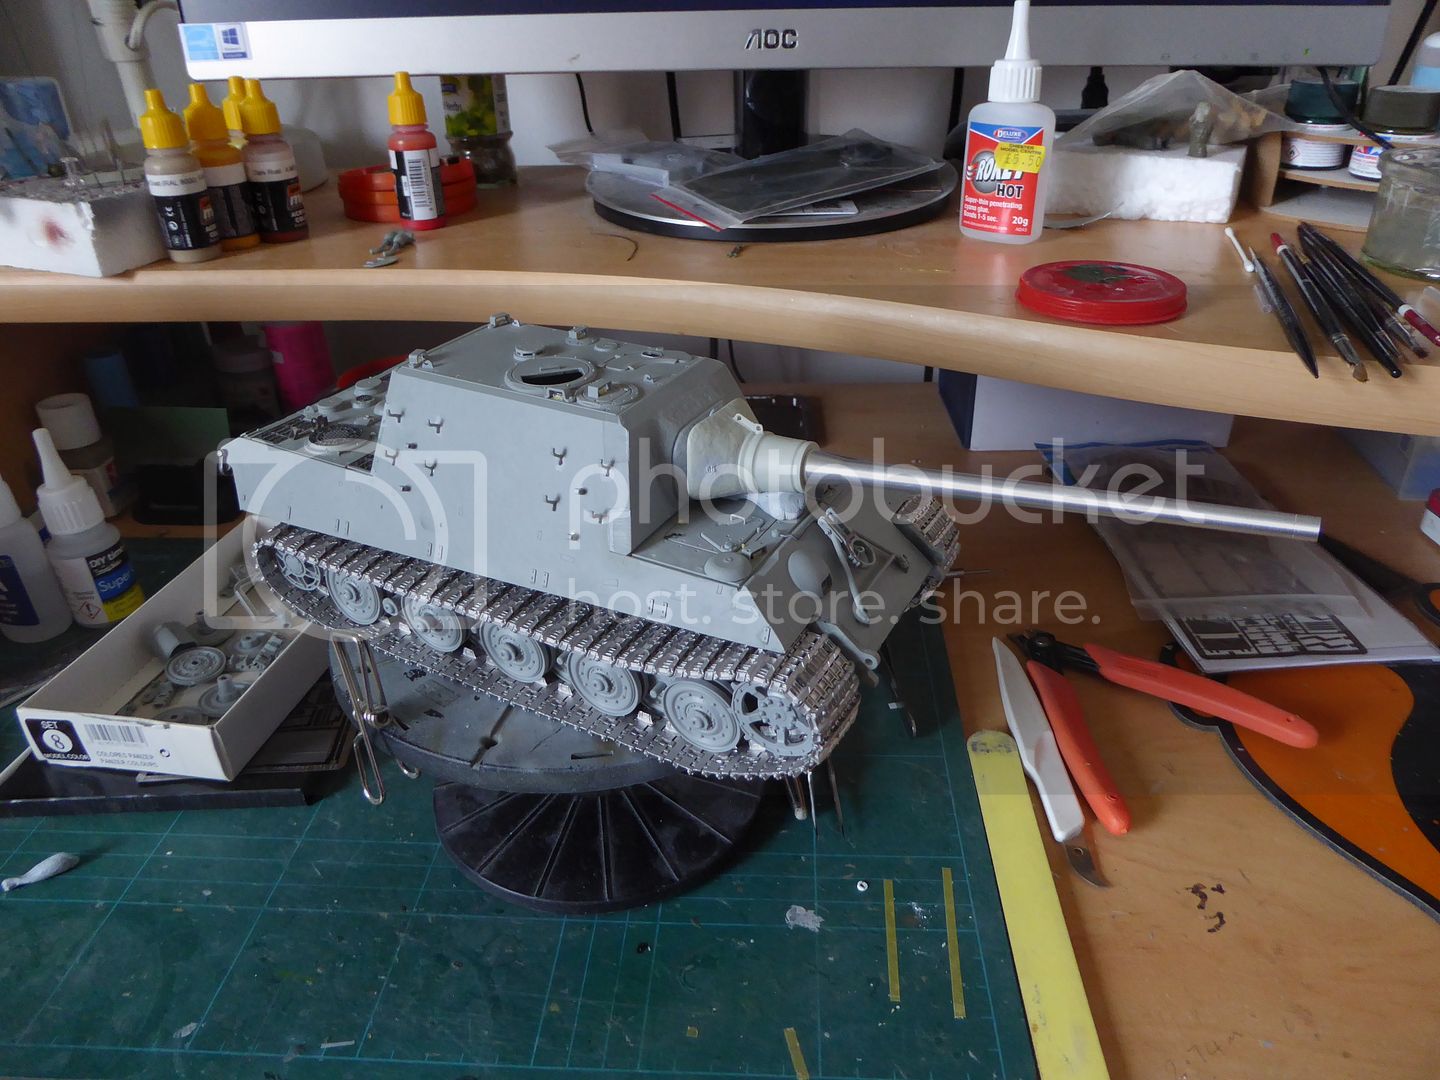
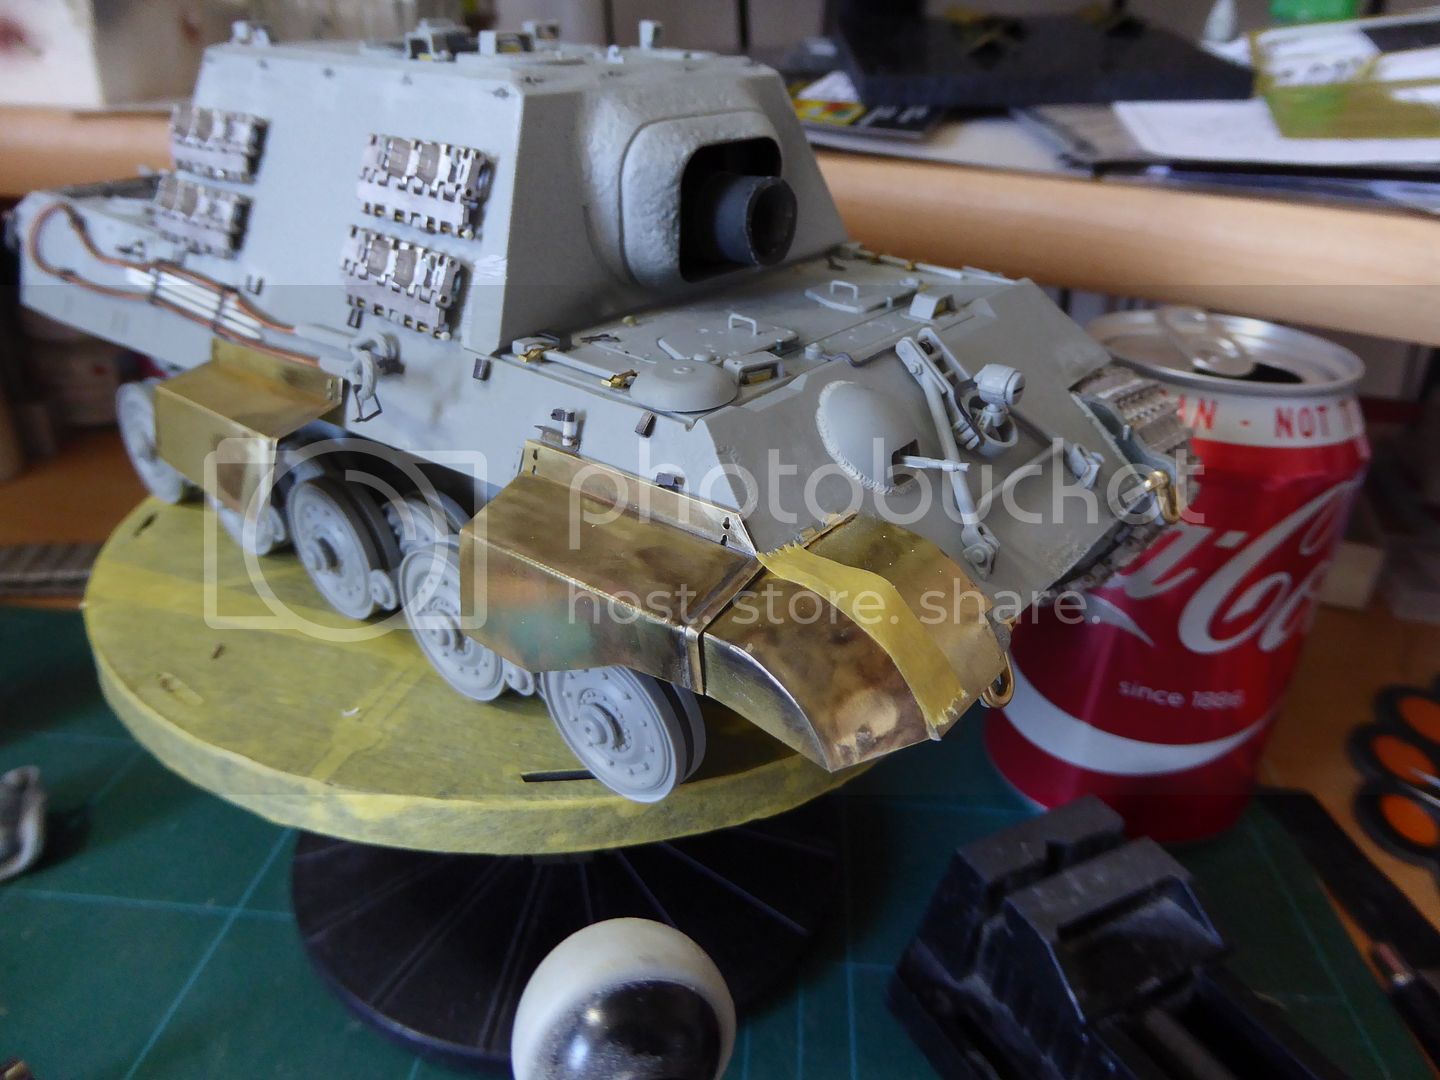
So now on her tracks
More to follow folks
Dan
England - North West, United Kingdom
Joined: March 27, 2007
KitMaker: 803 posts
Armorama: 793 posts
Posted: Saturday, June 25, 2016 - 06:36 PM UTC
England - North West, United Kingdom
Joined: March 27, 2007
KitMaker: 803 posts
Armorama: 793 posts
Posted: Saturday, June 25, 2016 - 06:41 PM UTC
Oklahoma, United States
Joined: September 30, 2015
KitMaker: 2,493 posts
Armorama: 2,344 posts
Posted: Saturday, June 25, 2016 - 07:15 PM UTC
"Only the dead have seen the end of war." - Plato
England - North West, United Kingdom
Joined: March 27, 2007
KitMaker: 803 posts
Armorama: 793 posts
Posted: Saturday, June 25, 2016 - 07:18 PM UTC
Thanks buddy
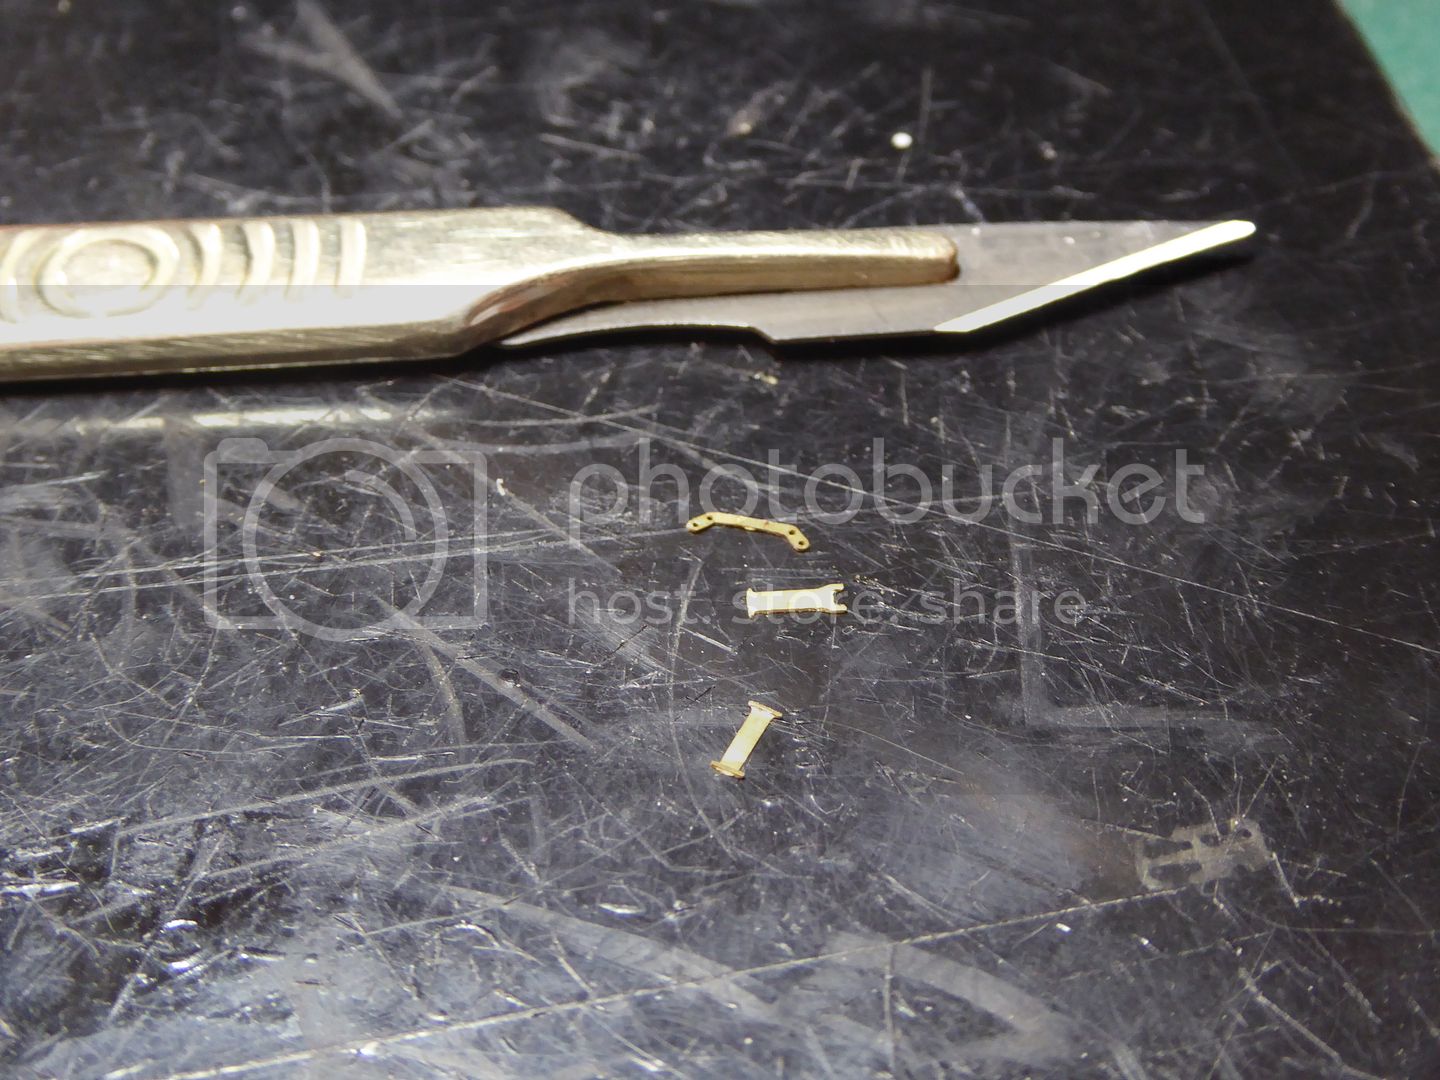
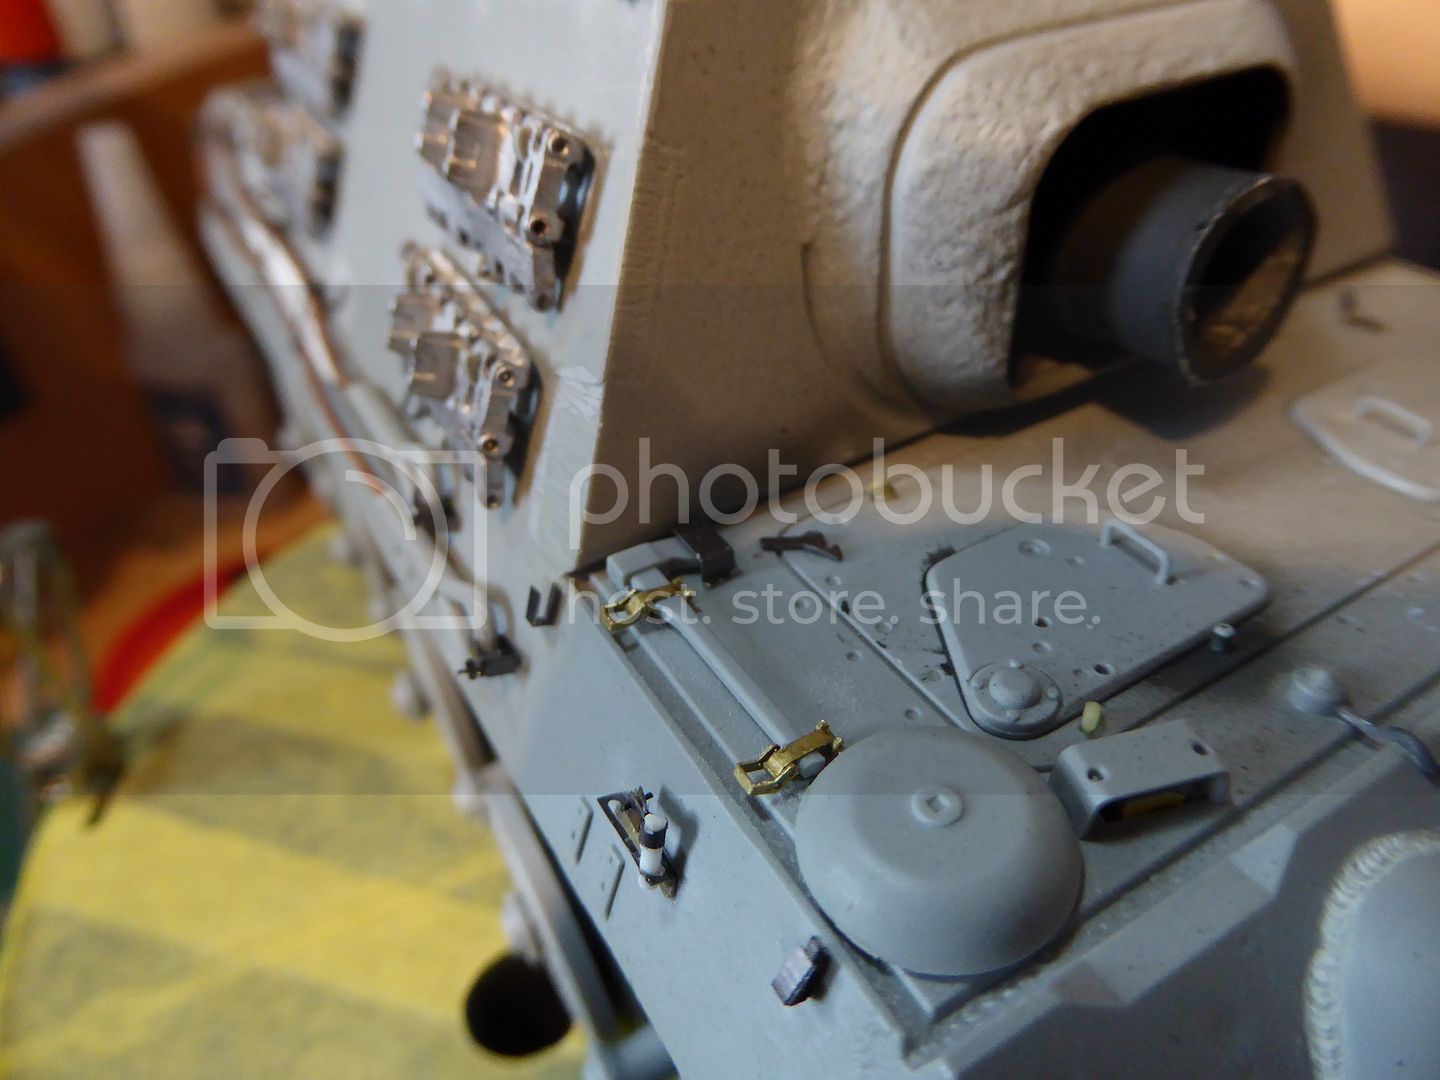
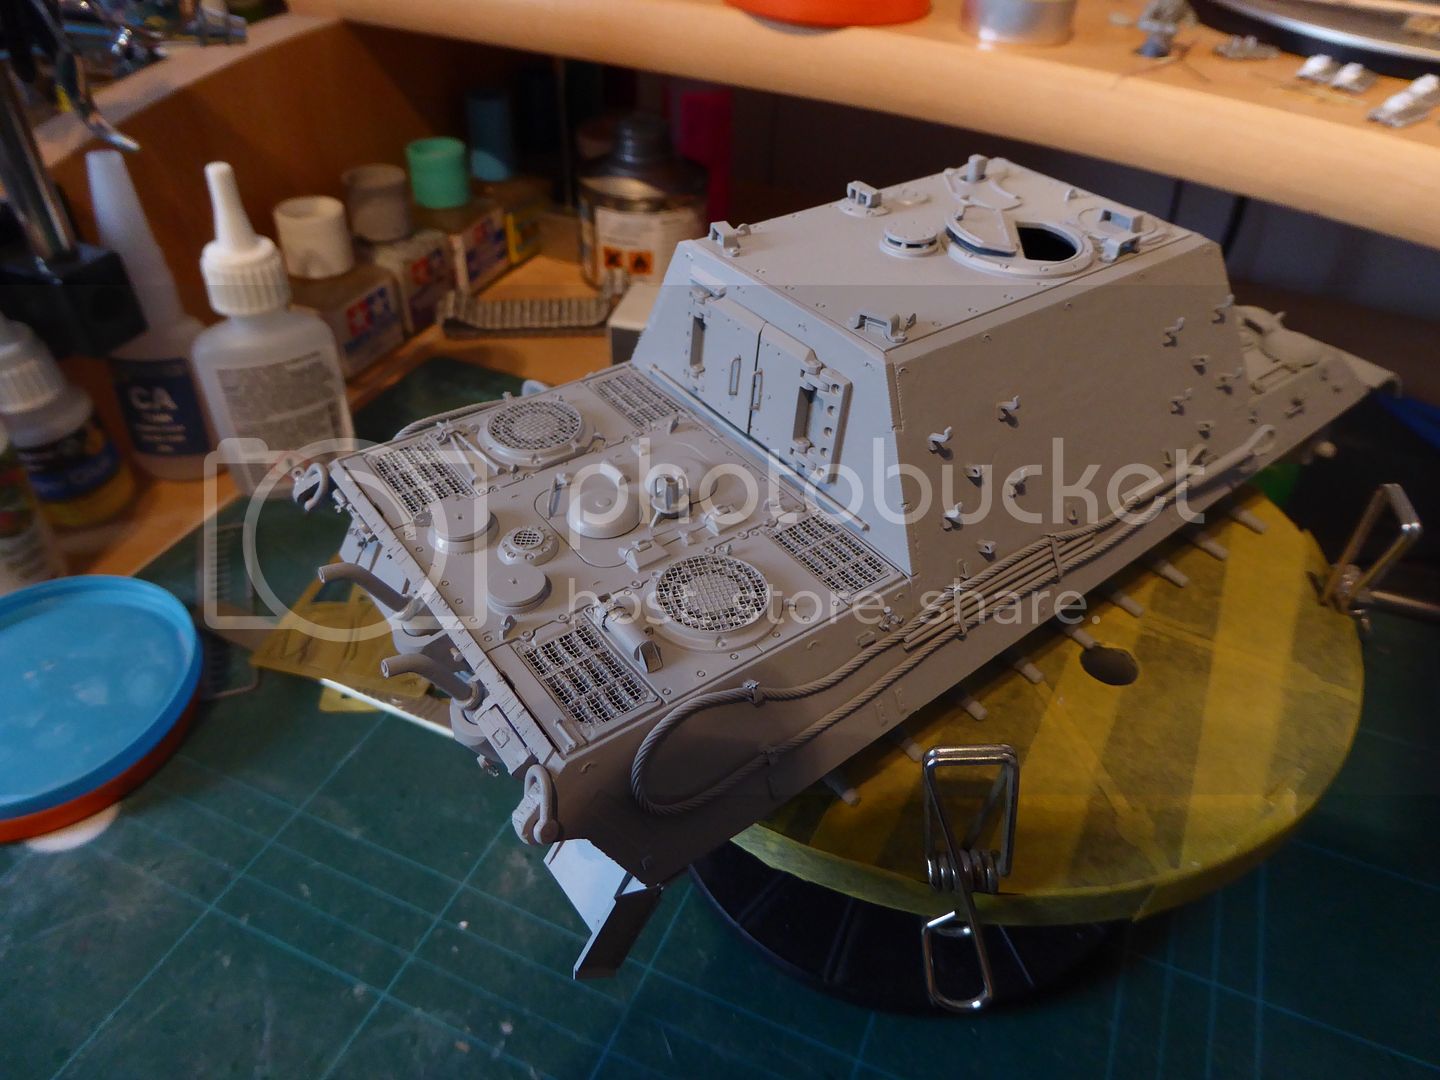
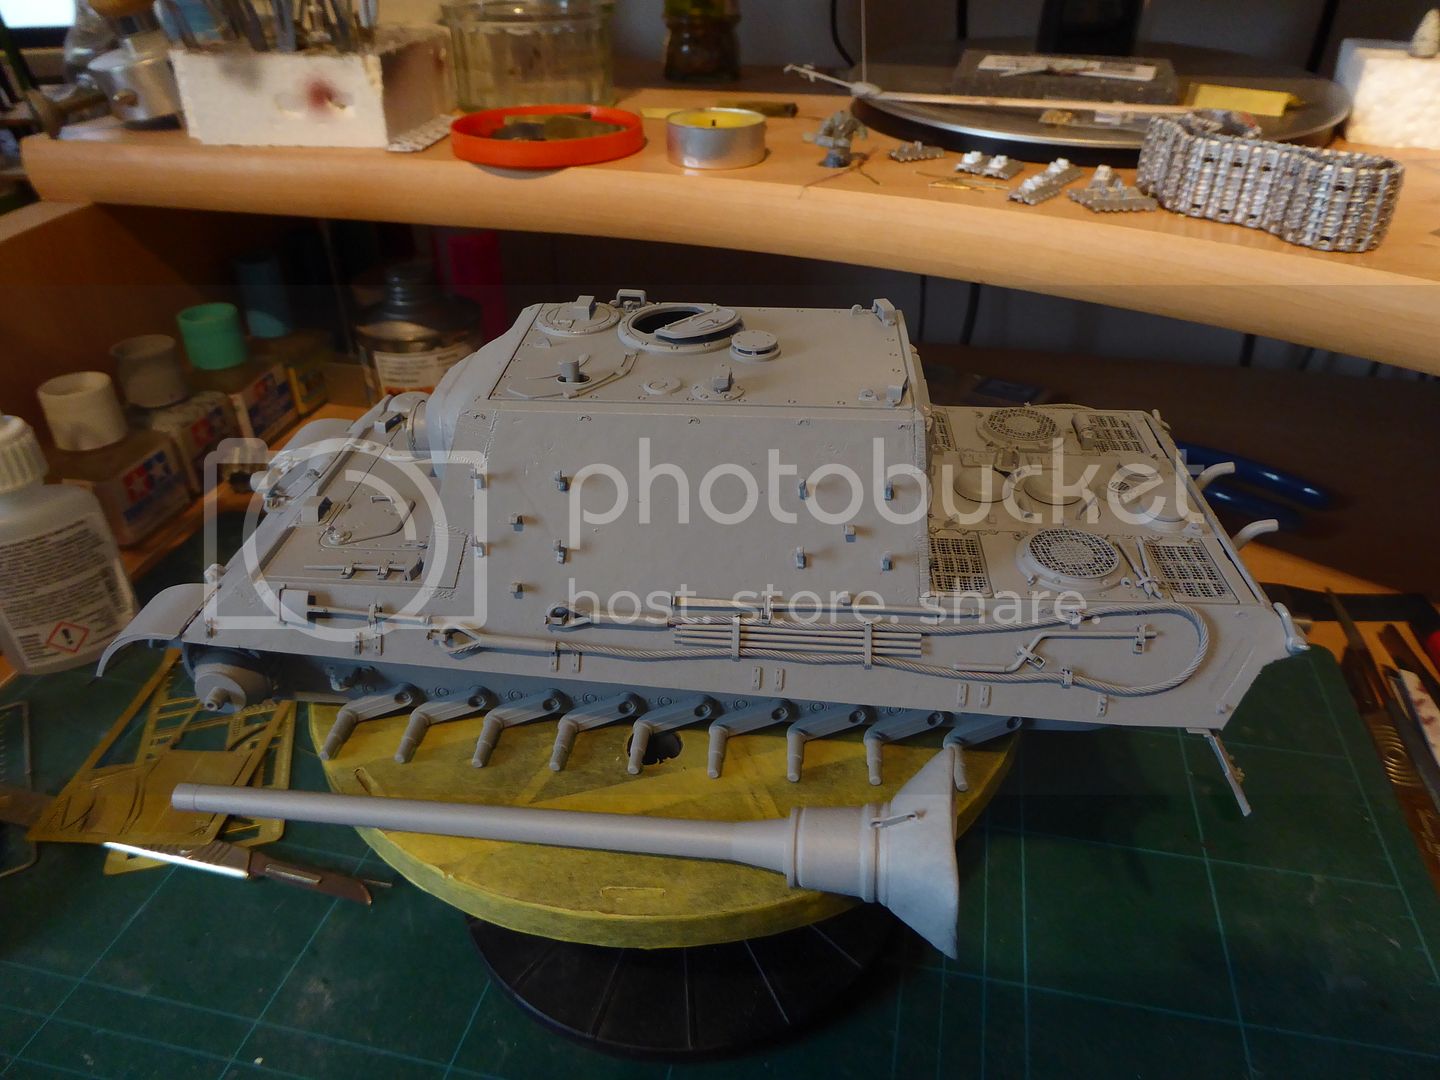
Added the rest of the tool clamps, these were from Aber.
They took around 45 mins per clamp to make, I did get quicker as I made them.
Cheer
Dan
England - North West, United Kingdom
Joined: March 27, 2007
KitMaker: 803 posts
Armorama: 793 posts
Posted: Saturday, June 25, 2016 - 08:10 PM UTC
England - North West, United Kingdom
Joined: March 27, 2007
KitMaker: 803 posts
Armorama: 793 posts
Posted: Saturday, June 25, 2016 - 10:30 PM UTC
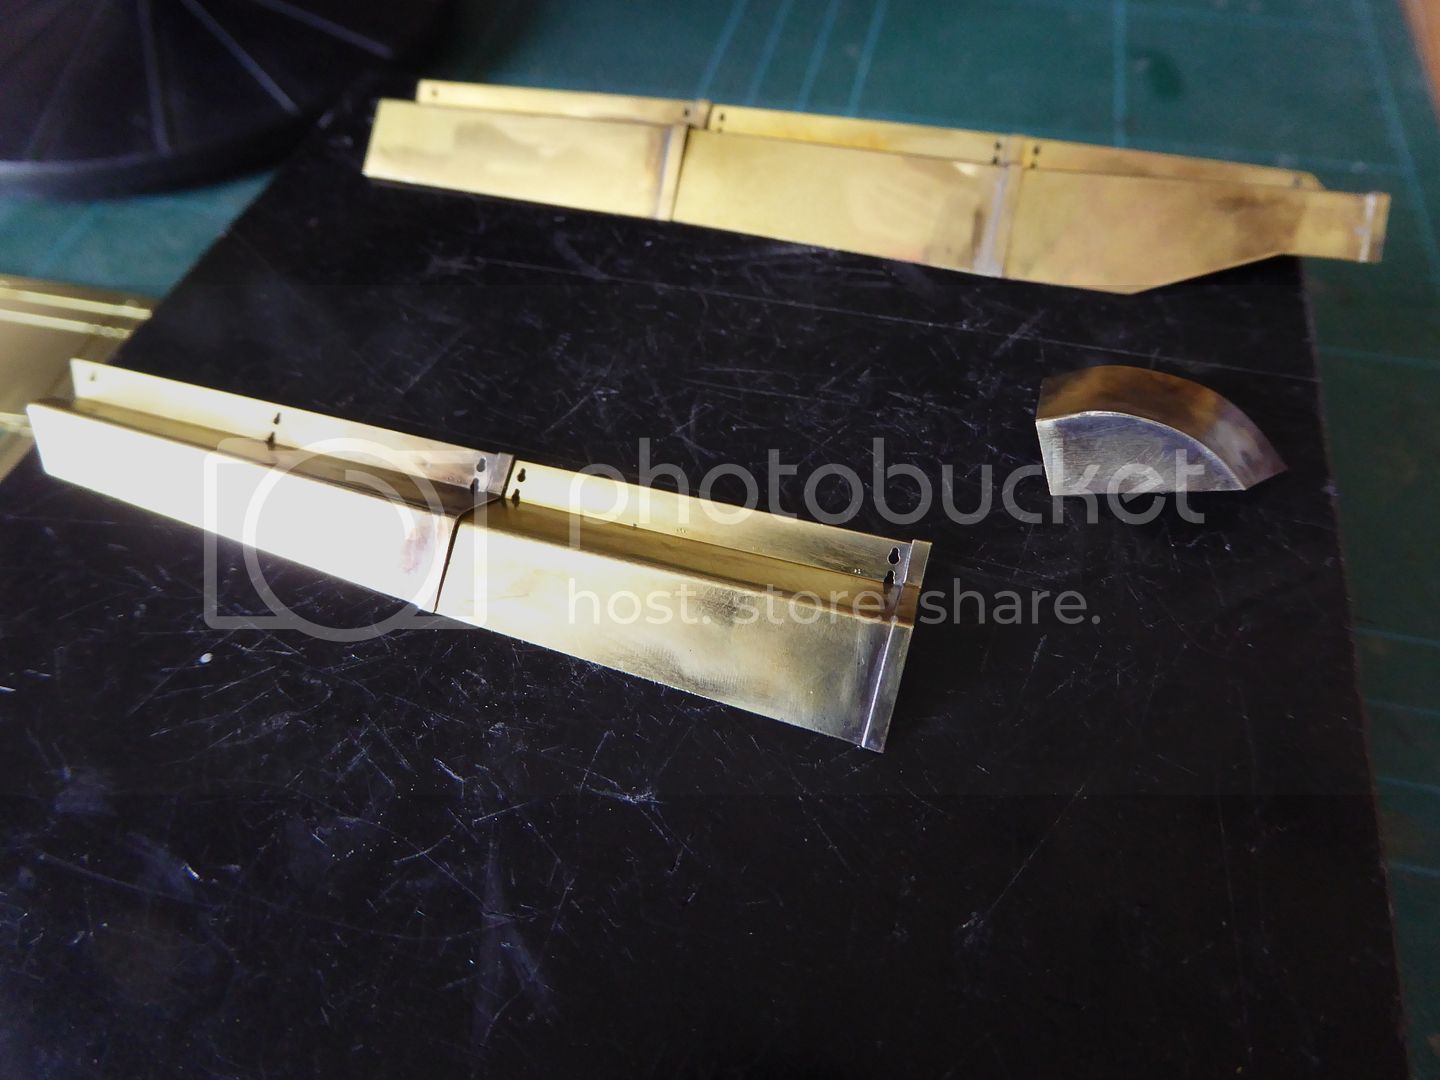
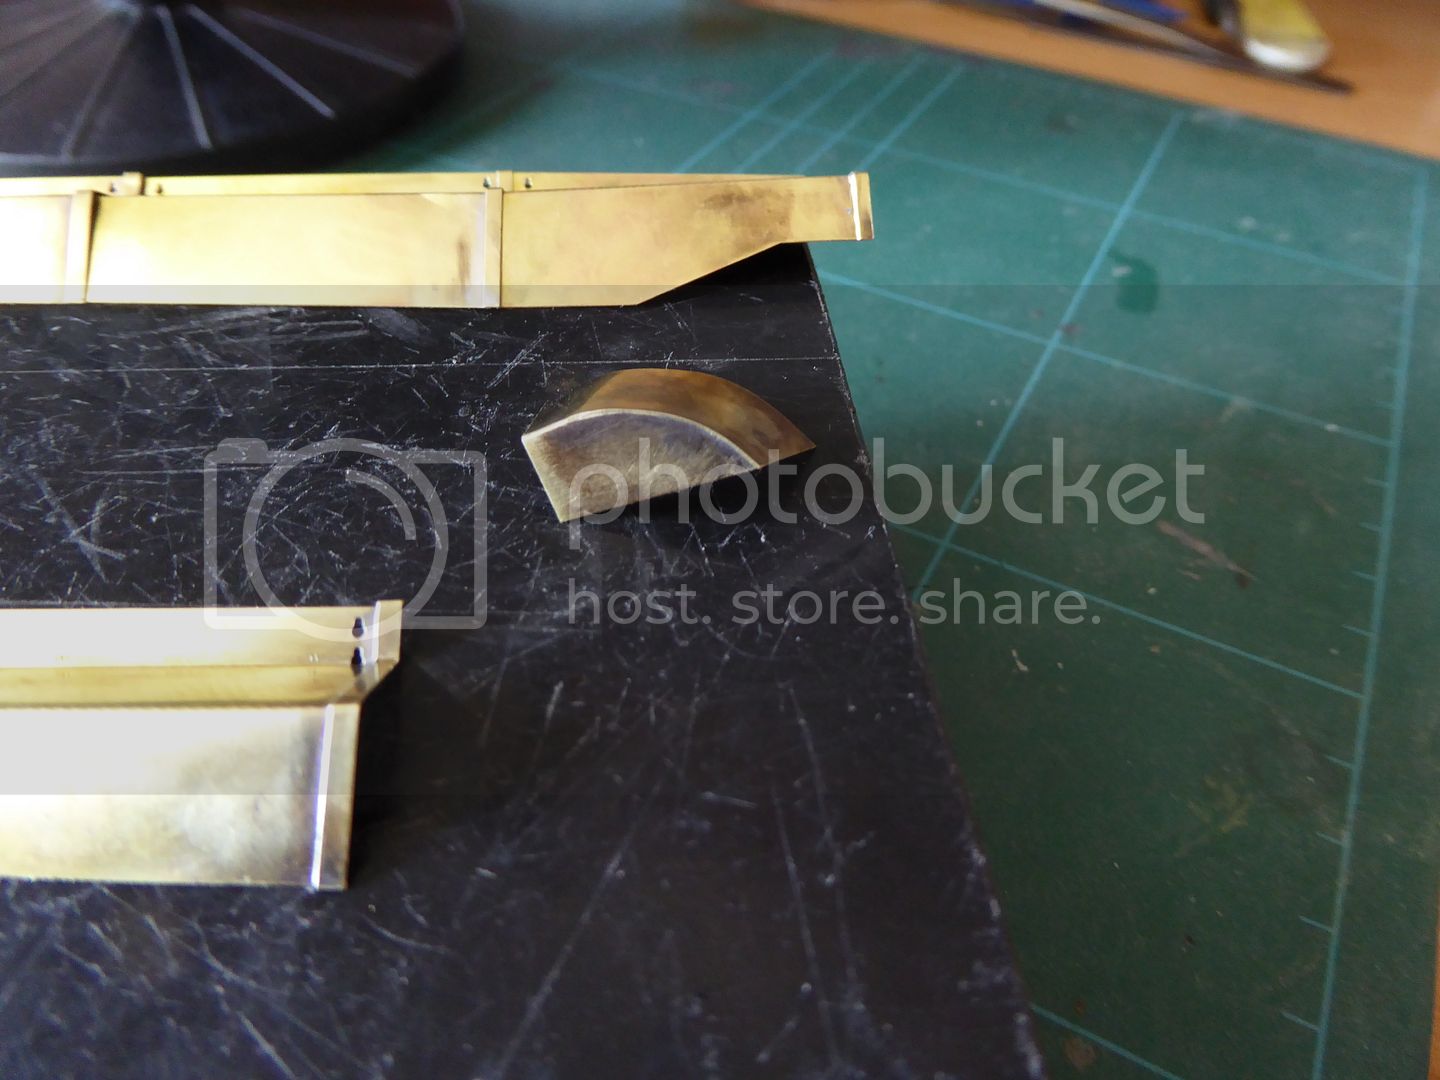
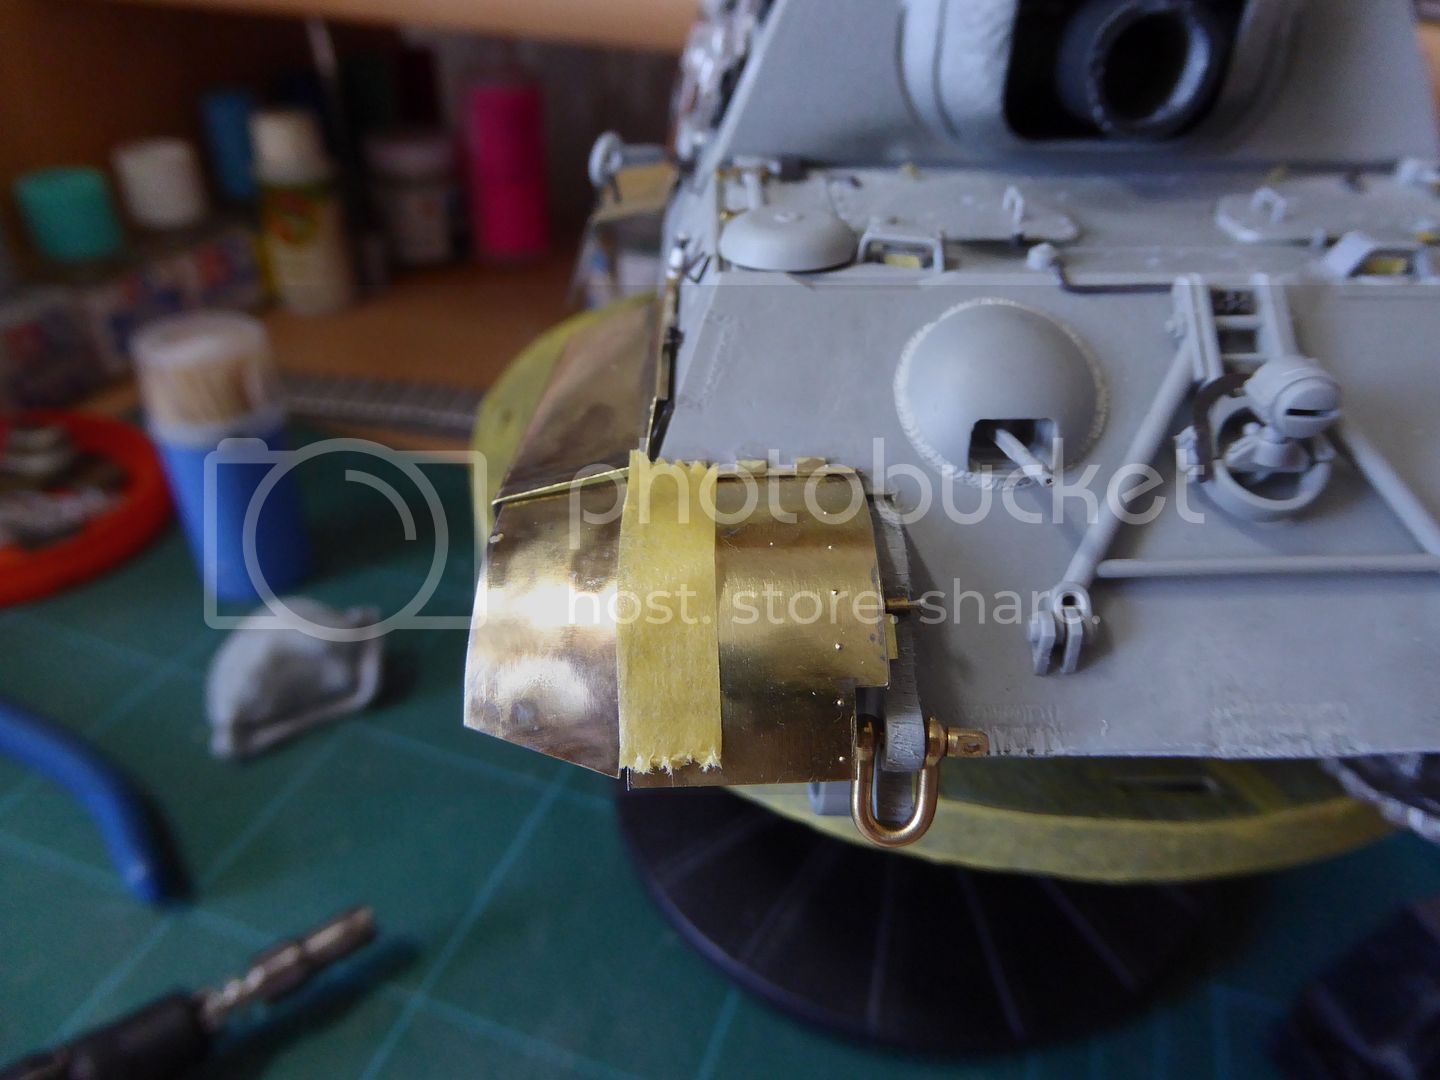
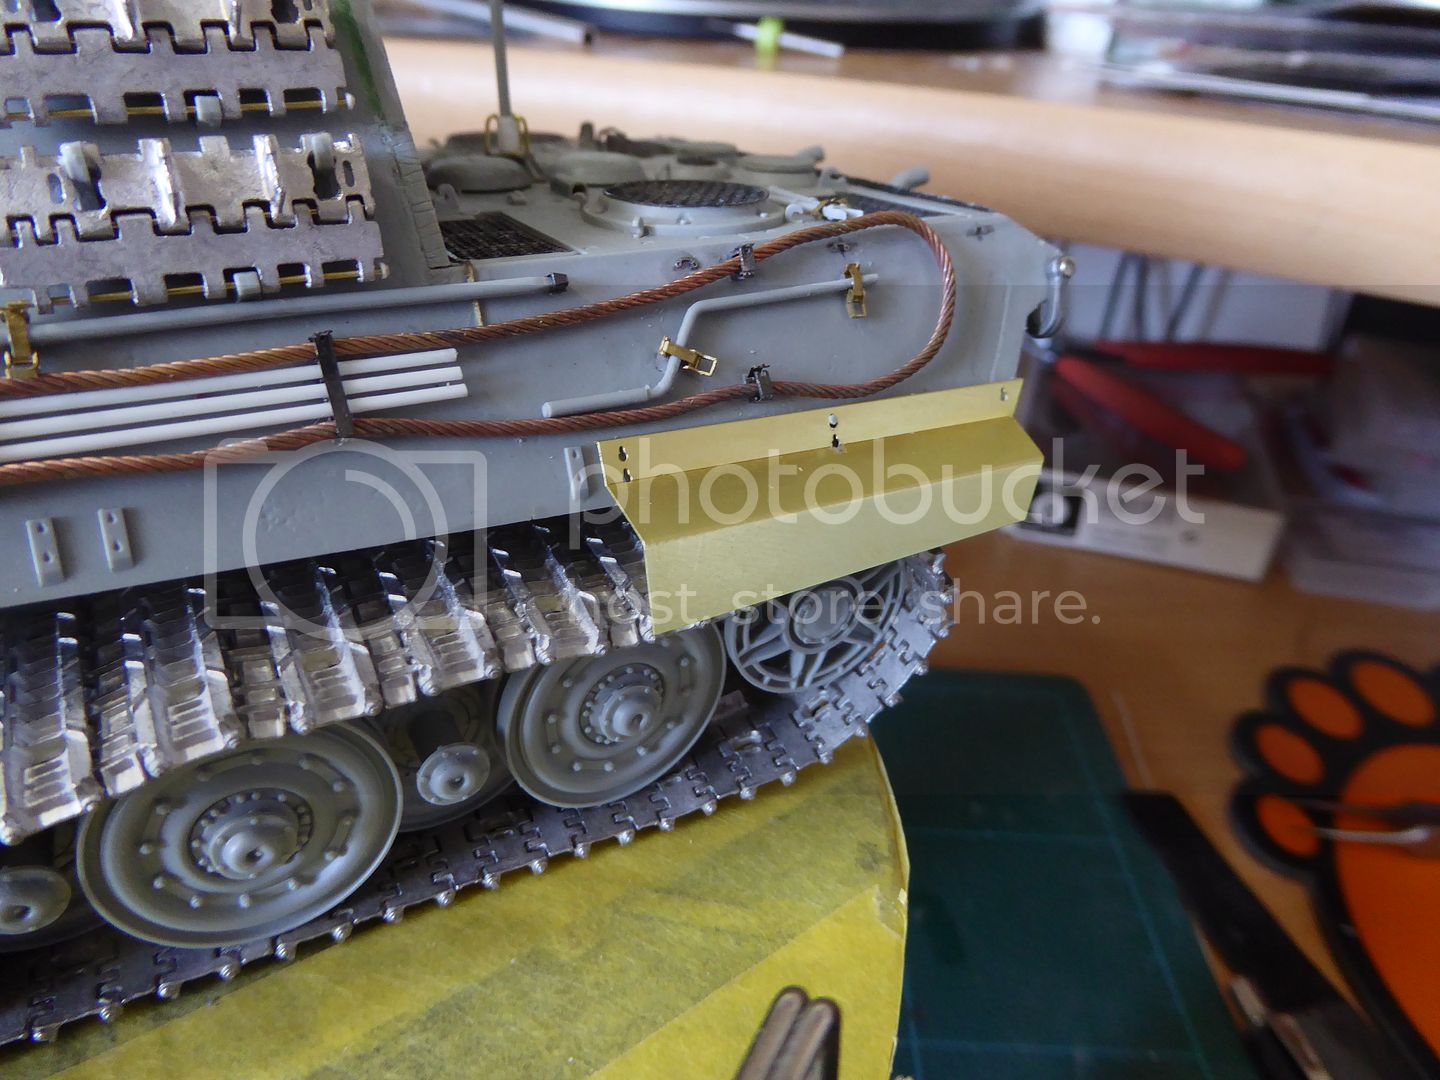
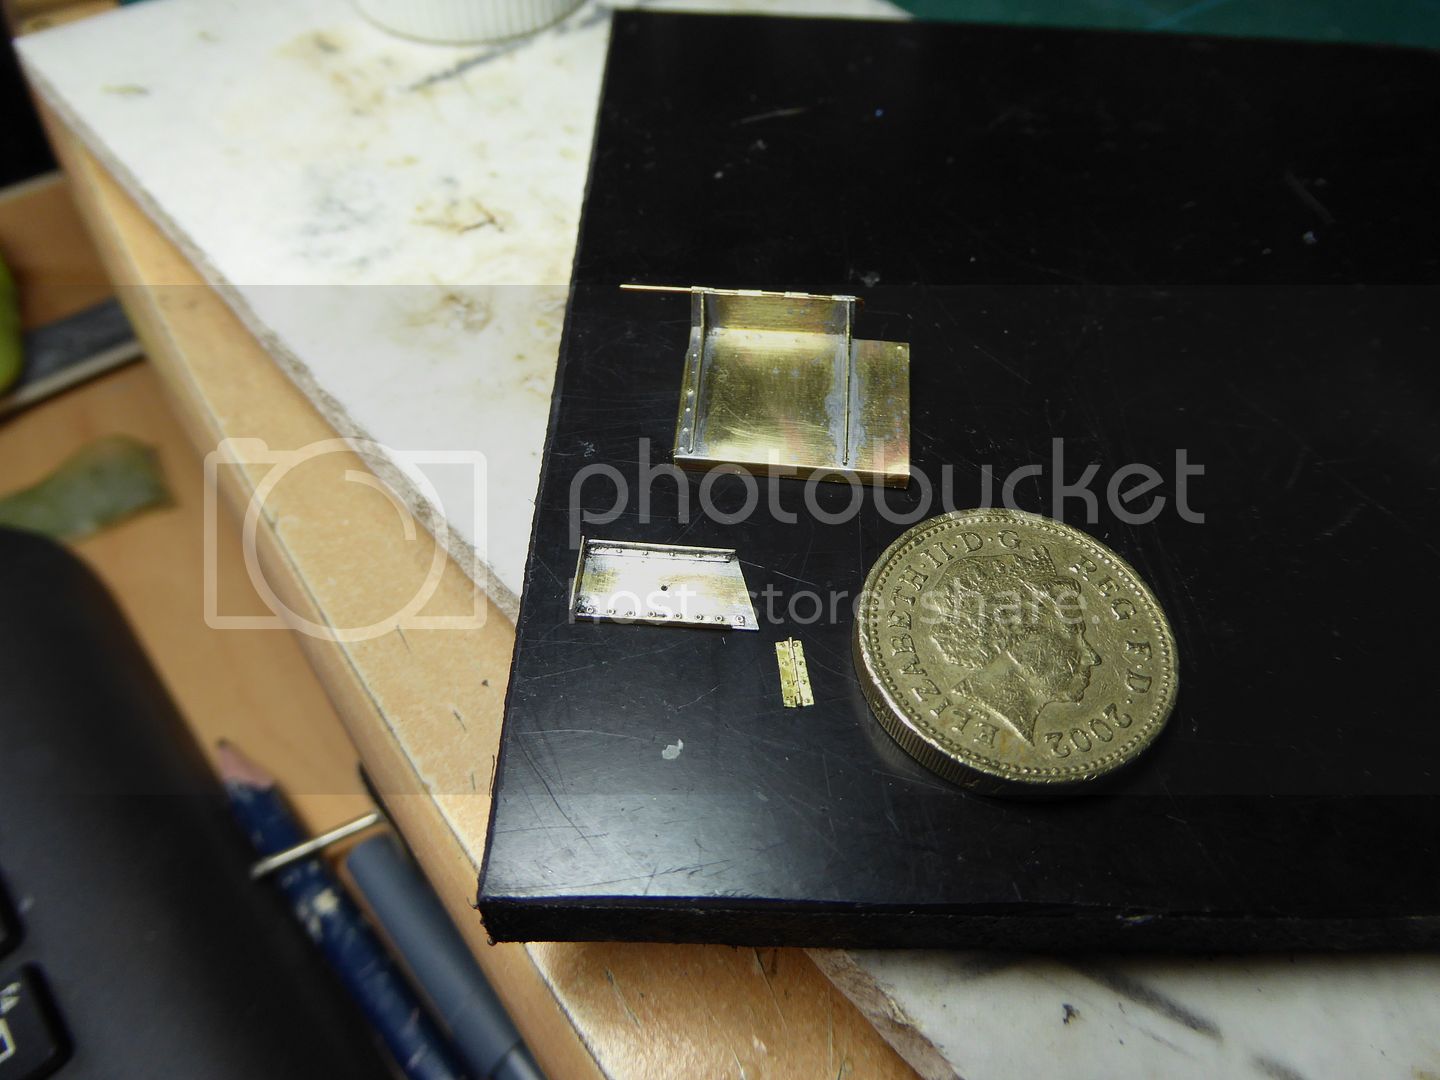
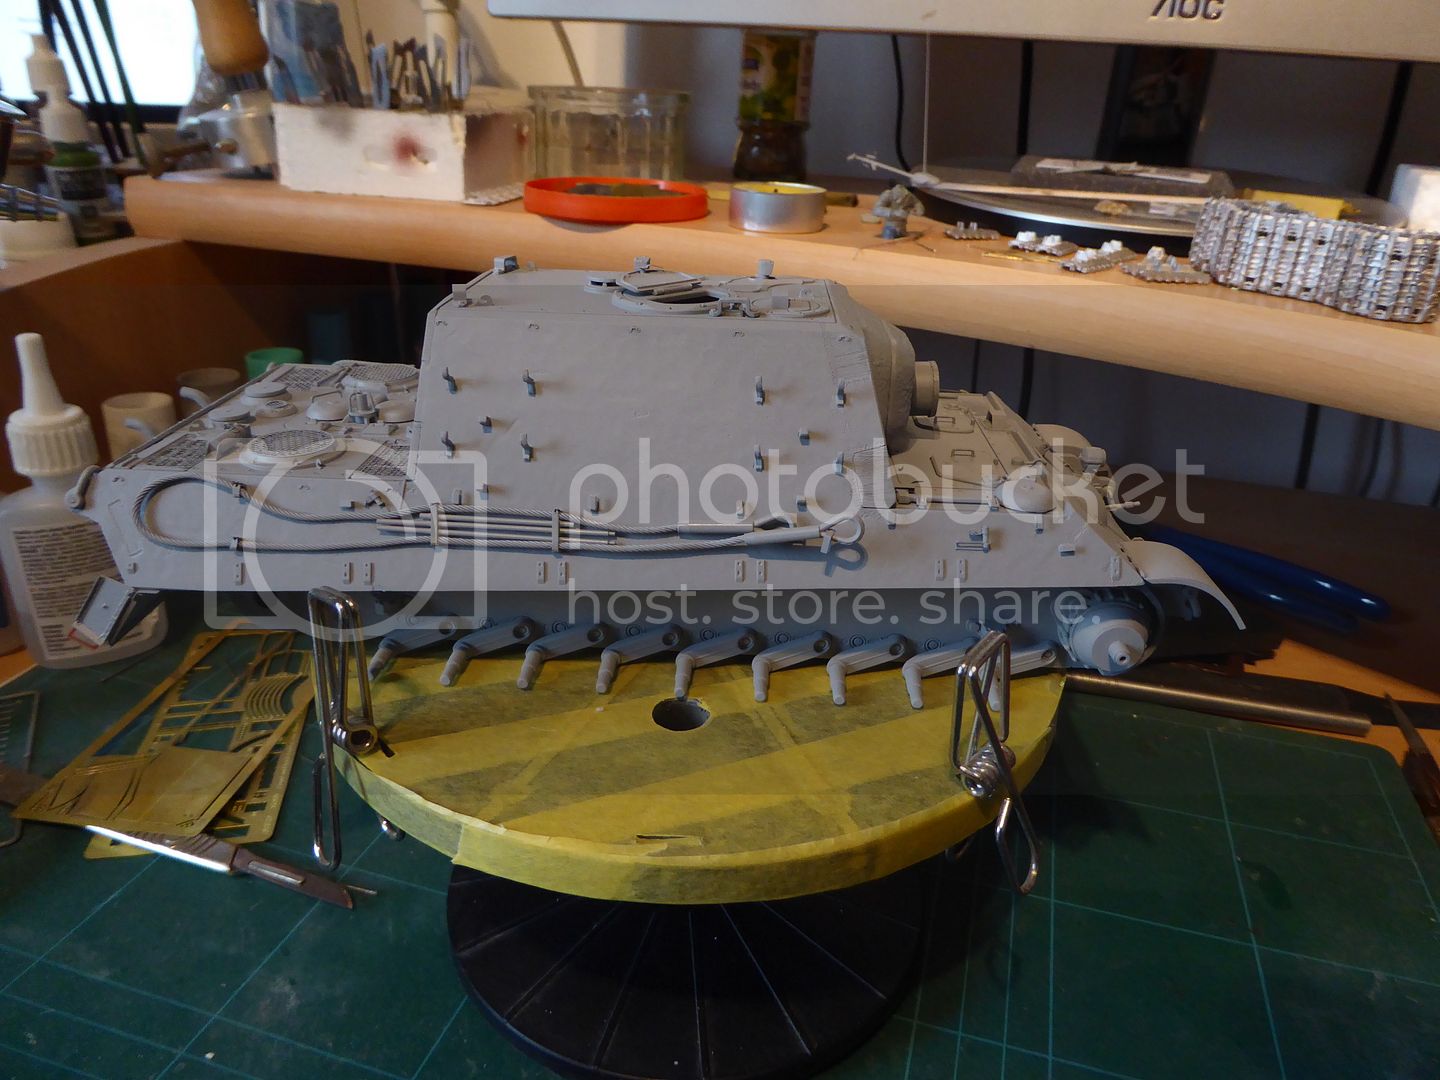
Started on the side skirts, again soldered up.

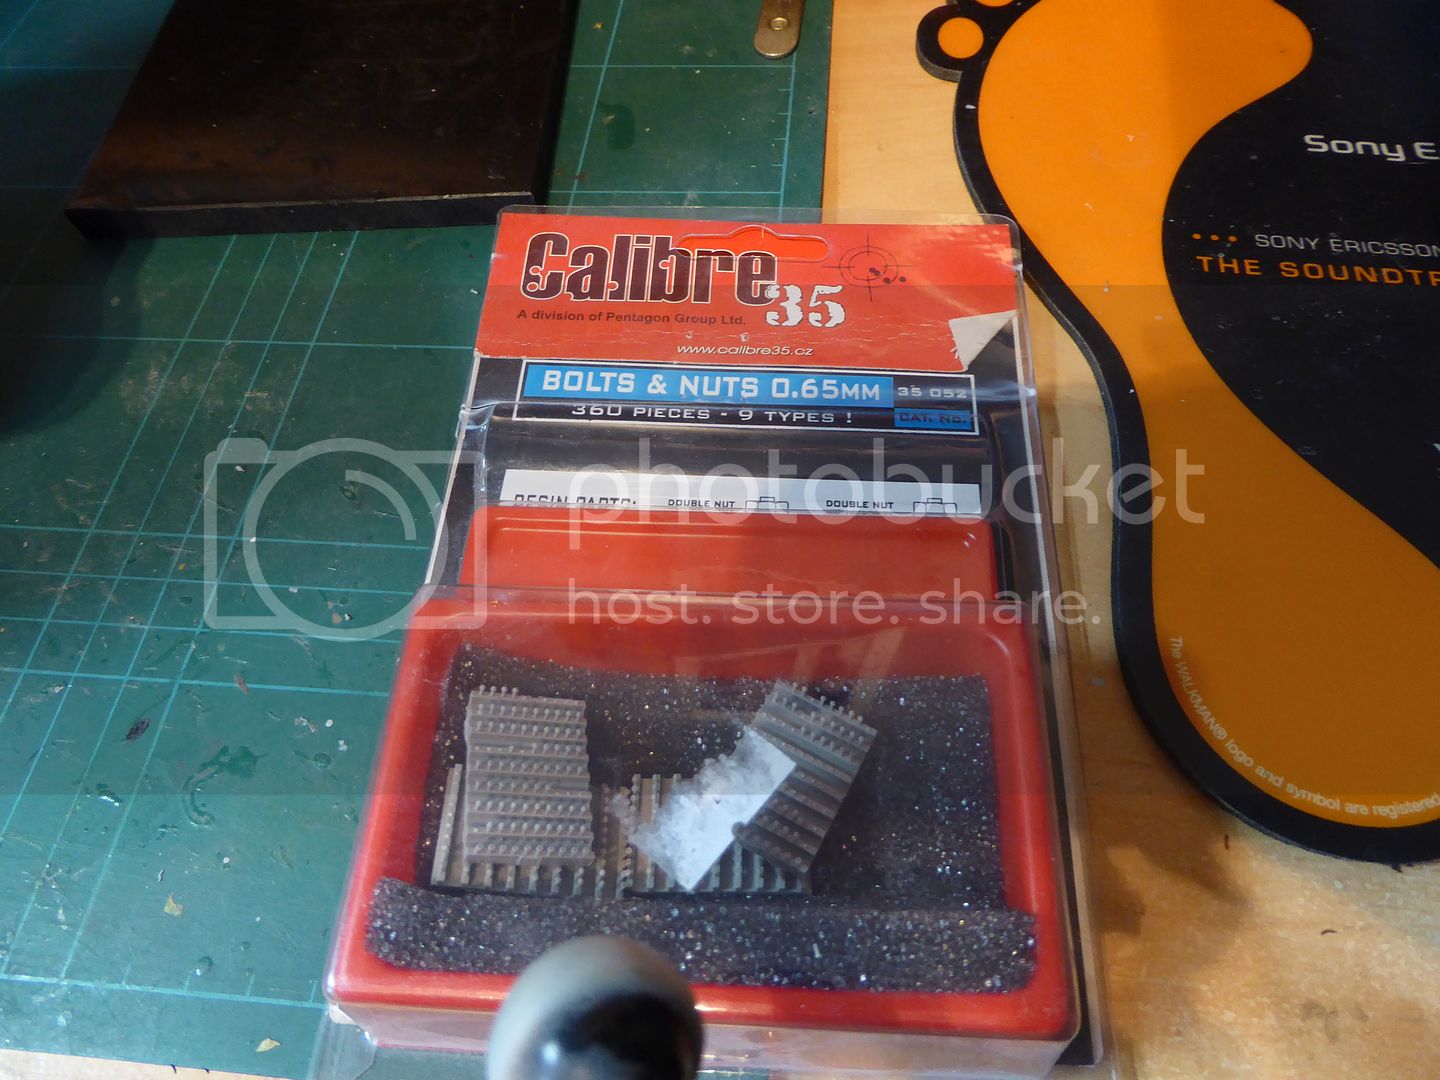
Added the bolts that attach the skirts
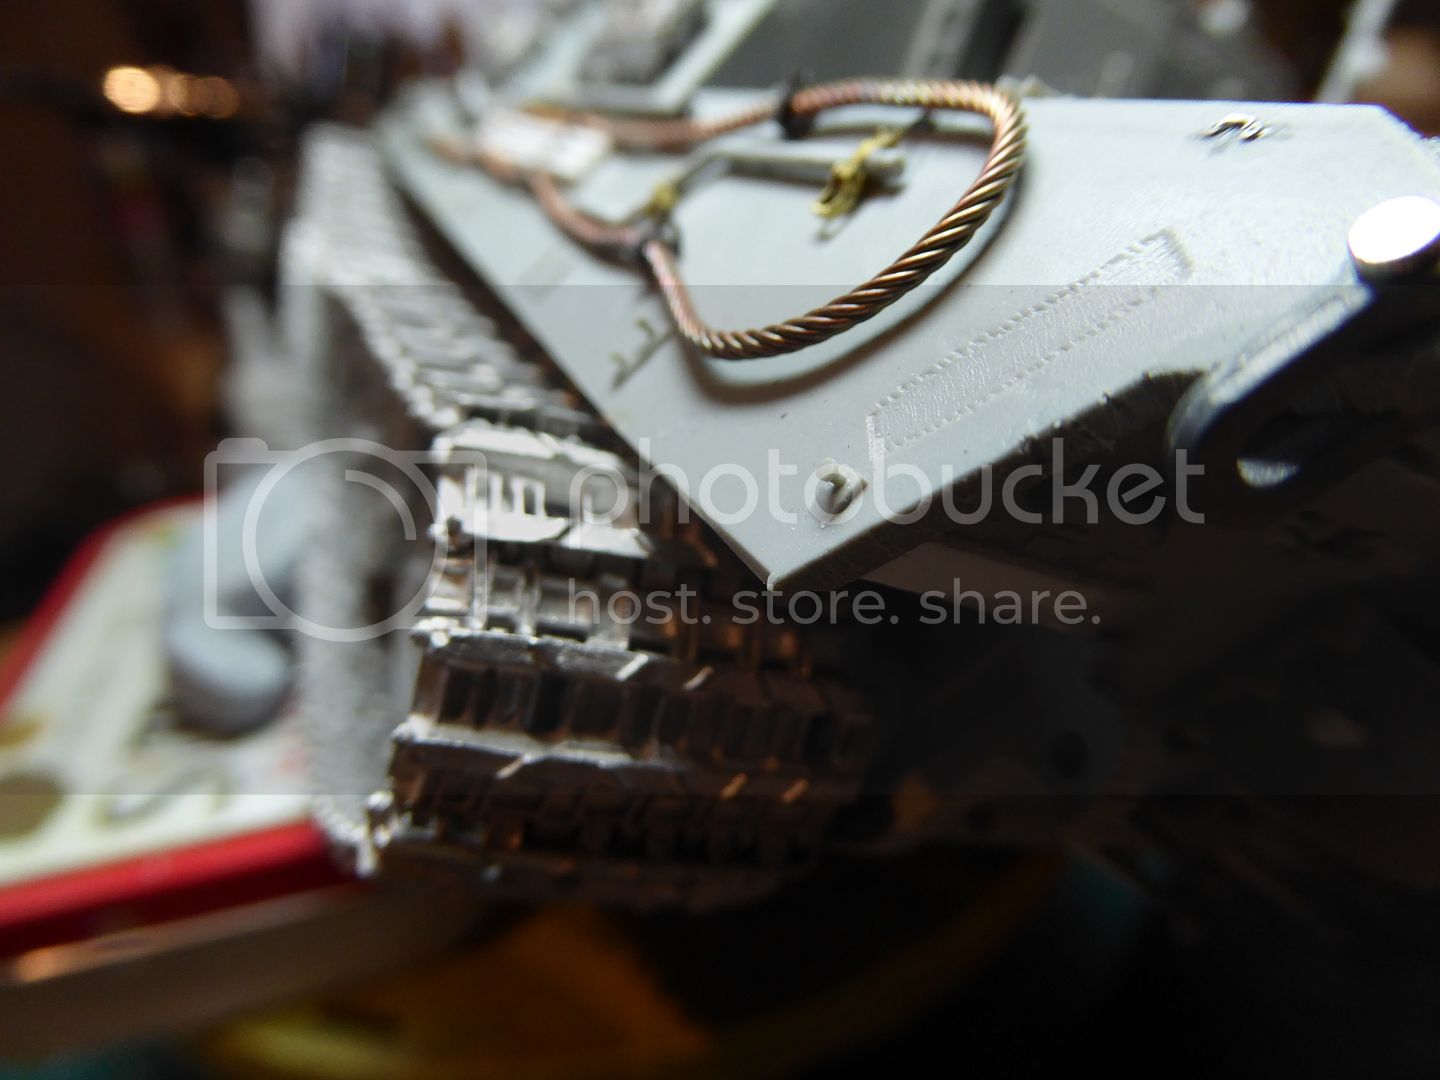
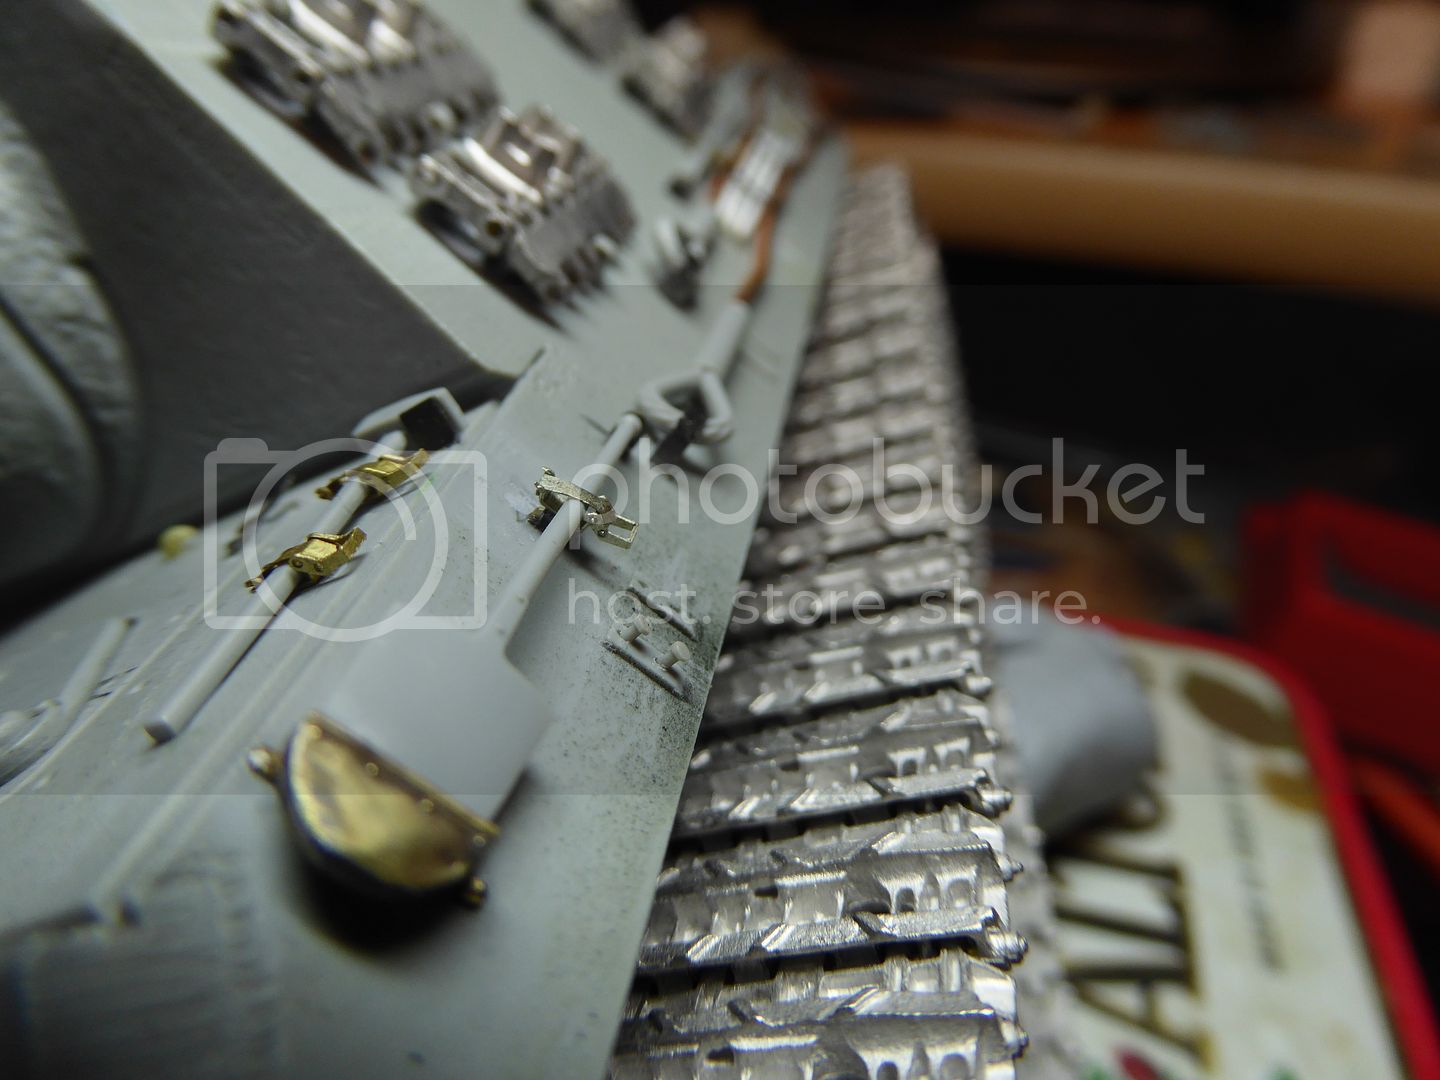
These are the resin bolts I used.
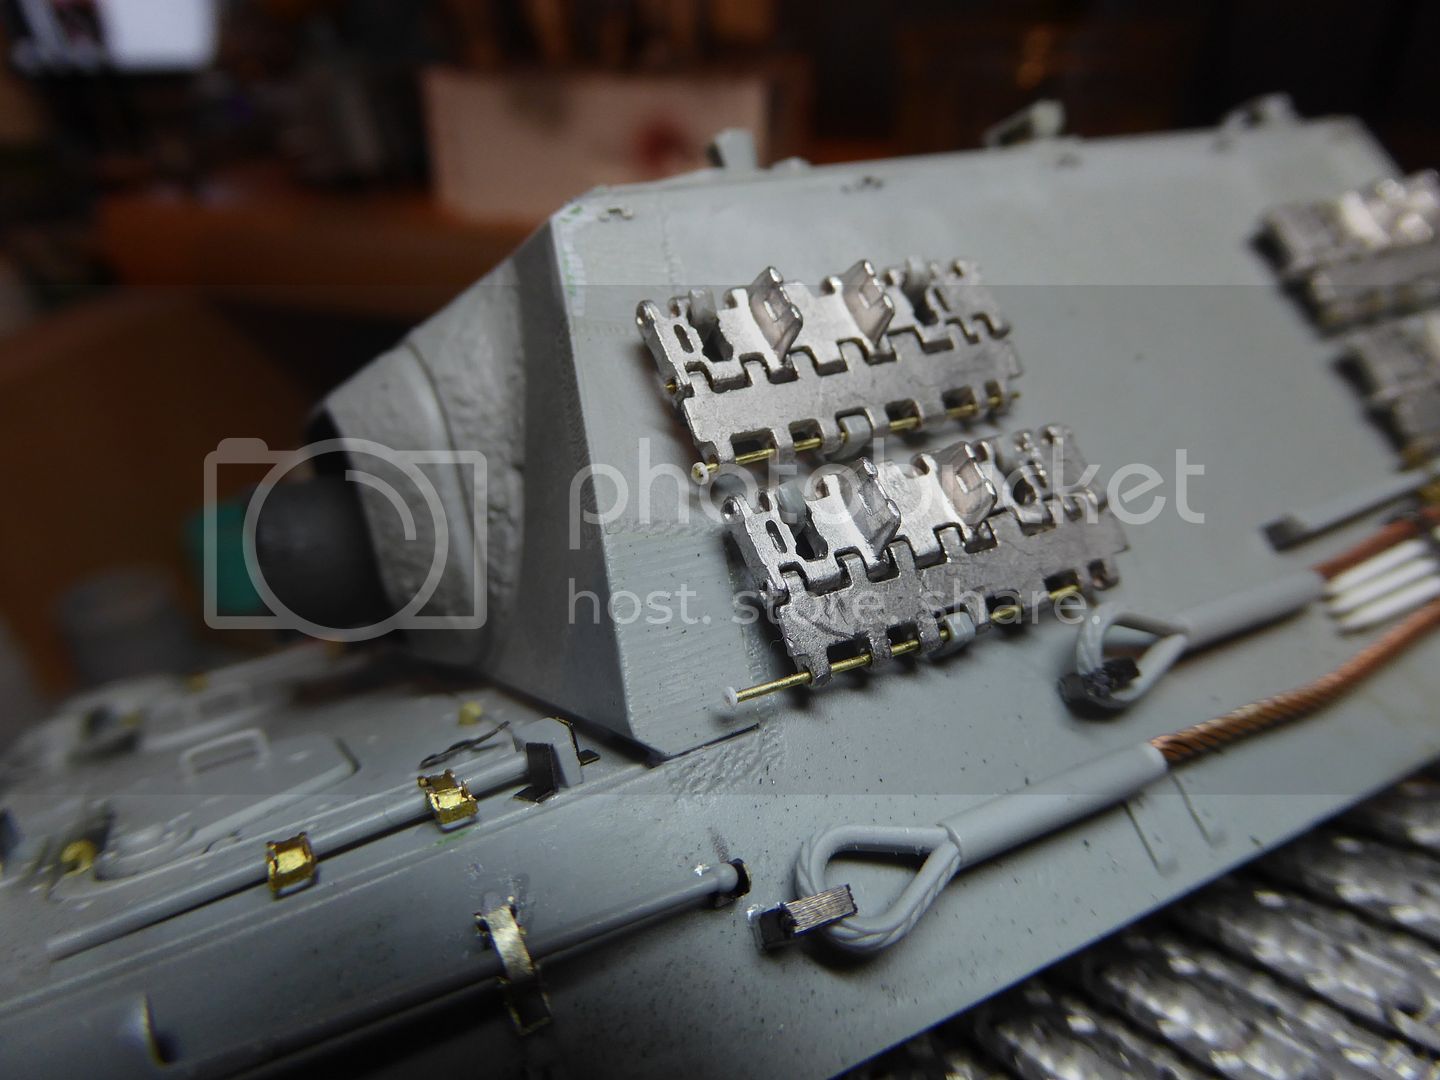
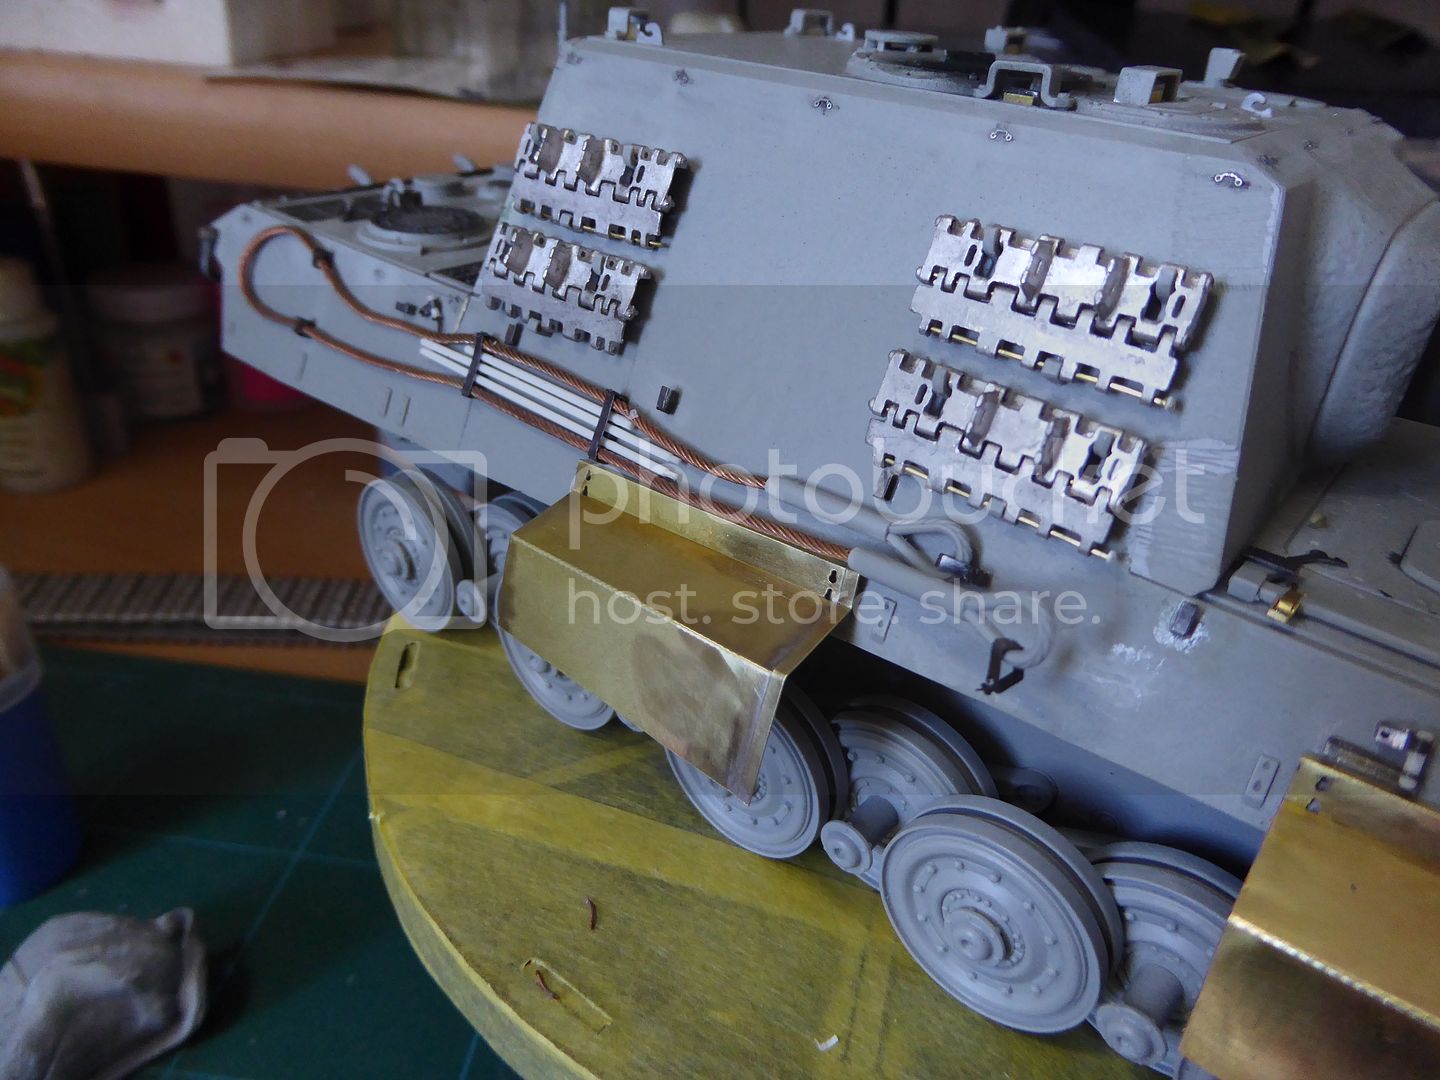
And added the track pins to the spare track links
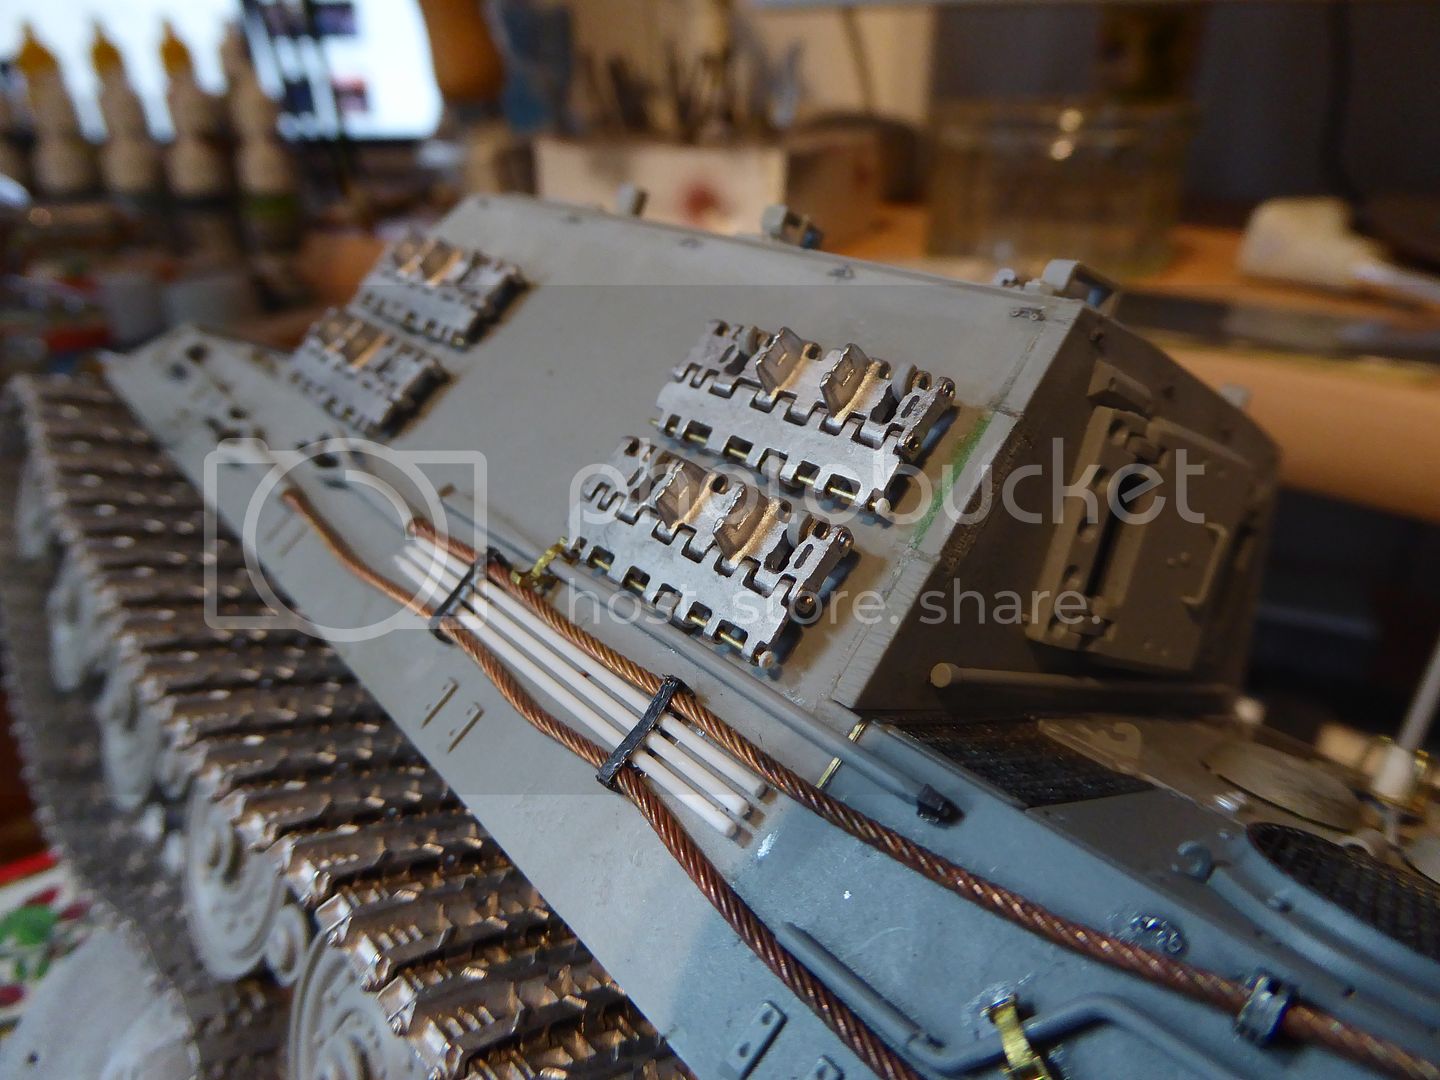

More to follow
Cheers
Dan
Removed by original poster on 05/13/19 - 22:41:33 (GMT).
England - North West, United Kingdom
Joined: March 27, 2007
KitMaker: 803 posts
Armorama: 793 posts
Posted: Sunday, June 26, 2016 - 02:52 PM UTC
Cheers Matthew,
So a bit more done.
Thanks for looking in
Dan

#424
Queensland, Australia
Joined: April 23, 2015
KitMaker: 4,648 posts
Armorama: 2,248 posts
Posted: Sunday, June 26, 2016 - 02:57 PM UTC
Dan,
Wow! That is some stunning work on an equally stunning amount of PE and AM.
Fantastic!
Gaz
"Artillery adds dignity, to what would otherwise be an ugly brawl."
Frederick The Great
Florida, United States
Joined: March 30, 2006
KitMaker: 3,736 posts
Armorama: 3,697 posts
Posted: Monday, June 27, 2016 - 02:13 AM UTC
Dragon added an extra pair of holes in the drivers' hatches for a second lifting handle, which a few jagdtigers had. If yours does not, remember to fill and sand those holes (they're also in the King Tiger hatches, which never had a second handle)
England - North West, United Kingdom
Joined: March 27, 2007
KitMaker: 803 posts
Armorama: 793 posts
Posted: Monday, June 27, 2016 - 09:23 PM UTC
Thanks Chaps
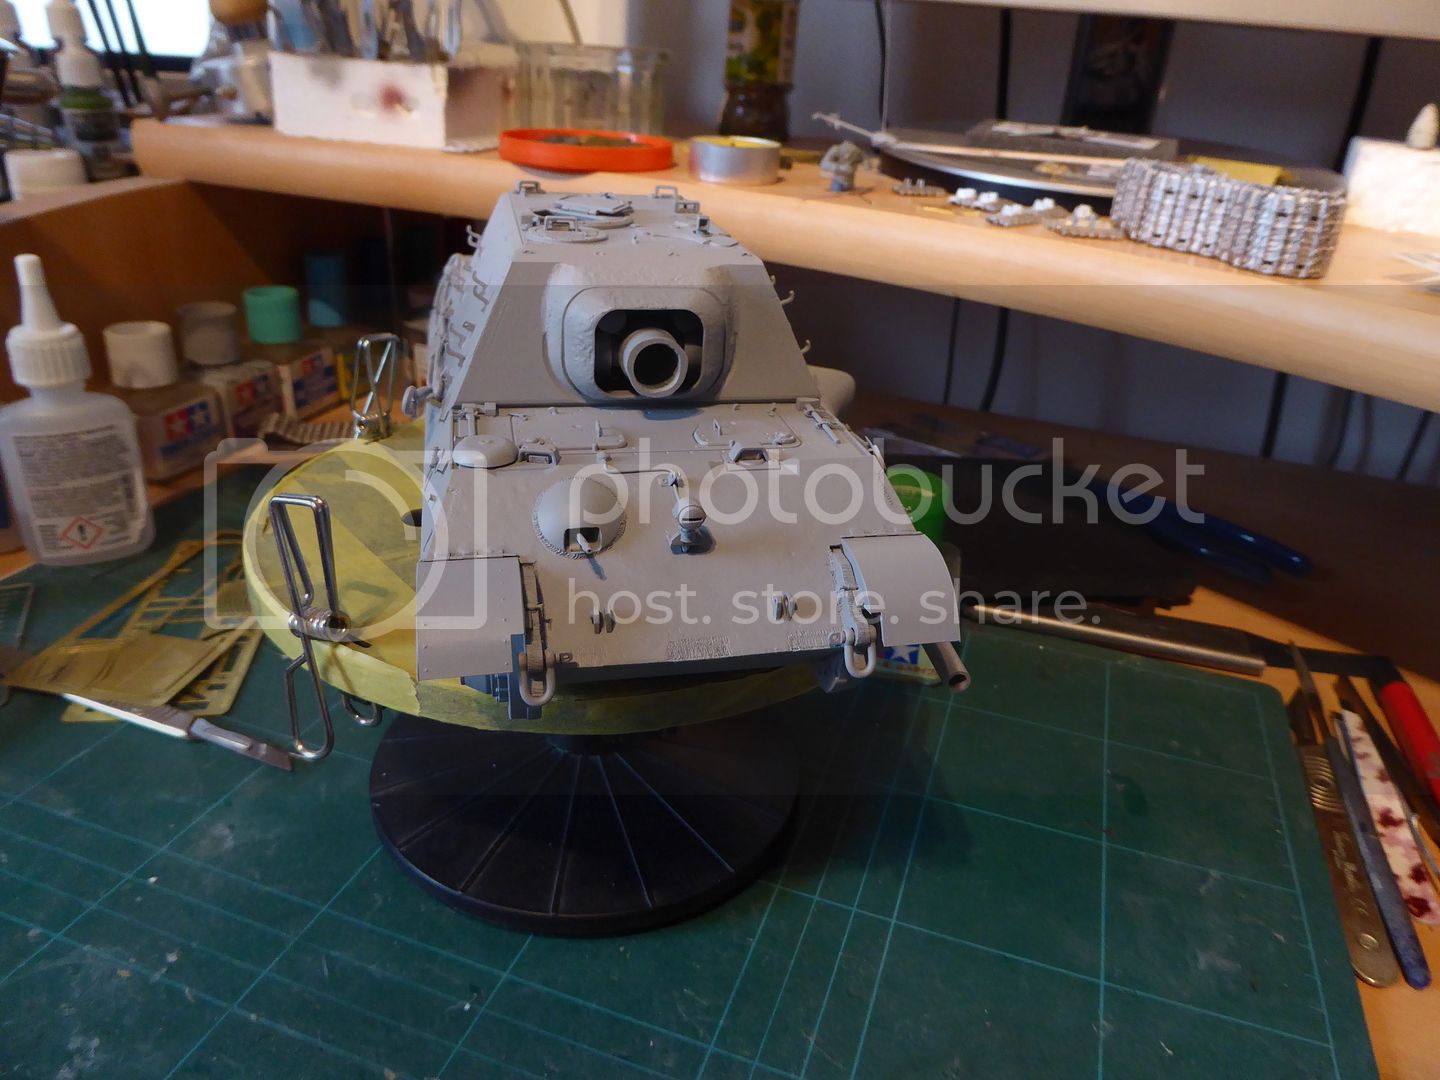
I filled the holes on the front hatches as I couldn't find any ref material showing the extra hatches.
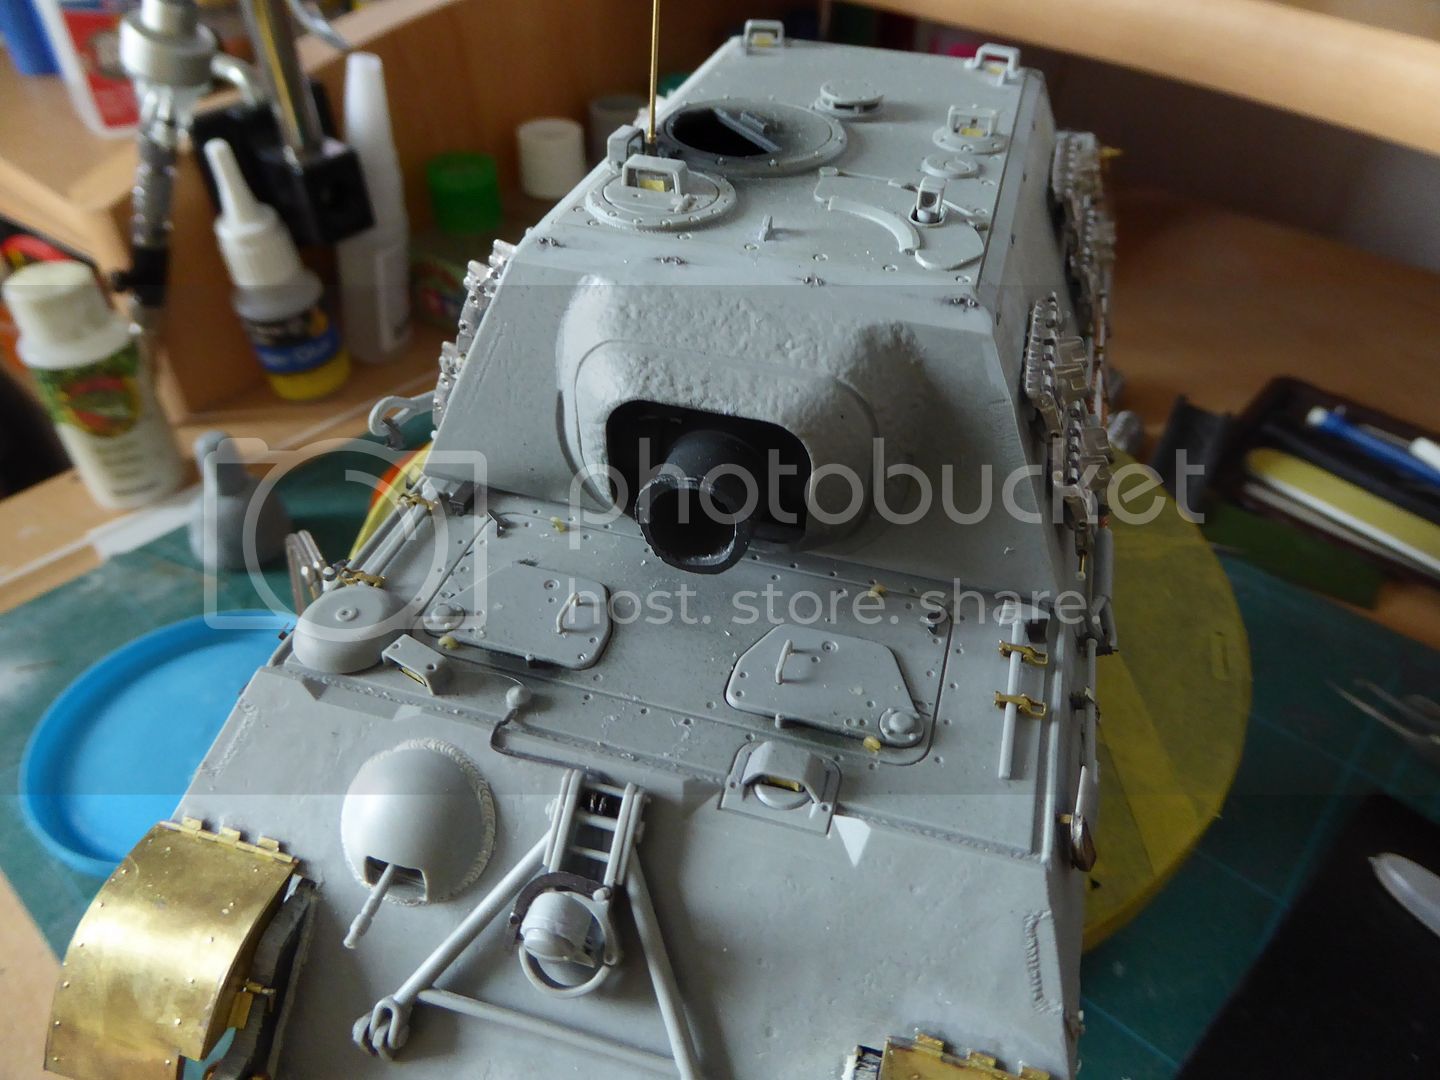
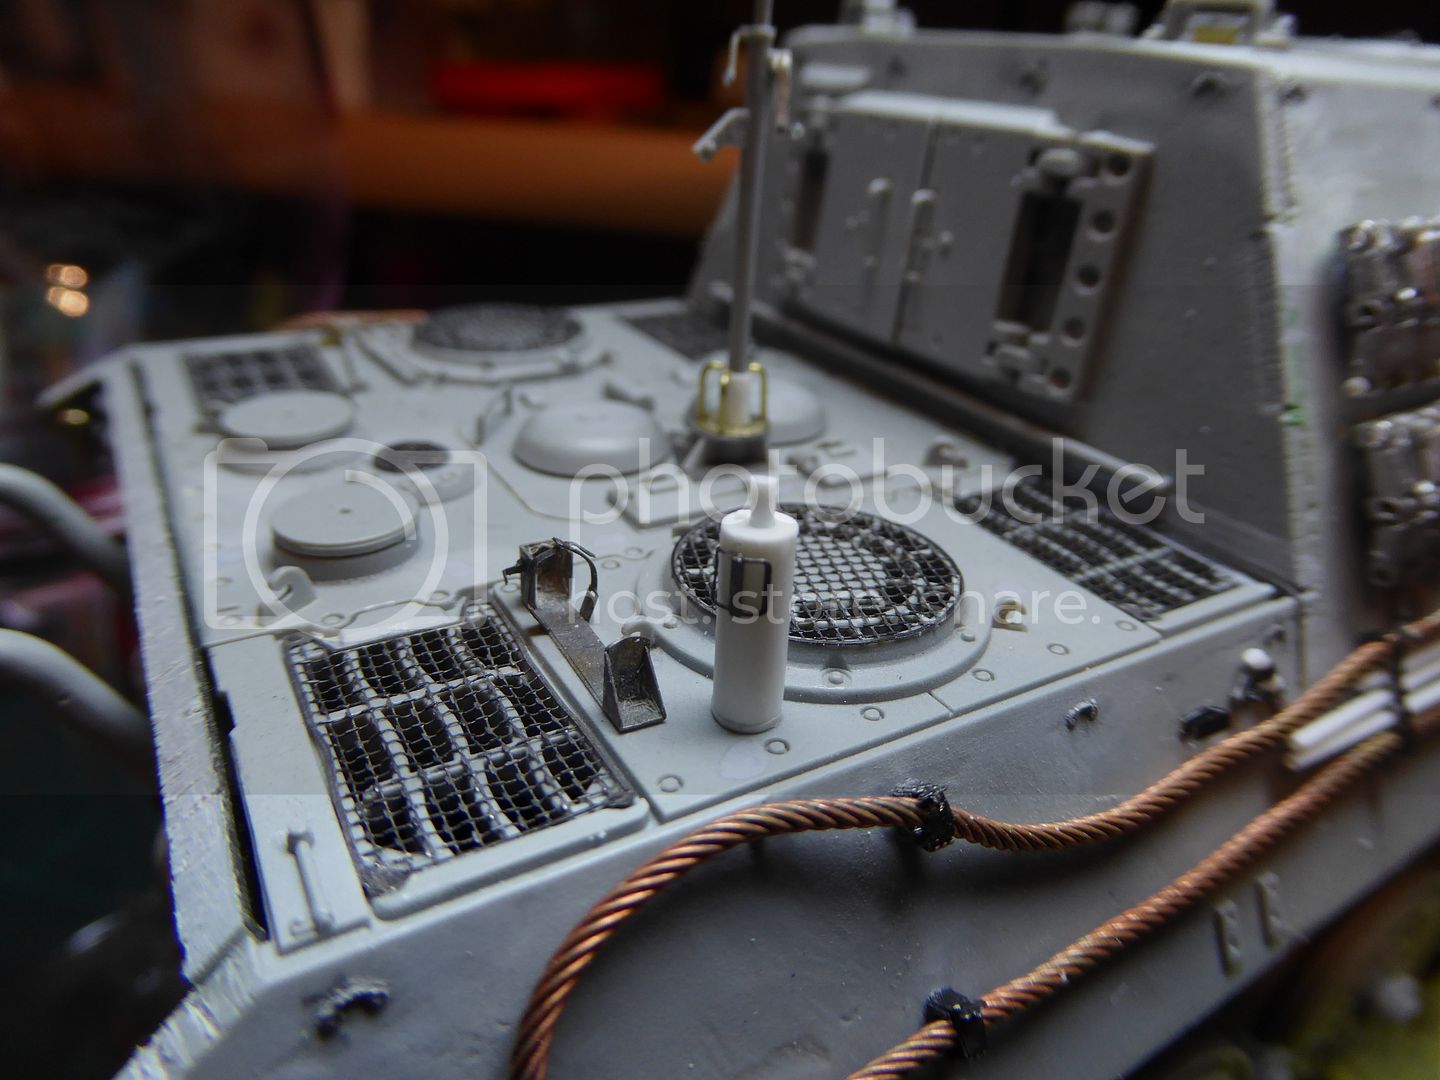
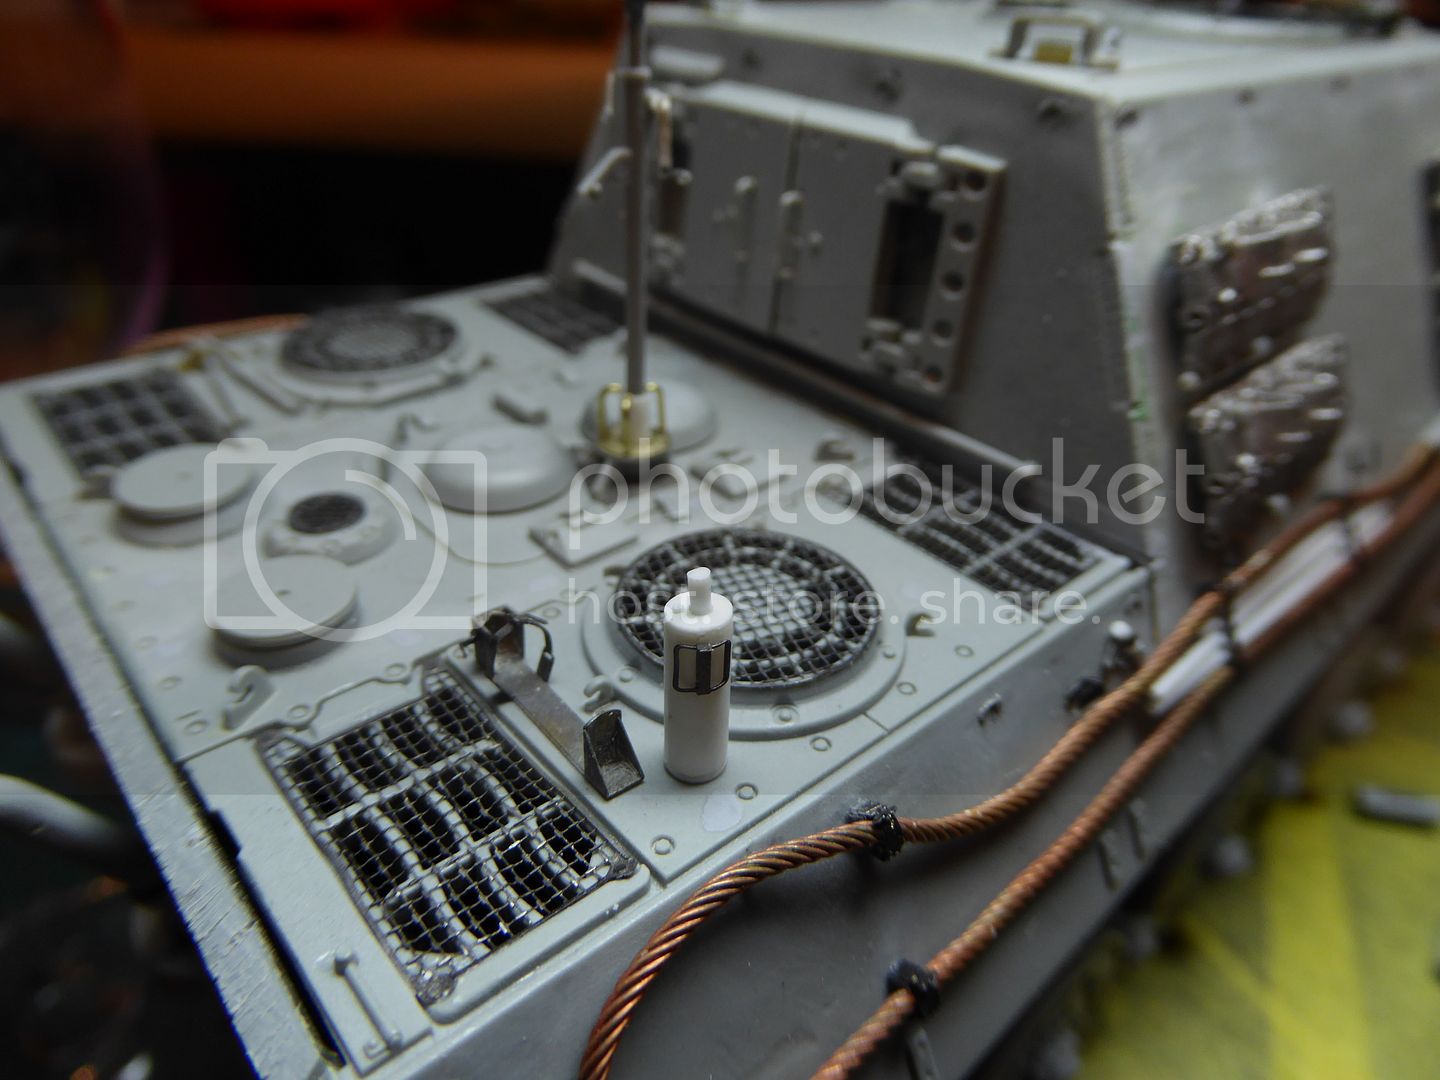
Detailing the jack
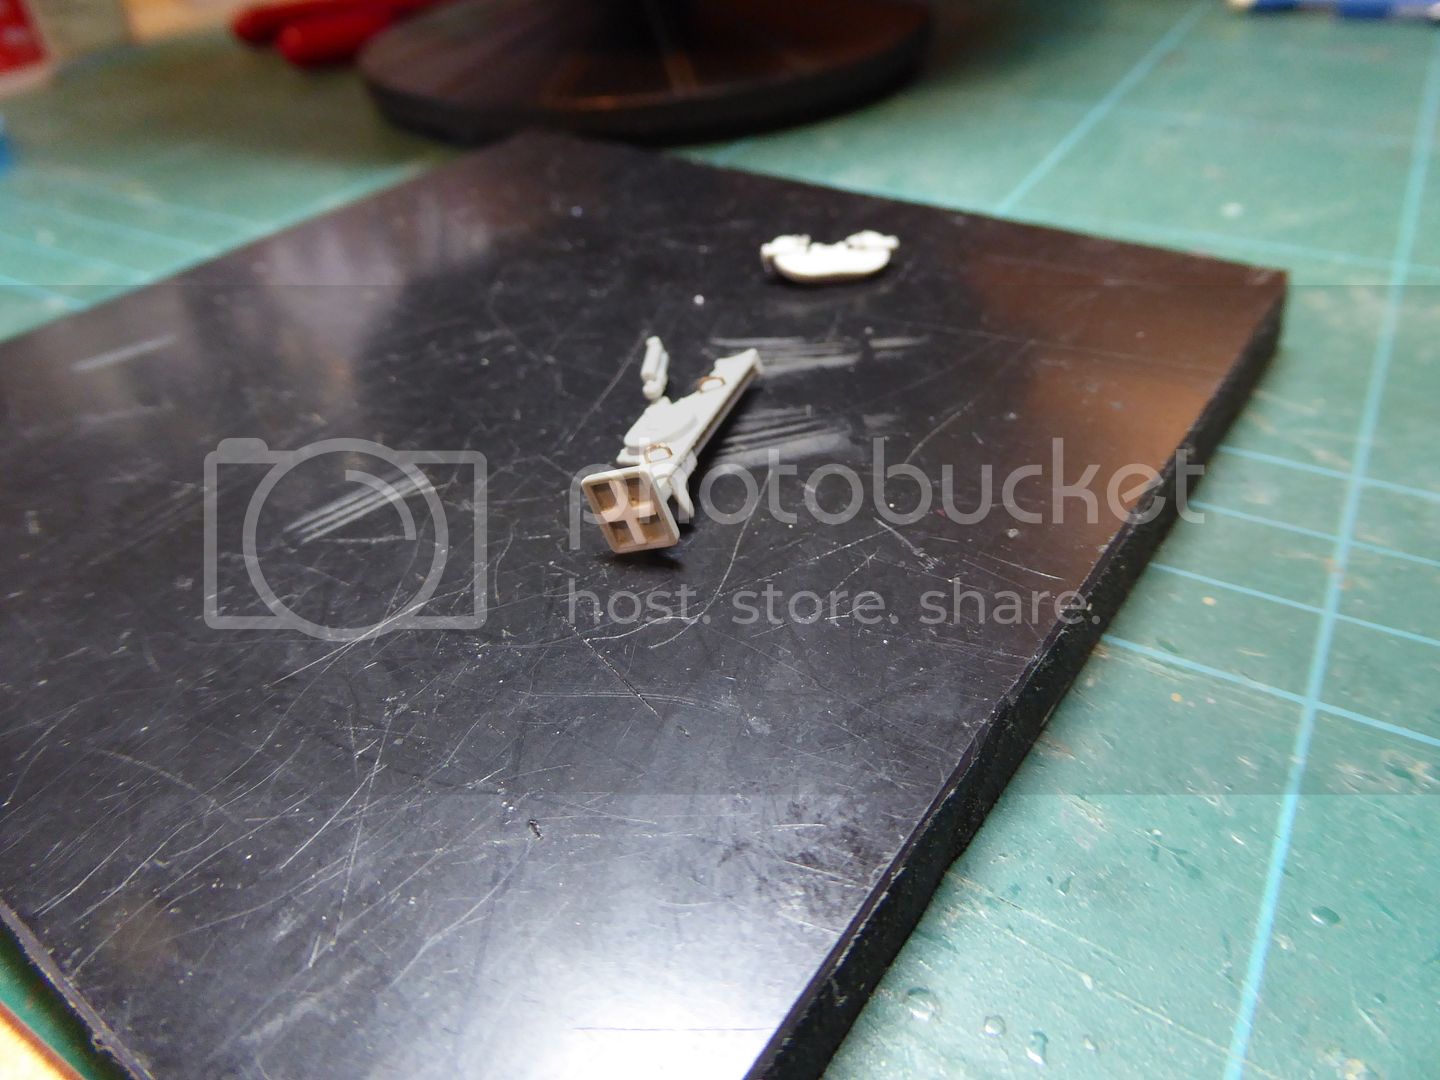
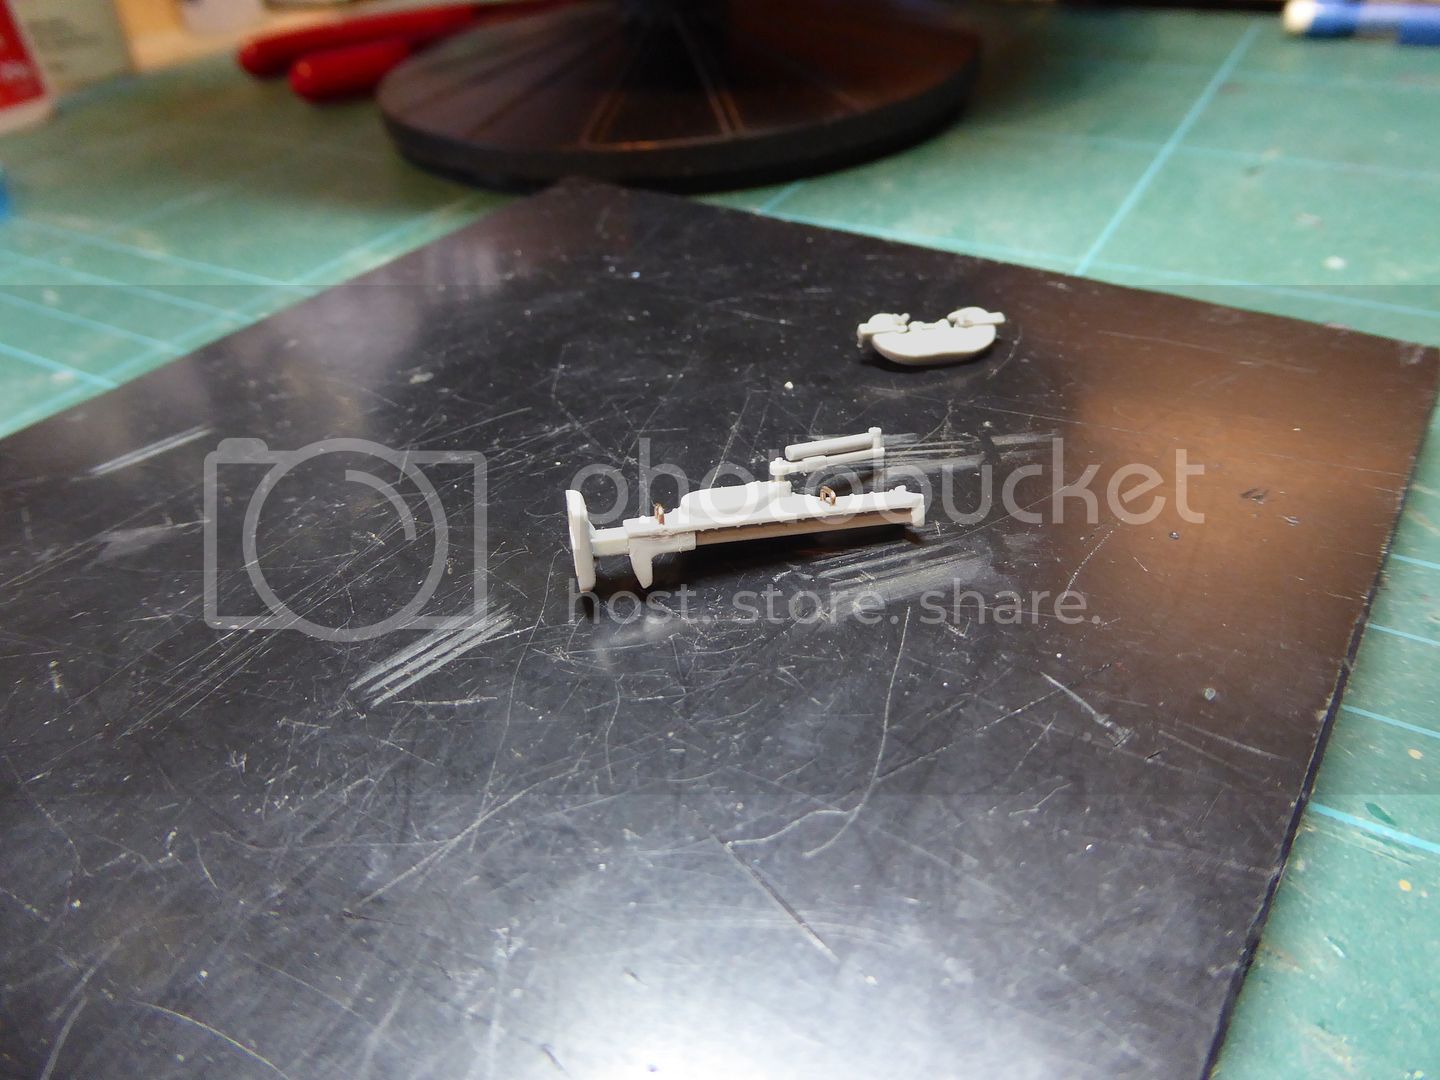
detailing the MG mount
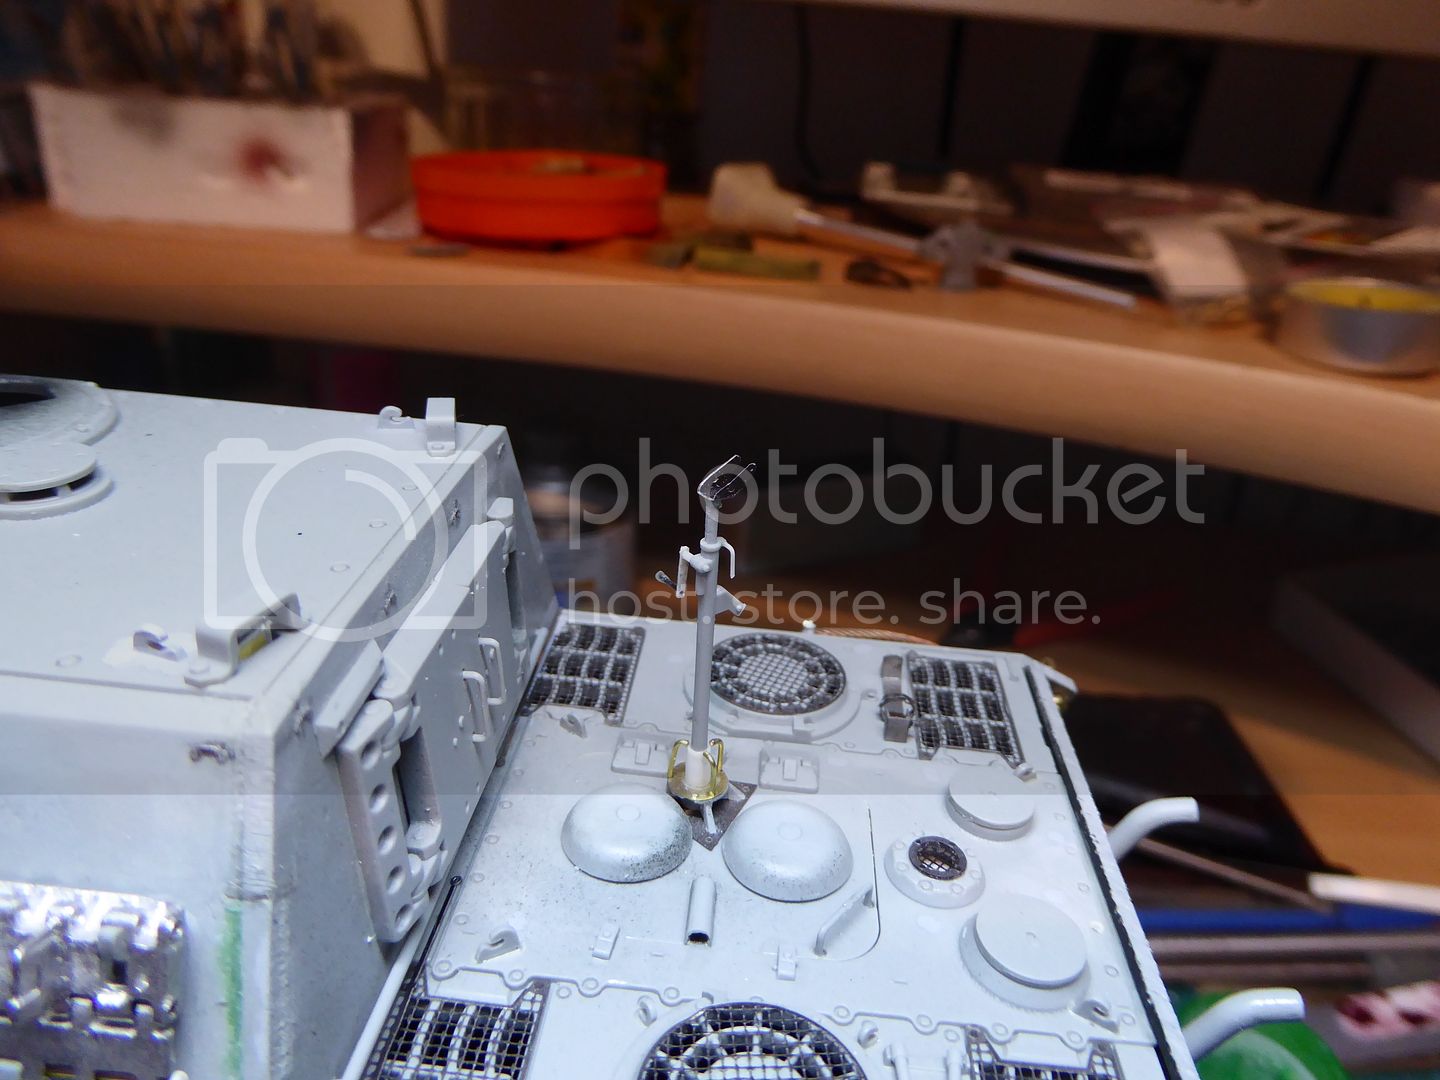
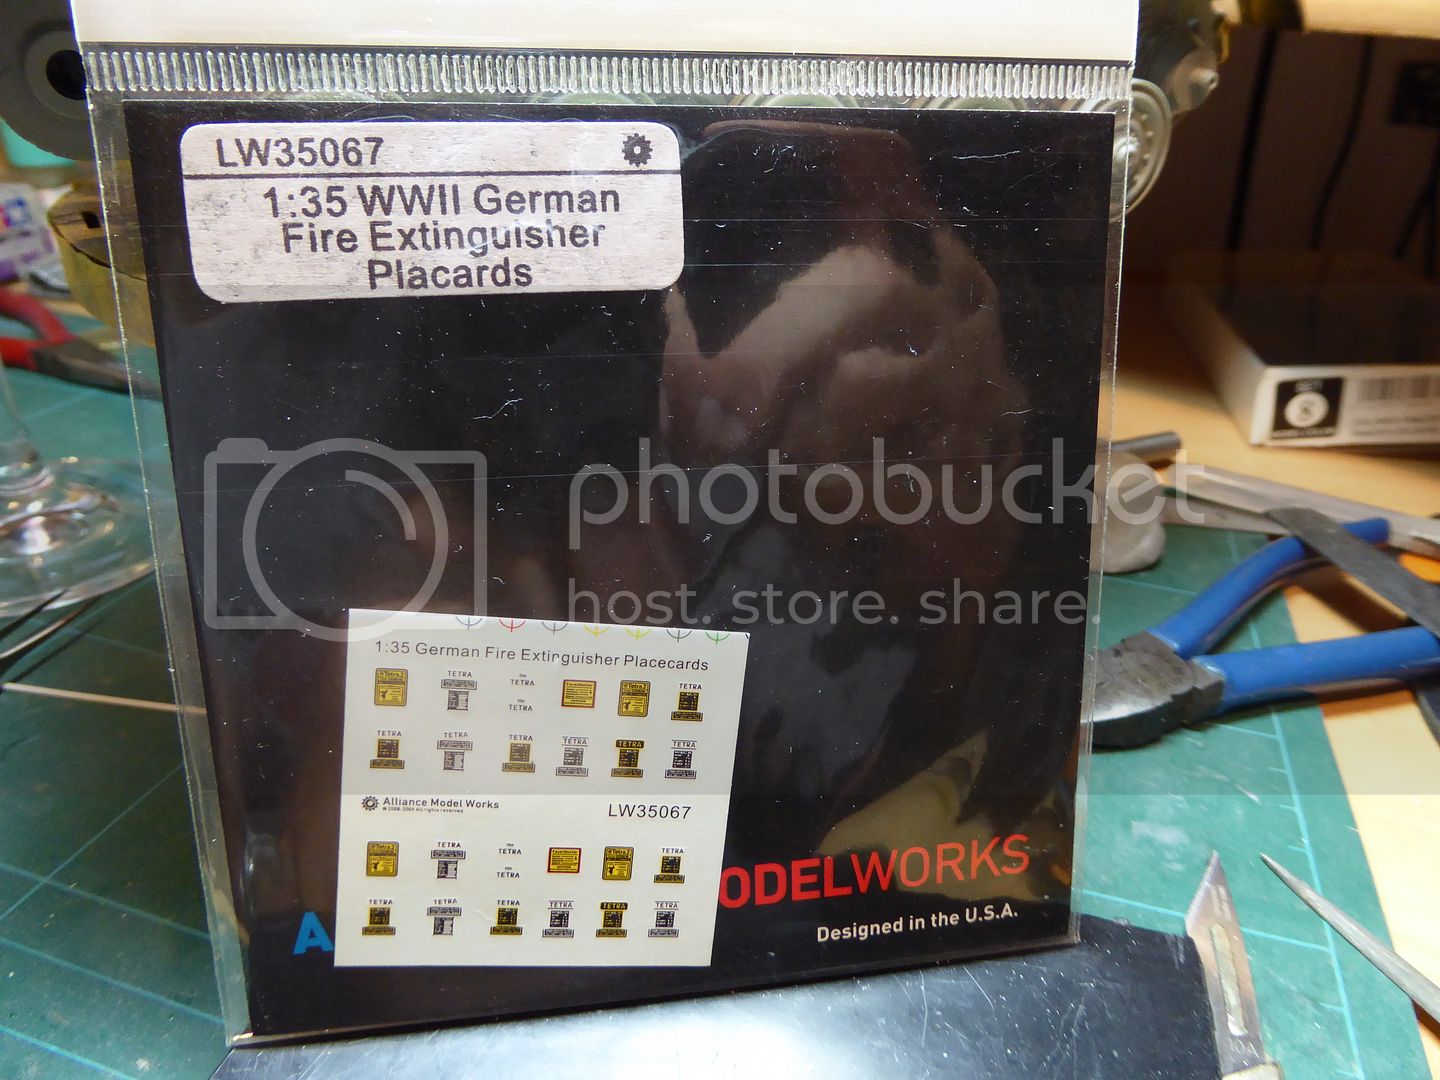
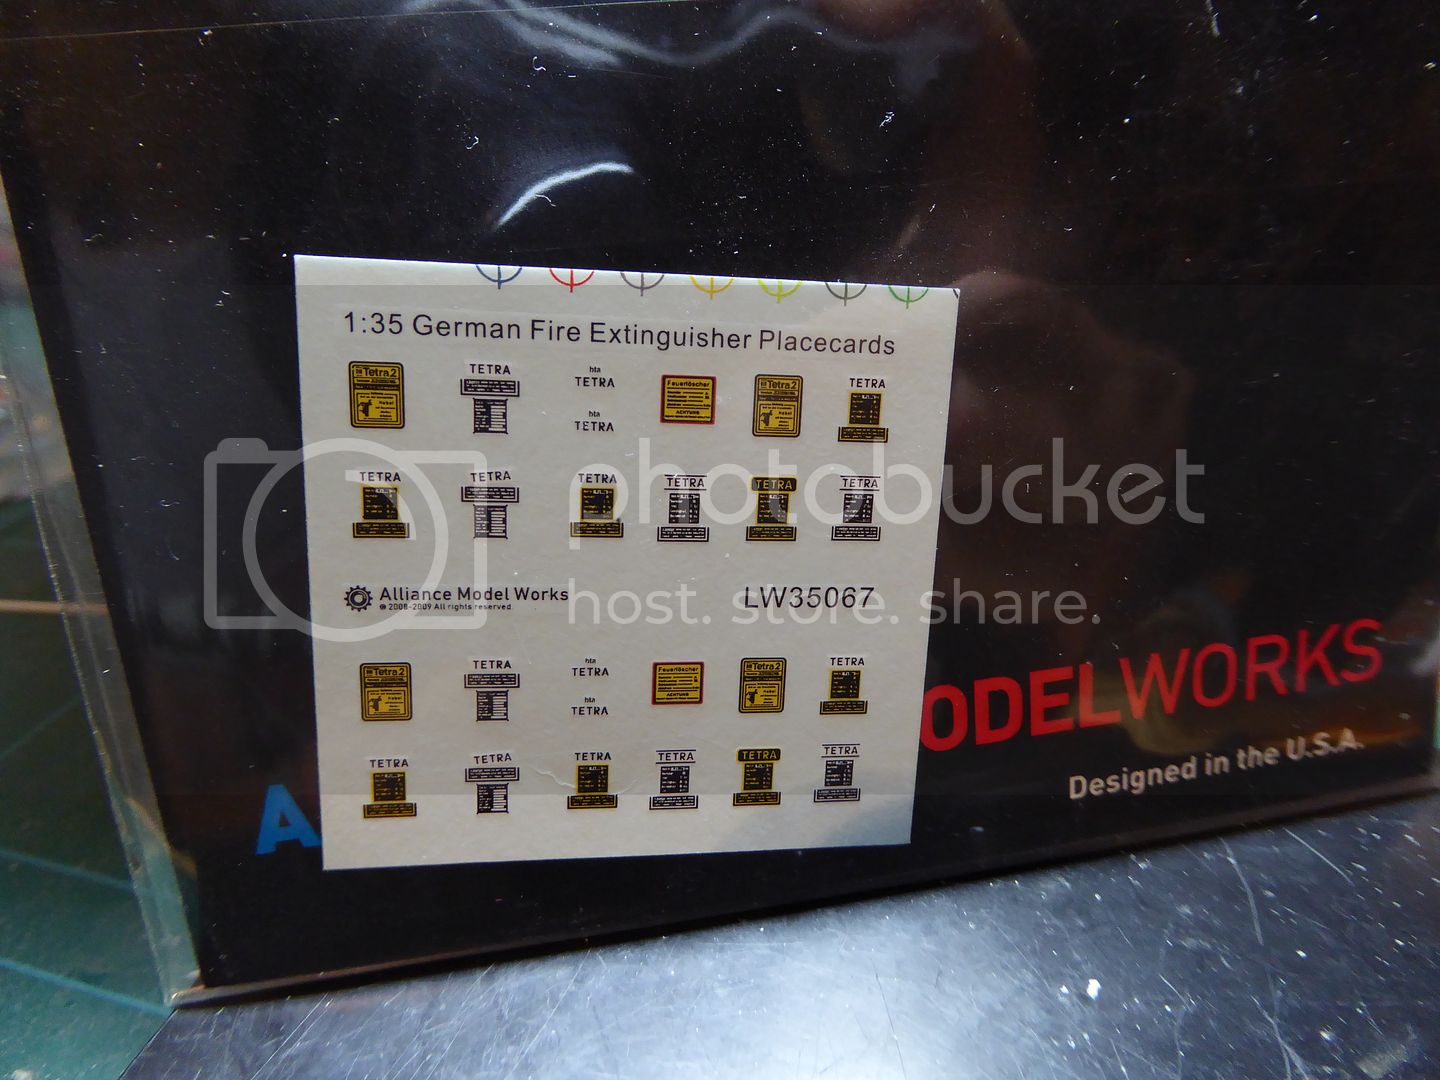
And the tetra fire extinguisher
Cheers for looking
Dan
Florida, United States
Joined: October 21, 2013
KitMaker: 751 posts
Armorama: 751 posts
Posted: Monday, June 27, 2016 - 10:09 PM UTC
All I have to say is beautiful detail work on your Jagdtiger.Can not wait to see it finished.
Illinois, United States
Joined: November 20, 2012
KitMaker: 203 posts
Armorama: 198 posts
Posted: Monday, June 27, 2016 - 10:27 PM UTC
Amazing detail work Dan! I know what a bear those PE tool clamps can be from experience. Did you use solder on any of those or CA glue? Love the fire extinguisher placards, I'll have to pick up a set of those.
Looking fwd to seeing the next update!
England - North West, United Kingdom
Joined: March 27, 2007
KitMaker: 803 posts
Armorama: 793 posts
Posted: Tuesday, June 28, 2016 - 12:12 AM UTC
Thanks for the kind comments chaps,
The tool clamps I used CA glue for these as they are very fragile and controlling the solder on something as small as these might take me a bit more practice.
Regards
Dan
England - North West, United Kingdom
Joined: March 27, 2007
KitMaker: 803 posts
Armorama: 793 posts
Posted: Tuesday, June 28, 2016 - 03:20 PM UTC
Removed by original poster on 05/13/19 - 22:42:00 (GMT).
United Kingdom
Joined: December 20, 2015
KitMaker: 48 posts
Armorama: 23 posts
Posted: Wednesday, June 29, 2016 - 09:06 PM UTC
That is one great looking Jagdtiger, keep up the good work.
England - North West, United Kingdom
Joined: March 27, 2007
KitMaker: 803 posts
Armorama: 793 posts
Posted: Monday, July 04, 2016 - 05:22 PM UTC
Wojewodztwo Slaskie, Poland
Joined: March 26, 2015
KitMaker: 255 posts
Armorama: 254 posts
Posted: Monday, July 04, 2016 - 05:45 PM UTC
Absolutely stunning!
Can you write or show how step by step you're forming the tool clasps?
And how You solder such elements with so gentle manner?
Nil satis nisi Optimus :)
#521
Kentucky, United States
Joined: April 13, 2011
KitMaker: 9,465 posts
Armorama: 8,695 posts
Posted: Monday, July 04, 2016 - 05:51 PM UTC
As some fellows elsewhere on here said; you have MAD SKILLS!
Exceptional detailing, well done. (well almost done.)
England - North West, United Kingdom
Joined: March 27, 2007
KitMaker: 803 posts
Armorama: 793 posts
Posted: Monday, July 04, 2016 - 06:11 PM UTC
Thank you guys,
The clamps are a real pain but you do get used to them,
So I basically cut the parts out and clean up the brass
so that its ready to use. I fold all the parts that require folding and then I place the base part onto a small blob of Blue tac , in the past I have even CA glued the base part to a piece of plastic card so that its steady.
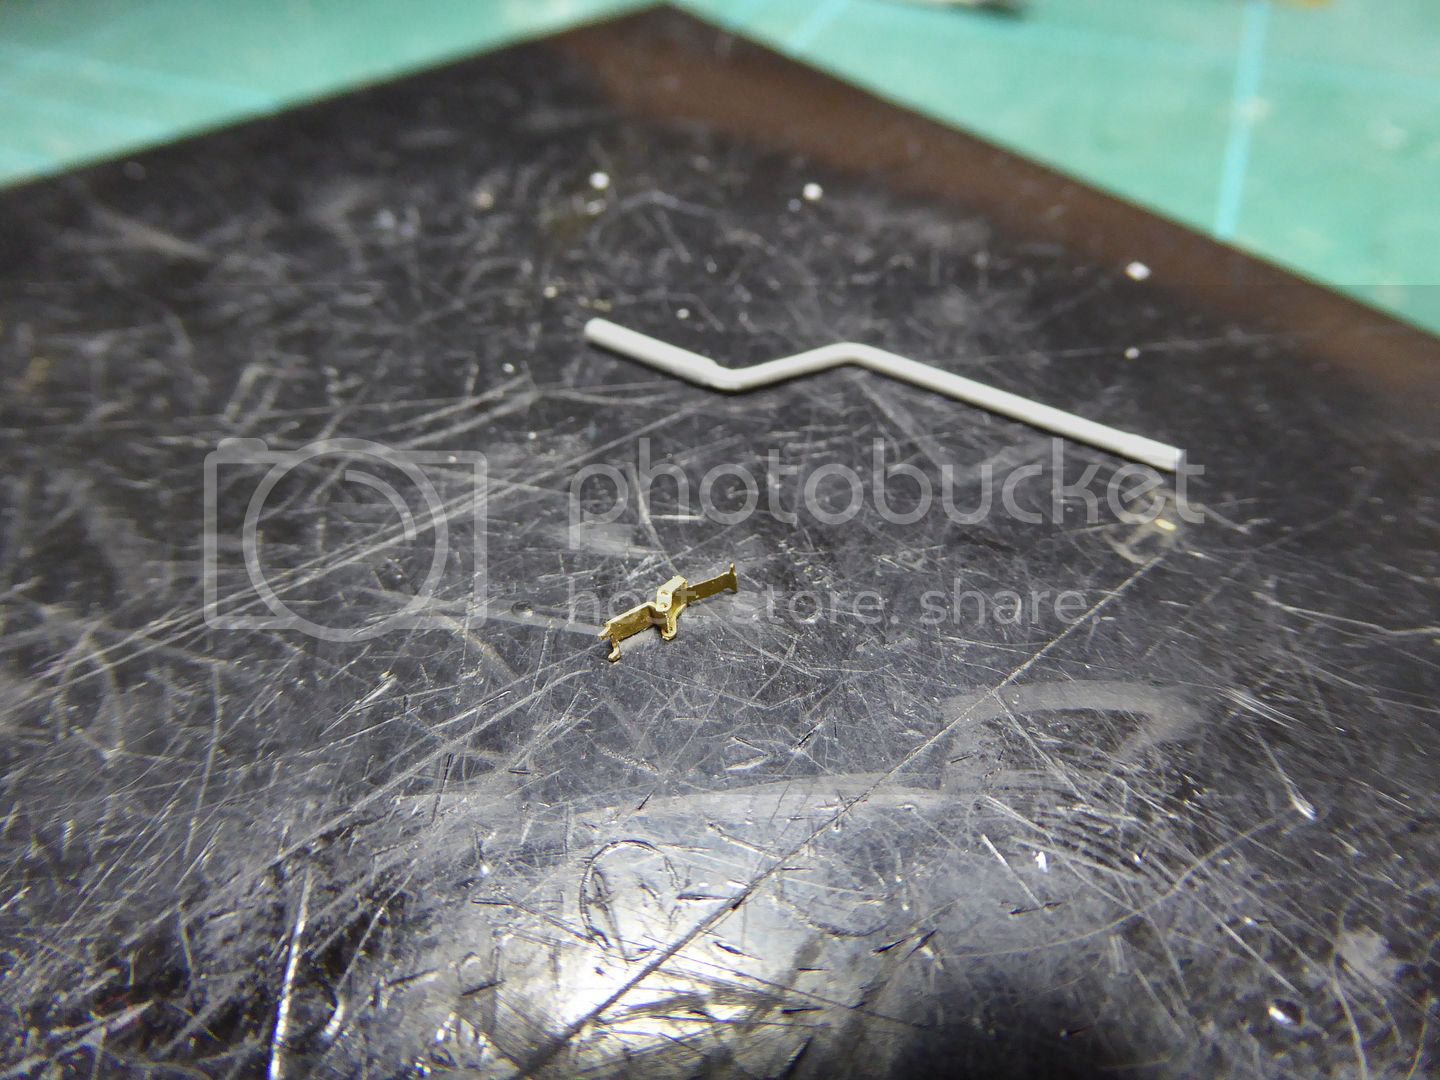
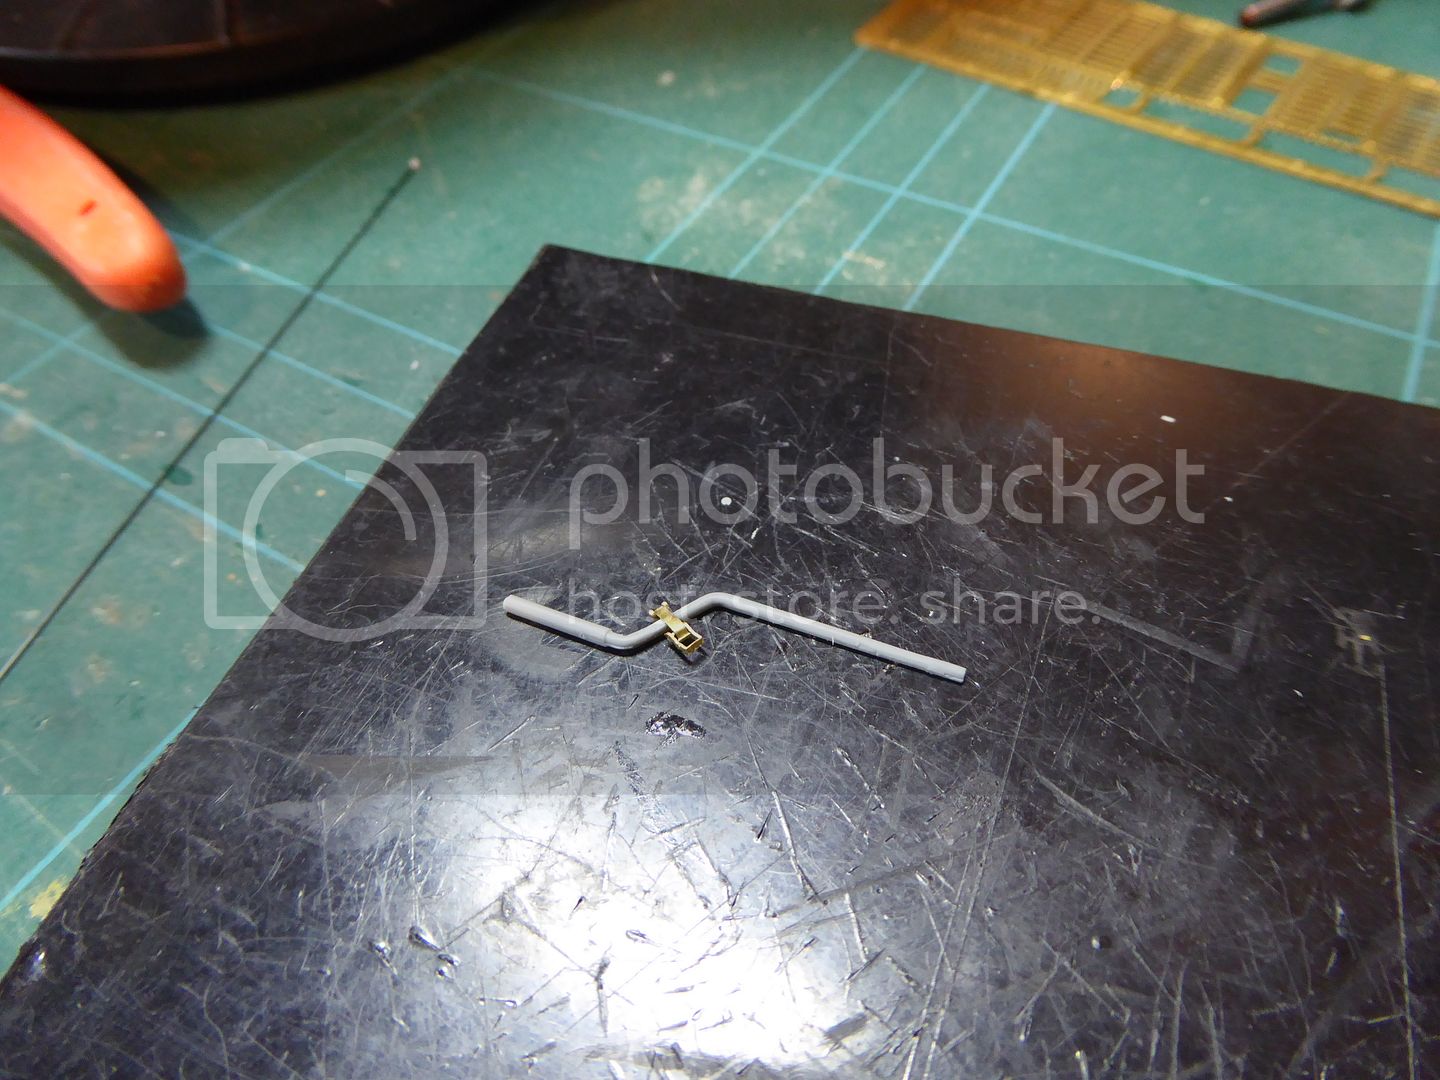
I again use Blue Tac again to hold the actual clamp part of the assembly and using needle nose tweezers I add the folded locking handle, it takes some practice but with a good optivisor and tweezers its doable. I then add the tool and CA glue the clamp shut.
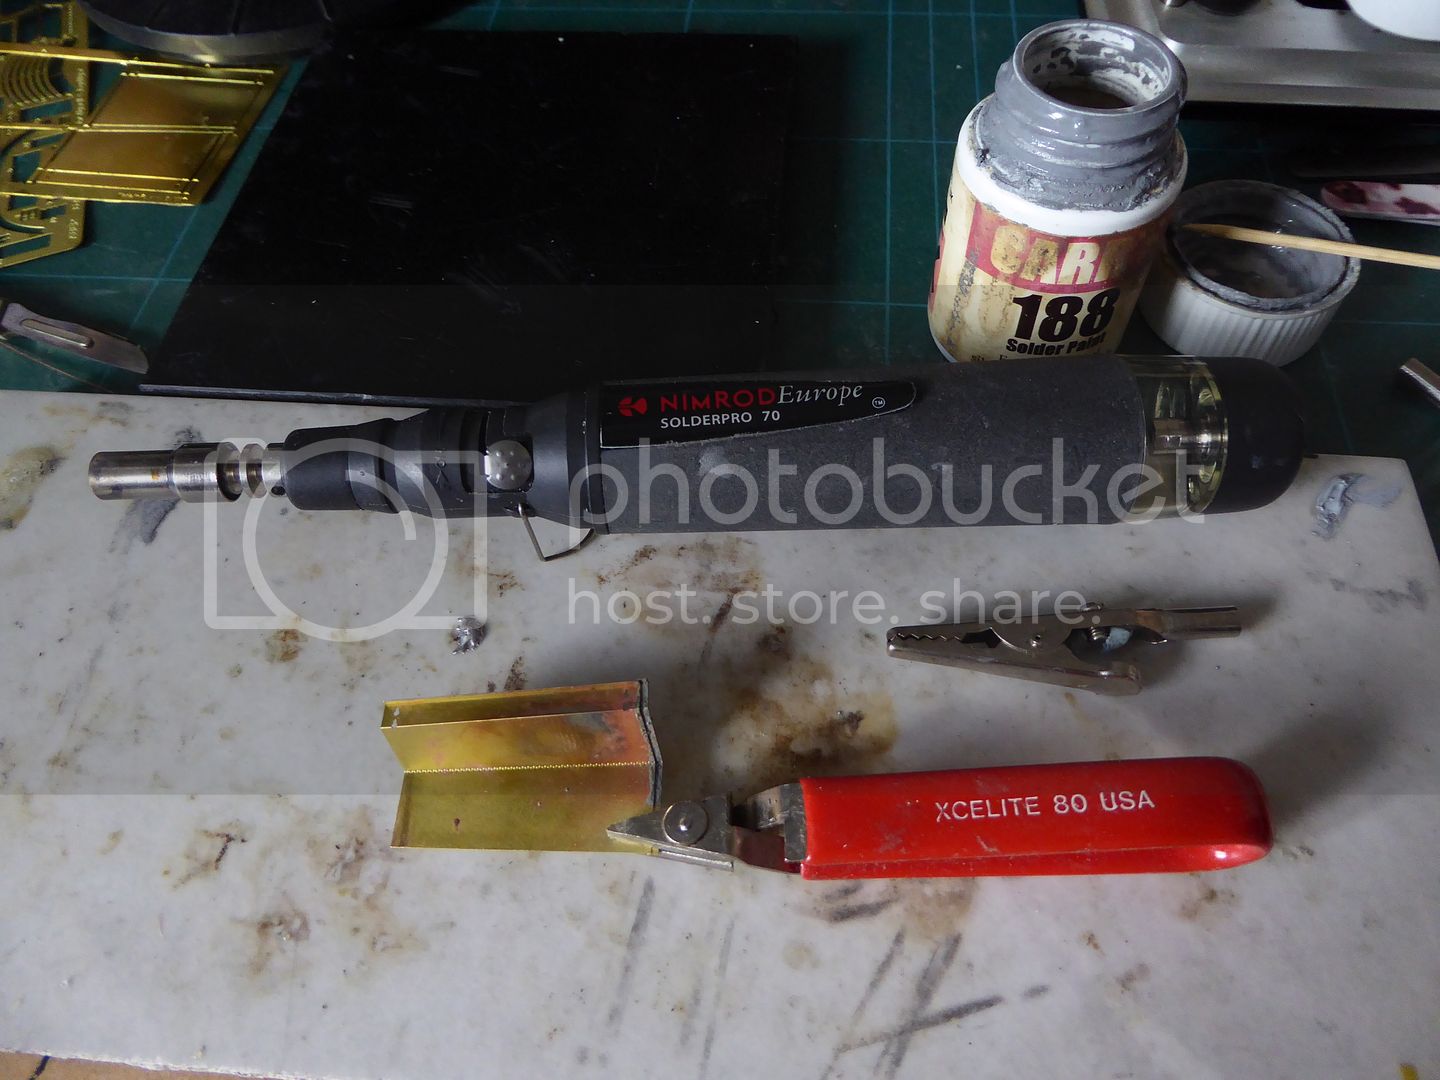
As for soldering I use a micro blow torch and solder paint for the basic jobs, clean up with a fibreglass brush and / or a Dremel tool with a brass brush for the larger pieces.
I also have a selection of Carrs low melt solder and a small lightweight iron for more difficult jobs.
I just take my time and practice a lot

Dan
England - North West, United Kingdom
Joined: March 27, 2007
KitMaker: 803 posts
Armorama: 793 posts
Posted: Monday, July 04, 2016 - 06:31 PM UTC
Picture paints a thousand words..
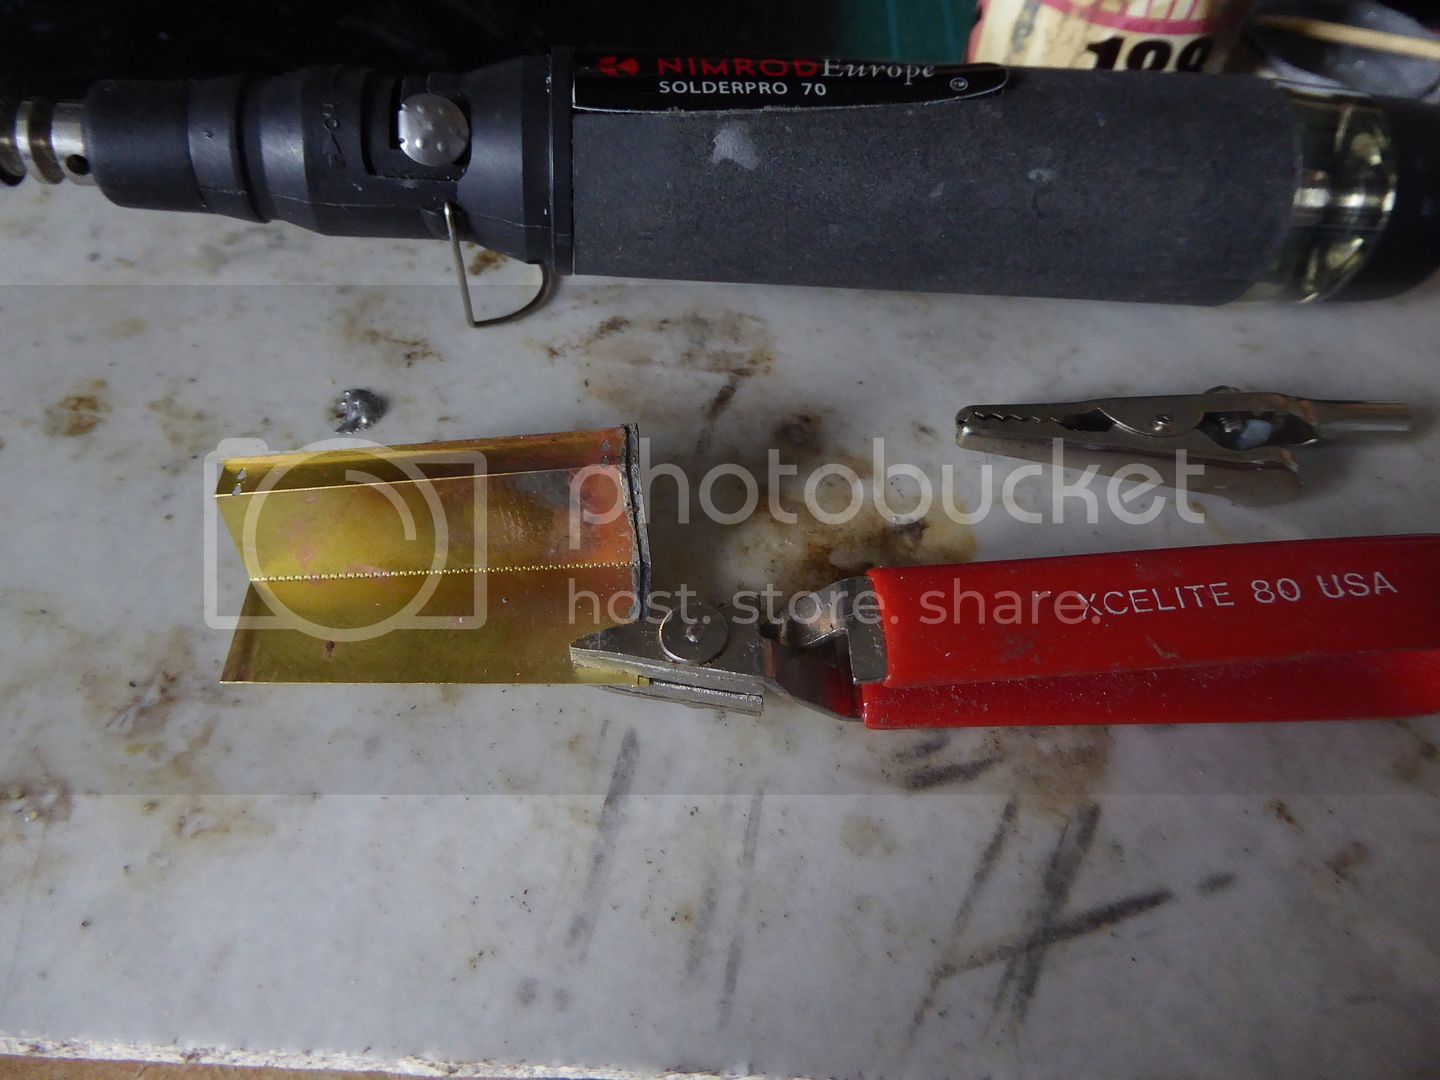
Just soldering up the side skirts, I used a heat sink just to grab the part that was to be soldered on, the folding and bending need to be as accurate as you can get them.
The parts requiring soldering need to be spotless clean, any finger grease or oils and it won't solder.
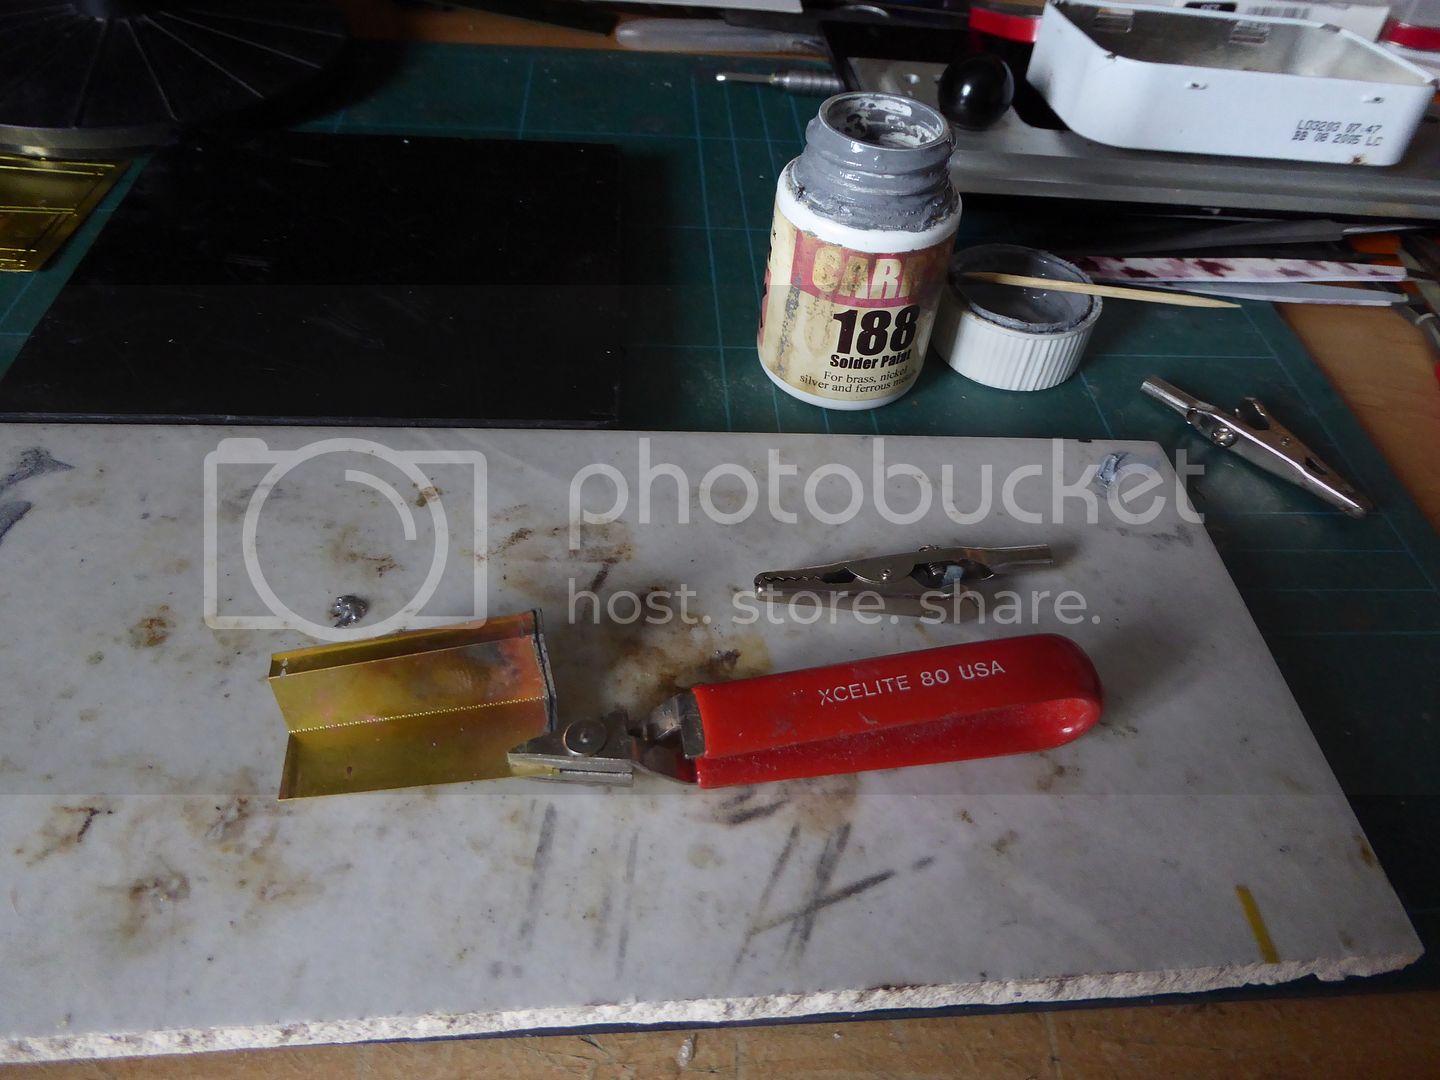
The small crock clips are great for holding parts and being used as heat sinks.
Don't forget to clean everything afterwards in soapy water, the flux is corrosive and will cause issues with the paint finish.
Cheers
Dan
Iowa, United States
Joined: May 12, 2014
KitMaker: 542 posts
Armorama: 539 posts
Posted: Monday, July 04, 2016 - 09:53 PM UTC
stunning work; I've heard it's a good kit; I picked one up at a contest some years ago for a very good price but haven't tried to tackle it yet; you have inspired me to seriously consider it as my next project; keep up the good work
England - North West, United Kingdom
Joined: March 27, 2007
KitMaker: 803 posts
Armorama: 793 posts
Posted: Wednesday, July 06, 2016 - 03:35 PM UTC
Thank you all for the kind words on the build
and I hope my ramblings about clamps and soldering might of helped someone.
So stepping up a gear here now, I'm on a deadline with this build, self imposed as I'm going in for heart surgery on the 27th of this month.
So, let us spray

Just Tamiya fine primer from the can.
Dan


