Happy New Year....
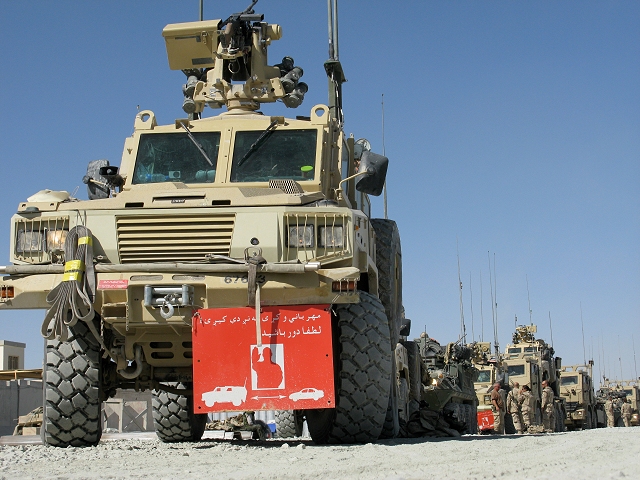
i started on this build 3 weeks ago. This is Kinetic Rg-31 Mk3.
This would be another OOB for me (but will add some small details) to this kit. The build is for local Kinetic group build.
I never build any kinetic kit before and this is also my first time doing modern wheeled vehicles. I never knew about this vehicle before. Since LHS threw 50% discount on all kinetic kits, and this is the only land vehicle that available so i would like to give it a try.
Build started 3 weeks ago with some frustation involved. Since this is my first kinetic kit, i found out that the manual and instructions are really confusing. They dont simply pin point where exactly the part goes...just an arrow showing in (and worst from the other side..) The way some parts attached to the sprue is also bothers me.Big join stub on a small fragile window frame! I almost destroy a few. Maybe i'm not careful. Extra cleaning is required.The only things that keep me going is the excellent fitting of the parts.
I follow the step in the manuals, which started with the front wheel suspension. Then the hull. I attached most part here and then move on to the interior.
I assembled and painted the gearbox and exhaust but will further detail them after final color is painted.

Next is the interior. I painted them with light grey and then detail up the seat using tape and painted with vallejo grey green.

Put them in place

The deck was weathered with oil n pastel.
Then i painted all the details in the interior


Before i glue the hull, i replicate the non-skid coating. After reading the tips in armorama, i try to follow the tip by using mr.surfacer. After masking, i spray with mr.color 500 mix with 1200 and thinner 5% and then spray at 50psig and about 15inches away. The results are ok as this is my first time ever attempt this kind of coating.


on closer look after unmasked:


The instructions also doesnt tell clearly where exactly am i supposed to attached the radio. I try putting them on the square dent which i believe to be the mount but the join was too small. so i added a strip styrene underneath the join and then glue the radio.

when this is done it's time to join both hull.


In the meantime, i assembled the remote weapon station. Most small parts goes here..i think the rws has more than 70 parts. the smoke grenade alone consist of 3 parts each.
Test fitting and temporary attached with greentac


last night i dry fitted the side panel and hatches. This maybe the final configuration. I will add details to the top hatch later.Thanks to Mr.Bob Read from Canada who provide me close up photos of the top hatches.


That's for now. Thanks for veiwing
Zaidi