Armor/AFV: Braille Scale
1/72 and 1/76 Scale Armor and AFVs.
Hosted by Darren Baker
Zvezda's Tiny Terminator Build
tread_geek
Visit this Community
Ontario, Canada
Joined: March 23, 2008
KitMaker: 2,847 posts
Armorama: 2,667 posts
Posted: Tuesday, April 18, 2017 - 07:52 AM UTC
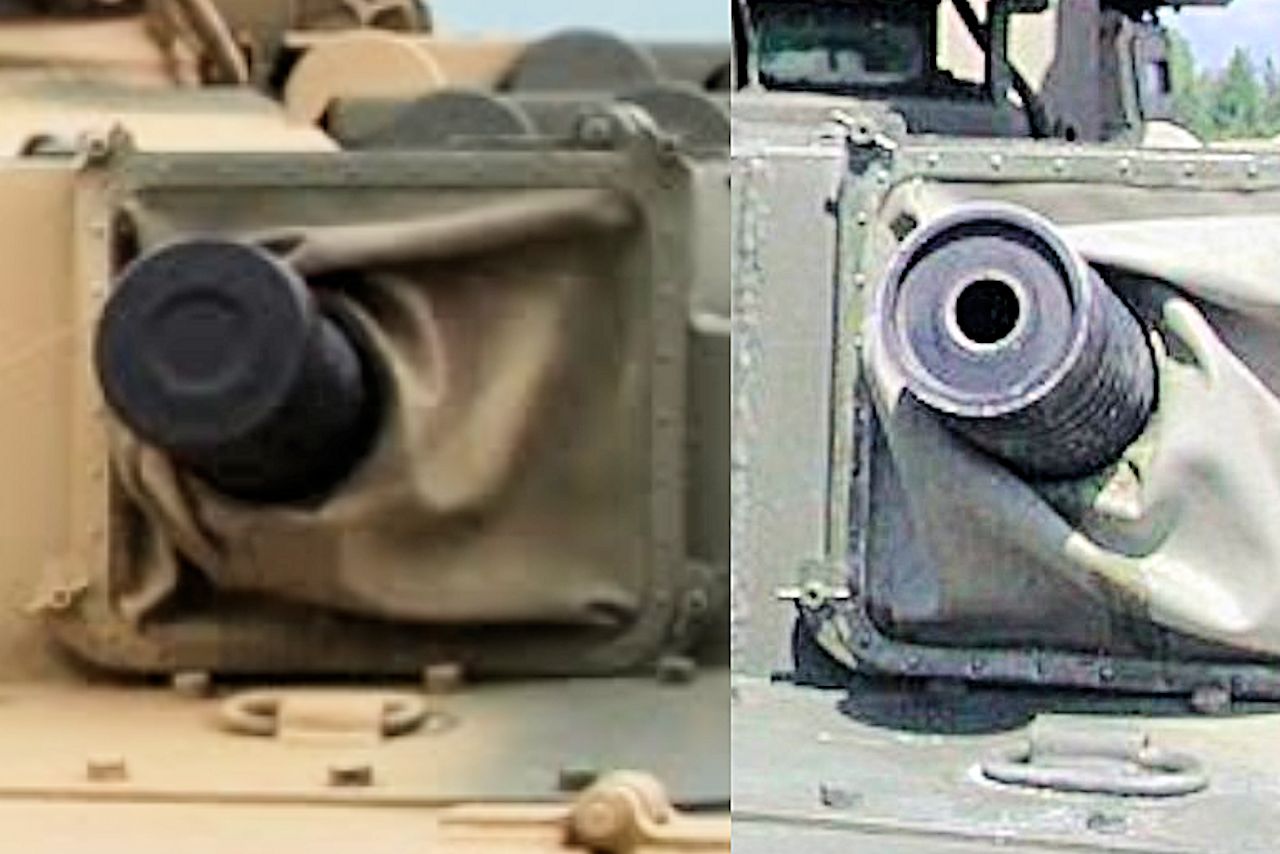
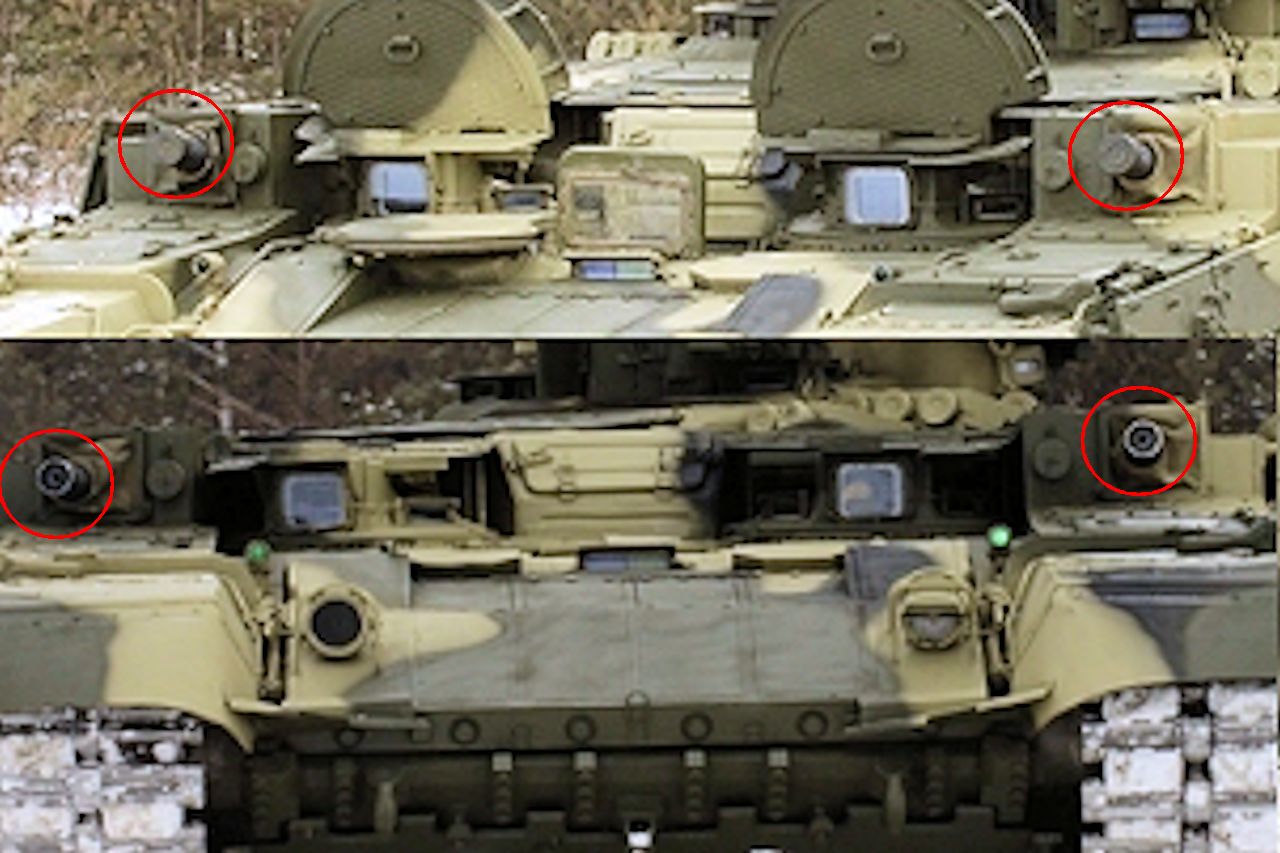
Just a quick note for now, Matthew. Those two items to the outside of the two hull hatches that have what appears to be fabric bases are AGS-30 30mm grenade launchers.

Cheers,
Jan.
firstcircle
Visit this Community
England - South East, United Kingdom
Joined: November 19, 2008
KitMaker: 2,249 posts
Armorama: 2,007 posts
Posted: Wednesday, April 19, 2017 - 03:26 AM UTC

Quoted Text

Just a quick note for now, Matthew. Those two items to the outside of the two hull hatches that have what appears to be fabric bases are AGS-30 30mm grenade launchers.


Thanks for the info Jan, that's useful; I've been concentrating on trying to make progress as I know how much time researching on the web can take up, but I will take a closer look at these launchers later.

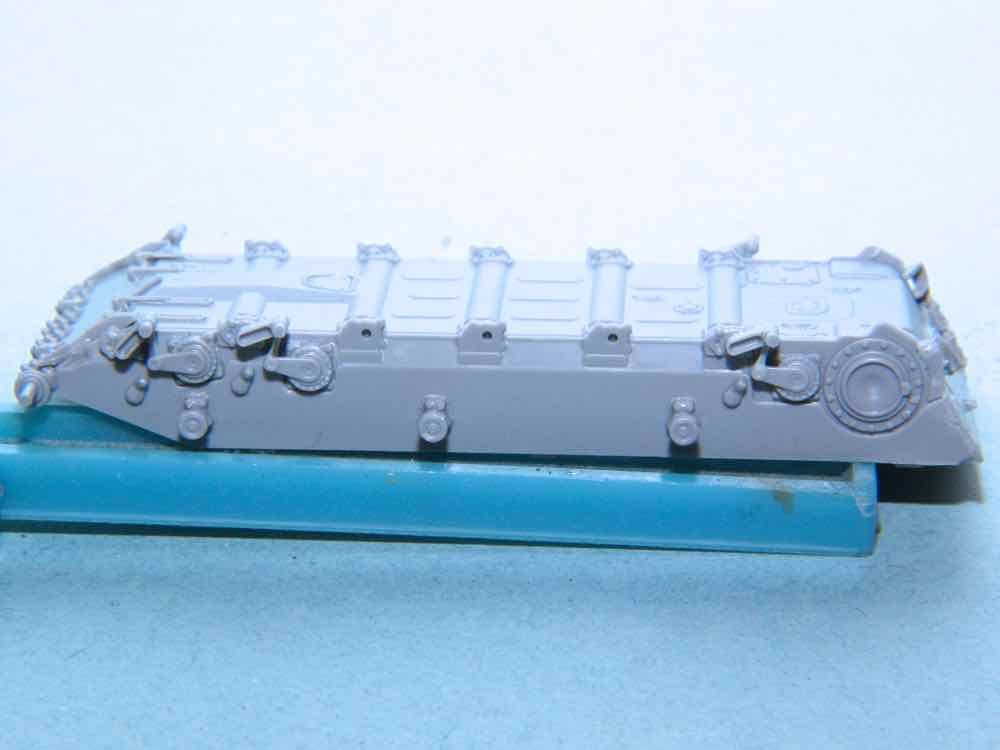
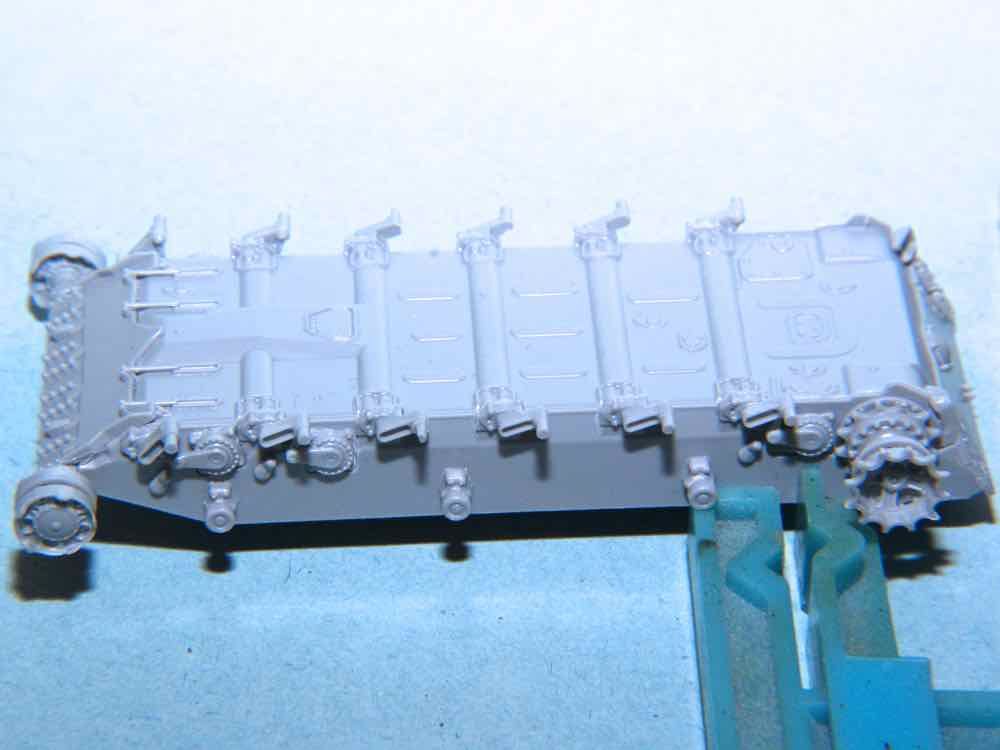
A quick update then, moving to the hull, I had to start off by cementing the broken idler axle back on so that it can set overnight before attaching the wheel to it. In the meantime the first suspension arm goes on the first wheel station. The rod that joins the two arms is quite thin and liable to bend if these components are not handled carefully while being tidied up.


Here the other two similar units are in place on the second and final stations, plus the single arms in the central three positions:


The return rollers also attached. I notice the plastic is OK to work with and the sprue connection scraps could be removed tidily without too much trouble in the form of any unwanted fluffing up etc., using a glass file, then 600 grade, followed by 1500 emery for a final polish.


Not too exciting an update, and I suspect identical to the T-90 kit, and into the cupboard to set until tomorrow.
tread_geek
Visit this Community
Ontario, Canada
Joined: March 23, 2008
KitMaker: 2,847 posts
Armorama: 2,667 posts
Posted: Wednesday, April 19, 2017 - 07:01 PM UTC
Good progress Matthew and yes, those suspension arms were a bit delicate and I accidentally "bent" my first one while removing it from the sprue. Checking back in my build photos I think that I can safely say that this Terminator does appear to possess the T-90 kit's suspension. As a passing note, I have recently read that the "new" Terminator 2 will be and/or is based on the older T-72 suspension. Just for you and the general publics edification, here are a couple of build images from the T-90 kit.


Matthew, perhaps somewhere in your articles you might like to note that in these particular kits the suspension parts/components are very location specific.

Cheers,
Jan
firstcircle
Visit this Community
England - South East, United Kingdom
Joined: November 19, 2008
KitMaker: 2,249 posts
Armorama: 2,007 posts
Posted: Sunday, April 23, 2017 - 01:23 AM UTC
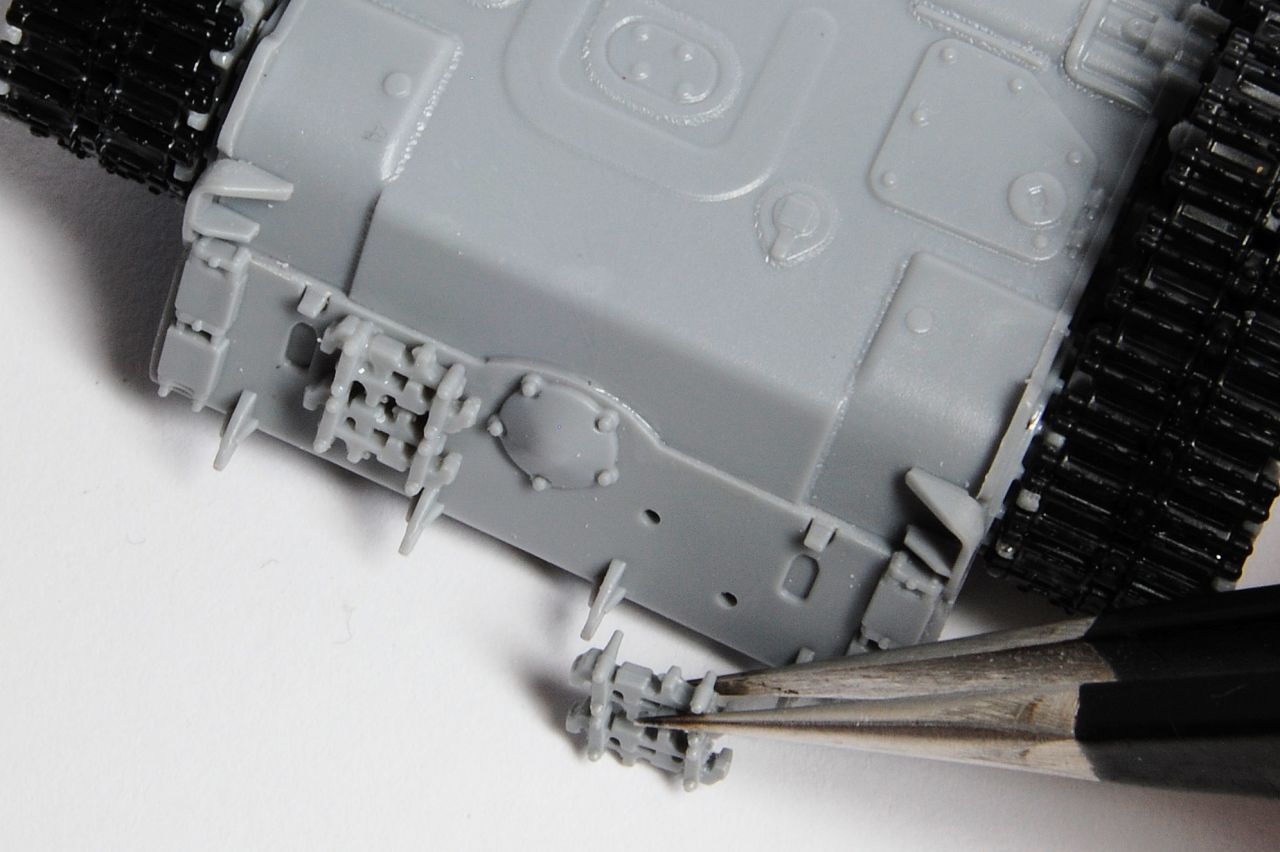
So, further to the AGS-30 30mm grenade launchers that Jan identified for me, and that have plain fronts in the kit; here are views of them both with what appears to be a cover, and without:


Even with the cover on, there is still some detail, though as you can see in the photo that shows them from a distance, you can imagine it might be quite unnoticeable in 1/72 scale.

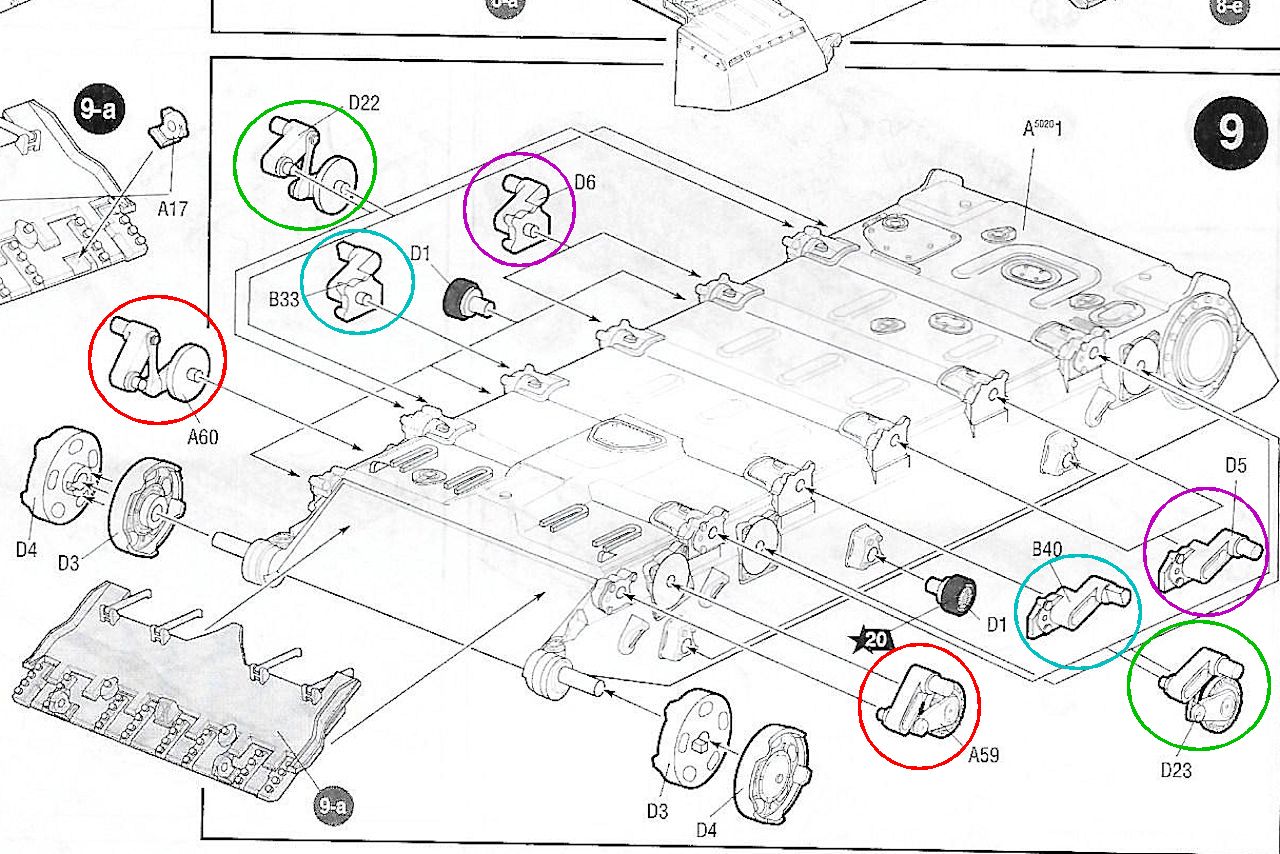
And to pick up on something else that you pointed out, Jan, this is definitely one of those kits where you should pay attention to part numbers and make sure that you keep track of which part is which after removal from the sprues, probably by assembling them immediately. This view of step 9 shows the issue: A60 / A59, of which there are one each, are mirrors of each other, and very similar to, but not identical to, D22 / D23, of which there are two of each. B33 / B40 are mirrors and look almost identical to D6 / D5, but note the axle stub is D shaped on the former and O shaped on the latter.


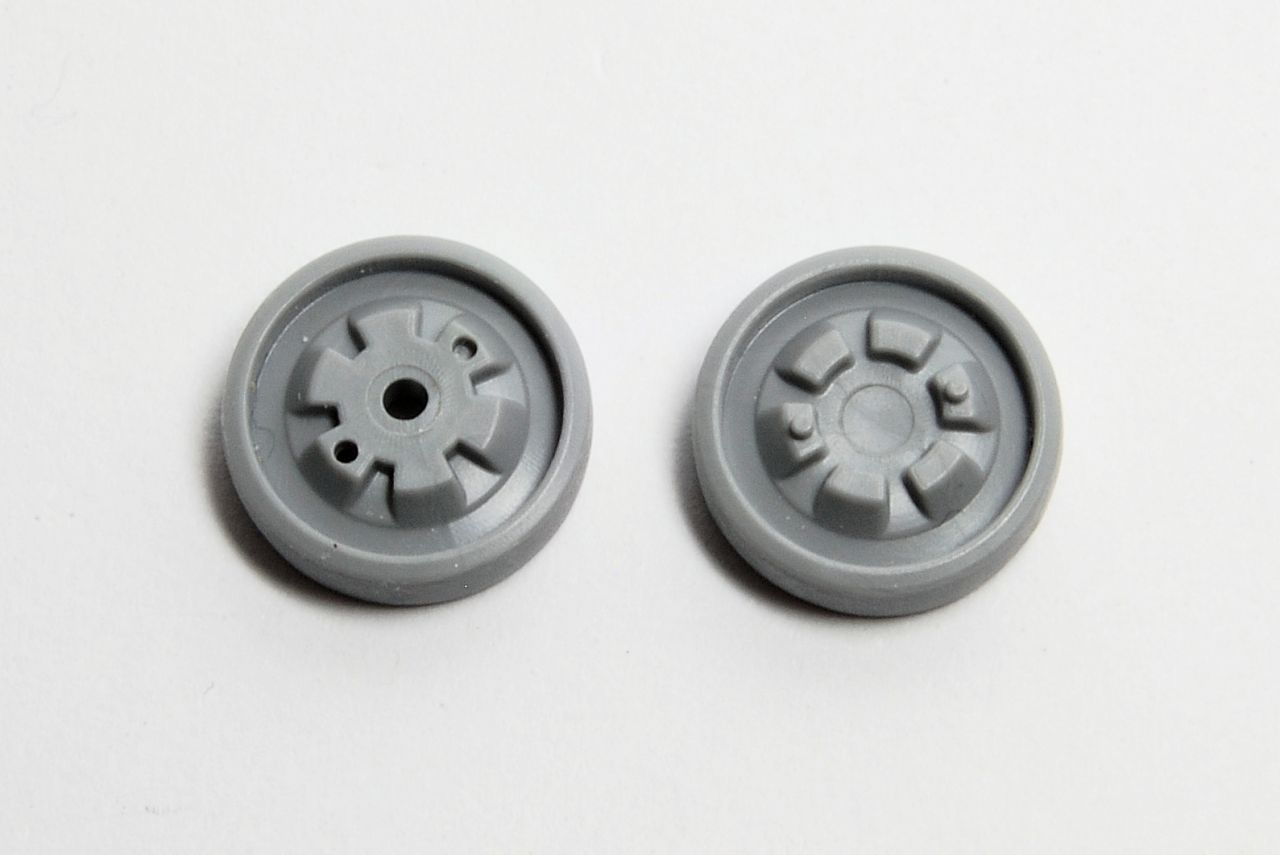
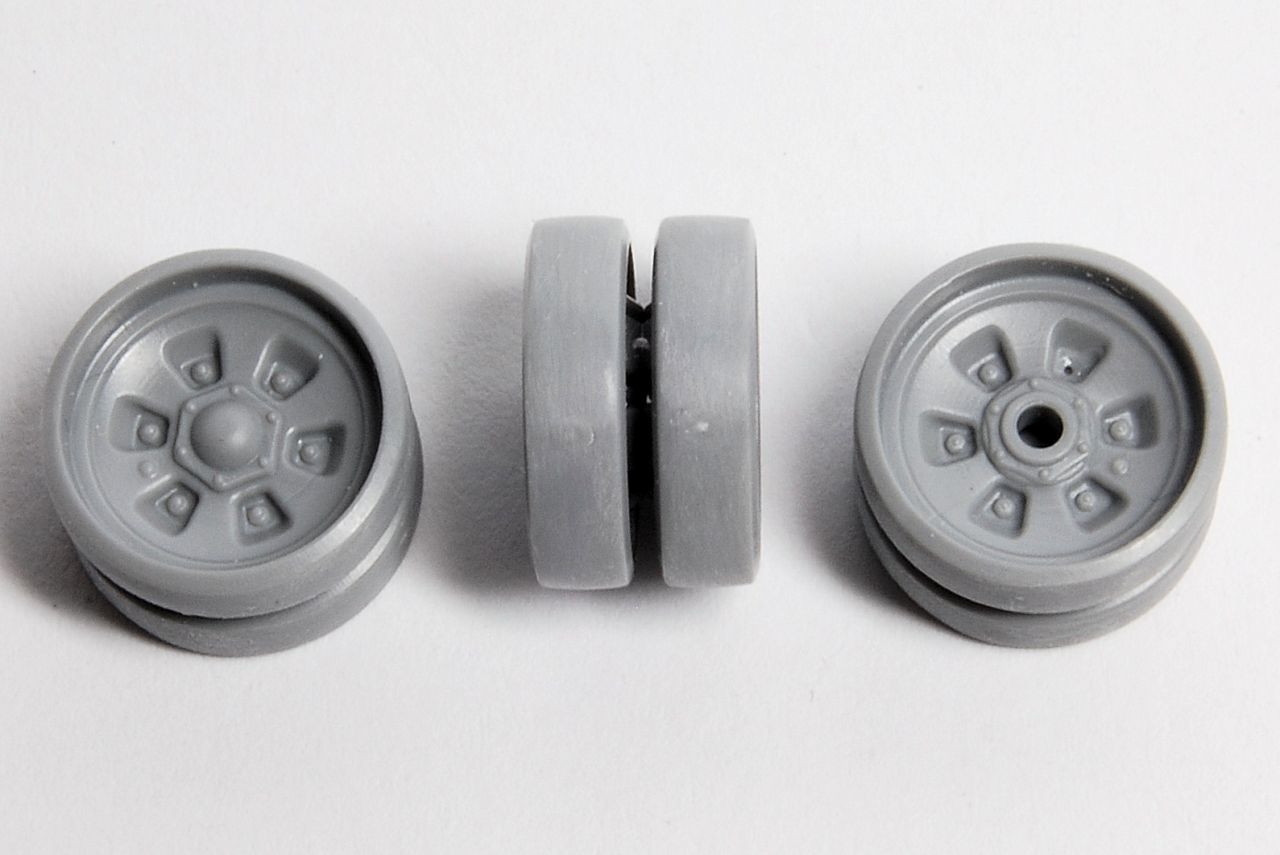
Assembling the plain road wheels, 10 of each:


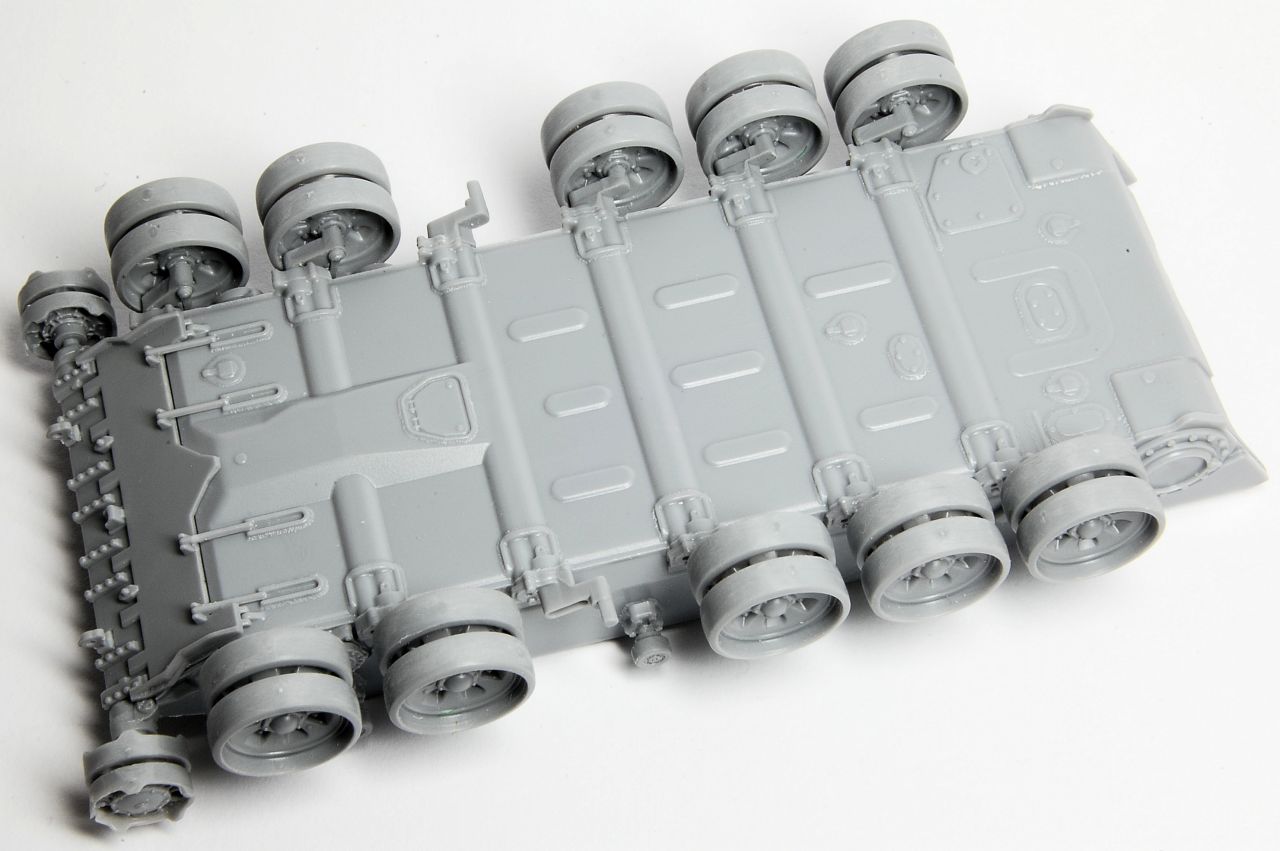
Added to the lower hull; notice the third axle from the front is left out at this stage as this is the location for the special track locking road wheel.


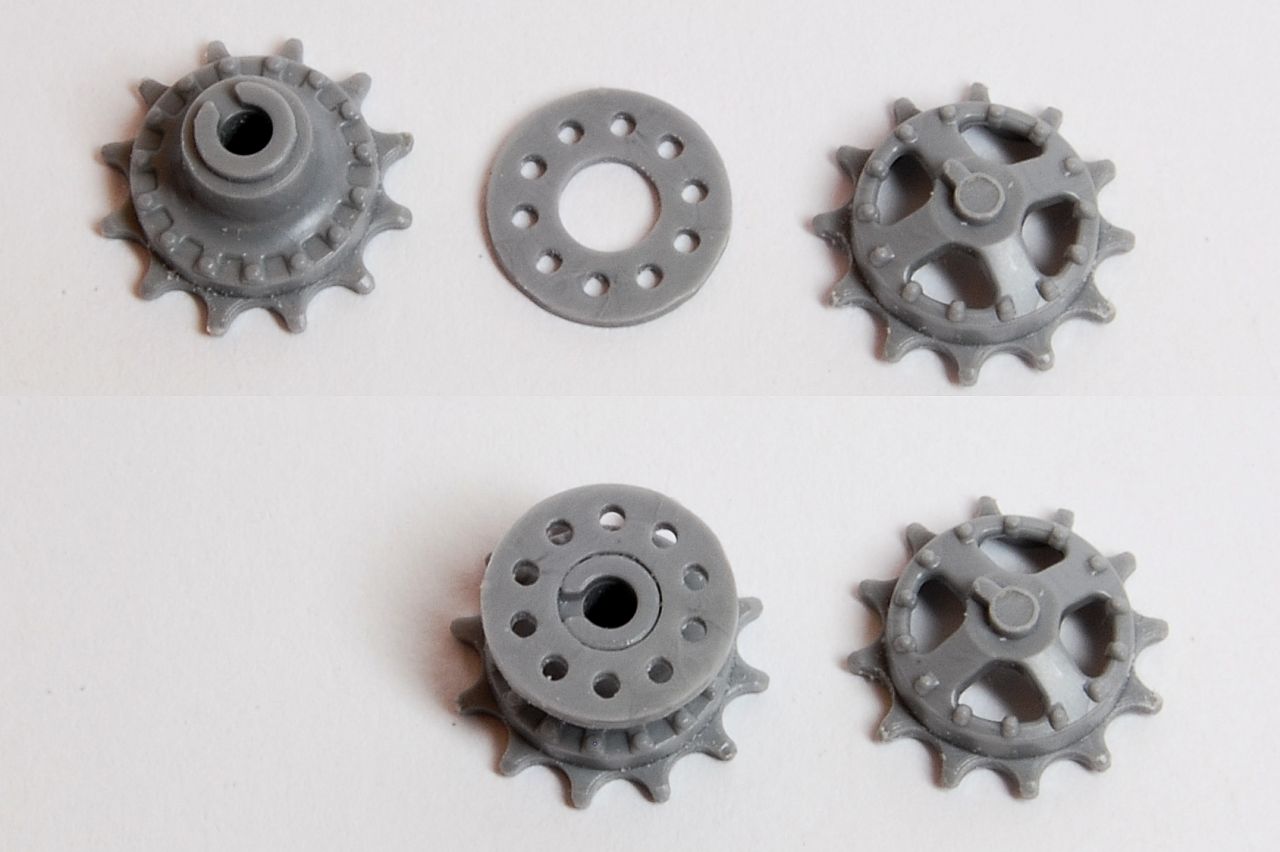
Assembling the sprockets, three pieces, inner and outer sandwiching a ring:


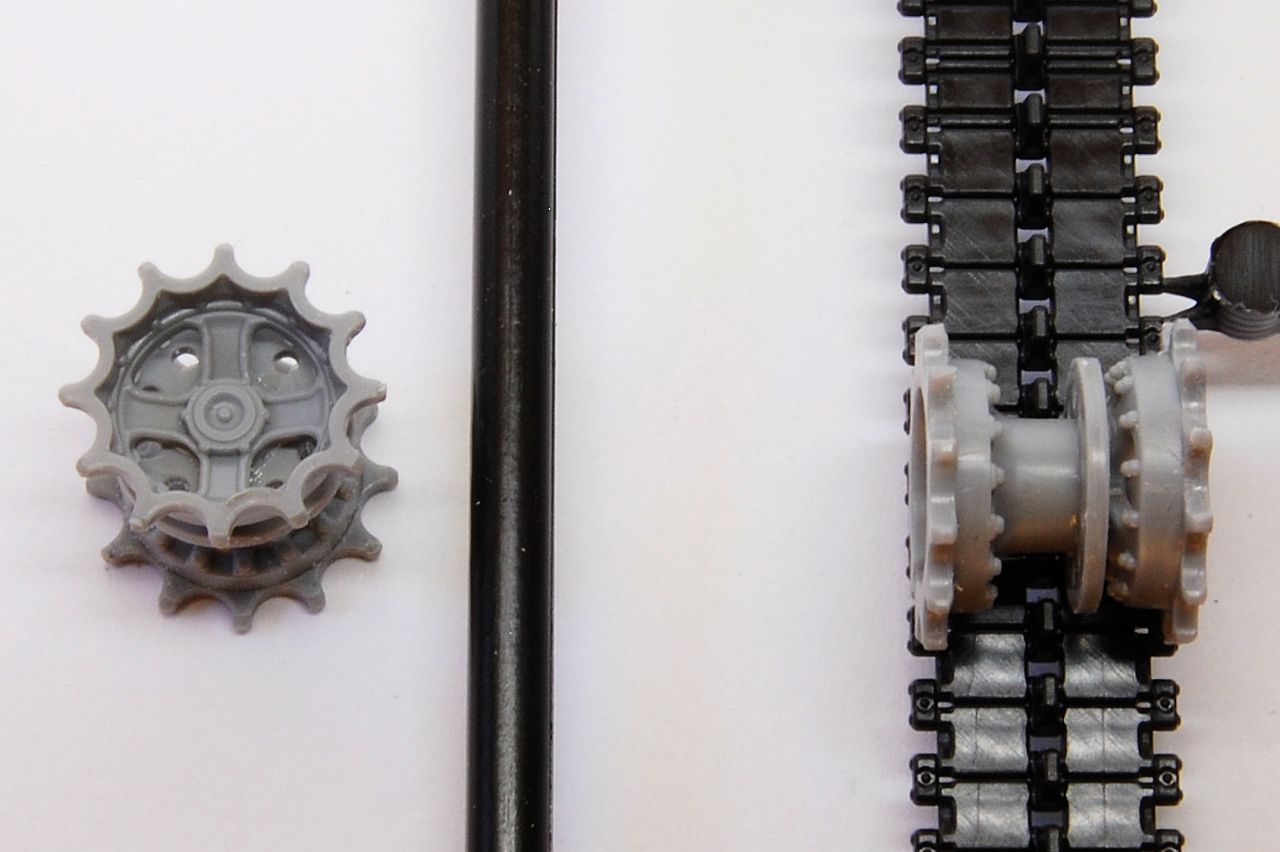
Although there is a locating lug, there is of course enough play that the alignment of the teeth needs to be adjusted, using the track to ensure the sprocket looks straight:


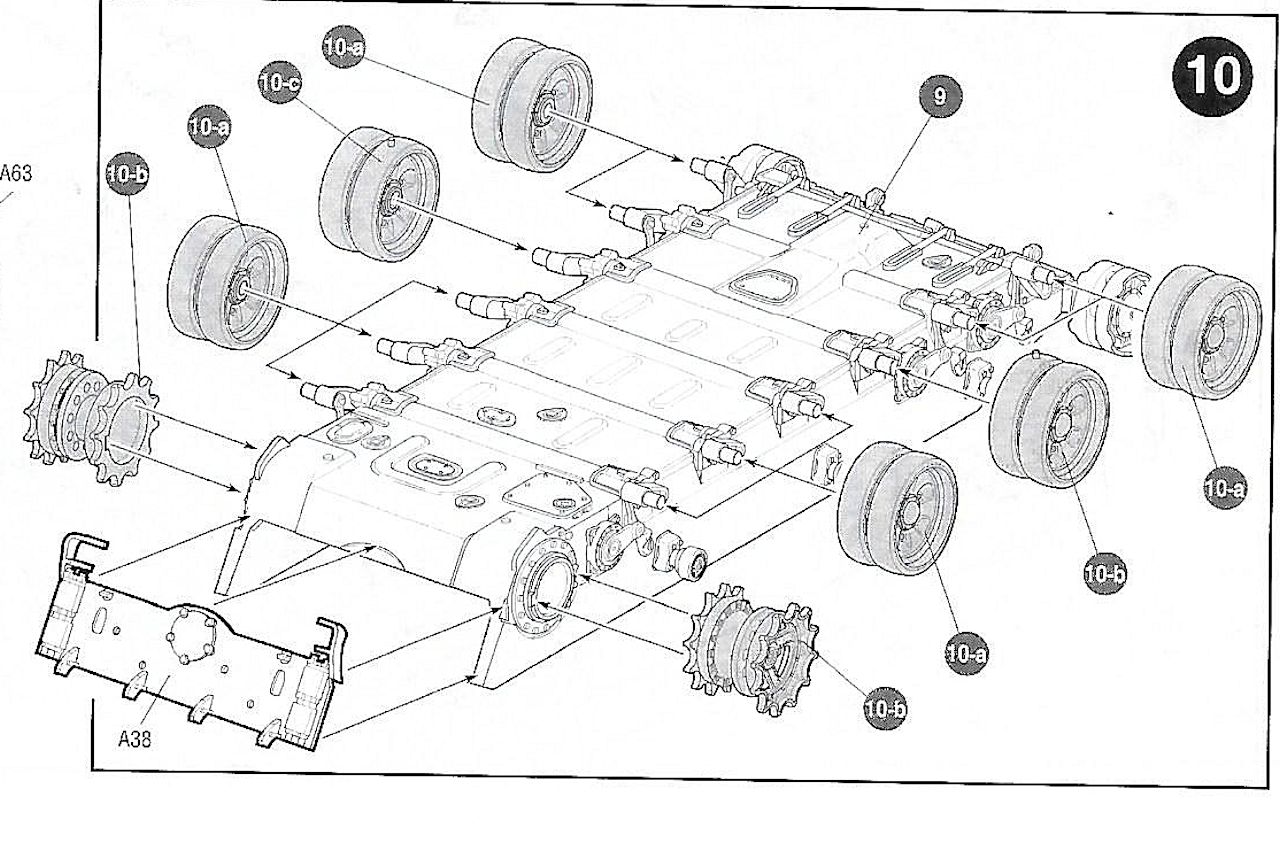
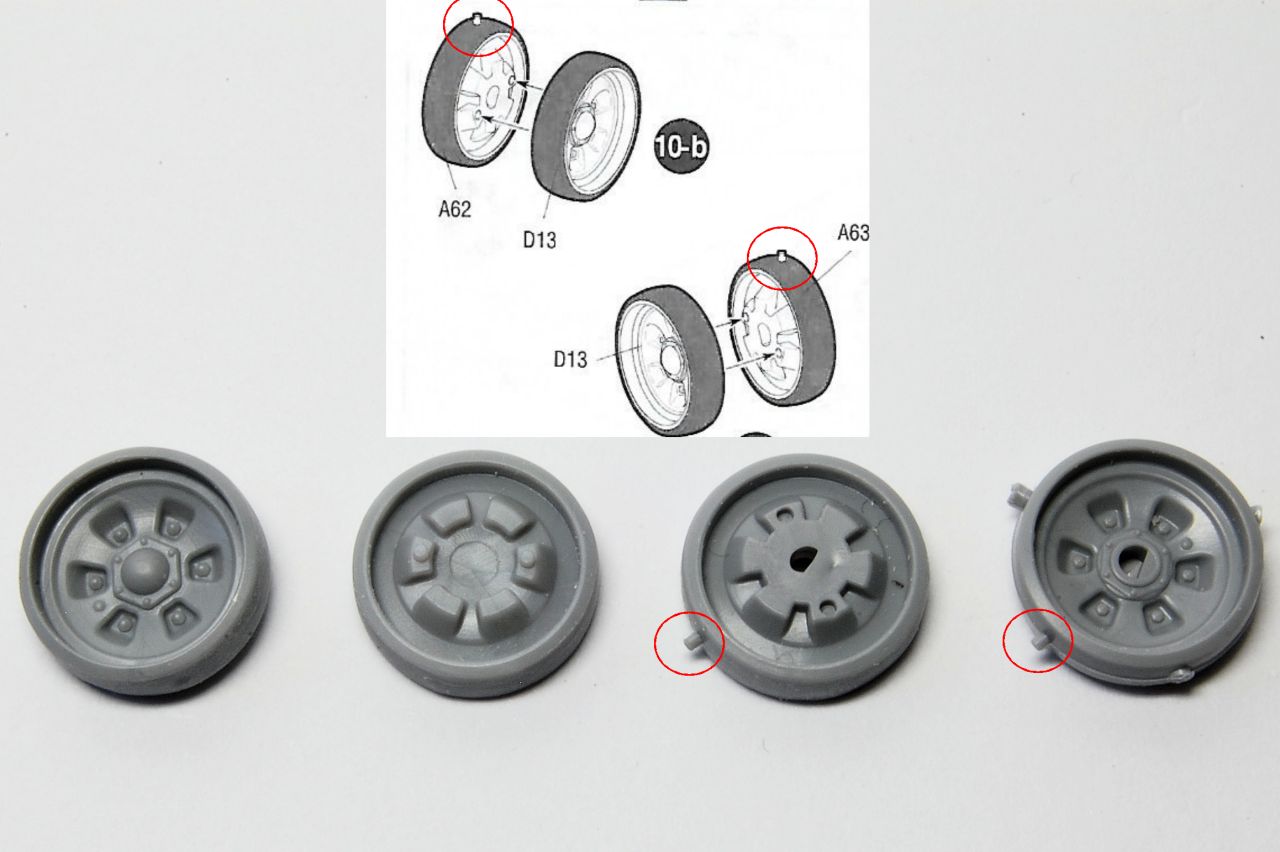
Note there is a mis-numbered sub step for the sprocket assembly, and this is reproduced on the wheel assembly diagram; 10-b is the left track locking road wheel, 10-c the right, the sprockets should be 10-d:


tread_geek
Visit this Community
Ontario, Canada
Joined: March 23, 2008
KitMaker: 2,847 posts
Armorama: 2,667 posts
Posted: Sunday, April 23, 2017 - 07:50 PM UTC
Well explained Matthew and this definitely should forewarn those that think that because it's a small scale kit it'll be a quick and simple build! I think it may be safe to say that painting this kit will be an exercise in juditious planning, especially the suspension with the way it is made.

I have personally stalled in my build trying to figure out how and in what order to paint and or assemble this unique track system. Perhaps I'll be somewhat lazy and wait and see how you tackle it? Great work so far and indeed an enjoyable read.

Cheers,
Jan
firstcircle
Visit this Community
England - South East, United Kingdom
Joined: November 19, 2008
KitMaker: 2,249 posts
Armorama: 2,007 posts
Posted: Monday, April 24, 2017 - 01:07 AM UTC
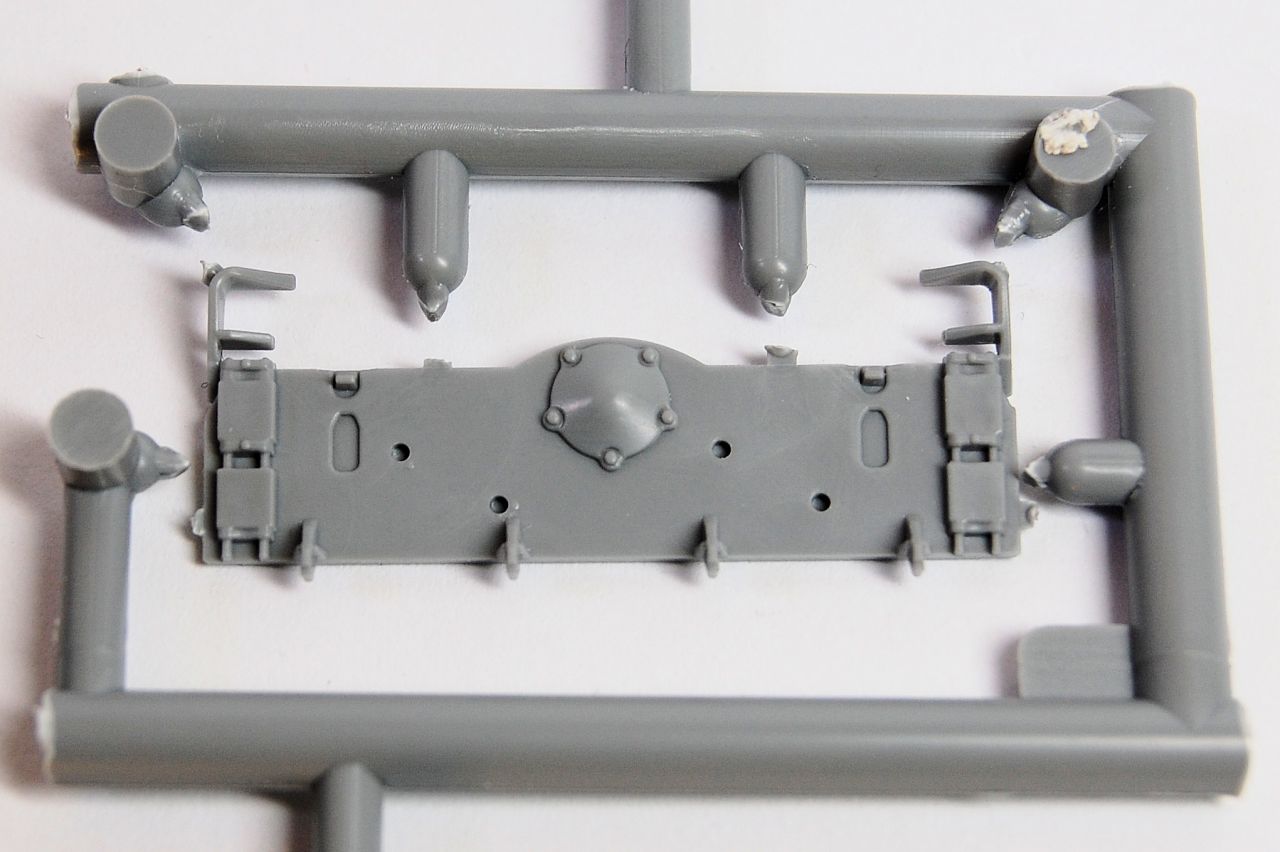
In the last shot above of the instructions, part A38 is tackled next; it has a couple of very delicate mouldings which tend to be stressed when cutting from the sprue, partly because it is boxed in so that the sprue itself doesn't bend away from the part. I therefore cut the sprue out from the main frame before then cutting the component free.


This is seriously one of those pieces that you need to be careful with when handling.


Once again it fits very well, and the cement can all be applied from the interior of the hull. I can see a little leaked out under the semi-circular part around the plate with the five bolts.


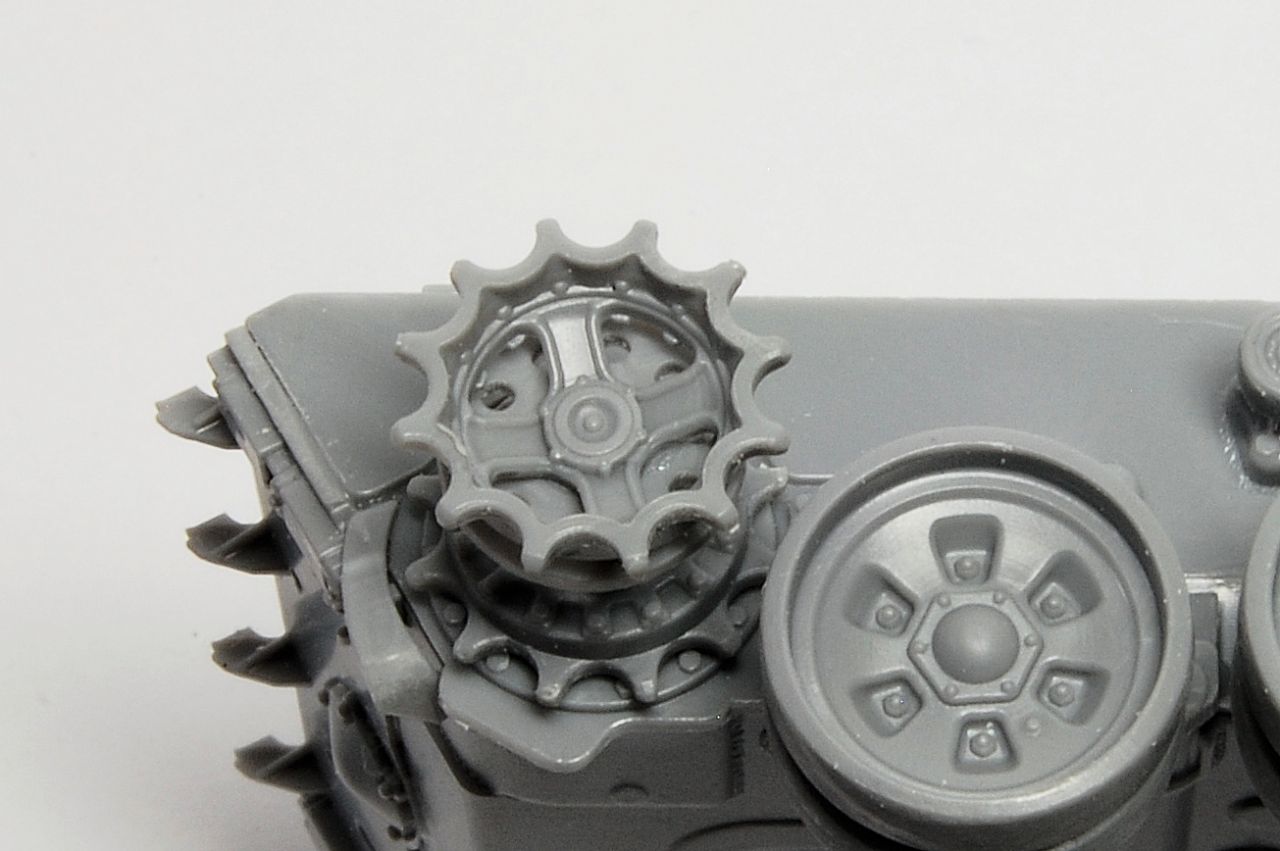
When it comes to attaching the sprocket, I'm glad to see a big definite and strong looking attachment point, rather than some bendy axle. Note it can only go on one way:


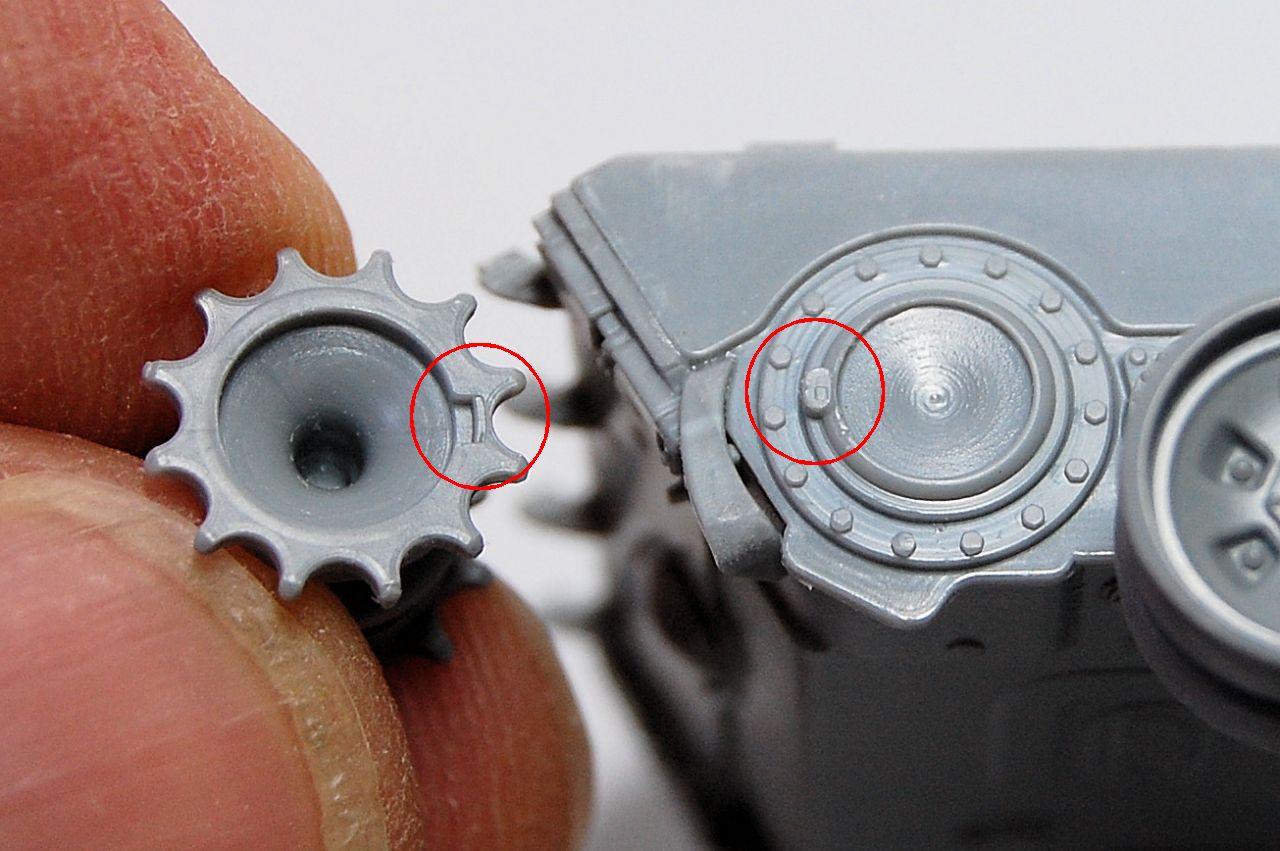
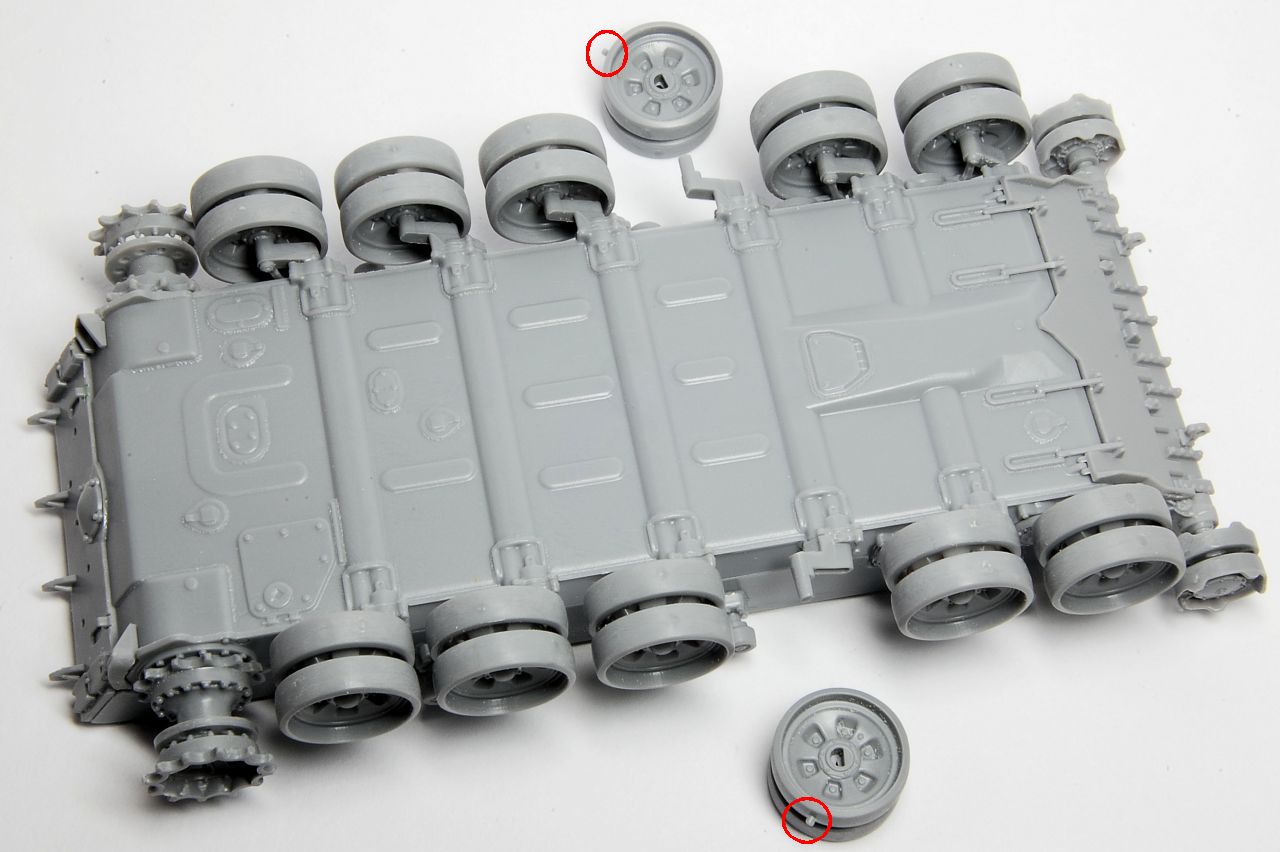
Next are the special track retaining road wheels with the small pips - don't accidentally file them off with the sprue fragments...


Here we are at the end of step 10, page 3. I've left those track retaining wheels off for now; when building Zvezda's SU-100 recently it became apparent that it would be useful to be able to rotate these wheels a little so that the join of the track is in the right place in order to get even tension.


So, Jan, on the question of painting... when I painted the Zvezda Panther, which also uses this system, I fully constructed the lower hull and tracks then primed this whole sub assembly. Then painted the wheels and hull in the base colour, then masked all of that off and sprayed the tracks and painted them with washes etc. Removed the masking tape and painted the tyres. Added the primed upper hull, but then had to ensure the nose joint was made good, which then meant repriming just that part; then the wheels and tracks were masked off completely and the upper hull and the nose and rear of the lower hull were painted in the base colour. The wheel / track masking was left in place while all the camo painting was finished, and then removed for the weathering stage.

When I suggested this method to someone before, I was told by another Armorama member that this is not a good method. Many 1/35 scale modellers seem to be in the habit of painting the hull in one piece, the wheels all individually, then adding them to the painted hull, then adding the tracks. It might be possible with this kit, but I think that in this smaller scale, assembling tracks to painted wheels would be especially painful. It is also probably easier to do all the masking that this method requires on a small scale model than on 1/35 scale. I'm expecting (hoping) that the side skirts can be attached to the upper hull first and be painted prior to joining the hull halves together; the instructions don't actually specify which order that is done in as they are in the same step...

Those are my thoughts, and it is tracks in the next step, so I'd better be right.
Knuckles
Visit this Community
Oregon, United States
Joined: March 09, 2017
KitMaker: 525 posts
Armorama: 266 posts
Posted: Monday, April 24, 2017 - 02:03 AM UTC
I am building the 1.35 version of this same kit. I assembled/painted int he latter format you have listed above. I primed all of the sub assemblies, built the entire tank, primed, left the wheels and tracks off, and painted the base color. I've now got a bucket o'primed wheels, a box of link n'length tracks that are primed, and my tank in its arctic white base.

My plan is to apply the grey and black camo pattern, and do the wheel hubs in grey (I primed them in Nato Black so I can mask off the rubber), then add the completed wheels, then paint the track, glue it on, and then weather the entire kit.

...I hope
tread_geek
Visit this Community
Ontario, Canada
Joined: March 23, 2008
KitMaker: 2,847 posts
Armorama: 2,667 posts
Posted: Monday, April 24, 2017 - 08:01 PM UTC
Oh my goodness, where to begin?

Matthew, one thing is certain, we'll have to be careful where we draw similarities between our two Zveszda kits. The first indication of this was your explanation of the numbering system for the suspension wheel sets. As the T-90 was the first in this series of modern armour they didn't merely "copy and paste" instruction pieces between similar kits (as a certain Hong Kong manufacturer has been prone to do) but actually edited the instructions further. Here's my version of what you show above (note the numbering system differences):

T-90=D-9 by Jan Etal, on Flickr

Please note that in my kit the part A38 is marked as C59 and for curiosity sake, here is the 'C' sprue from my kit (part is located in the centre).

T-90=D-3 by Jan Etal, on Flickr

I am still waiting for information on the arrival of my "Mini-Terminator" and not too sure on the painting/assembly order for the suspension method that you suggest. Guess I'll just mull it over a bit more.

I am finding this Blog and exercise very interesting and informative and thank you for sharing it with us. Looking forward to more!

Cheers,
Jan
firstcircle
Visit this Community
England - South East, United Kingdom
Joined: November 19, 2008
KitMaker: 2,249 posts
Armorama: 2,007 posts
Posted: Tuesday, April 25, 2017 - 03:48 AM UTC

Quoted Text

My plan is to apply the grey and black camo pattern, and do the wheel hubs in grey (I primed them in Nato Black so I can mask off the rubber), then add the completed wheels, then paint the track, glue it on, and then weather the entire kit.

...I hope


Christian, I'm sure it will turn out well - don't let me stop you from showing us any pictures by the way . I guess you will still have to touch up the track and tyres after assembly, unless you are very accurate with the cement. I have kind of noticed in modelling magazines how build articles often seem to skip over the stage where the pre-painted tracks are assembled on to the painted wheels...

Jan, not quite sure if you mean that you didn't get the plan, or if you just don't agree with it . Agree that Zvezda have taken quite a bit of care of the instructions similar as they may be to the T-90 kit, despite one or two errors.
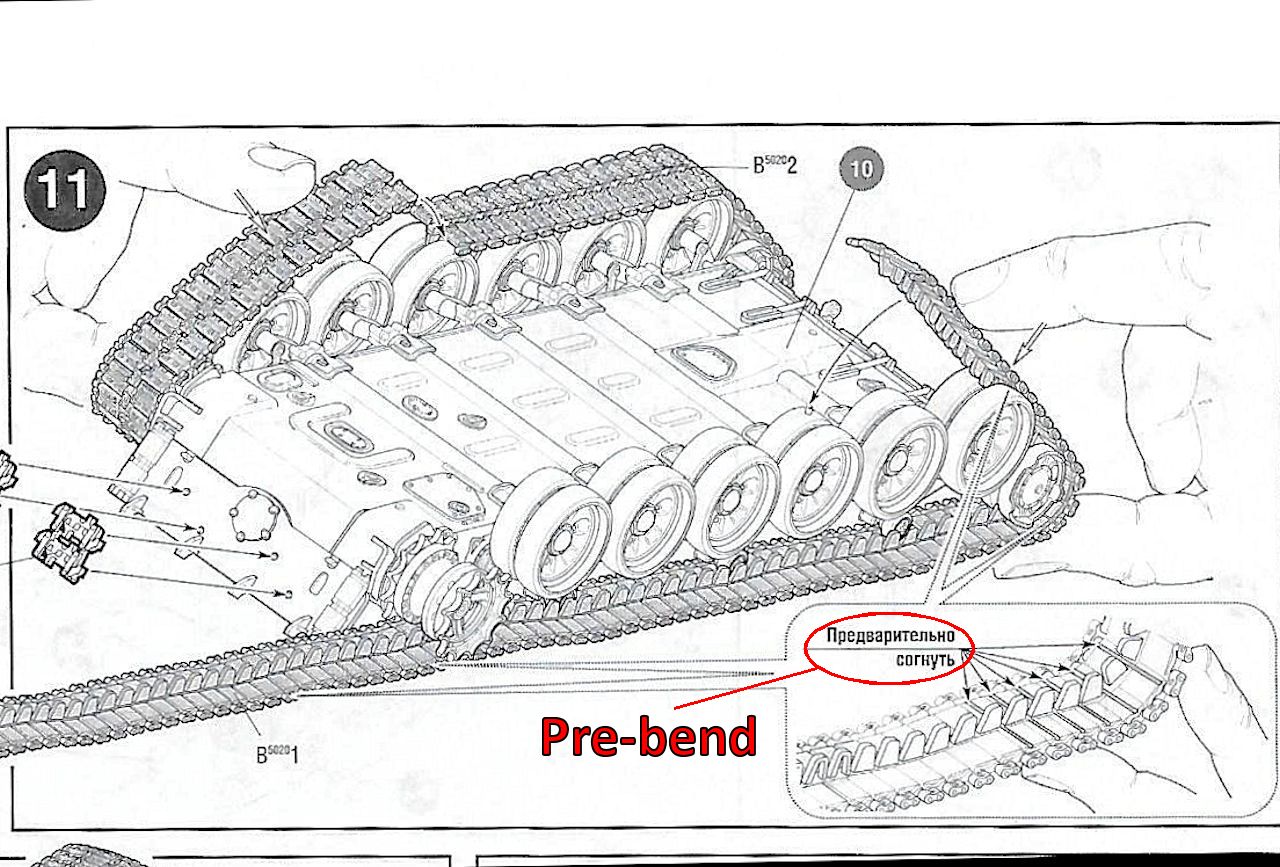
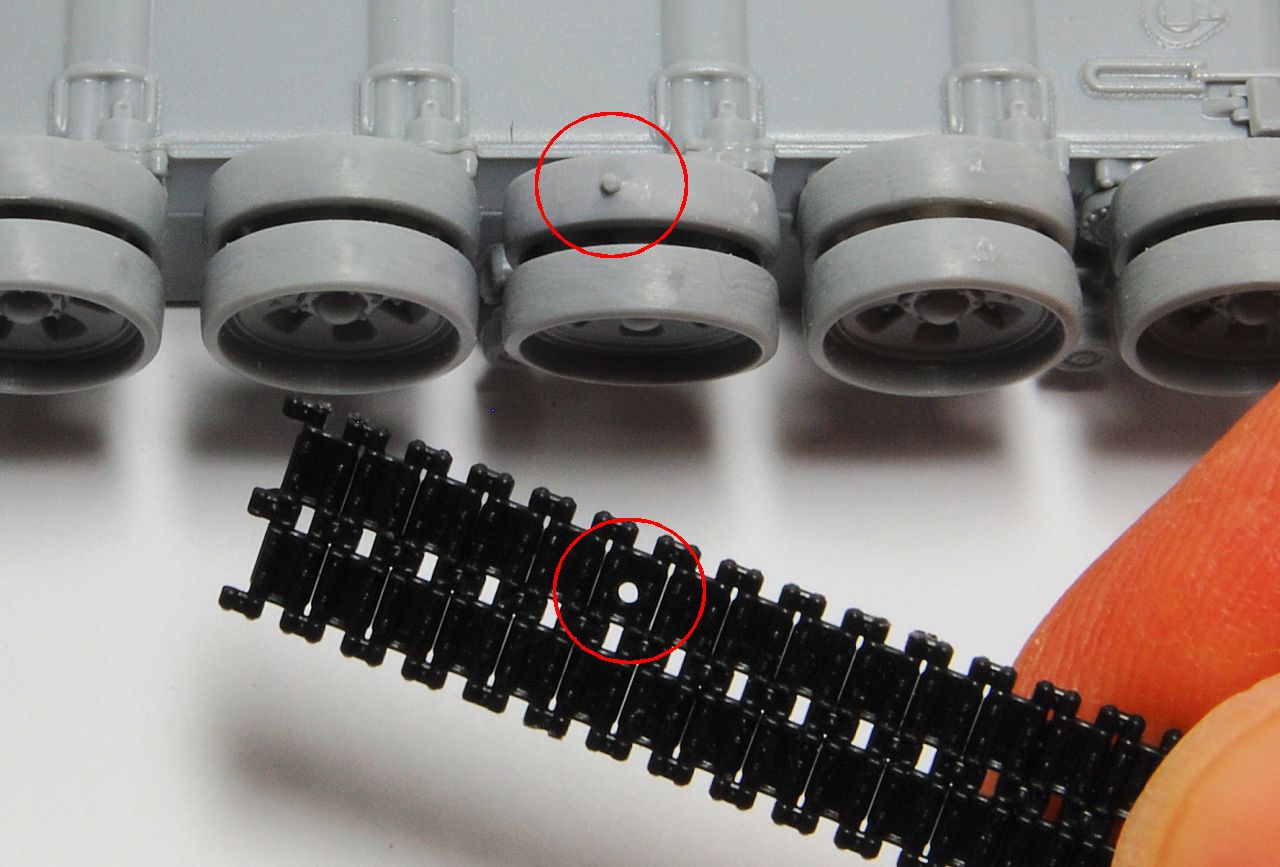
So here is step 11. I had to look up the Russian note, even though it is kind of obvious now I know what it means...


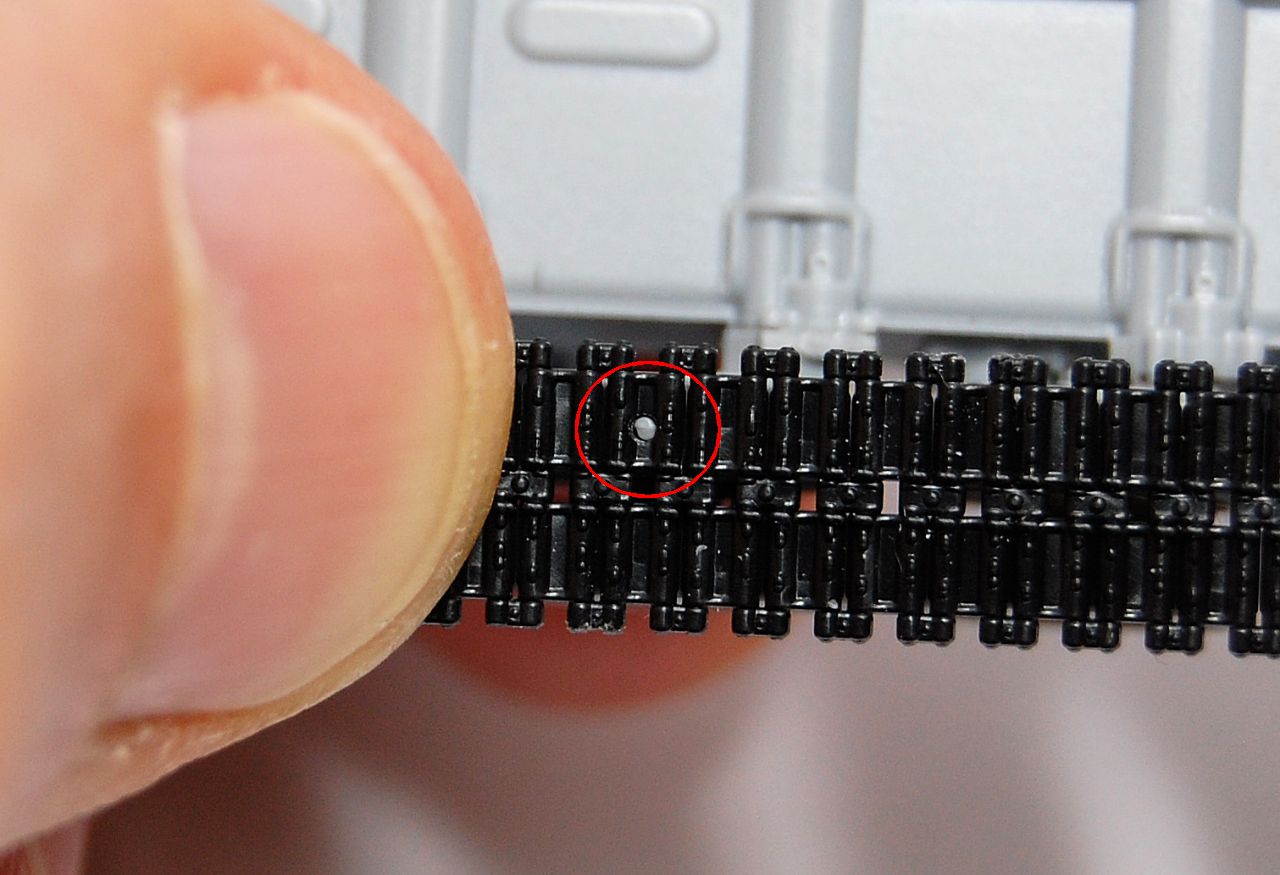
We have to line up the hole with the pip on the wheel:


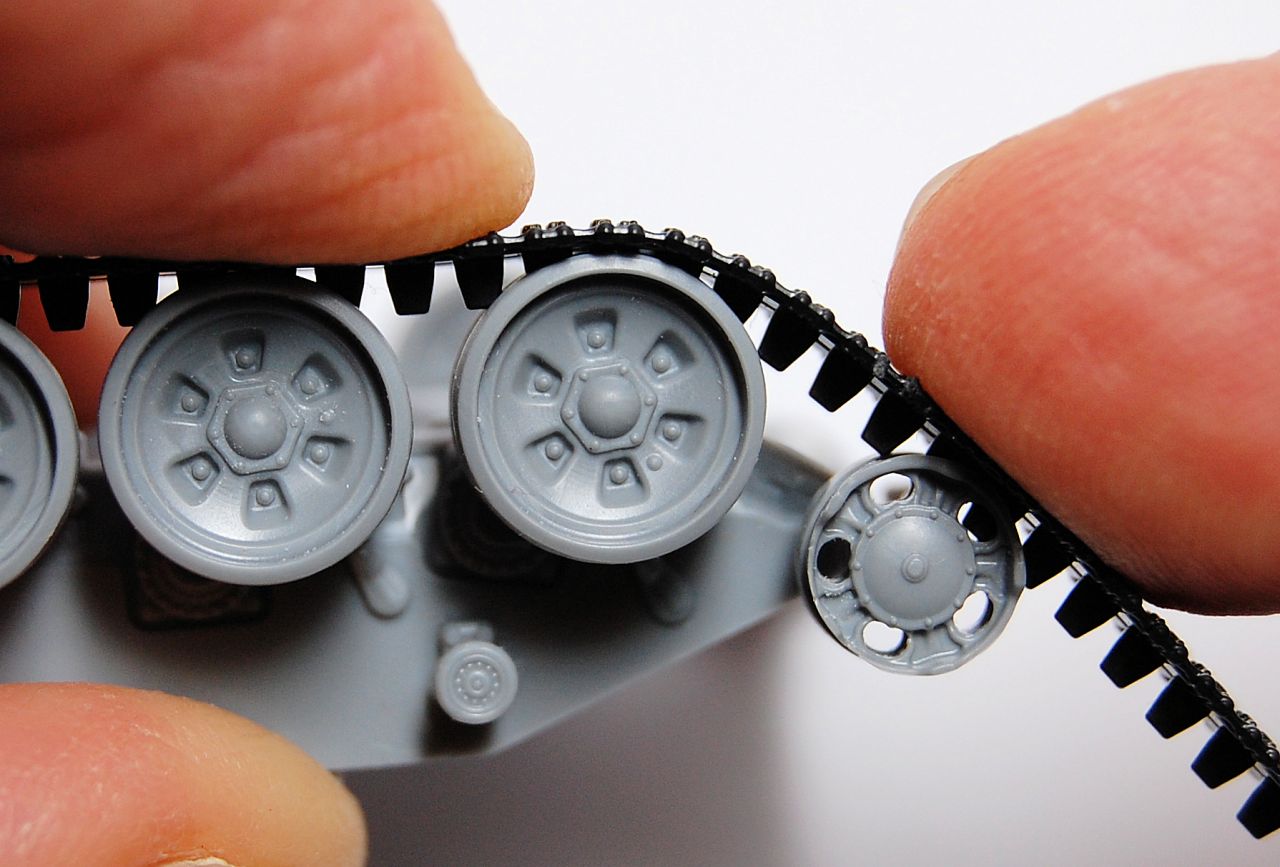
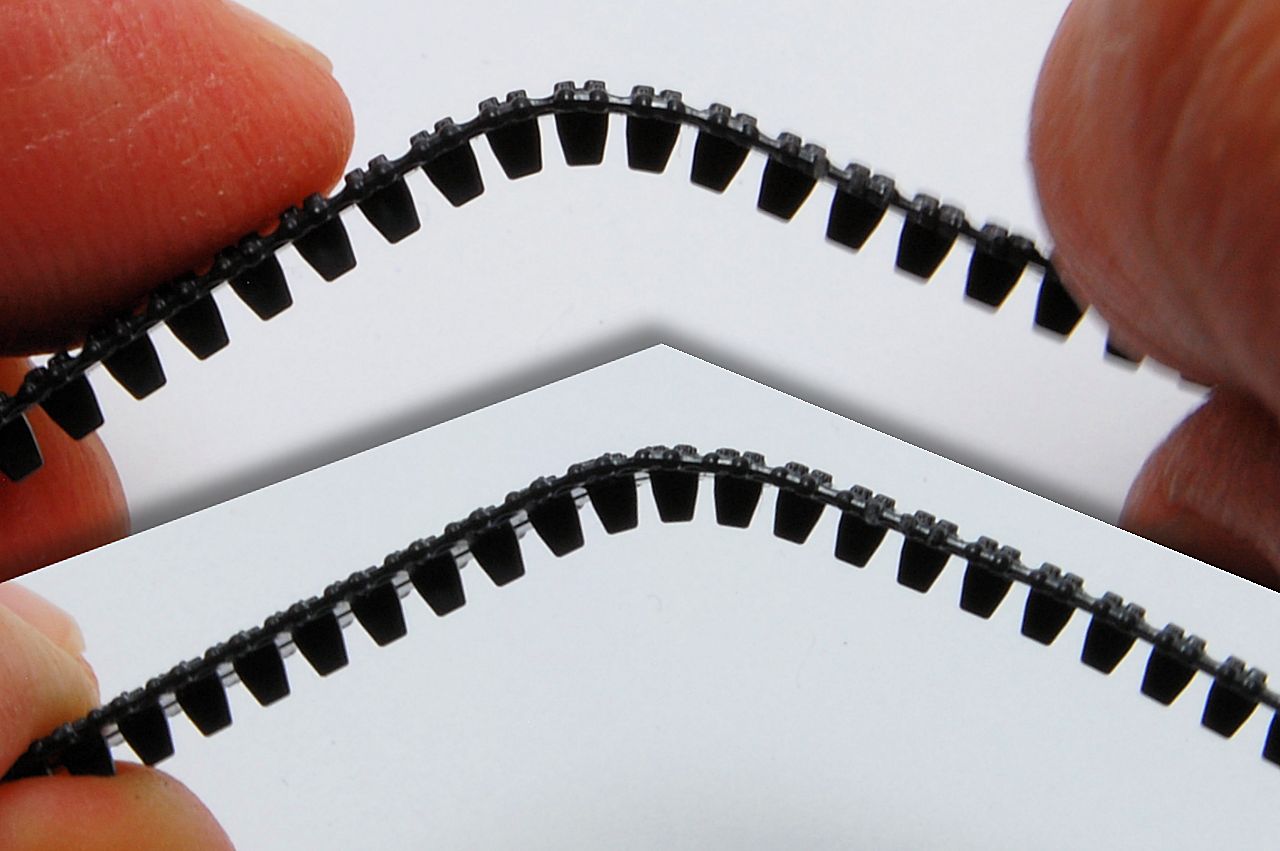
First work out where the track needs to be bent:


After some tight bending it will stay bent:


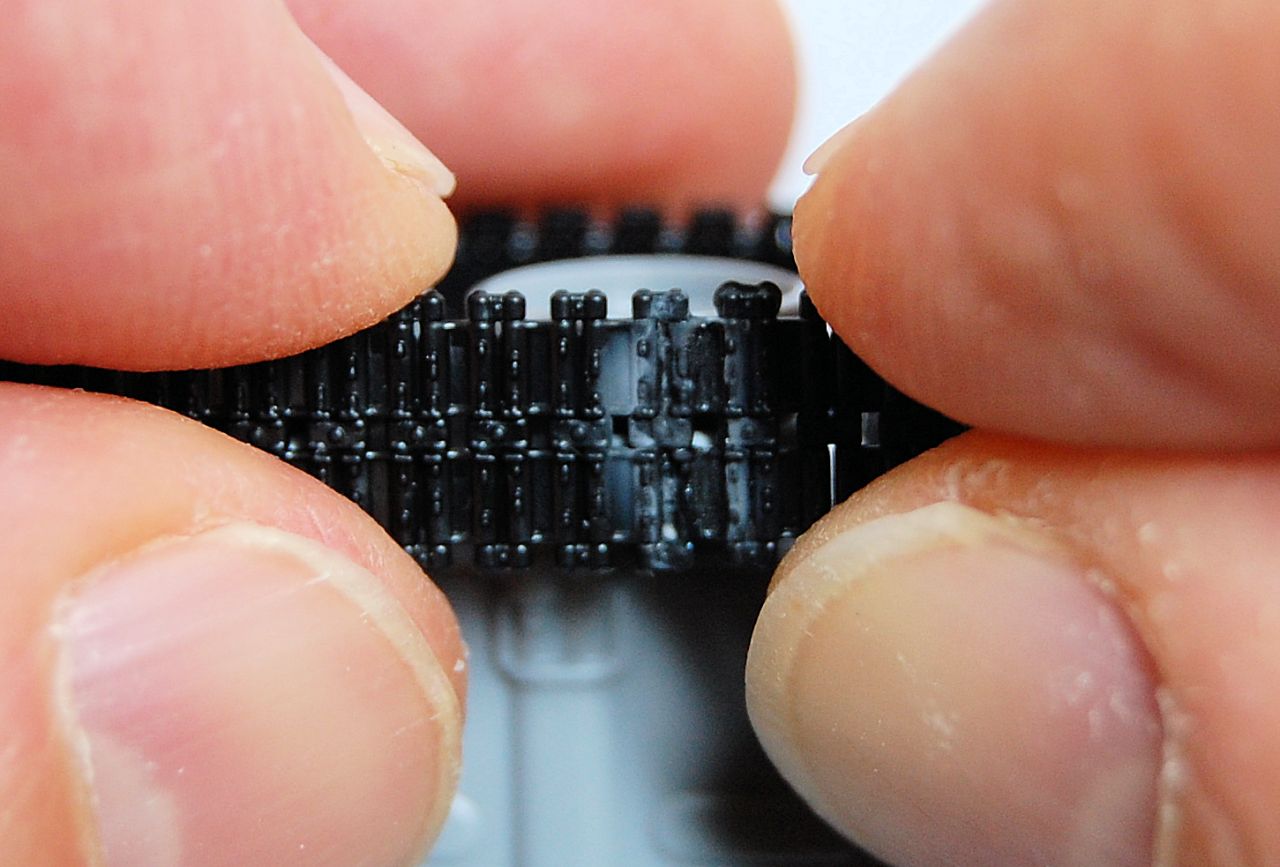
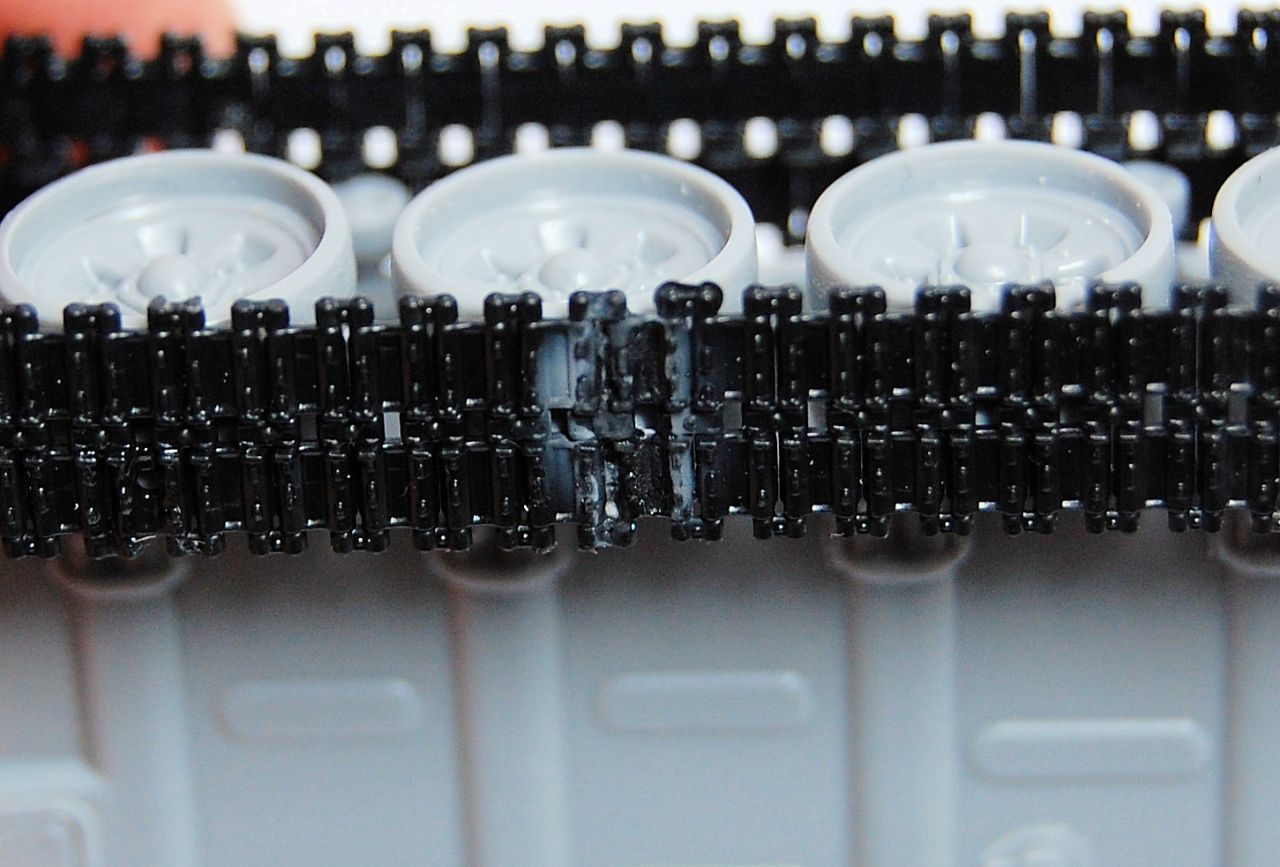
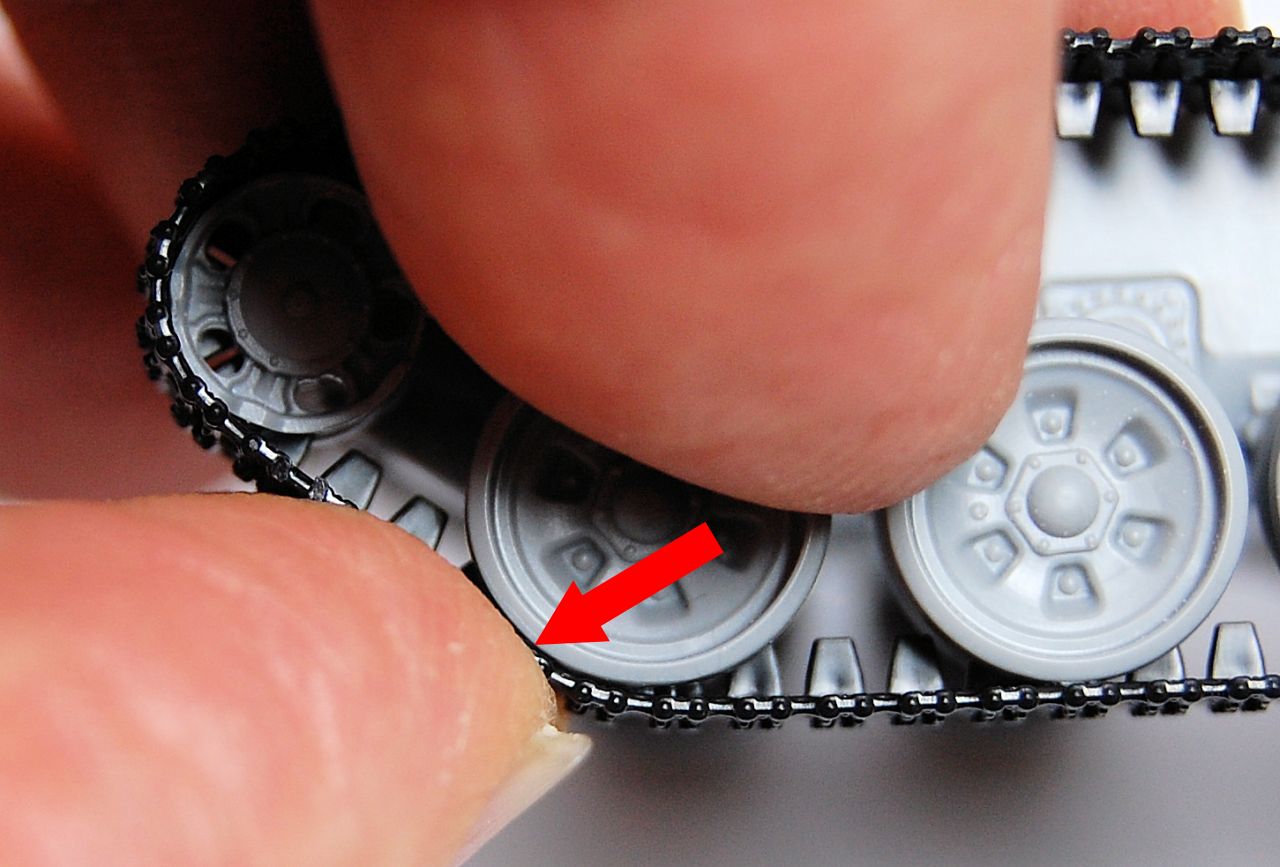
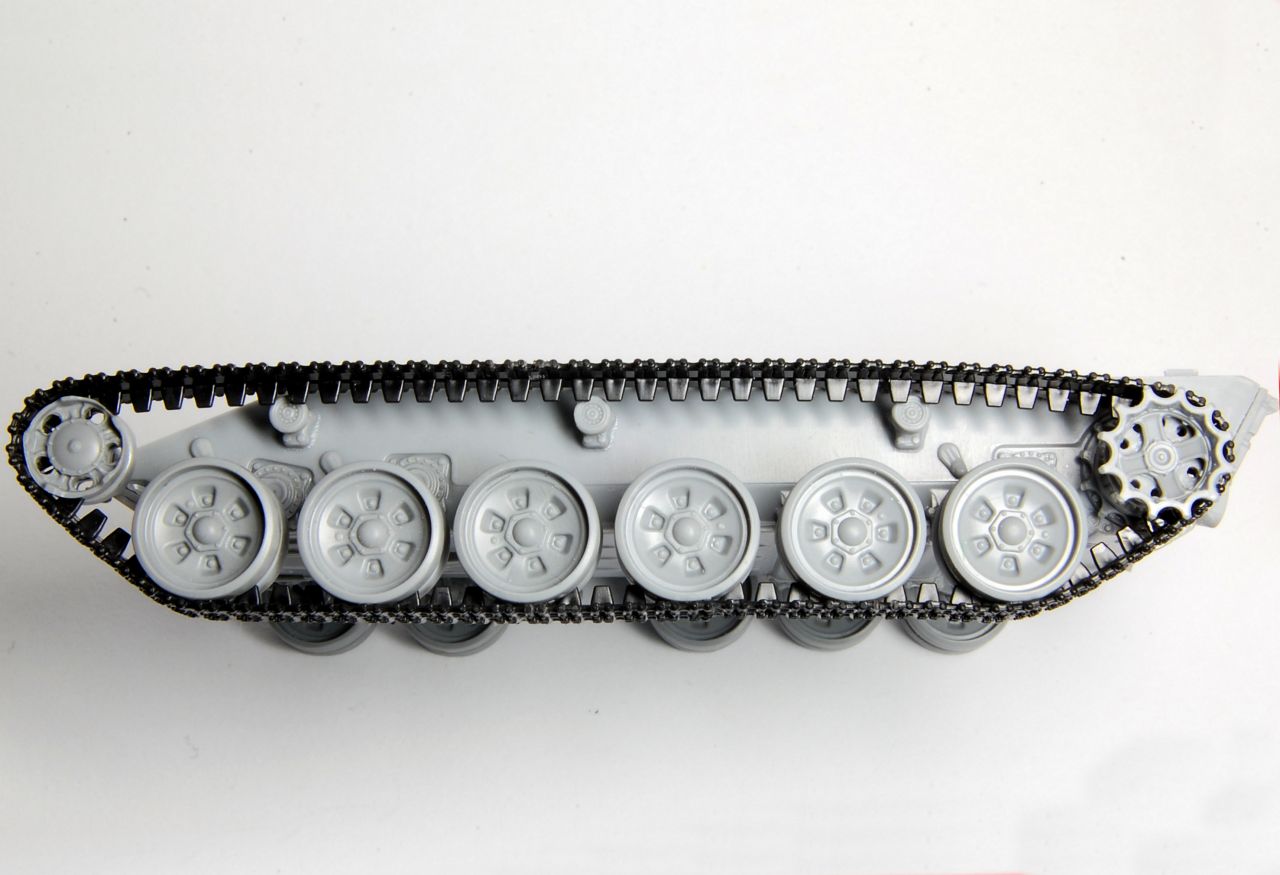
Having wrapped it all the way round, including getting it tightly enough around the sprocket teeth, the all important join, making sure that the links join up with no gap or overlap. I added cement to the wheels at the contact points, then some CA glue on top of this join to hold it together so that I could let it go.


A bit of extra cement under the point where the track meets the front road wheel:


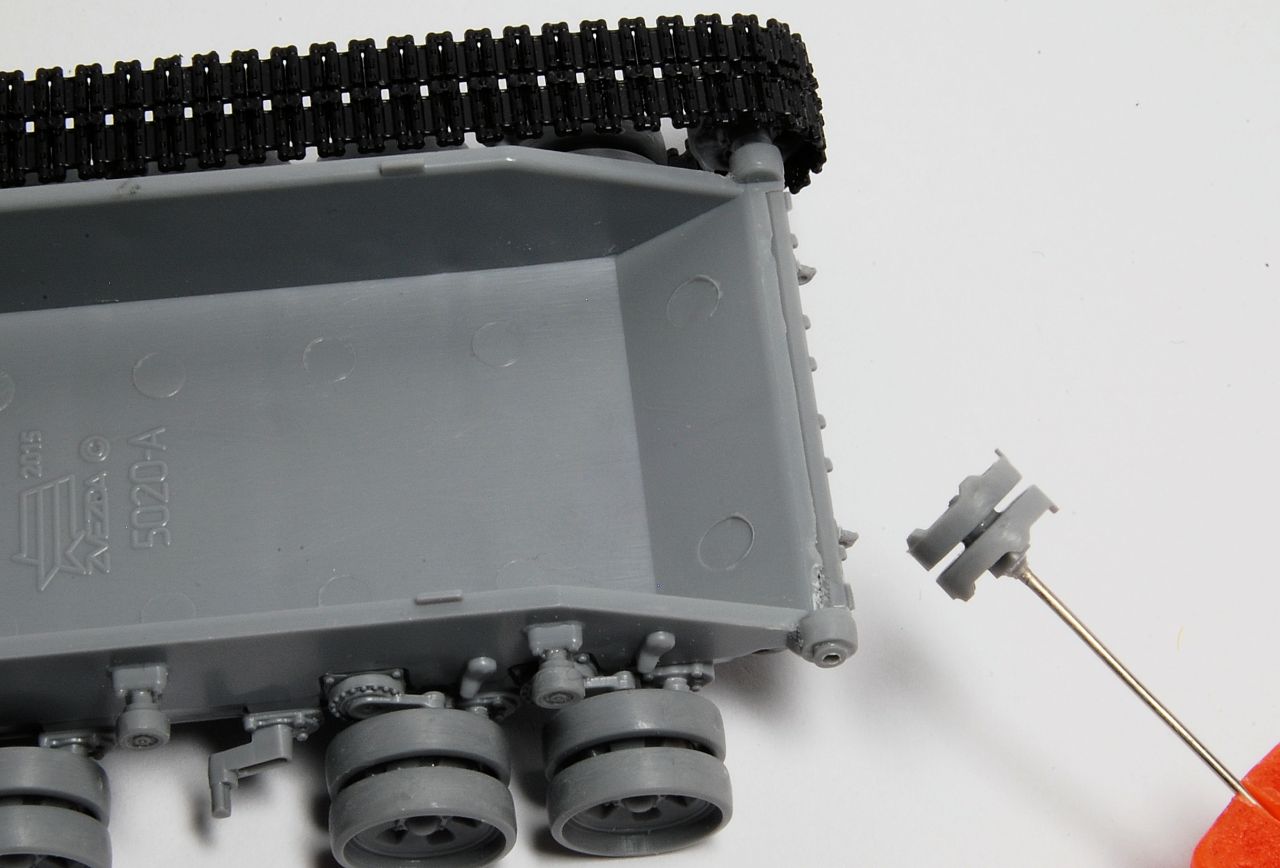
While wrapping around the idler on the repaired axle the inevitable happened, so the mounting point on the hull and the wheel were drilled out and a pin glued in:


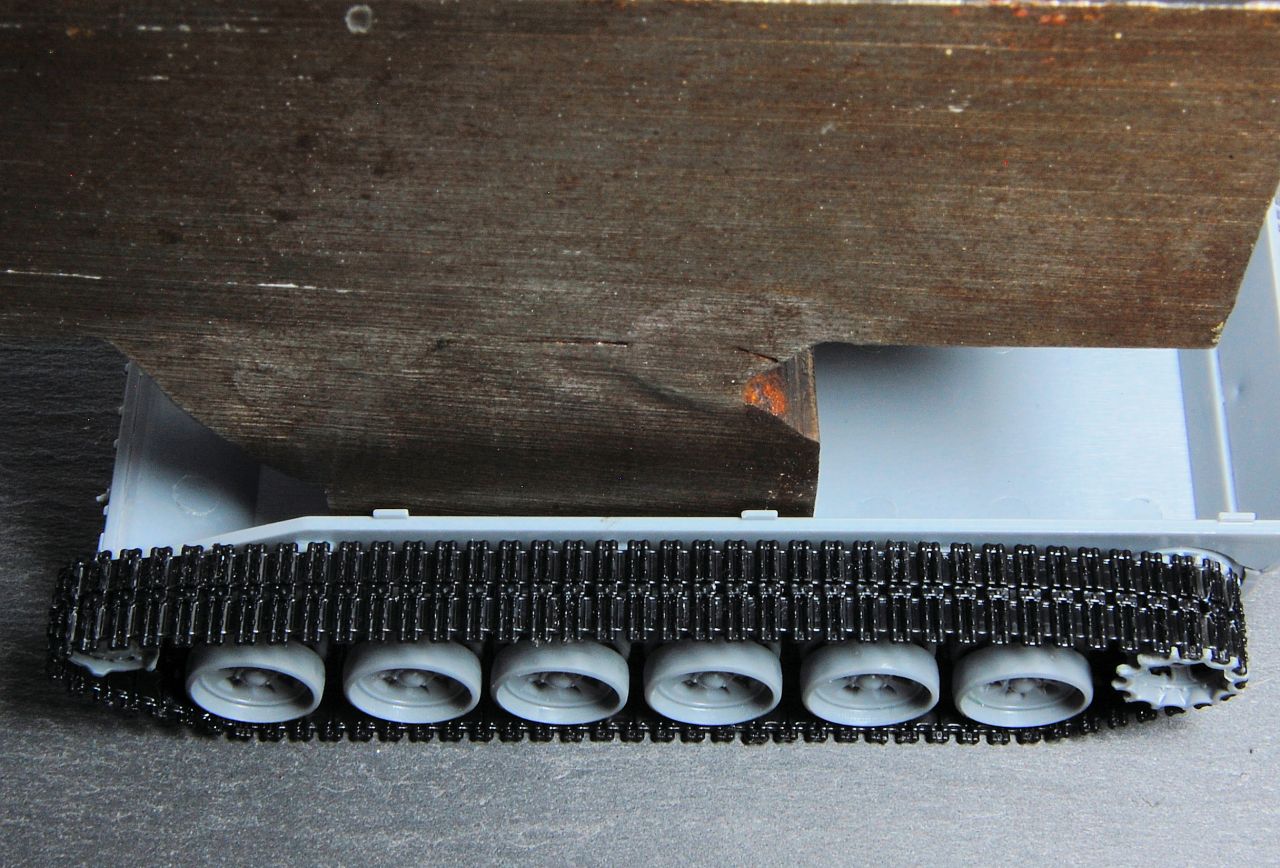
Putting that aside to set overnight, a weight was added to the hull to push the wheels firmly on to the track on a hard and flat surface (a piece of Welsh slate) and also left overnight:


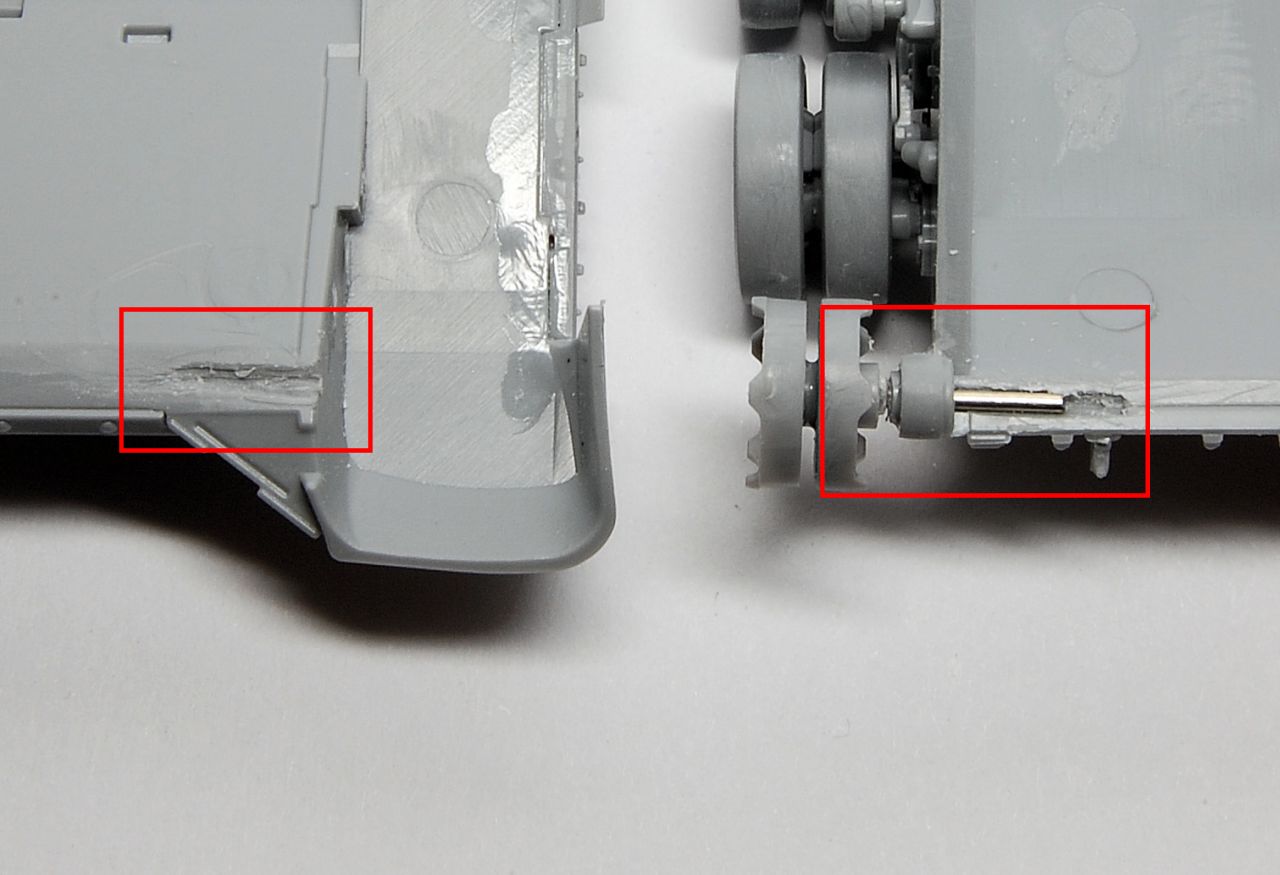
The new pin axle trimmed and being fitted into the hull. There is enough thickness on the front plate join to create a groove for a length of pin that I hope is strong enough...


tread_geek
Visit this Community
Ontario, Canada
Joined: March 23, 2008
KitMaker: 2,847 posts
Armorama: 2,667 posts
Posted: Tuesday, April 25, 2017 - 07:28 PM UTC
@Matthew,

Re:Painting- My dilemma with the painting was that I was "hoping" to avoid the tedium of the method that I've always used with link and length tracks (and why I despise them so much). So far from what I can understand about the method you described is that it doesn't seem to offer any advantages over my old way. It's taken a while to get to the point that I'm at so I'l just bide my time, think it over a bit more and not rush into things.

Nice job on the tracks and I take it that the pre-scorring on the inside of the tracks greatly assists in the ability to bend them around the suspension wheels? Revell uses a new similar large track section pieces (four PIECES in their case)for some of their latest 1/72 tanks but don't know if theirs have the pre-scorred interior.

Cheers,
Jan
firstcircle
Visit this Community
England - South East, United Kingdom
Joined: November 19, 2008
KitMaker: 2,249 posts
Armorama: 2,007 posts
Posted: Friday, April 28, 2017 - 03:41 AM UTC

Quoted Text

Nice job on the tracks and I take it that the pre-scorring on the inside of the tracks greatly assists in the ability to bend them around the suspension wheels?
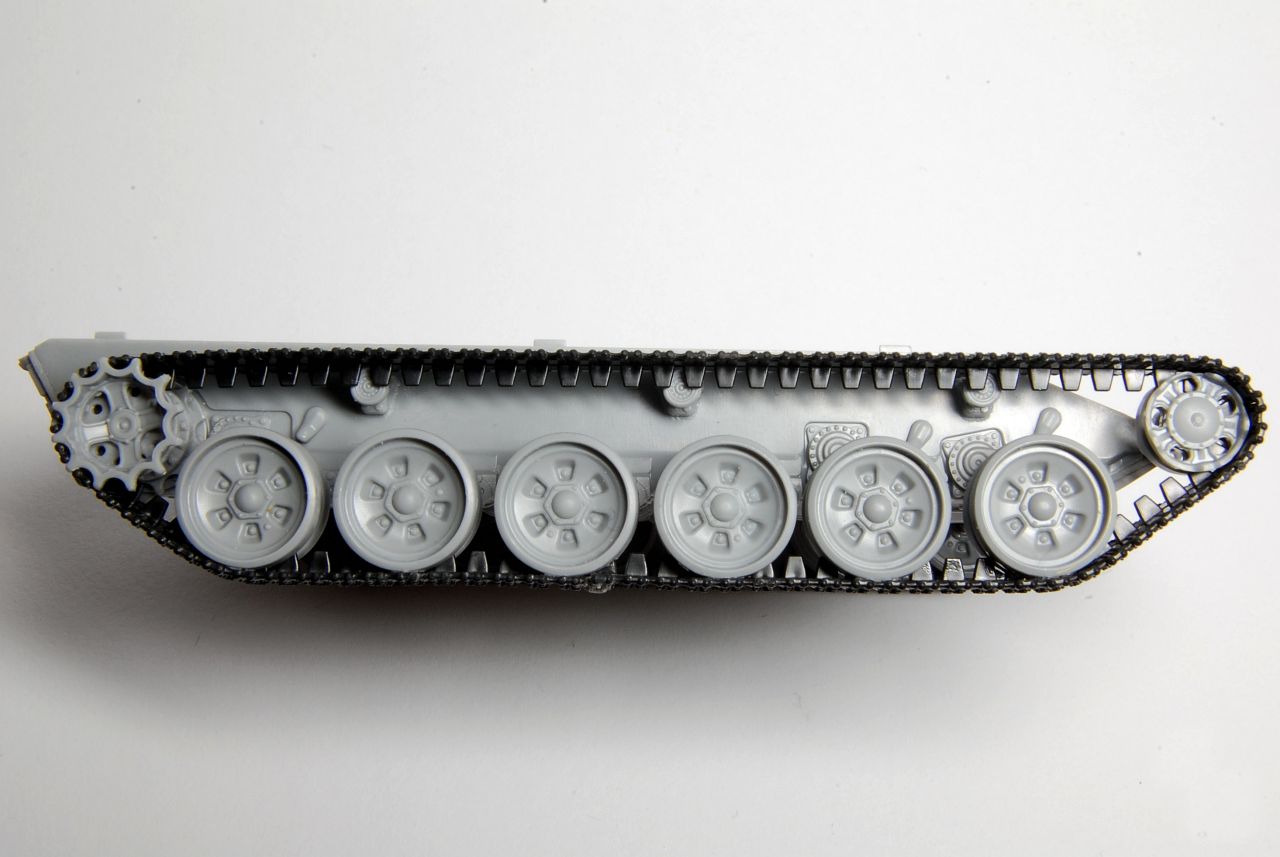
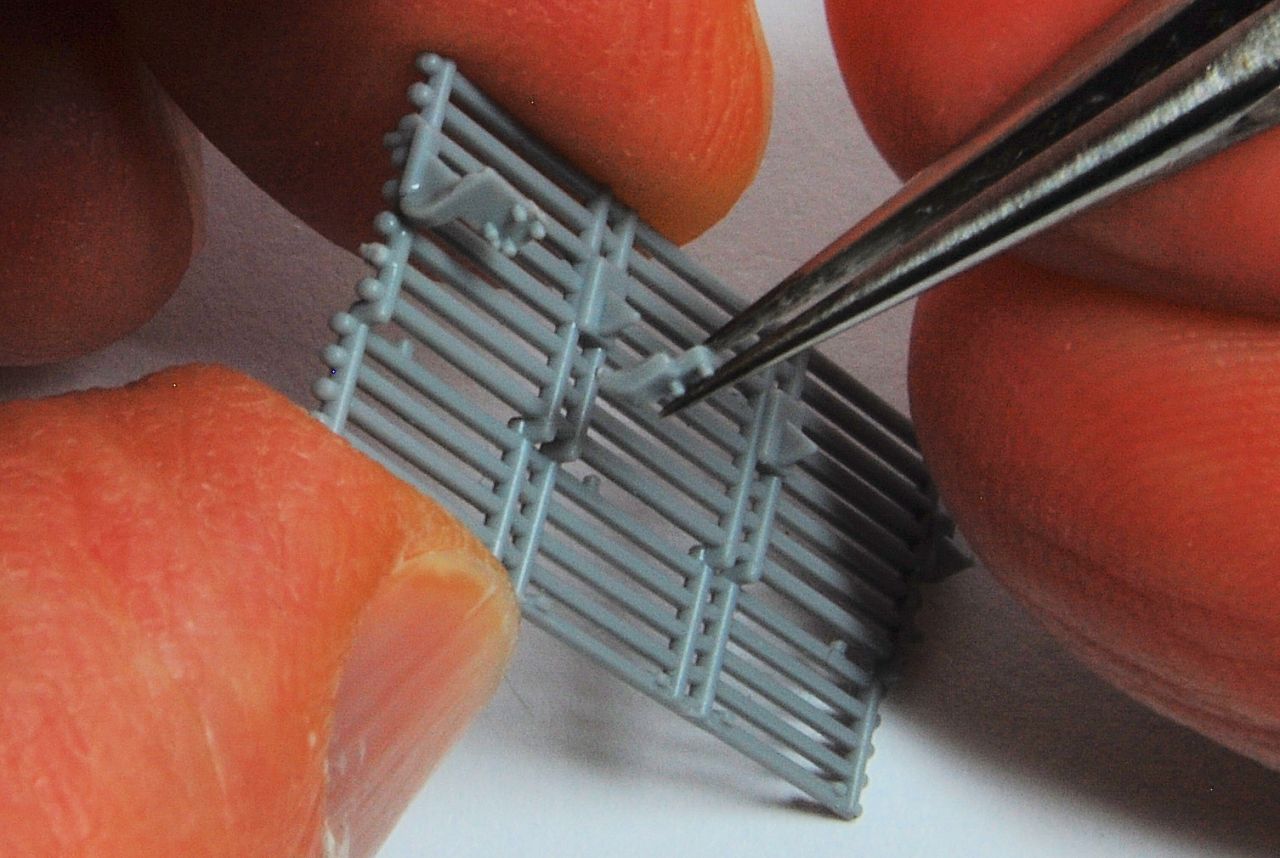
Jan, thanks, the tracks do bend quite easily but don't feel like they are about to break apart. As far as link and length goes, it's better to have only one join in my view. The side shown above went on very easily and you can see there was some slack which I have made sure is on the upper run, which made it easy to join the ends under the road wheel. The other side, as you can see in the photo below, was considerably tighter, not sure why as the wheels look to me to be aligned with each other. This made it harder to get the ends to meet and stay there while the glue set. I think I have found before that black styrene doesn't seem to cement that well, the plastic becomes kind of slippery and sets slowly. After holding it for about 10 minutes until my hand went numb I was able to get a couple of rubber bands around it for the night.

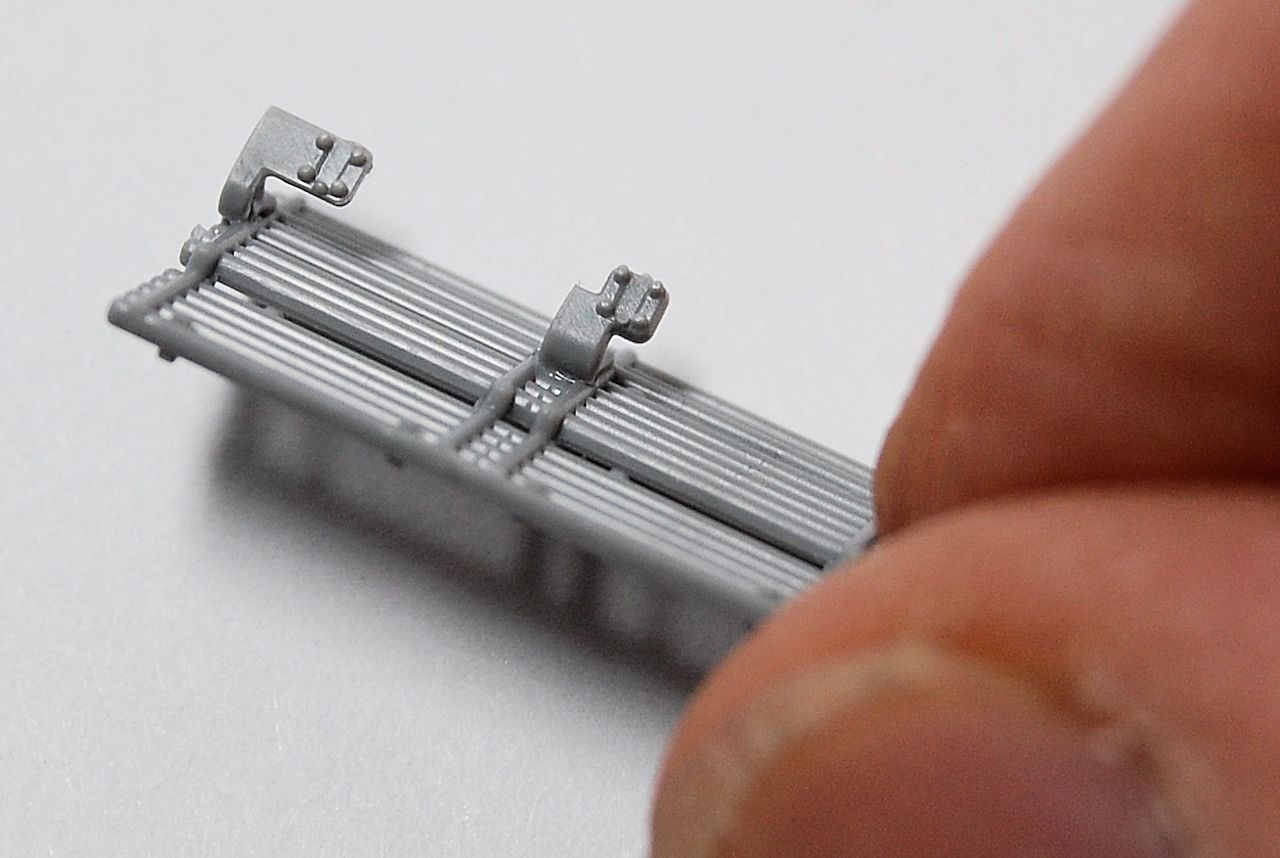
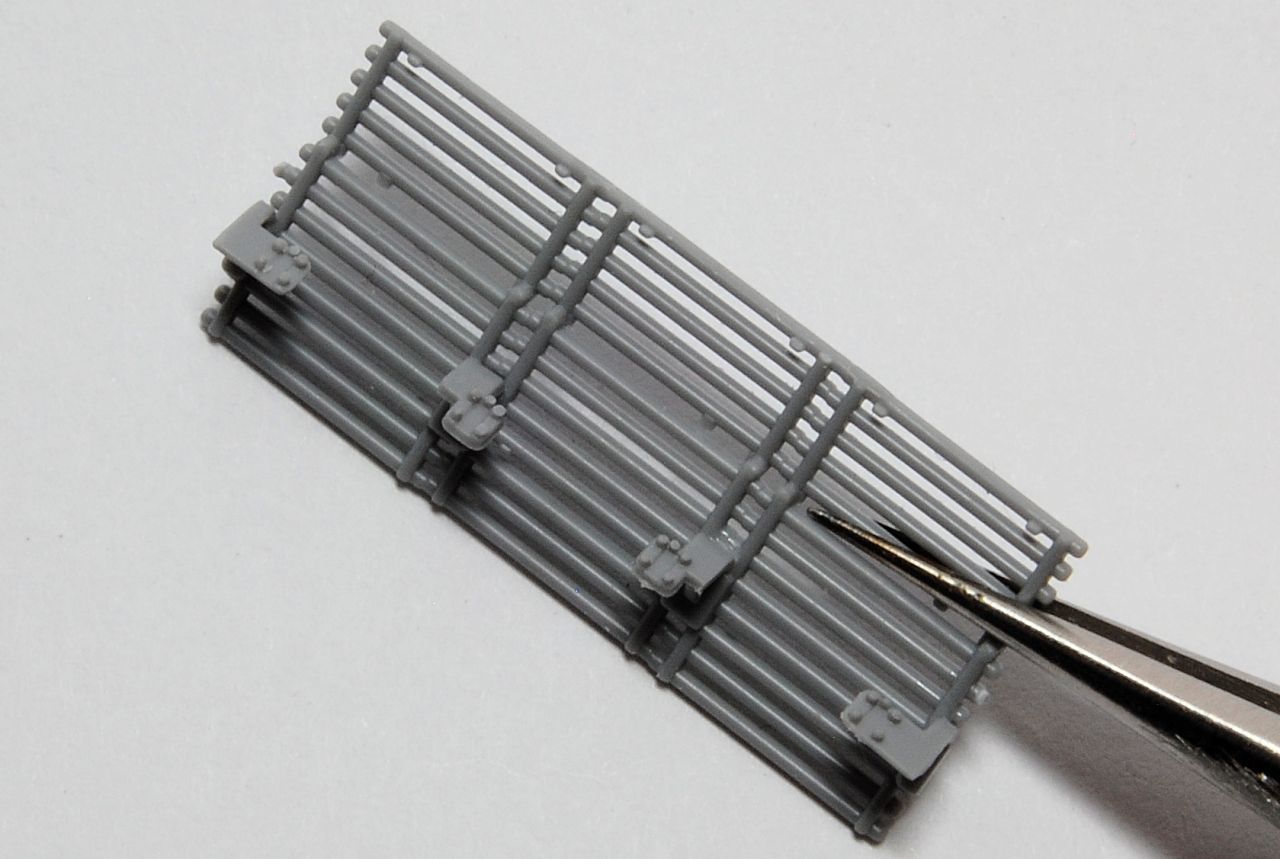
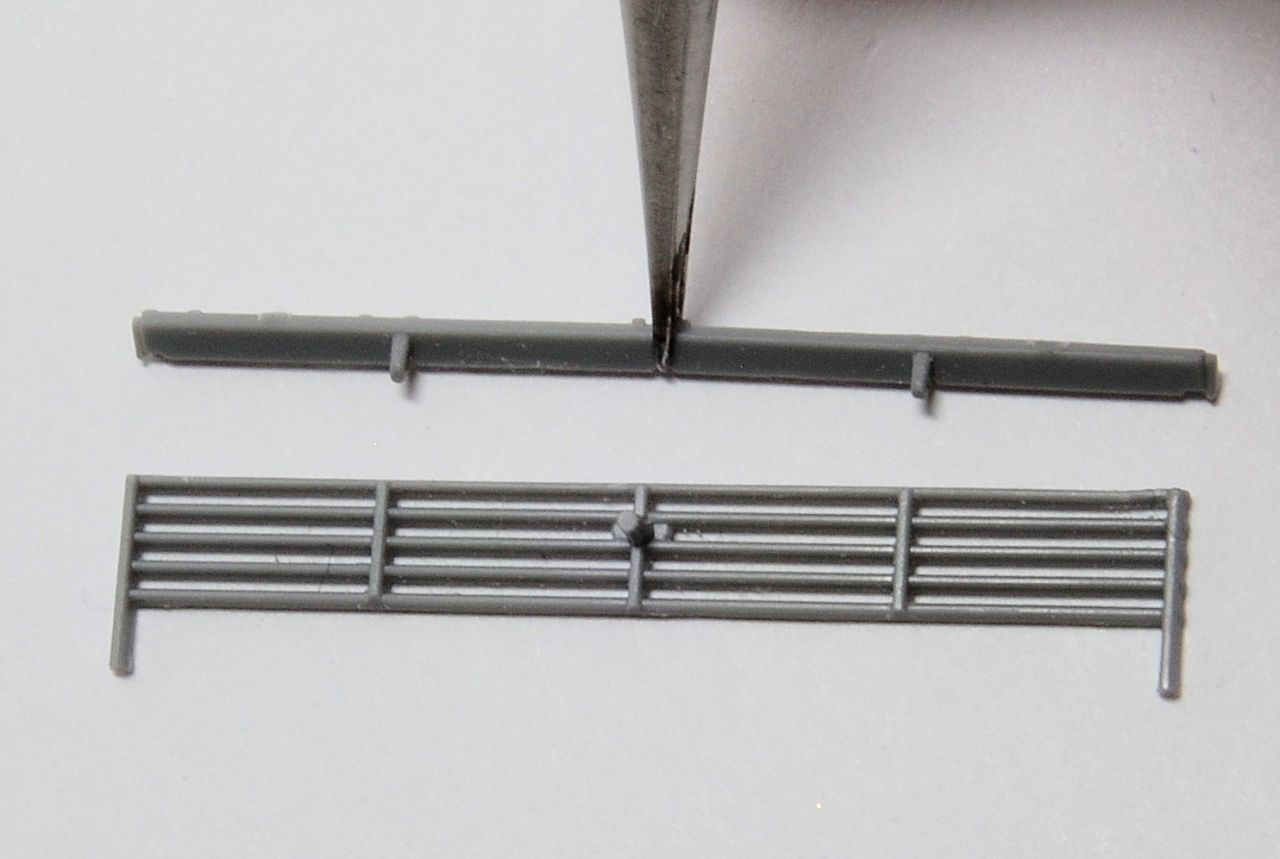
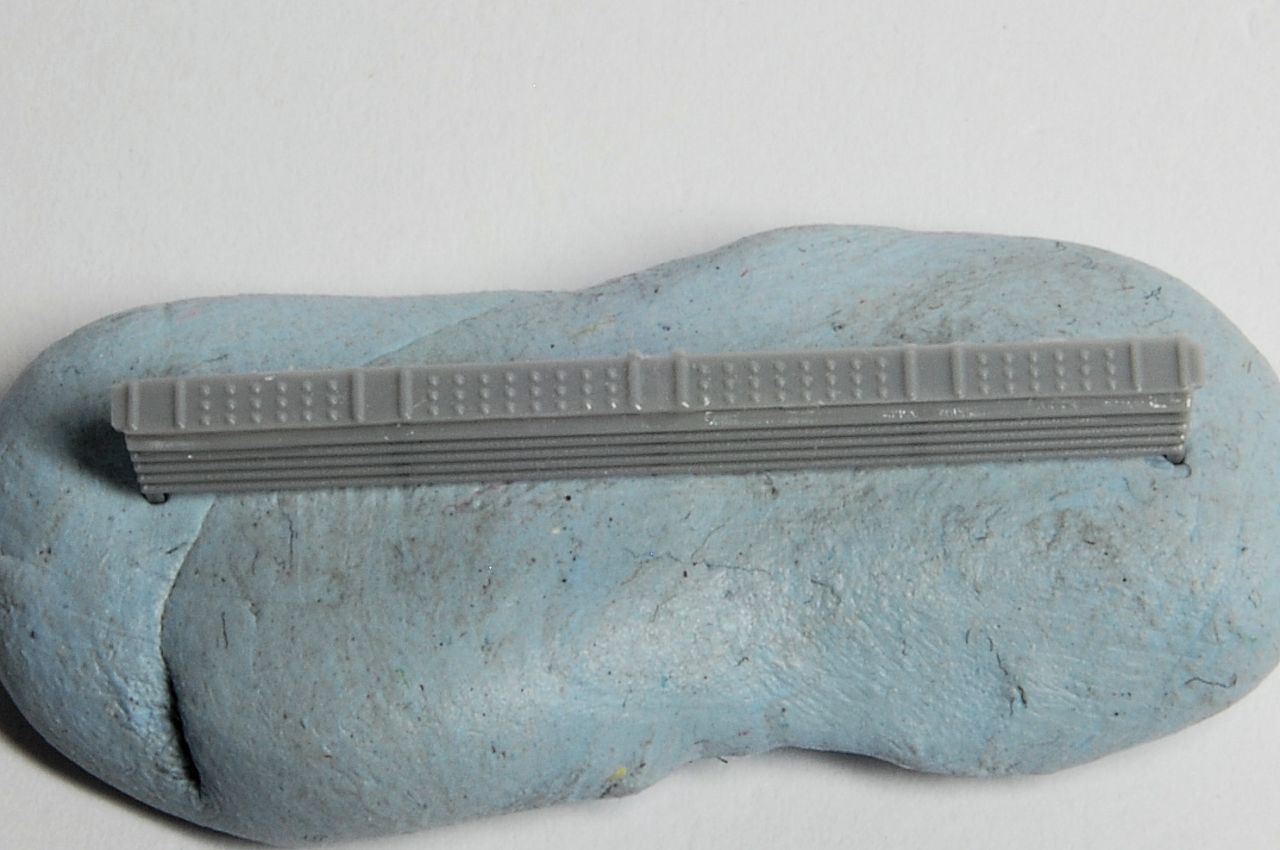
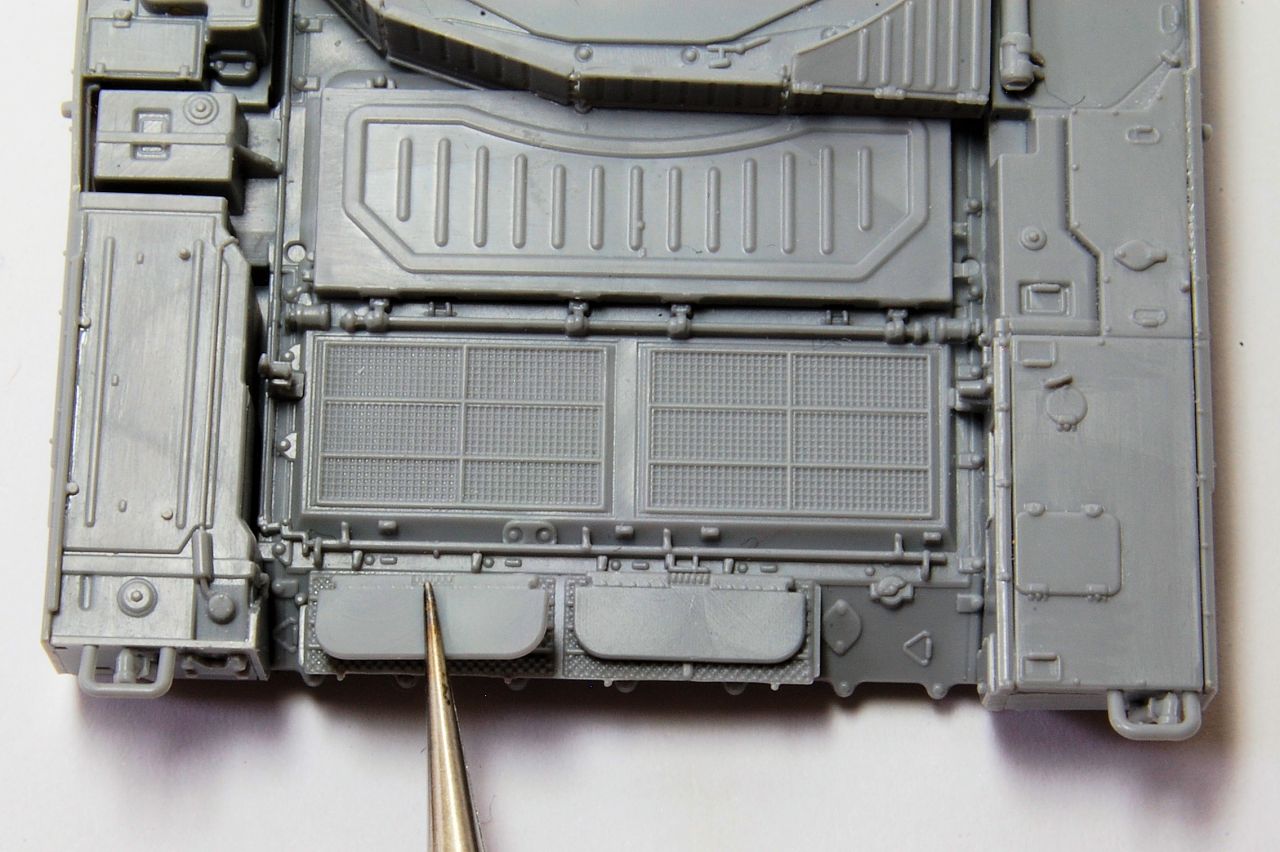
While that set, I moved on to the sub-assembly of the rear bar armour; this involves more tiny parts, and some care is needed when cutting A30 from the sprue to avoid damaging the bars.


The location points for the mounts are quite tricky, so one at a time, allowing it to set in between:


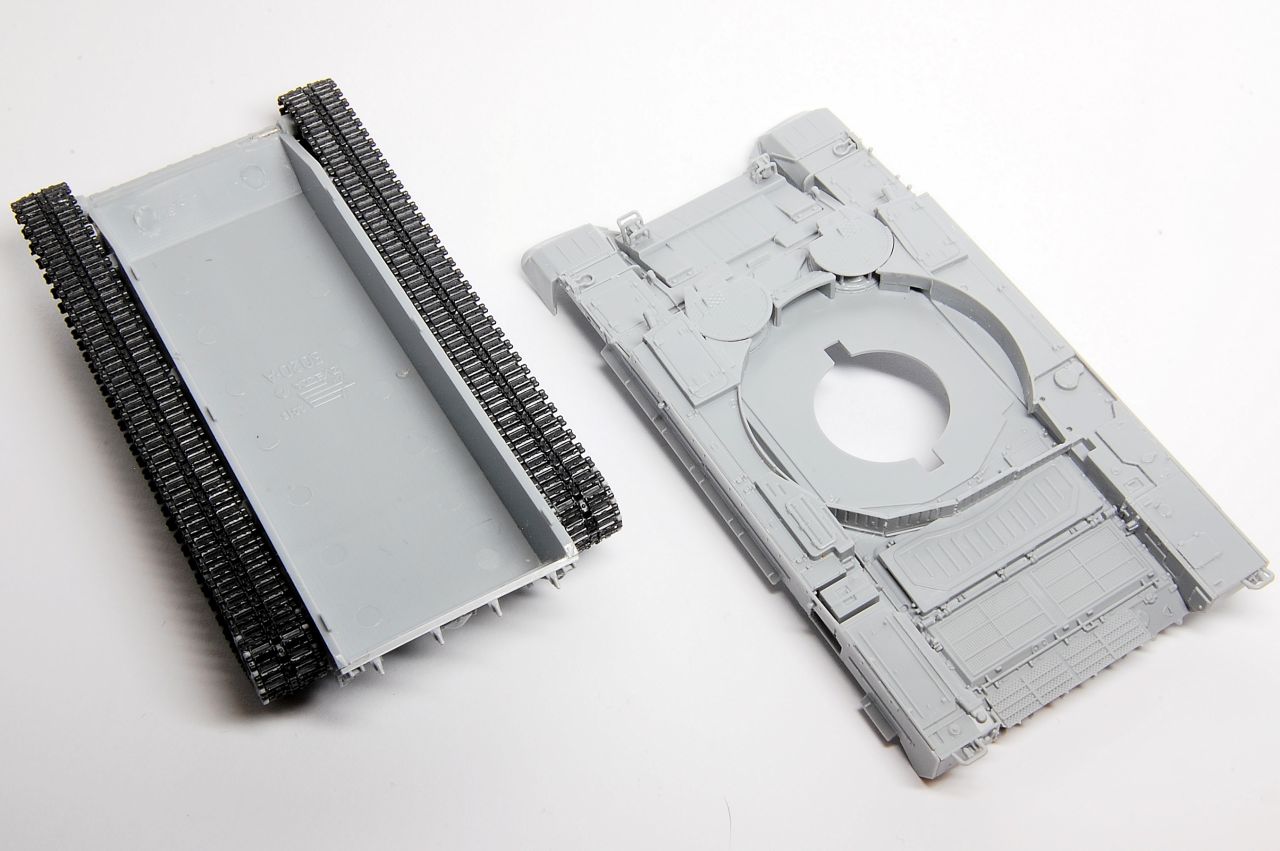
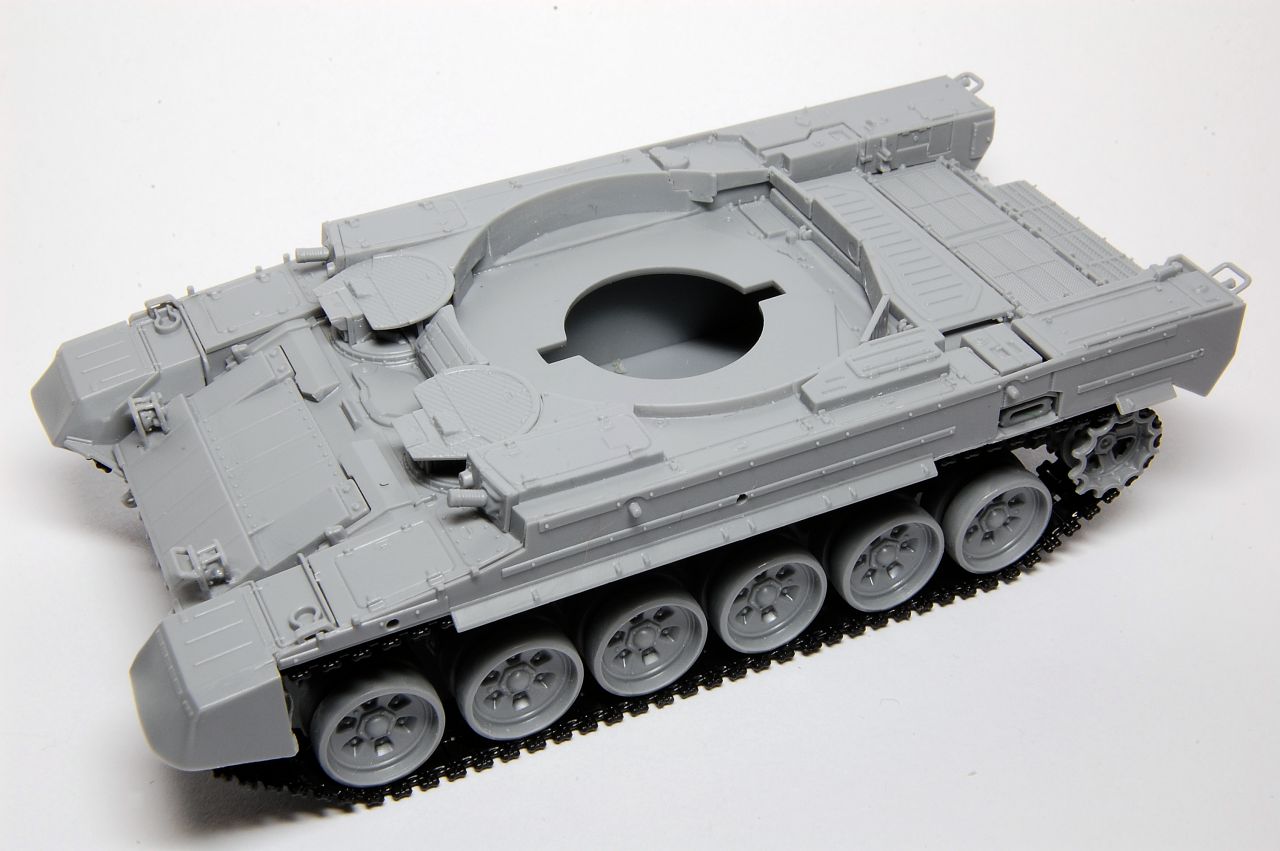
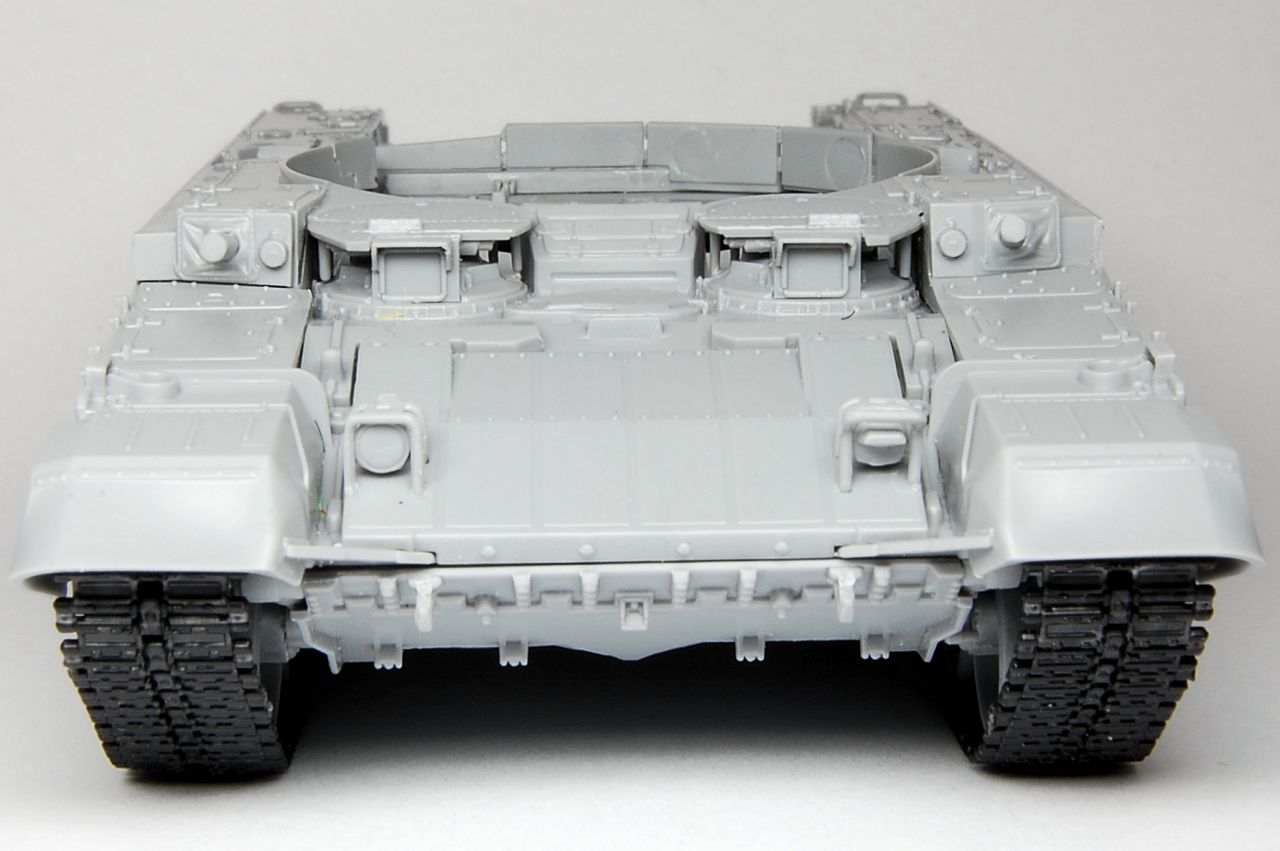
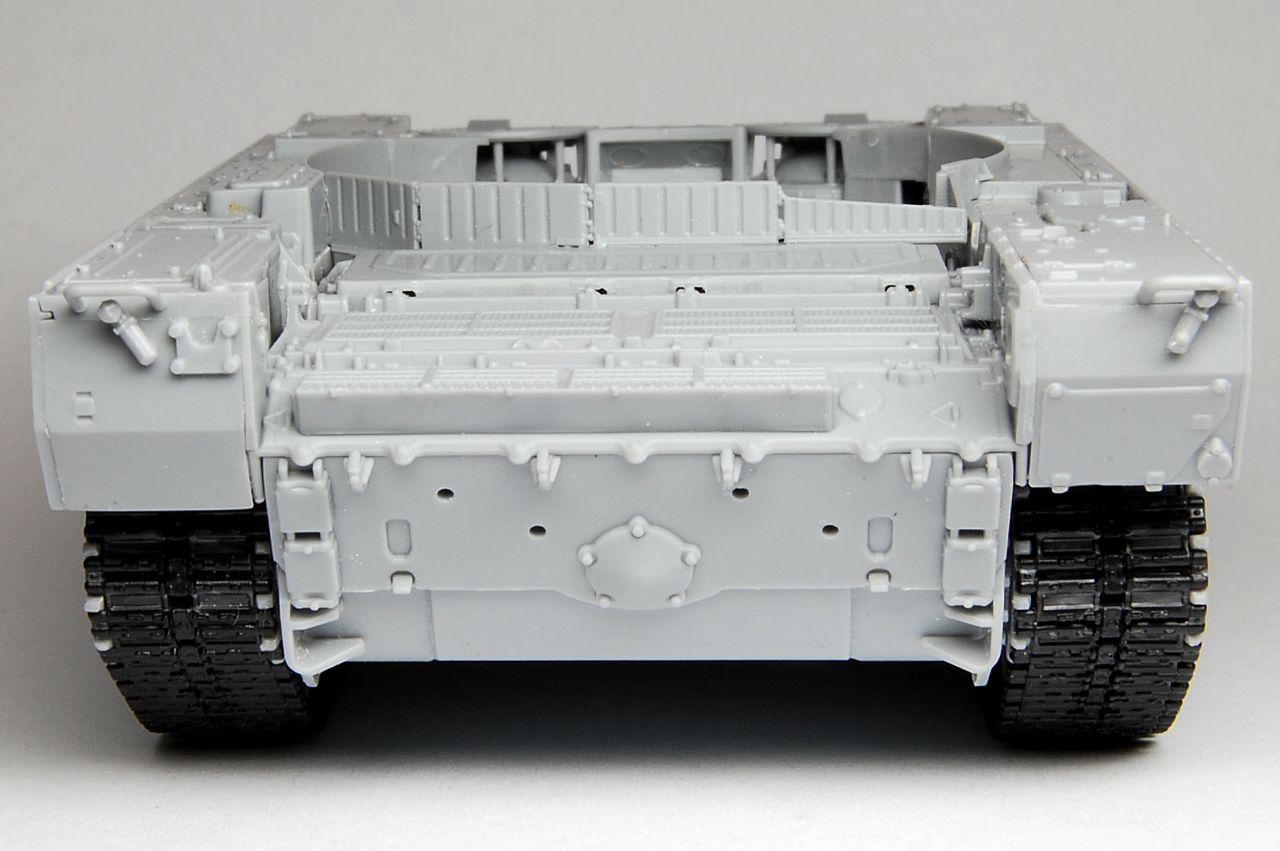
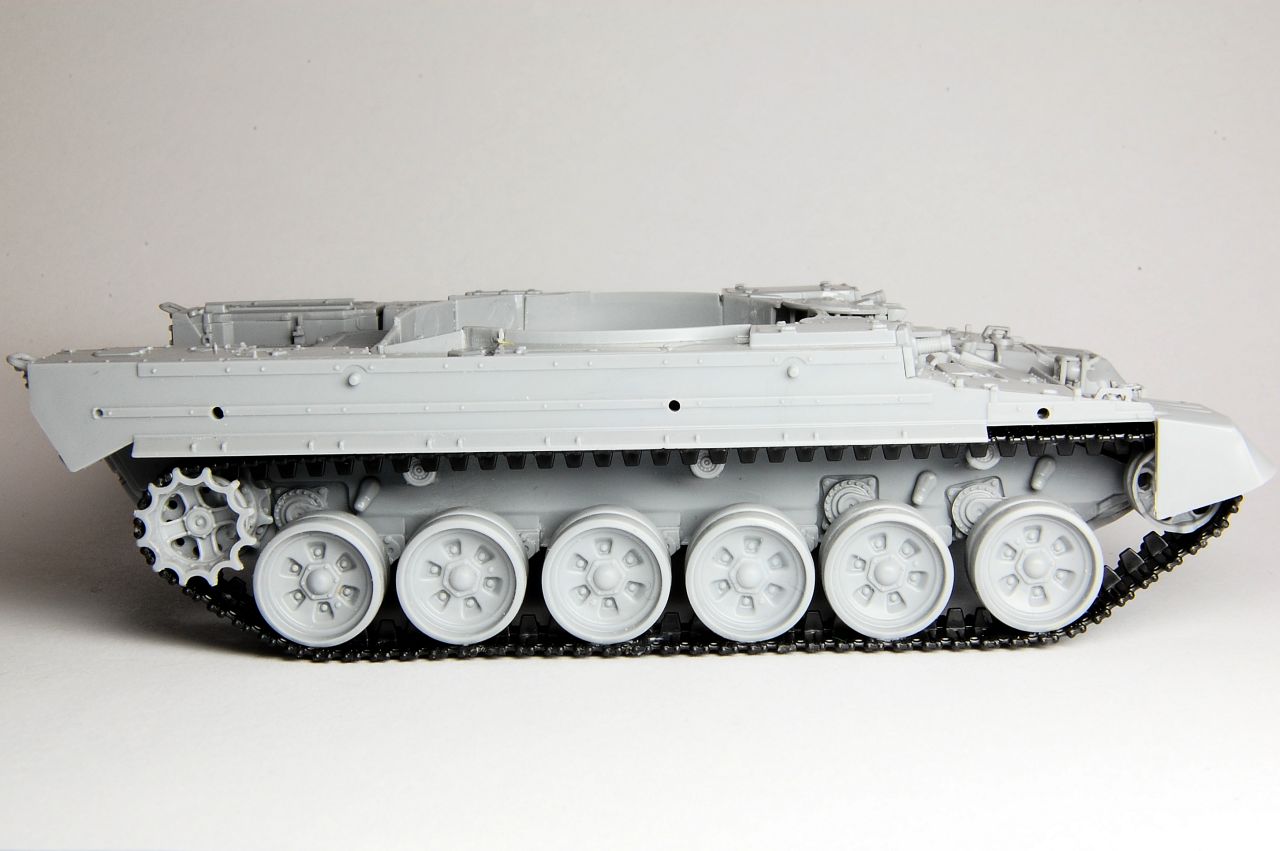
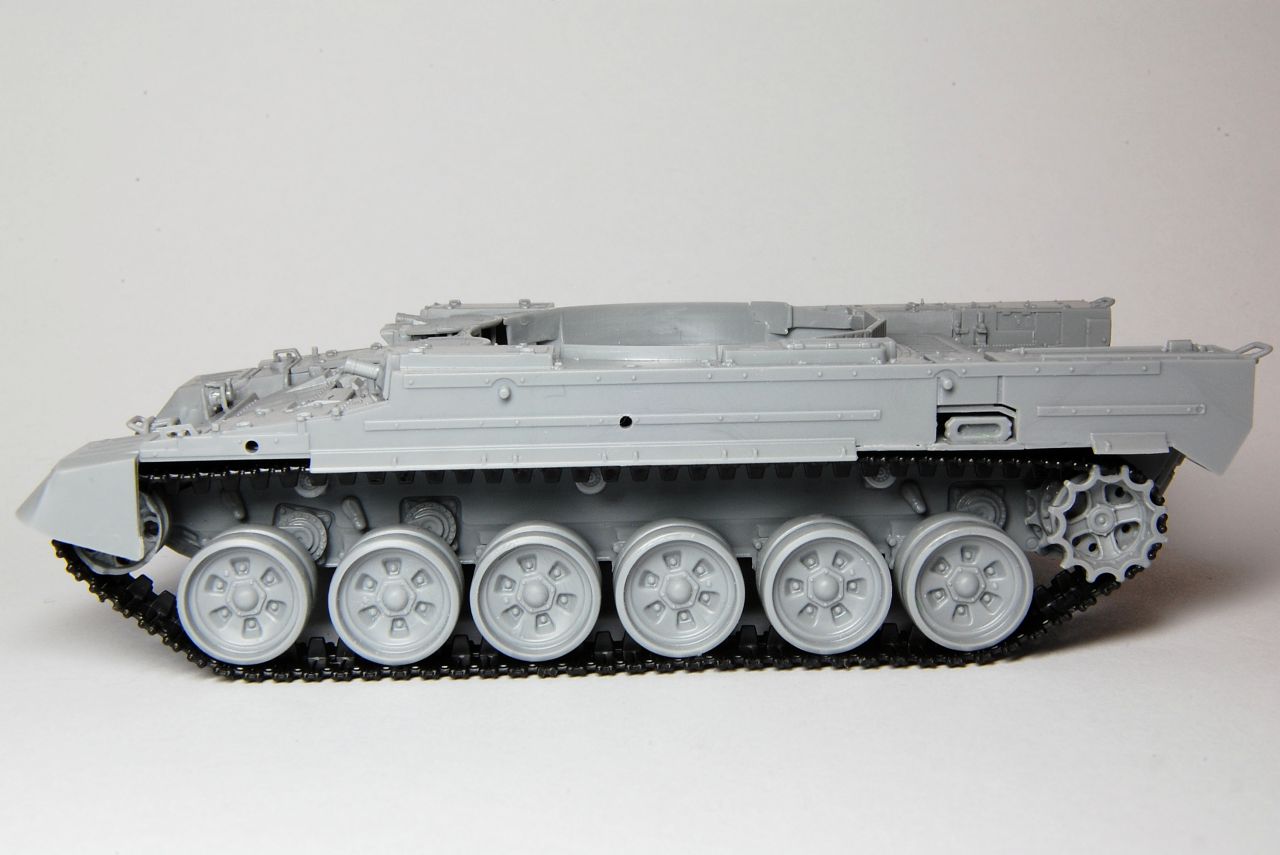
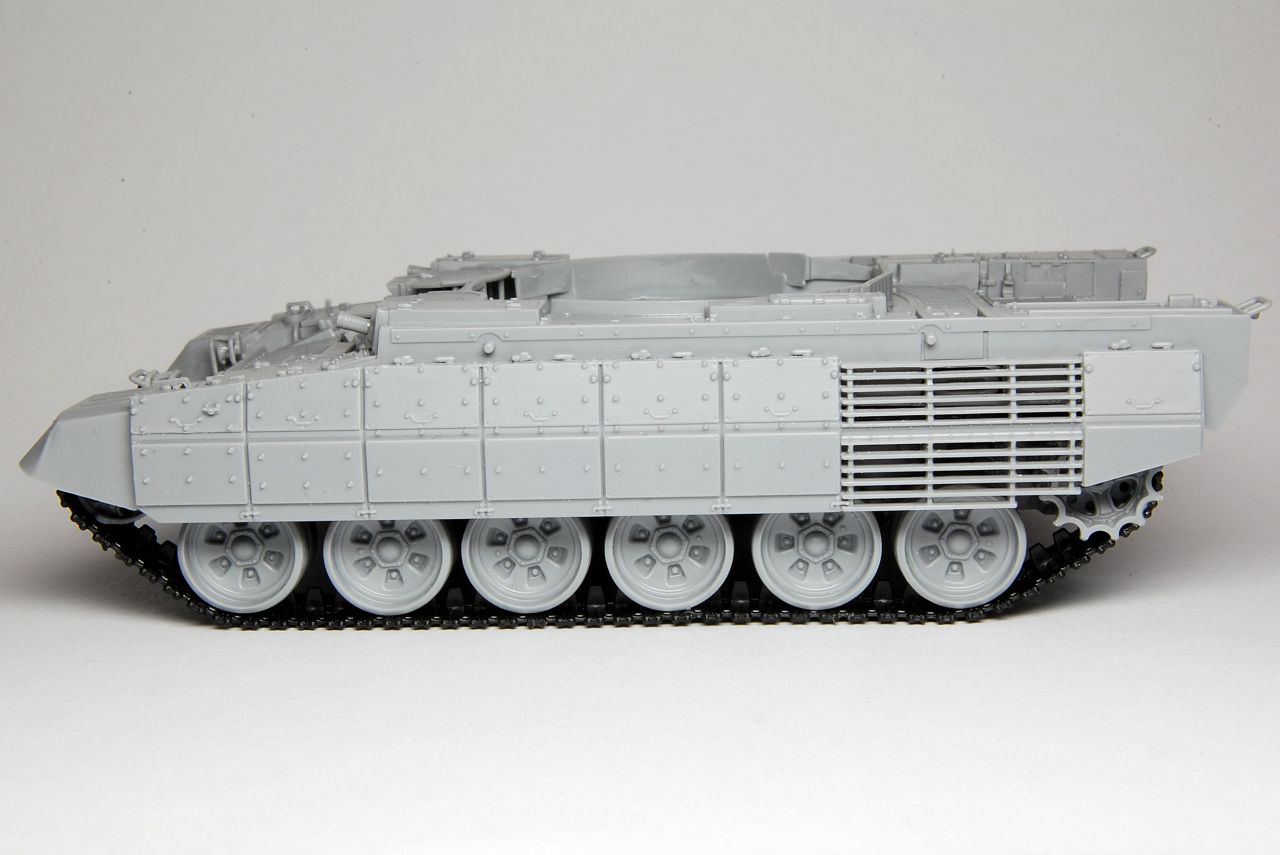
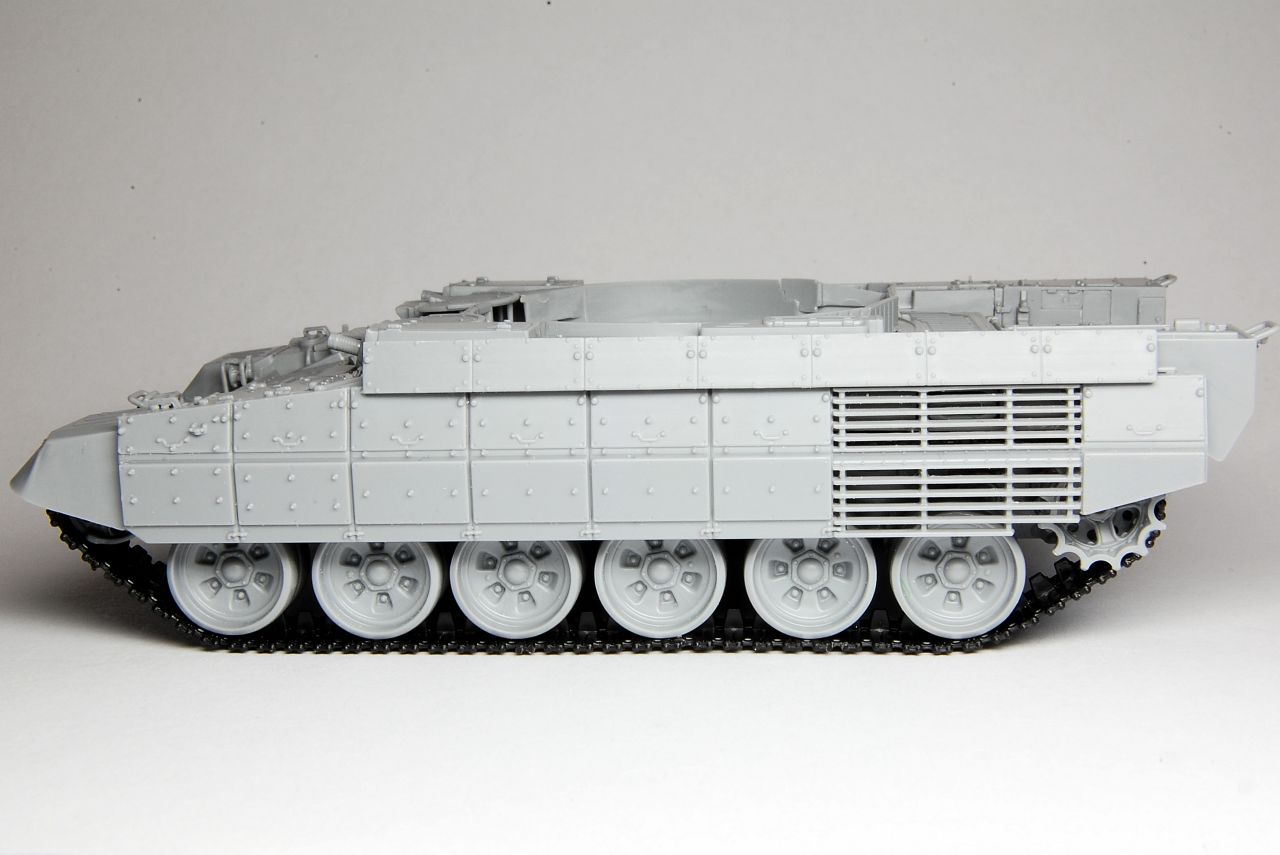
To consider painting, here's a look at how the hull fits together.


The fit is virtually perfect - this is just sitting in place. Unlike on my Panther, no work will be necessary on the join at the front:

...or the back:

The sides:


Note the two big holes which allow the main side skirt to be mounted, again, this is just sitting in place:

Those two pegs then take the upper section of side armour:


So it seems like none of the joins will show, which I think confirms that the hull can be painted in these sections and then assembled without any difficulty.

tread_geek
Visit this Community
Ontario, Canada
Joined: March 23, 2008
KitMaker: 2,847 posts
Armorama: 2,667 posts
Posted: Friday, April 28, 2017 - 08:01 PM UTC
@Matthew,

This is turning out to be an excellent and interestingly complex kit. Taking that into consideration, you are making good progress on it's construction. Thanks to your "advances" in the construction that you've posted here, I felt "adventurous" today and removed Track Part #1 from its sprue and tested it's fit. What can I say other than "PERFECT"!!!!! That track is meant for the right side of the suspension, I lined up the hole in it with the peg on the third wheel and it all but wrapped around the other suspension components by itself! BTW, the "scored/pre-scribed" track sections bent around their respective wheels like a charm, including the sprocket teeth. Oh, the meeting of the two ends of the single piece track part/unit was nothing short of perfect! This experience only reinforces my loathing of link and length track systems when compared to what Zvezda has achieved with tracks in these kits.

Stepping down off soap box!

Cheers,
Jan
firstcircle
Visit this Community
England - South East, United Kingdom
Joined: November 19, 2008
KitMaker: 2,249 posts
Armorama: 2,007 posts
Posted: Friday, May 05, 2017 - 07:24 PM UTC
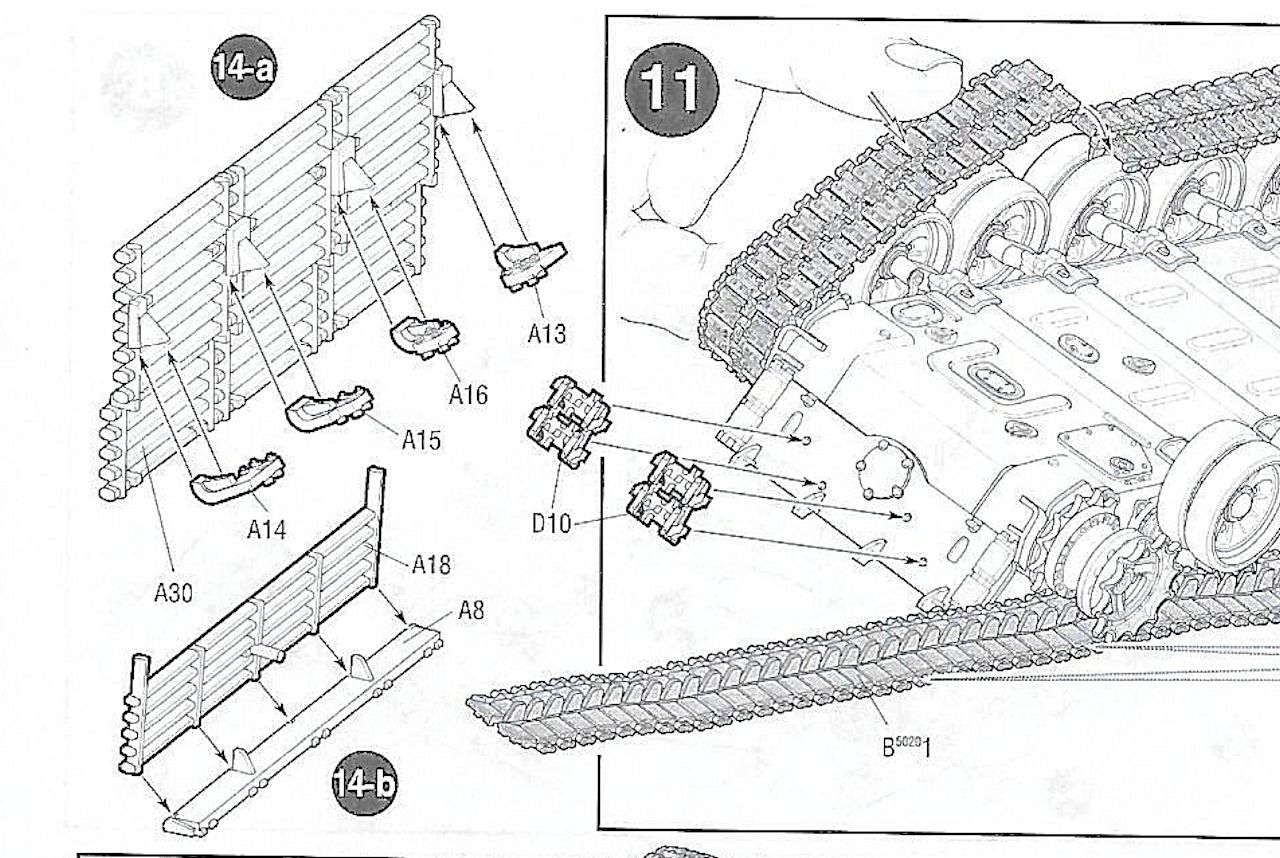
Looking back at instruction step 11 in the post above, following the tracks the two part D10s were added. These resemble track spares, though don't look like full links.


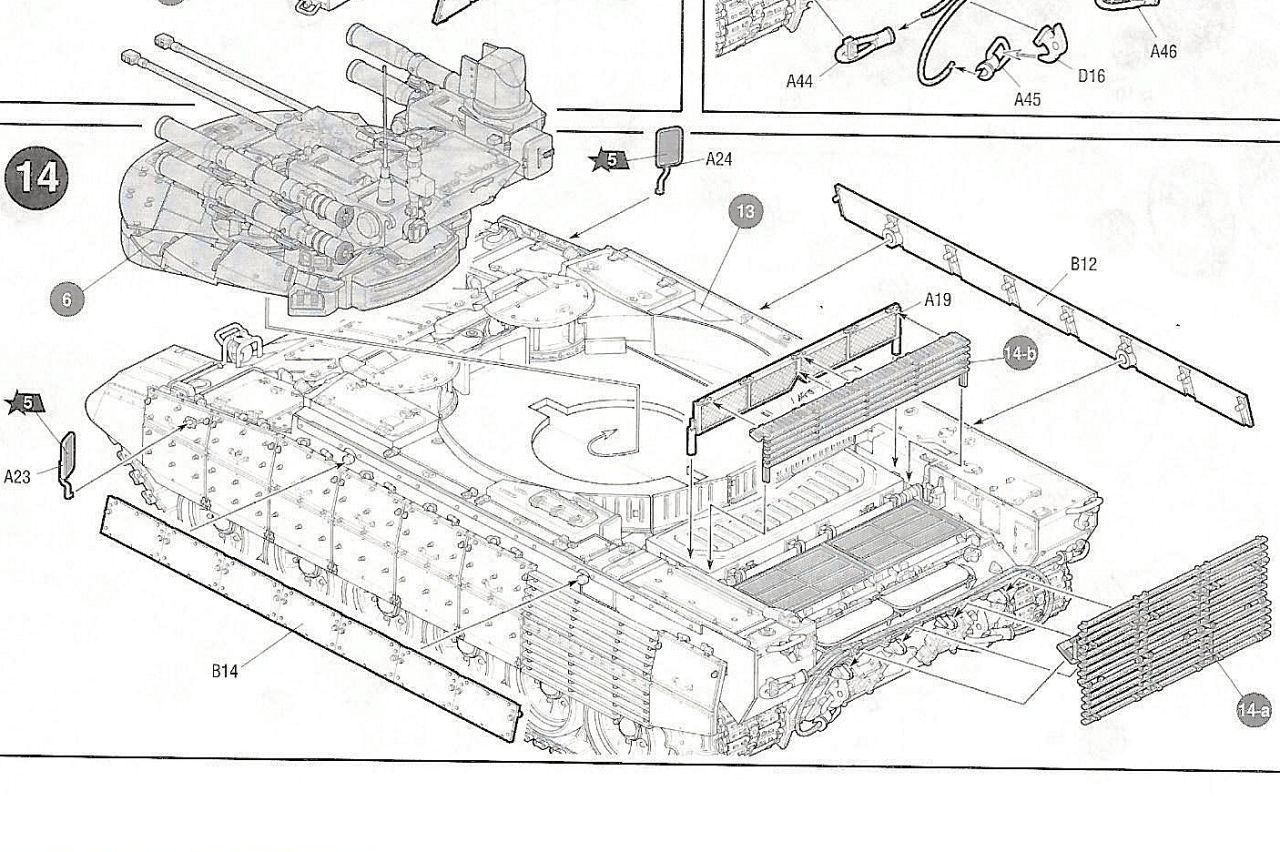
Then ignoring step 12 for now, which joins the hull halves together, skipping to 13 to add some rear hull detail:


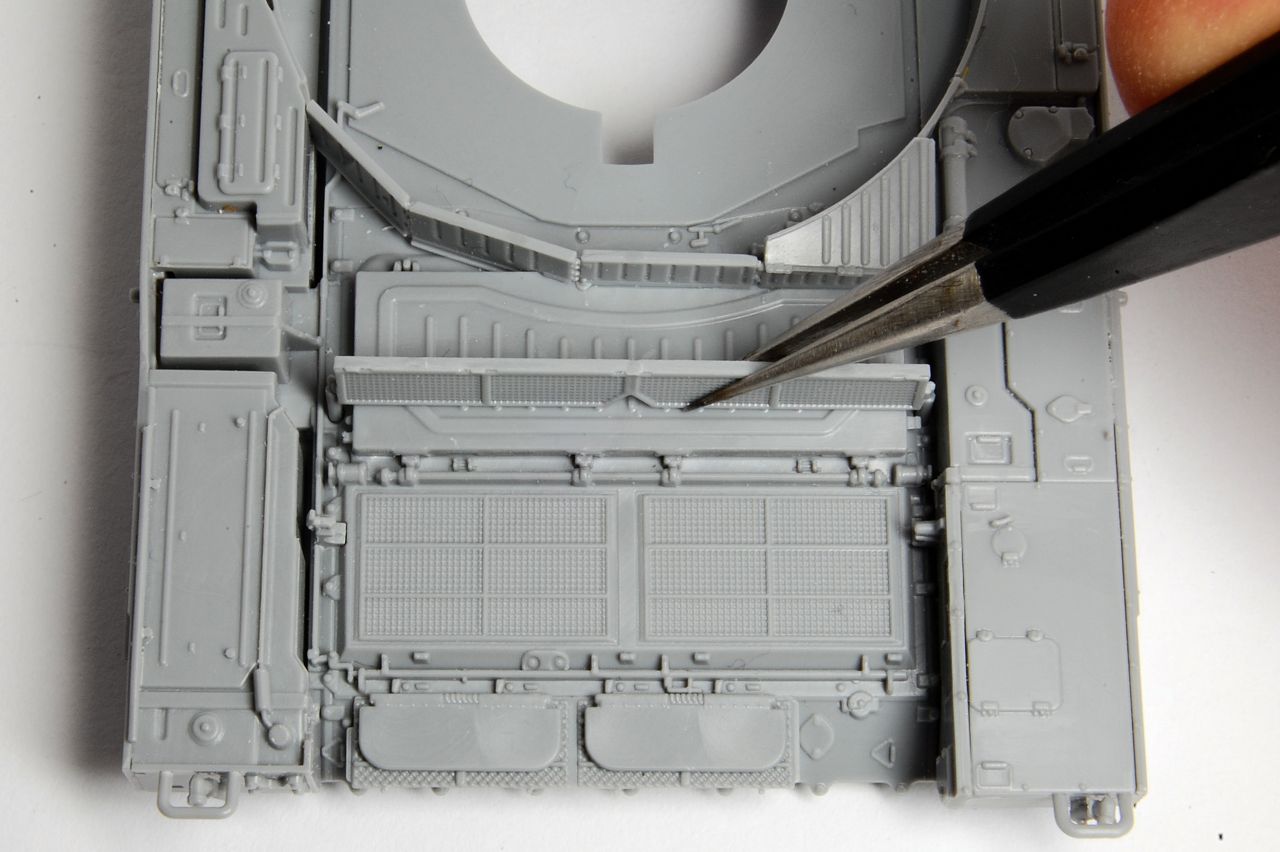
Then forward to what you can see is the last step, 14, to just add the sub-assembly from 14-b and part A19:


This is quite tricky as the two parts join along a thin edge, needing to be vertically parallel and both fixed to the hull. I added A19 first:

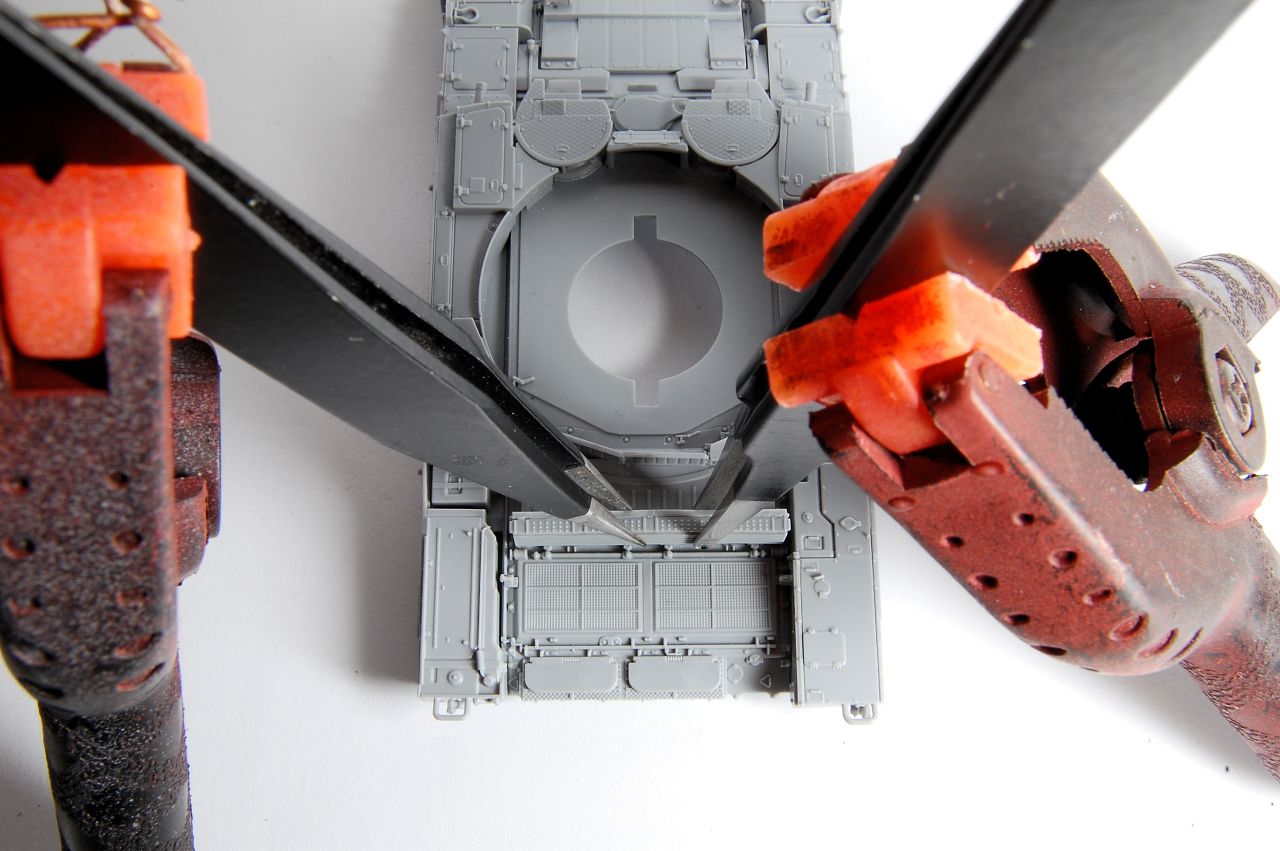
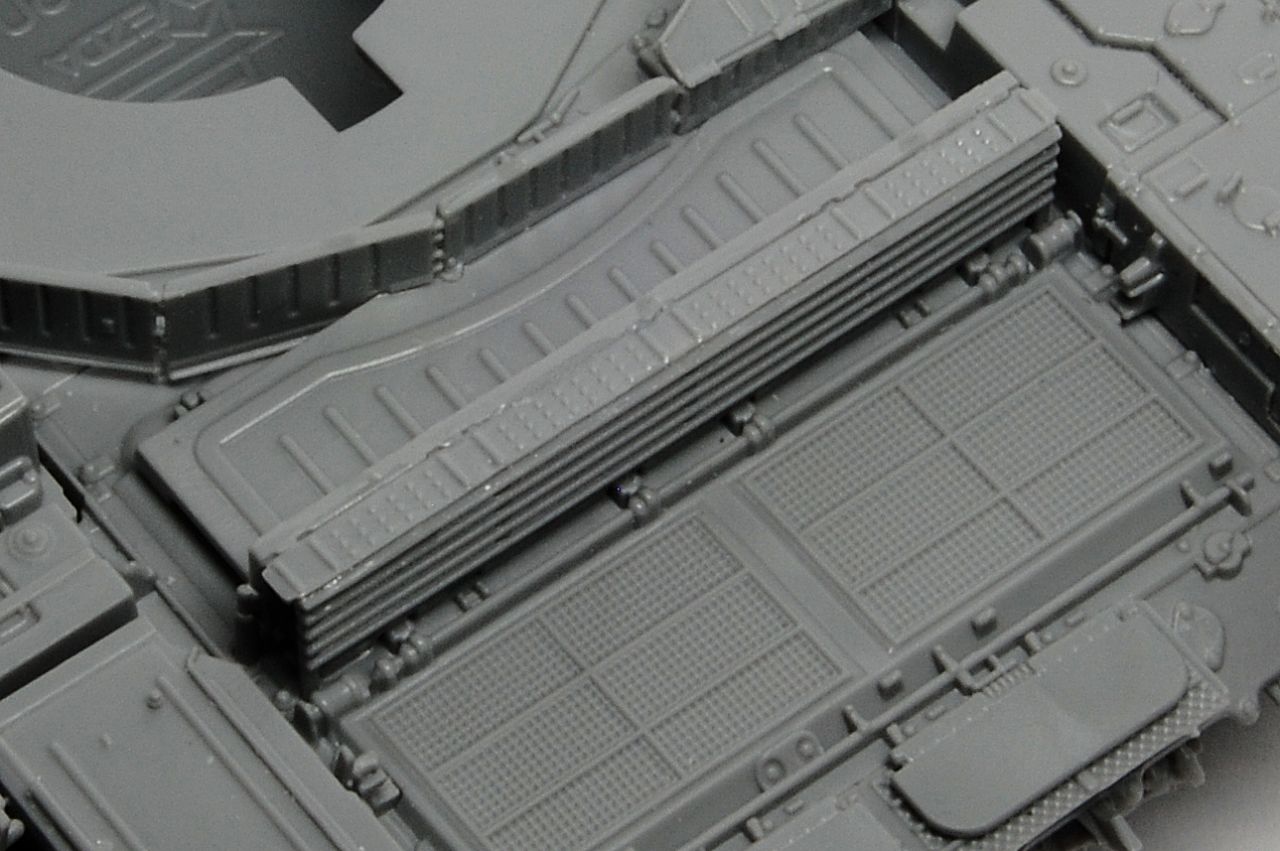
Then 14-b, and clamped it together to eliminate the gaps along the long edge which tended to open up:


firstcircle
Visit this Community
England - South East, United Kingdom
Joined: November 19, 2008
KitMaker: 2,249 posts
Armorama: 2,007 posts
Posted: Friday, May 05, 2017 - 07:54 PM UTC
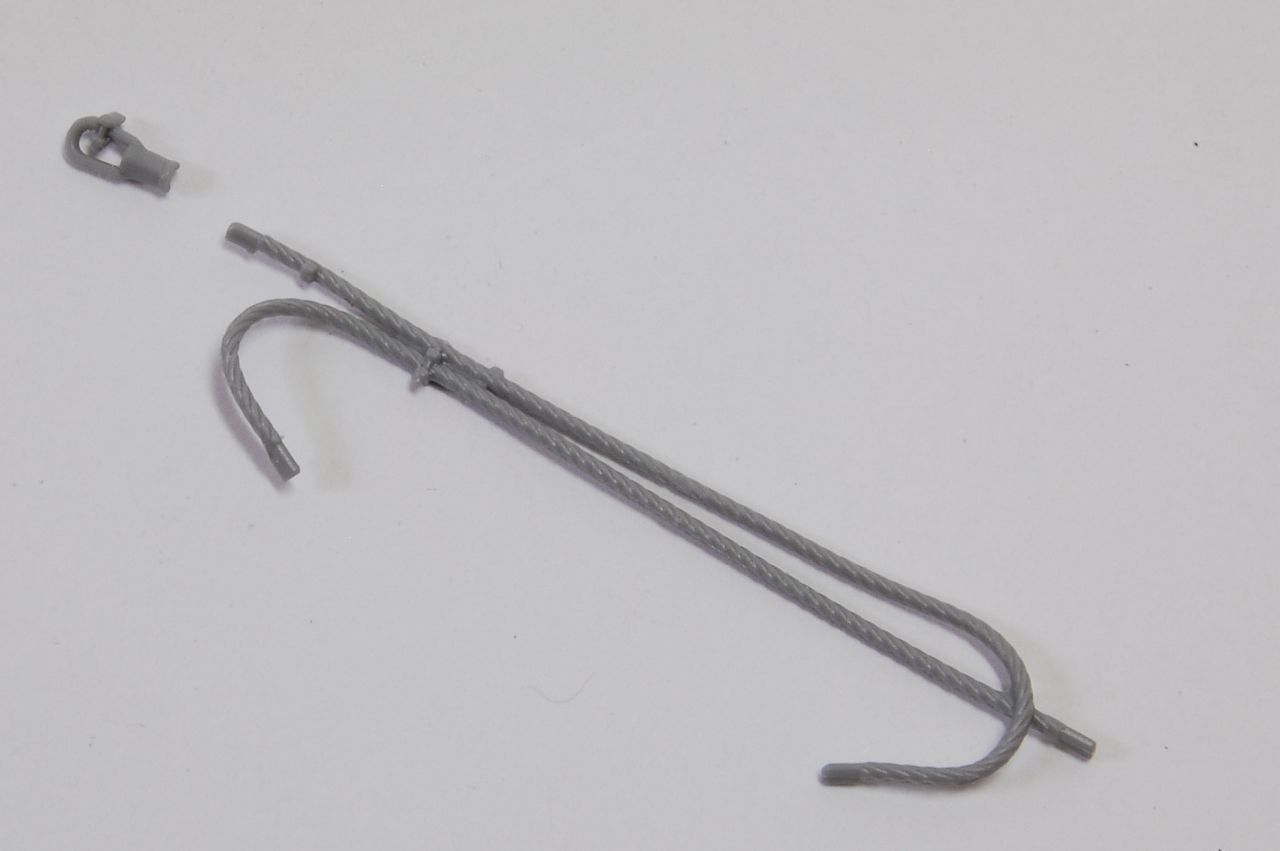
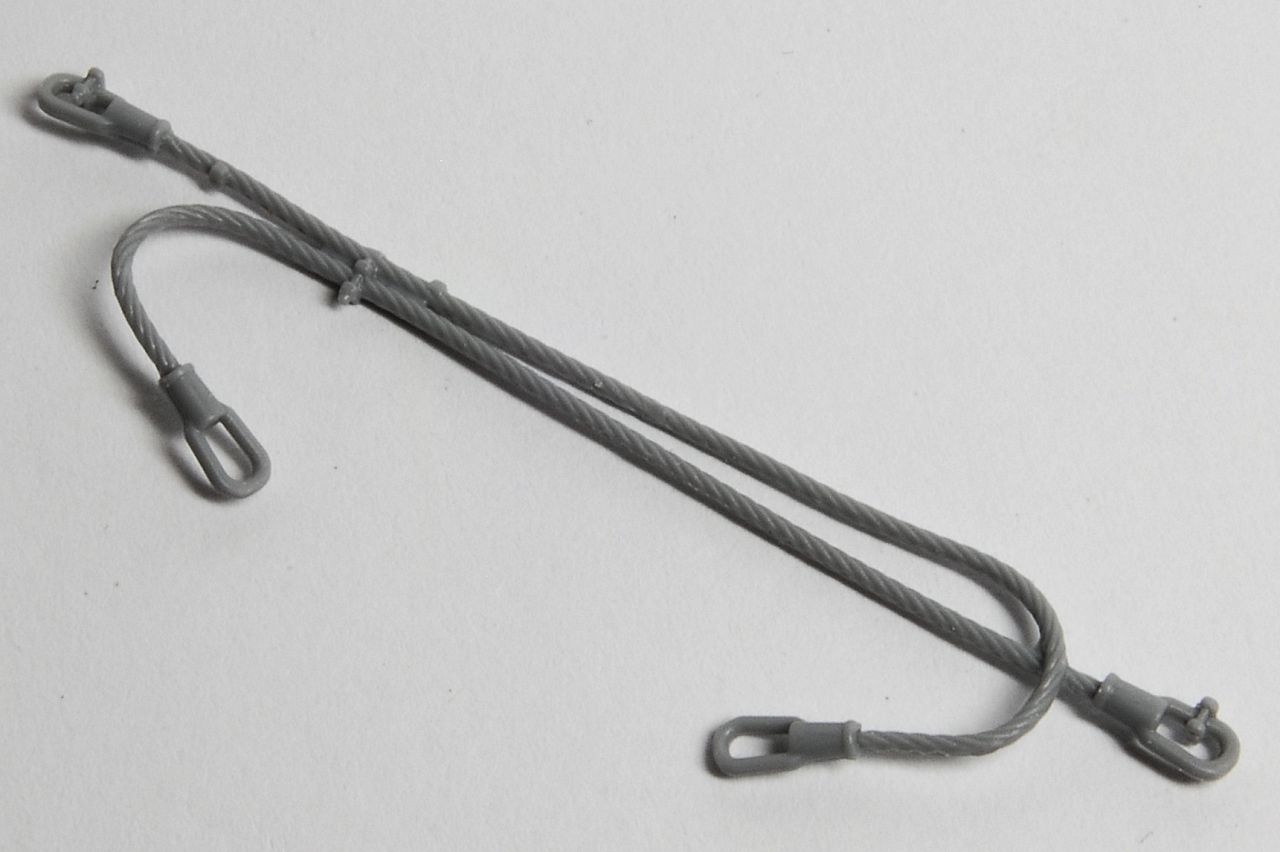
The tow cable (see step 13 above) is quite a nice moulding, with the four eyes moulded separately, the sockets being open at the back with the missing portion of the socket being moulded with the cable, so that they can only be fitted one way.


This provides a well moulded and detailed cable, note the included nuts/bolts, and the clips on the upper run:


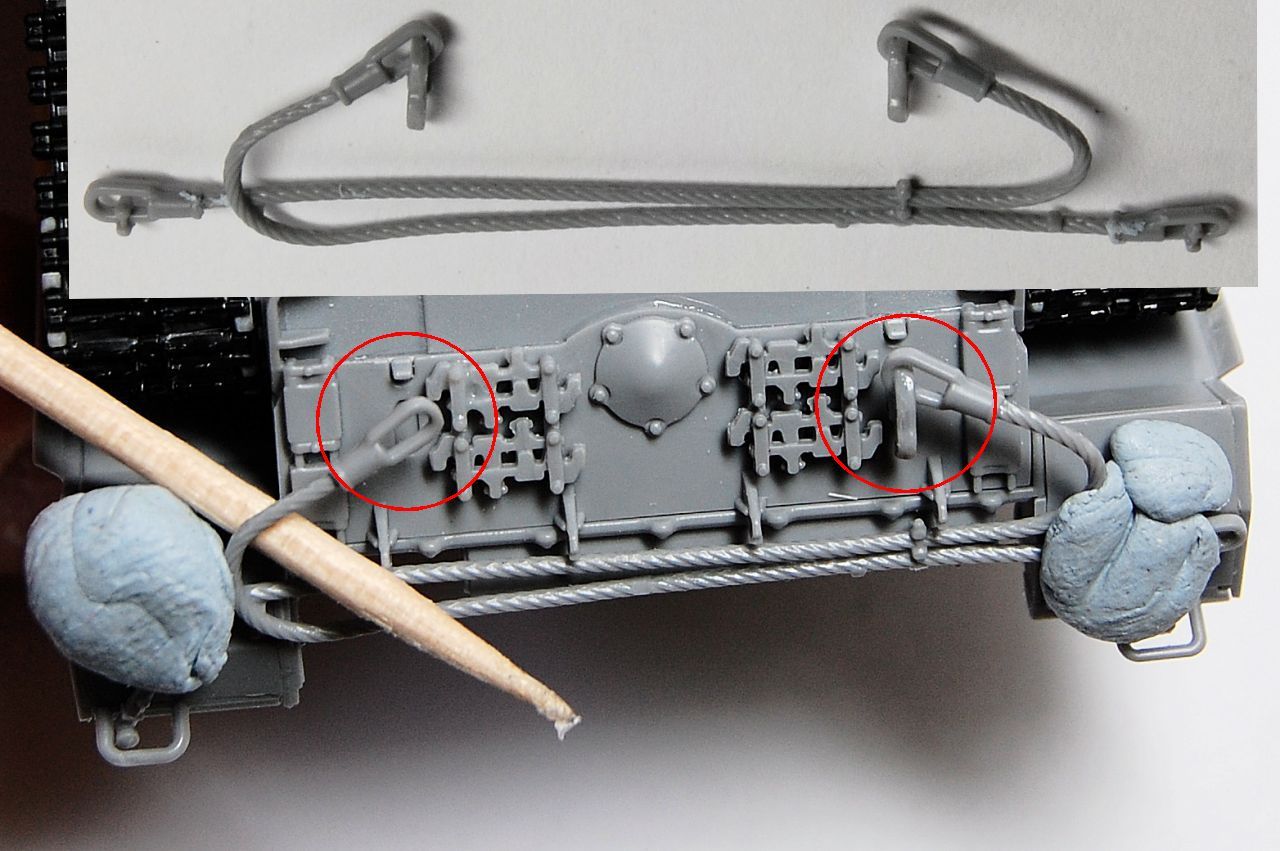
The lower inward facing shackles are to be held in place by the two hooks, D16, on the hull rear; I think if the hooks are attached first, the shackles won't fit under them, so I suppose you have a choice of cementing the hooks with shackles in place, then attaching the cable to those two shackles later, or else attaching the hooks to the shackles and then the whole assembly to the hull later, which is what I chose to do. Of course, you may prefer to just assemble everything prior to painting...
In this photo, the hull top and bottom is taped together and the upper cable ends blu-tacked in place in order to get the other ends in position over the location for the two hooks; the right hook has been cemented to the shackle in the main photo, with the inset showing the cable assembly when set.


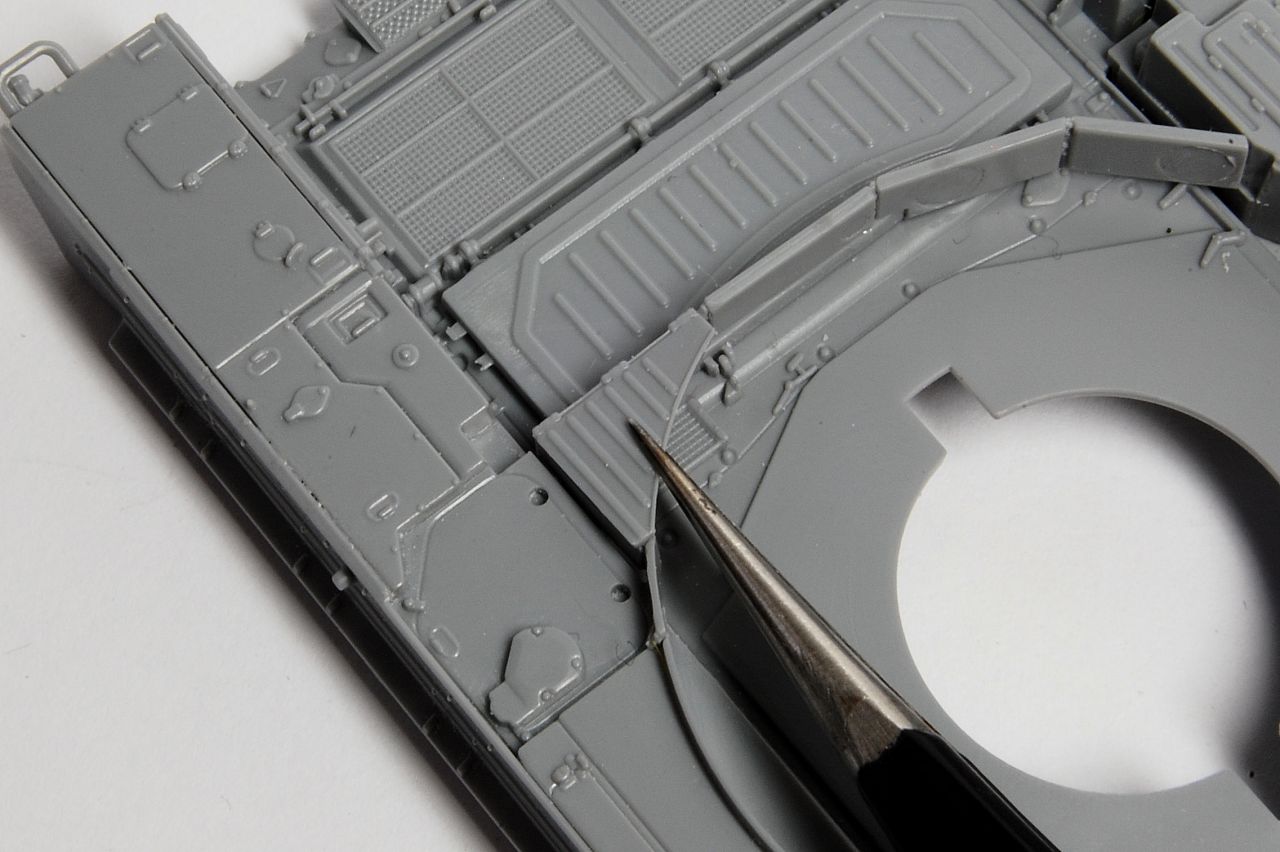
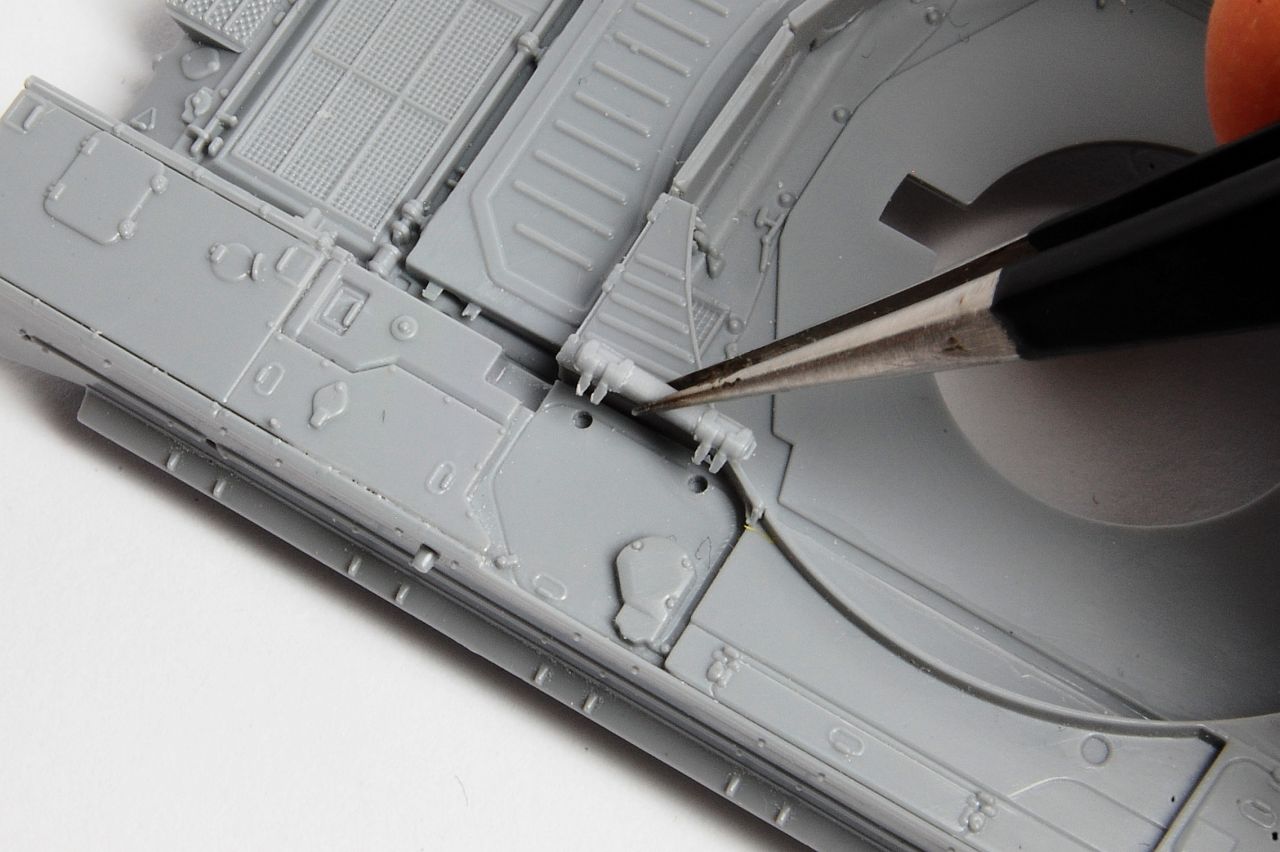
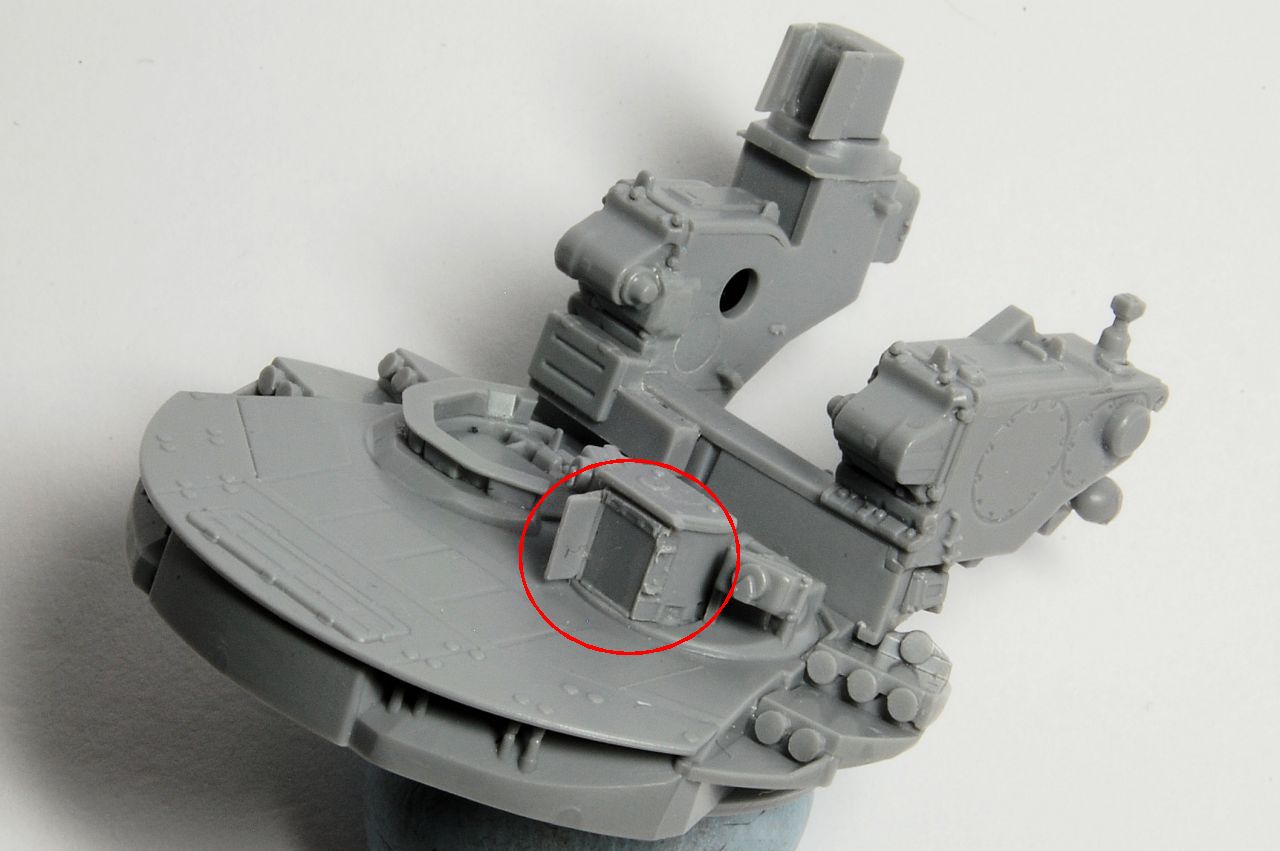
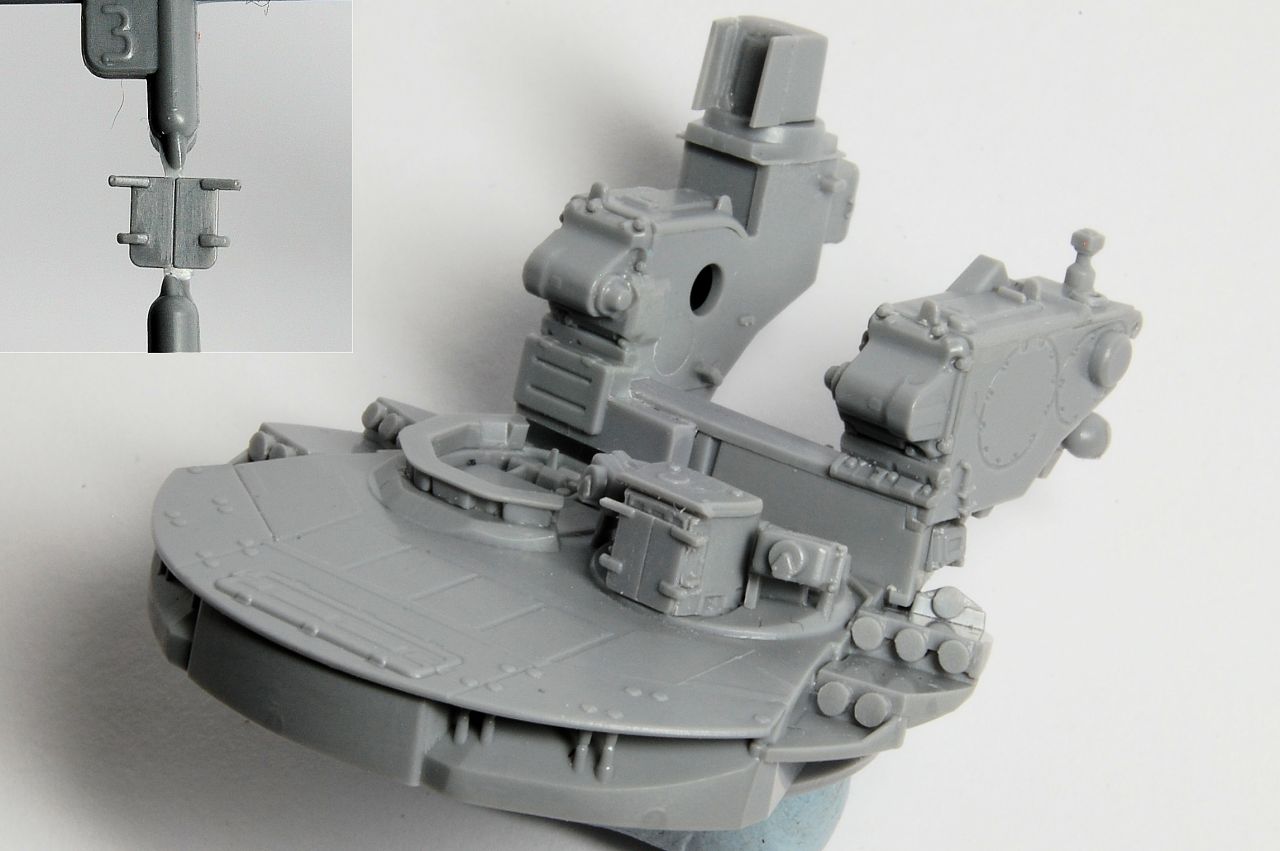
I experienced a mishap with the turret with one of the covers for the gun sight disappearing. Luckily there is the optional part provided for a closed cover - I guess it could be cut in half, but I decided to play safe and just add it in one piece:


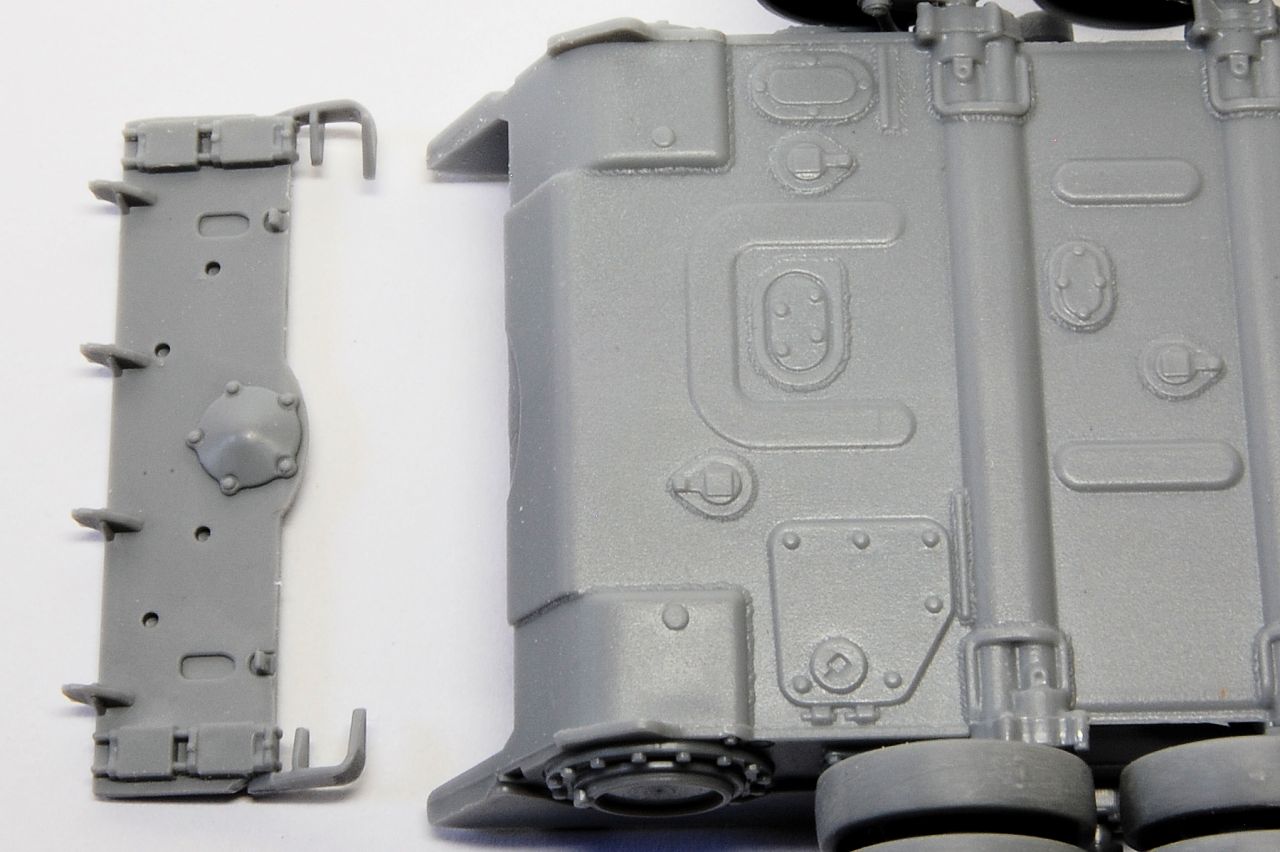
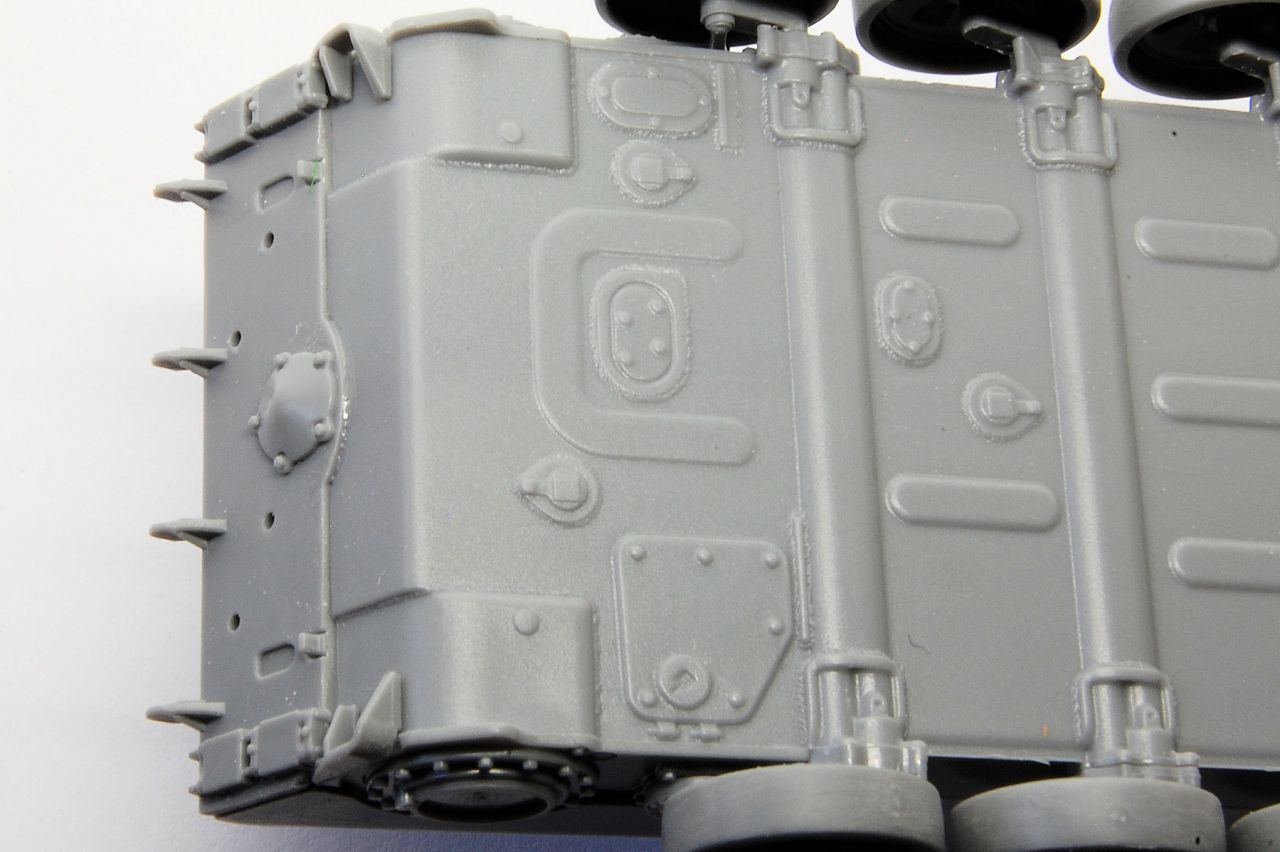
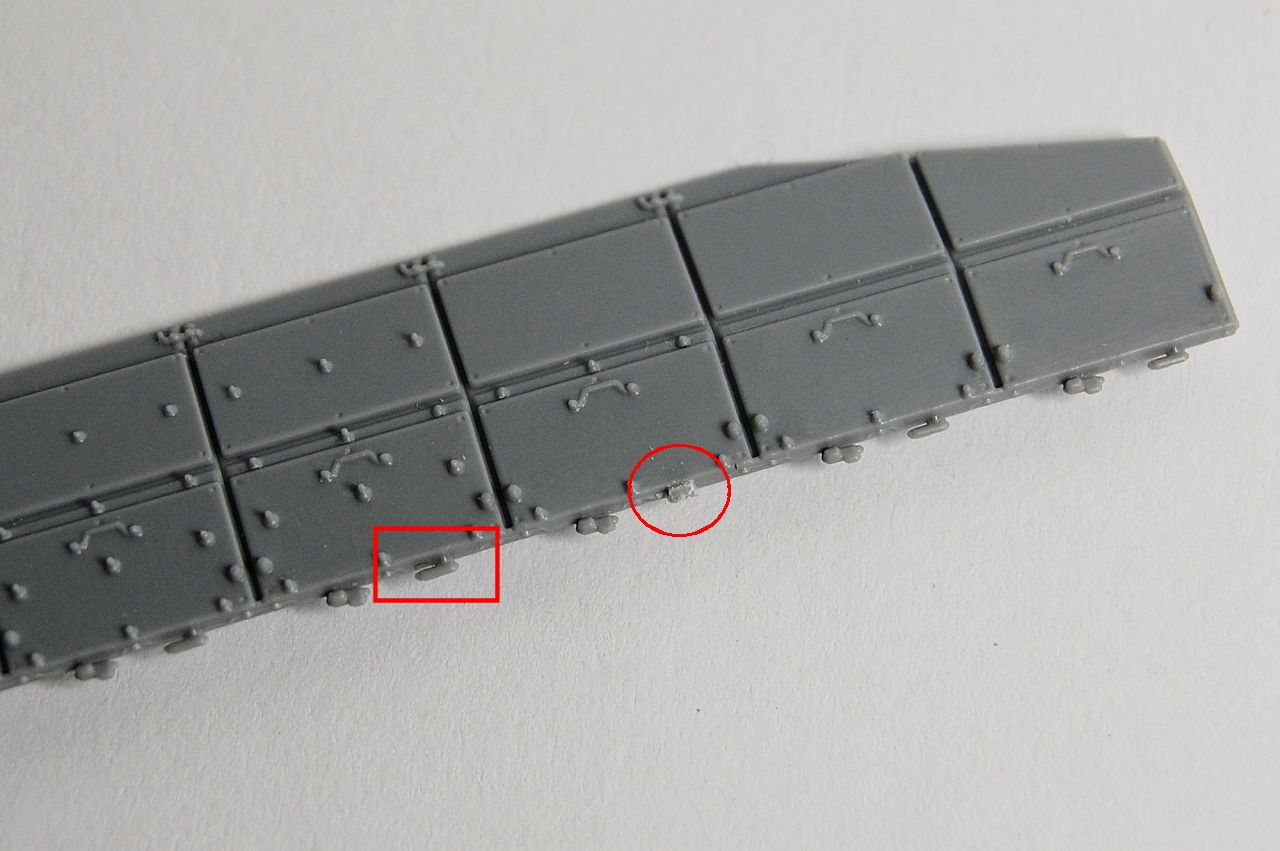
As we are nearing the end of construction prior to any painting, I removed the remaining large components from the sprue, including the other main side armour skirt which had this unfortunate feature, where the attachment point is where there should, I think, be a piece of detail which is therefore missing. Compare below the untrimmed attachment point circled with the detail in the rectangle.


So there remain a few delicate parts which should probably be added much later. There are wing mirrors that attach to the armour skirts, but photos show that these are really optional, possibly just added for road driving? Then there is the aerial, which I managed to break the thin part of, but I will drill that out, and add the base to the turret, then add the thin part after painting. The bar armour at the rear cannot practically be added until the hull is in one piece.

Jan, I'm glad this has inspired you to tackle more of the T-90, and I agree that the fit and design of these kits is very good indeed, with the track system being probably the best I have seen in this scale at the present time.


tread_geek
Visit this Community
Ontario, Canada
Joined: March 23, 2008
KitMaker: 2,847 posts
Armorama: 2,667 posts
Posted: Saturday, May 06, 2017 - 07:41 PM UTC
Matthew,

What can I say other than I am impressed with your progress and mildly intimidated with this particular kit. While the T-90 kit is in many ways pleasantly complex and enjoyable, it appears that Zvezda has upped the ante with this kit.


Quoted Text

Jan, I'm glad this has inspired you to tackle more of the T-90, and I agree that the fit and design of these kits is very good indeed, with the track system being probably the best I have seen in this scale at the present time.


Matthew, the fact that I was inspired enough to have successfully tried the track system on my T-90 attests that if doing yours wasn't meant to influence me, I'd say it DID! My current delay on further progress is caused by my only local full service hobby shop having closed its' doors due to the owners retirement and thereby not having suitable paints available within 30 miles (50 km). I should be travelling to the location of the nearest suitable emporium early next week and will have a suitable(and sizeable) list of supplies to stock up on.

As for that little issue with the detail on the side skirt, Perhaps a small piece of stretched sprue might be just the "ticket" to rectify it's look.

Keep up the excellent work!

Cheers,
Jan
BornToDig
Visit this Community
Maryland, United States
Joined: December 25, 2002
KitMaker: 345 posts
Armorama: 311 posts
Posted: Monday, July 10, 2017 - 07:54 PM UTC
Thank you for sharing your SBS build. I love this sort of thing. I also crave these kinds of kits, where little parts build up into larger structures and take shape. This is what makes modeling fun for me!

I think Zvezda should send you a thankyou free kit, because I just ordered this and a few of their other braille scale kits.
firstcircle
Visit this Community
England - South East, United Kingdom
Joined: November 19, 2008
KitMaker: 2,249 posts
Armorama: 2,007 posts
Posted: Tuesday, July 11, 2017 - 01:33 AM UTC

Quoted Text

I think Zvezda should send you a thankyou free kit, because I just ordered this and a few of their other braille scale kits.


Ralph, while I agree, this is in fact an Armorama review sample, so I guess in a sense they already did... sort of. I'm glad you've enjoyed the thread, I do appreciate the feedback, thank you. Which kits did you order?

It was timely of you to bring this thread up now, as having got through several other reviews over the last two months I revisited this over the last weekend, and gave it a coat of primer. Reading the above post again tells me that while I remembered to add the aerial holder (I cut the broken aerial off) I forgot about this missing bit of detail on the side skirt. I'll think about doing something about it while painting the tracks, which is the first bit that I plan to do.

Anyway, not especially interesting photos, but it shows how I have it broken down for painting, even if not everyone will agree with this method... Red oxide primer - no special reason other than I have a mostly full can, and this is going to end up in mostly brownish shades, so why not? When I give it a really close look I expect to pick up some defects under this.
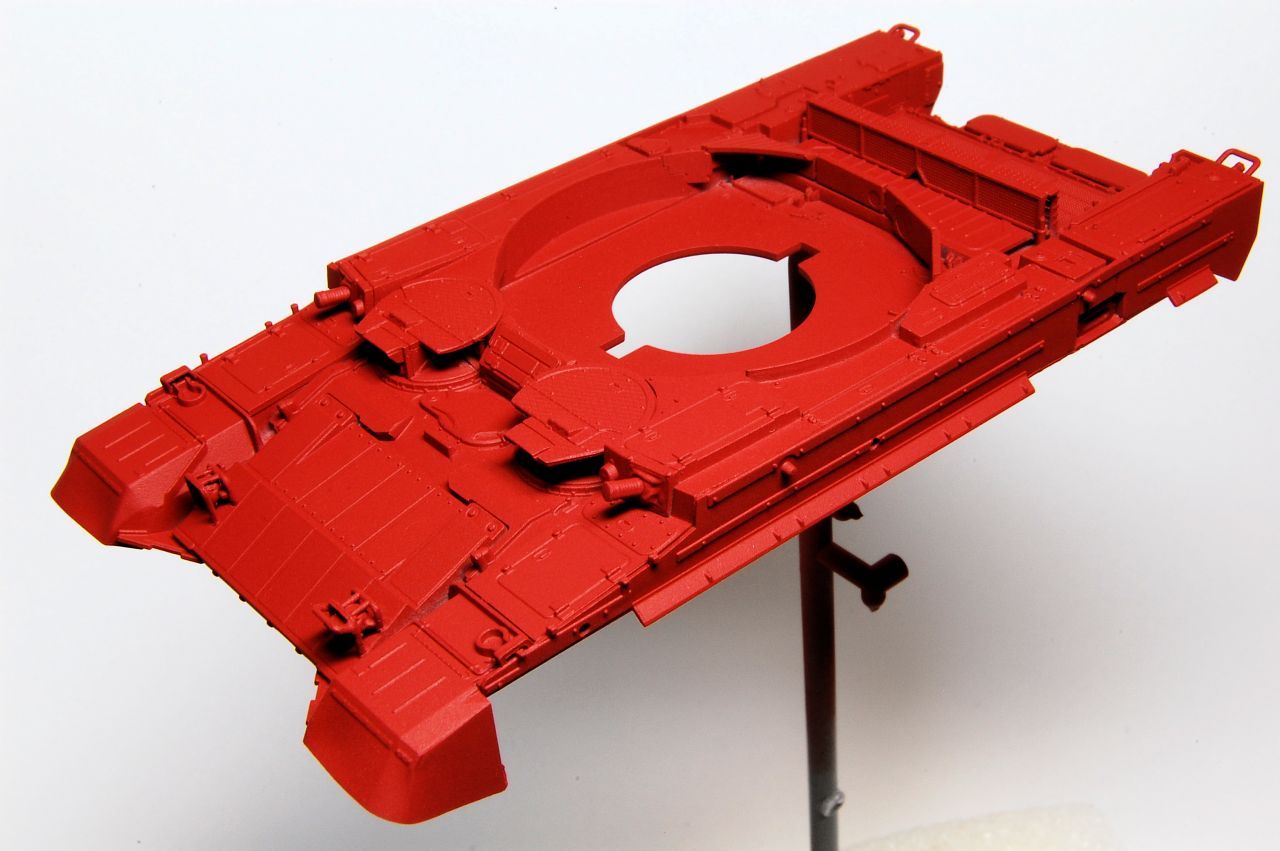
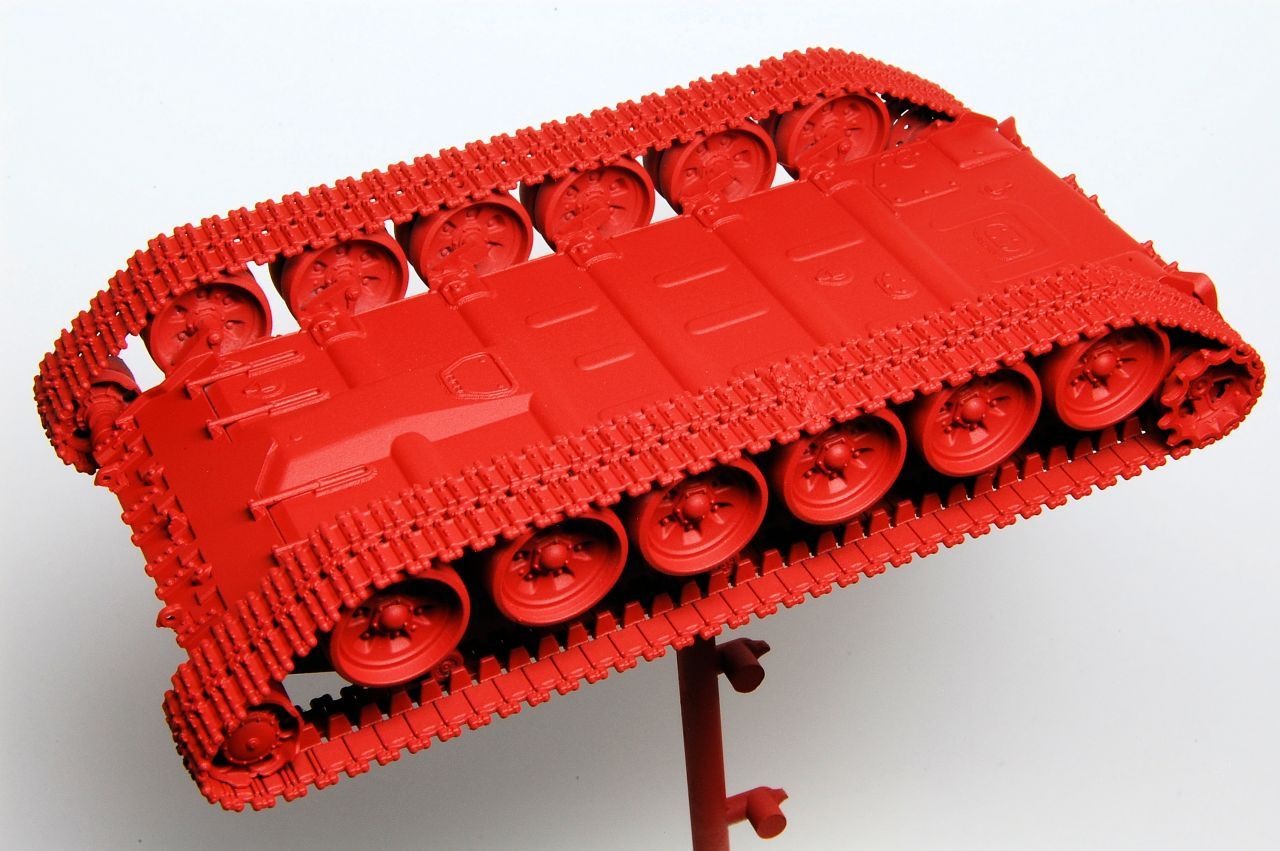
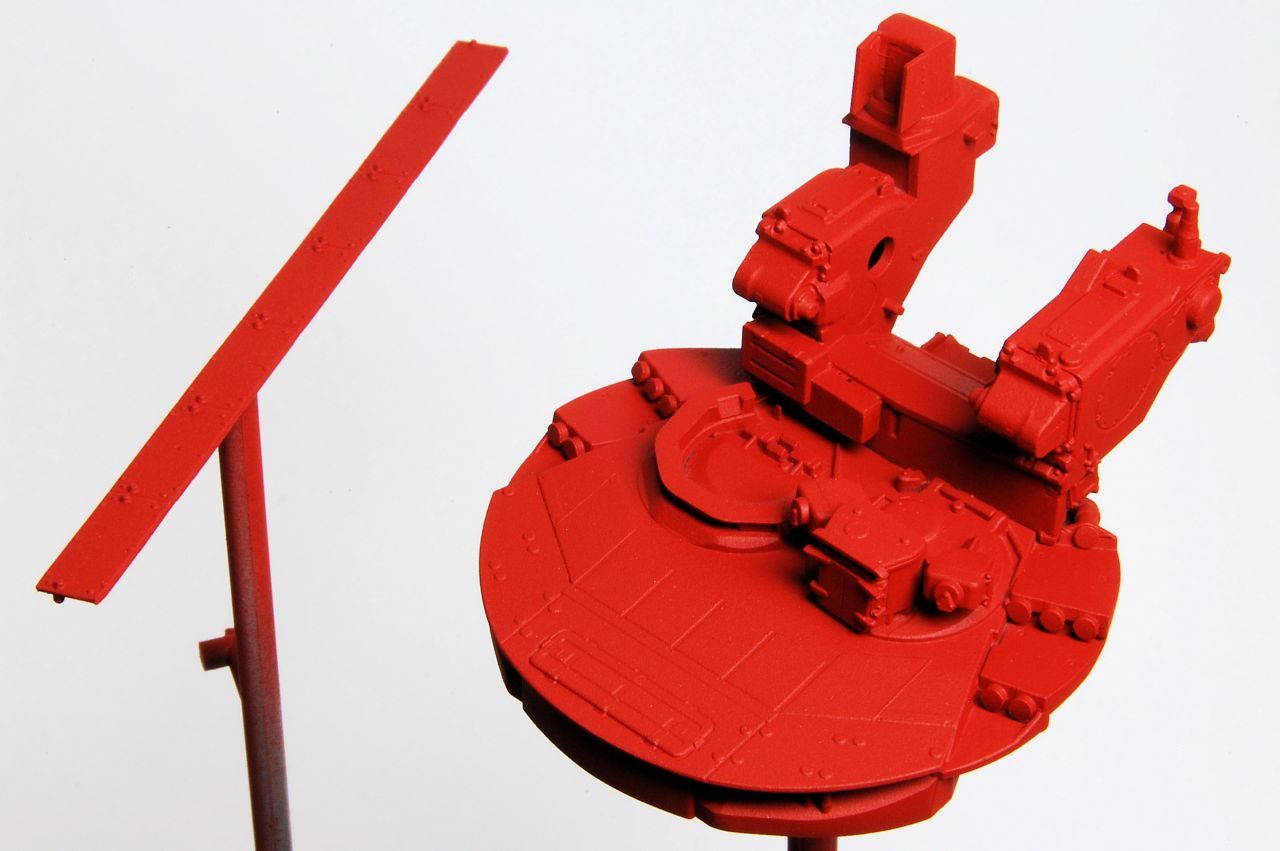
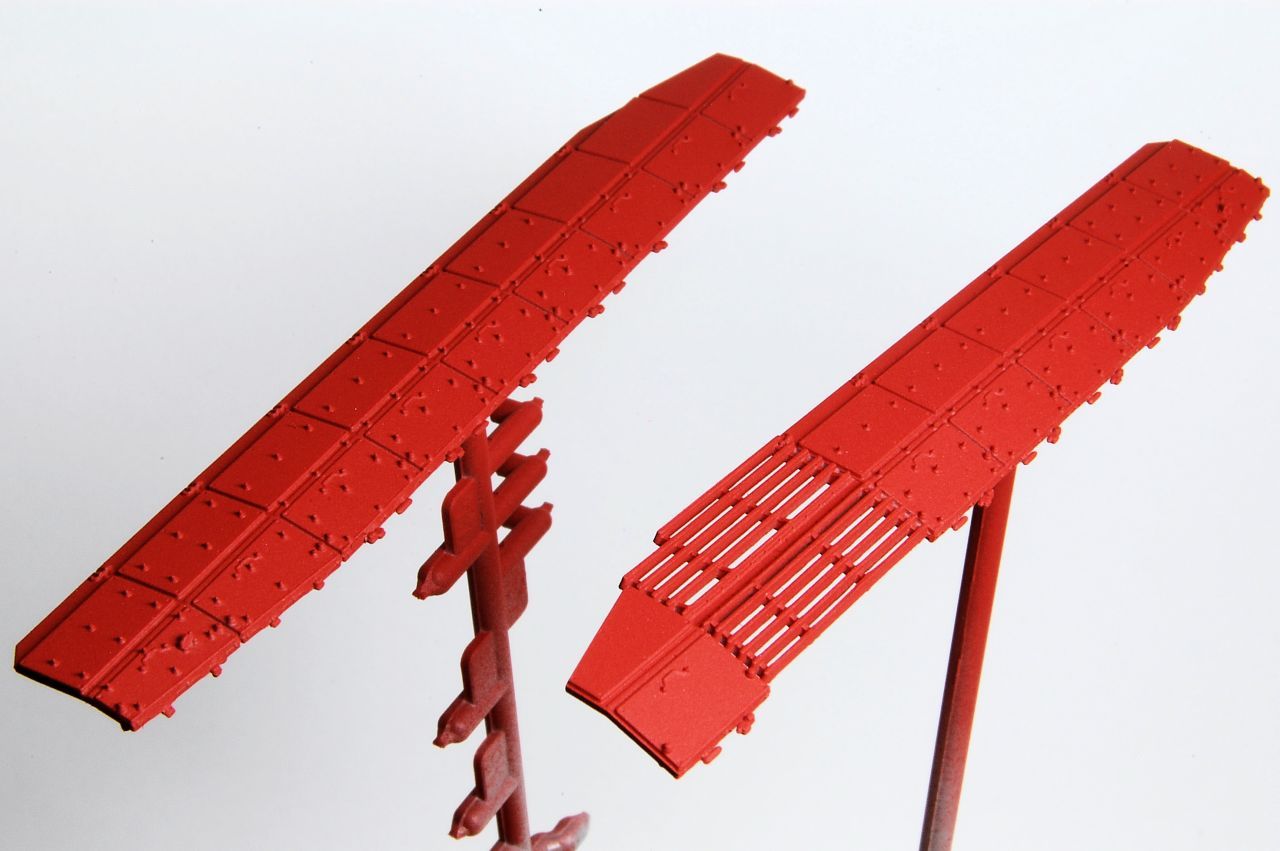
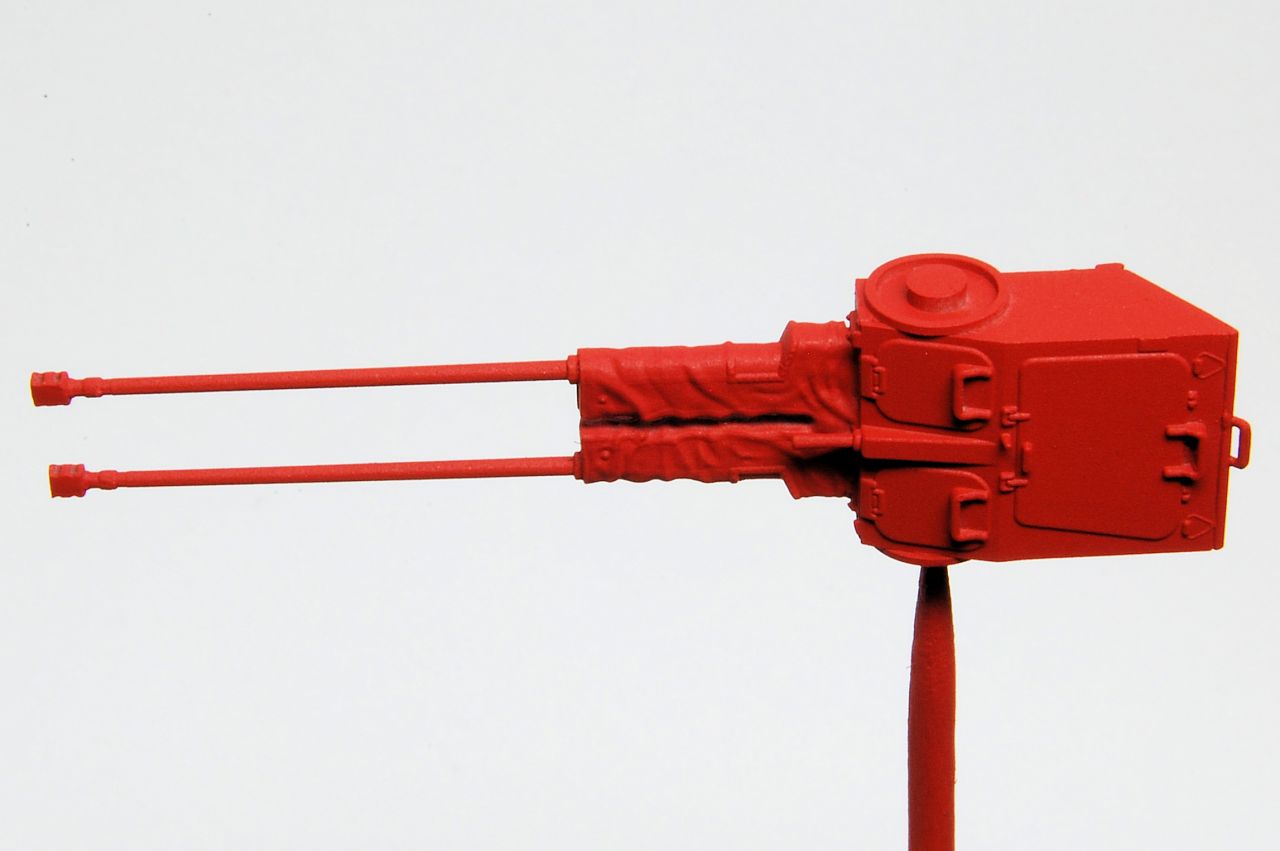
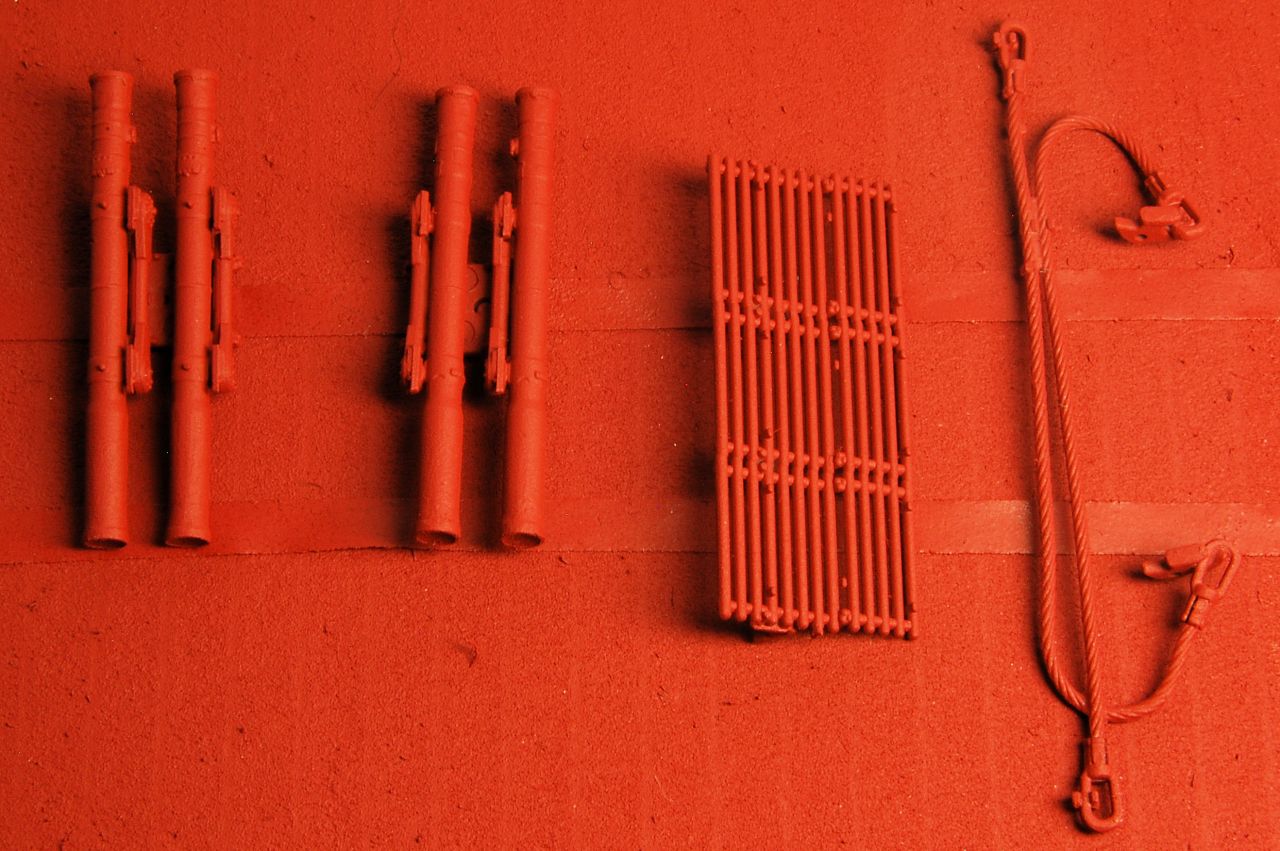


Jan, did you make it to your nearest but now not so near paint supplier?
tread_geek
Visit this Community
Ontario, Canada
Joined: March 23, 2008
KitMaker: 2,847 posts
Armorama: 2,667 posts
Posted: Tuesday, July 11, 2017 - 07:30 PM UTC
Well, I truly was wondering what might have occurred with this creation. I must confess though, that when I saw the entire suspension assembled and coated with the primer it caused an involuntary shudder to run down my spine. The process of assembling and painting a tank/armoured vehicle suspension has always been a laborious affair to me. I have experimented with what seems like countless techniques and have yet to find one I like. And yes, I have known individuals who assemble and paint these small scale creations after an overall base coat with 5 X 0 script brush detailing but the idea of that boggles my mind.


Quoted Text

...
Jan, did you make it to your nearest but now not so near paint supplier?


In the couple of months since my post above our local community of modellers have banded together to lobby and in any way possible try to influence, cajole, threaten or even bribe a few local merchants to at least stock a minimal of hobby supplies. One shop in the local downtown area that specializes in games pieces, games and collectables has graciously acquiesced to our requests and has over time added almost the entire range of Tamiya paints and modelling hobby products to its inventory (my brand of choice). I am also pleased to report that response by the public to this addition has resulted in them starting to carry a few kits and make arrangements with kit suppliers to order what a customer might want that they don't stock. Since then a couple of other shops have started to carry limited modelling supplies like glues, hobby knife blades and/or a few tools as well as have certain kits available by personal order. Not as concise as our old super shop but at least a good working minimal.

Cheers,
Jan
BornToDig
Visit this Community
Maryland, United States
Joined: December 25, 2002
KitMaker: 345 posts
Armorama: 311 posts
Posted: Wednesday, July 12, 2017 - 12:34 AM UTC
Matthew, I don't think this is what they meant by Red Army

I have to say, this thing looks even meaner in a coat of red. What are your plans for the final finish? Prototype? Khazak? A What-if?

To answer your previous question I ordered this kit, the T-90, and ISU-152.

See a pattern?
spongya
Staff MemberAssociate Editor
MODELGEEK
Visit this Community
Budapest, Hungary
Joined: February 01, 2005
KitMaker: 2,365 posts
Armorama: 1,709 posts
Posted: Wednesday, July 12, 2017 - 12:55 AM UTC
Matt,

great build! I am seriously thinking about choosing the 1/72 option for this vehicle instead of the Trumpeter one... thank you for showing what can be done with this kit.
firstcircle
Visit this Community
England - South East, United Kingdom
Joined: November 19, 2008
KitMaker: 2,249 posts
Armorama: 2,007 posts
Posted: Thursday, July 13, 2017 - 04:16 AM UTC
Jan, well hopefully I am going to demonstrate a method that succeeds... it is quite labourious with lots of masking, but avoids gluing painted wheels to tracks.

Sounds like a good result with the local hobby shops, perhaps that is a product of the Canadian community spirit that I have read of.

Andras, thanks for that, it is a very accurately designed kit so builds up well.

Ralph, if you look back to the previous page you'll see the paint mask set I've bought to paint this in the finish seen at the Russian Arms Expo 2013.

When looking at which colours to use I was tempted to order the AK Modern Russian AFV set which has paints to do this scheme, but then decided I could do it acceptably without spending any money. So the base coat is Tamiya Deck Tan, and the darker sand is Tamiya Desert Yellow. Here is just the basecoat for the pale sand wheels and the hull sides, then masked off for the two dark yellow wheels on each side.


tread_geek
Visit this Community
Ontario, Canada
Joined: March 23, 2008
KitMaker: 2,847 posts
Armorama: 2,667 posts
Posted: Thursday, July 13, 2017 - 07:46 PM UTC
Matthew,

I applaud your ingenuity and taking the initiative to use more "commonly" available and perhaps less costly paints for this project. I can truly see the labour intensiveness of masking off all that suspension surface area. I'll reserve further comment until this "process" is further revealed. I must say that for some reason I have never thought of using "Deck Tan" as a member of a "modern" camouflage scheme but your example of using it has awakened a dormant idea or two.

Cheers,
Jan
firstcircle
Visit this Community
England - South East, United Kingdom
Joined: November 19, 2008
KitMaker: 2,249 posts
Armorama: 2,007 posts
Posted: Monday, July 24, 2017 - 03:27 AM UTC

Quoted Text

I applaud your ingenuity and taking the initiative to use more "commonly" available and perhaps less costly paints for this project.


:) I think impatient and tight fisted is more like it... Tamiya paints tend to go a bit gungy when there's not a lot left and they don't get used for a while, so this is an opportunity to use them up.


Quoted Text

I must say that for some reason I have never thought of using "Deck Tan" as a member of a "modern" camouflage scheme


It does look a little bit grey in the photo, but is less so in reality, and I think is an OK match for the real thing. The real colour is very pale, more so than any other shade I had.

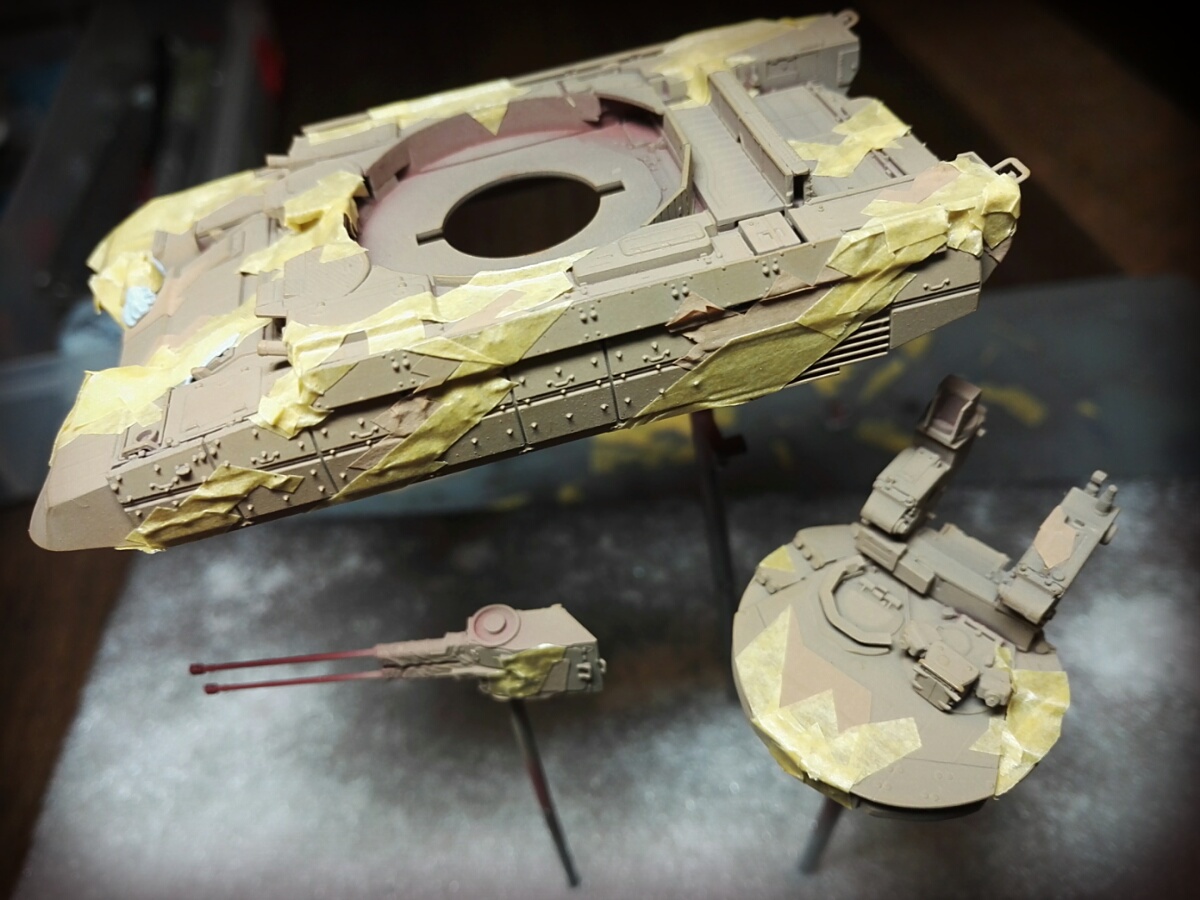
So a little progress on the upper parts, starting with painting most of it with Model Air "Hull Red", paying attention to where the smallish patches of choc brown will be.

This is the pre-cut masking sheet, with the surround peeled off already:

Although thin and flexible, it seemed to me nowhere near mouldable enough to stick to the quite complicated surface of the model, lifting off the surface too easily. Not too much of a problem though, as it makes it very easy to cut the mask out of Tamiya tape, and the pre-cut mask can then be stuck back on the backing sheet:


Some of the contours are complex and occasionally, as the instructions in the masking kit say, a little extra tape is needed in certain places.
So here it is after applying Tamiya Desert Yellow over the masking.


And this is where I am now up to, adding the next set of masks, this next colour being made of bigger shapes:
firstcircle
Visit this Community
England - South East, United Kingdom
Joined: November 19, 2008
KitMaker: 2,249 posts
Armorama: 2,007 posts
Posted: Monday, July 24, 2017 - 03:42 AM UTC
Forgot about the wheels / tracks. Don't laugh at the masking on the wheels...

Tamiya Semi-gloss Black:

Masking off:

Looks very black, but it seems that the tracks were painted black on the model at the arms fair.
firstcircle
Visit this Community
England - South East, United Kingdom
Joined: November 19, 2008
KitMaker: 2,249 posts
Armorama: 2,007 posts
Posted: Thursday, July 27, 2017 - 03:51 AM UTC
Masking complete on top, looks a bit rough:


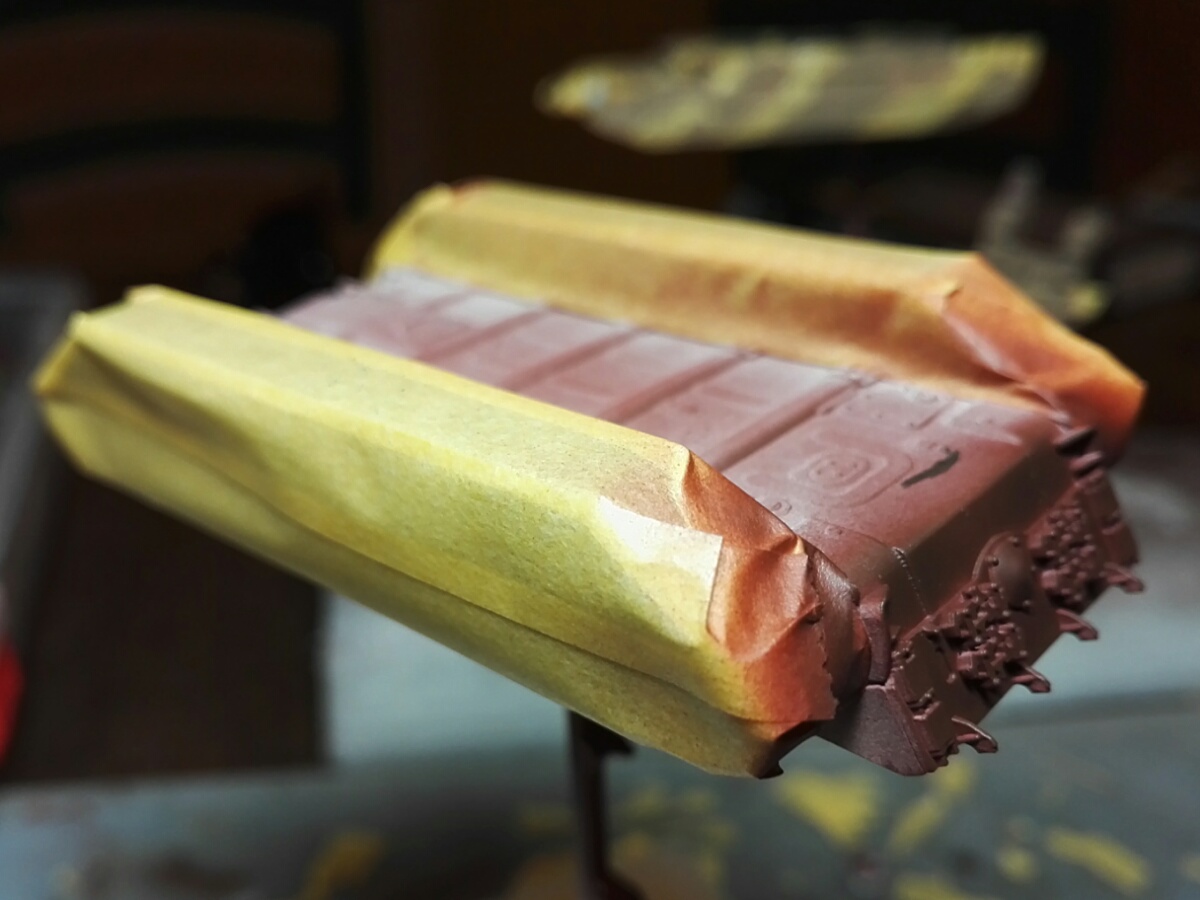
Track units masked: