Queensland, Australia
Joined: April 15, 2006
KitMaker: 915 posts
Armorama: 797 posts
Posted: Friday, June 09, 2017 - 06:09 AM UTC
Thanks Jeff,
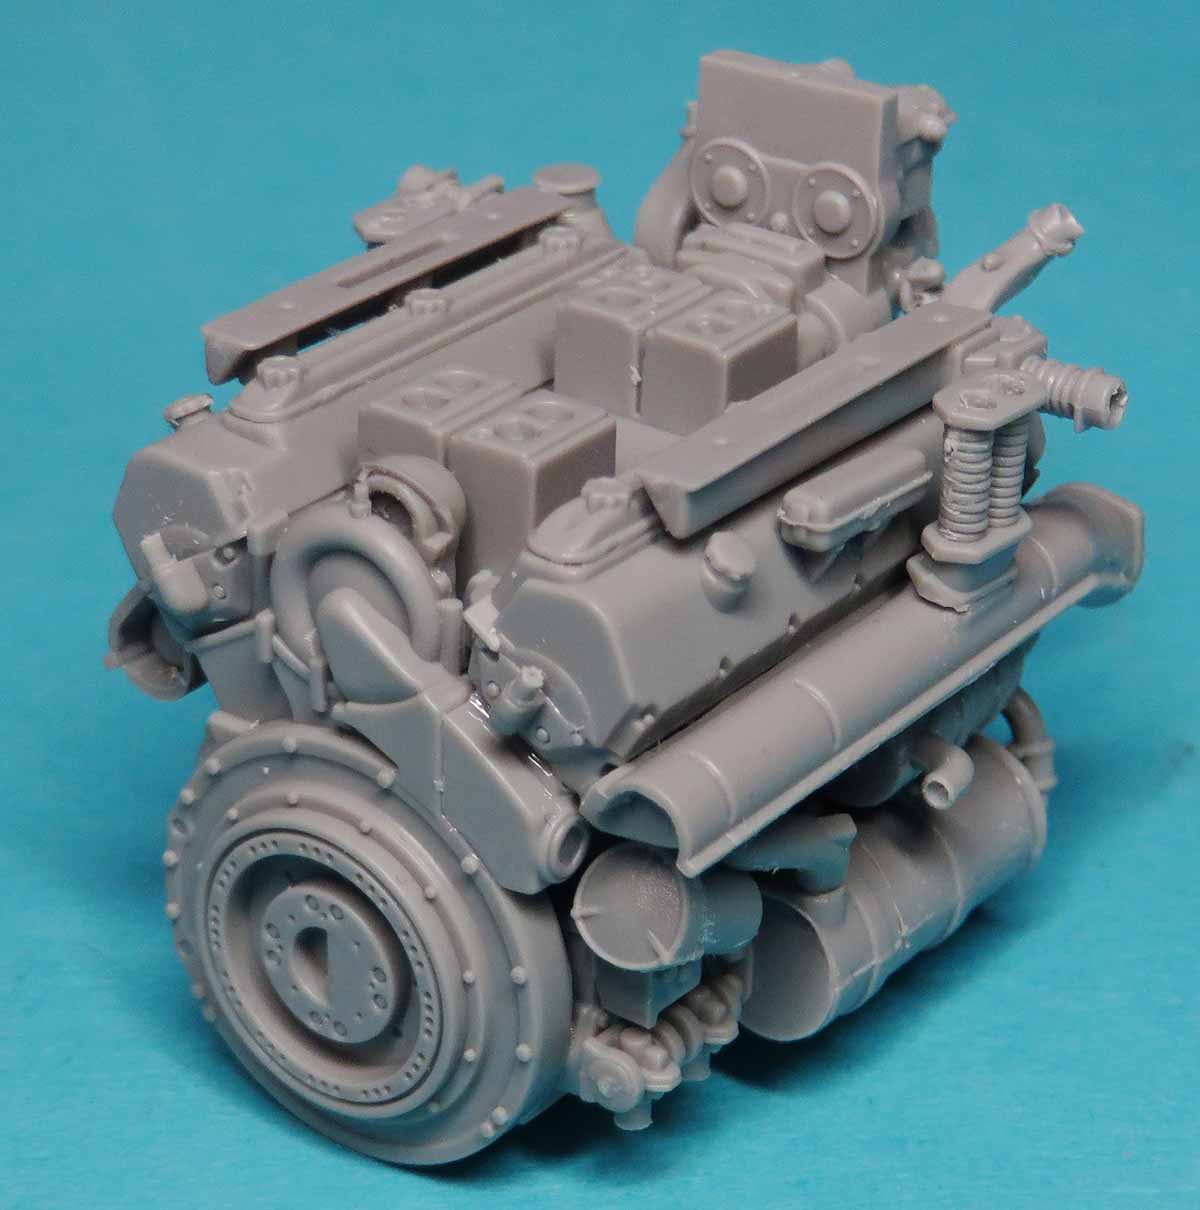
The Takom Tiger 2 engine is now the main aim to complete before the tank.
The engine will be freestyling in the air suspended from the crane.
Hopefully the plastic jib will take the weight.


fingers crossed.
Michael
Queensland, Australia
Joined: April 15, 2006
KitMaker: 915 posts
Armorama: 797 posts
Posted: Saturday, June 10, 2017 - 12:43 PM UTC
Quick Update
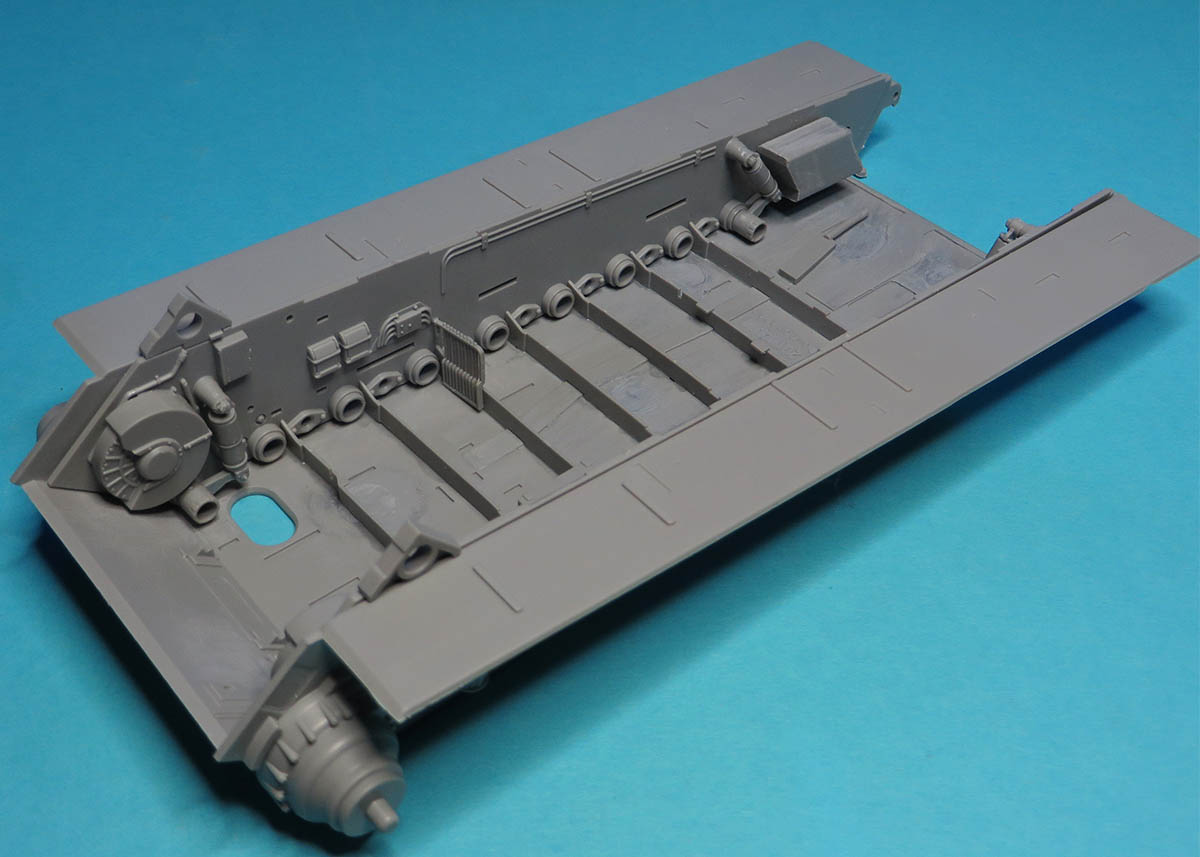
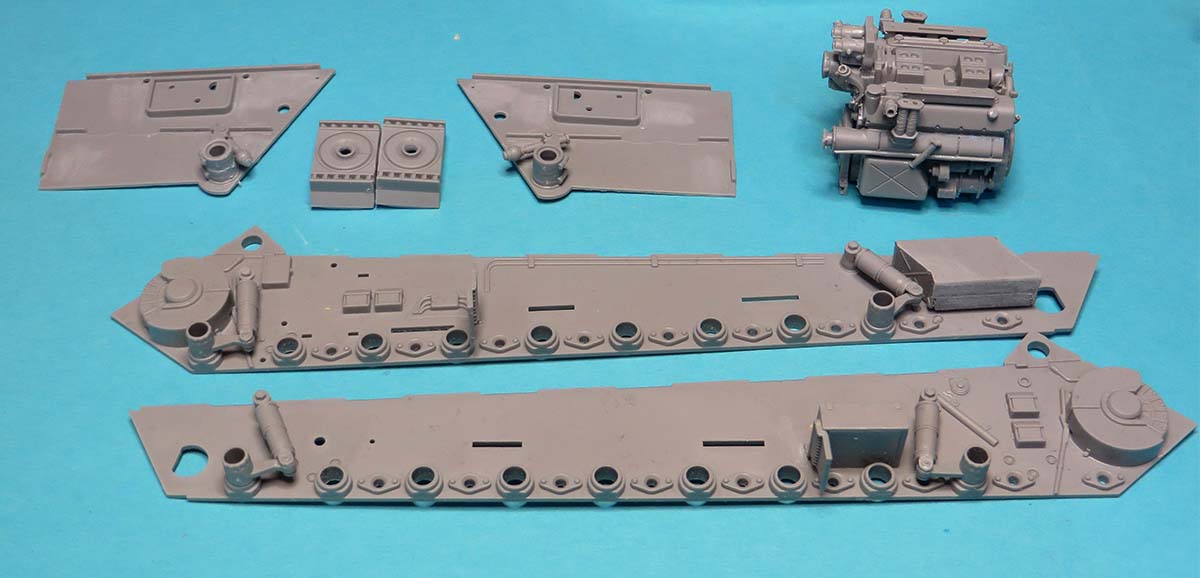
Takom tiger 2 base started, was going to go straight to the engine but could not hold back to start this monster
The sides are not glued in, will paint and detail before placing together.
Filled up the whopping big sink marks in the base. Something a lot of modellers have skipped over, I know you do not see it when all the items are together but sink holes stand out like dogs balls when progress shots are being done.


Michael
Queensland, Australia
Joined: April 15, 2006
KitMaker: 915 posts
Armorama: 797 posts
Posted: Saturday, June 24, 2017 - 05:52 AM UTC
Hello again,
Here is the next installment of images, that's if PB does not shaft me and say I have exceeded band width

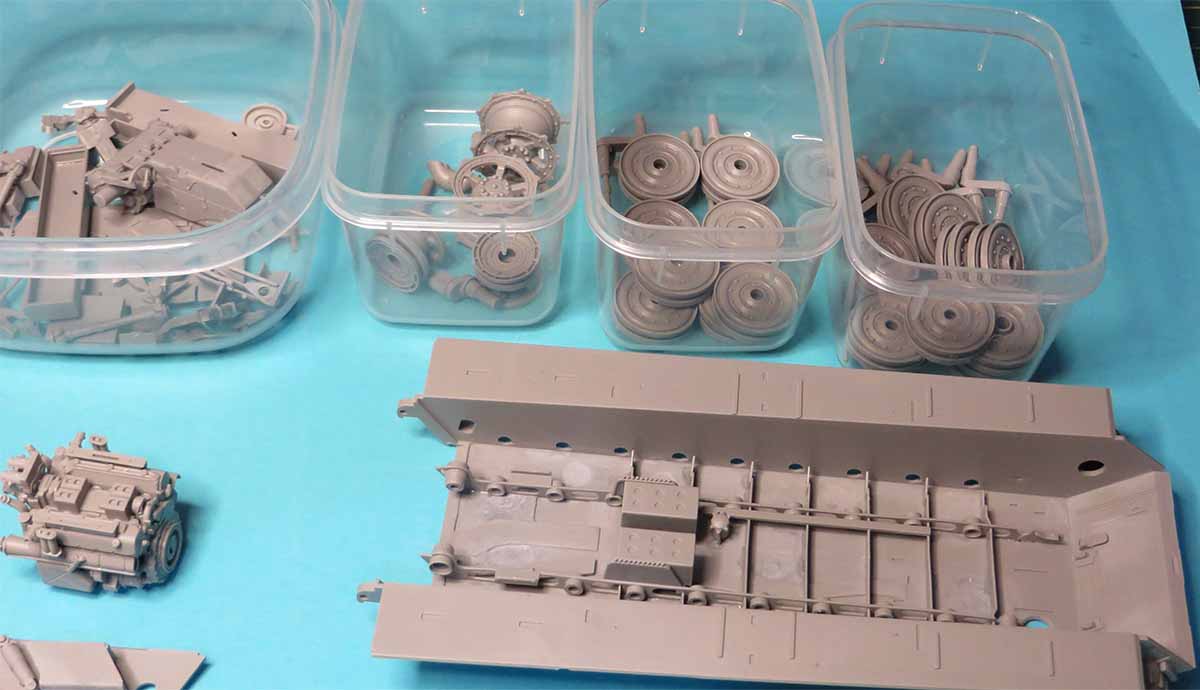
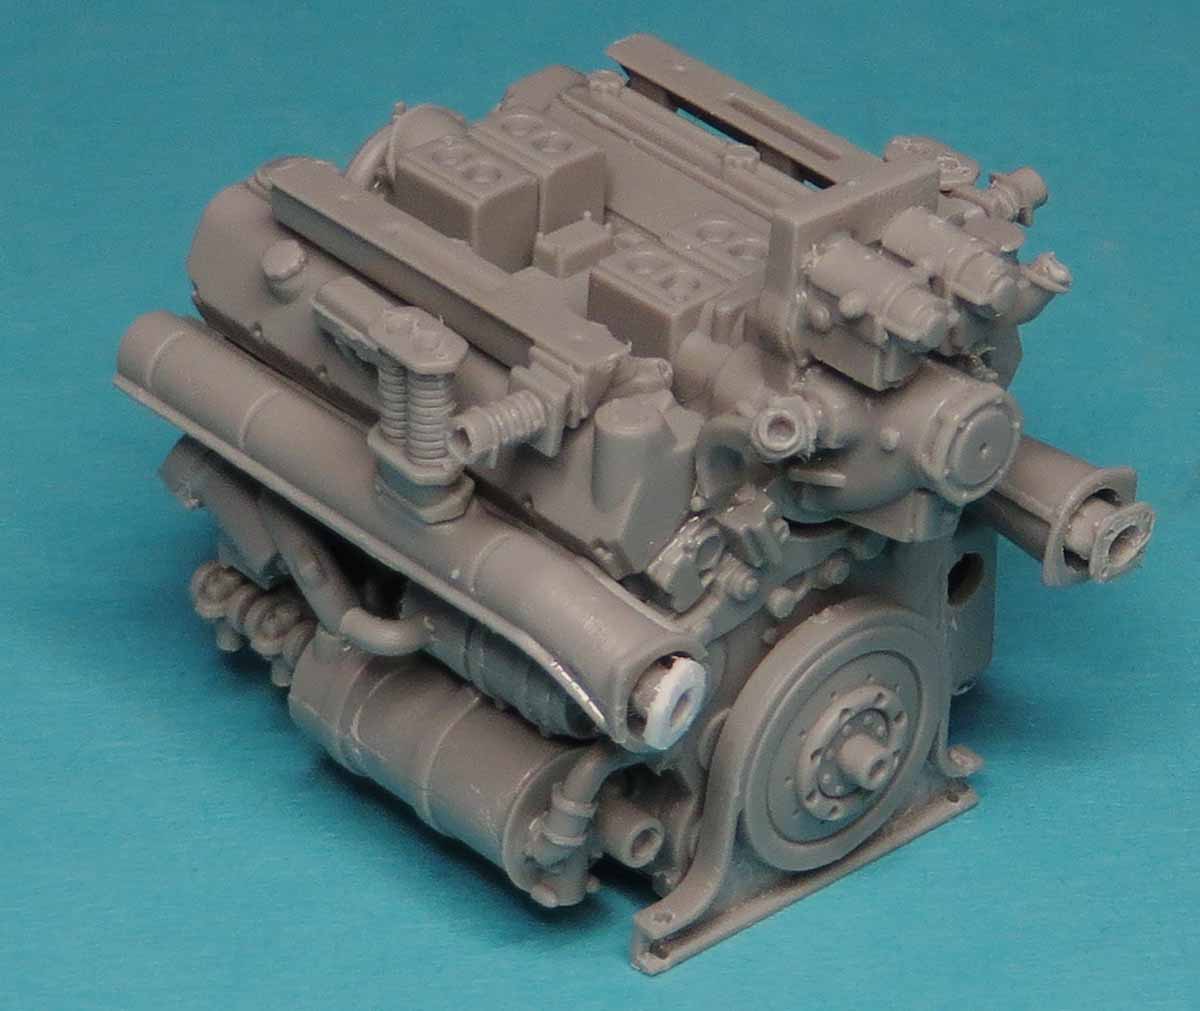
The Takom tiger 2 is a huge build. The engine alone is a good few hours work. The parts are broken down to the respective areas and boxed to keep clear of dust and can be painted and weathered individually.
The air filters have been separated and further detailing will be required to enhance them as they will be outside on the ground.

Michael
Queensland, Australia
Joined: April 15, 2006
KitMaker: 915 posts
Armorama: 797 posts
Posted: Sunday, June 25, 2017 - 03:49 PM UTC
This build blog is on hold.
The web host for wip images has ceased. New web host sought after.
The build images will be resubmitted to Armorama
Michael
Queensland, Australia
Joined: April 15, 2006
KitMaker: 915 posts
Armorama: 797 posts
Posted: Tuesday, June 27, 2017 - 09:09 AM UTC
Hello again.
A new image web host has been found,actually 3 of them.

Images to be reinserted and we move on with the build.
Happy days


Michael
Queensland, Australia
Joined: April 15, 2006
KitMaker: 915 posts
Armorama: 797 posts
Posted: Sunday, July 02, 2017 - 12:47 AM UTC
Hello Again,
Build images reposted.
Bussing nag crane images to follow shortly.
Michael
Queensland, Australia
Joined: April 15, 2006
KitMaker: 915 posts
Armorama: 797 posts
Posted: Sunday, July 02, 2017 - 06:18 PM UTC
Hello,
All images have been reposted.
That was painful


Michael

Colorado, United States
Joined: February 24, 2014
KitMaker: 3,033 posts
Armorama: 2,492 posts
Posted: Sunday, July 02, 2017 - 07:03 PM UTC
Nice work! Congrats for getting this back on track!🍺
I've gotta' ask: How were you able to replace images from those "buggers" with another host? ... Okay, maybe I don't really wanna' to know! Lol!
—mike
Colorado, United States
Joined: February 24, 2014
KitMaker: 3,033 posts
Armorama: 2,492 posts
Posted: Monday, July 03, 2017 - 12:58 AM UTC
Michael,
My question regarding image restoration was not intended to railroad your build blog, it can be answered in one of the other PB complaint specific forums — pick one. Lol!
Respectfully,
—mike
Queensland, Australia
Joined: April 15, 2006
KitMaker: 915 posts
Armorama: 797 posts
Posted: Monday, July 03, 2017 - 08:50 AM UTC
Ha ha Mike, thanks
Yes I had a few words to say in the other threads as well.Lol
Michael
Queensland, Australia
Joined: April 15, 2006
KitMaker: 915 posts
Armorama: 797 posts
Posted: Friday, July 21, 2017 - 08:51 AM UTC
Slow progress,
I have got all the brass shell end cap markings on the ammo racks that will sit inside of the lower hull.
You can take the shortcut and not put them on but if they are in the box why not use them, they look good. The stage progress build shots will show the detail. Takom did a great job to provide the king tiger. I think it's only right we show our models with
what they have provided.
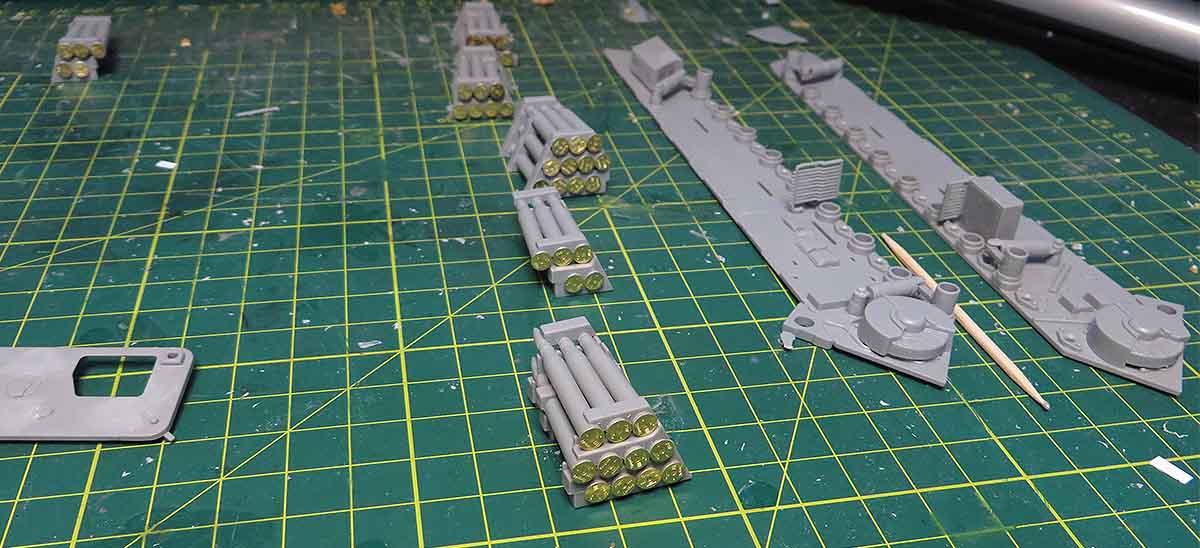
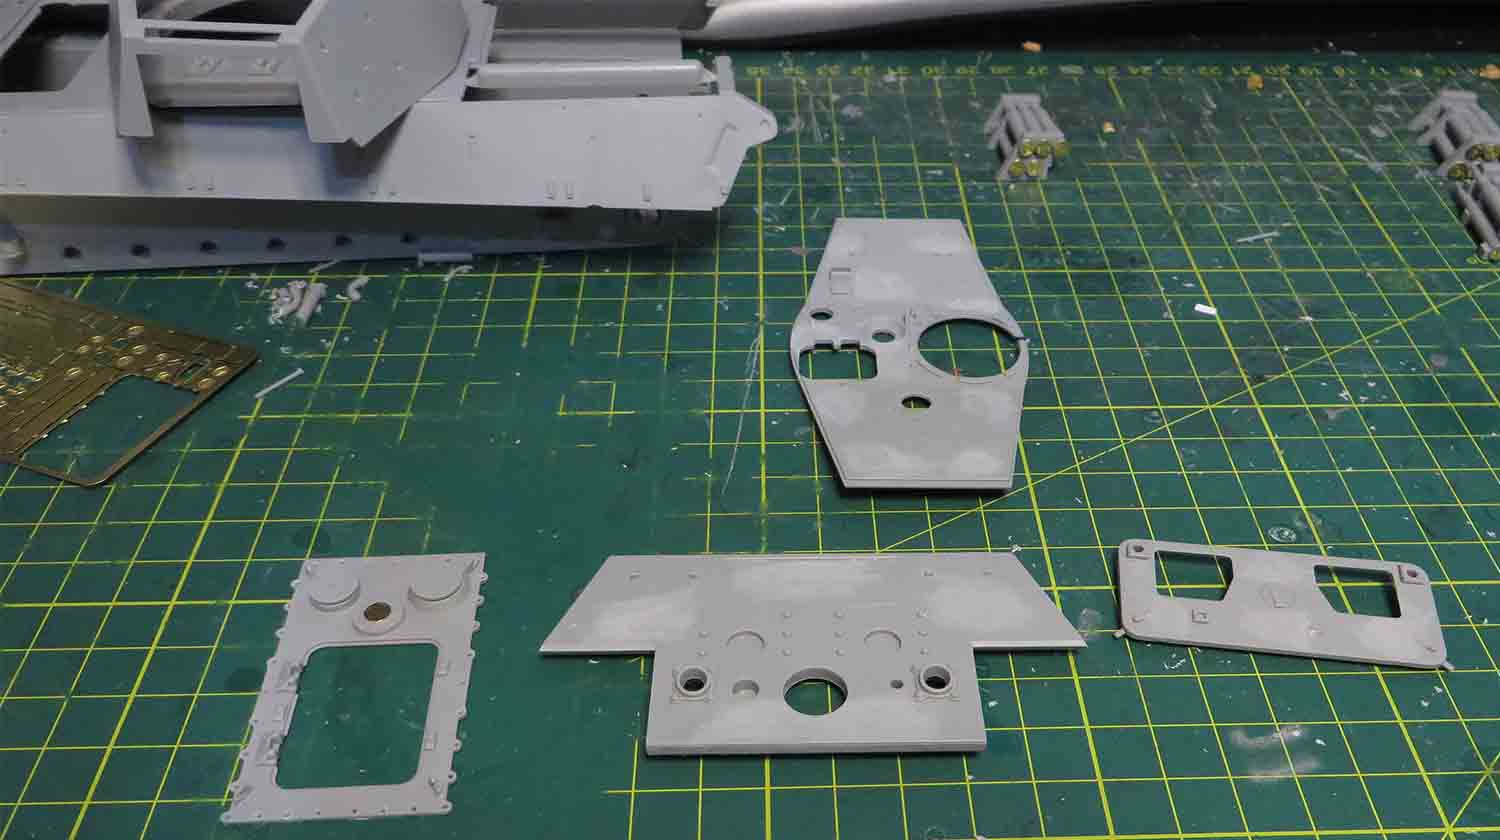
Removing sink marks
Michael
Pennsylvania, United States
Joined: April 10, 2011
KitMaker: 7,941 posts
Armorama: 7,934 posts
Posted: Saturday, July 22, 2017 - 07:07 PM UTC
Looks great so far. I don't know if I have the patience anymore to tackle all of those parts building a tank !
J
Queensland, Australia
Joined: April 15, 2006
KitMaker: 915 posts
Armorama: 797 posts
Posted: Wednesday, August 02, 2017 - 01:24 PM UTC
Thanks Jerry,
I think it's all part of the hobby to have your desk full of tank parts


Next installment of images
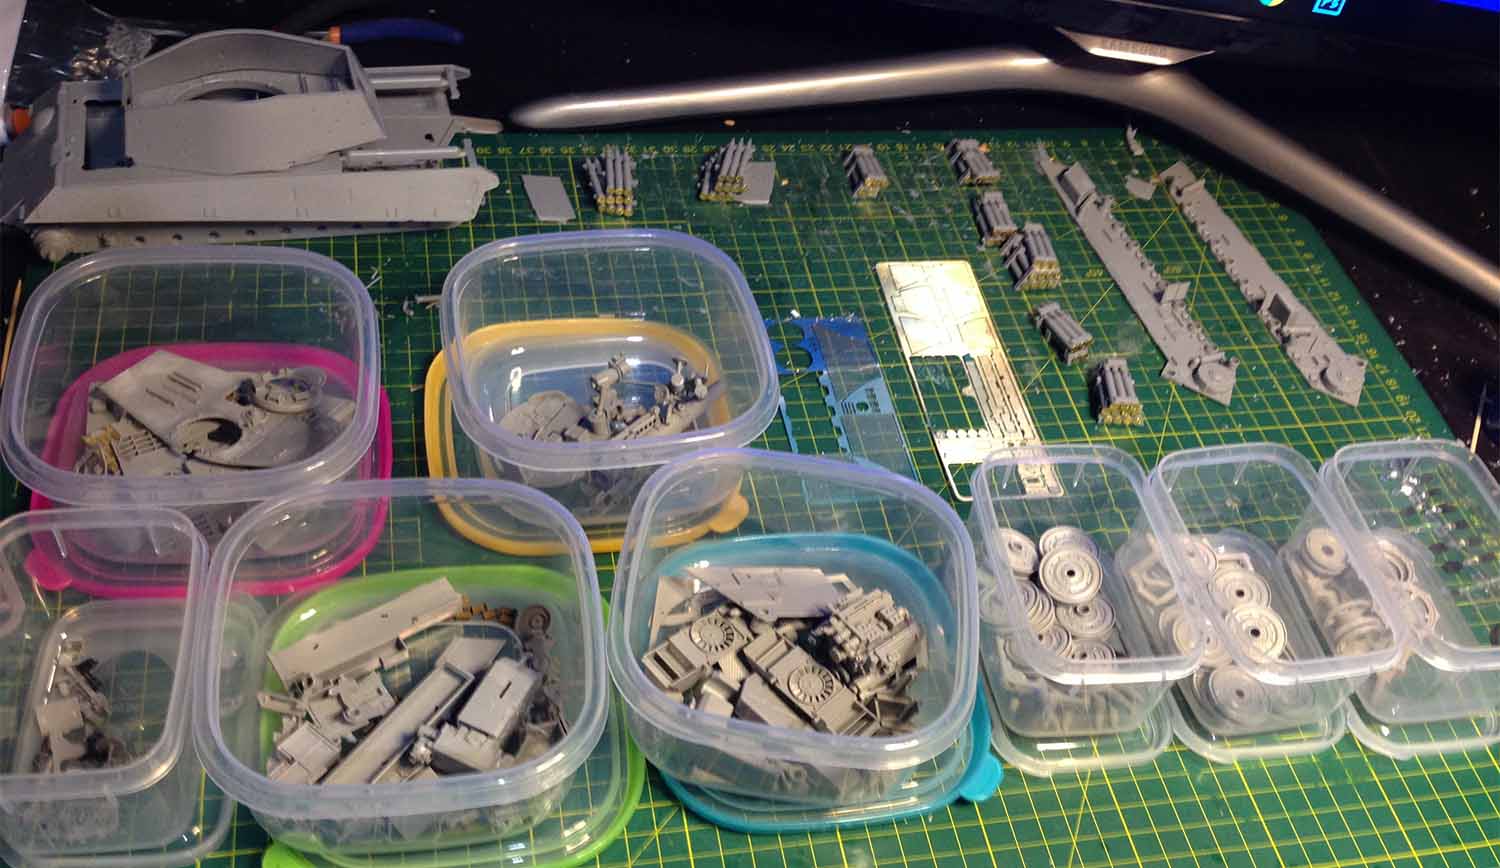
The parts have been broken down to the respective areas in the plastic containers. Reason: to detail each area and make the interior progress images bring out the detail.
The shells have all the brass end caps and are loose for detail painting
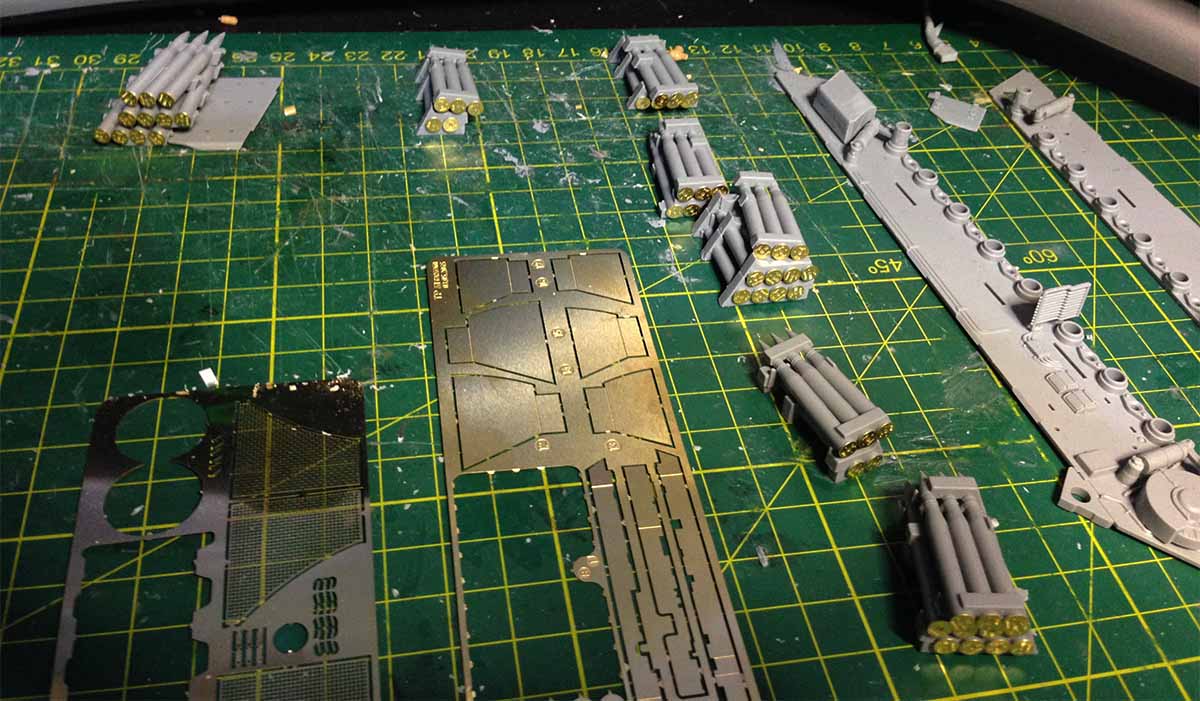
The interior commanders hatch and episcopes received a coat of Matt Humbrol matt and the visor glass was given a coat of the Migg Ammo glass lense colour.
This is to give depth to the visor when looking at it from a distance.

Lastly the overall breakdown of the Takom king tiger, Still more work to do around the turret and externals but this image gives a breif breakdown it is such a huge challenge.
Queensland, Australia
Joined: April 15, 2006
KitMaker: 915 posts
Armorama: 797 posts
Posted: Saturday, August 12, 2017 - 03:01 PM UTC
Next Installment
Track tools and cables painted.
By far and an easier way to detail and paint.
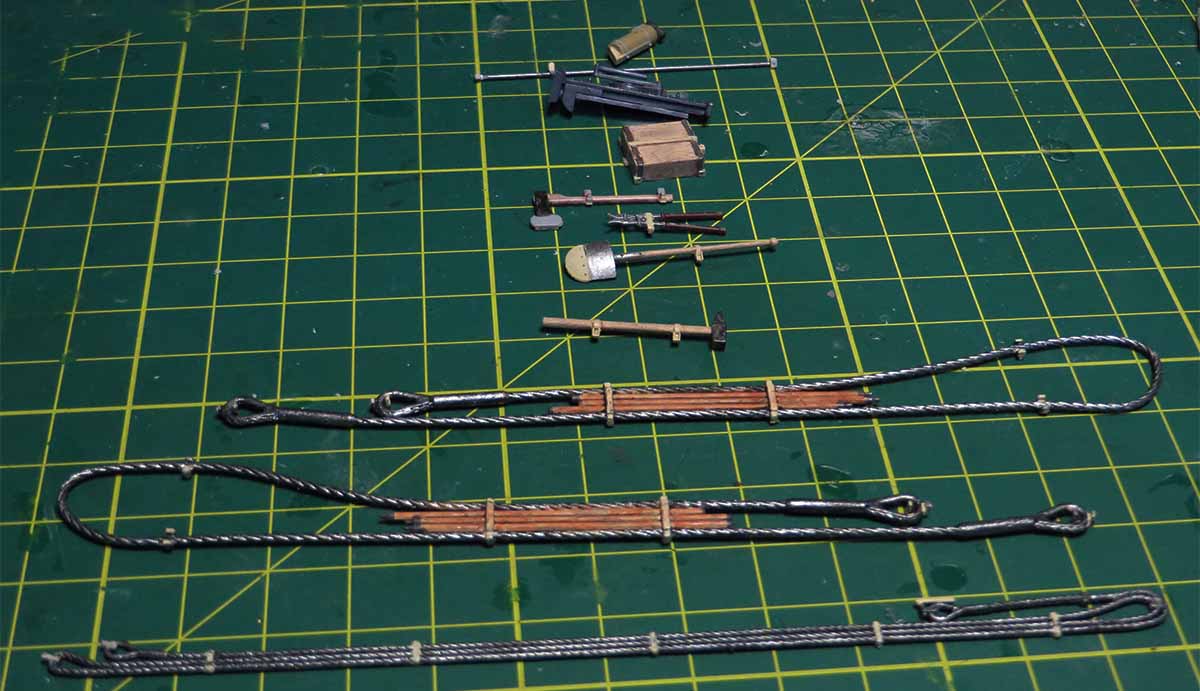
A coat of Mig Ammo primer applied for the first stage.
More items to be primed and it's early days,the intention is to have the dark primer to create depth appearance when the second coat is applied.

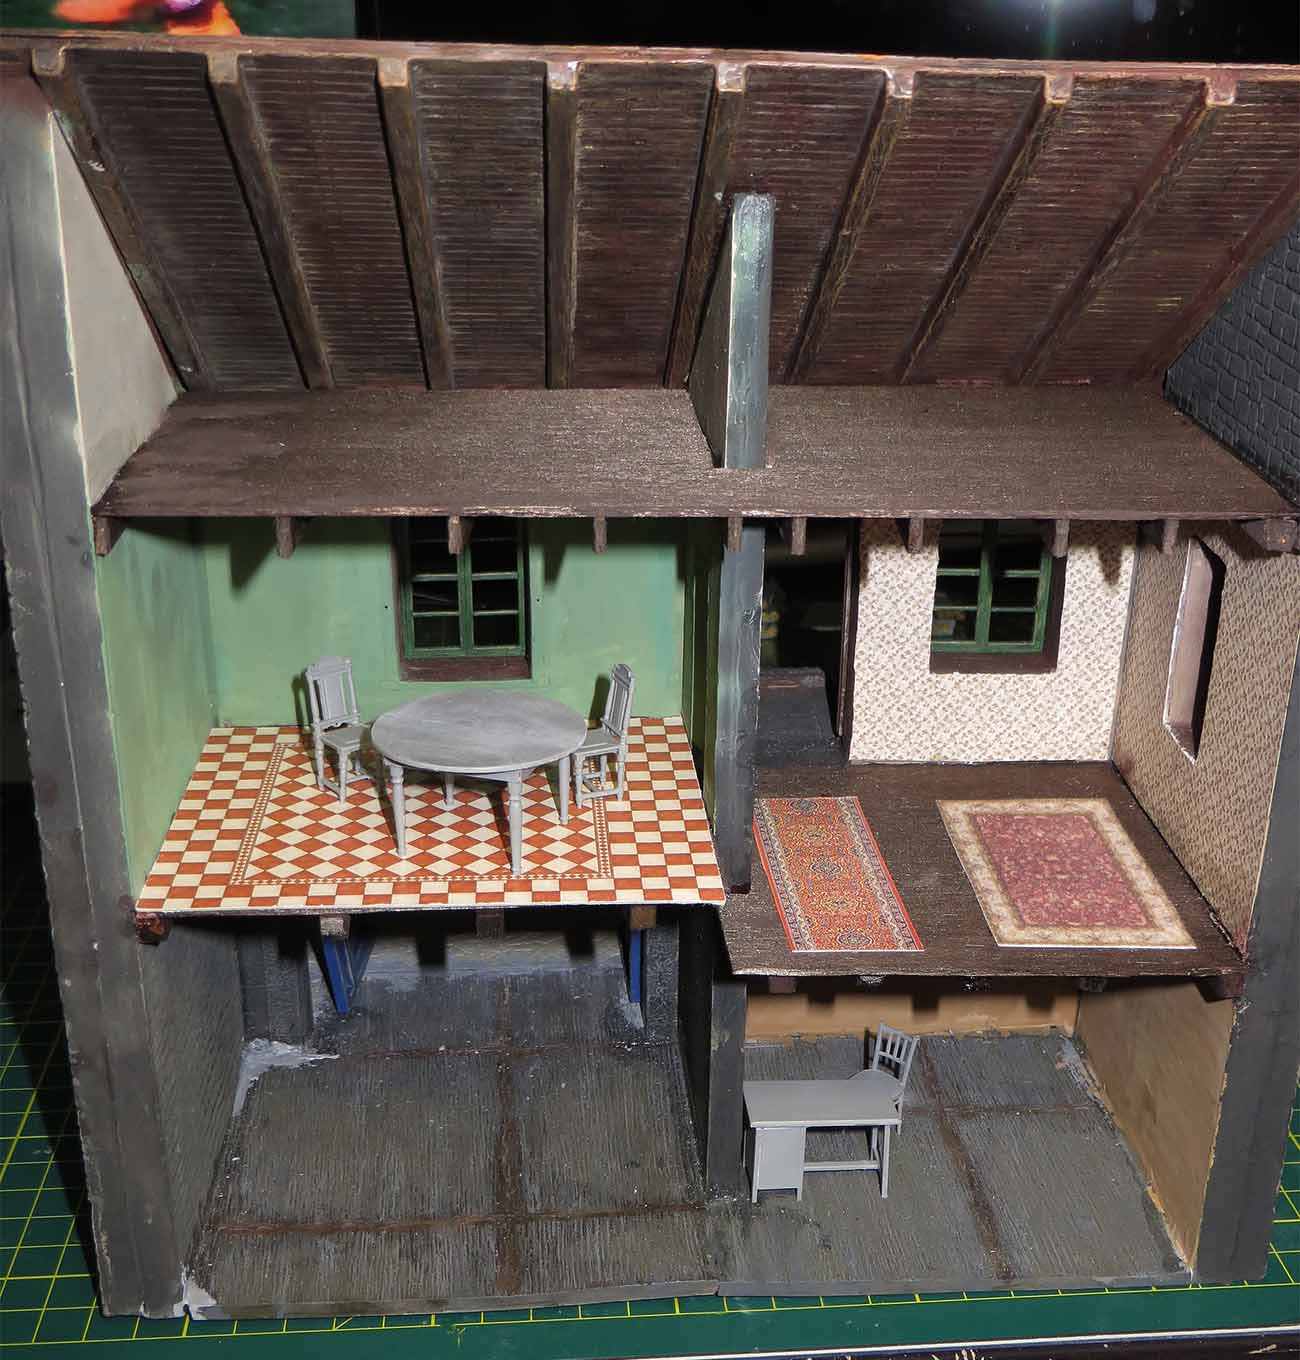
Miniart furniture built and will be slotted into the painting que.
Will have the ground floor used as a storage area with someone looking after the beers and stores.
Michael
Massachusetts, United States
Joined: April 26, 2004
KitMaker: 27 posts
Armorama: 27 posts
Posted: Tuesday, August 15, 2017 - 01:44 AM UTC
Lookin sharp,Michael.I'm curious to see how & where You're gonna use the Bussing-Nag , but moreso the 38T. I'm the Last person to talk about how much I spend on our Hobby,But I approximated the cost of what'sin Your photo of all the kits & Dio/groundwork items, I spent less on my 1st car !!! .Can't wait to see the finished product.best wishes, keith R.
Pennsylvania, United States
Joined: April 10, 2011
KitMaker: 7,941 posts
Armorama: 7,934 posts
Posted: Tuesday, August 15, 2017 - 02:55 PM UTC
Impressive amount of work so far.
J
Queensland, Australia
Joined: April 15, 2006
KitMaker: 915 posts
Armorama: 797 posts
Posted: Tuesday, August 15, 2017 - 04:23 PM UTC
Thanks Jerry and Keith,
Keith,
It's surprising on how much our model collections build up over the years. The problem is too may models and not enough time.
Michael
Queensland, Australia
Joined: May 16, 2010
KitMaker: 232 posts
Armorama: 218 posts
Posted: Tuesday, August 15, 2017 - 04:50 PM UTC
nice build Michael, it'll be impressive when its done.
i'm starting on a similar idea, Tamiya feldkuche, farmyard and the masterbox football game, i'll be keeping an eye on this one
Ashore, it's wine, women and song, aboard it's rum, bum and baccy
Massachusetts, United States
Joined: April 26, 2004
KitMaker: 27 posts
Armorama: 27 posts
Posted: Wednesday, August 16, 2017 - 12:15 AM UTC
" Build up " is an understatement.I've imposed a moratorium on further puchases until my current stash is reduced by 50 percent.That'll be a challenge.I wonder if there's a drug to help fight off the urge to purchase exciting new releases ! I am missing a Famo [ one kit I've always wanted to do a dio with, much like Your own]. And then there's a ..... aw, forget it.I'm an addict ! P.S. , You are So right on the Bussing-Nag in it being a kit not for beginners,But worth it.
Queensland, Australia
Joined: October 02, 2008
KitMaker: 658 posts
Armorama: 629 posts
Posted: Wednesday, August 16, 2017 - 04:52 AM UTC
Quoted Text
Thanks Jerry and Keith,
Keith,
It's surprising on how much our model collections build up over the years. The problem is too may models and not enough time.
Michael
Yeah, even us old retirees can't seem to find enough modelling hours in the day!

Queensland, Australia
Joined: April 15, 2006
KitMaker: 915 posts
Armorama: 797 posts
Posted: Wednesday, August 16, 2017 - 05:08 PM UTC
Thanks Colin Keith and Rob
Colin,
The Tamiya field Kitchen falls together.It's the Riitch models Field kitchen which is the hardest of the 2.
Keith,
The Famo will be ok by itself. With the trailer it is a challenge, good luck if you want to torture yourself with the Famo

Rob,
Even in the retiree world you can find too much modelling can be a little tiring. I found when I was in between jobs spending 4-6 hours in the chair modelling was too much and needed a break. walk away and come back to it.
Michael
Queensland, Australia
Joined: April 15, 2006
KitMaker: 915 posts
Armorama: 797 posts
Posted: Saturday, August 19, 2017 - 01:30 PM UTC
Hello,
And now for the next round...
The Takom king Tiger rounds painted and ready for the decals, will have to lay a coat of gloss over each round to have the decal sit flush.

The sub section parts ready for priming
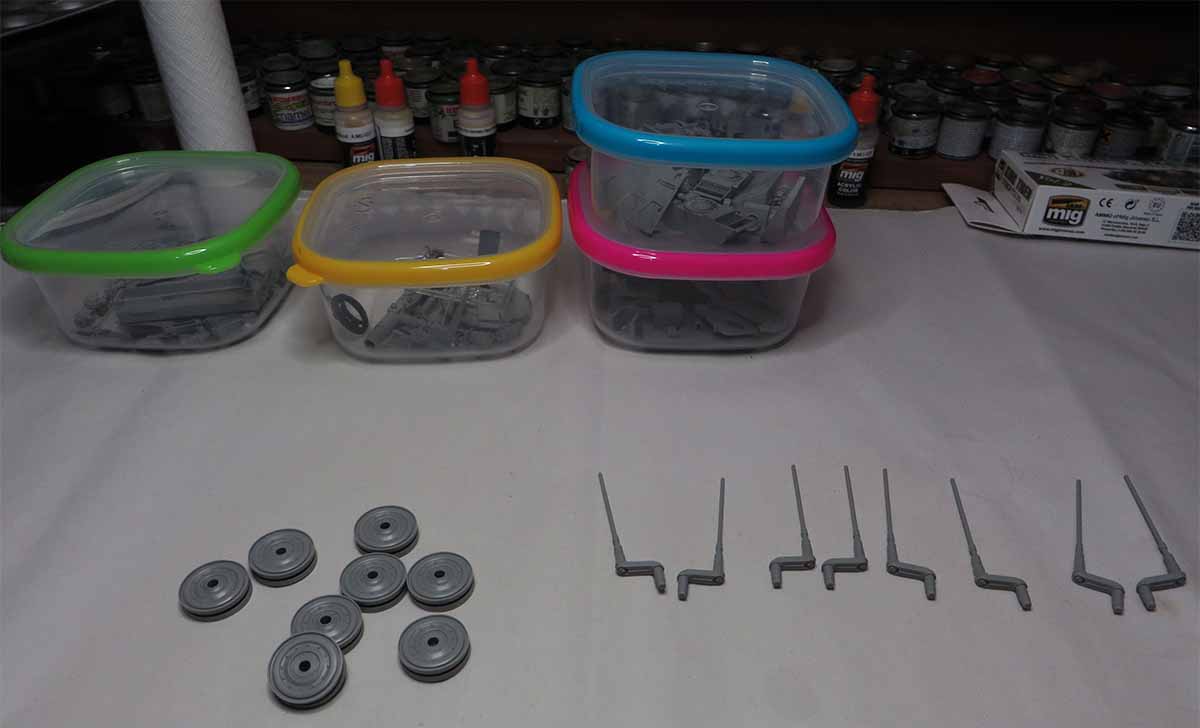
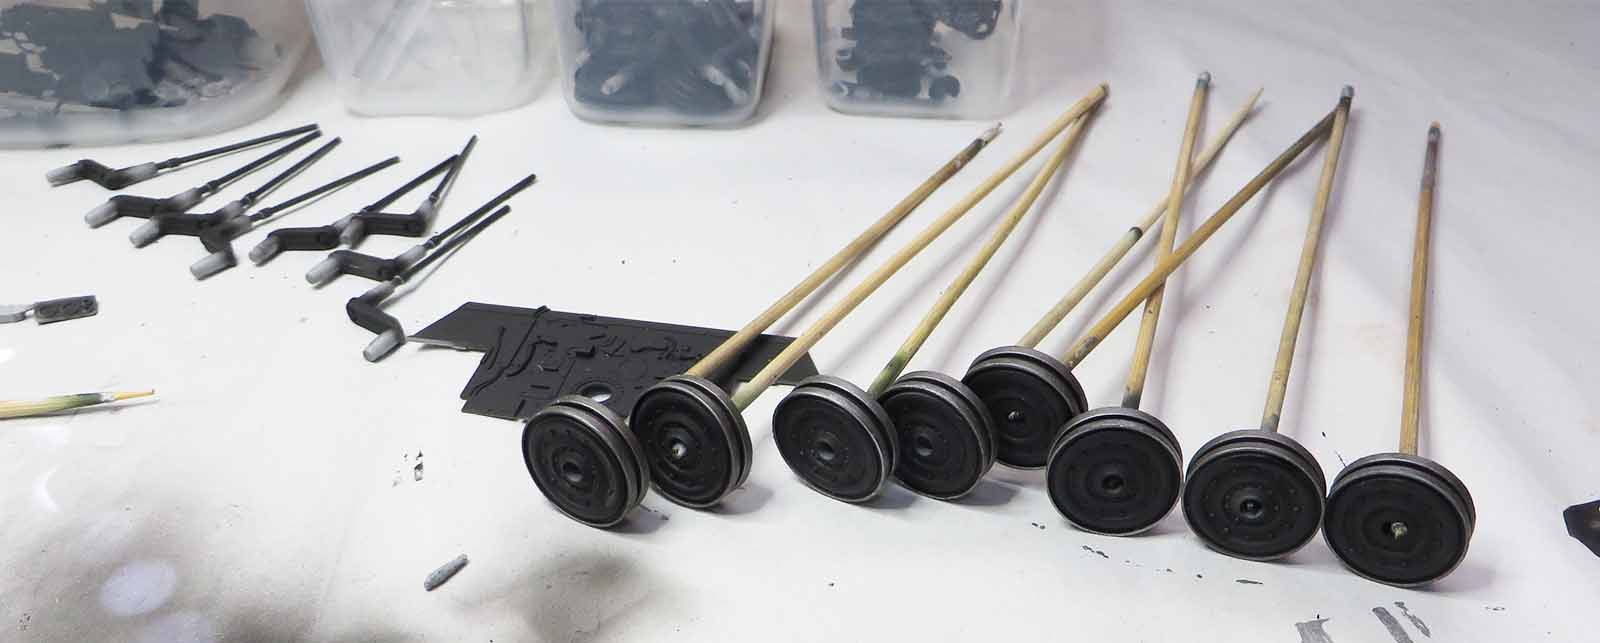
And now painted with Mig ammo primer, the calm before all the painting and detailing begins
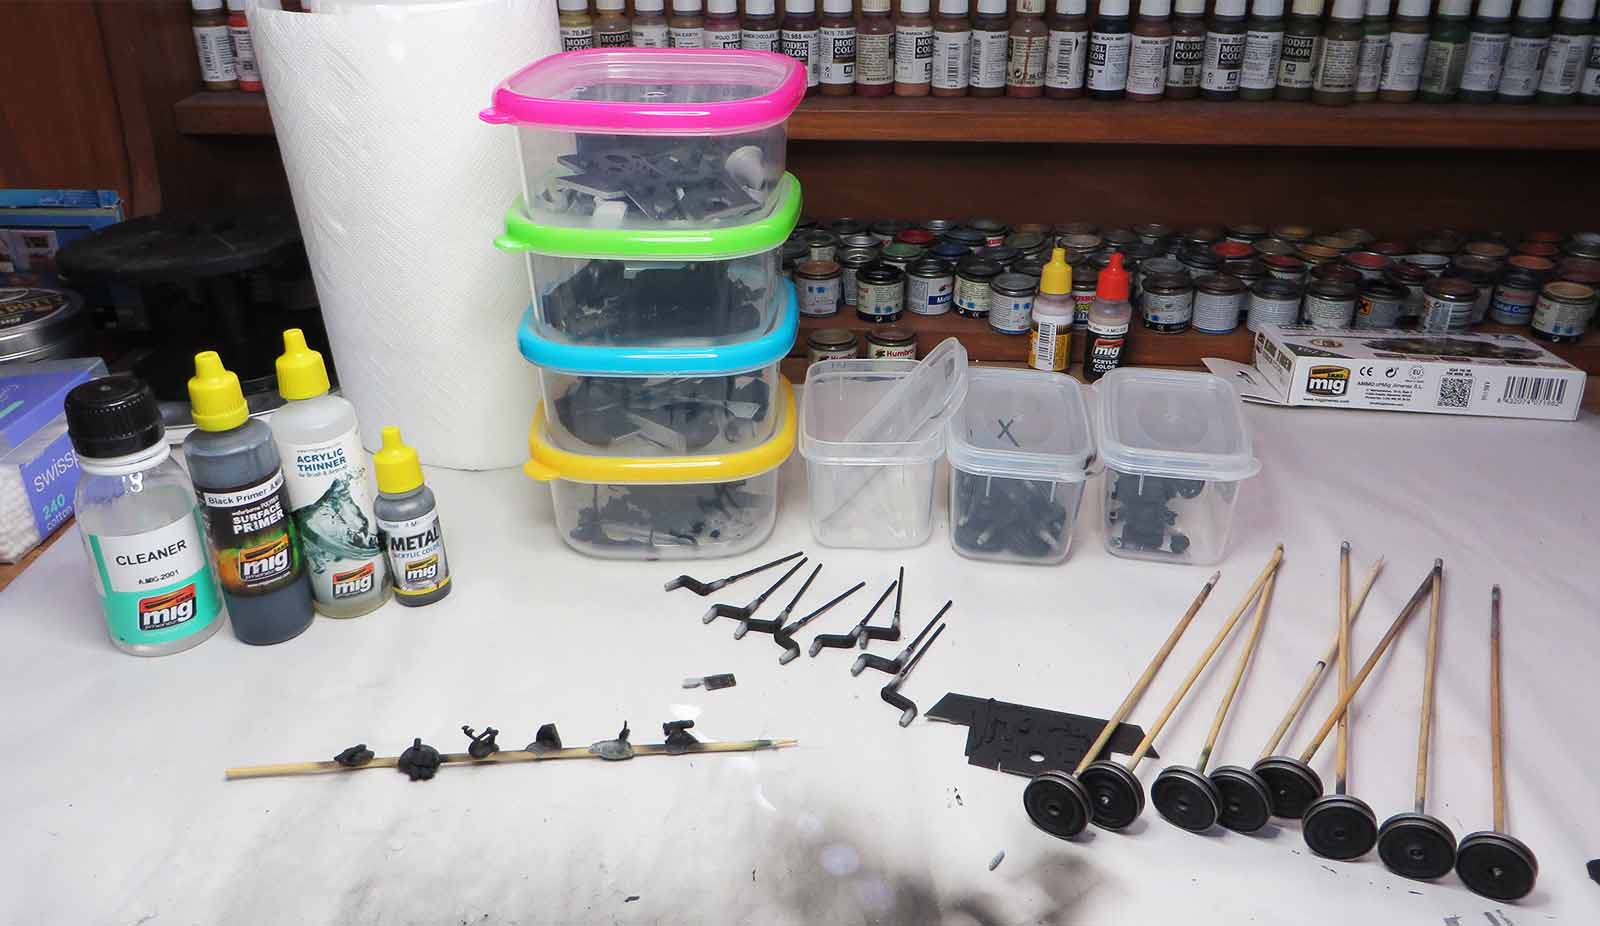
The Road wheels receive a coat of Mig Ammo Steel
Michael
Queensland, Australia
Joined: April 15, 2006
KitMaker: 915 posts
Armorama: 797 posts
Posted: Monday, August 21, 2017 - 01:54 AM UTC
Hello again,
I have turned all my attention onto the lower running gear of the Tiger 2 and will alter from the build instructions.
The first step will have the sides and base of the hull painted before gluing all the running gear onto the tank .
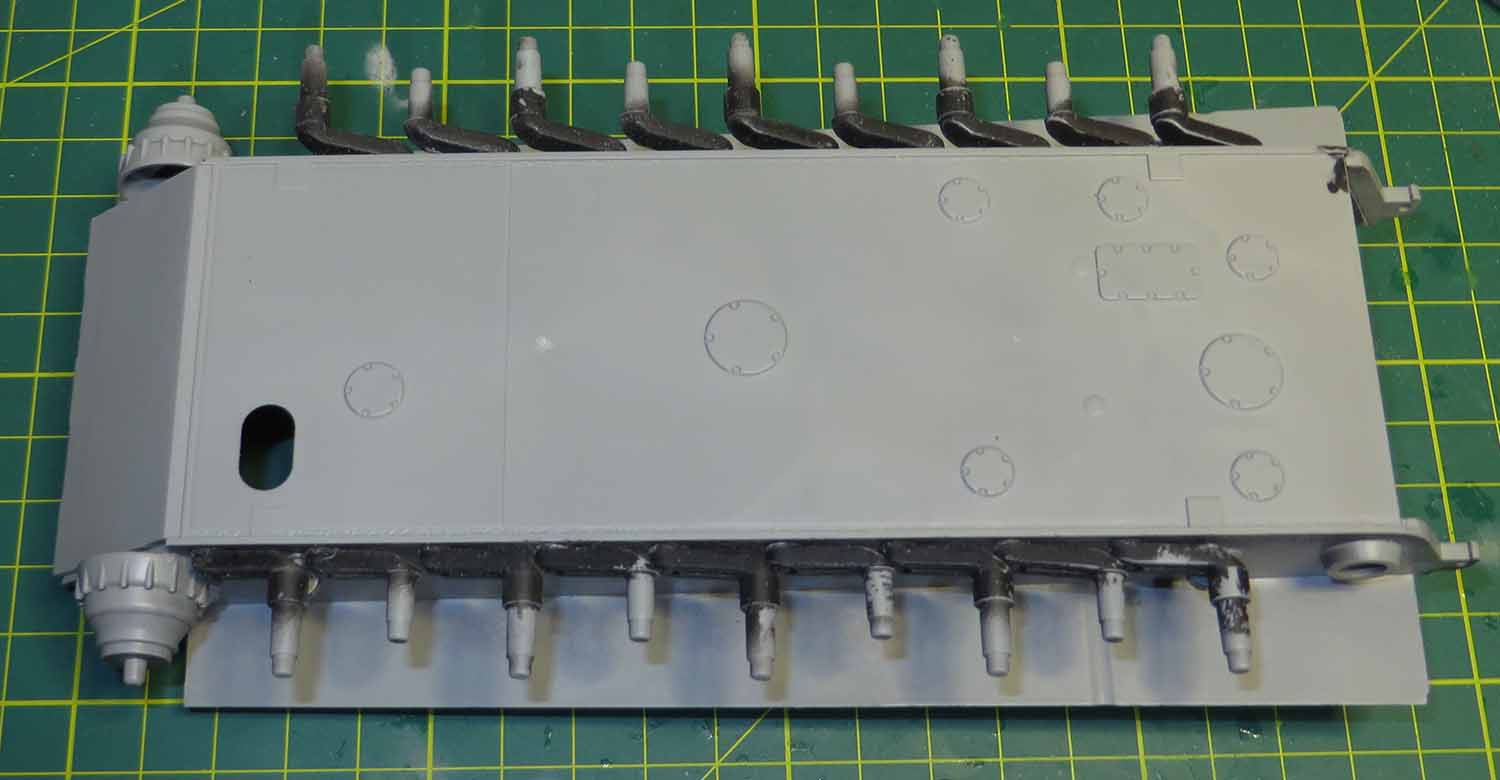

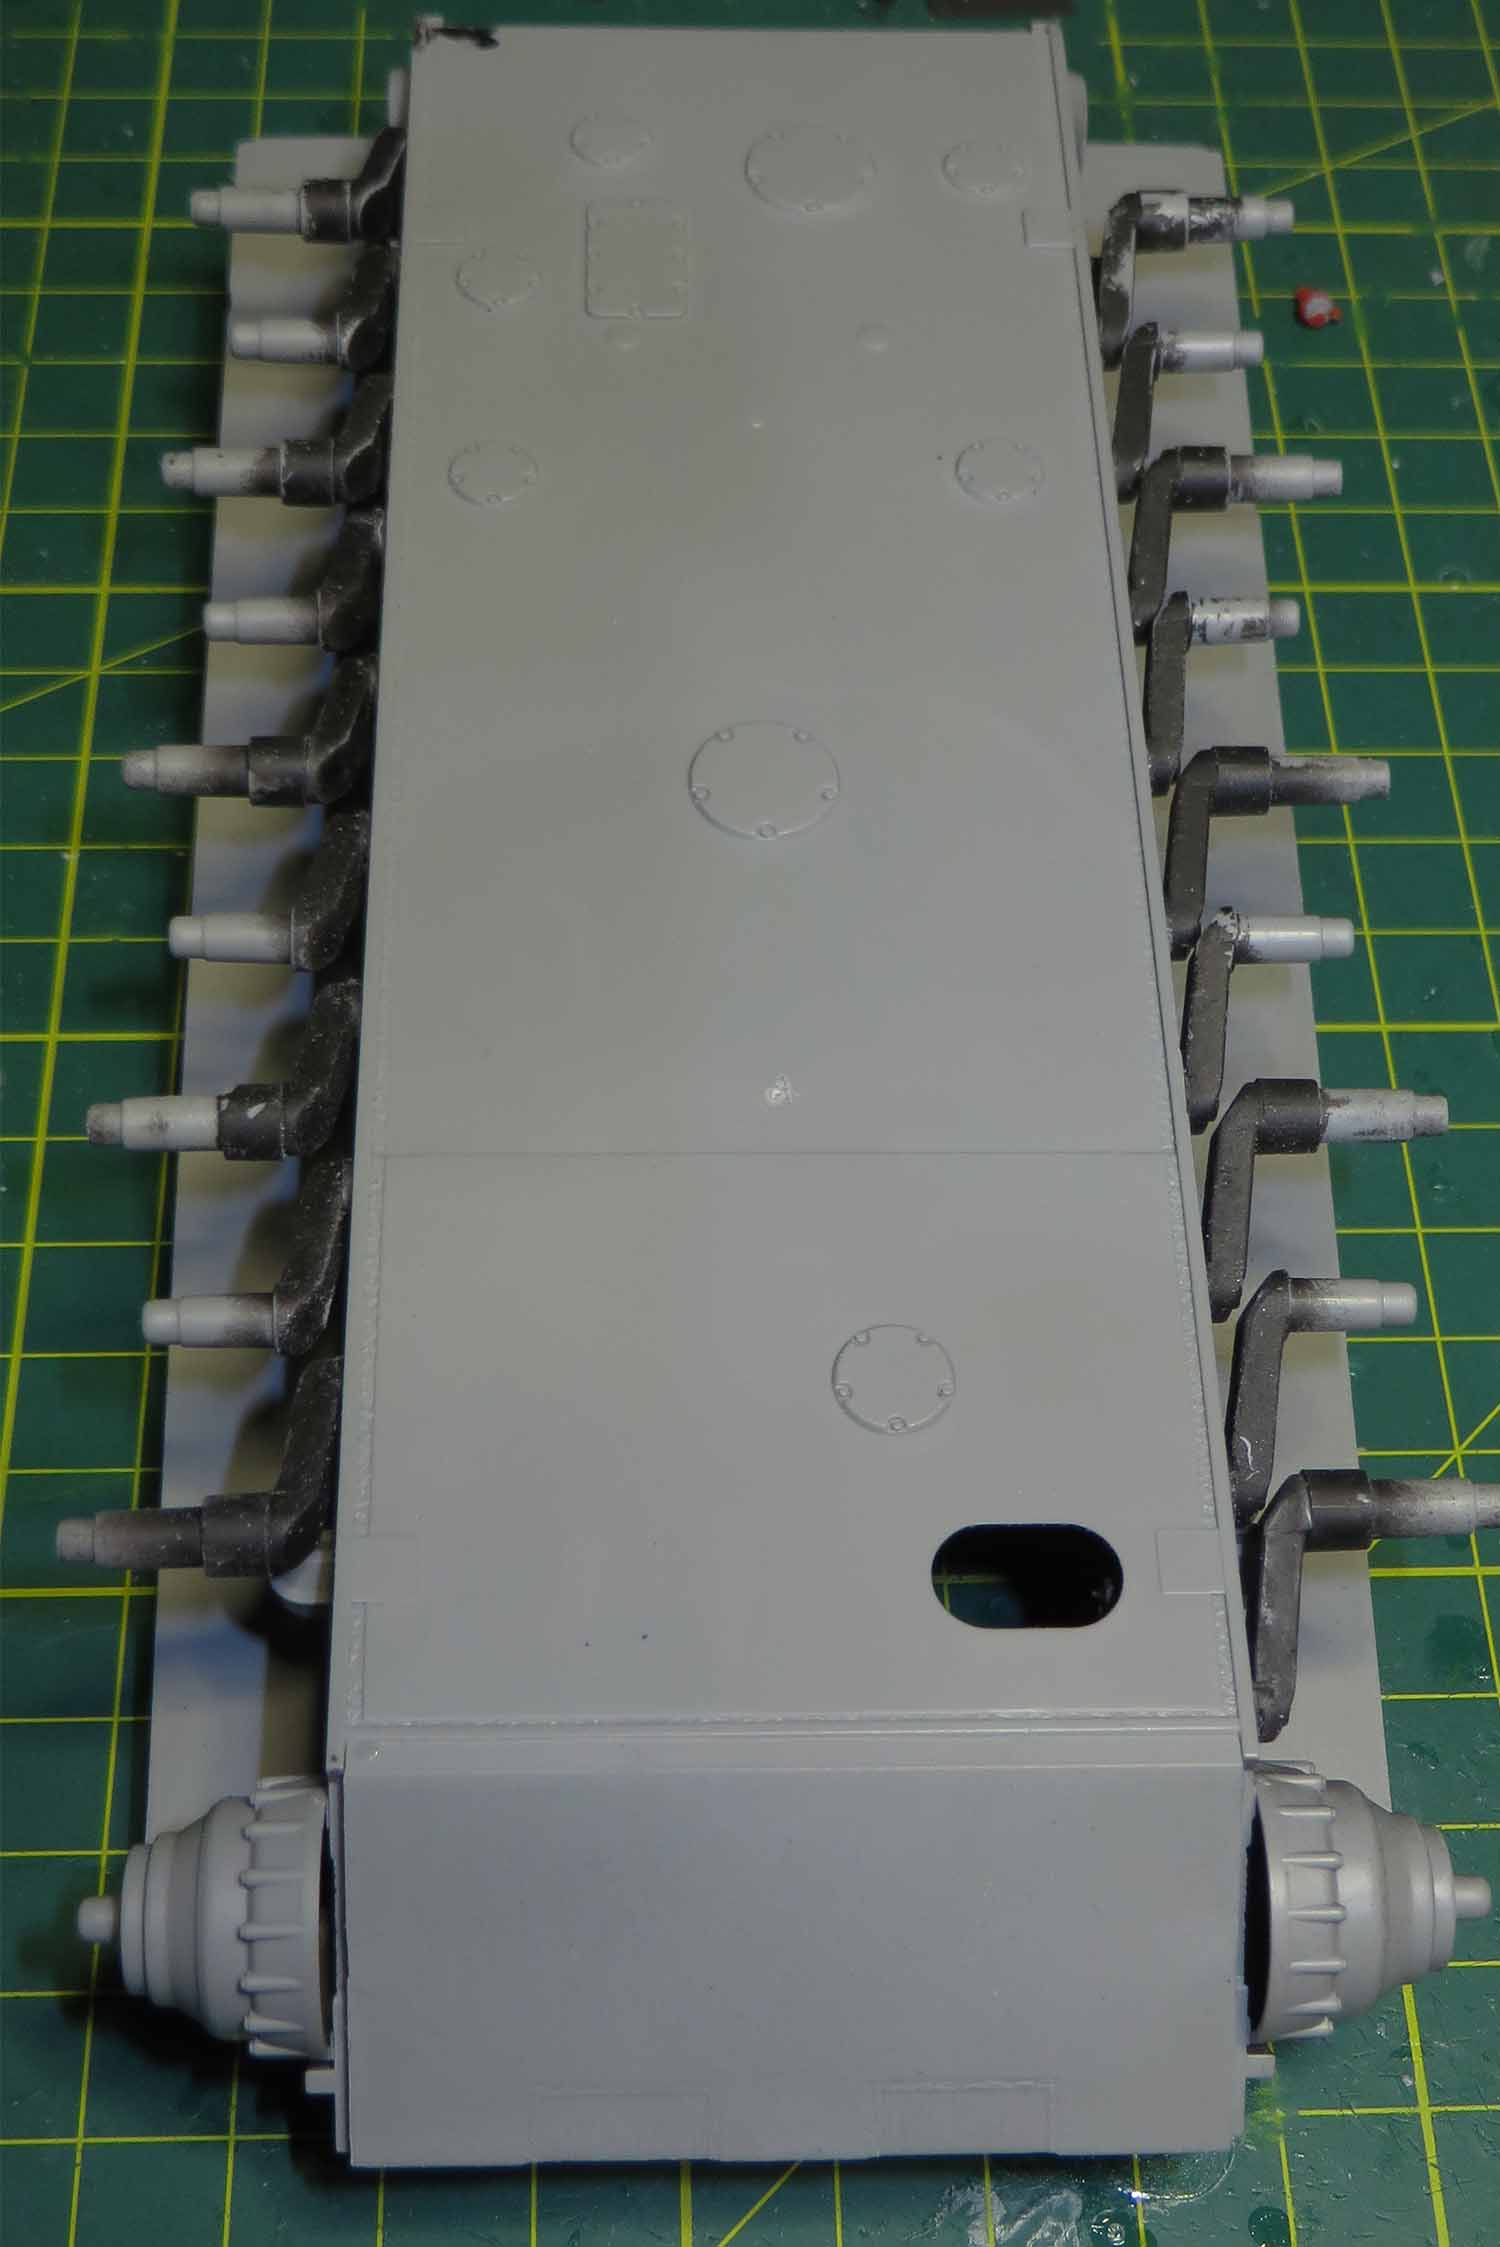
I have test fitted the torsion bars into each side and found there is a lot of flexibility in the wheel arms, there is a lug that apparently is meant to lock the arm in but there is still movement on the wheel arm once inserted in place.
Looking around on the net there has been some horrible build attempts on the torsion bars and it's with this series of photo's to show that Takom have manufactured the model correctly albeit with a little sanding on the torsion bar arms.


Michael
New South Wales, Australia
Joined: July 29, 2005
KitMaker: 879 posts
Armorama: 330 posts
Posted: Monday, August 21, 2017 - 03:18 AM UTC
Mate
I don't think you are really putting enough kits into this diorama. You must buy some more to add 😀
This looks like a 20 year build in my modelling pace
Queensland, Australia
Joined: April 15, 2006
KitMaker: 915 posts
Armorama: 797 posts
Posted: Monday, August 21, 2017 - 05:59 PM UTC
Thanks Paul,
I wish you didn't say that.
At the moment with everything still in pieces I think 4 vehicles and a field kitchen, throw in a couple of motorcycles with sidecars and the odd motorbike and bicycle here or there should do it. I wonder if I can get this partly done radio van in the corner with the mast extended as well?


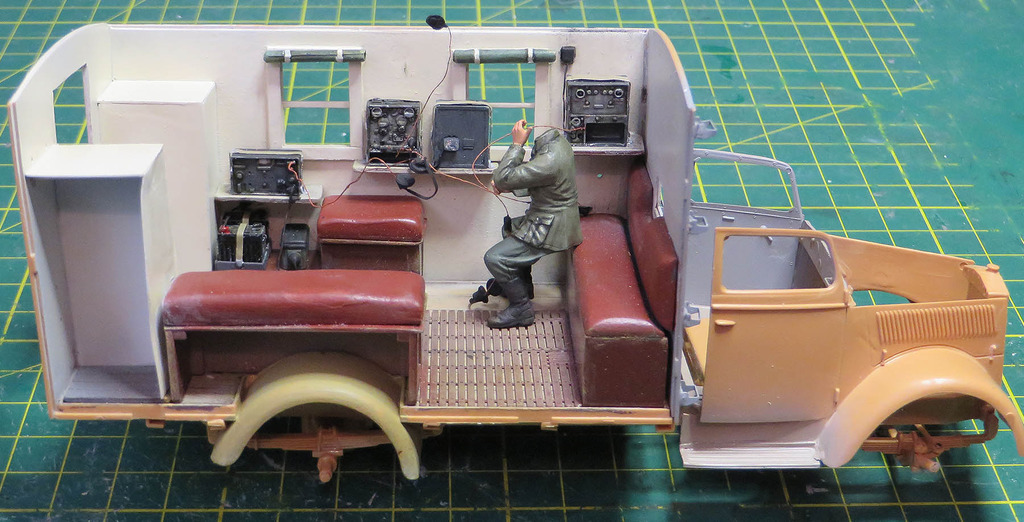
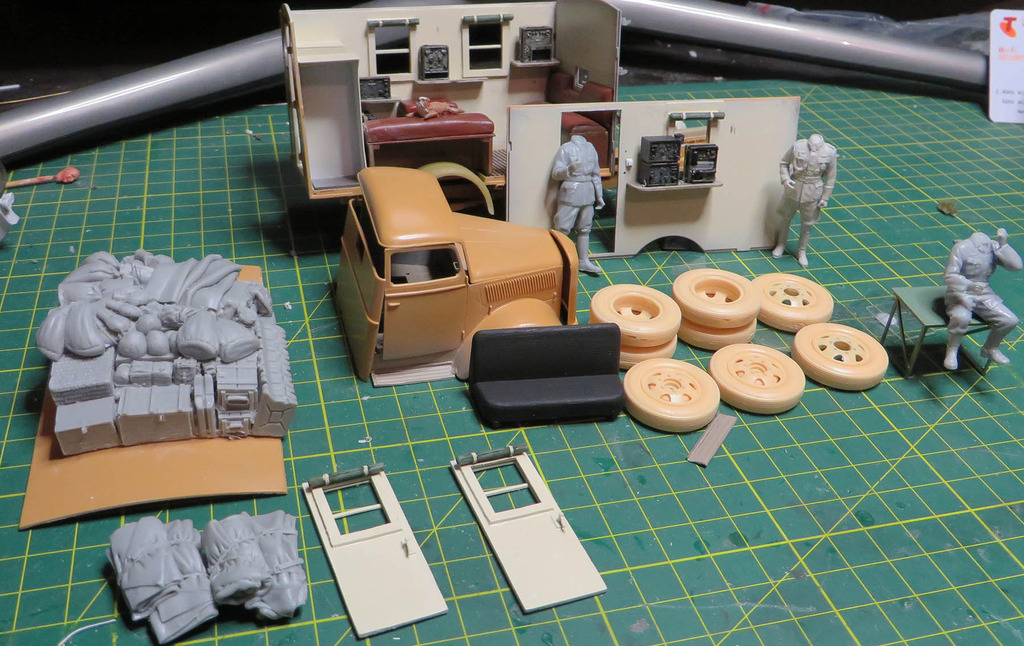
The best part is the diorama will not take as long as the Famo build because it's heading to the Melbourne expo next year.
Michael

 fingers crossed.


 fingers crossed.


