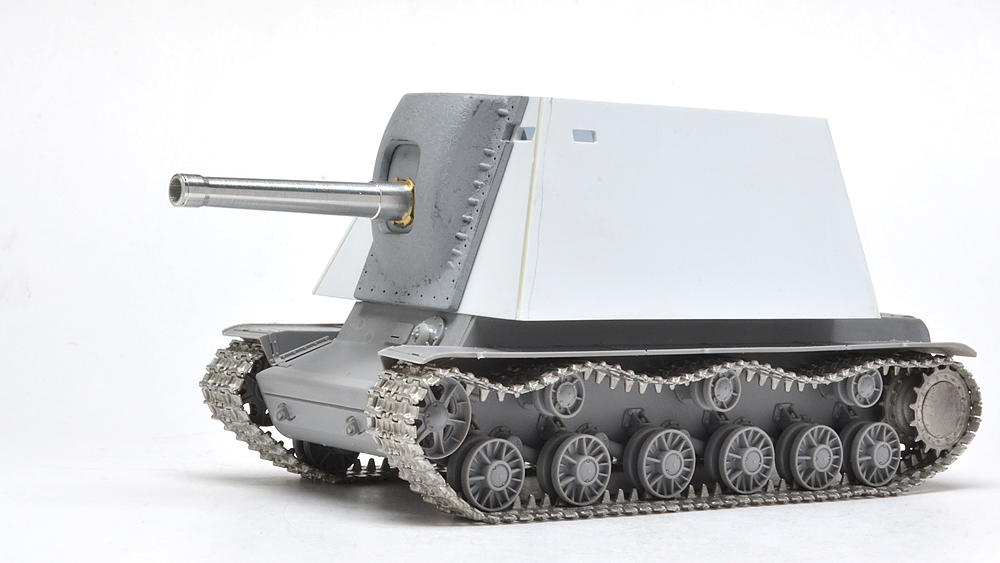
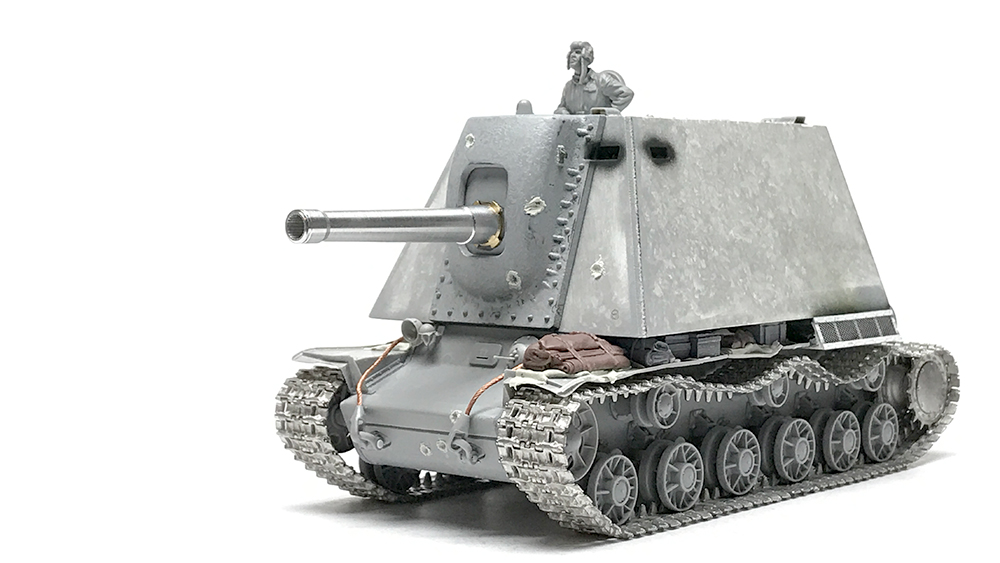
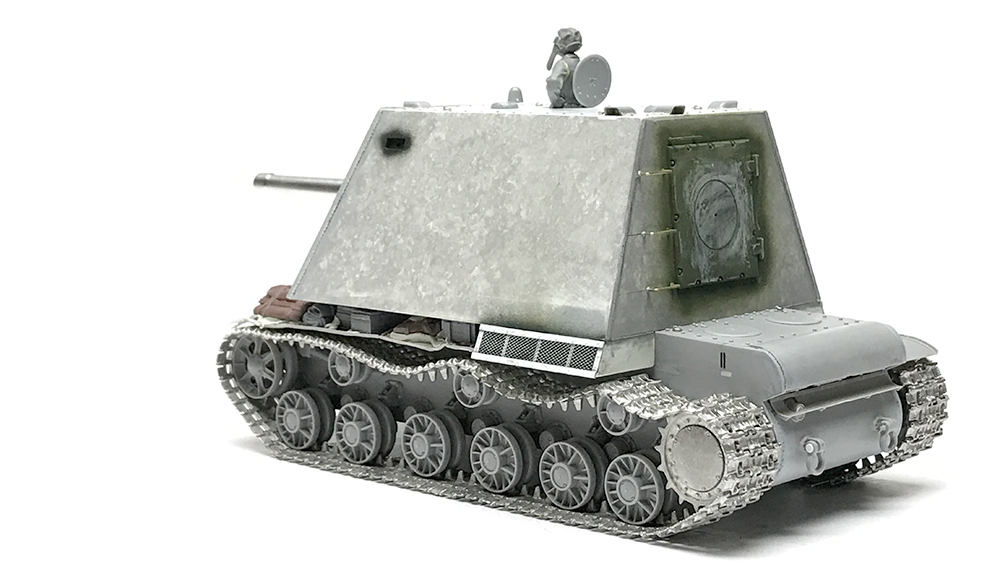
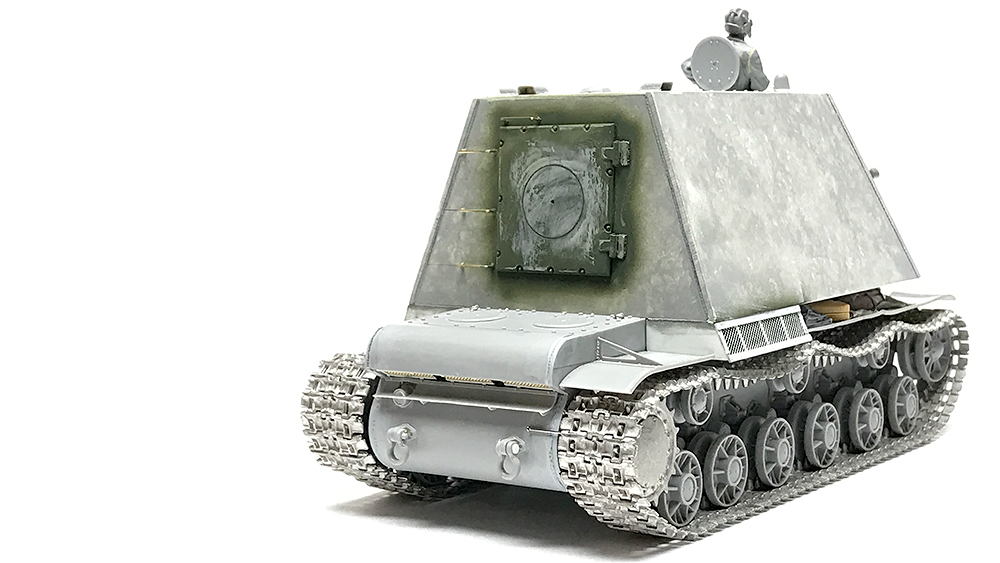
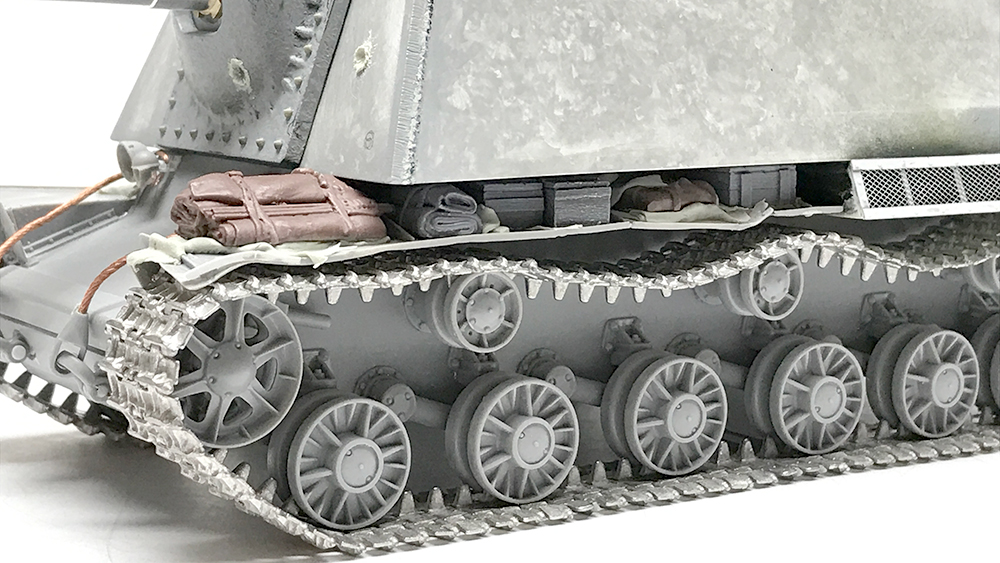
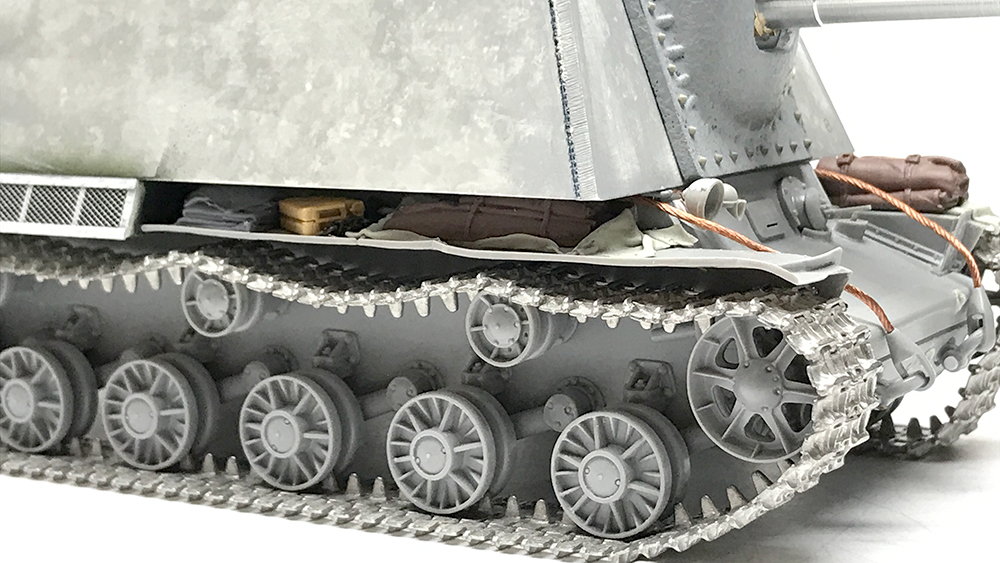
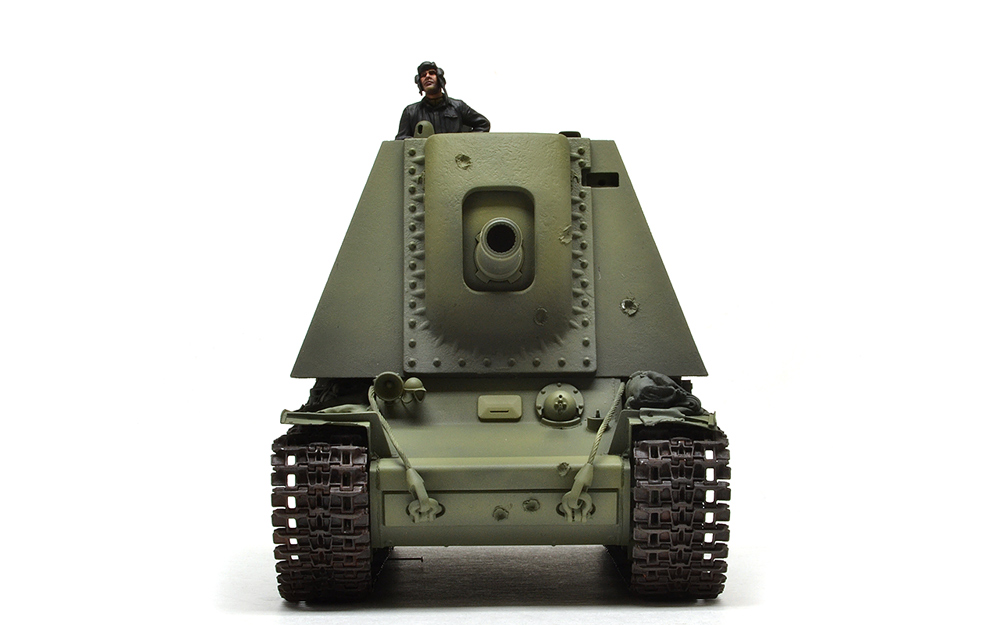
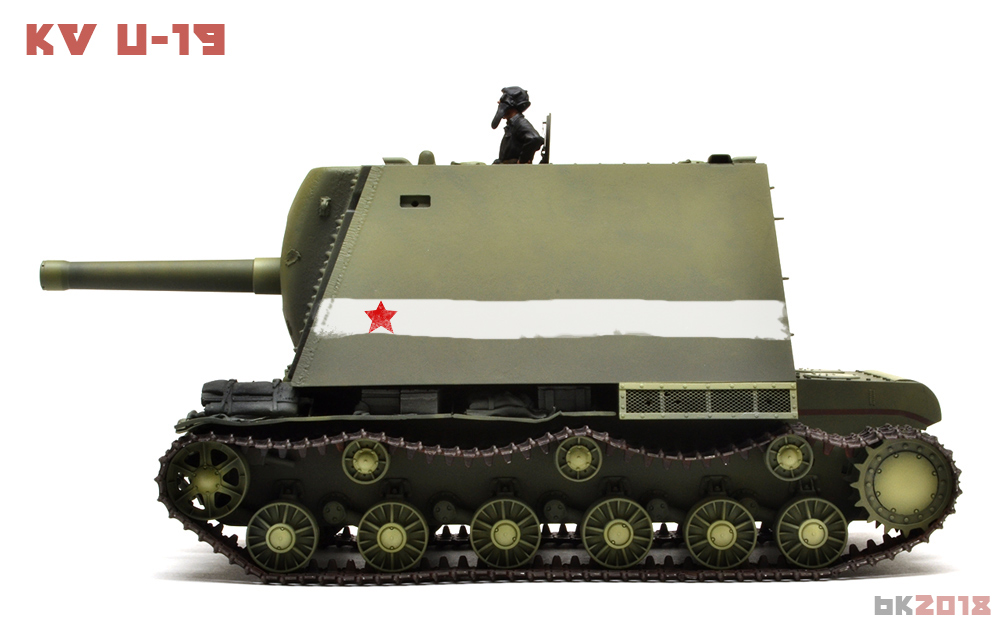
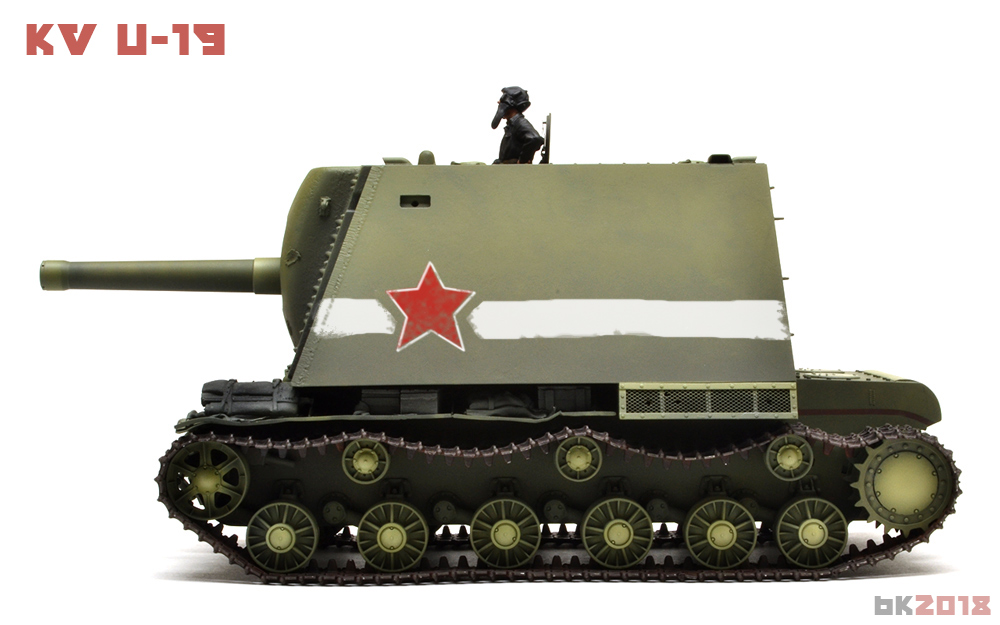
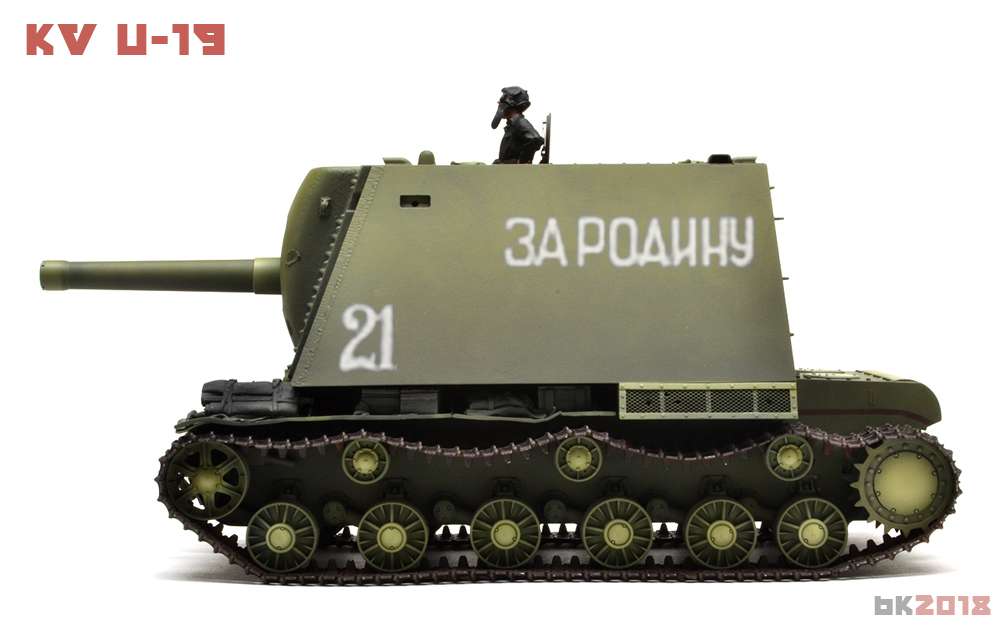
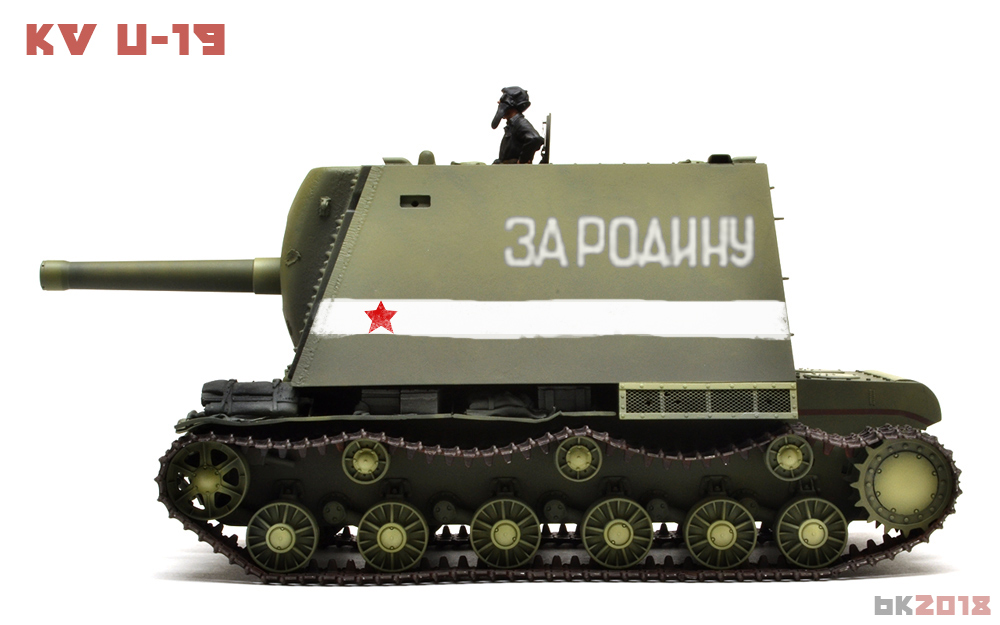
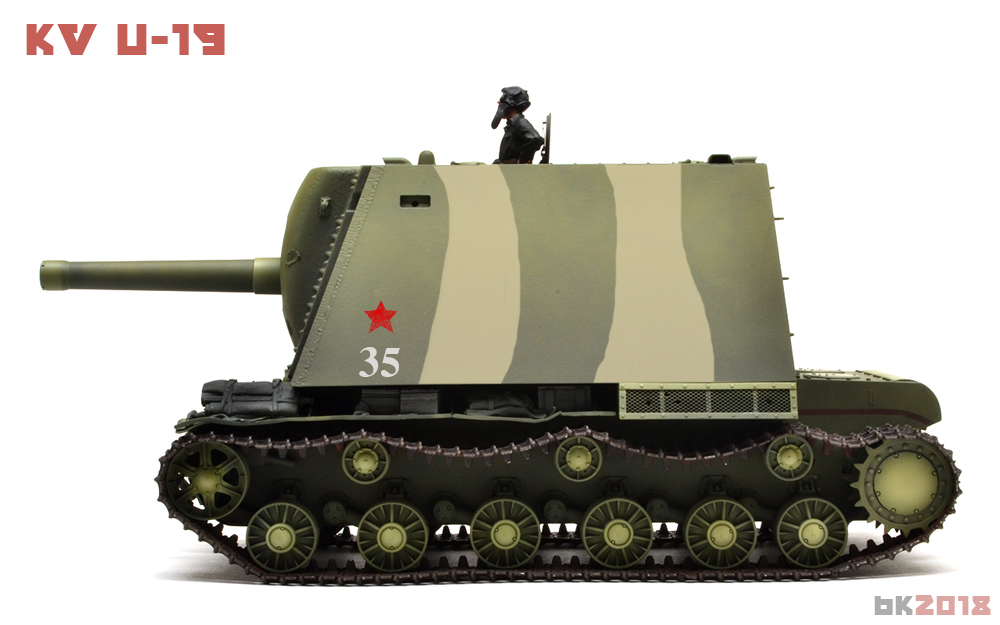
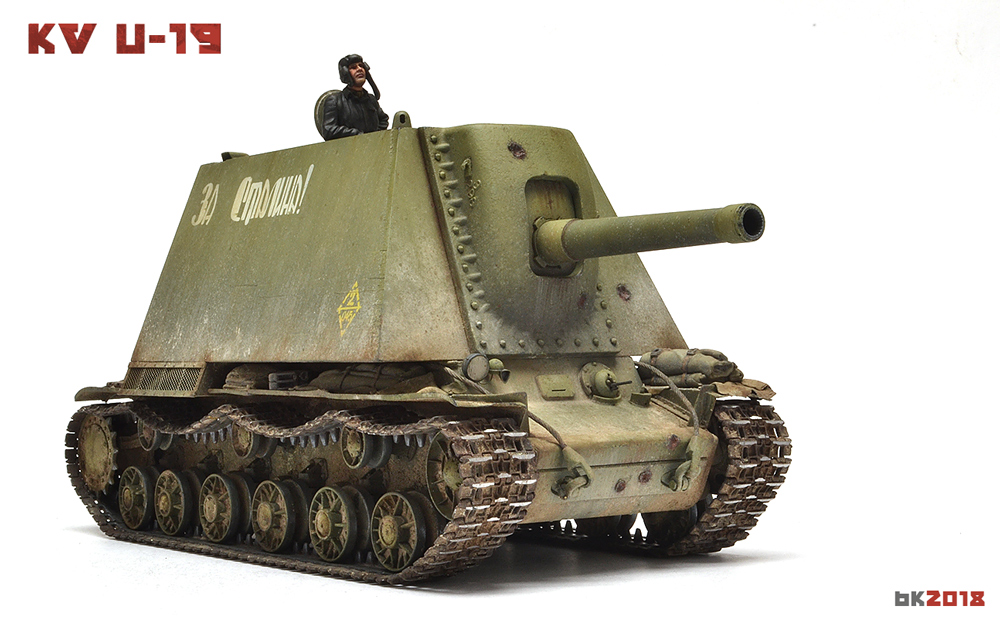
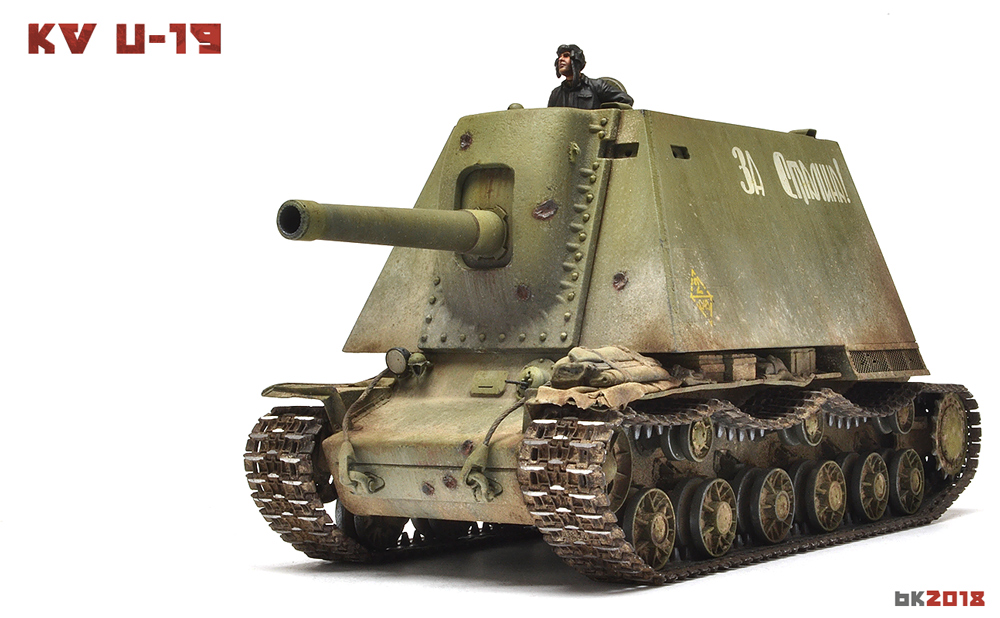
This is one of those odd Russian tank designs that just caught my eye and needed to be built.
In 1942 there were several proposals to mount a heavy howitzer on a tank chassis to deal with heavy concrete defensive fortifications. One of the proposals was to mount a 203mm B4 howitzer on the chassis of the KV-1 tank. The project didn't make it past drawing phase and was rejected for obvious reasons.
I designed most of the casemate a gun mount in 3D CAD and had a few of the more complex parts 3D printed. Cleanup wasn't that bad. The supports are pretty small at the contact point and fortunately some of the parts have a cast texture.
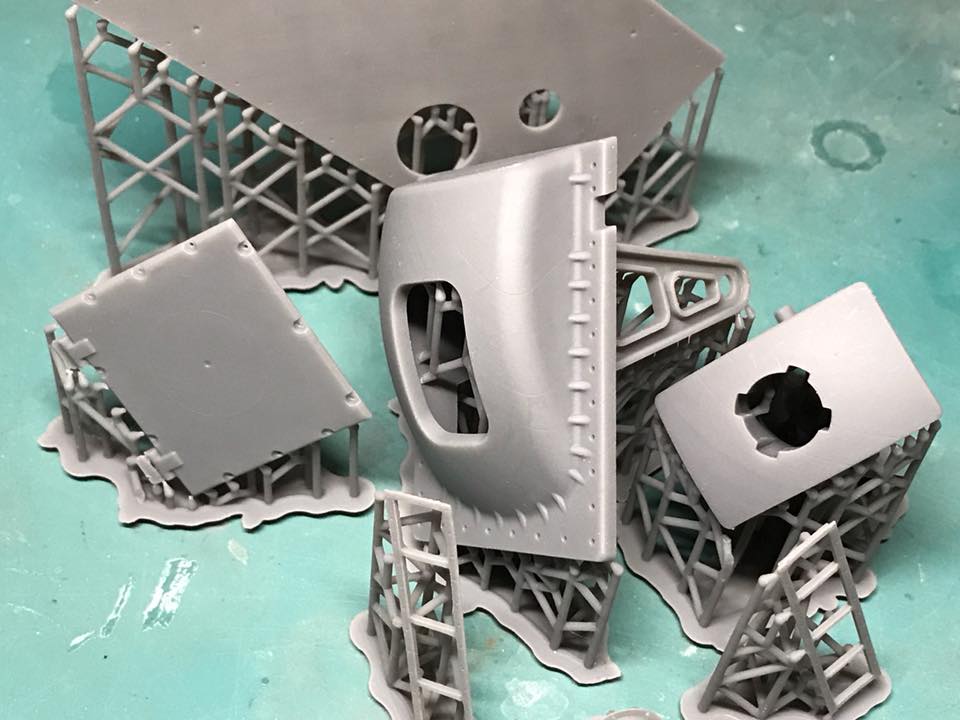
I made 2D drawings for the flat parts and cut the sides from sheet styrene stock.
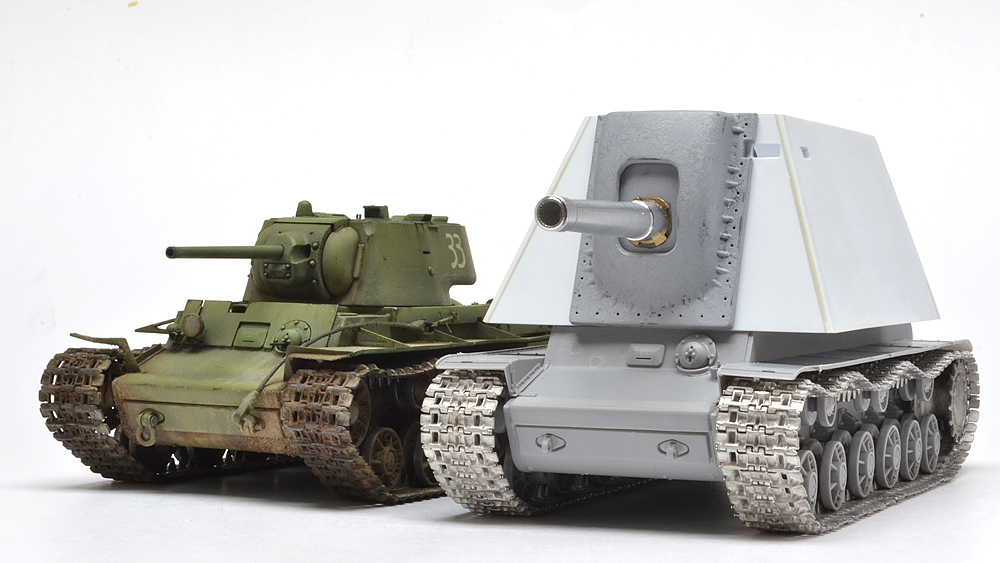
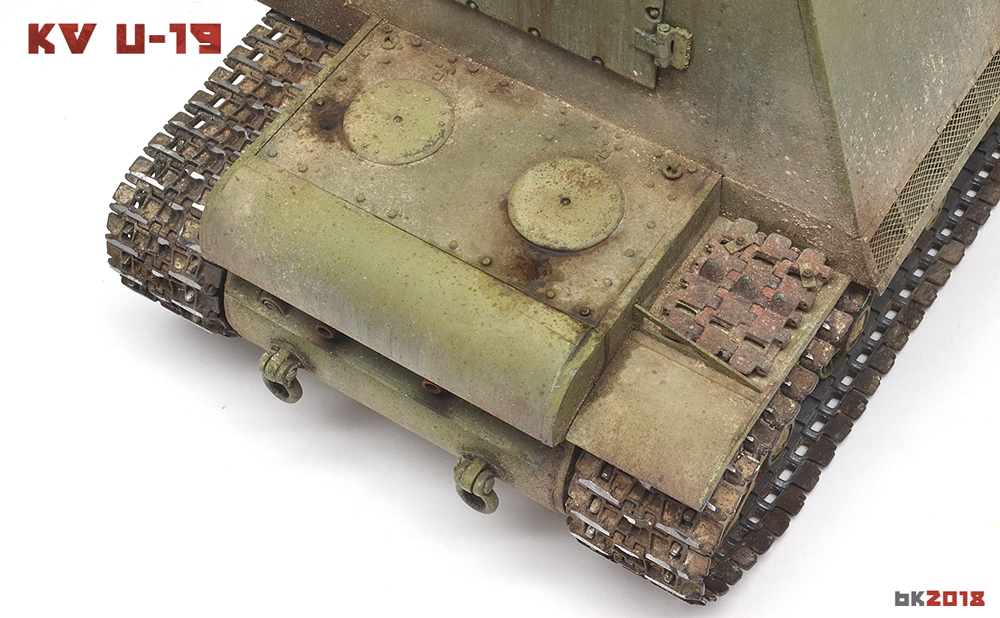
The hull assembly was pretty straight forward. I used Fruil tracks. I think I'm about 1 link too long and will adjust.
Additional info on the U-19 can be found here.
http://tankarchives.blogspot.com.au/2013/09/soviet-heavy-assault-guns.html
http://tankarchives.blogspot.ru/2015/12/green-elephant.html
Constructive Feedback
For in-progress or completed build photos. Give and get contructive feedback!
Hosted by Darren Baker, Dave O'Meara
KV U-19
MaKrueger
Colorado, United States
Joined: May 23, 2006
KitMaker: 60 posts
Armorama: 60 posts
Joined: May 23, 2006
KitMaker: 60 posts
Armorama: 60 posts
Posted: Sunday, January 14, 2018 - 08:56 PM UTC
MaKrueger
Colorado, United States
Joined: May 23, 2006
KitMaker: 60 posts
Armorama: 60 posts
Joined: May 23, 2006
KitMaker: 60 posts
Armorama: 60 posts
Posted: Sunday, January 14, 2018 - 08:57 PM UTC
I'm pretty bad at taking a bunch of in-progress images.
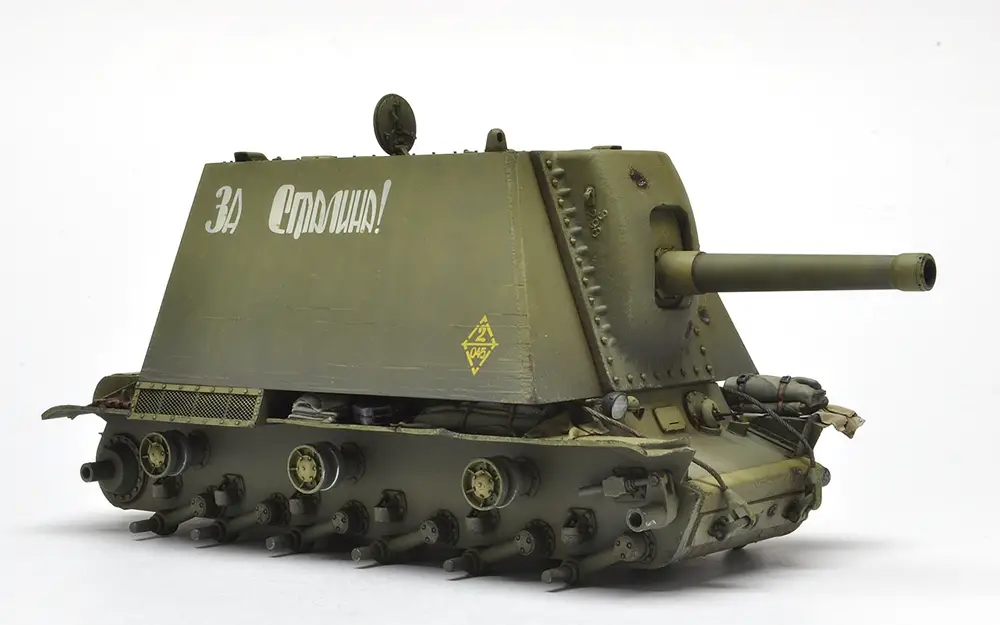
The model is ready for primer. It's been detailed with Value Gear details and a MiniArt figure. Intake screen is fine aluminum mesh.
Removed by original poster on 05/13/19 - 21:57:55 (GMT).
MaKrueger
Colorado, United States
Joined: May 23, 2006
KitMaker: 60 posts
Armorama: 60 posts
Joined: May 23, 2006
KitMaker: 60 posts
Armorama: 60 posts
Posted: Monday, January 15, 2018 - 01:01 AM UTC
Thanks Matthew!
ColinEdm
Associate Editor
Alberta, Canada
Joined: October 15, 2013
KitMaker: 1,355 posts
Armorama: 1,229 posts
Joined: October 15, 2013
KitMaker: 1,355 posts
Armorama: 1,229 posts
Posted: Monday, January 15, 2018 - 01:36 AM UTC
Very cool sir!
newnikonian
India / भारत
Joined: July 28, 2005
KitMaker: 279 posts
Armorama: 233 posts
Joined: July 28, 2005
KitMaker: 279 posts
Armorama: 233 posts
Posted: Monday, January 15, 2018 - 09:03 AM UTC
Superb work. Looks Great. Thanks for sharing....
MaKrueger
Colorado, United States
Joined: May 23, 2006
KitMaker: 60 posts
Armorama: 60 posts
Joined: May 23, 2006
KitMaker: 60 posts
Armorama: 60 posts
Posted: Tuesday, January 16, 2018 - 02:19 AM UTC
Thanks!
Posted: Tuesday, January 16, 2018 - 02:38 AM UTC
What an awesome beast. Fantastic. You should start marketing this conversion as a kit. I know 3D printing isn't cheap. I'm sure there is a market for this kit though. I'm following this build. You are a true artist.
Jeff
Jeff
MaKrueger
Colorado, United States
Joined: May 23, 2006
KitMaker: 60 posts
Armorama: 60 posts
Joined: May 23, 2006
KitMaker: 60 posts
Armorama: 60 posts
Posted: Wednesday, January 17, 2018 - 08:40 PM UTC
Thanks Jeff. Not sure I ever want to get into the kit business. Don't have much time as it is.
MaKrueger
Colorado, United States
Joined: May 23, 2006
KitMaker: 60 posts
Armorama: 60 posts
Joined: May 23, 2006
KitMaker: 60 posts
Armorama: 60 posts
Posted: Friday, March 09, 2018 - 01:01 AM UTC
The pillbox has some paint. I used the AK real colors for the base color and mixed with Tamiya for shadows and highlights. Still have lots to paint and do.
pgb3476
Texas, United States
Joined: March 11, 2007
KitMaker: 977 posts
Armorama: 976 posts
Joined: March 11, 2007
KitMaker: 977 posts
Armorama: 976 posts
Posted: Friday, March 09, 2018 - 01:31 AM UTC
As I mentioned on FB, really well done paint. The fading on the side from top to bottom is perfect. Shading is spot on! Overall , I really love it.
Comrades to the front!!!!!!
Removed by original poster on 05/13/19 - 21:58:20 (GMT).
MaKrueger
Colorado, United States
Joined: May 23, 2006
KitMaker: 60 posts
Armorama: 60 posts
Joined: May 23, 2006
KitMaker: 60 posts
Armorama: 60 posts
Posted: Sunday, March 11, 2018 - 07:52 PM UTC
Thanks Greg and Matt. It's a interesting project for sure.
MaKrueger
Colorado, United States
Joined: May 23, 2006
KitMaker: 60 posts
Armorama: 60 posts
Joined: May 23, 2006
KitMaker: 60 posts
Armorama: 60 posts
Posted: Tuesday, March 13, 2018 - 10:09 PM UTC
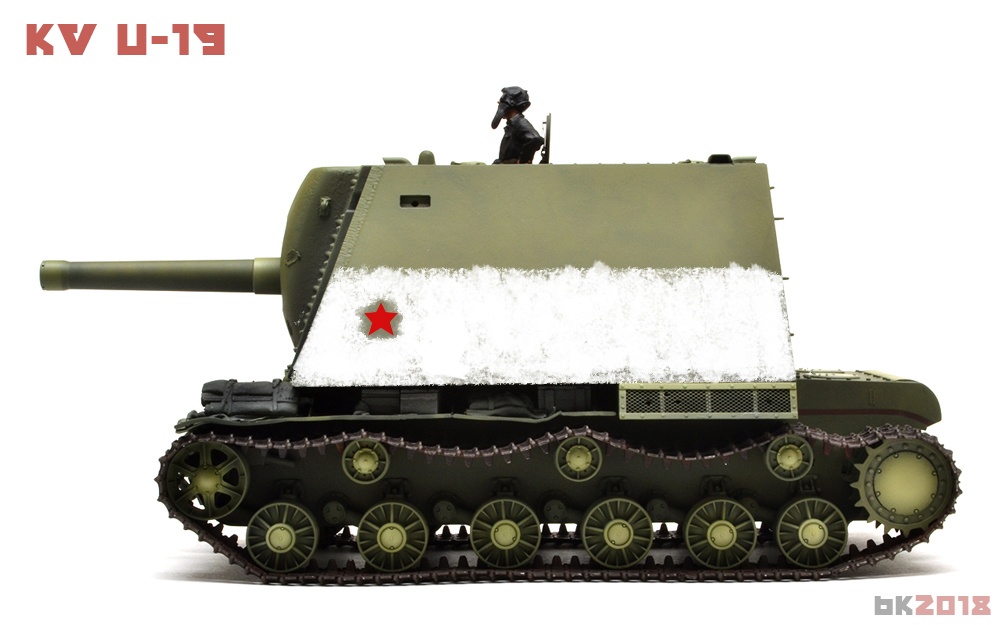
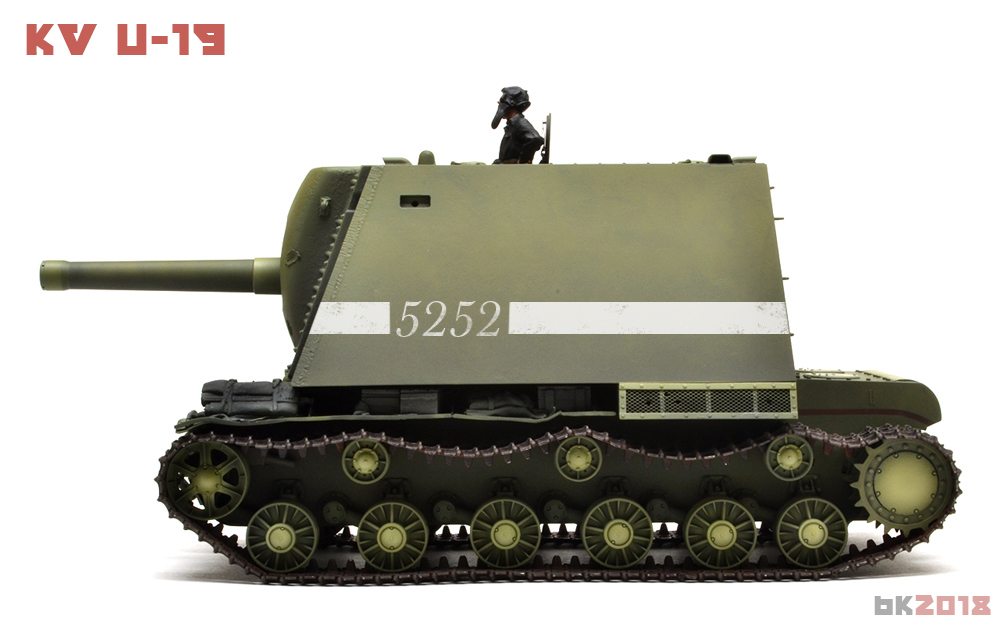
I've created a number of profiles to study marking options. It's kinda hard to decide. I'm leaning towards the white stripe and small red star but this would put the U-19 in a time frame that would be difficult to place it at. I like the large red star and this feels like something from a video game :lol: The large slogan and number are probably the most universal.
Removed by original poster on 05/13/19 - 21:58:42 (GMT).
MaKrueger
Colorado, United States
Joined: May 23, 2006
KitMaker: 60 posts
Armorama: 60 posts
Joined: May 23, 2006
KitMaker: 60 posts
Armorama: 60 posts
Posted: Tuesday, May 01, 2018 - 08:03 PM UTC
Markings , filters, a wash, and chipping applied. Also started some basic weathering.
MaKrueger
Colorado, United States
Joined: May 23, 2006
KitMaker: 60 posts
Armorama: 60 posts
Joined: May 23, 2006
KitMaker: 60 posts
Armorama: 60 posts
Posted: Tuesday, May 15, 2018 - 09:28 PM UTC
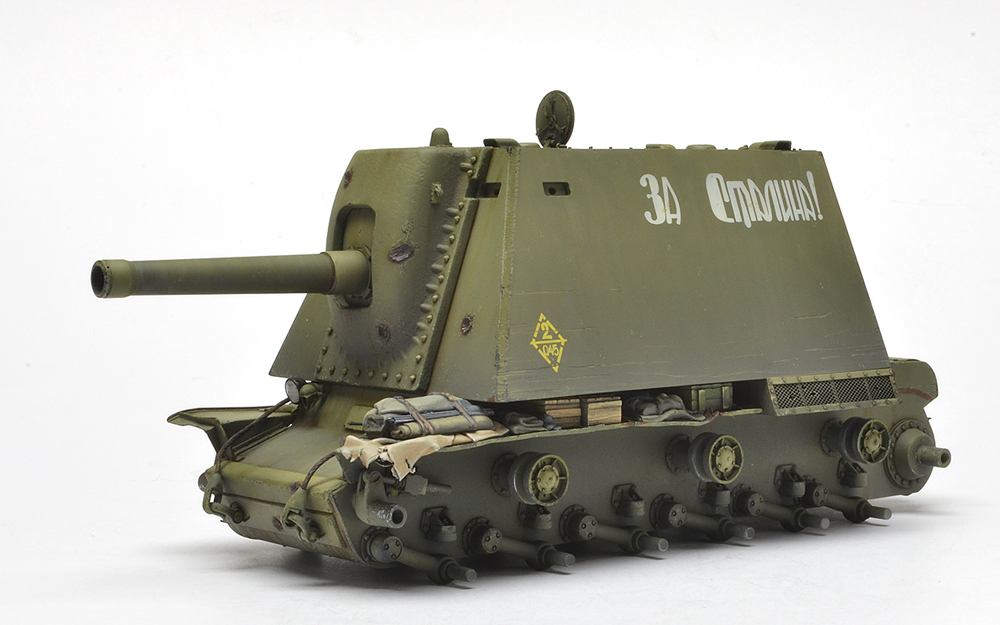
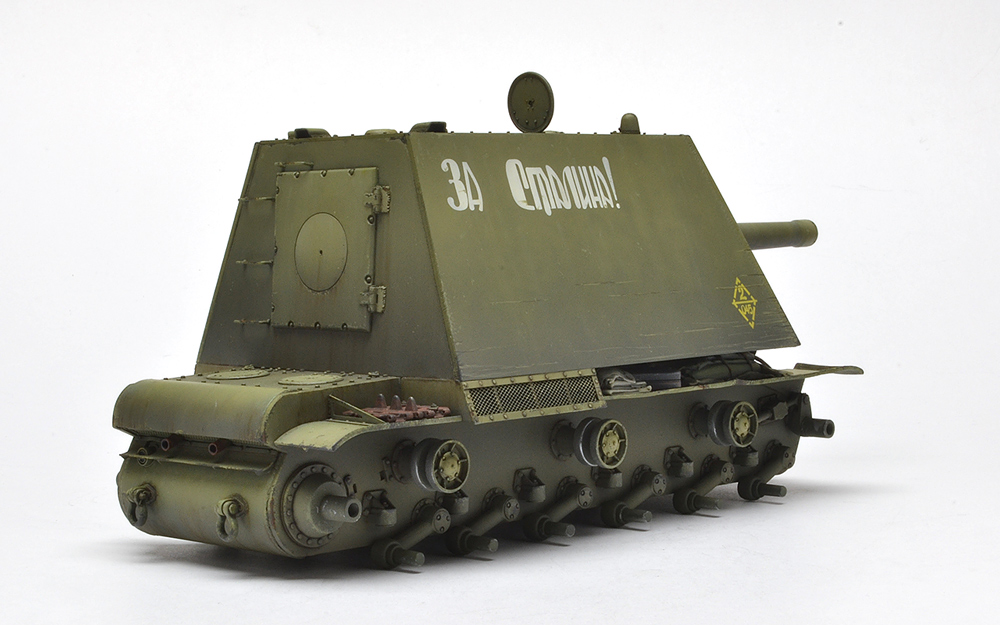
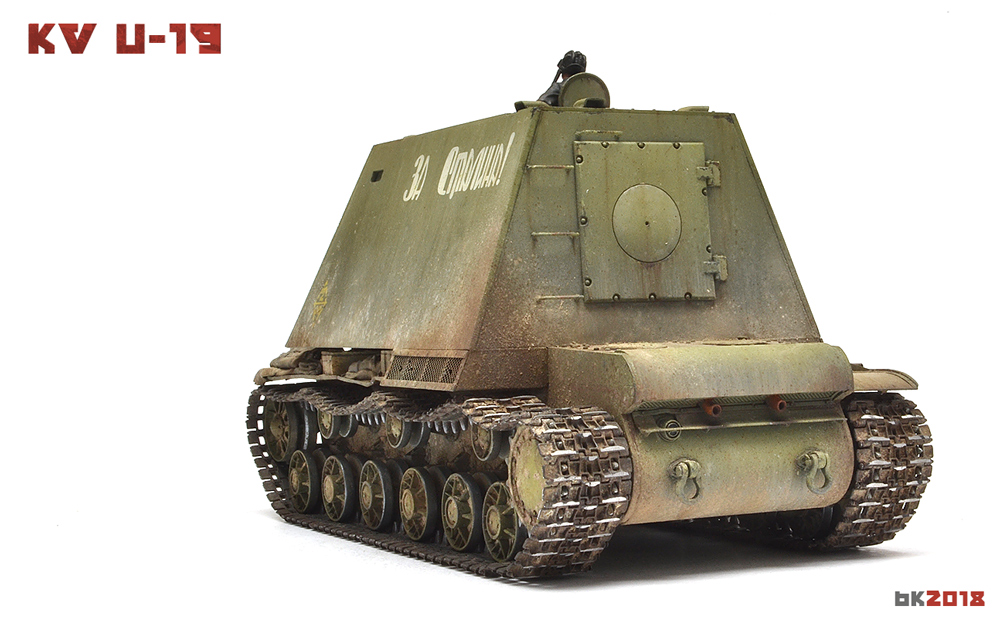
Finally finished the beast.
Finished with oils, enamels and pigments. The sheer size of the slab sides made weathering this thing a bit of a challenge.
Additional images can be found here: KV U-19
Finished with oils, enamels and pigments. The sheer size of the slab sides made weathering this thing a bit of a challenge.
Additional images can be found here: KV U-19