Hello again..
When I posted pictures of this build last week, I made the mistake of giving it a title referring to the interior and since the following posts are about the exterior I will start a new thread.
The interior thread can be found here :
https://armorama.kitmaker.net/forums/265926
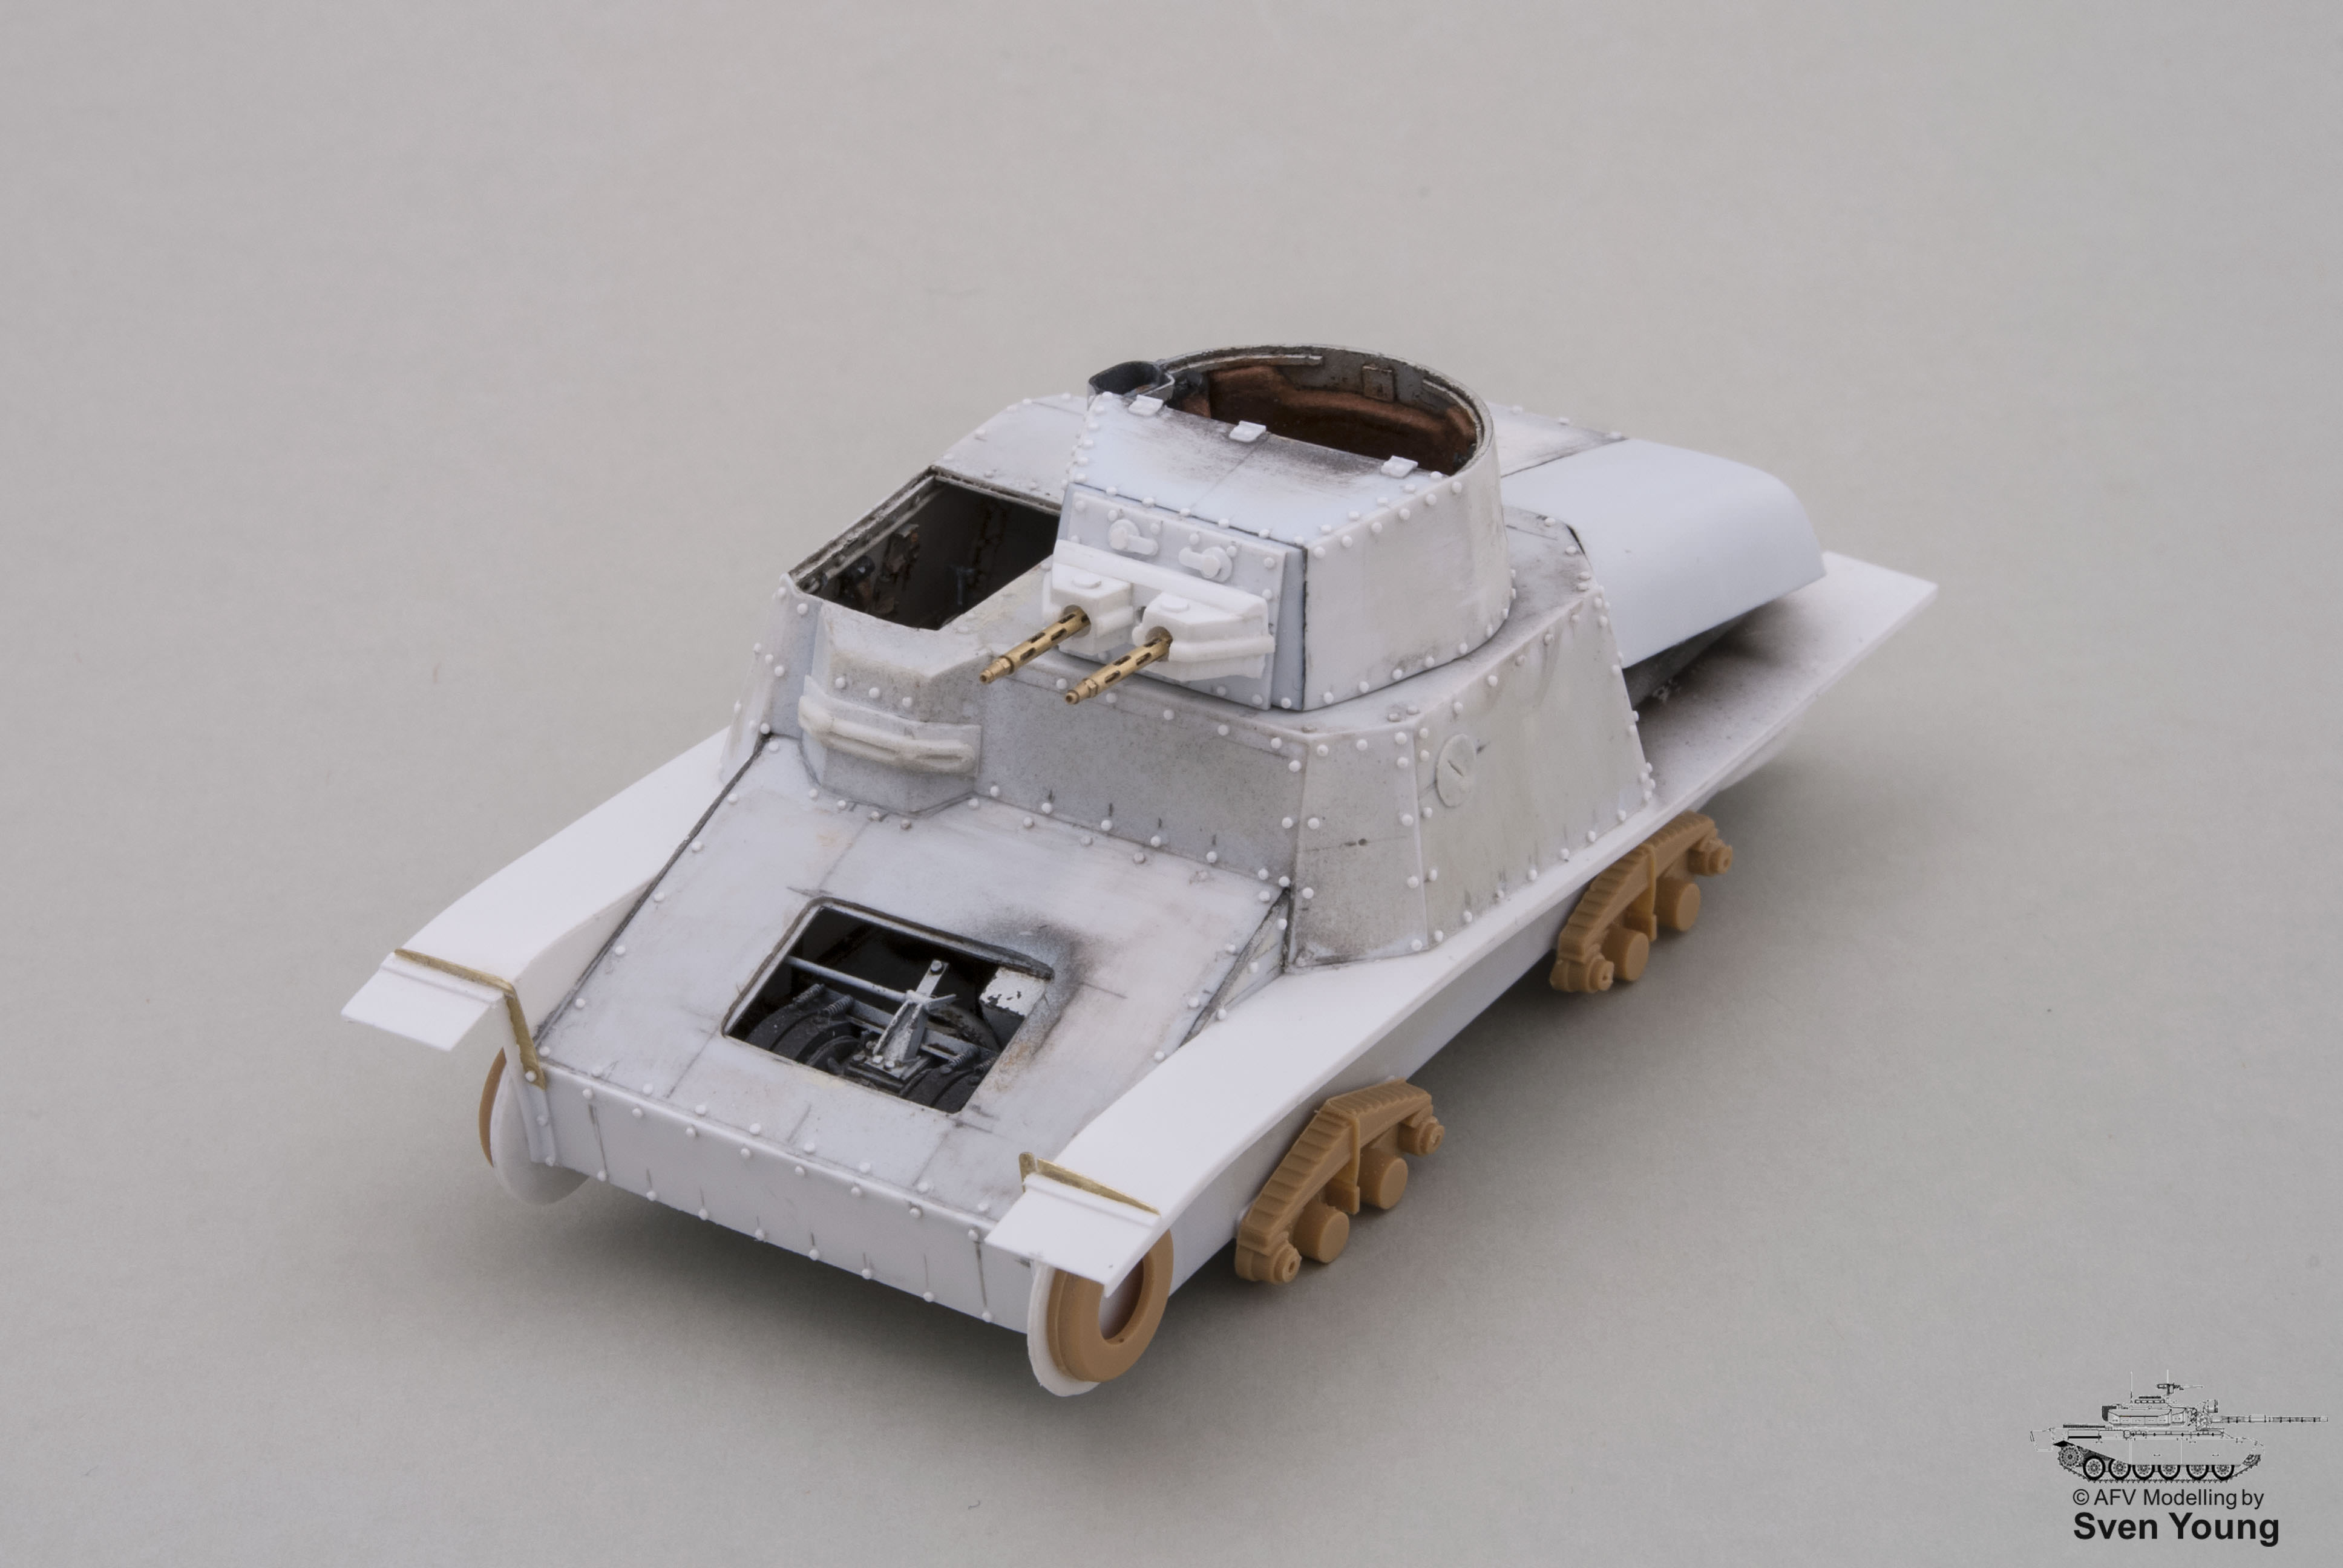
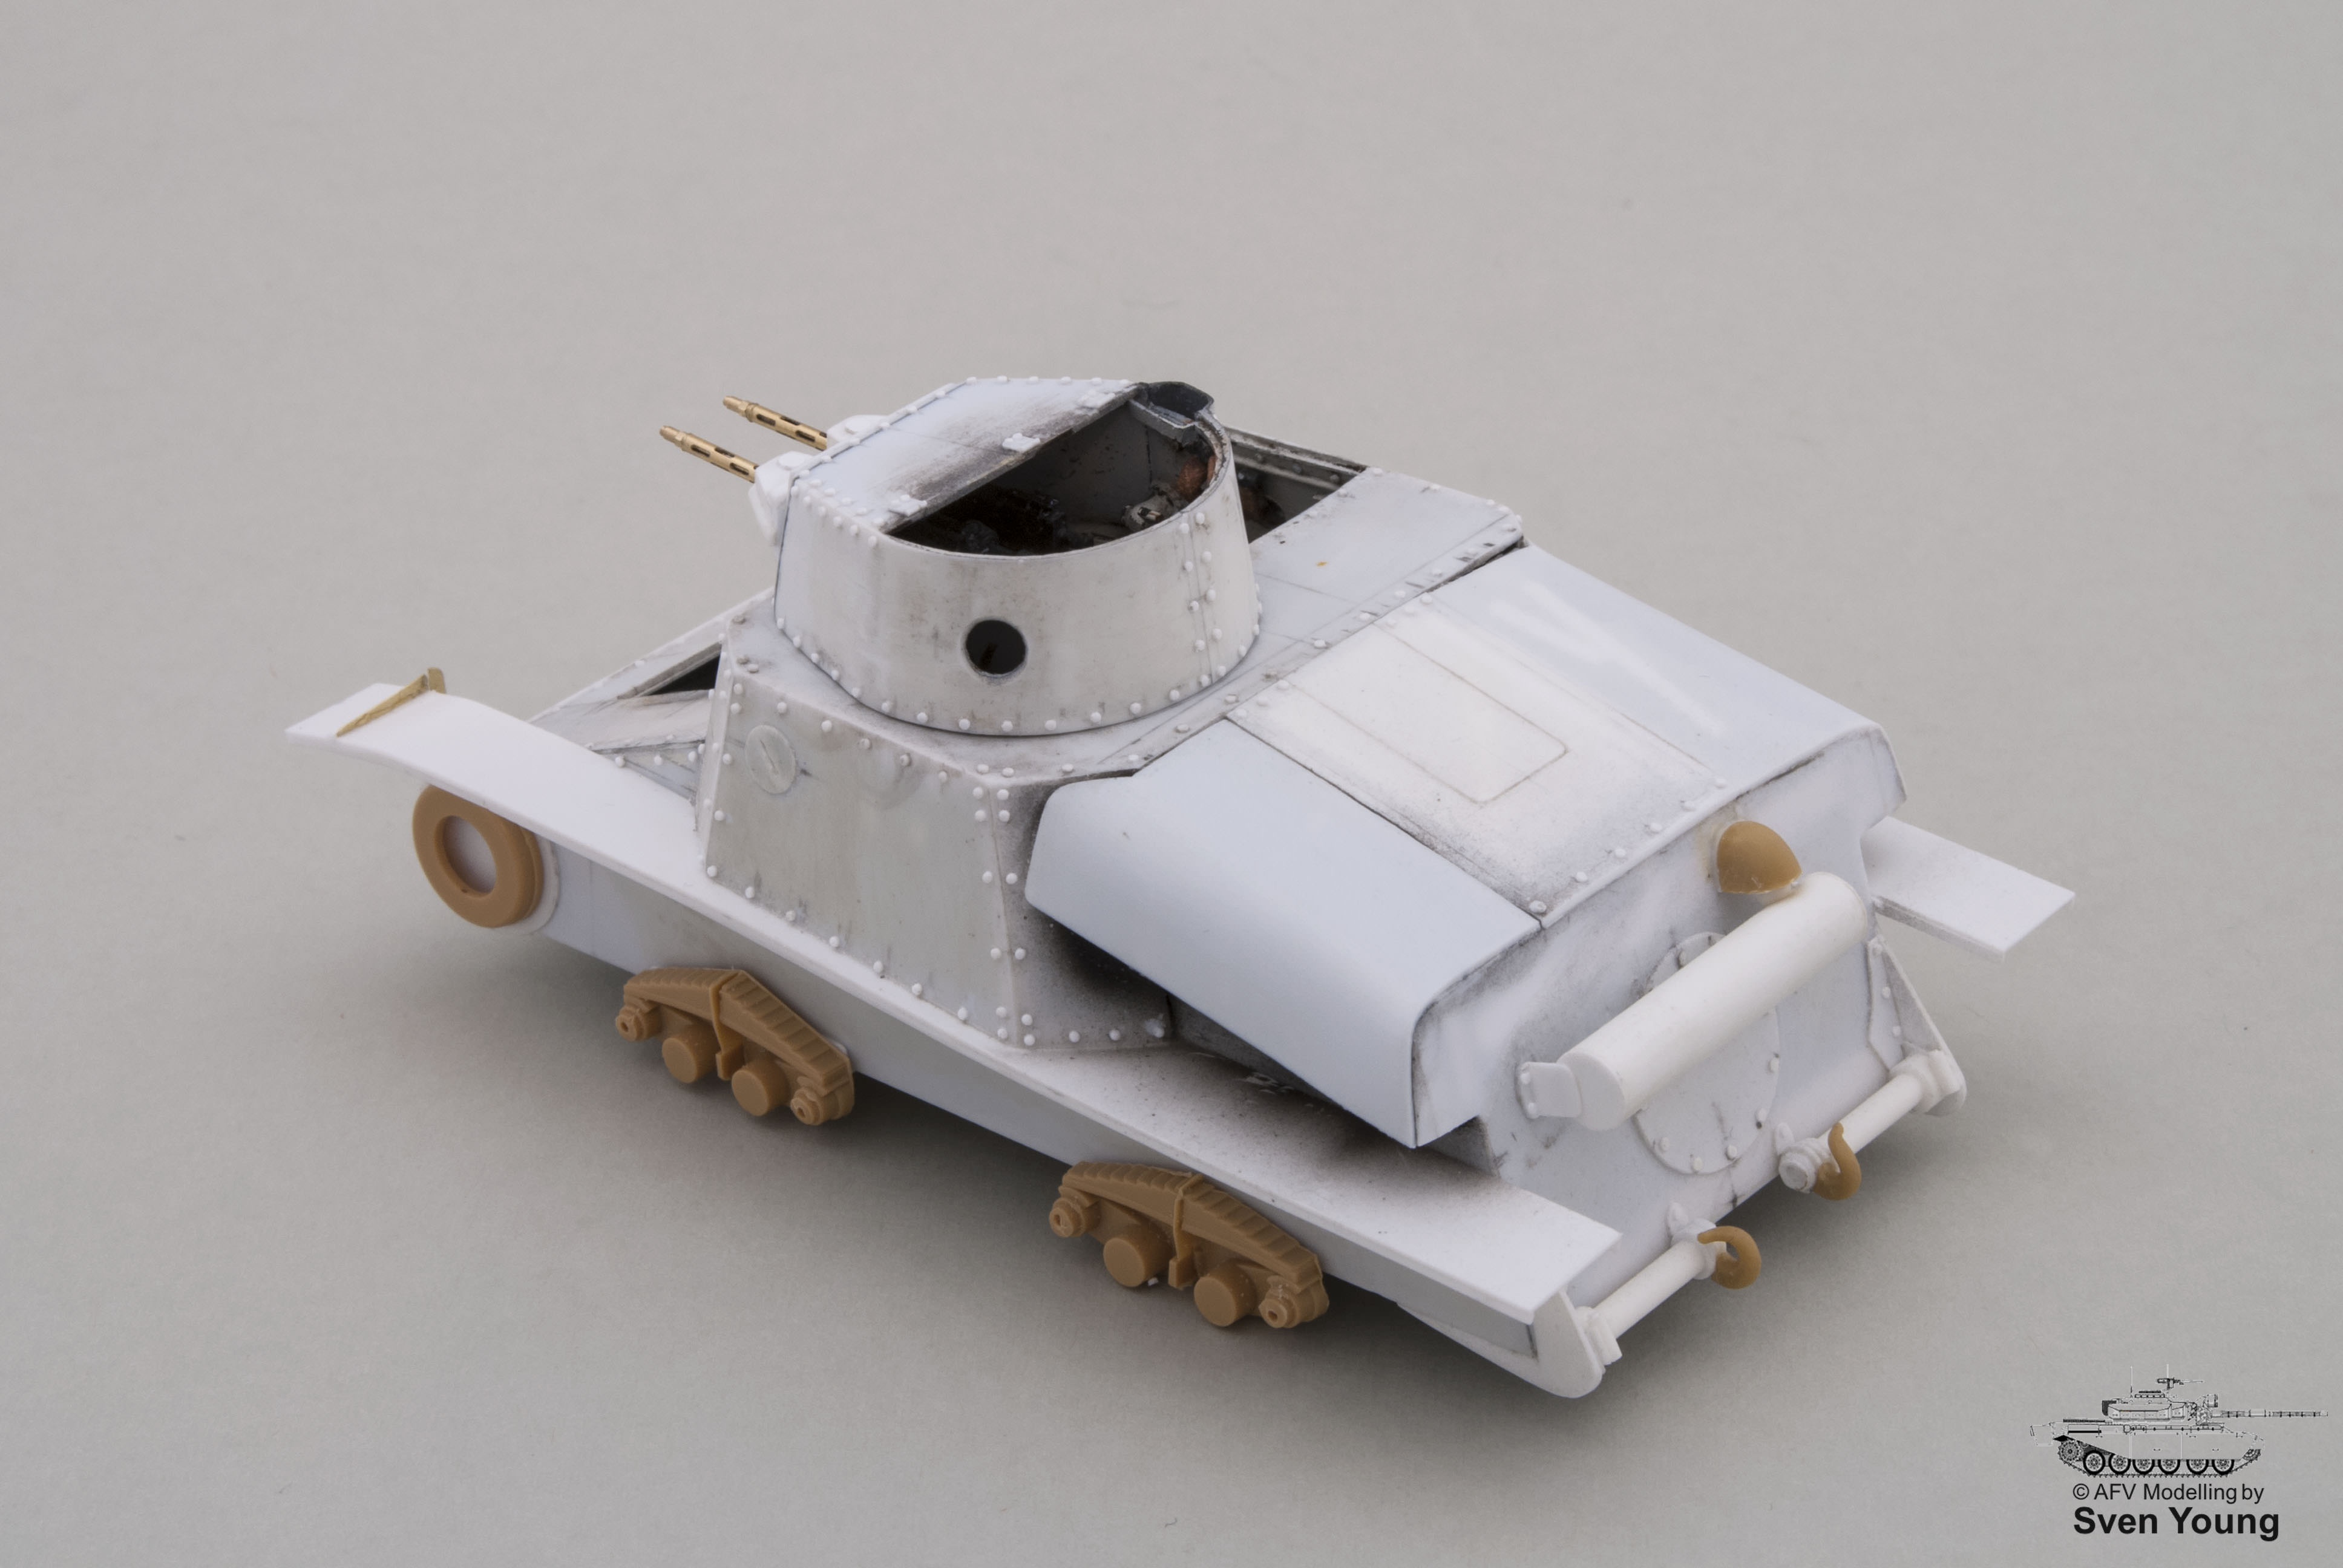
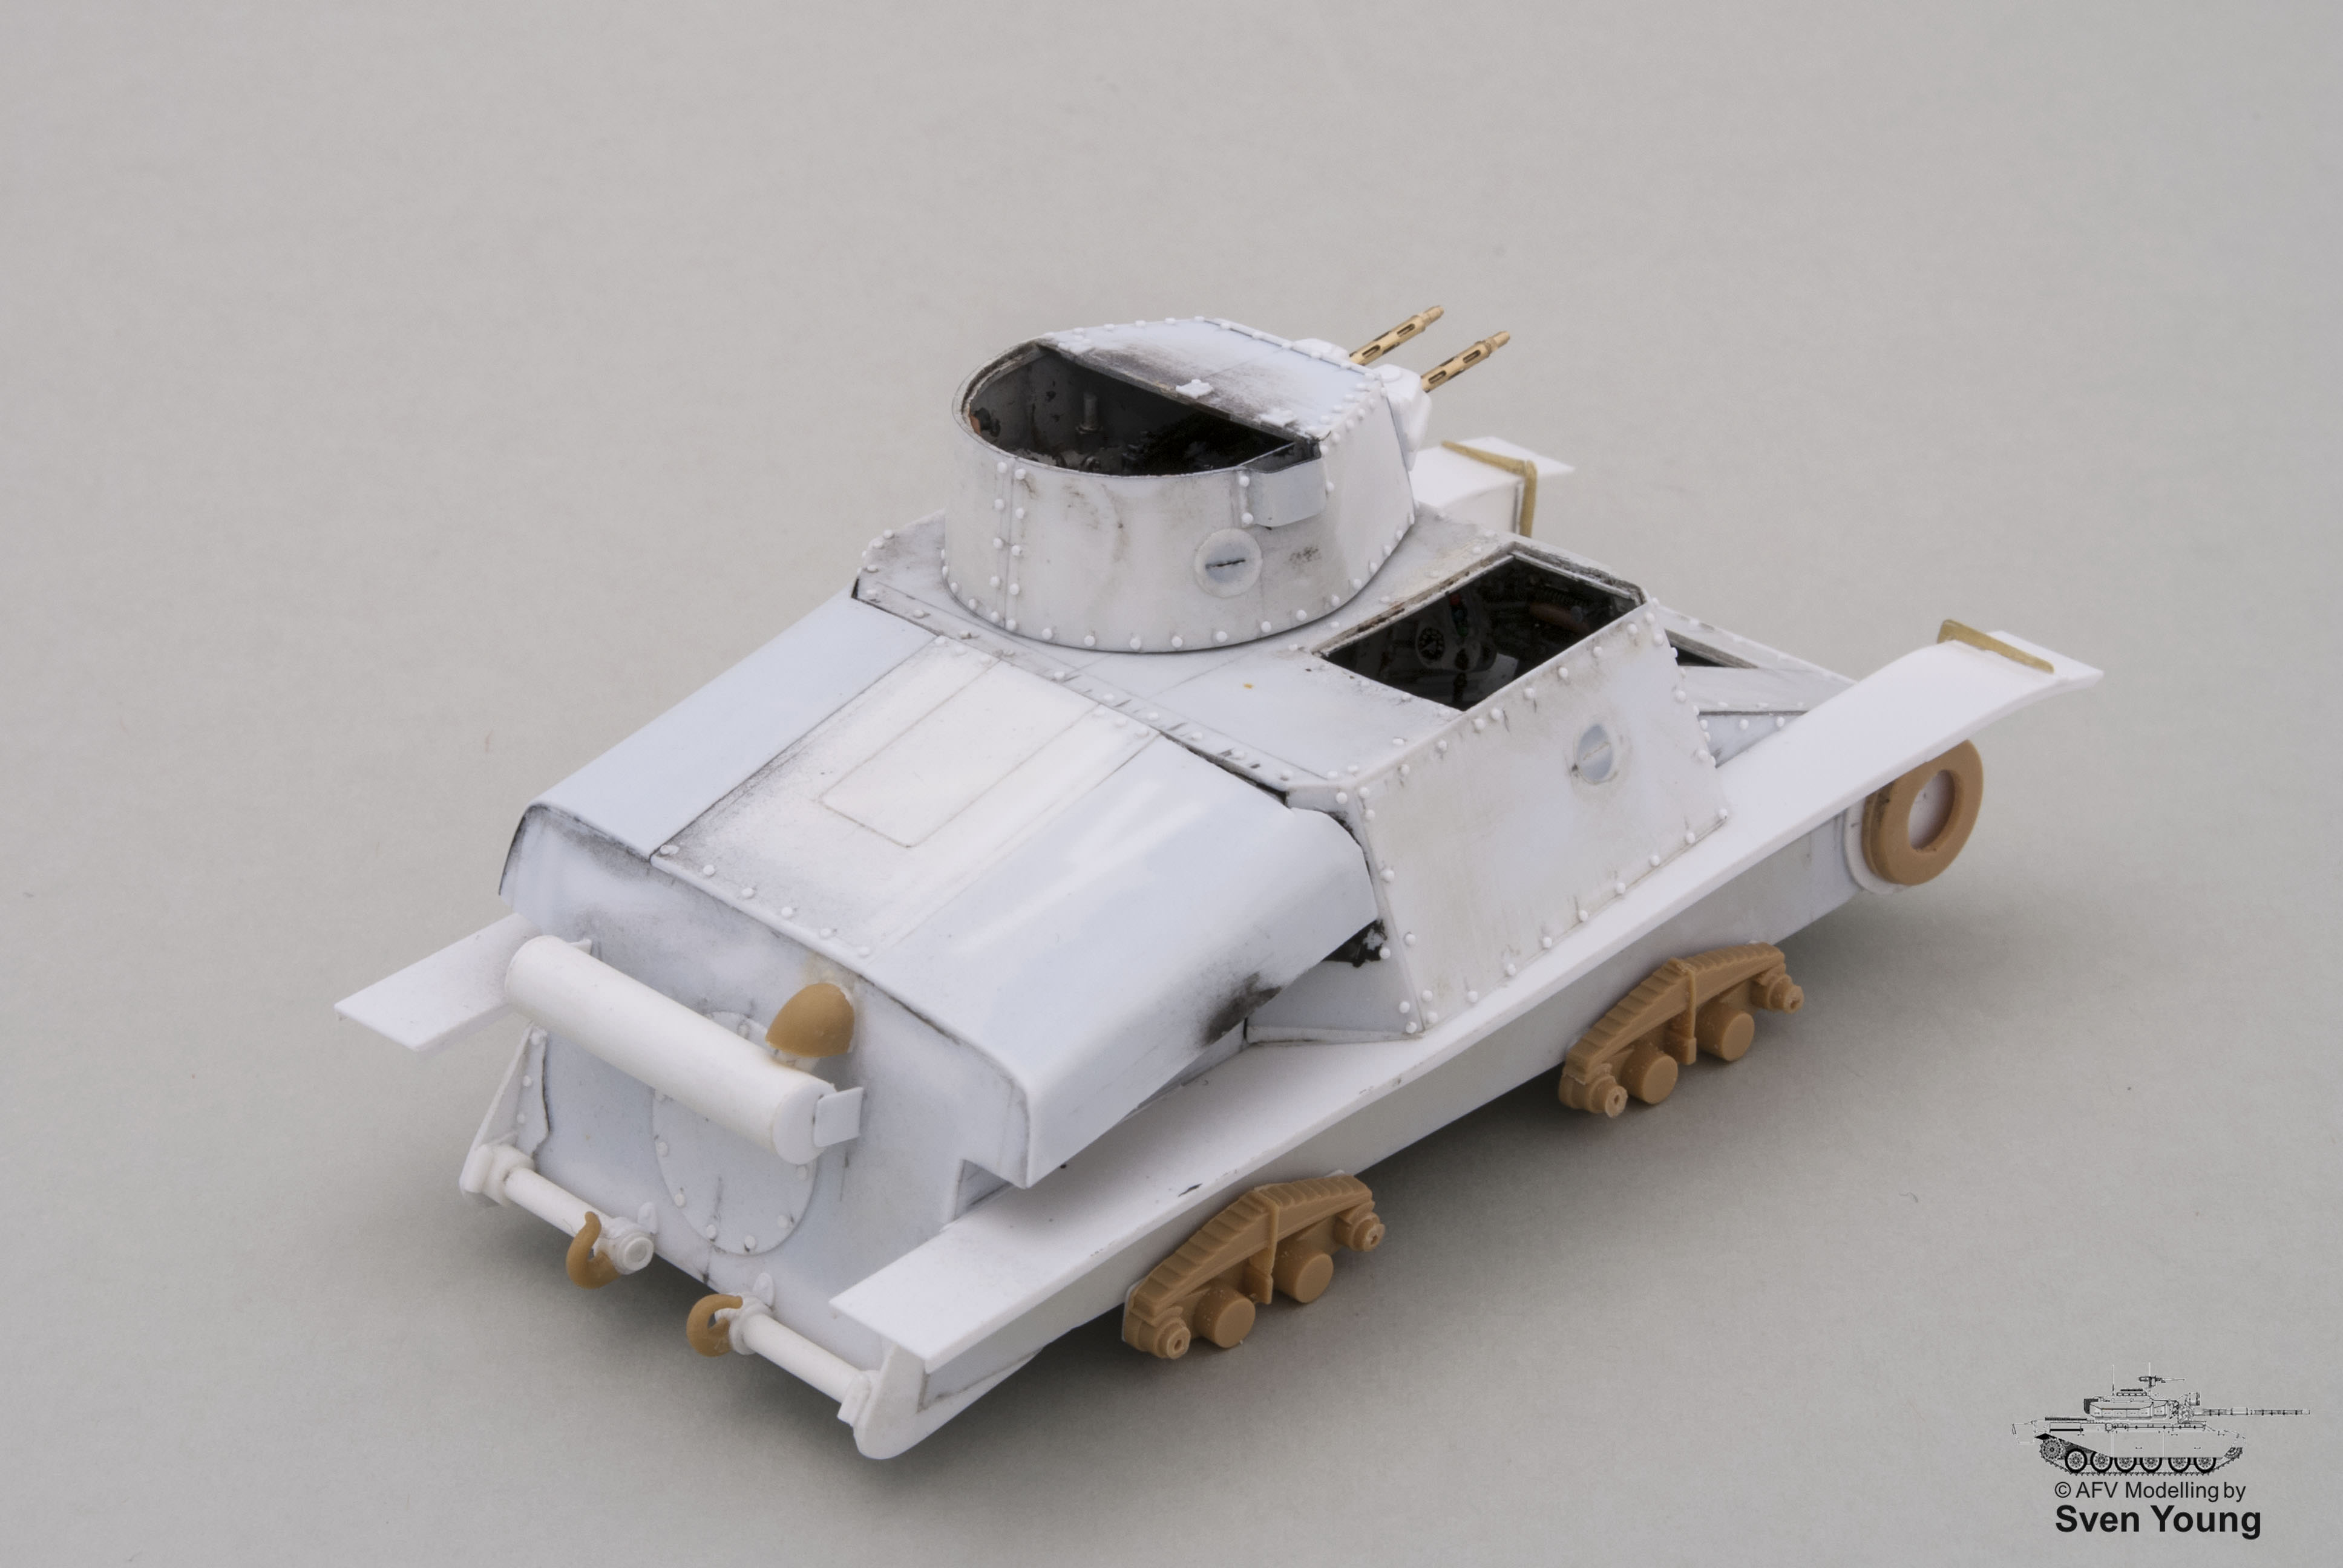
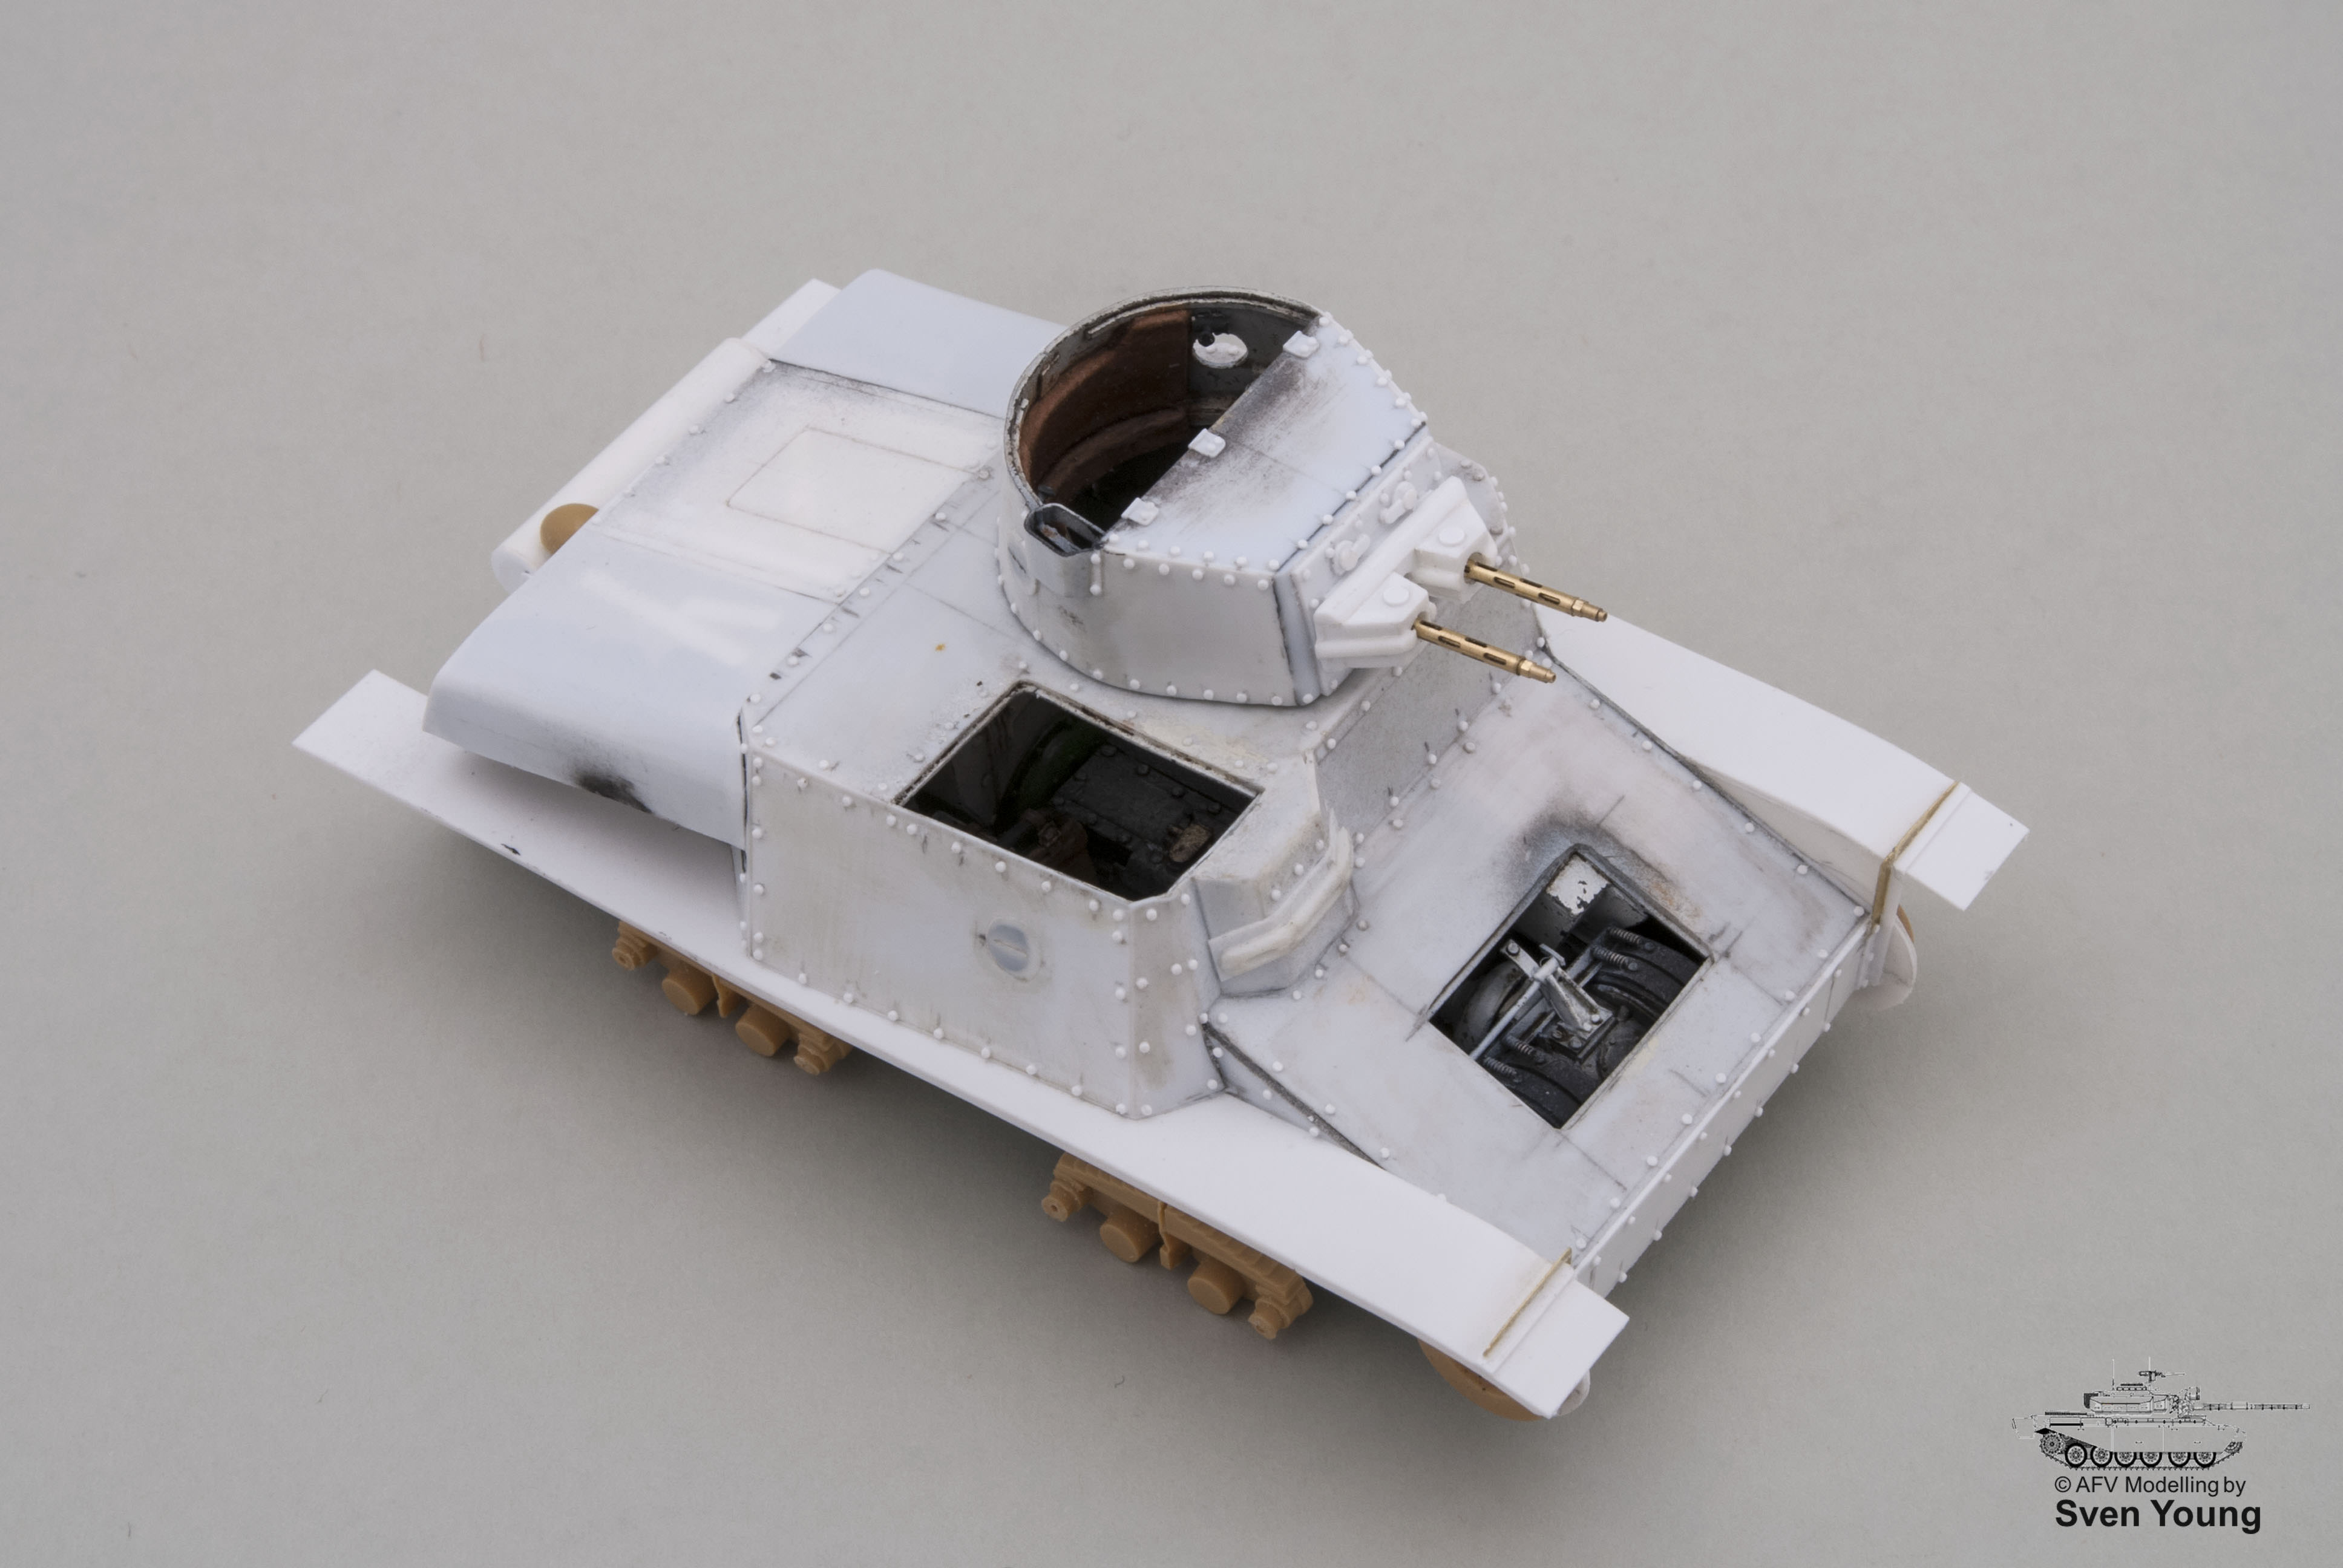
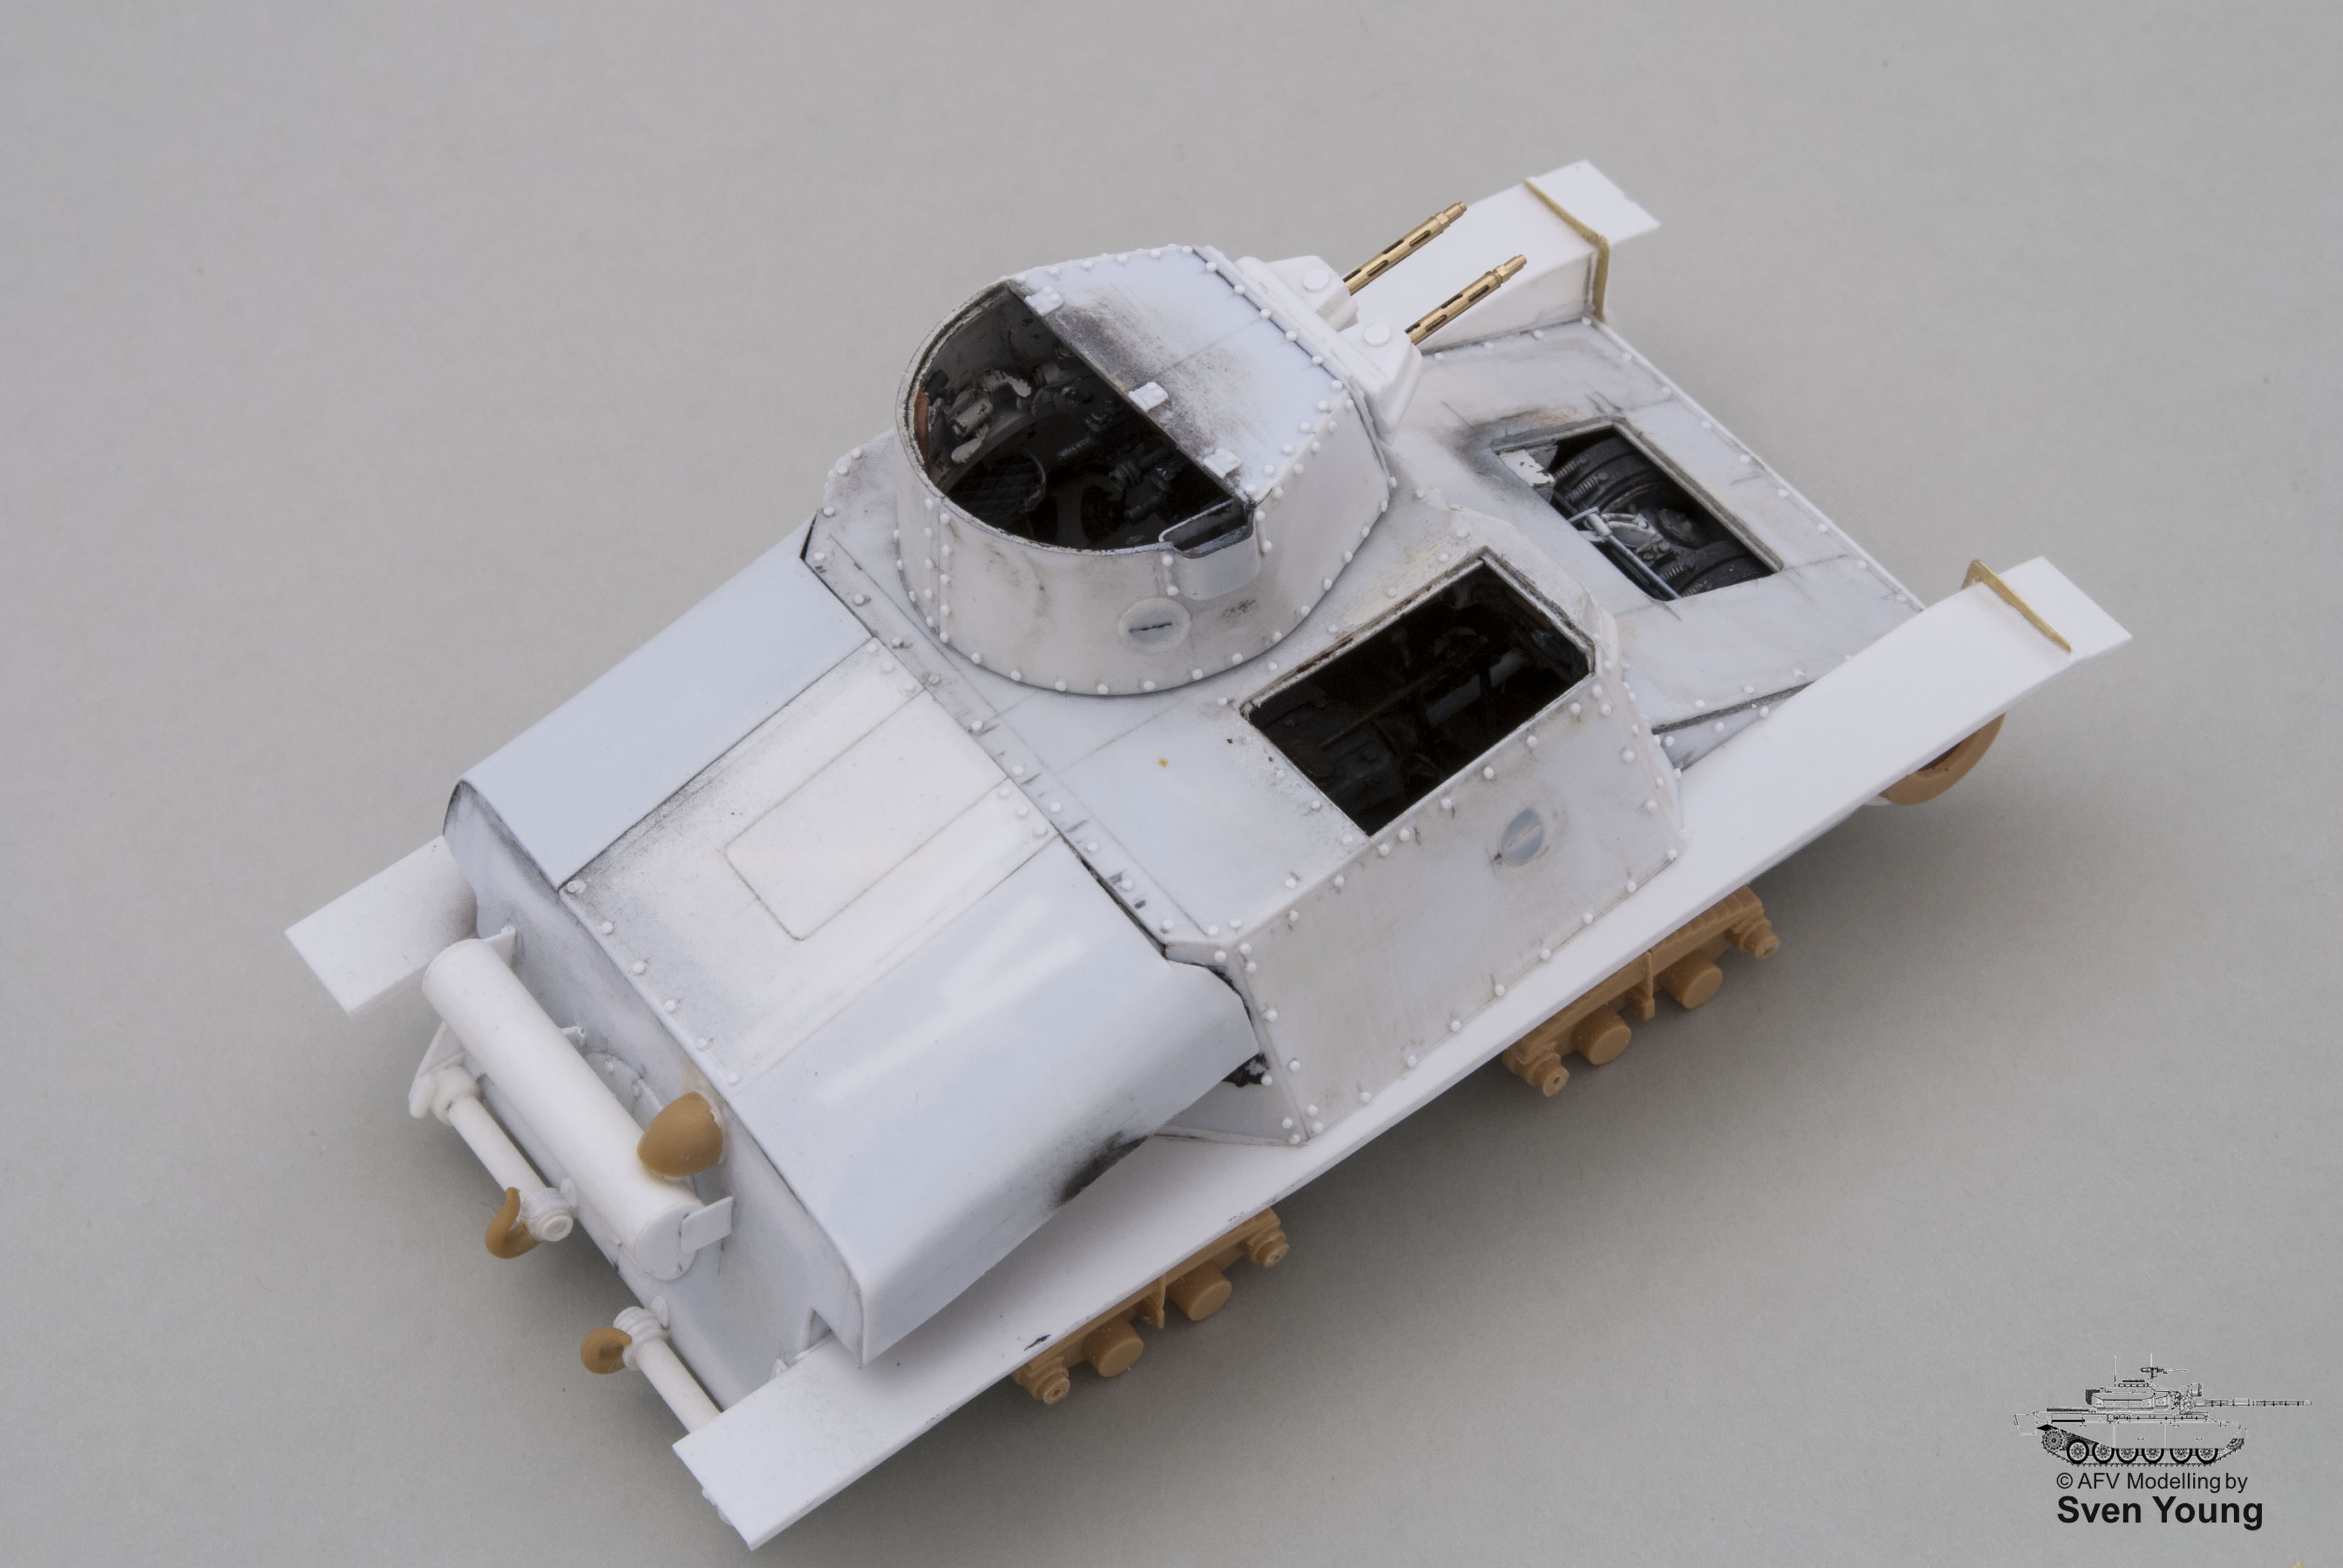
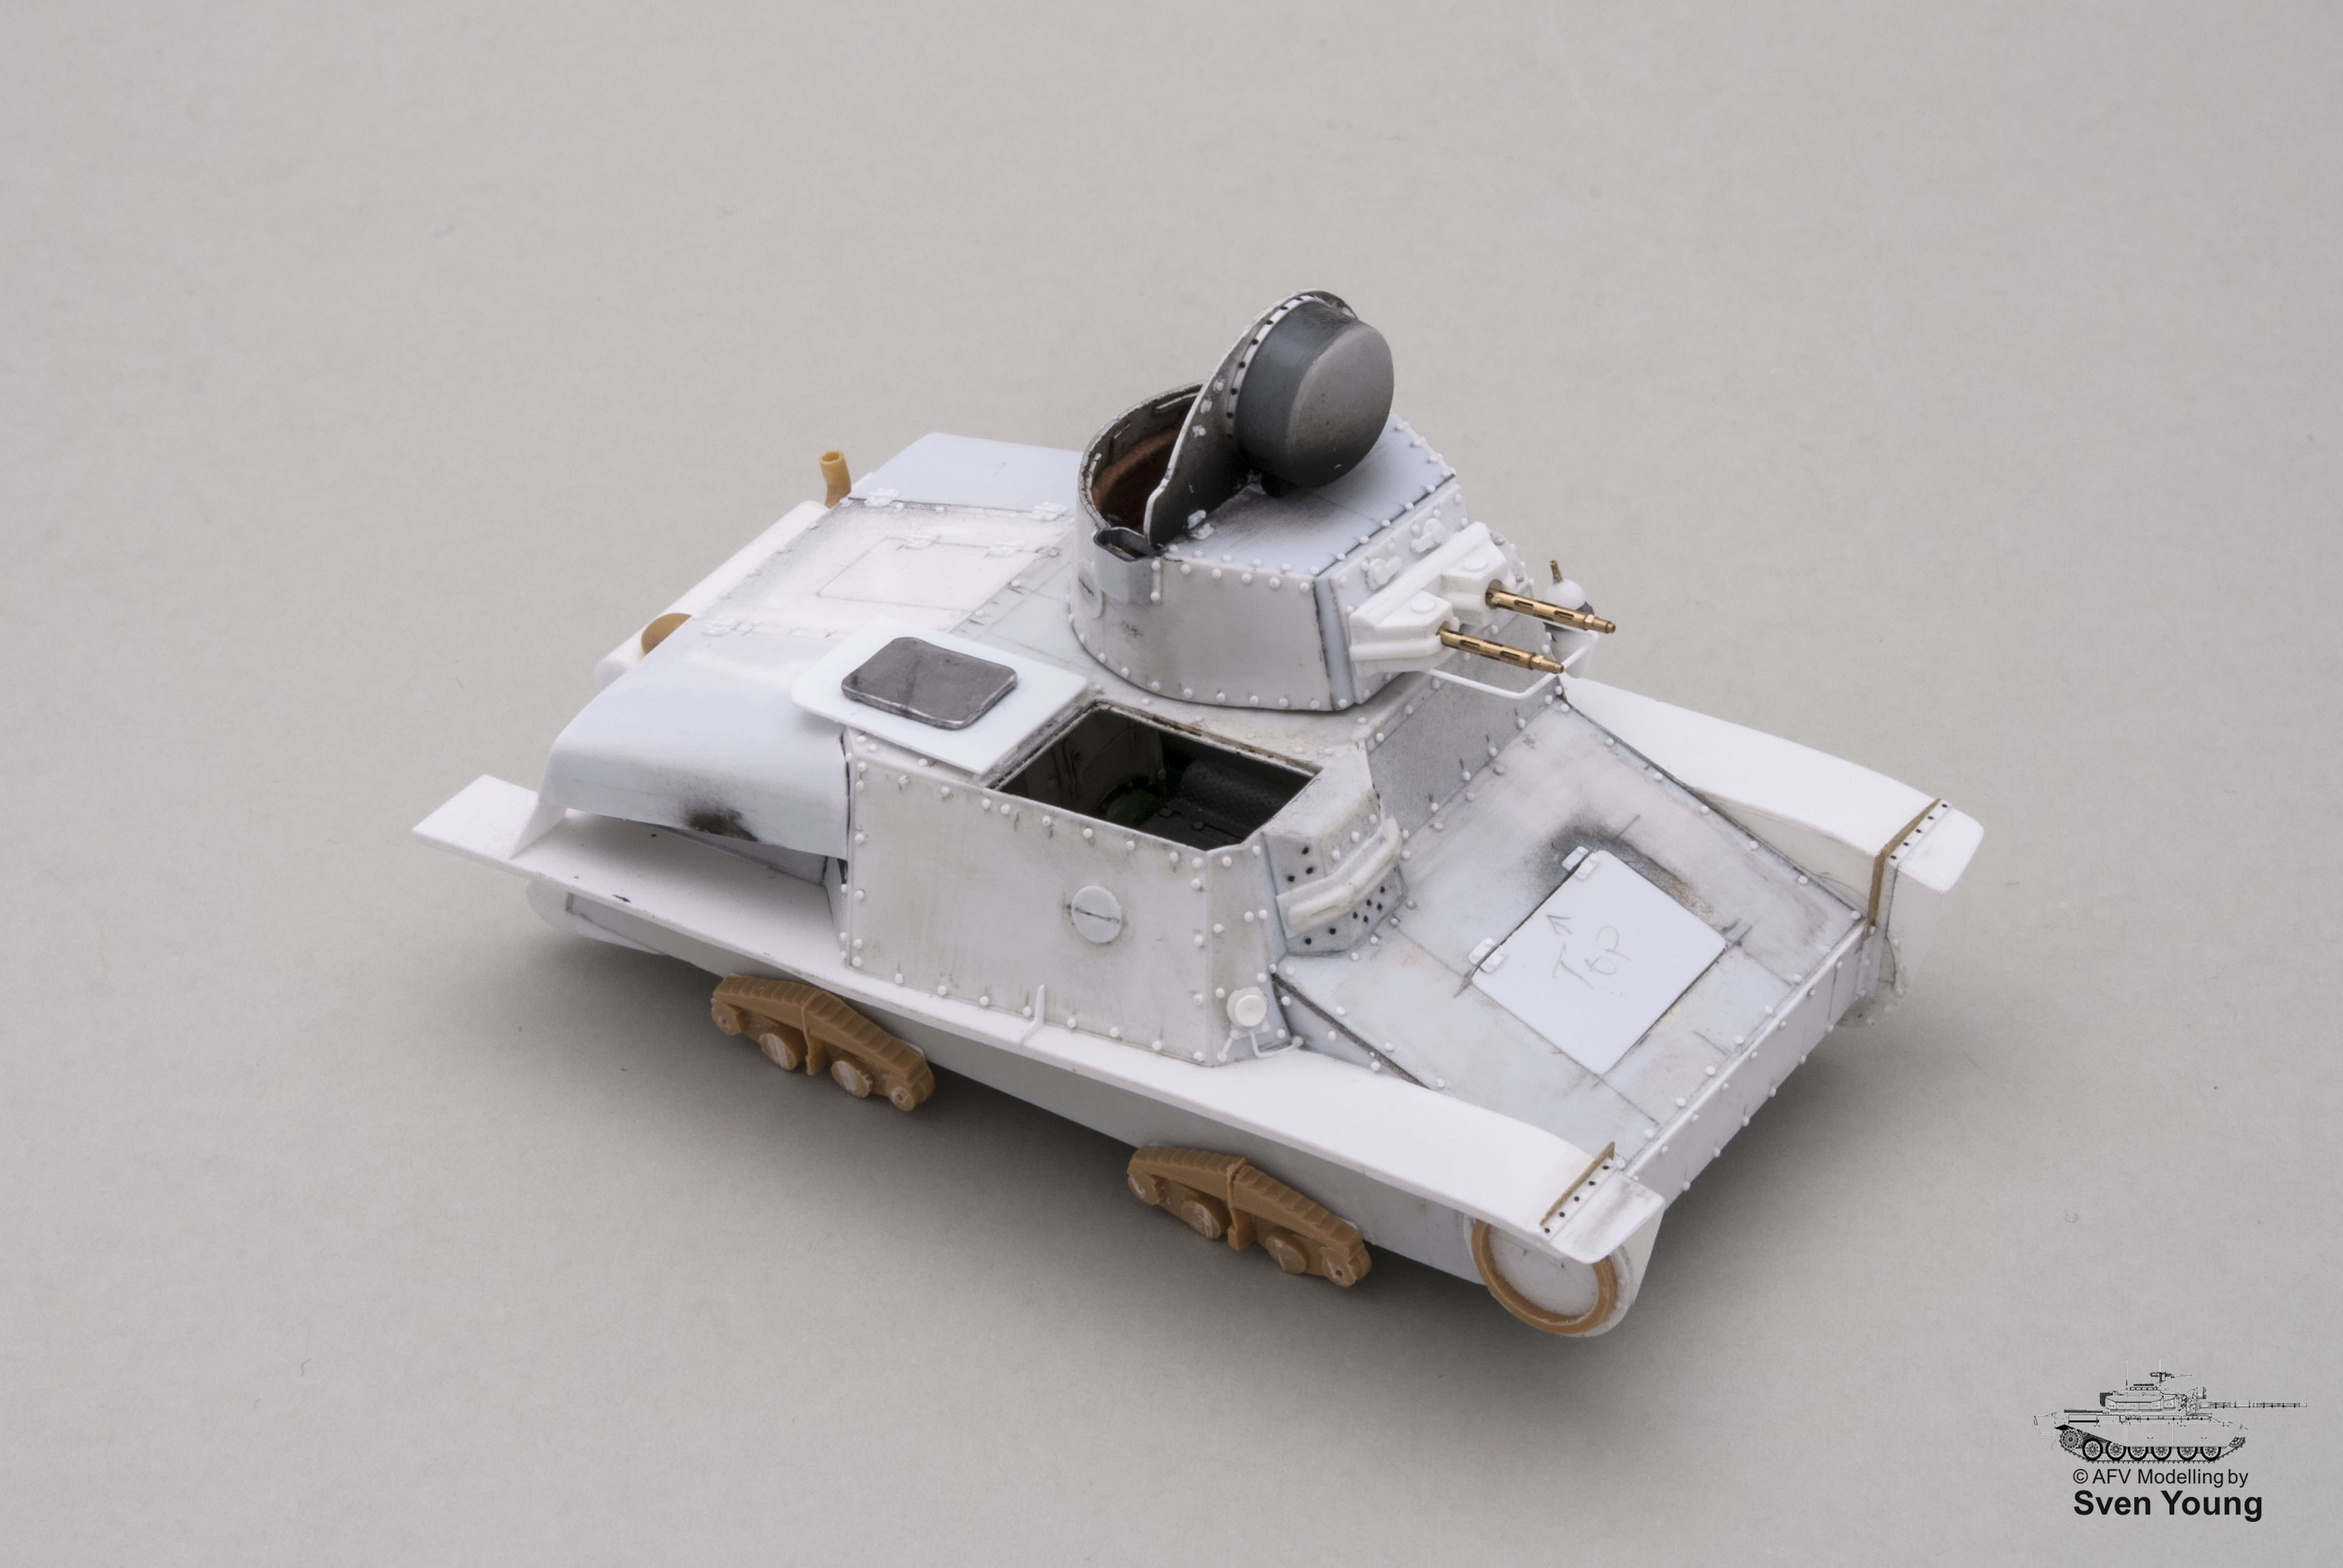
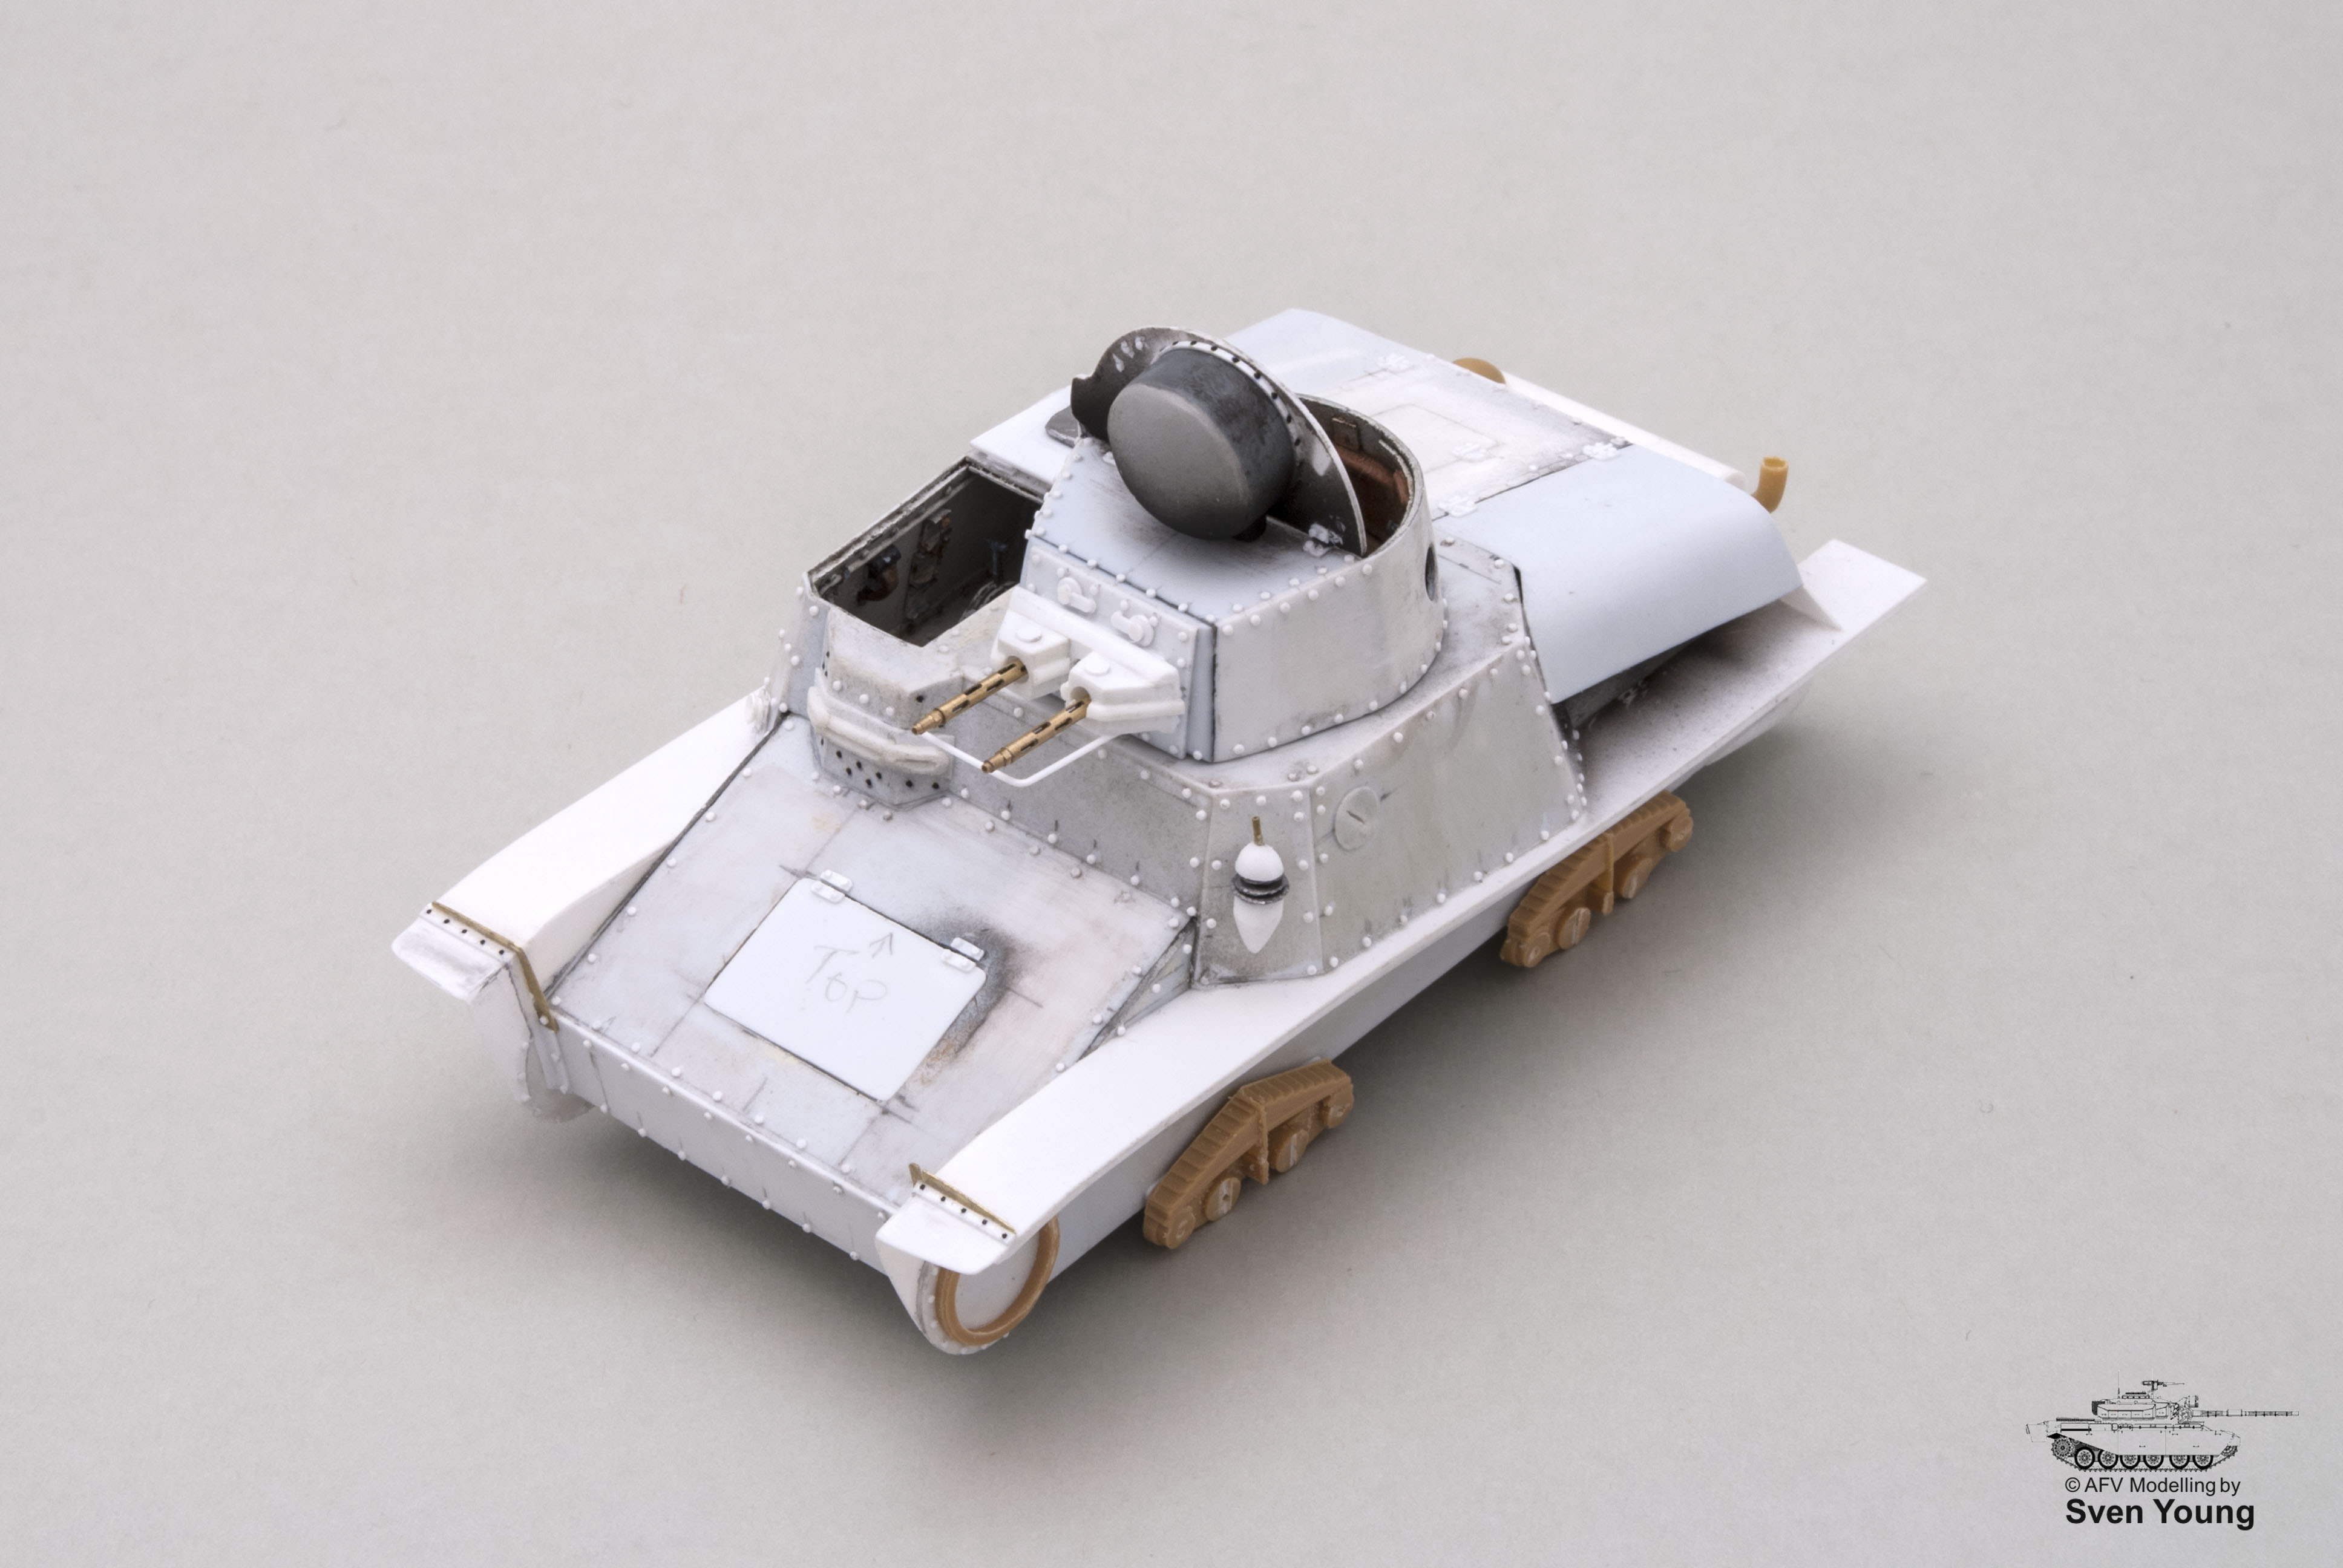
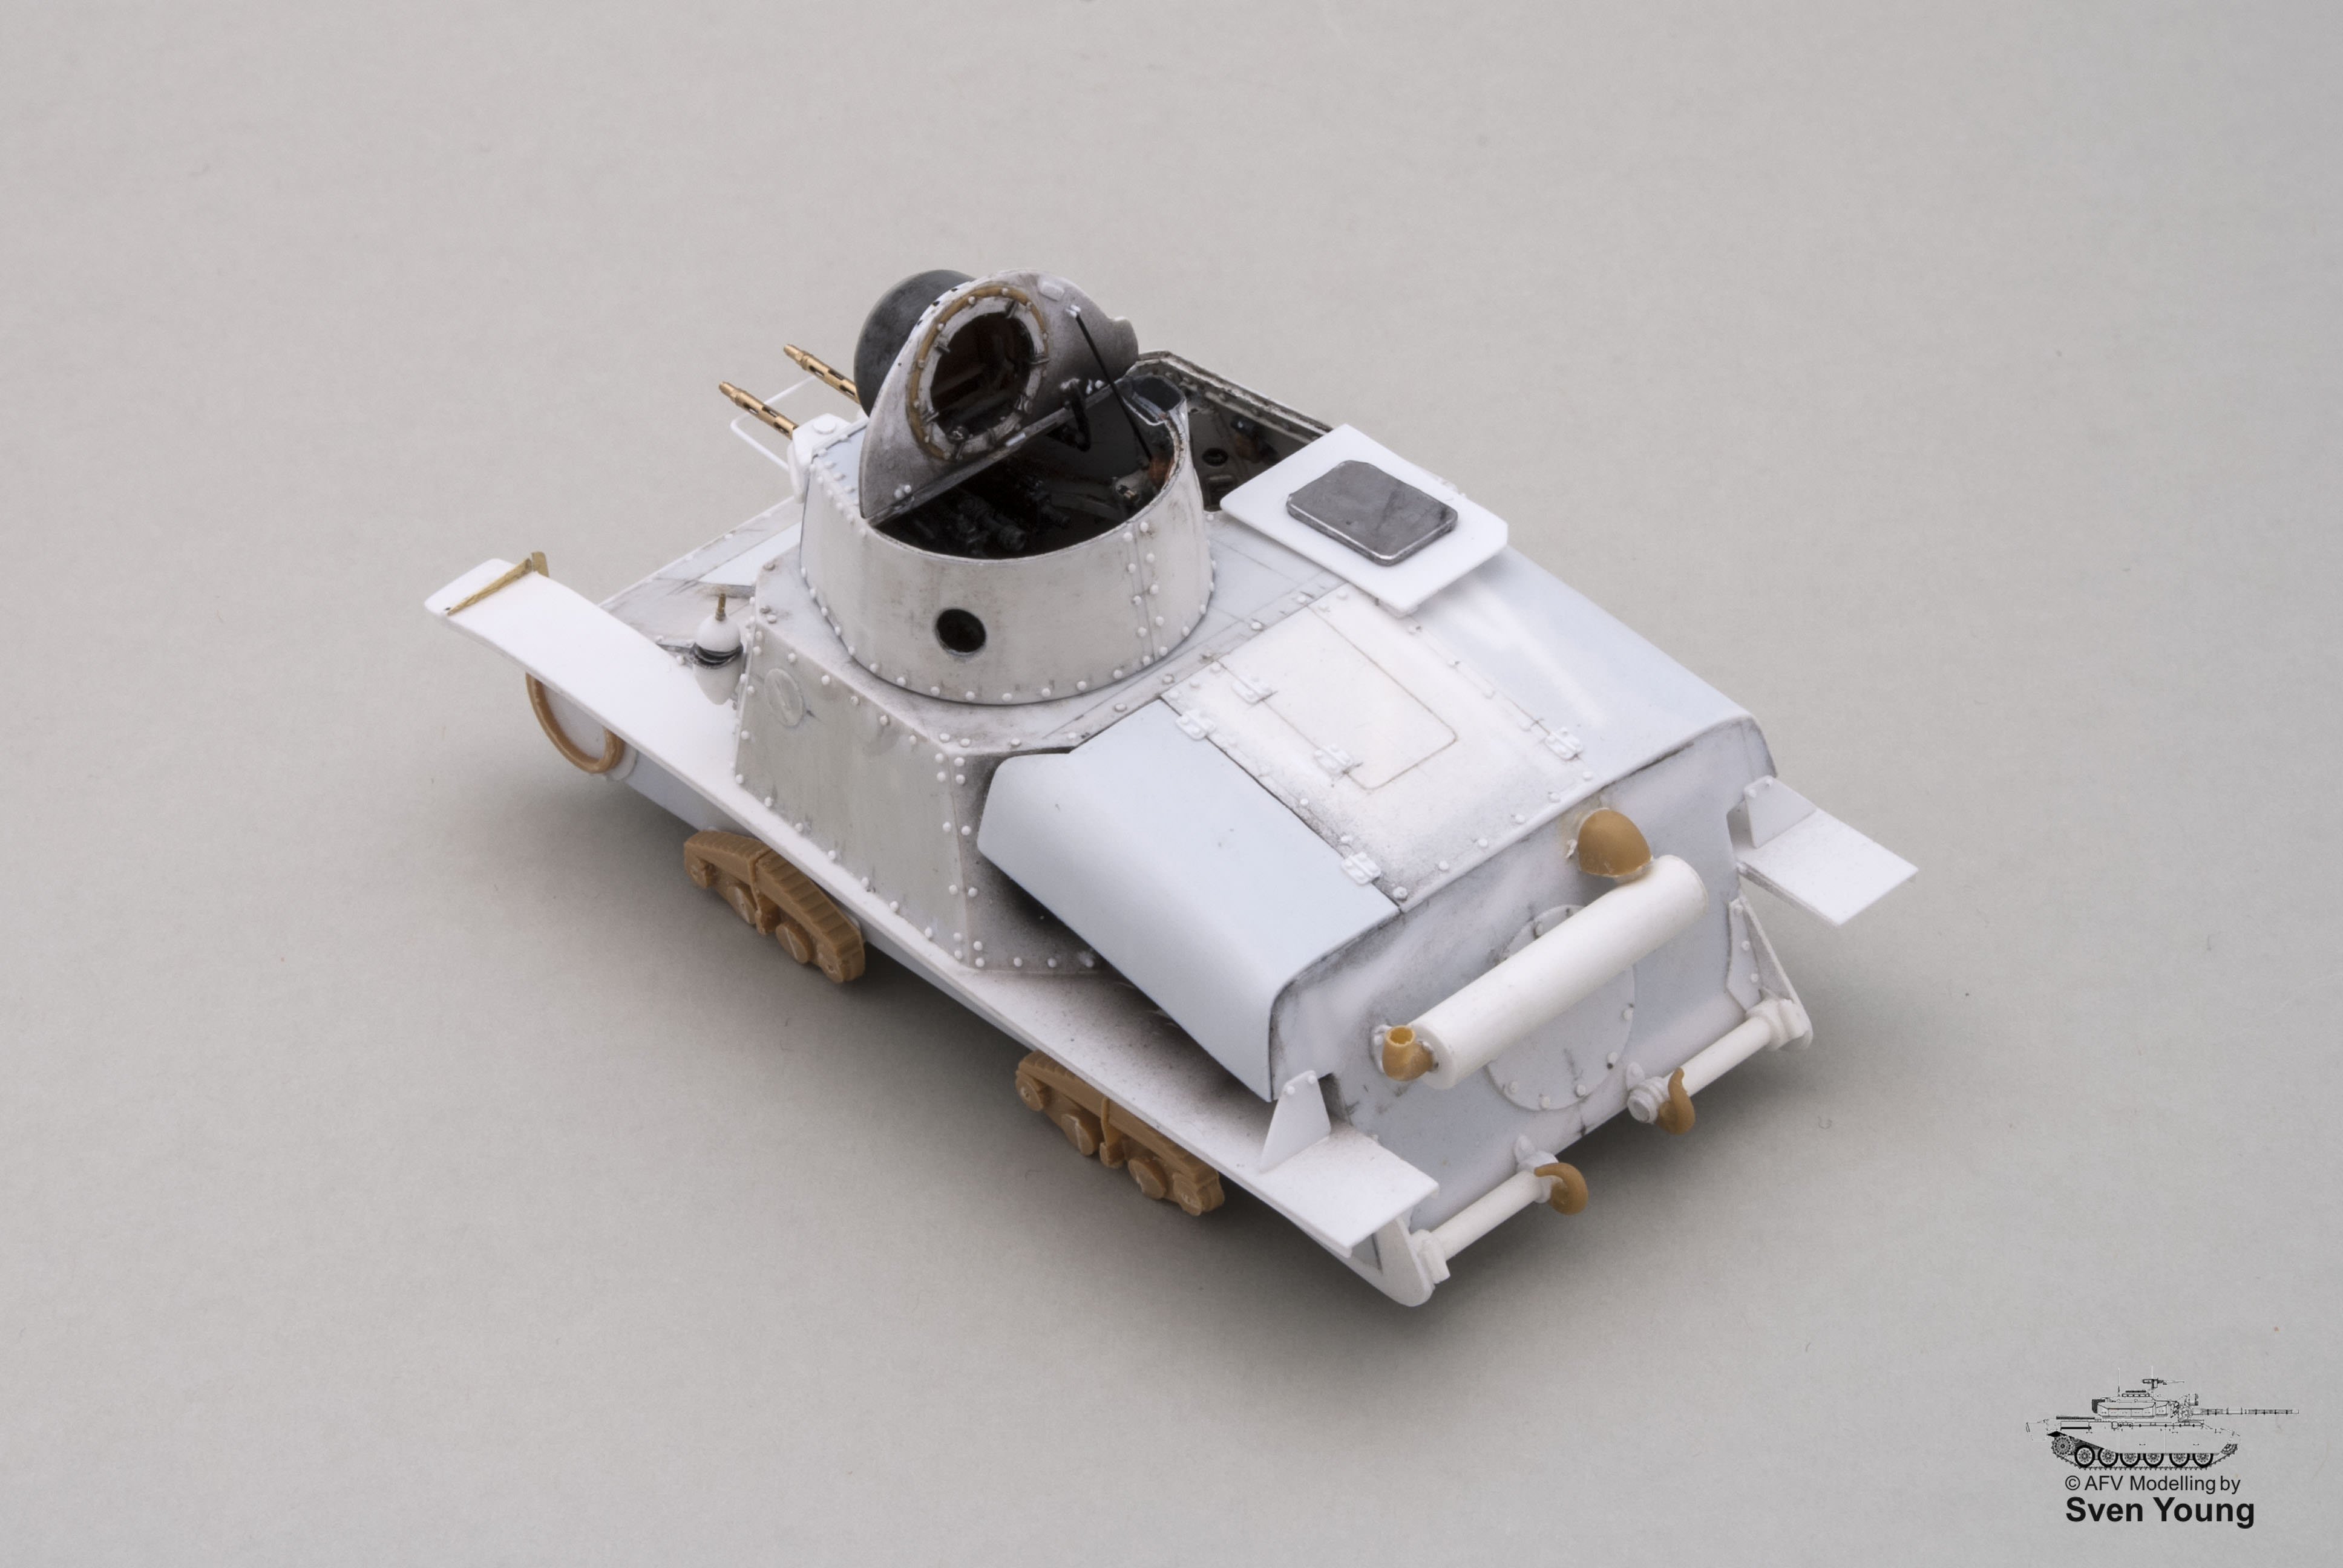
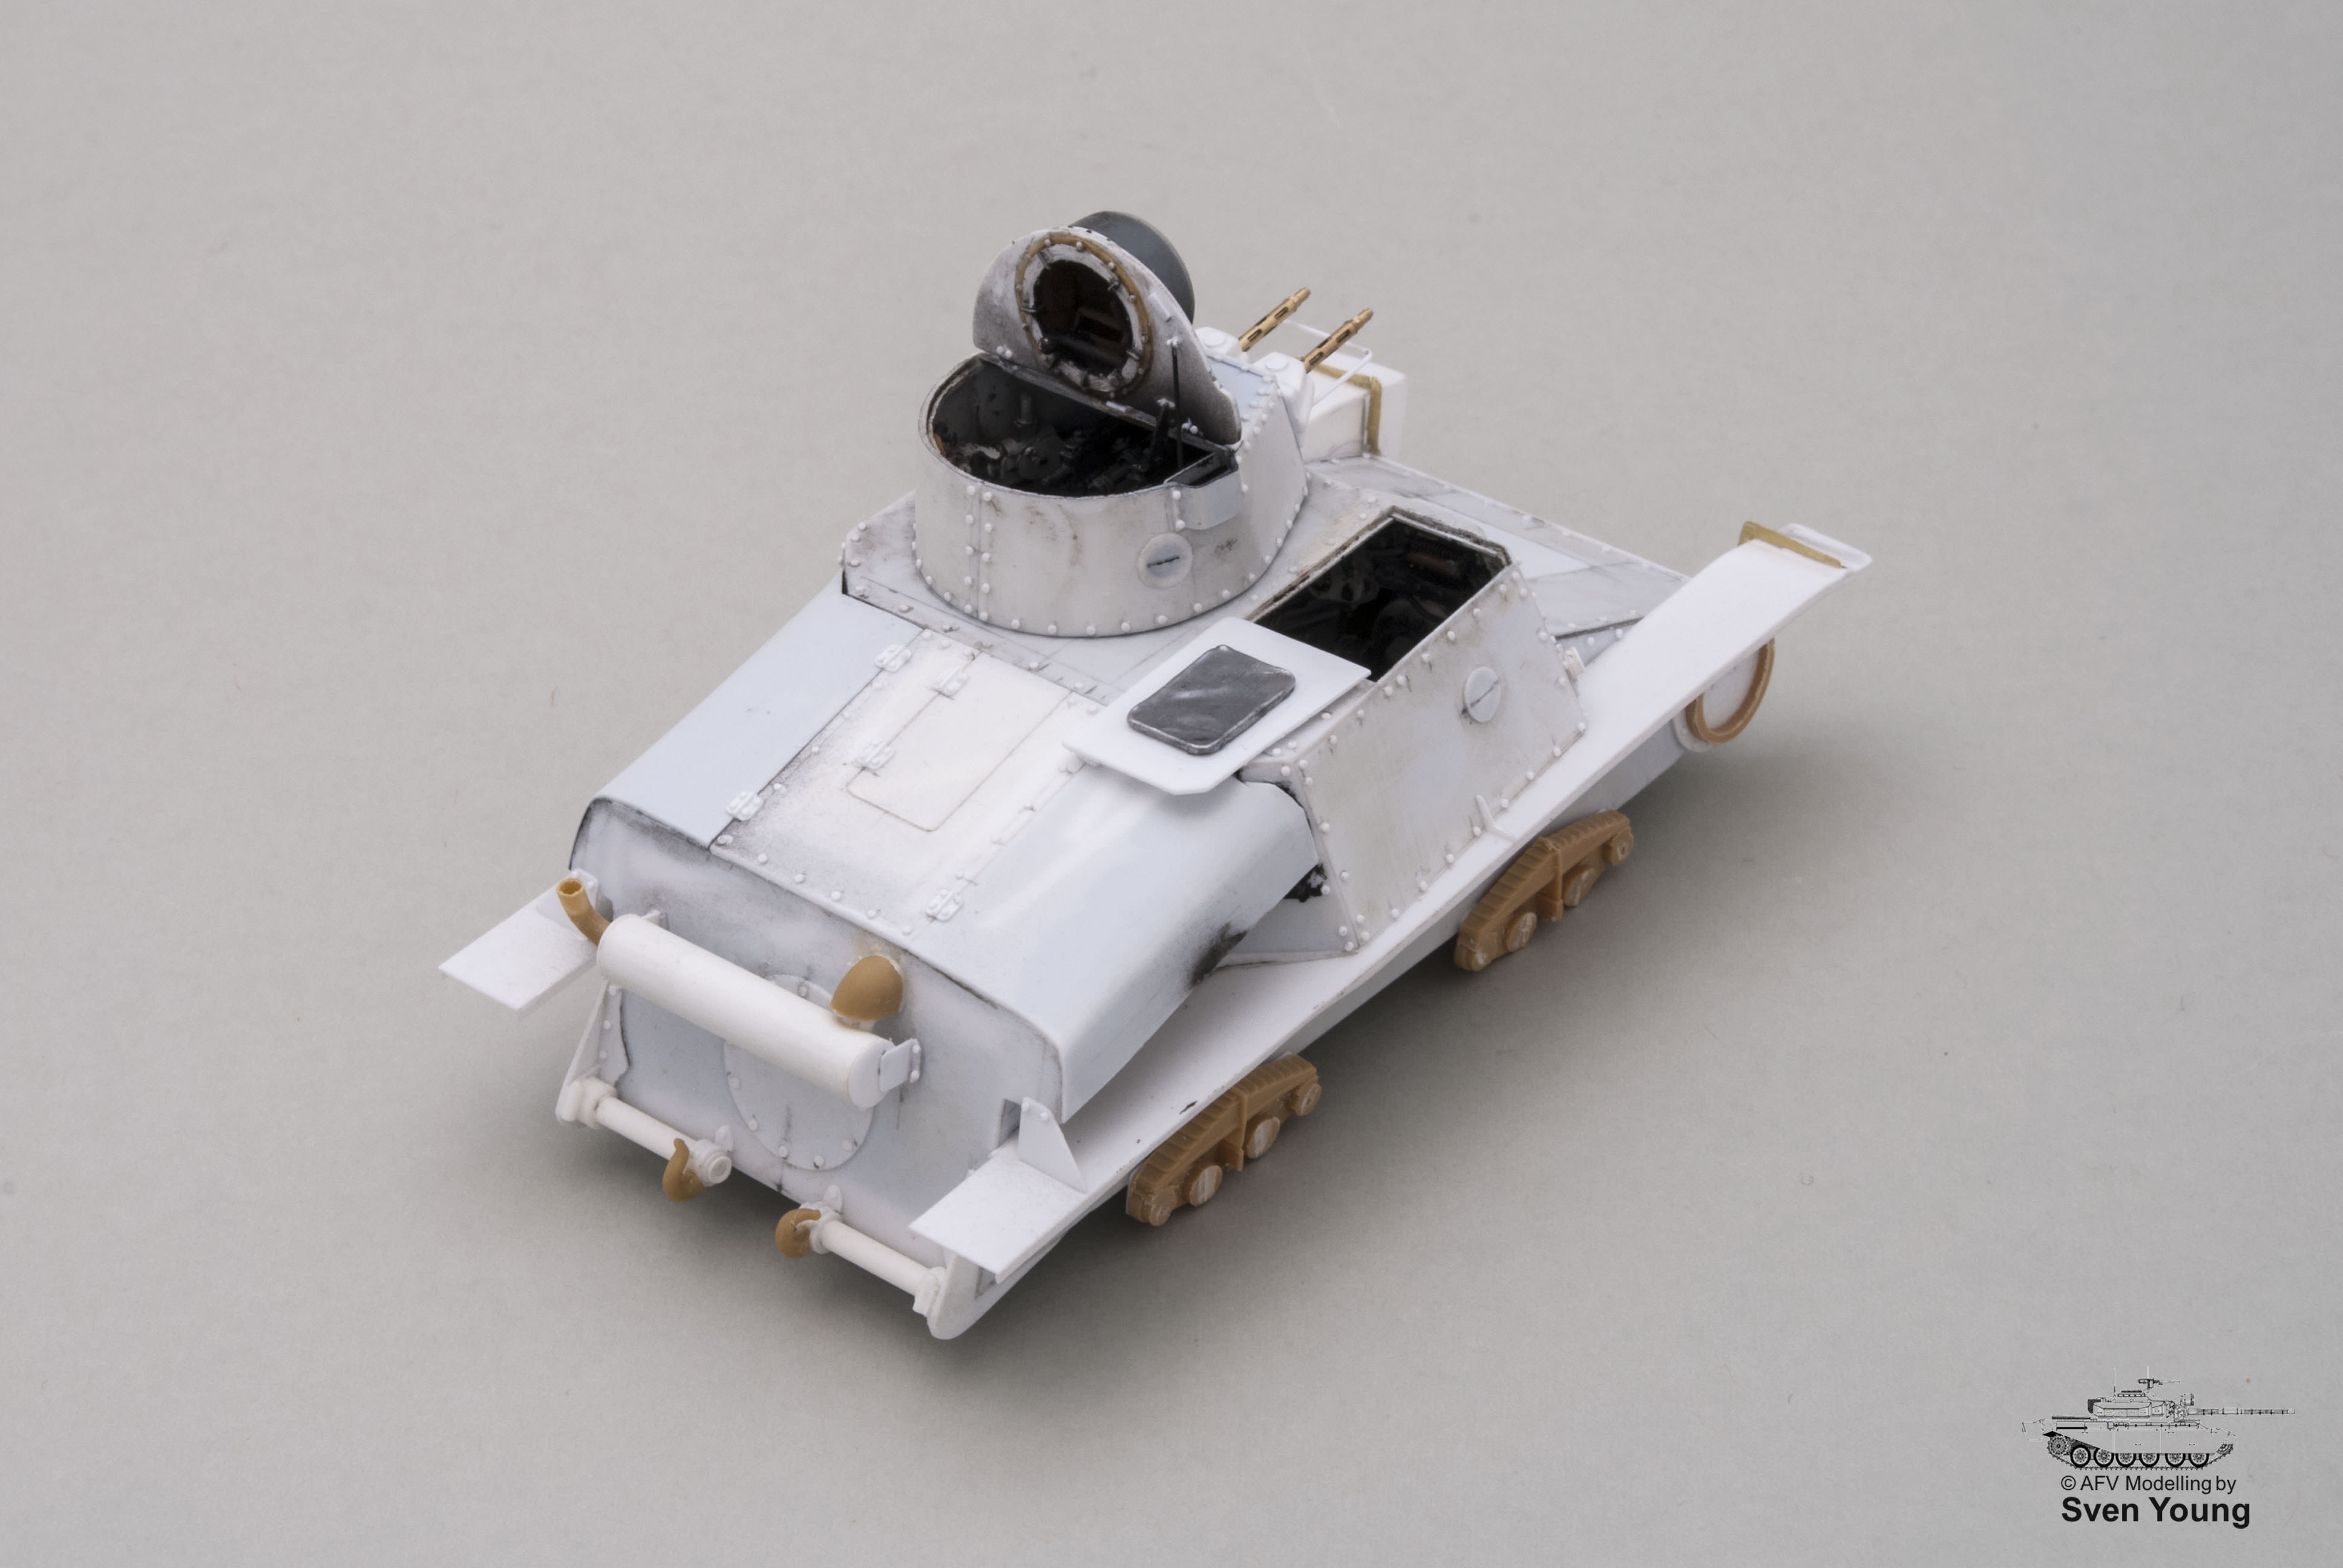
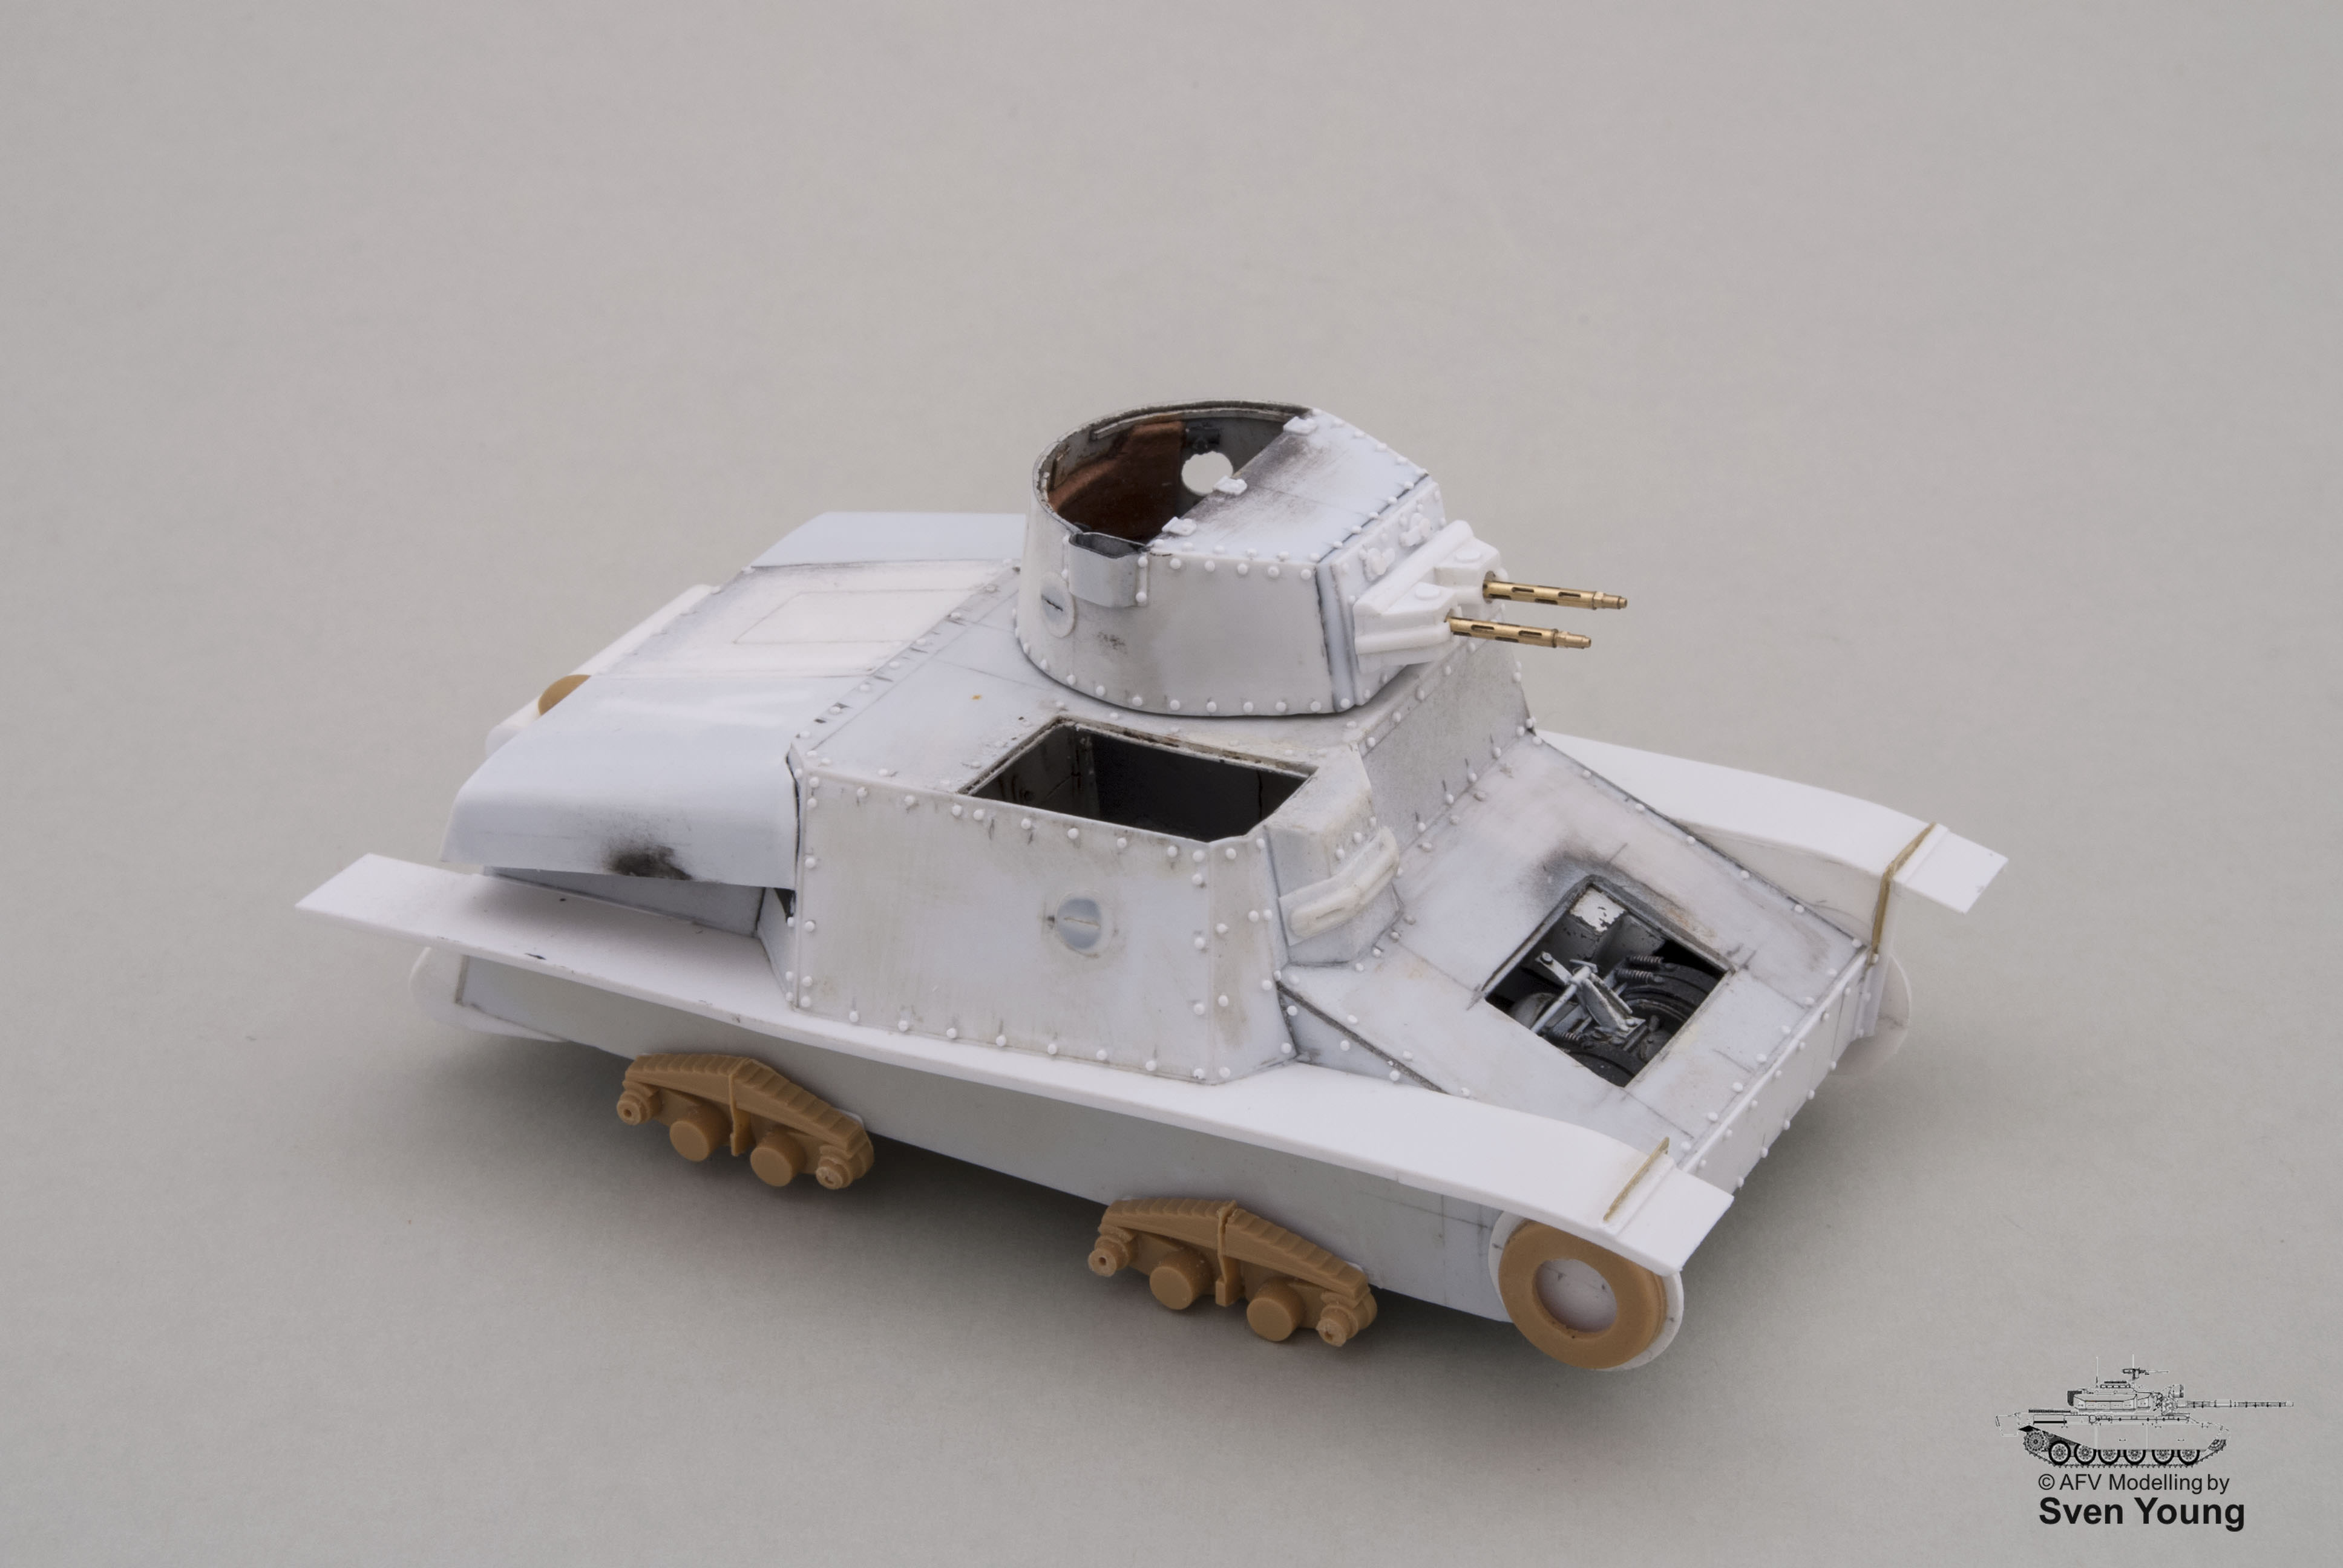
Well, now the work on the exterior has started, and the little guy is starting to look like a tank :-)
The engine hatches were a real pain to shape and bend. Lots of strange little angles to take into account.
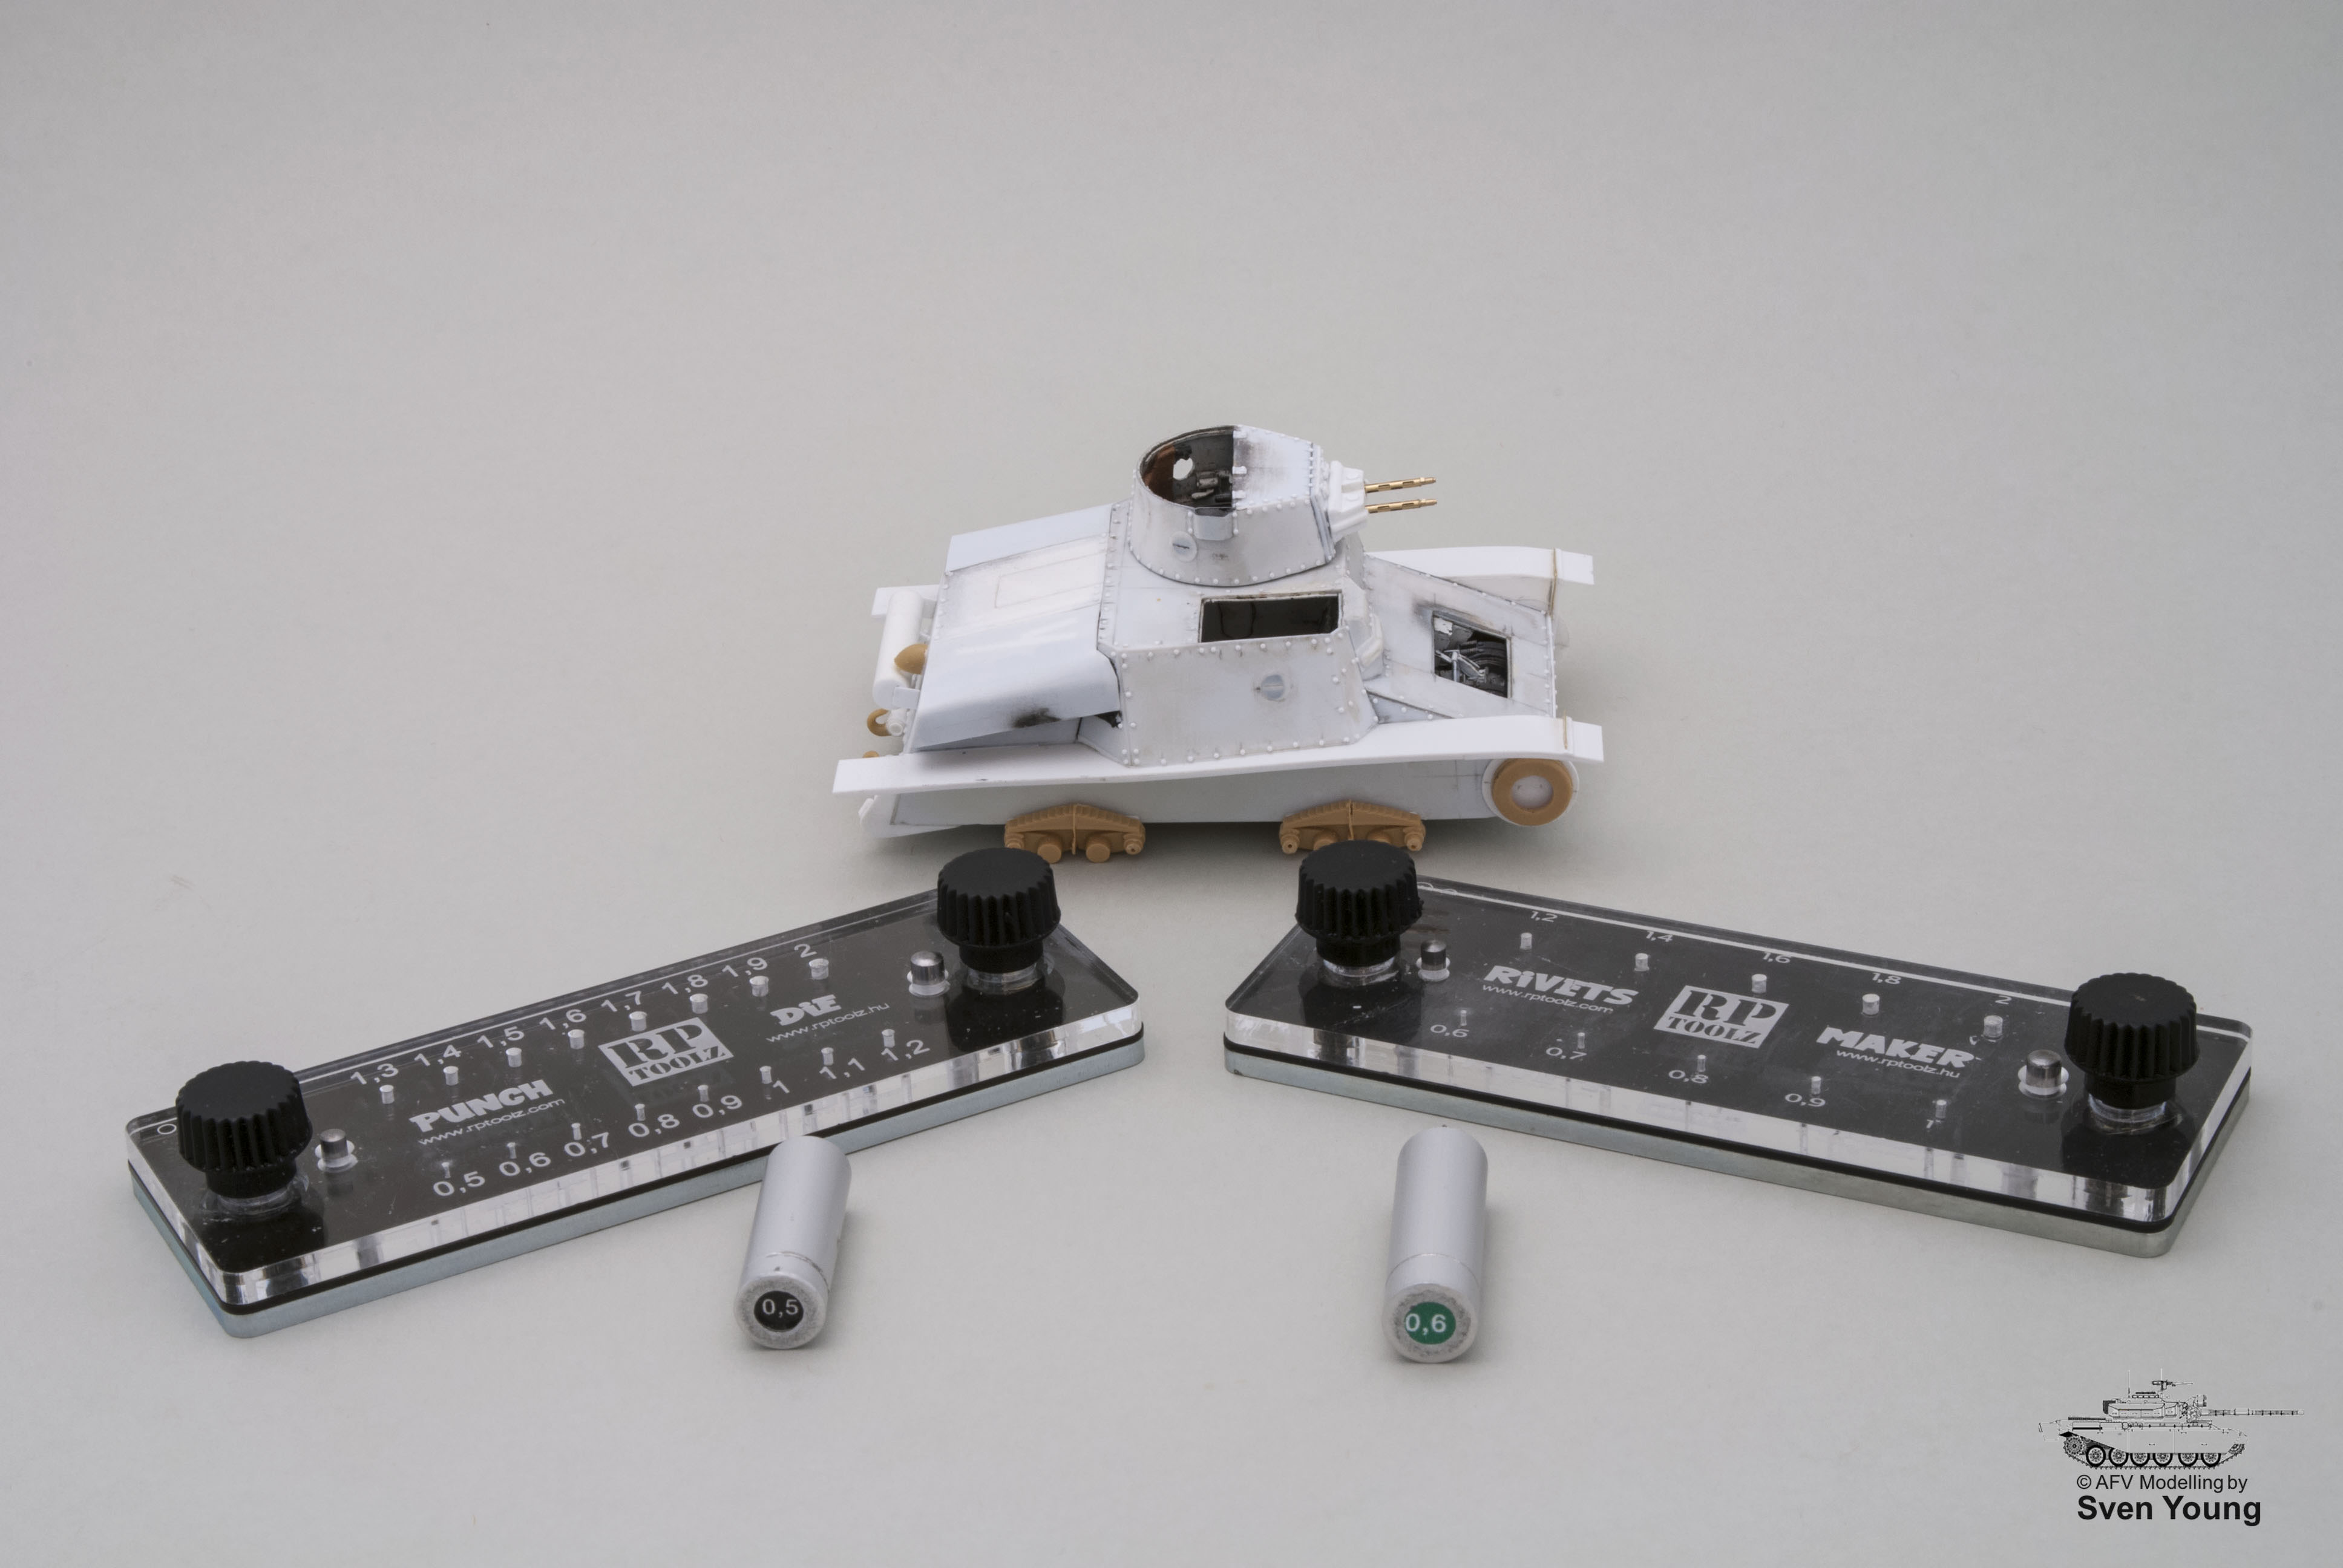
I can also finally say that I have completed the task that I was dreading the most, namely making and gluing all the rivets onto the hull and turret - one by one..
I noticed on pictures of the real thing that they are all flat on the horizontal hull surfaces, whereas on the entire turret and vertical surfaces they are domed. So, I did the same thing on the model.
The turret may look to have an excessive quantity of these things, but this is correct based on my drawings and reference pictures.
0.5mm and 0.6mm rivets have been used throughout.
Now, did someone call me a rivet counter? I stopped counting at around 150 :-)
I have also started working on the rear plate, adding the exhaust and some other details. Also, the wheel stations have now been mounted (slightly converted parts from a 1:48 scale Panzer 38(t) ).
I think I dare say that the model is around 90% done now.
Next post: the wheels.
Thanks for looking!
Constructive Feedback
For in-progress or completed build photos. Give and get contructive feedback!
Hosted by Darren Baker, Dave O'Meara
Scratchbuilt Swedish Strv. m/37
young_sven
Skåne, Sweden
Joined: May 14, 2010
KitMaker: 749 posts
Armorama: 743 posts
Joined: May 14, 2010
KitMaker: 749 posts
Armorama: 743 posts
Posted: Monday, January 29, 2018 - 05:28 PM UTC
young_sven
Skåne, Sweden
Joined: May 14, 2010
KitMaker: 749 posts
Armorama: 743 posts
Joined: May 14, 2010
KitMaker: 749 posts
Armorama: 743 posts
Posted: Tuesday, January 30, 2018 - 02:23 PM UTC
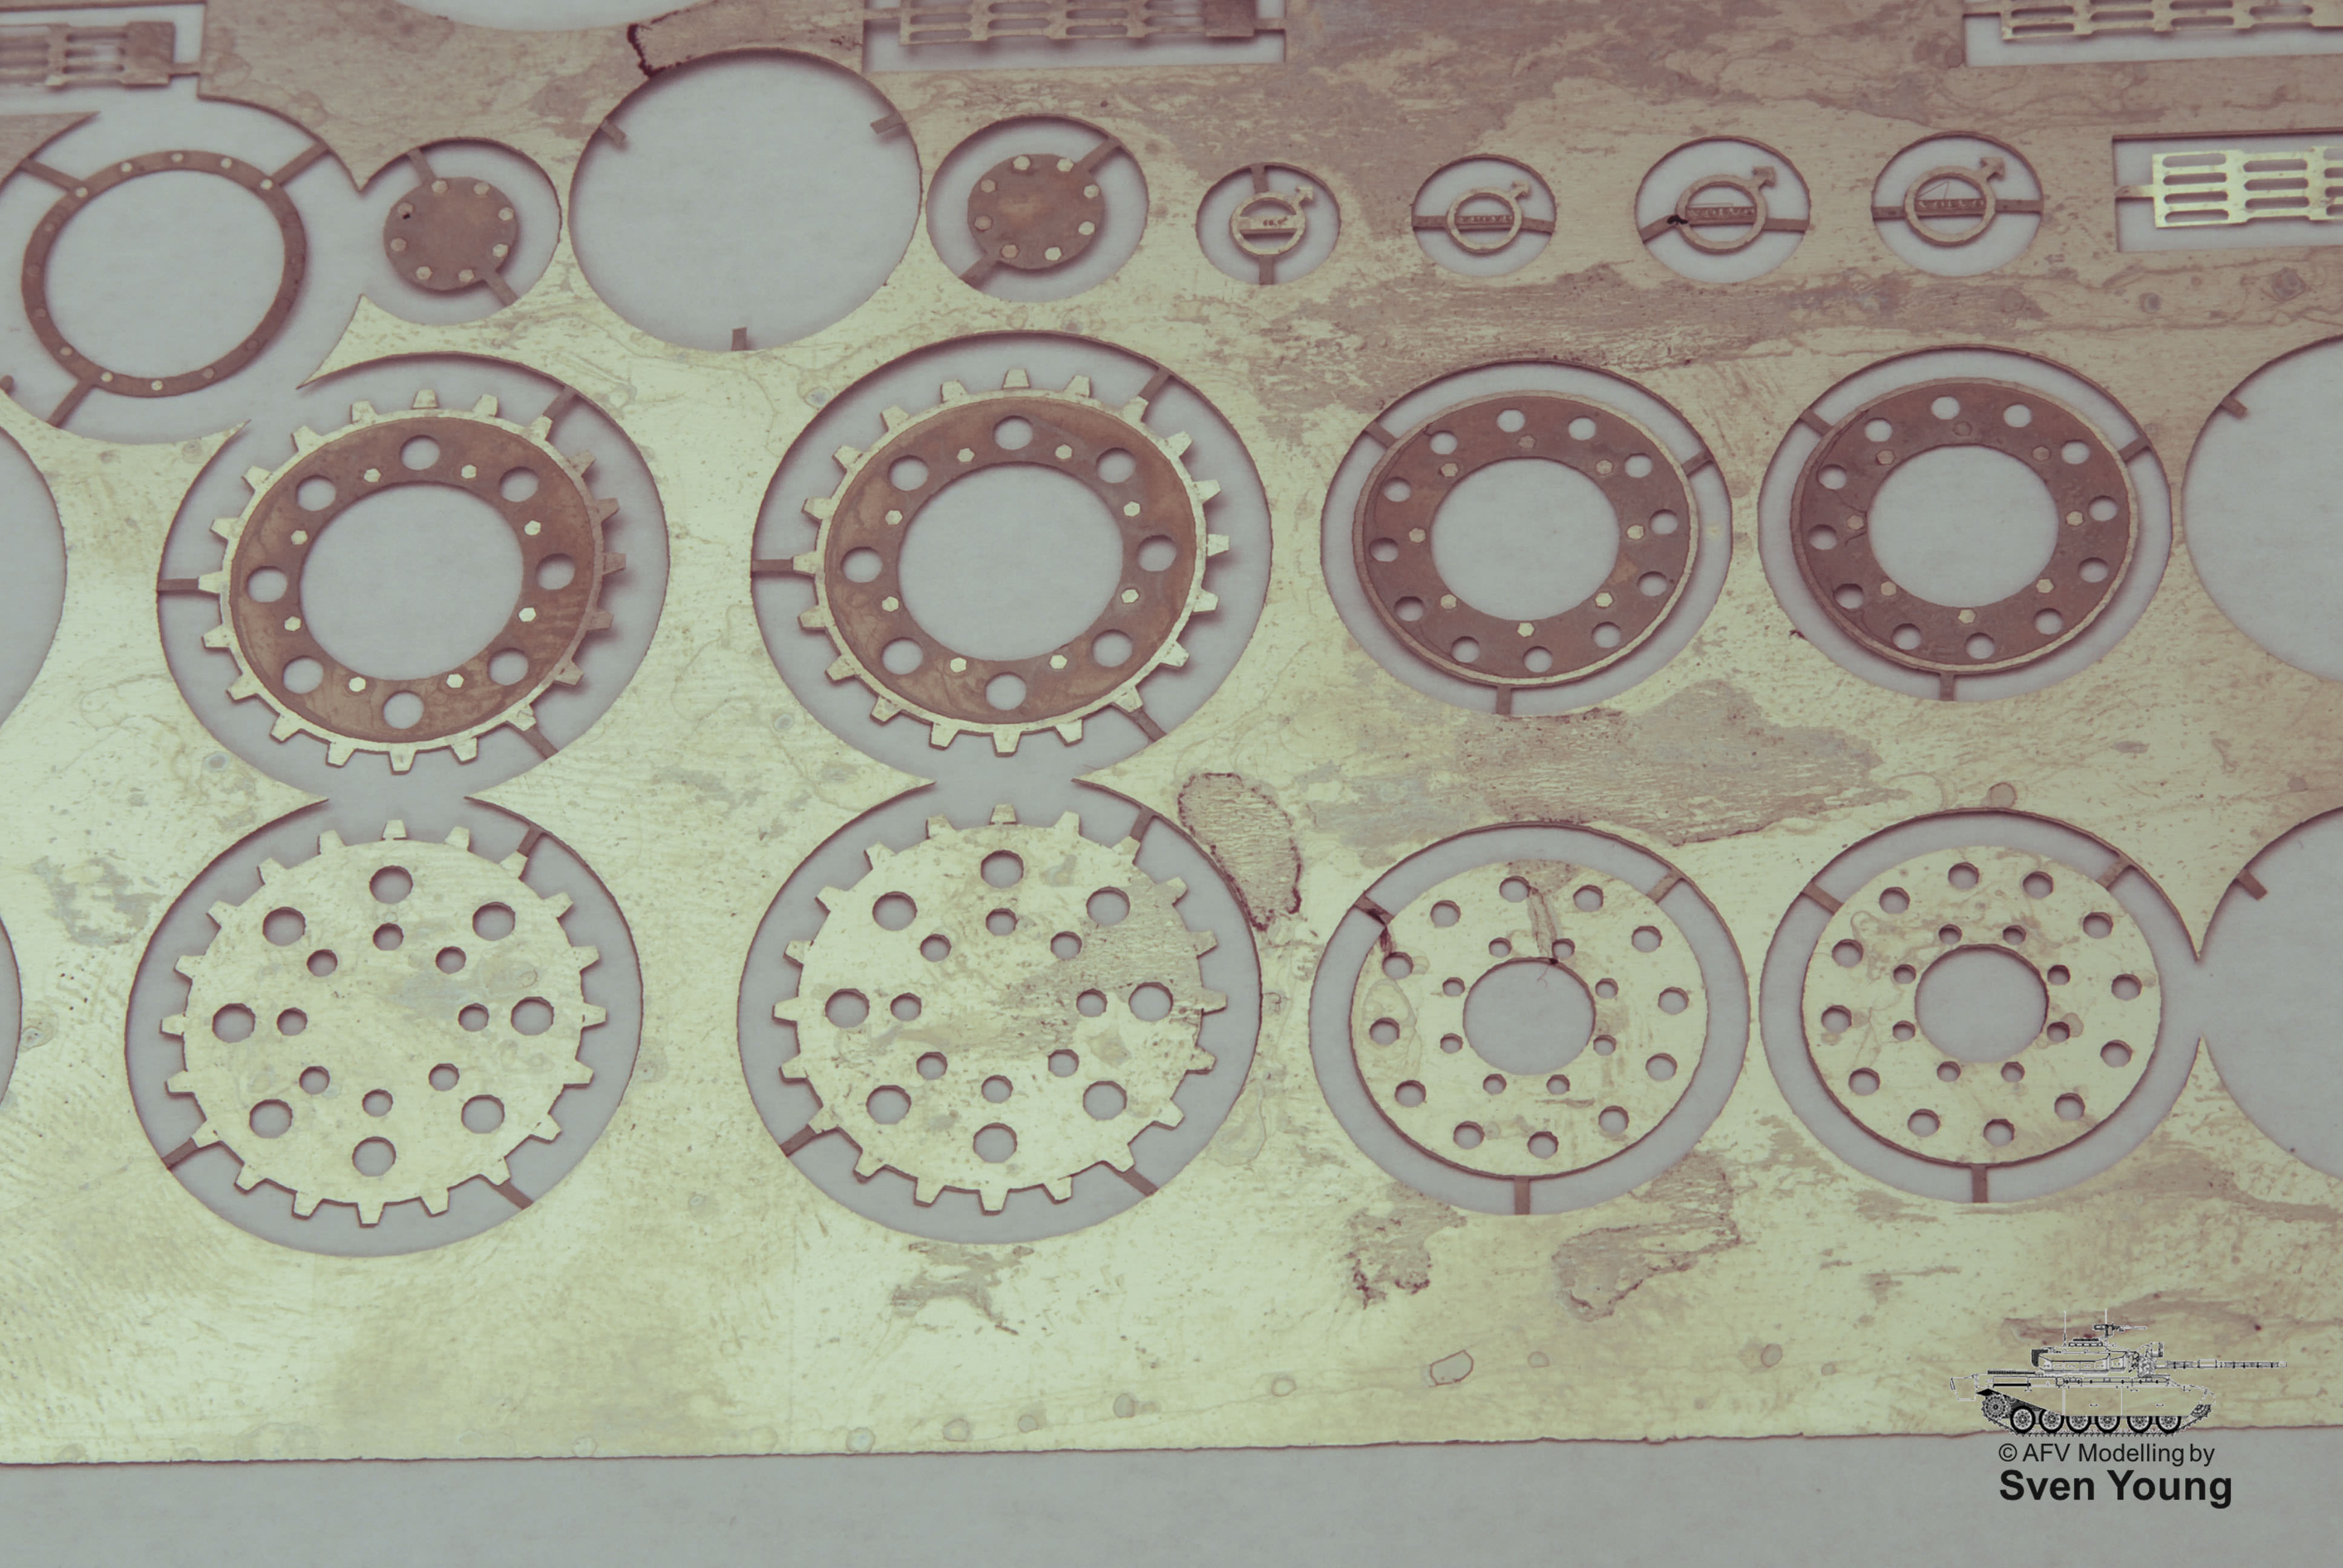
One challenge I had with this build was that there are no wheels available off the shelf which suit this vehicle. Fortunately, a good friend and fellow modeller here in Sweden came to the rescue.
He had already been making his own parts both with photo-etch (at home) and 3D printing for some time. He offered to help me with the wheels, and of course I gladly accepted.
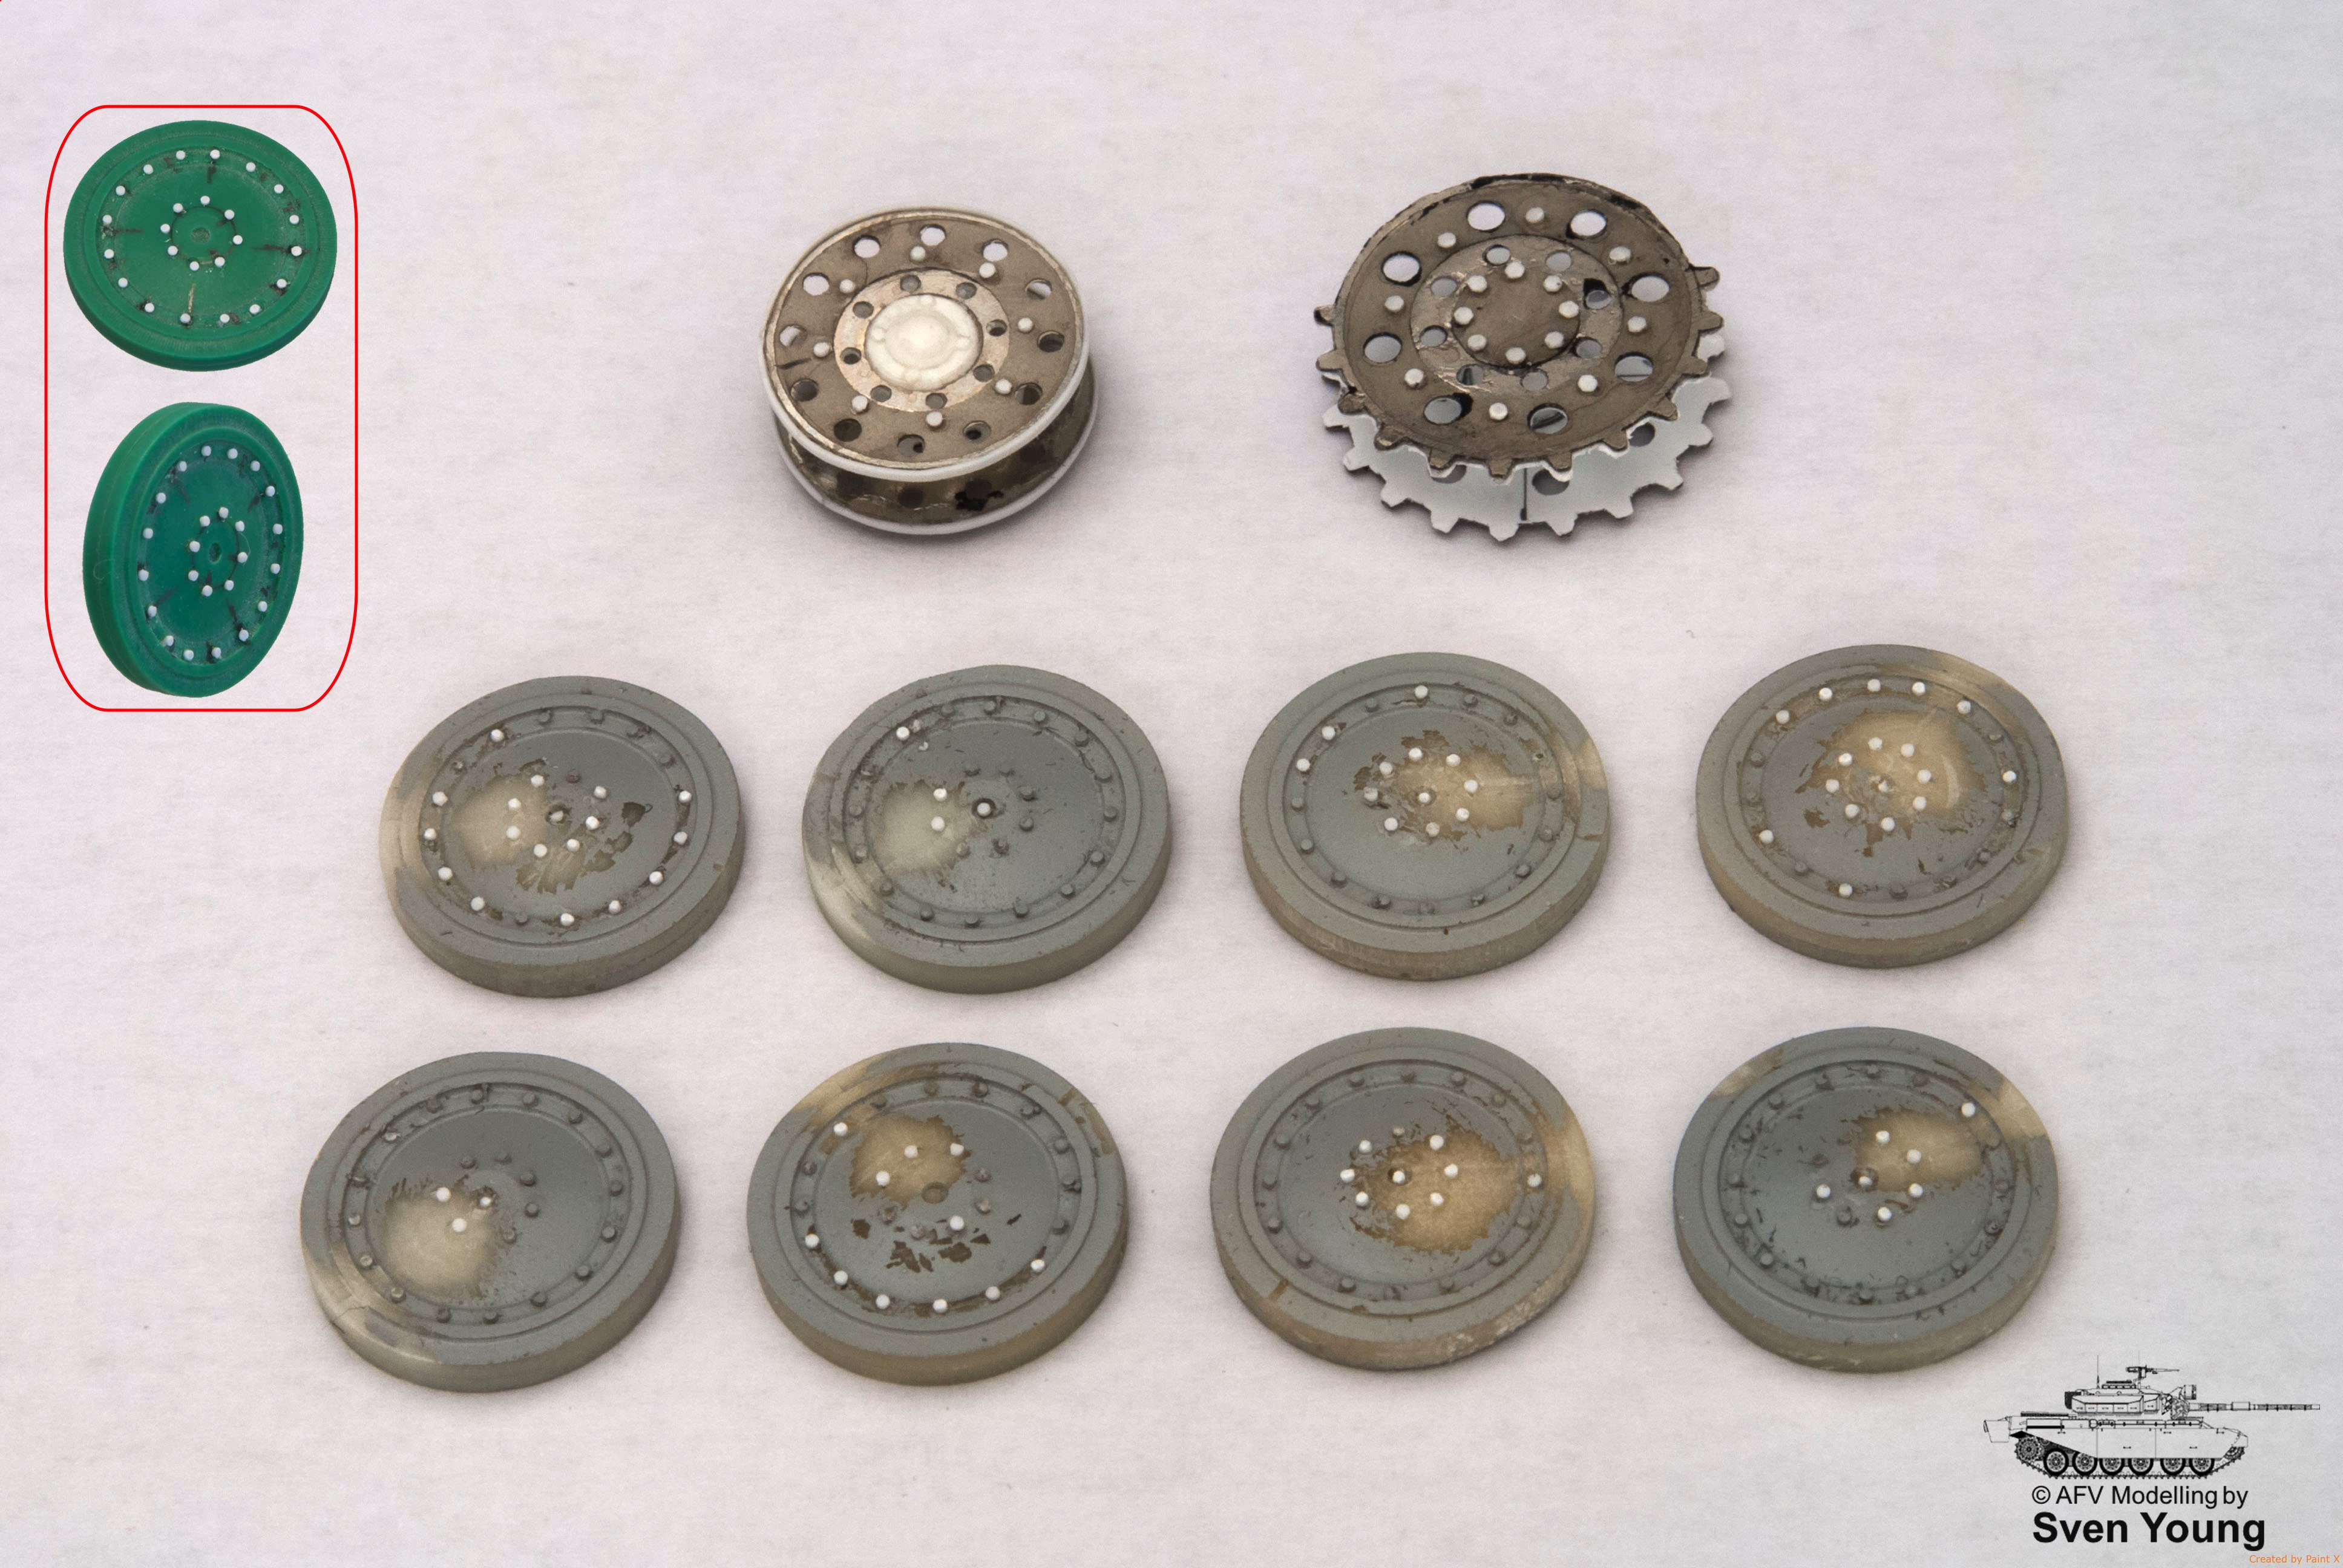
The sprocket and idler wheels are made up of multiple layers of photo etch. All I had to do was to glue them together (added a layer of plastic to the inner surfaces of the sprocket parts to make them a little thicker), and glue on the bolts. In the case of the idler I added a more prominent rim along the edge as well.
My friend also created a master in CAD for the road wheels and 3D printed one. I added all the bolts to the master, and then he made a mould of it for me. After that I cast 10 wheels (a couple of extras).
All this happened in 2012 when I started this project.
Fast forward 6 years....
Unfortunately, I have managed to loose the master for the road wheels during the past 6 years, but did take a picture of it in 2012 (framed inset in the picture of the wheels below).
This past weekend I primed the road wheels and it became obvious that a lot of the bolts had not quite formed properly during the casting process (my bad), so I needed to replace them. As you can see in the pics, there were quite a few that needed to be re-done.
I had to cut off some of the sprocket teeth where the tracks will be in direct contact with the sprocket wheel. Unfortunately, they did not quite align with the guide slots in the tracks. This is in no way a mistake on my friend's part, the sprockets were produced per scale drawings. The problem is that I am using off-the-shelf tracks which are not an exact dimensional match to those on the actual tank, even though they are very close. I am using 1:48 scale resin single link tracks for Panzer 38(t) which look very similar to the originals.
The sprocket teeth will be replaced once the track is in place (if their absence is too obvious inside of the guide slots in the track links).
Thanks for looking!
jasegreene
Florida, United States
Joined: October 21, 2013
KitMaker: 751 posts
Armorama: 751 posts
Joined: October 21, 2013
KitMaker: 751 posts
Armorama: 751 posts
Posted: Tuesday, January 30, 2018 - 02:50 PM UTC
This is looking great to me.Not to often you see such a rare tank like this.Will be following to see how it comes out.
young_sven
Skåne, Sweden
Joined: May 14, 2010
KitMaker: 749 posts
Armorama: 743 posts
Joined: May 14, 2010
KitMaker: 749 posts
Armorama: 743 posts
Posted: Tuesday, January 30, 2018 - 03:17 PM UTC
Thanks Jason, really happy you want to follow the build. I'll try and keep the updates coming relatively frequently. :-)
ColinEdm
Associate Editor
Alberta, Canada
Joined: October 15, 2013
KitMaker: 1,355 posts
Armorama: 1,229 posts
Joined: October 15, 2013
KitMaker: 1,355 posts
Armorama: 1,229 posts
Posted: Saturday, February 03, 2018 - 01:45 AM UTC
I love this build! First the incredible interior build and now the exterior, absolutely beautiful work Sven.
young_sven
Skåne, Sweden
Joined: May 14, 2010
KitMaker: 749 posts
Armorama: 743 posts
Joined: May 14, 2010
KitMaker: 749 posts
Armorama: 743 posts
Posted: Saturday, February 03, 2018 - 08:32 PM UTC
Hello Colin!
Thanks so much for your very kind comments and support. Very happy you like the build so far.
young_sven
Skåne, Sweden
Joined: May 14, 2010
KitMaker: 749 posts
Armorama: 743 posts
Joined: May 14, 2010
KitMaker: 749 posts
Armorama: 743 posts
Posted: Saturday, February 03, 2018 - 08:35 PM UTC
So it continues....
This week's progress has been a little slower, there is of course more to life than just modelling! :-)
I have now more or less completed the turret, and added the commanders hatch with its fittings. Rather interesting construction with a built in copula padded with leather (almost like an integrated helmet).
The paintwork on the hatch looks a little scruffy at the moment, I had to base paint some of the areas that would not be reachable after it was mounted.
The hull has received various details such as the rotating antenna fixture on the left hand side and the signal horn on the right. Hinges have also been added and... oh yes... more rivets!
Not all the rivets could be made by punch-and-die since they are too small. Archer's decal resin rivets came in very handy here (black dots).
The driver's and transmission hatches have only been dry fitted for the pictures, and of course the transmission hatch will eventually be mounted in a slightly open position to display the detail inside.
I have also been working on the wheels which have now been painted with their base coat and await to be mounted (once the lower hull has been painted). Pics on that will come later.
So, this is it for now. Getting closer to the build finishing line and the final painting and weathering can begin.
Thanks for following!