

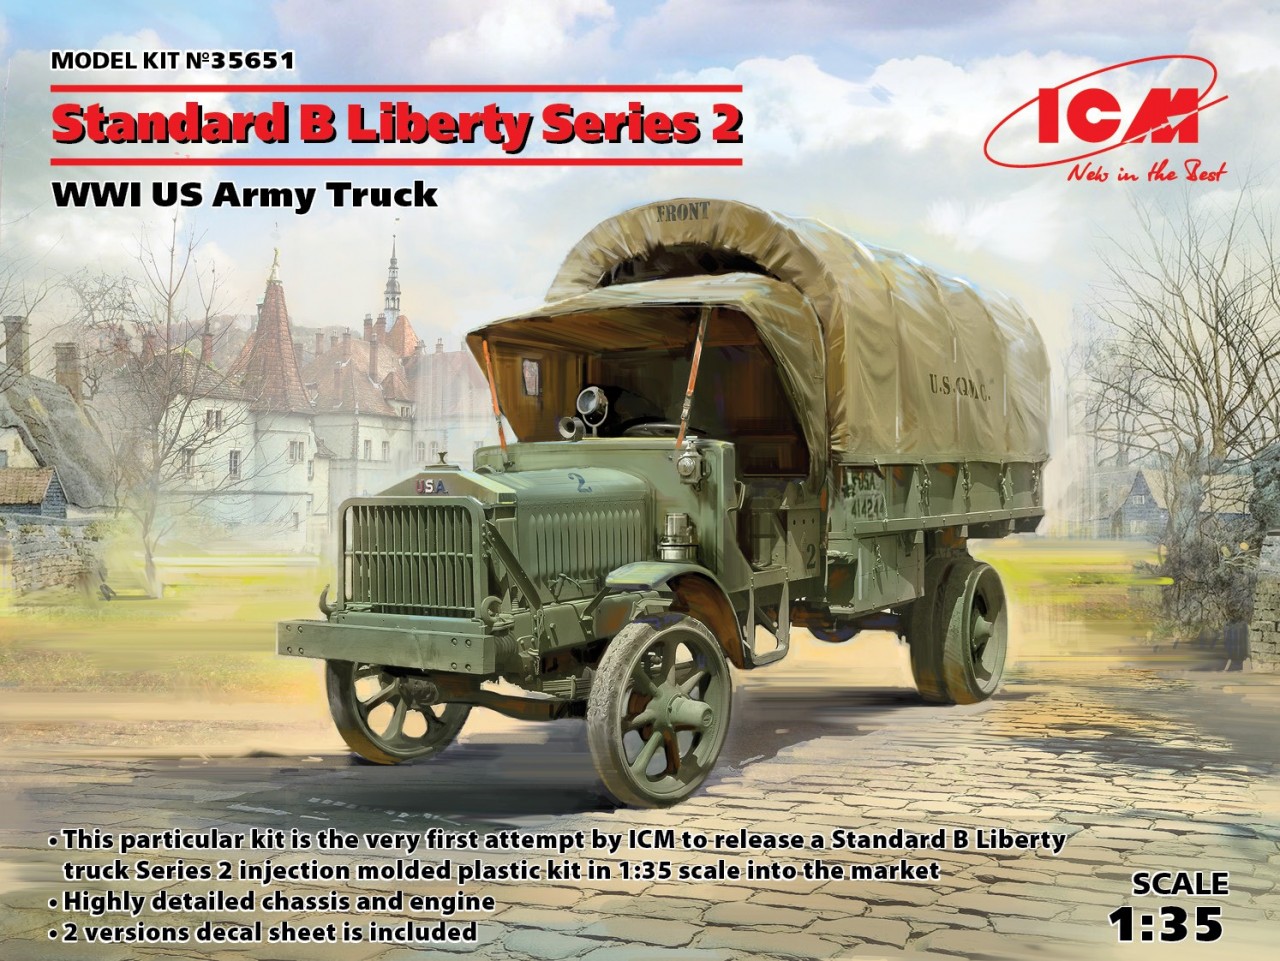
Available from ICM Holding starting this month, is another Liberty Truck kit, this time a model of the Series 2.
Read the Full News Story
If you have comments or questions please post them here.
Thanks!


Available from ICM Holding starting this month, is another Liberty Truck kit, this time a model of the Series 2.
Read the Full News Story
If you have comments or questions please post them here.
Thanks!

My only comment for both the Series 1 and Series 2 trucks is that there should be folding troop seats in the rear. But these are a simple affair, easily scratched.

 .
. 


Here is the correct assembly:
If you are tempted to think I might have put that front engine mount crossbar in backwards you would be CORRECT! I just now noticed this, however it did not cause any problems later in the assembly but I do wish I had done it correctly at the time.
Please note: while the front axle is quite delicate you can (if you dare) take a pair of square nosed pilers and bend the steering spindle hubs just slightly to angle the front wheels for a more interesting pose.
I very much like their idea of providing cone shaped connector points for the wheels rather than the more typical short cylindrical spindle shafts sticking out! This method makes for a stronger connection and guarantees the wheel is centered on the shaft!
 How does anyone feel about a series of 1/35 Mack "Bulldogs" in various guises..?

 Sorry best picture I could find.


Thanks for the education Dennis!
/ Robin


 |


