Bronco Campaign 2020 - Active
Queensland, Australia
Joined: August 06, 2005
KitMaker: 3,353 posts
Armorama: 3,121 posts
Posted: Tuesday, April 28, 2020 - 11:52 PM UTC
Quoted Text
Hi Peter Battle, good to hear from you mate how are you doing... thanks for all the help and advice for our trip to Australia

I hope you enjoyed the Honeymoon David and you had no smoke issues - or sunburn!!!

On the Bench:
Dust, styrene scraps, paint splotches and tears.
Virginia, United States
Joined: May 06, 2003
KitMaker: 55 posts
Armorama: 53 posts
Posted: Wednesday, April 29, 2020 - 01:22 AM UTC
15 hours! Yow.
I think most questions you have are covered in the blog. I will say the blog has taken much longer than it should have as I had a major disaster midway through. I dropped the piece and rolled over it with my desk chair.I explained what happened to Bronco and they sent me a new kit! Generally the ATV dimensions are right on. The tires are a bit of a challenge because they are small and have a difficult seam on them. The actual tires exhibit this seam so I left it. I read somewhere if you freeze them the seams are easier to remove. The fit and finish is good but fiddley. Takes patience. The ATV is quite small so all the suspension parts are commensurately small as well.
The squadies are a bit big. They are all 6 feet + in height and look like NFL linebackers. There is a load of flash and a goodly amount of seams. Once cleaned up, however,they are quite nice.I do think the shape of their helmets is a bit off and they look very "thin" - so I am using some Accurate Armour heads for key actors in my diorama. I also added hydration bags (not part of the kit. Mind your body armour, weapons, camo patterns and unit patches as the combination needs to be correct.
Good luck. I am sure you will finish it in no time. I on the other hand am years away
Mike
Klaus-Adler
 Campaigns Administrator
Scotland, United Kingdom
Joined: June 08, 2015
KitMaker: 1,505 posts
Armorama: 840 posts
Posted: Wednesday, April 29, 2020 - 10:14 PM UTC
Hi Peter, well we got a little sunburned but nothing serious, besides sunburn is the most prized possession a person from Scotland can have... being burned by the sun in Scotland seldom ever happens, it's like a story passed down from generation to generation that tells of a fiery giant in the sky, of course in these modern times nobody believes in these ancient legends anymore
Mike,
i managed to read your build, since adding the brake cables to the underside of the vehicle caused you an issue i think i will leave them of or not bother scratch building them at all. The figures look ok...ish but like you i might change the heads which leads me to a qustion... having seen the figures and the amount of flash on them i am wondering if these figures have been produced by a third party because they seem of a lesser quality than the actual bike itself. I was wondering what you think of that idea?
Also do you have any pictures of what was carried in the trailer, would boxes of bottled water be a good start to fill it? i have seen some resin accessories for it but i wasn't impressed as one item was a WW2 .5 cal ammo box the type used by the Americans and similar in appearance to some of verlindens items.
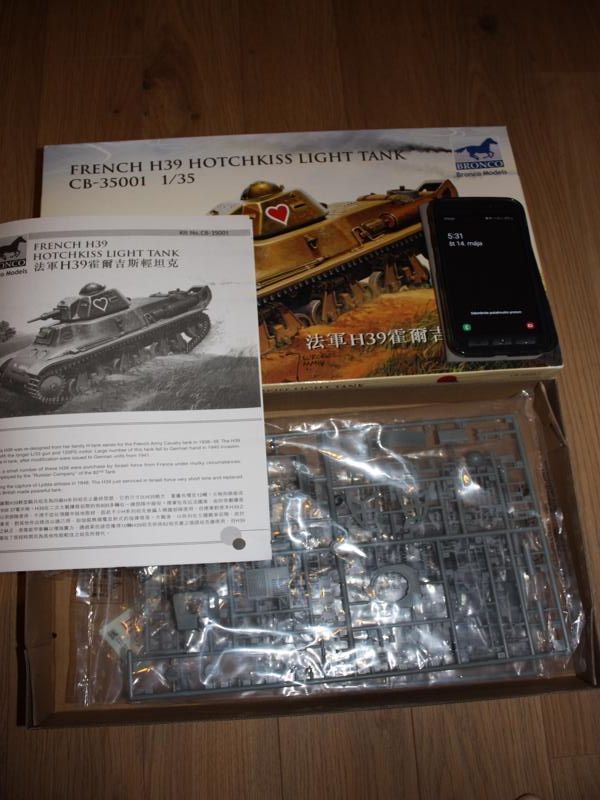
anyway i have my starting picture here as proof of opening the box along with a copy of today's sun news paper... and yes i really do 15 hour night shifts... being a key worker isn't as glamours as people make out.

Queensland, Australia
Joined: August 06, 2005
KitMaker: 3,353 posts
Armorama: 3,121 posts
Posted: Thursday, April 30, 2020 - 08:24 AM UTC
Well David, I have to believe you, as when I was in Scotland it was freezing cold, often wet and continuously overcast.... the usual perfectly fine weather I was told.
On the Bench:
Dust, styrene scraps, paint splotches and tears.
United States
Joined: December 26, 2008
KitMaker: 288 posts
Armorama: 92 posts
Posted: Saturday, May 02, 2020 - 02:57 AM UTC
While I am working on finishing the Dongfeng-1 missile, I have wrapped up work on the launch base. Here's the base ready to have the missile mounted on it.

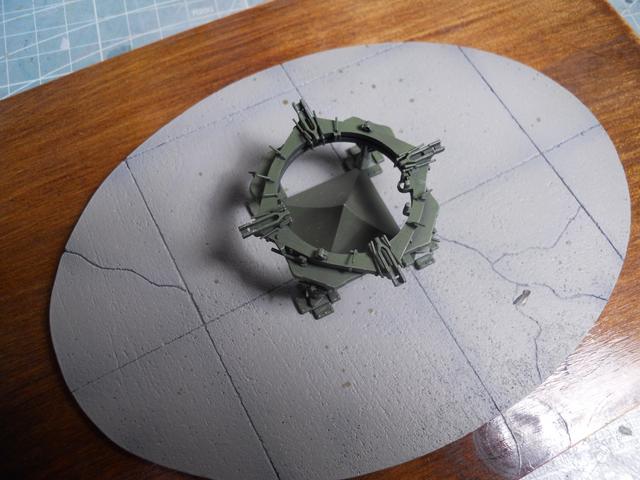
I should have some updated photos on the missile itself soon. Have fun modeling!
Mike

Klaus-Adler
Campaigns Administrator Scotland, United Kingdom
Joined: June 08, 2015
KitMaker: 1,505 posts
Armorama: 840 posts
Posted: Sunday, May 03, 2020 - 08:01 AM UTC
well i have finally started working on the chassis for the bike and i am a little further on from this point.
Mike i was wondering where the attachment points are for the exhaust pipe as i can only see one on the instruction sheet and it's where the end of the pipe fits into the rest of the underside. there doesn't seem to be a bracket that back box attaches to the shock absorbers?


#490
Sofiya, Bulgaria
Joined: September 22, 2016
KitMaker: 1,432 posts
Armorama: 1,390 posts
Posted: Sunday, May 03, 2020 - 05:19 PM UTC
Mike and David- solid progress, gentlemen!
Keep up the good work,
Removed by original poster on 05/04/20 - 15:21:32 (GMT).
Virginia, United States
Joined: May 06, 2003
KitMaker: 55 posts
Armorama: 53 posts
Posted: Monday, May 04, 2020 - 03:33 AM UTC
David,
Sorry, a bit late on the response.
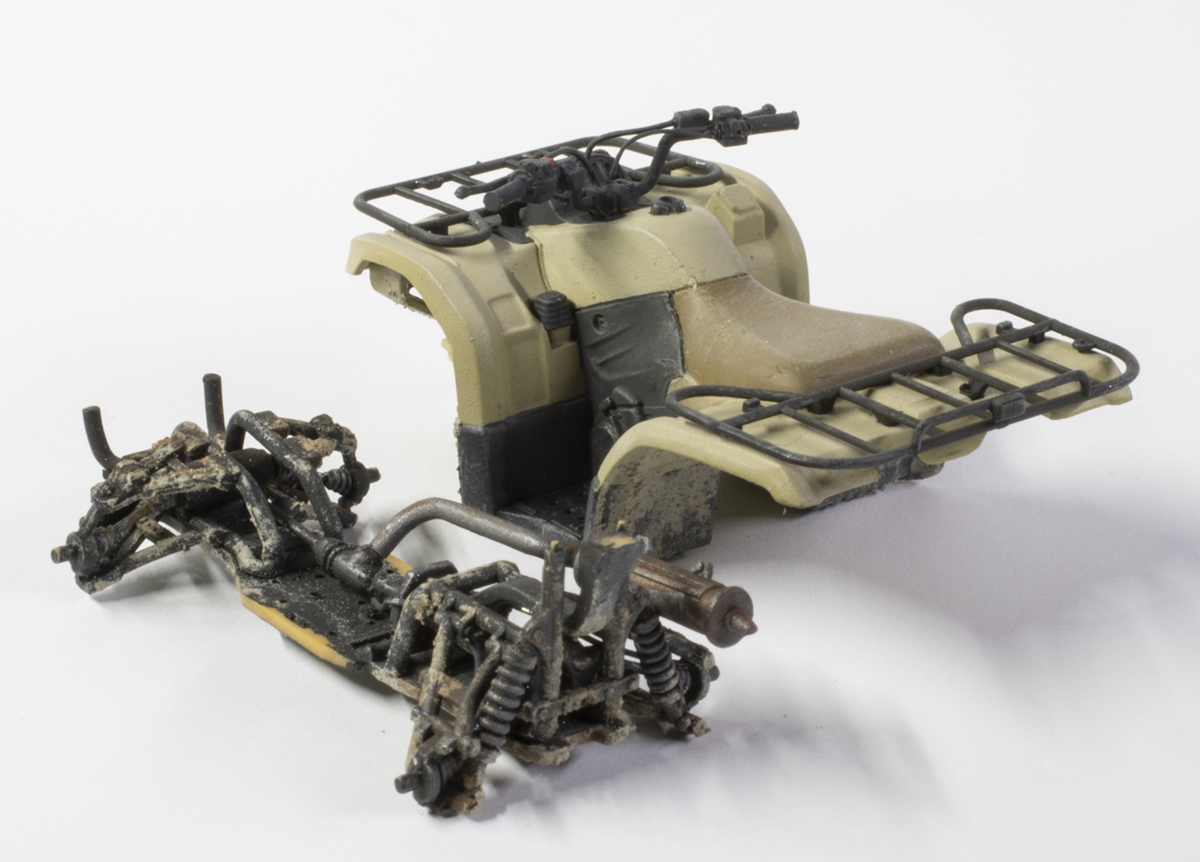
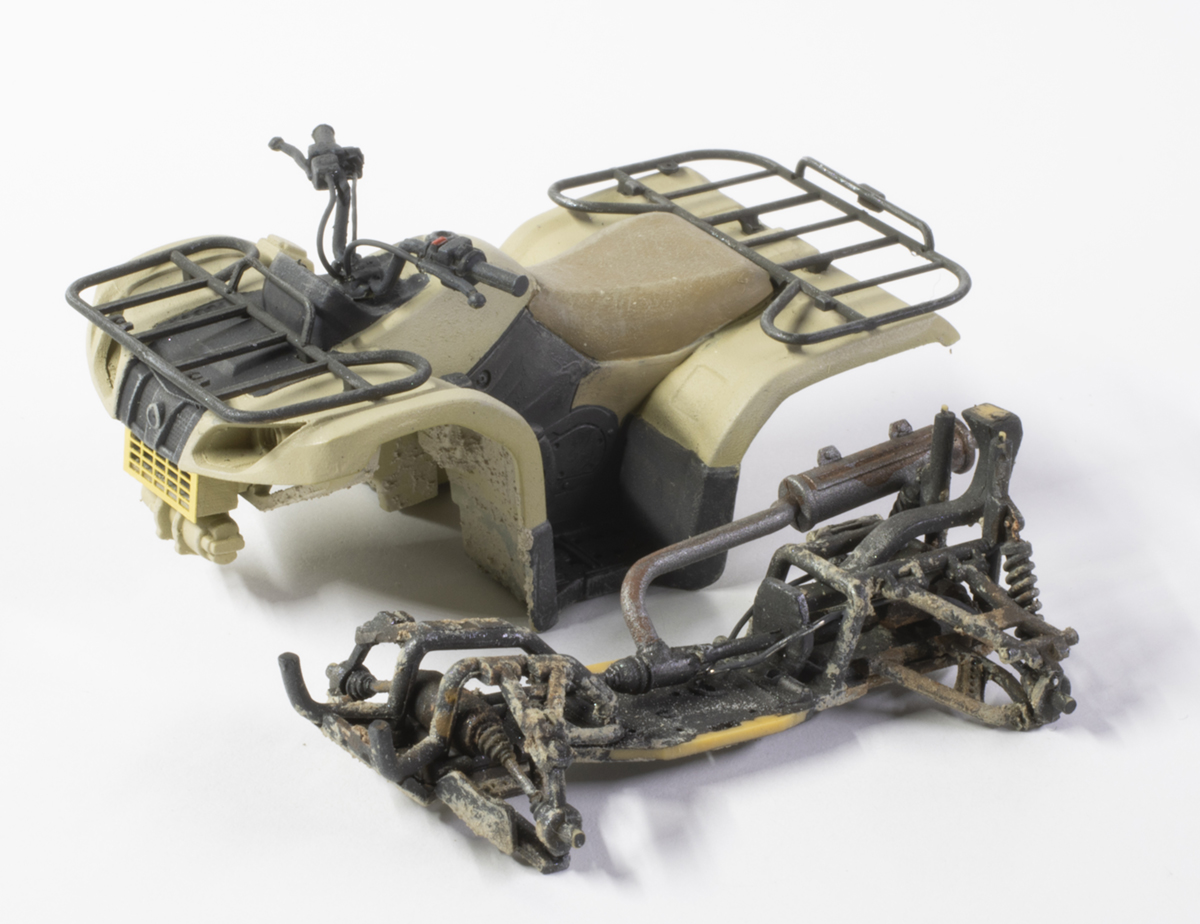
The muffler is a little tricky. Once you have completed the chassis and painted it (and the muffler)you can attach the muffler to the exhaust. First make sure to scrape any paint off those 2 little mounts on top of the muffler and the 2 indentations under the rear of the QuadBike shell. In the attached photo I failed to scrape the mounts. You have to be careful from that point on not to break the muffler off the pipe. Once broken it is hard to reattach. Believe me, I broke it off!
Klaus-Adler
Campaigns Administrator Scotland, United Kingdom
Joined: June 08, 2015
KitMaker: 1,505 posts
Armorama: 840 posts
Posted: Monday, May 04, 2020 - 03:51 AM UTC
Hi Mike,
thanks for the update, from what i can see the exhaust just sits there floating in mid-air for the most part. i have now completed section 4 of the instructions but i wont be able to do any more until the weekend... well friday on account of the bank holiday being re-scheduled.
here is where i am at for now :-)

Virginia, United States
Joined: May 06, 2003
KitMaker: 55 posts
Armorama: 53 posts
Posted: Monday, May 04, 2020 - 04:18 AM UTC
Hey David
If you look at photo #2 You will notice the muffler tucked under the body. The 2 points of contact were glued in after assembly. I had to use a glass pipette to get the glue in there. At one point I had to break that converter loose and rotate it so the muffler would fit correctly and center on the little arc on the rear of the bike. This is not altogether clear in the instructions. Not doing so will cause a fit issue when you finally attachthe body. My advice is to dry-fit the body to the frame regularly.
- Mike
Colorado, United States
Joined: February 24, 2014
KitMaker: 3,033 posts
Armorama: 2,492 posts
Posted: Wednesday, May 06, 2020 - 11:03 AM UTC
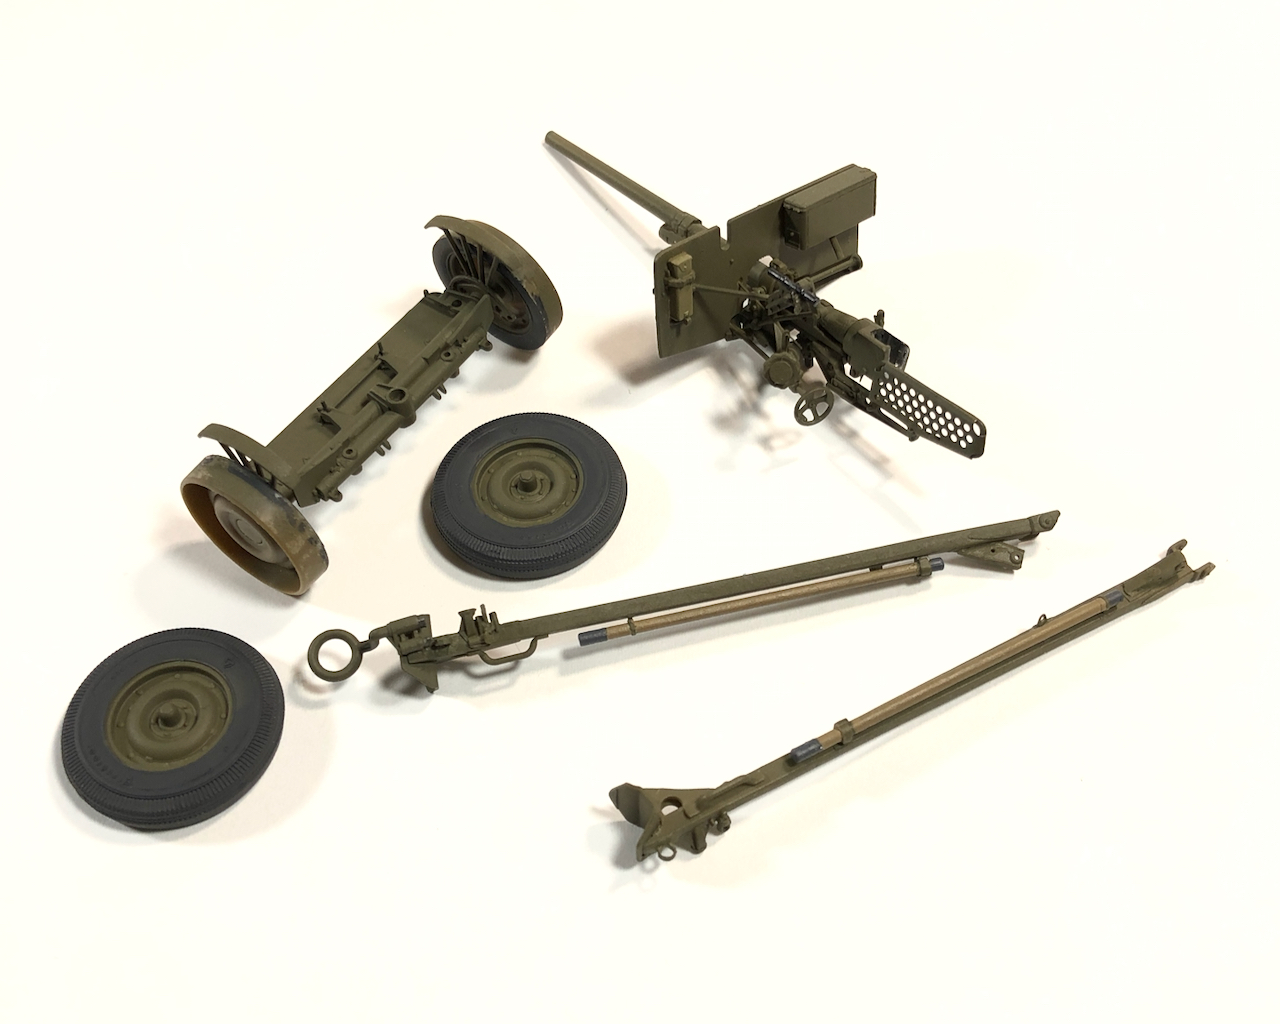
Hi guys, I made a little progress on my M3A1 37mm Anti-Tank Gun almost ready for the paint booth.🎨
I was wondering about the barrel cleaning rods (Parts: Kb4 & Kb6). In most reference photos Ive seen, the rods are light-color wood. However, they seem to be restored rods. Thus, Im leaning towards sprayed-over Olive Drab as being the more authentic color choice for WWII.
Any thoughts?
Cheers!🍺
mike
Queensland, Australia
Joined: August 06, 2005
KitMaker: 3,353 posts
Armorama: 3,121 posts
Posted: Thursday, May 07, 2020 - 02:57 PM UTC
Hi Mike. I'd be leaning toward lacquered wood. Most pics of rods I have seen, including original untouched ones, do not seem to be painted
On the Bench:
Dust, styrene scraps, paint splotches and tears.
Colorado, United States
Joined: February 24, 2014
KitMaker: 3,033 posts
Armorama: 2,492 posts
Posted: Friday, May 08, 2020 - 05:58 AM UTC
Quoted Text
Hi Mike. I'd be leaning toward lacquered wood. Most pics of rods I have seen, including original untouched ones, do not seem to be painted
Peter, Thank's for the reply. Consider myself leaned... lacquered wood they shall be.🎨
Cheers!🍺
mike
#490
Sofiya, Bulgaria
Joined: September 22, 2016
KitMaker: 1,432 posts
Armorama: 1,390 posts
Posted: Friday, May 08, 2020 - 06:11 AM UTC
Plus- cleaning rods in lacquered wood will give a nice contrast to the OD of the gun, Mike!
United States
Joined: December 26, 2008
KitMaker: 288 posts
Armorama: 92 posts
Posted: Saturday, May 09, 2020 - 02:01 AM UTC
I now have paint on my Dongfeng-1 missile so another modeling step in the rear view mirror. I did manage to topple it on its side while painting (the clumsy painter is getting the blame!) but no damage done as far as I can see. Rather than the bare metal museum look that most photos show for this missile, I am going for the green with white nose cone operational colors. The down side is that I will not get to use the cool Chinese characters that are painted on the side of the missile. Here's the missile while drying:
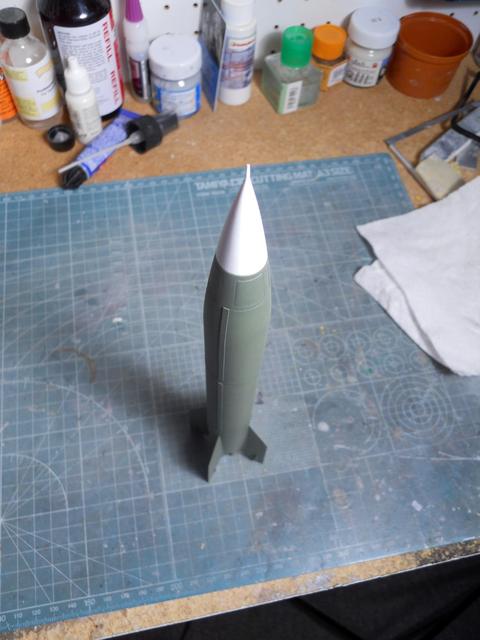
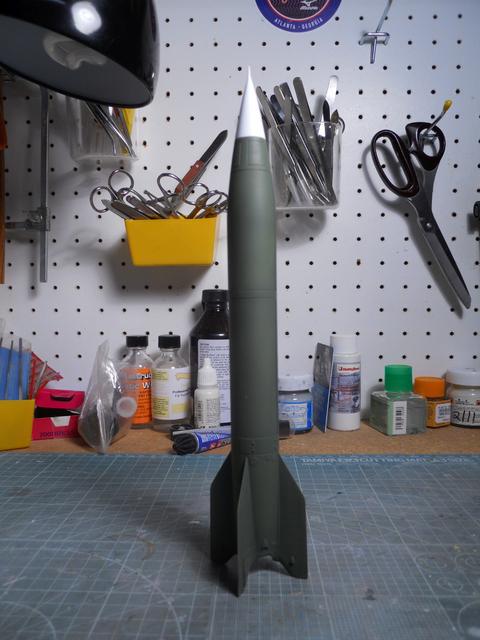
Once dry, the next steps involve a gloss coat, decals followed by the usual gloss matte paint steps. Then it is on to adding the details and the finish line is in sight!
Have fun modeling
Mike
#490
Sofiya, Bulgaria
Joined: September 22, 2016
KitMaker: 1,432 posts
Armorama: 1,390 posts
Posted: Saturday, May 09, 2020 - 02:59 AM UTC
Looks terrific, Mike!
Queensland, Australia
Joined: August 06, 2005
KitMaker: 3,353 posts
Armorama: 3,121 posts
Posted: Saturday, May 09, 2020 - 08:24 AM UTC
On the Bench:
Dust, styrene scraps, paint splotches and tears.
Colorado, United States
Joined: February 24, 2014
KitMaker: 3,033 posts
Armorama: 2,492 posts
Posted: Saturday, May 09, 2020 - 02:05 PM UTC
Yeah Mike, that looks great!🍺
Colorado, United States
Joined: February 24, 2014
KitMaker: 3,033 posts
Armorama: 2,492 posts
Posted: Sunday, May 10, 2020 - 01:14 PM UTC
A little more progress on the 37mm AT Gun: sub-assemblies are painted and ready for final assembly.
Cheers!🍺
mike
#490
Sofiya, Bulgaria
Joined: September 22, 2016
KitMaker: 1,432 posts
Armorama: 1,390 posts
Posted: Sunday, May 10, 2020 - 04:00 PM UTC
And they look splendid, Mike!
United States
Joined: December 26, 2008
KitMaker: 288 posts
Armorama: 92 posts
Posted: Tuesday, May 12, 2020 - 12:55 AM UTC
Excellent painting on your AT gun Mike! This will look awesome when finished.
Have fun modeling
Mike
Queensland, Australia
Joined: August 06, 2005
KitMaker: 3,353 posts
Armorama: 3,121 posts
Posted: Wednesday, May 13, 2020 - 08:42 AM UTC
Sweet Mike. The lacquered wood parts really set it off nicely.
On the Bench:
Dust, styrene scraps, paint splotches and tears.
Colorado, United States
Joined: February 24, 2014
KitMaker: 3,033 posts
Armorama: 2,492 posts
Posted: Wednesday, May 13, 2020 - 09:25 AM UTC
Thank's guys! That was solid advice.
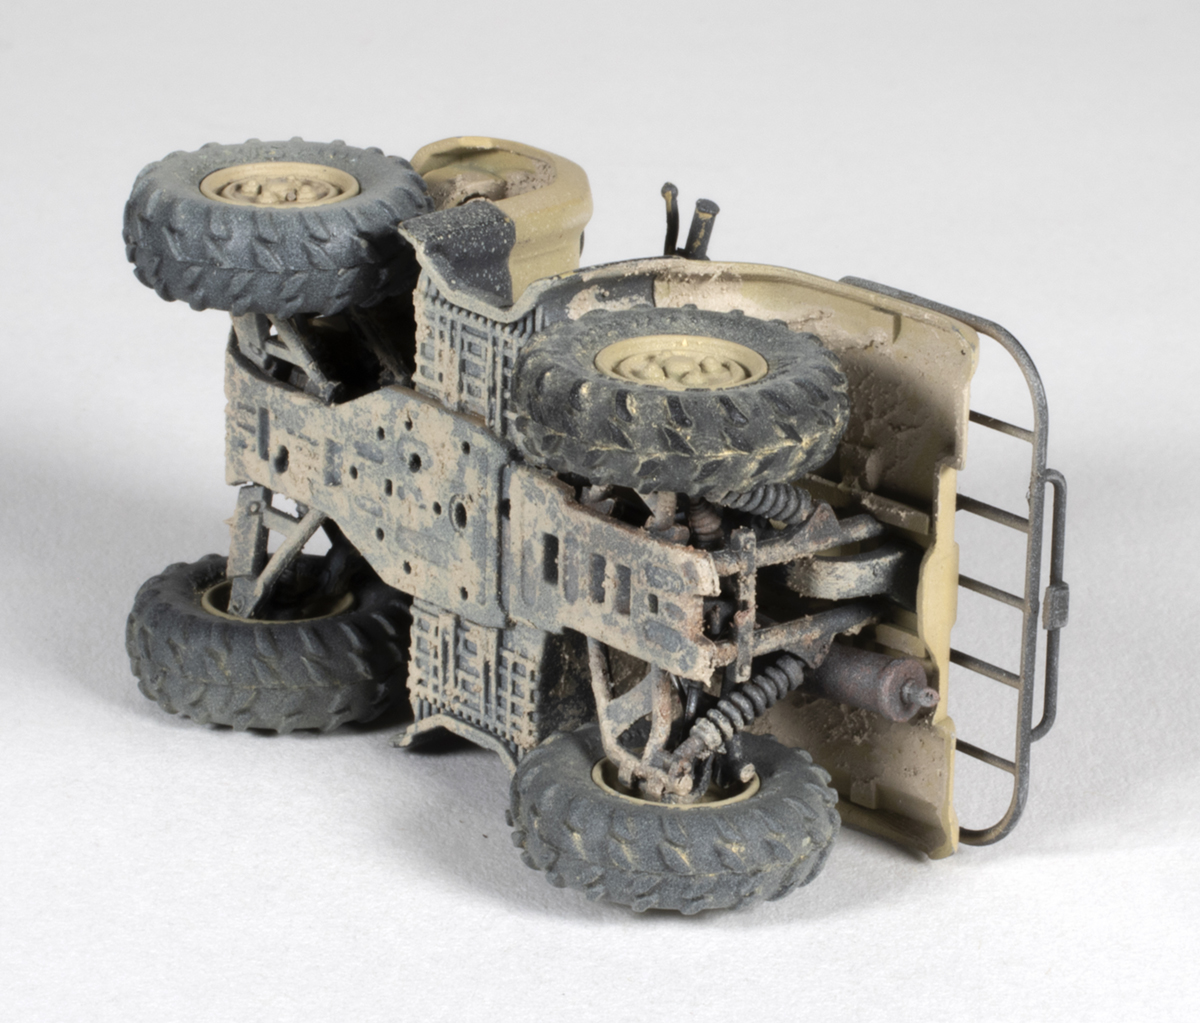
Here's a quick photo of the chassis/wheel assembly from the other night. I originally assembled the wheels as movable per Bronco's instructions, but they were just too wobbly. Instead, I opted to fix them in place followed by an alignment party.

I just need to do a little touchup to the final assembly now. Hope to post some pics soon.
Cheers!🍺
mike
Slovakia
Joined: July 20, 2004
KitMaker: 99 posts
Armorama: 95 posts
Posted: Wednesday, May 13, 2020 - 07:02 PM UTC
Hotchkiss H39
vill be IDF