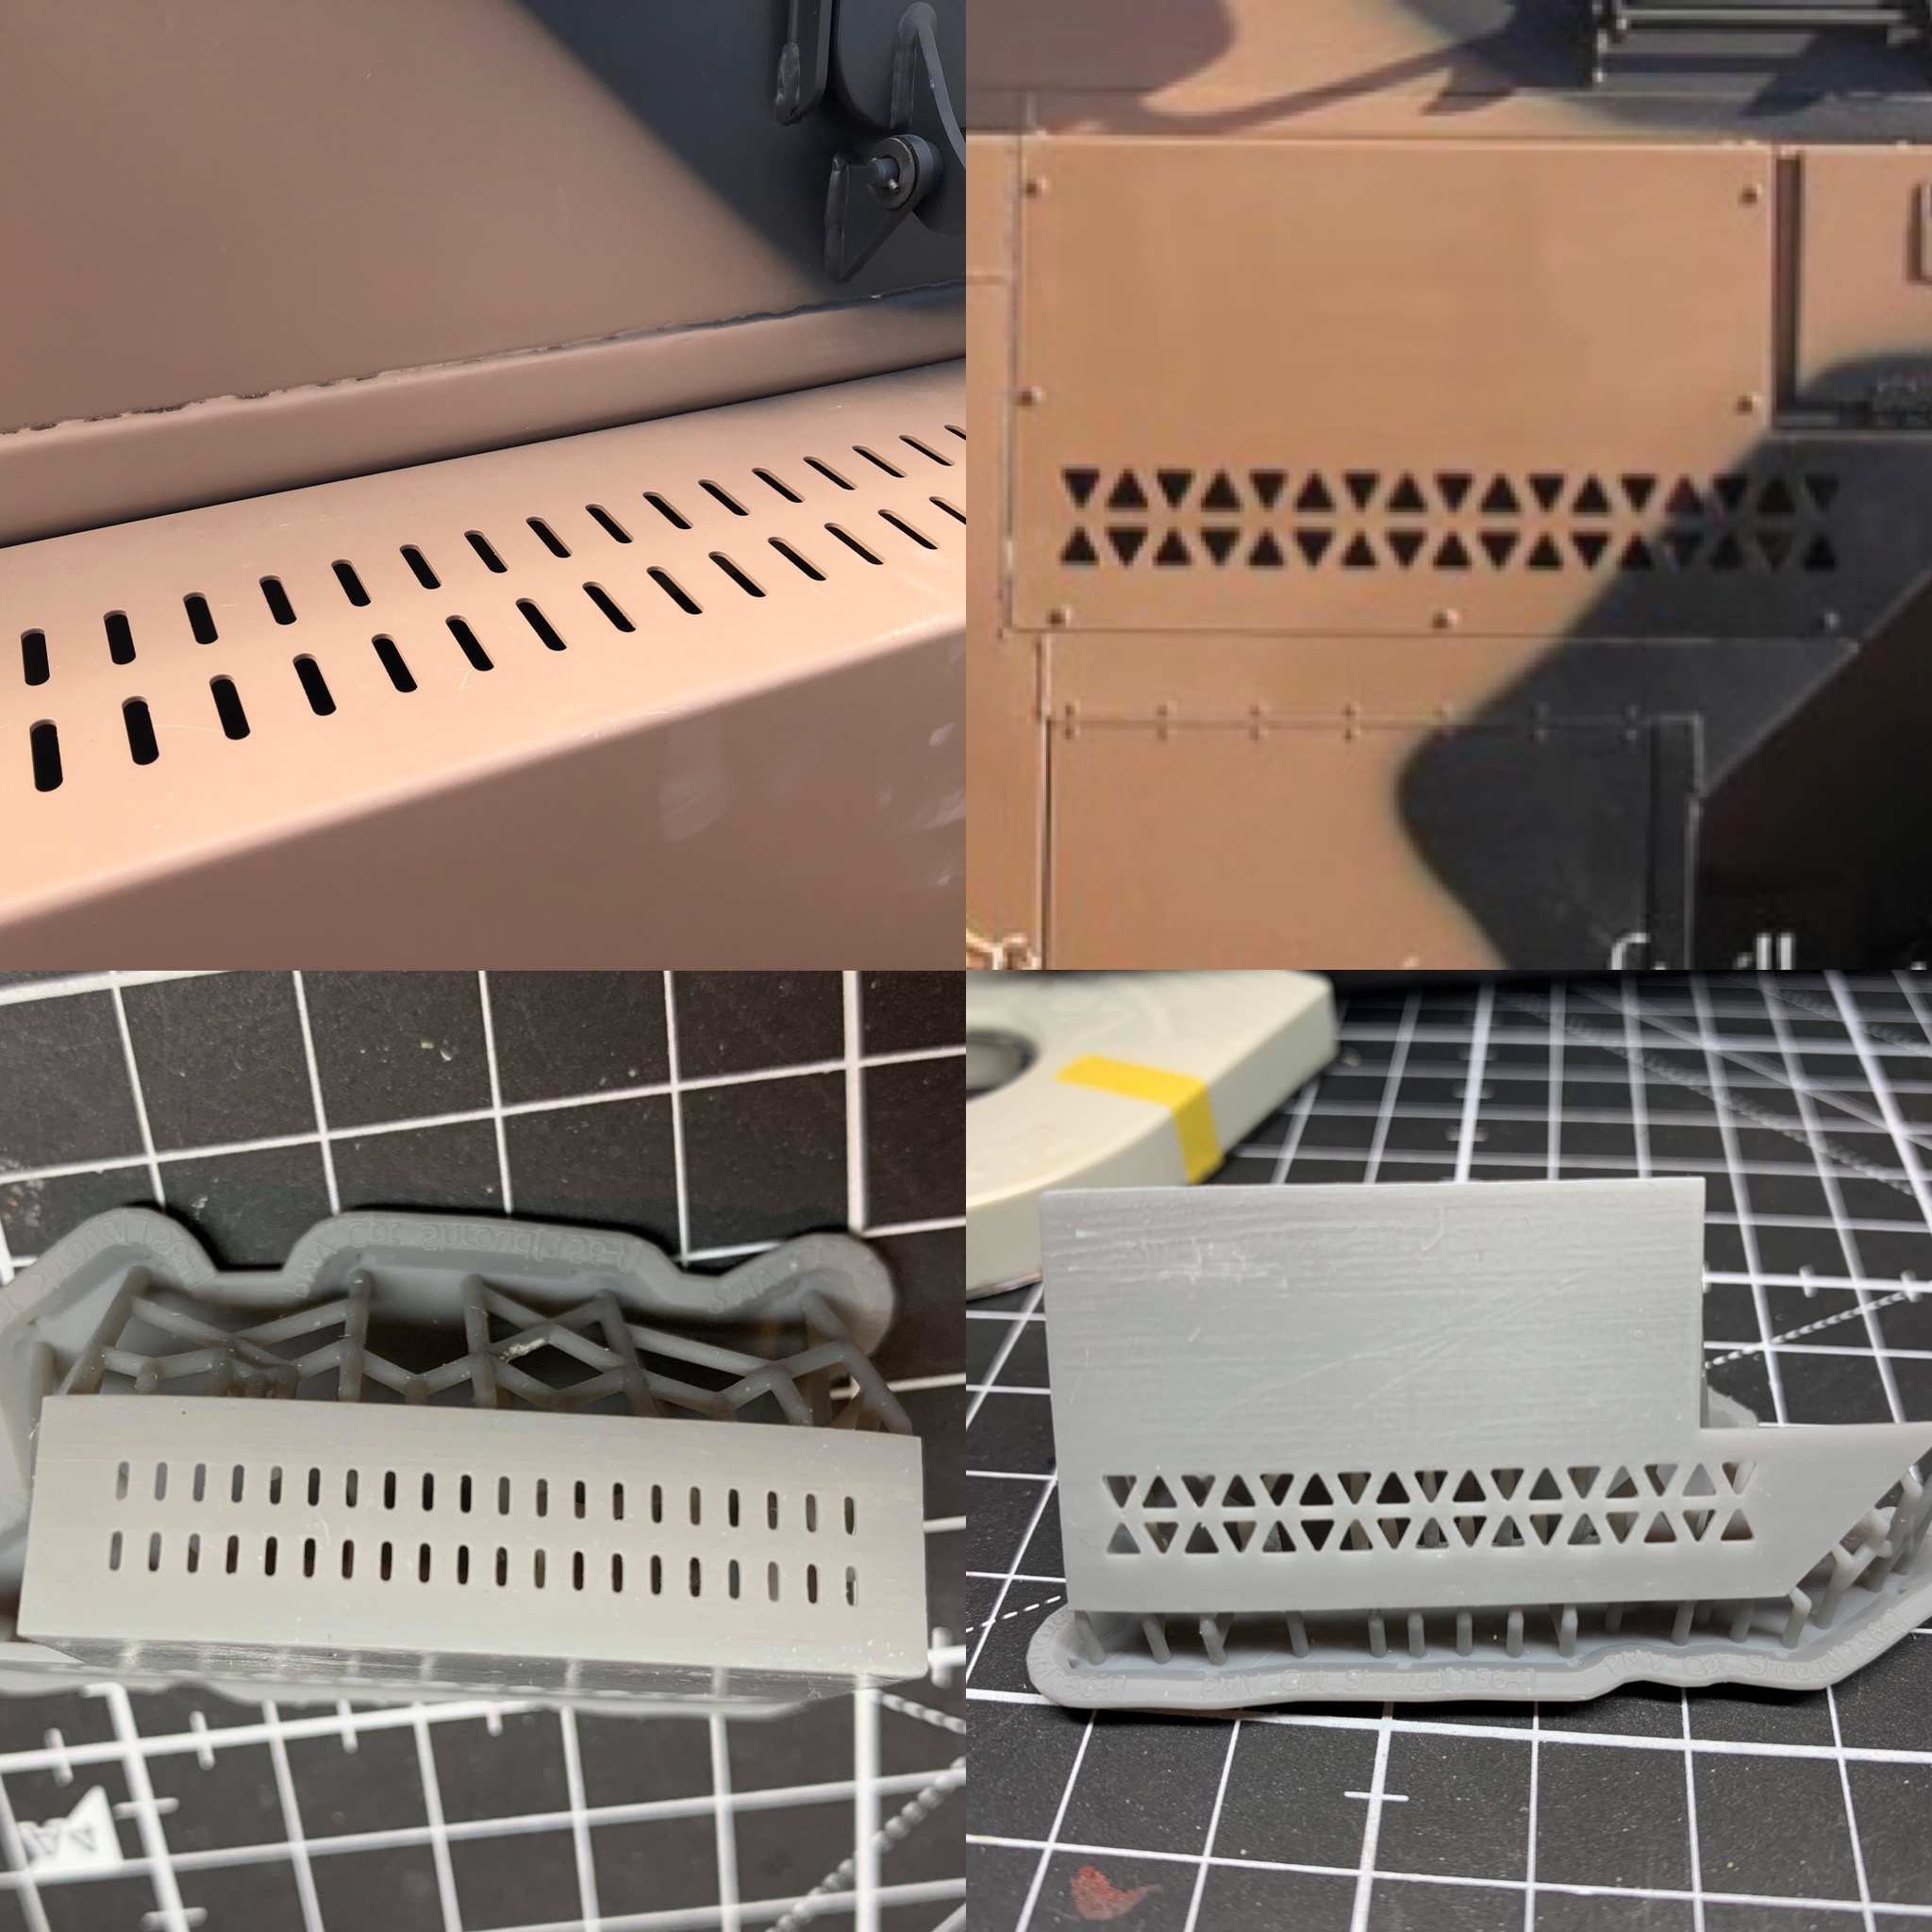
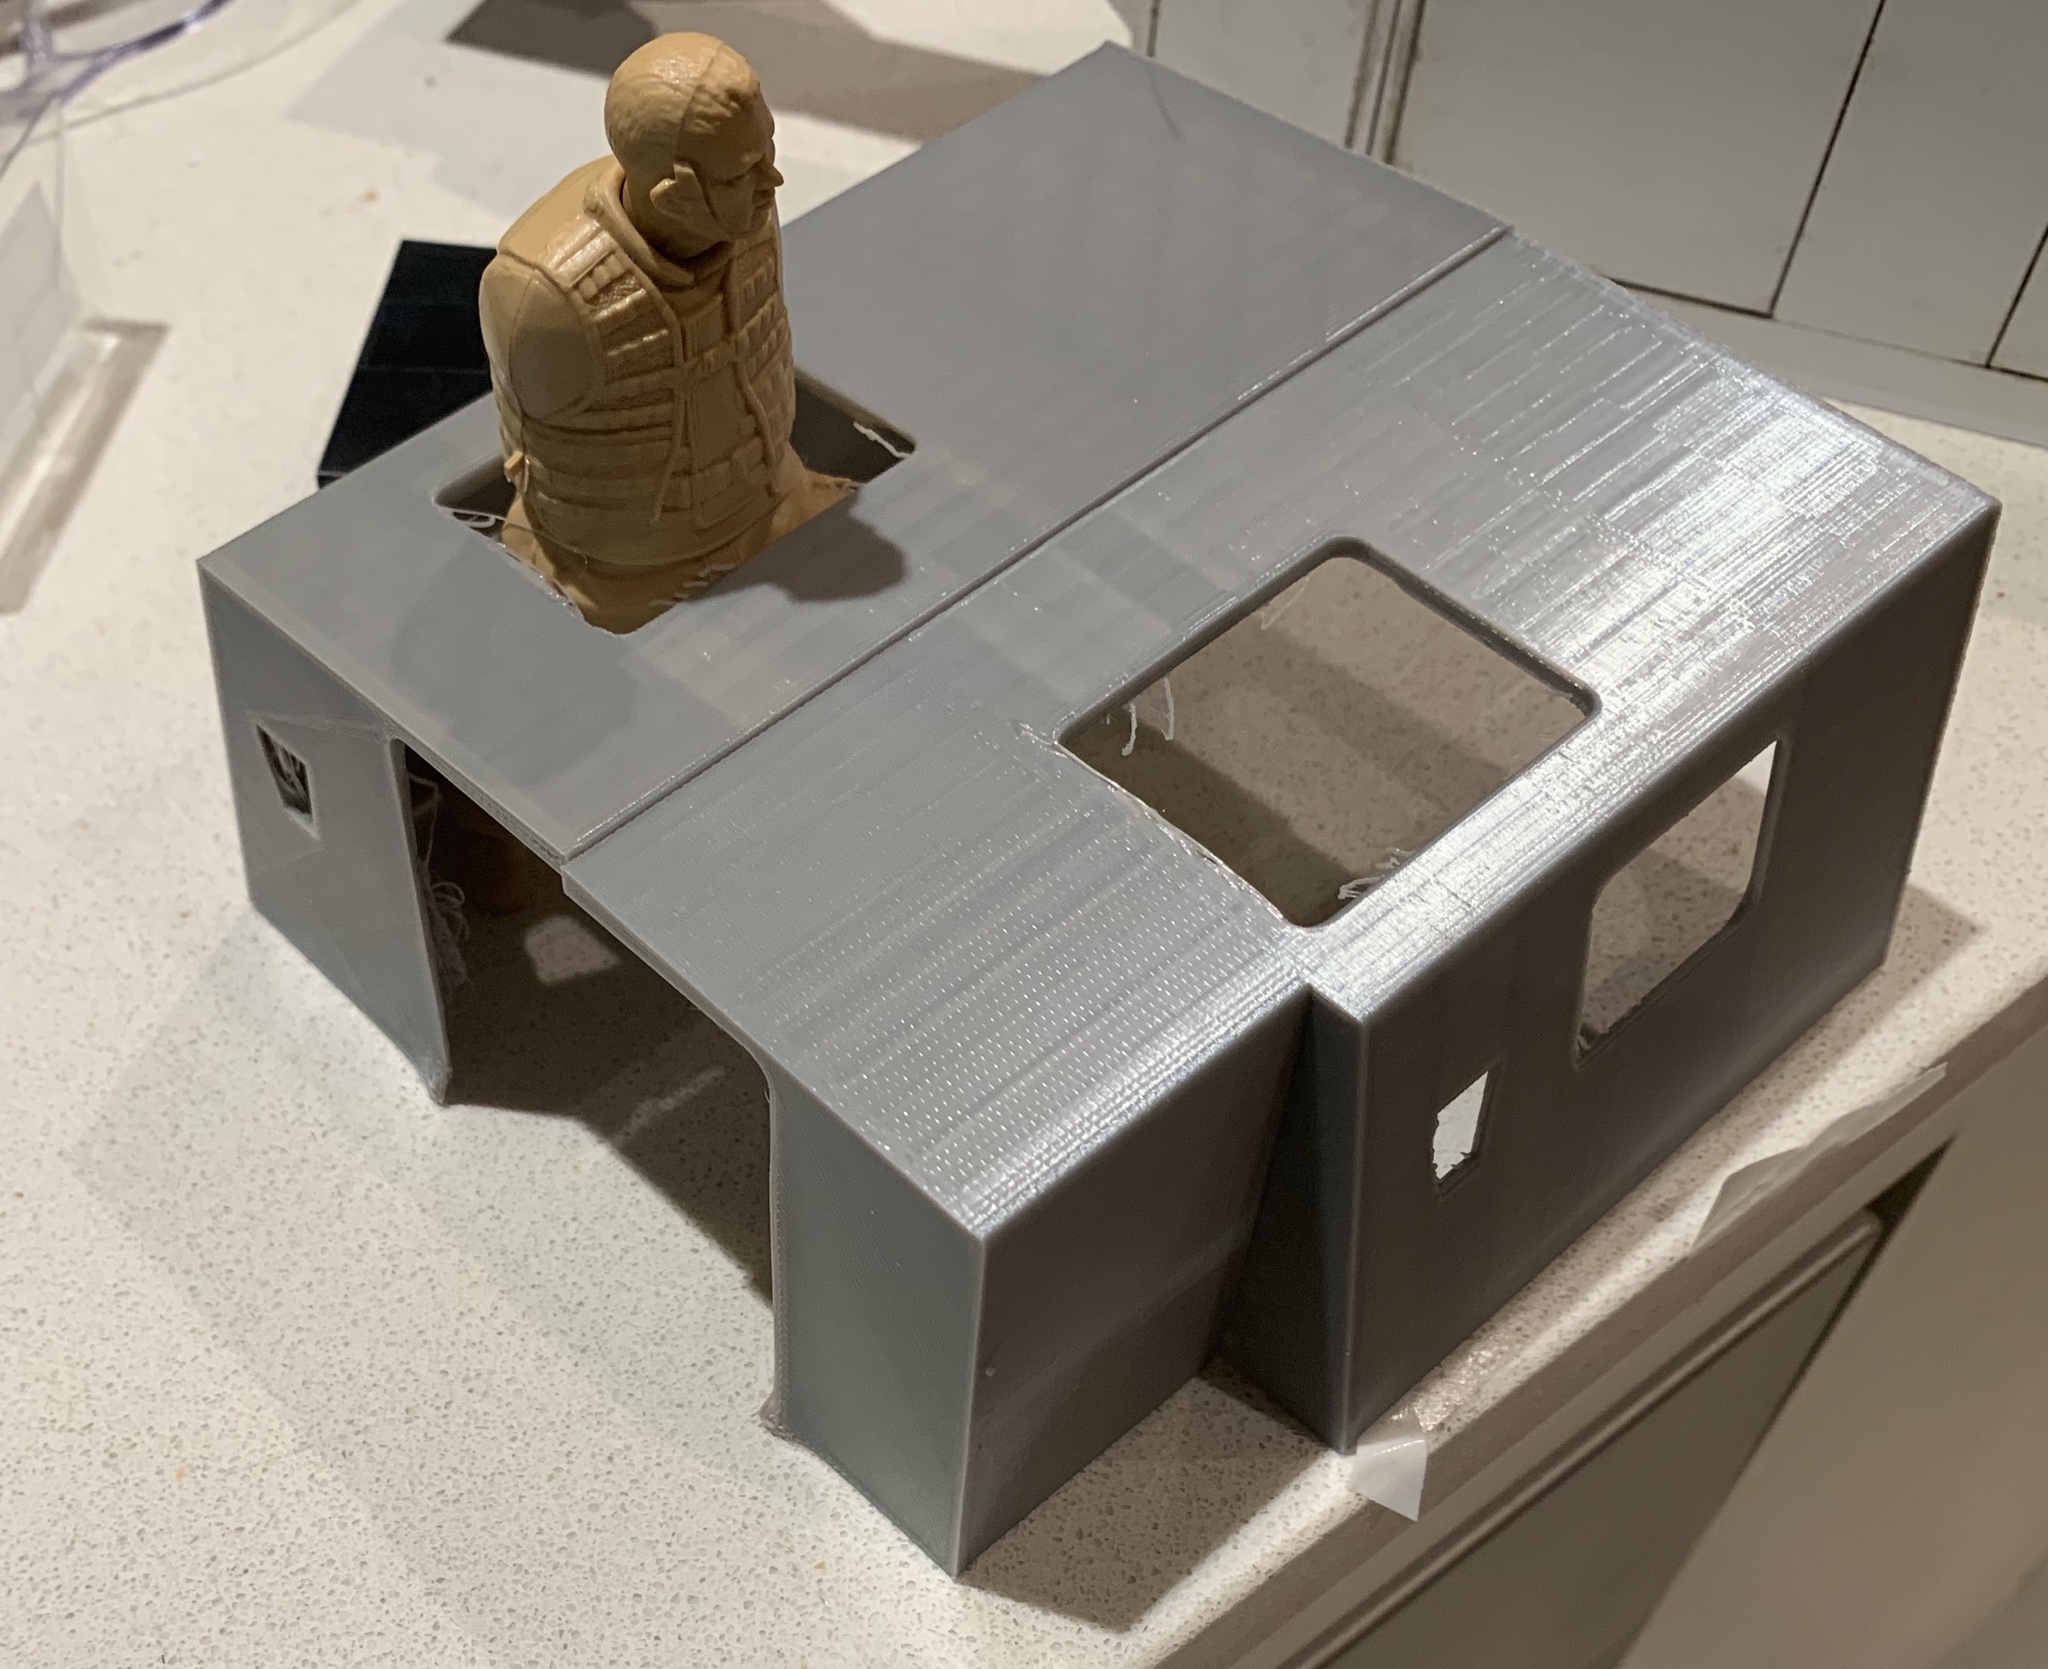
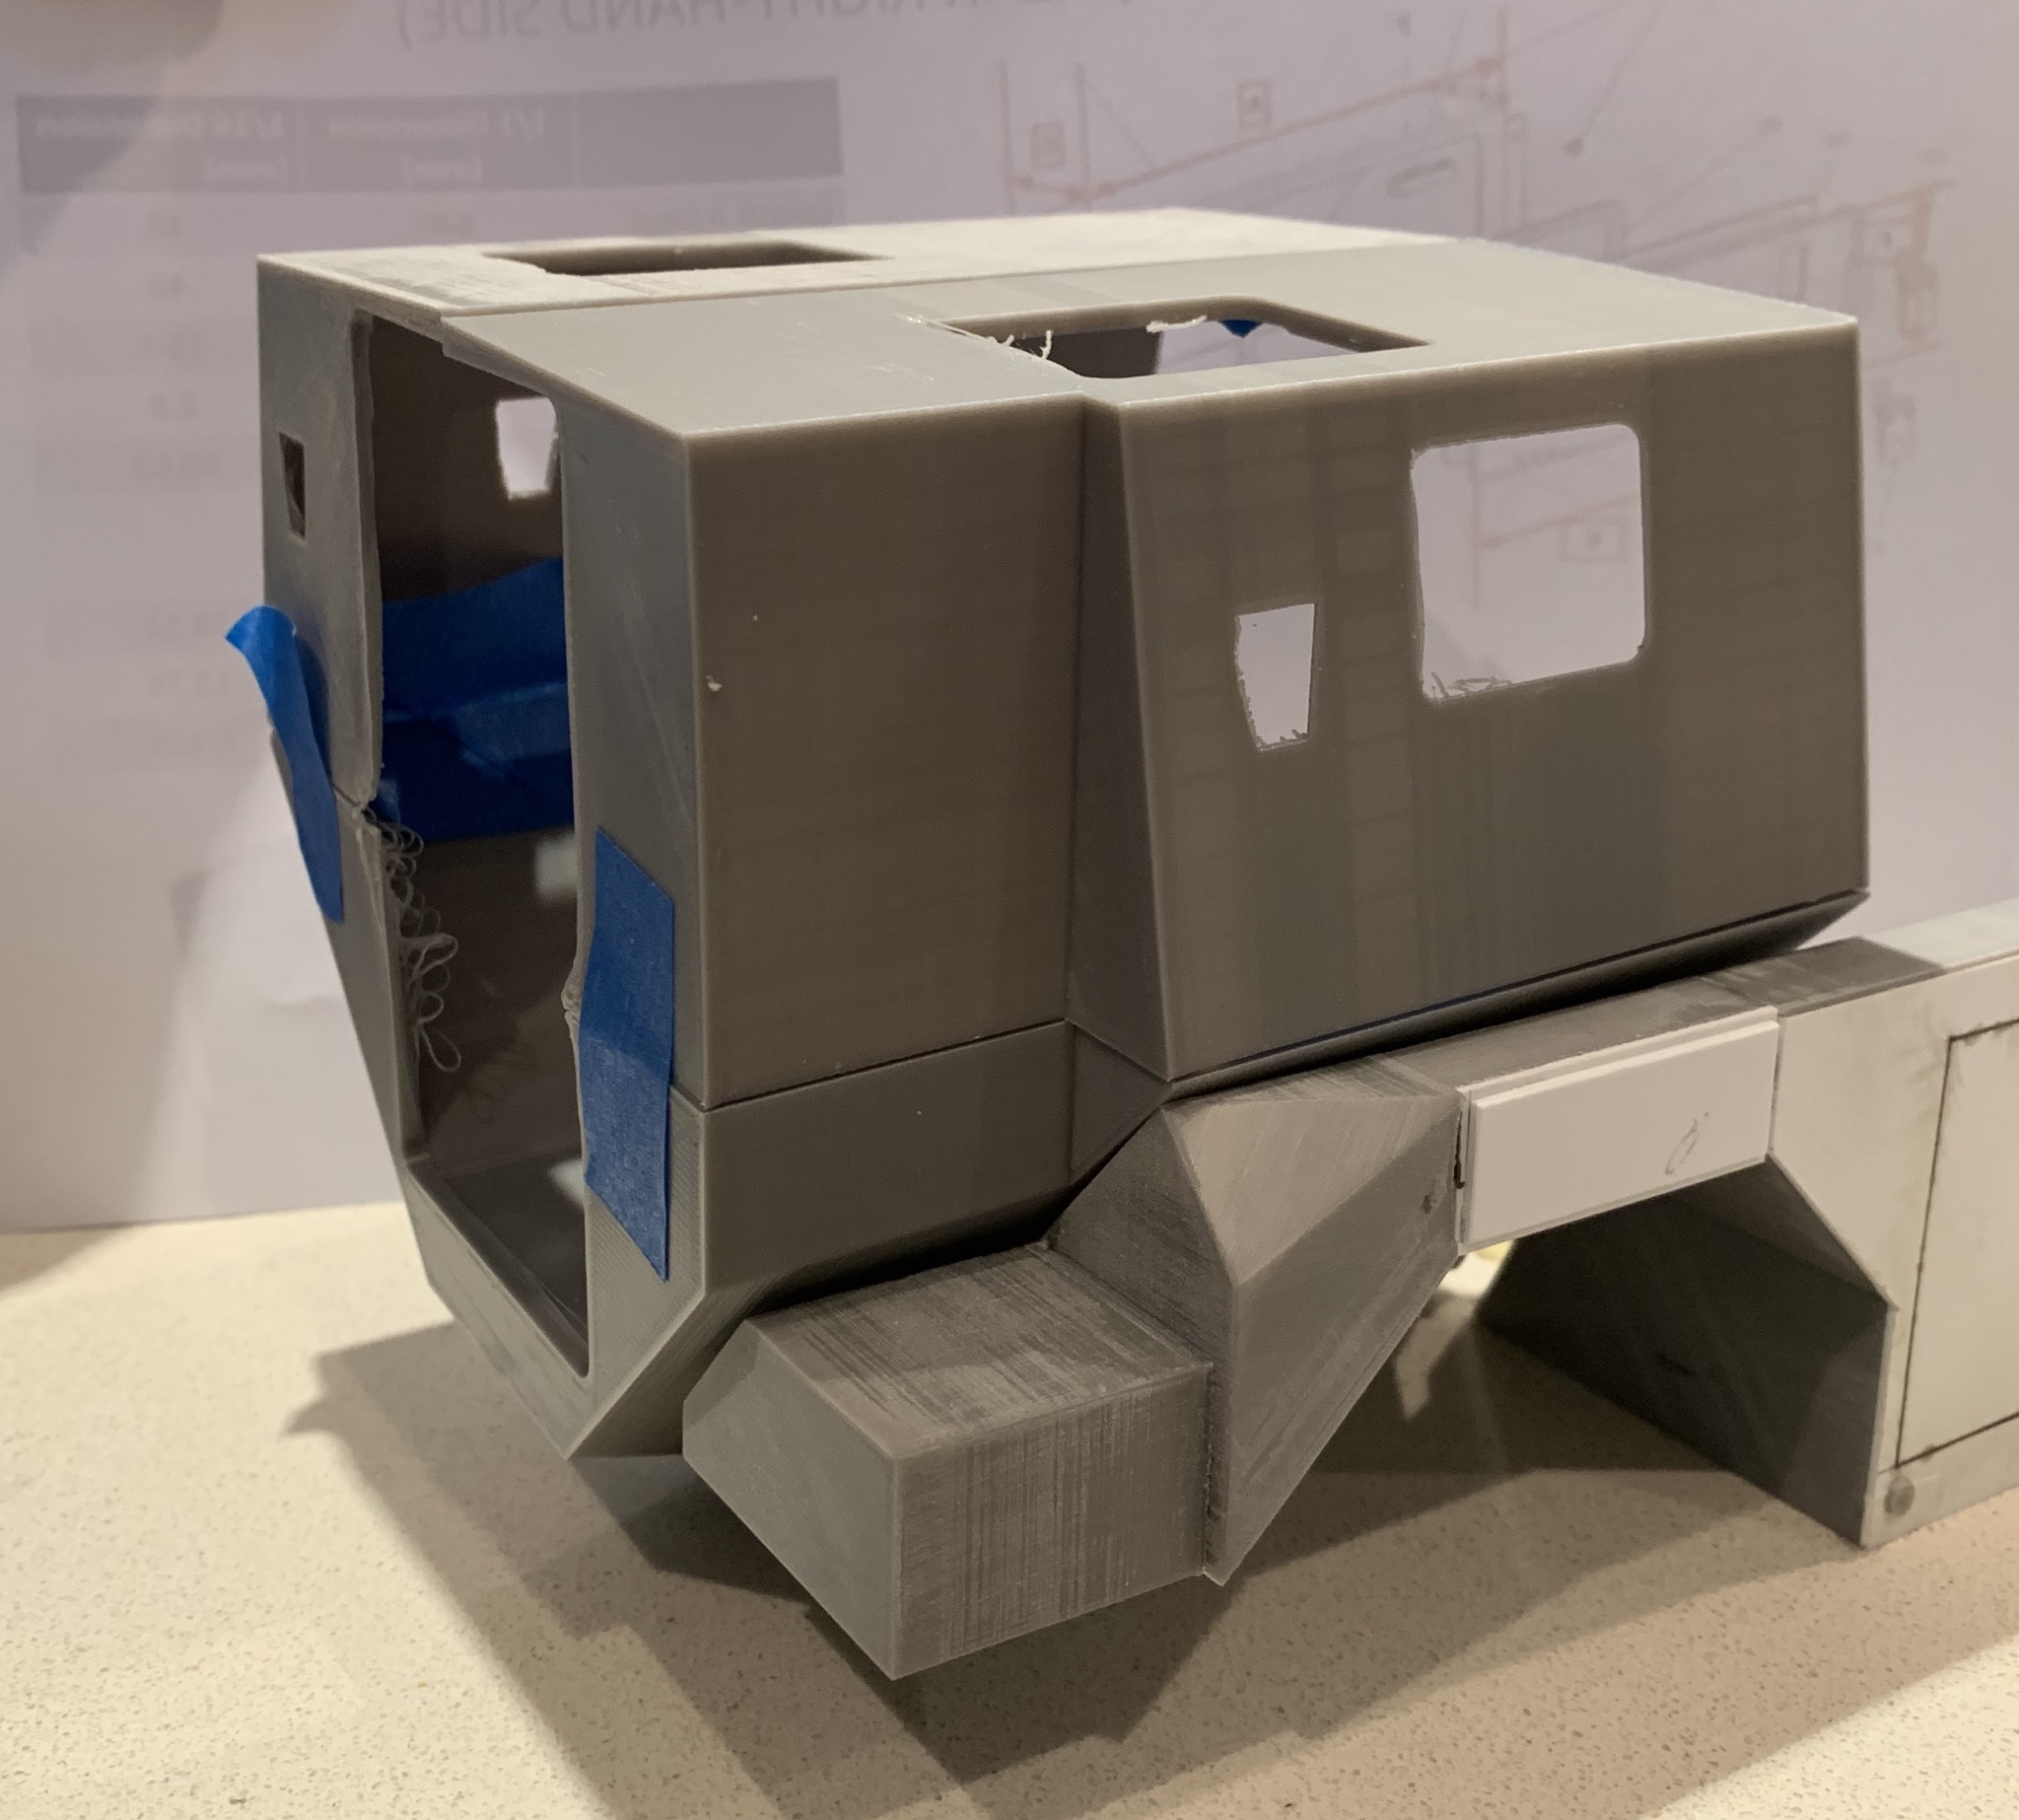
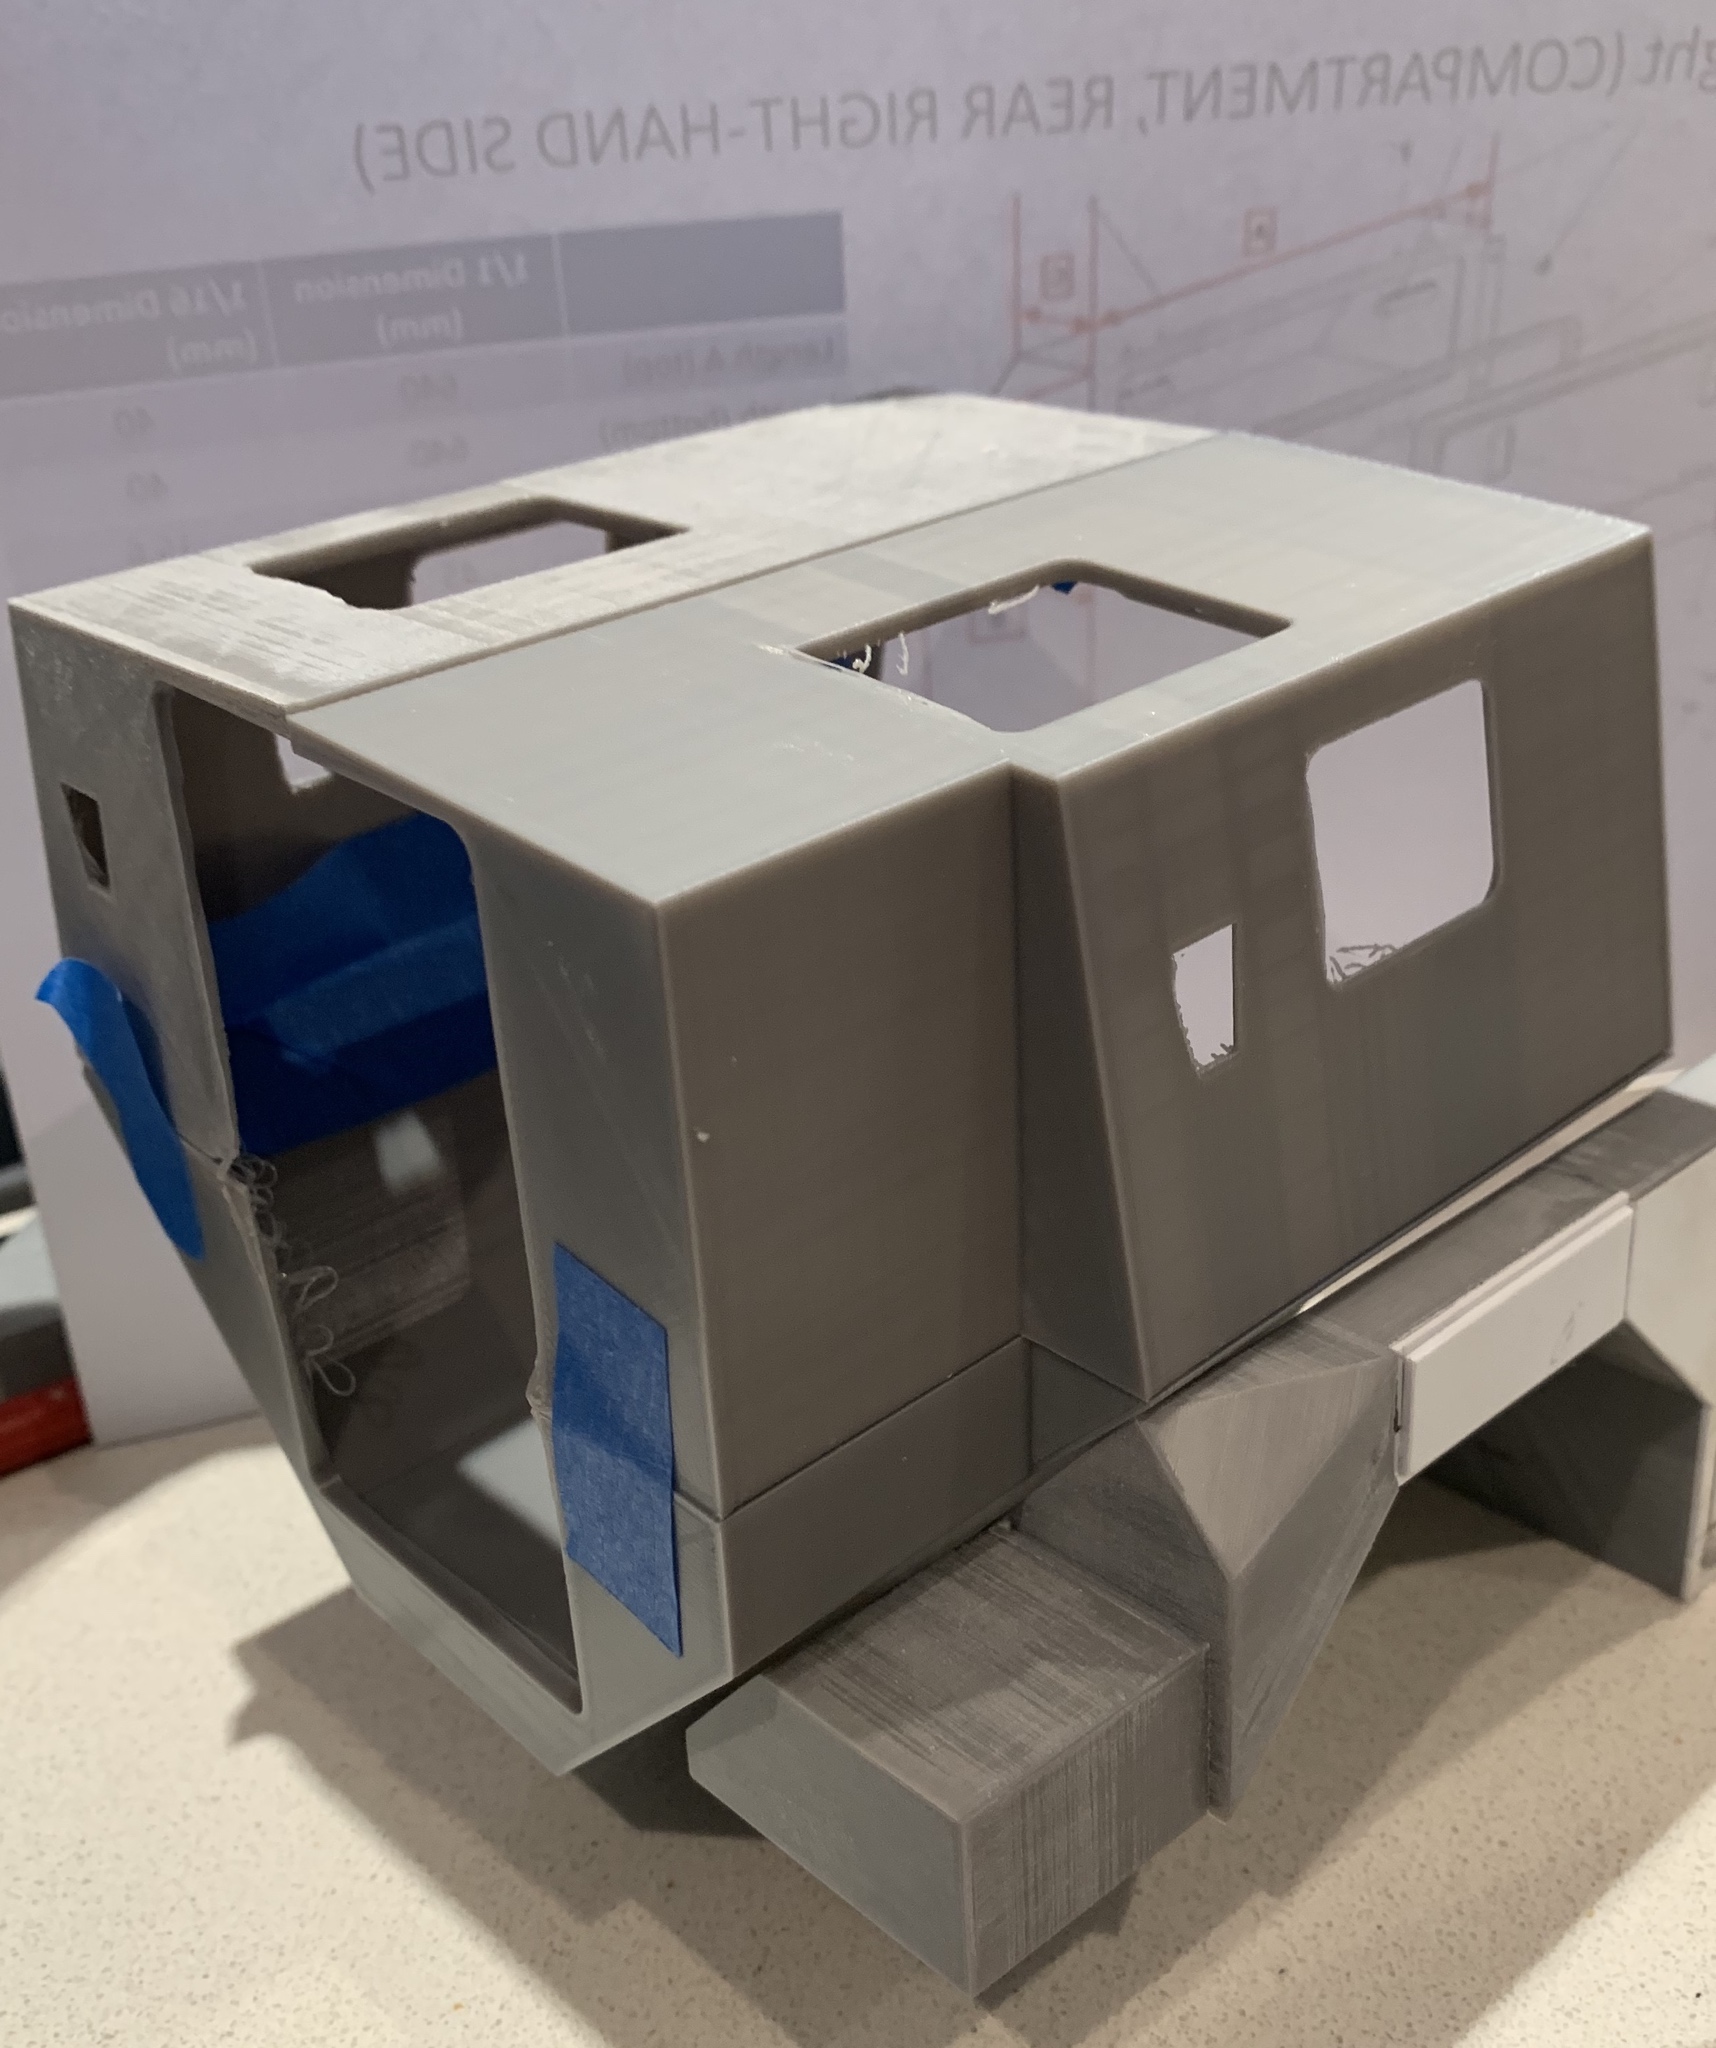
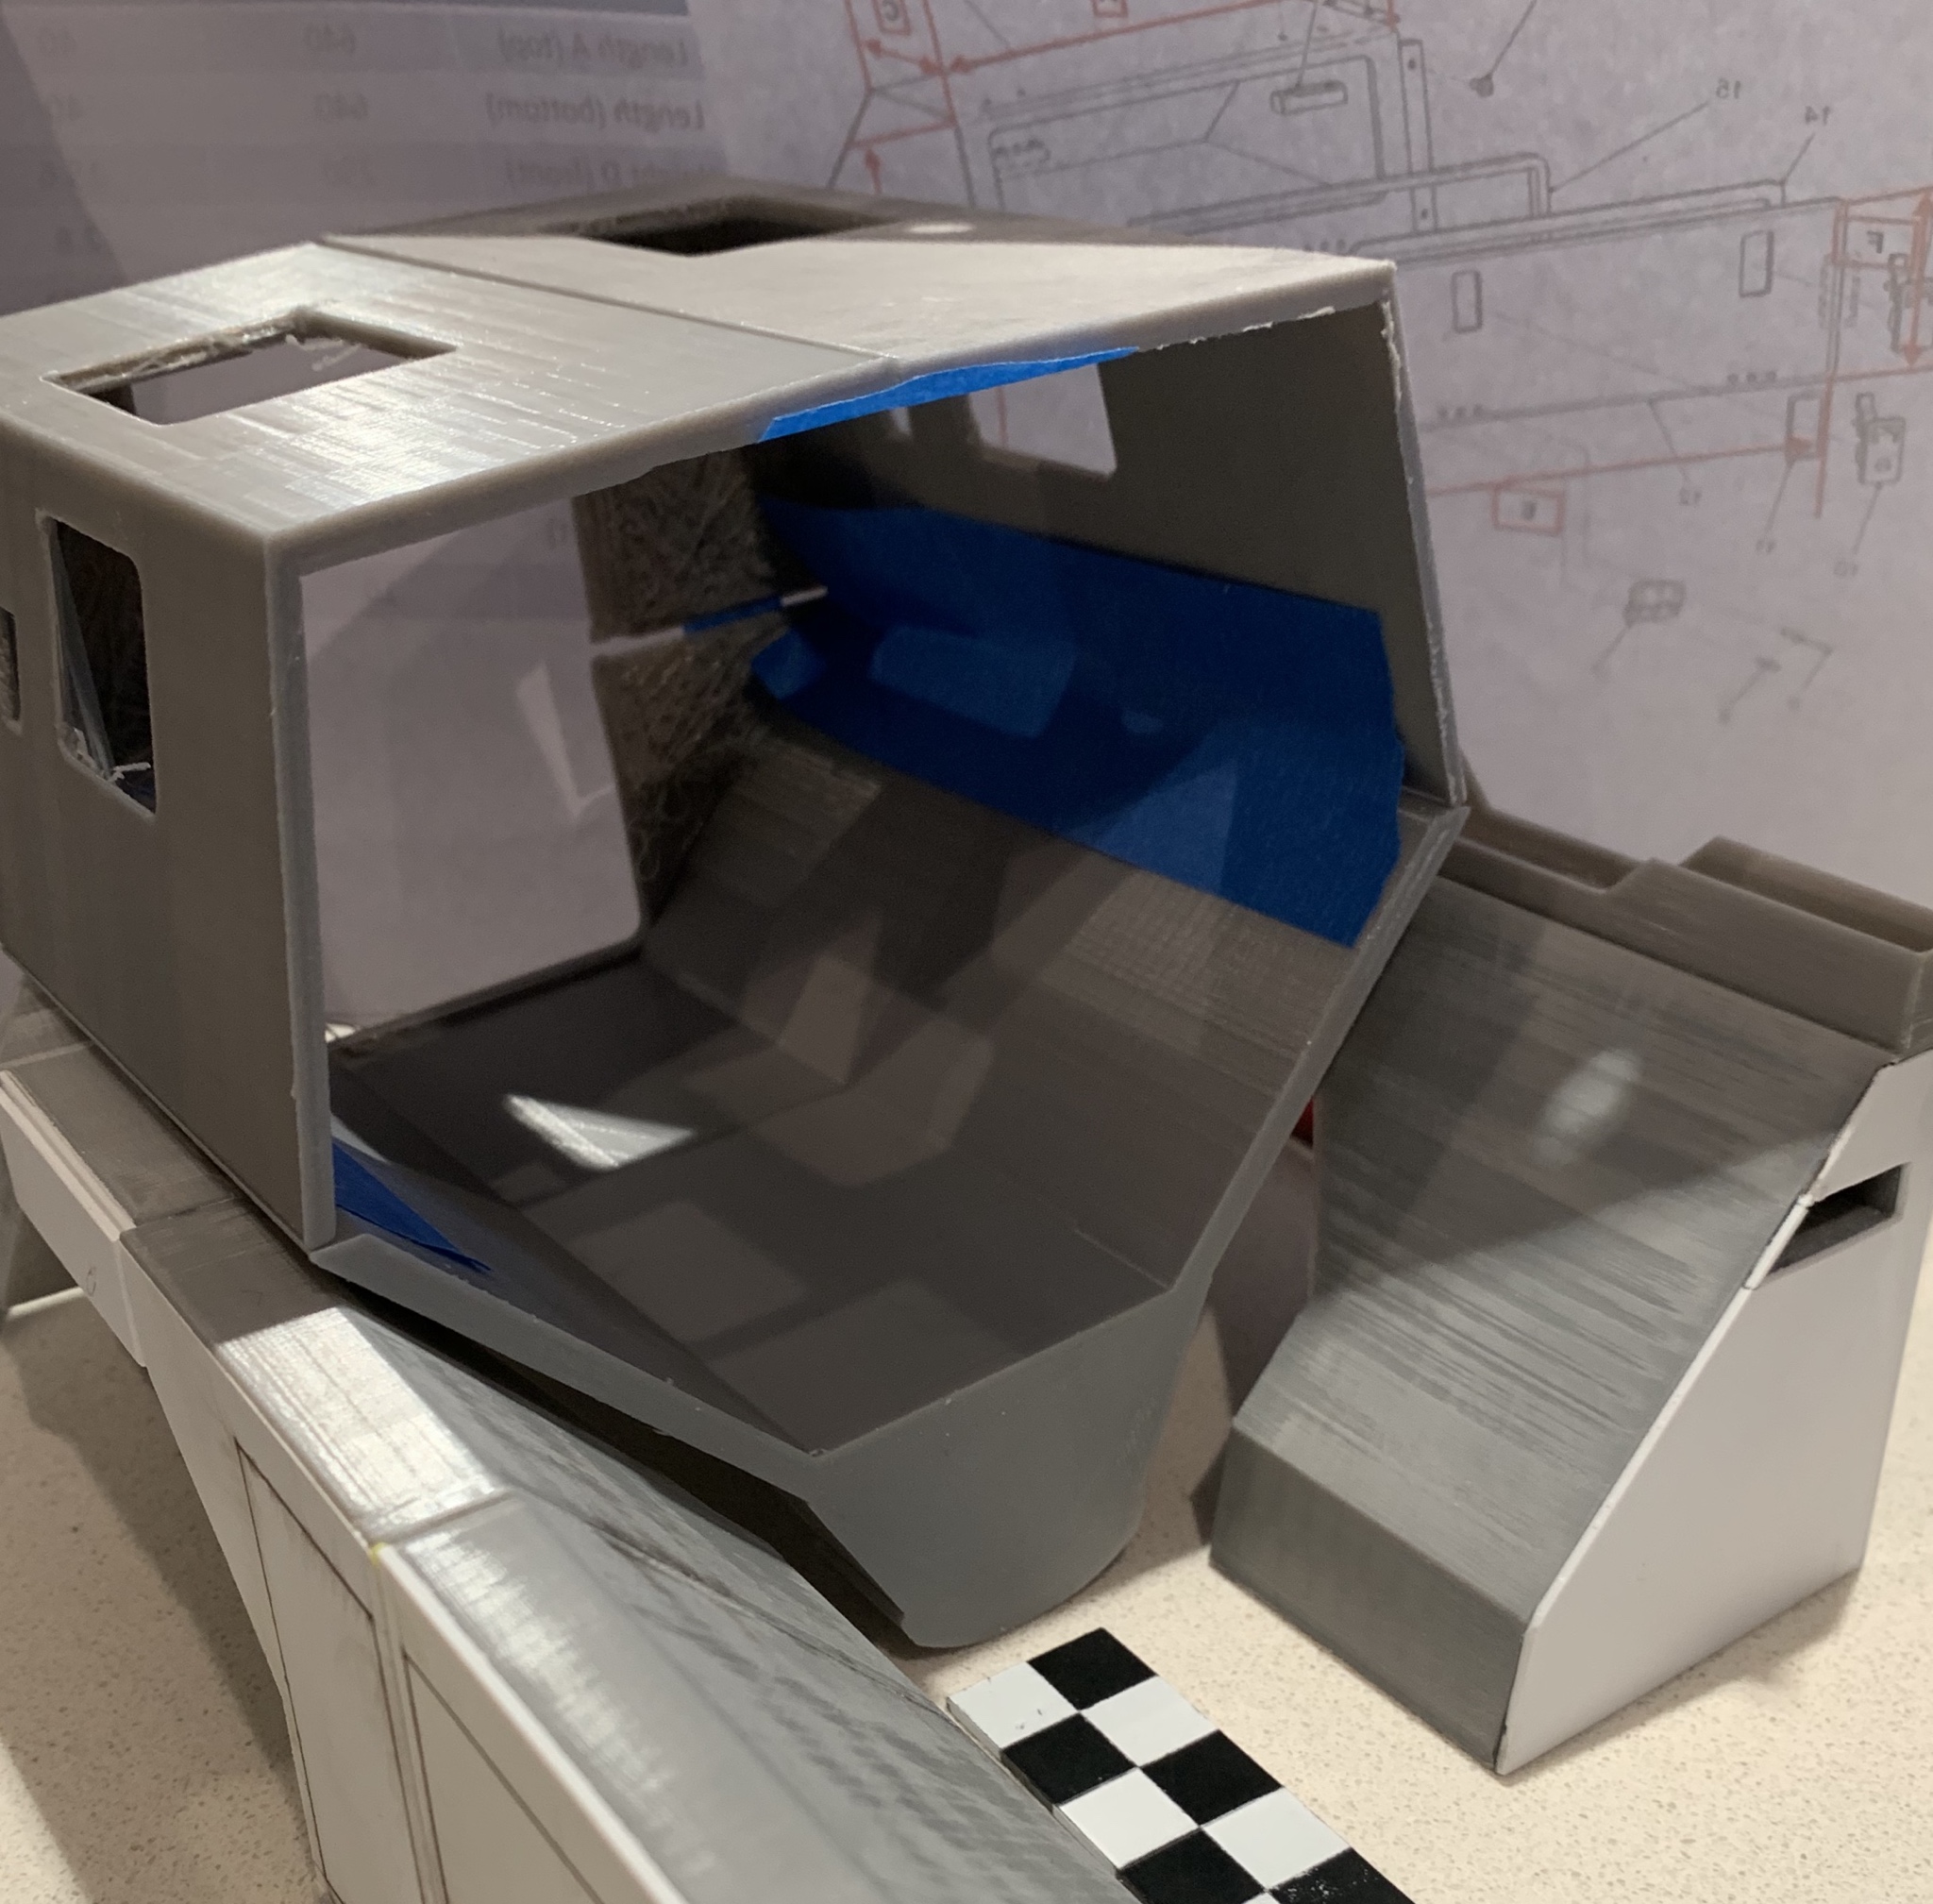
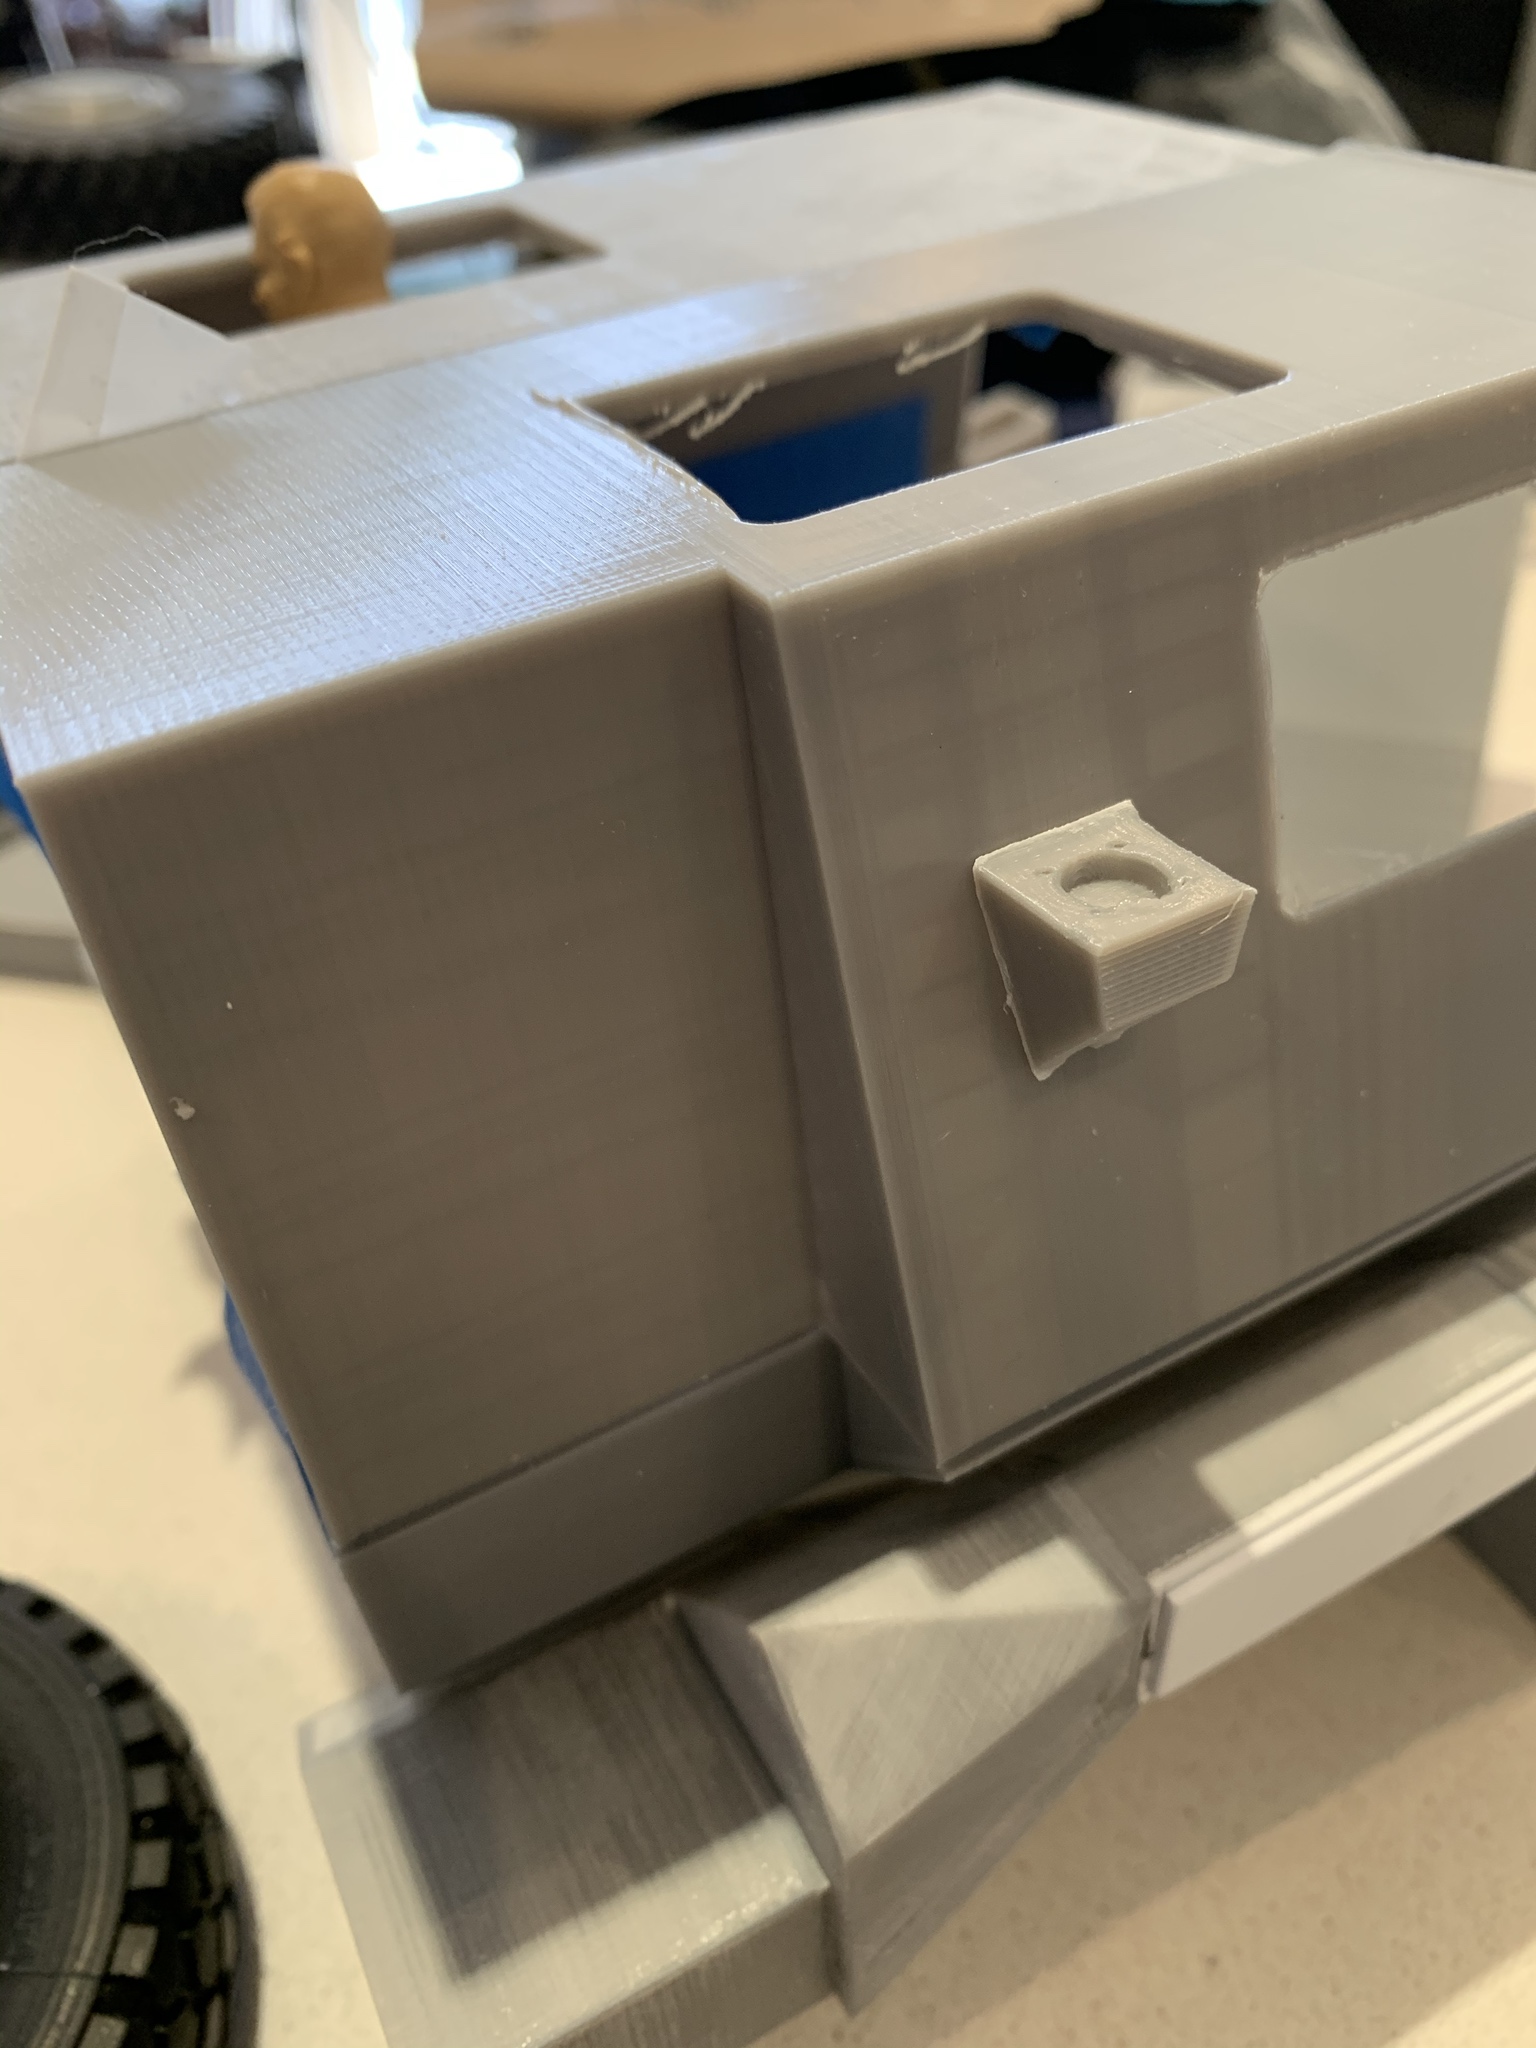
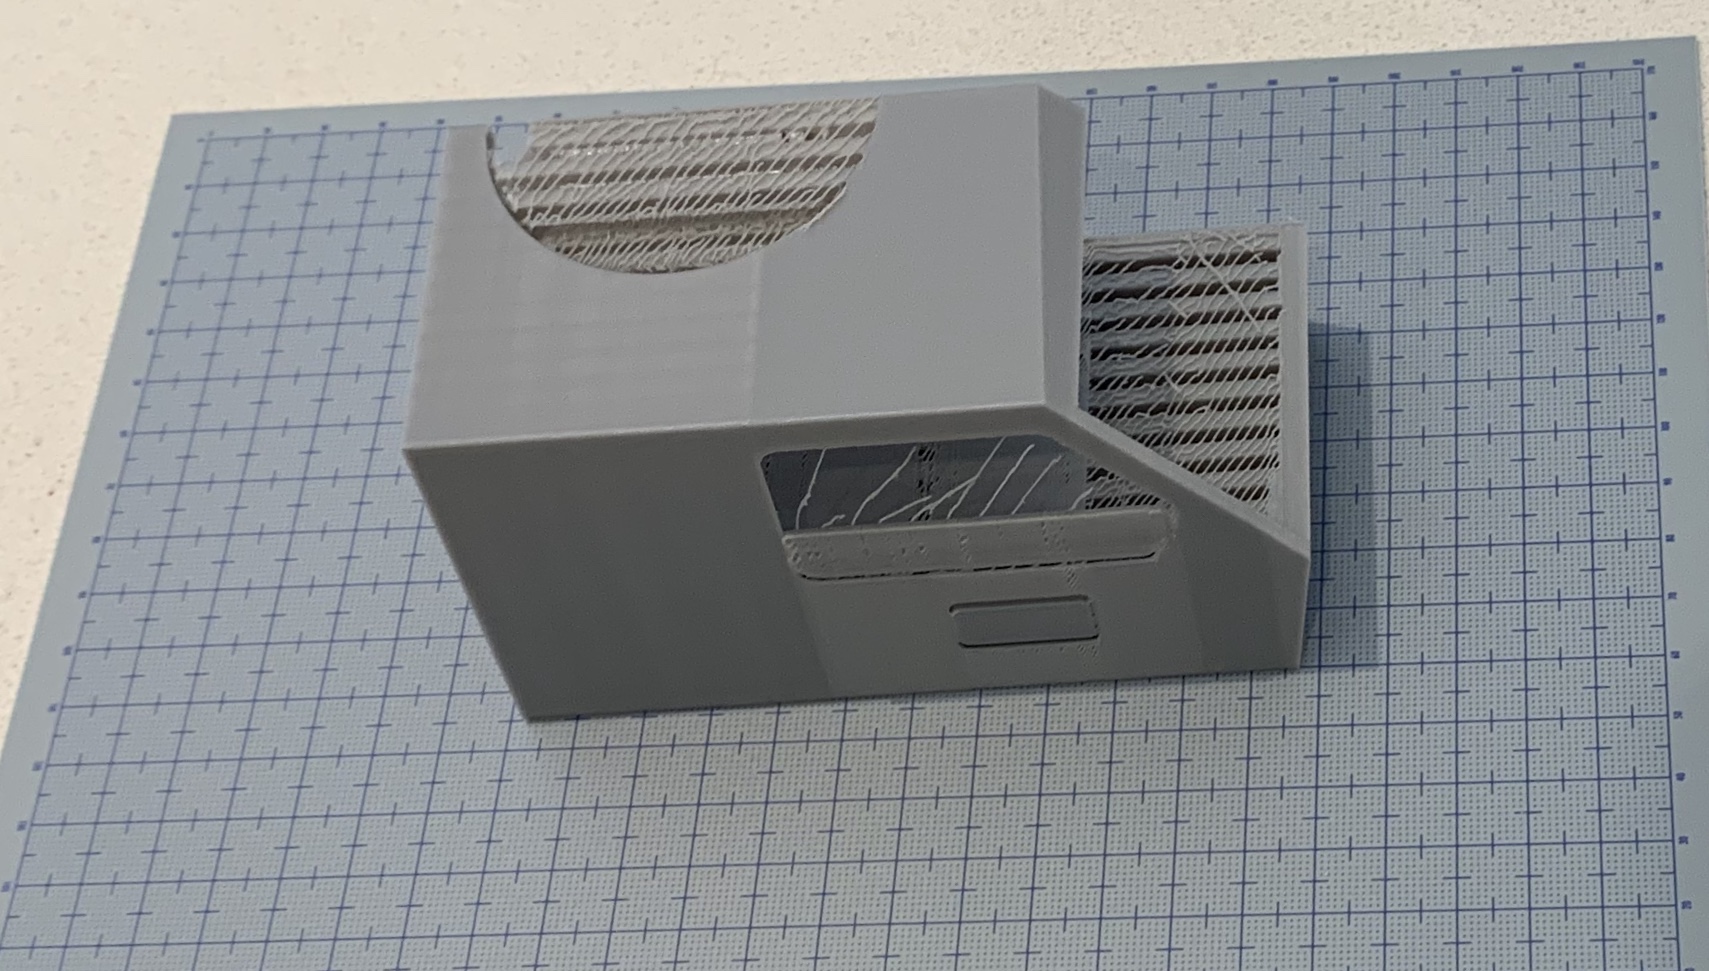
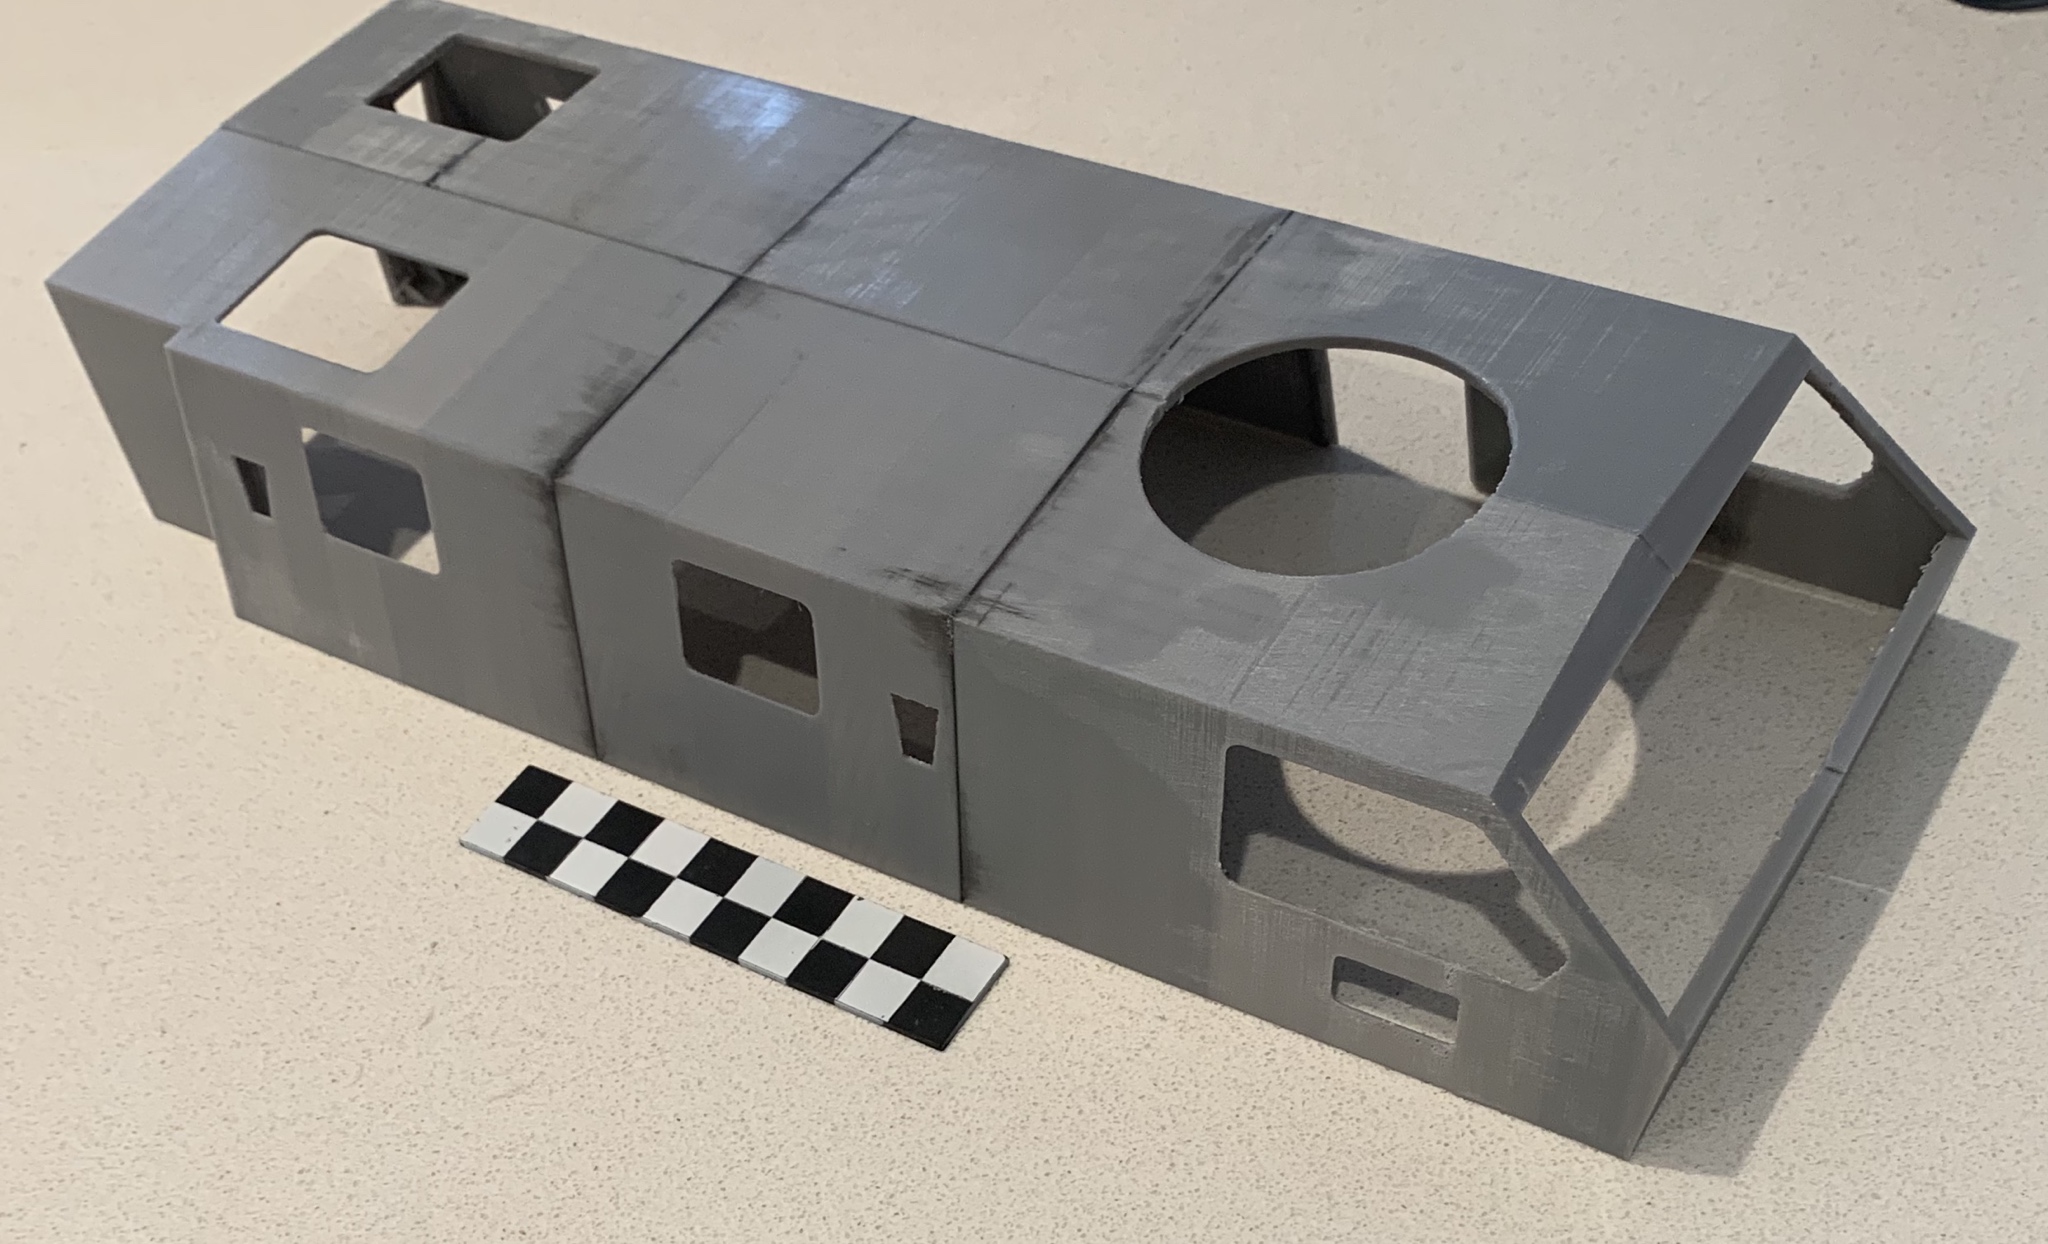
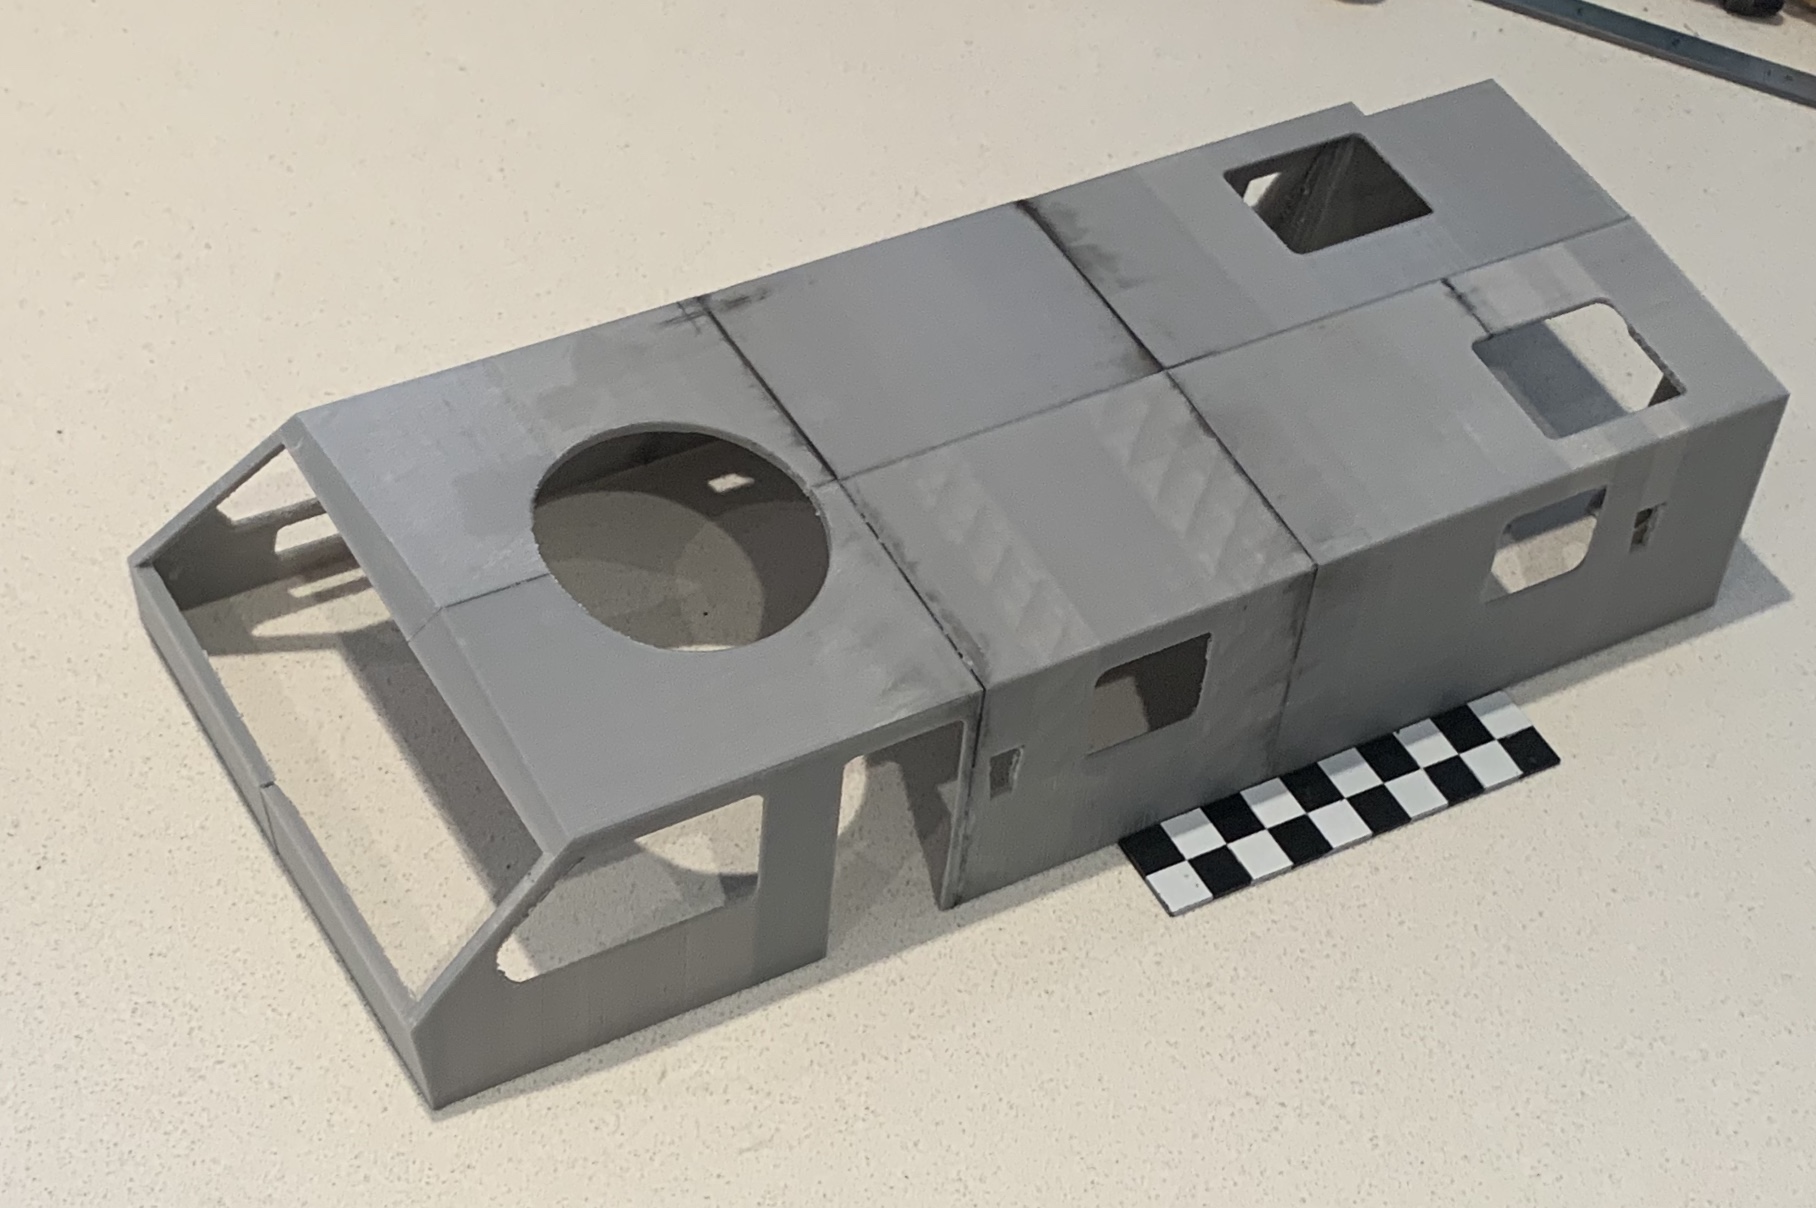
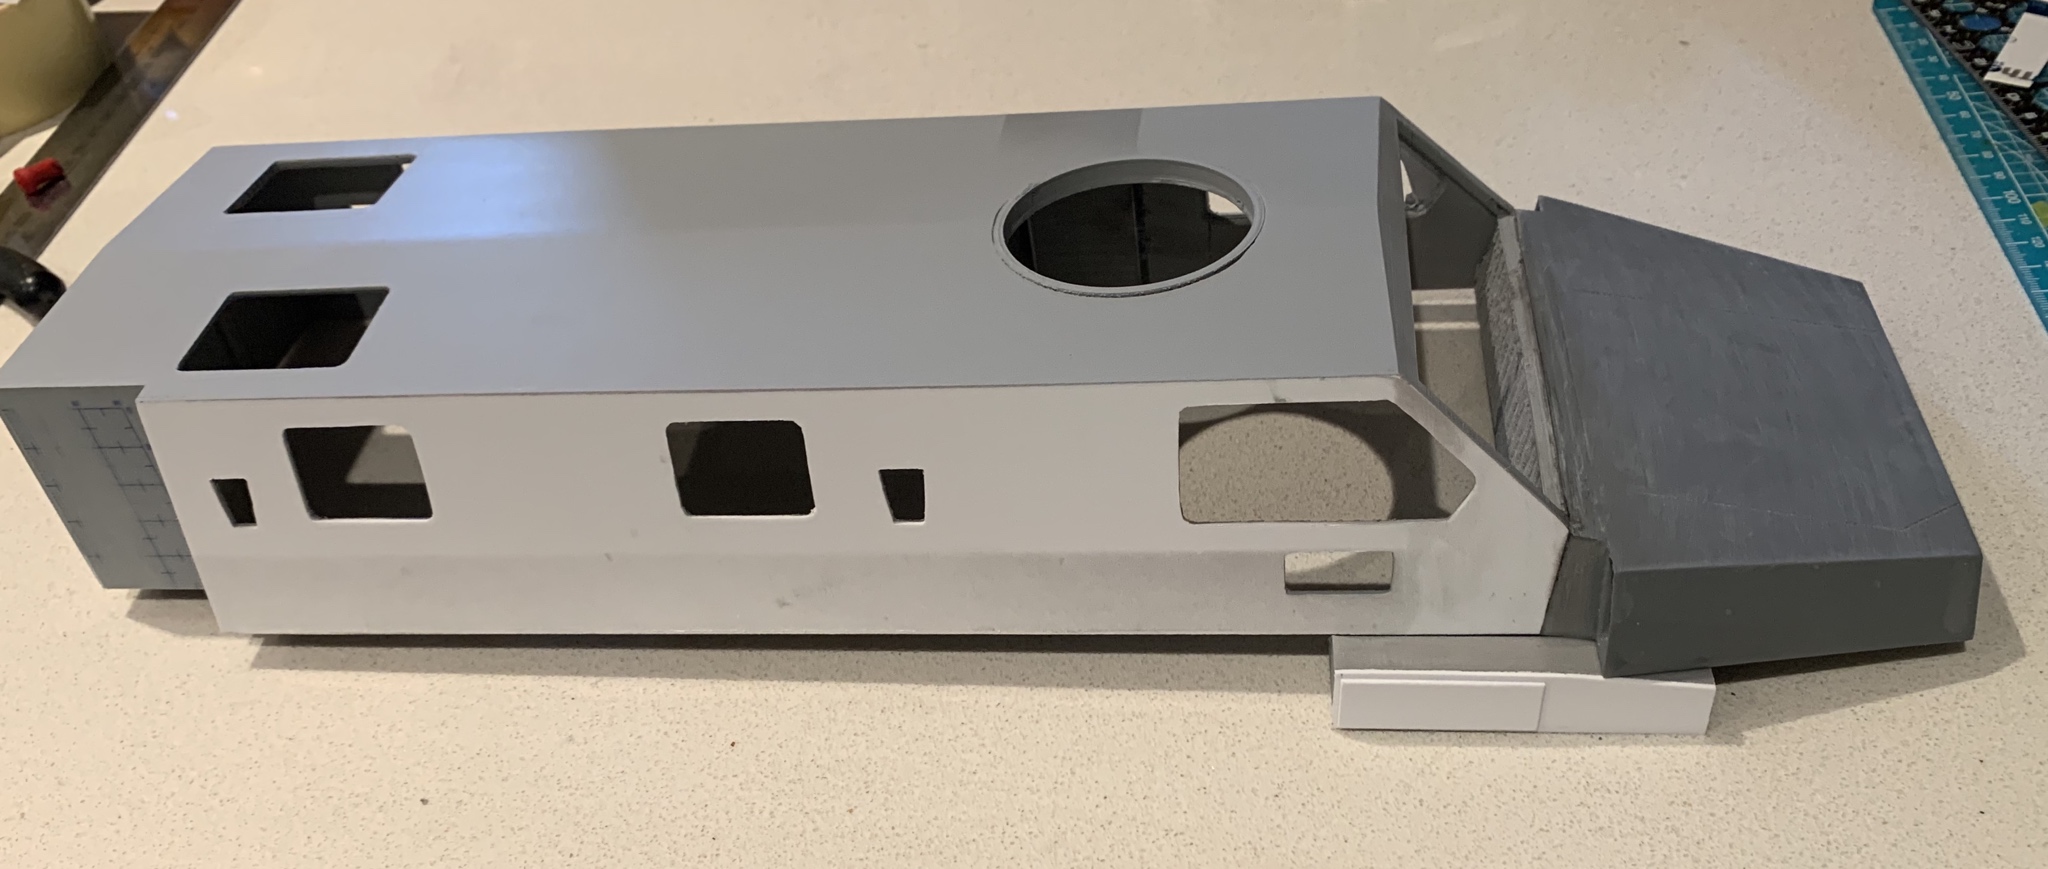
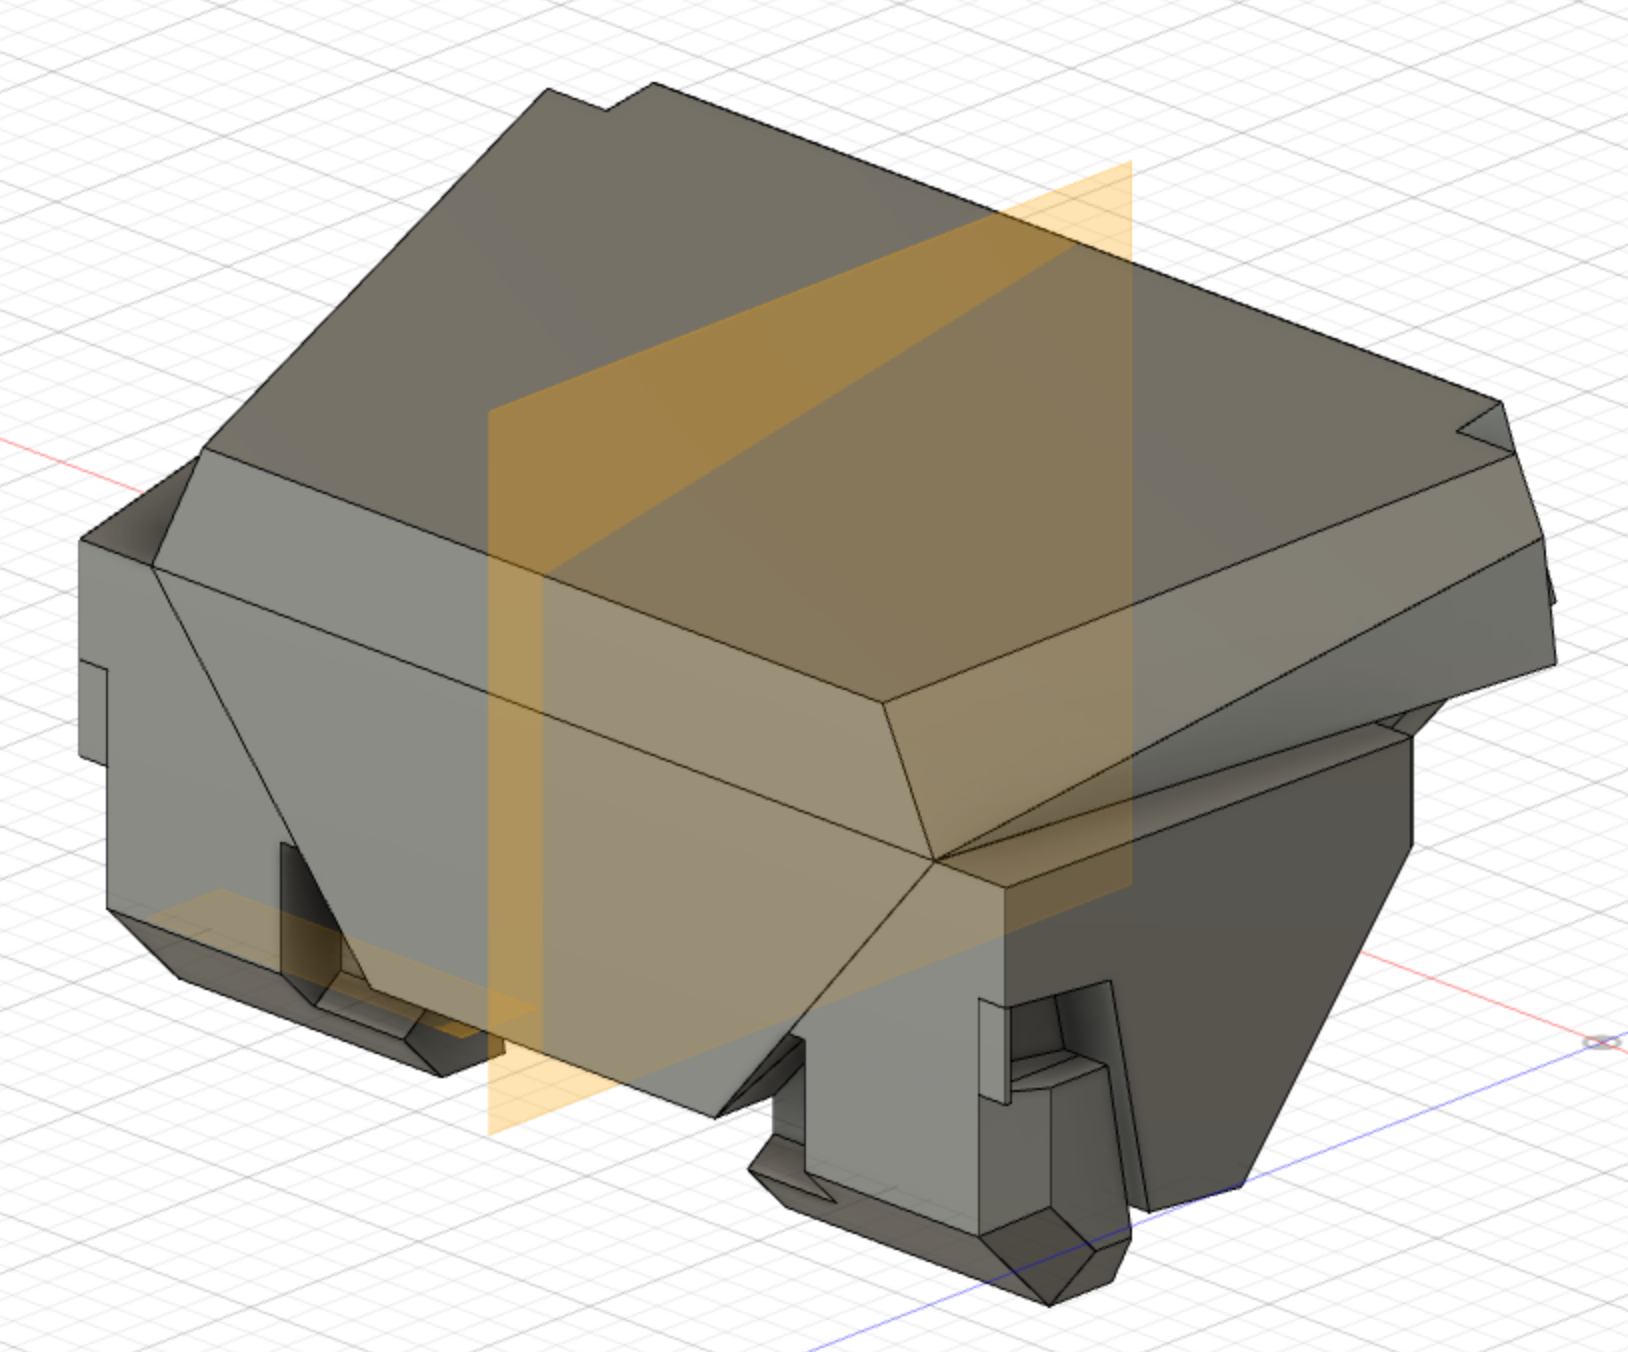
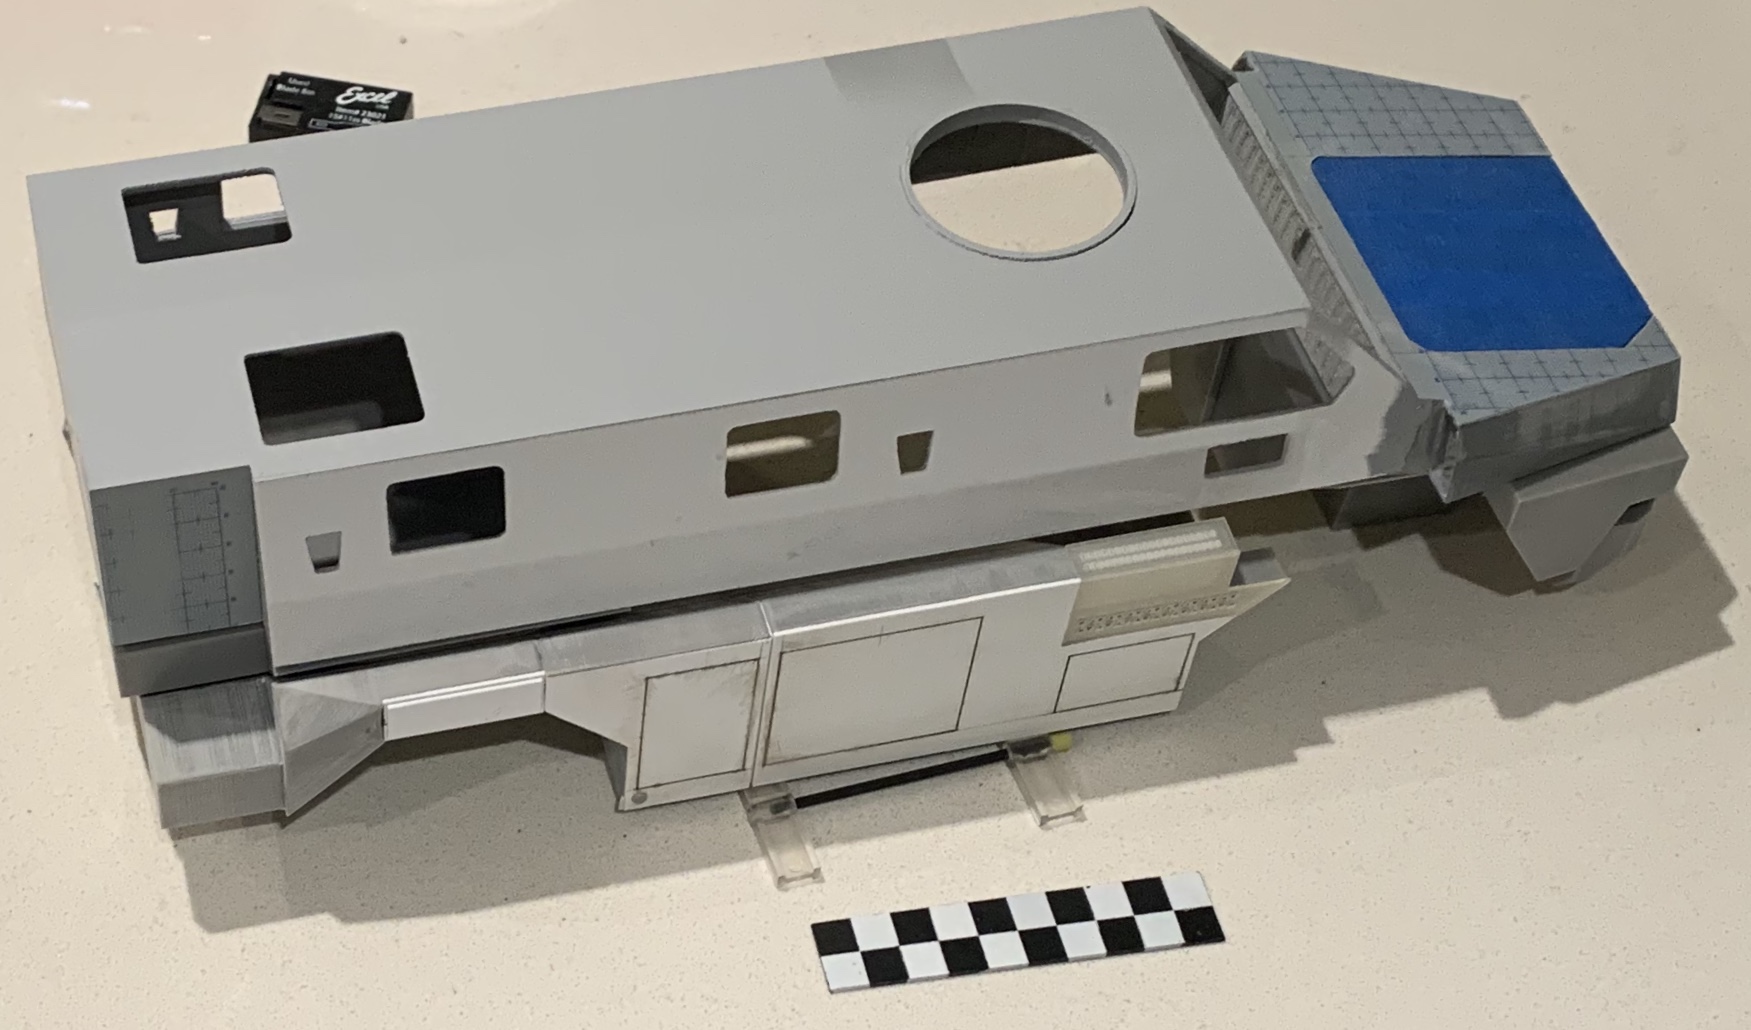
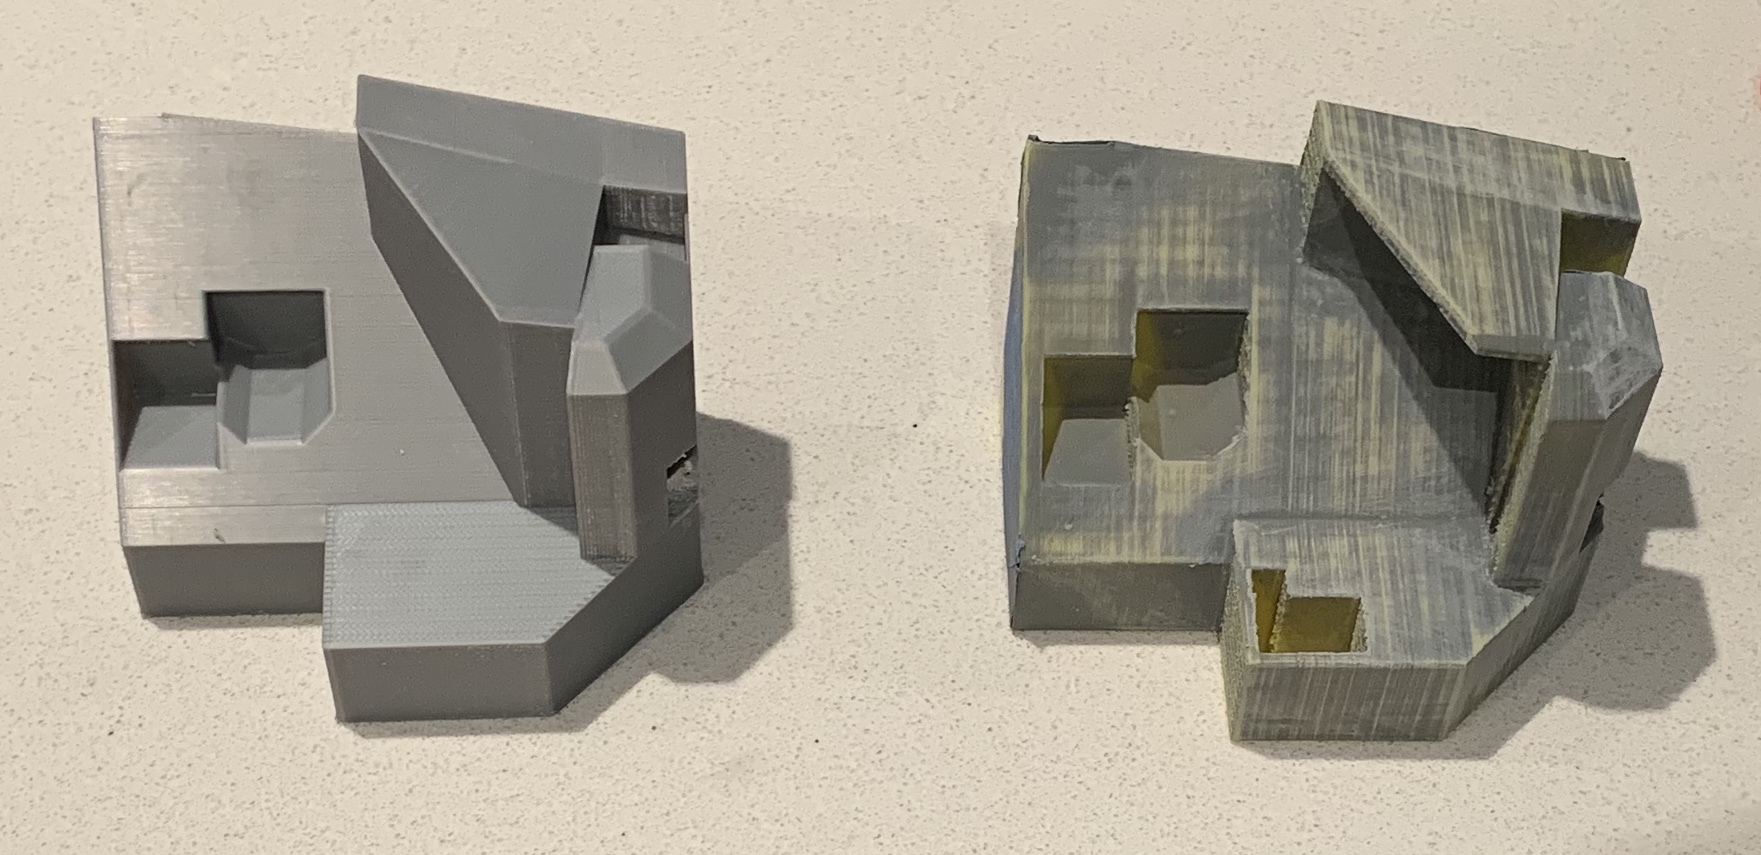
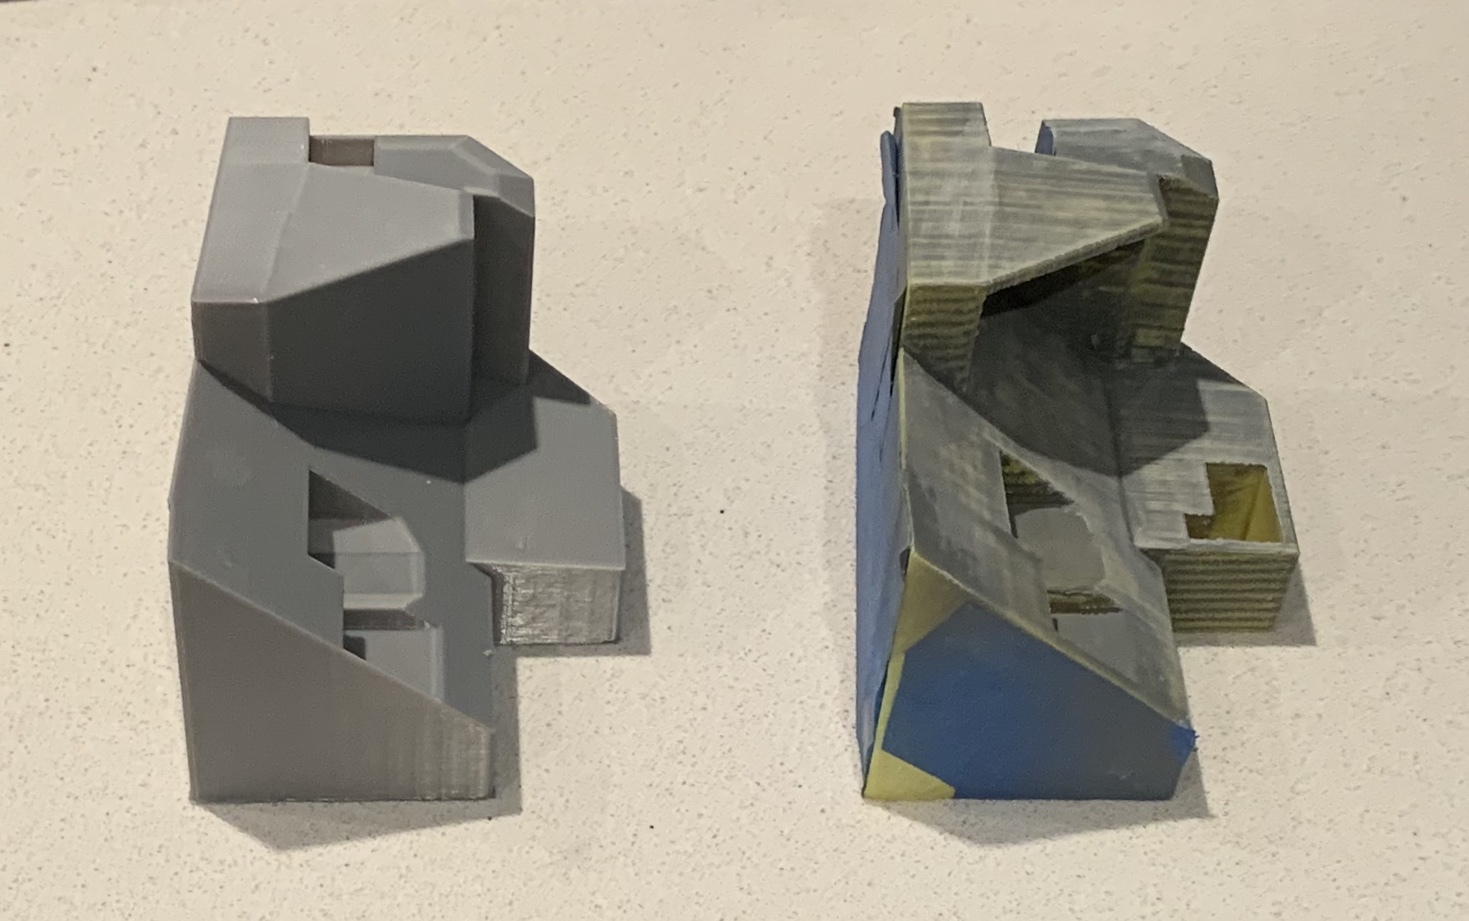
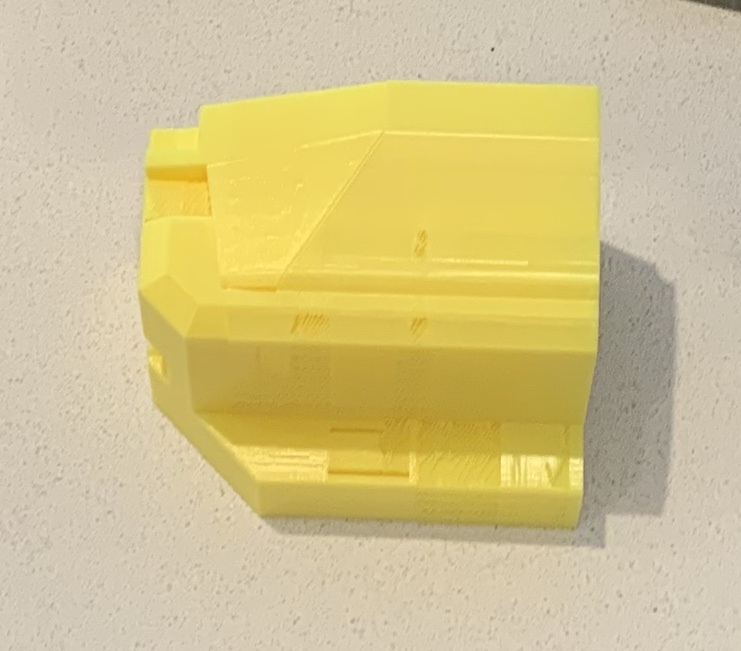
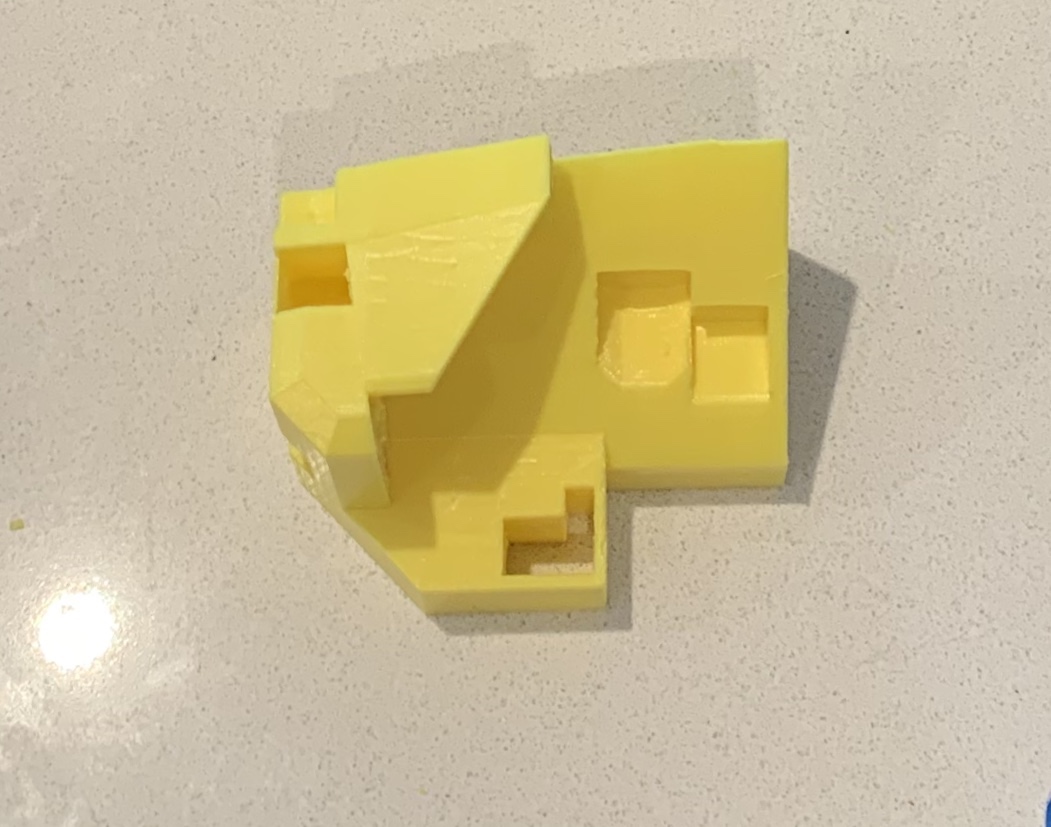
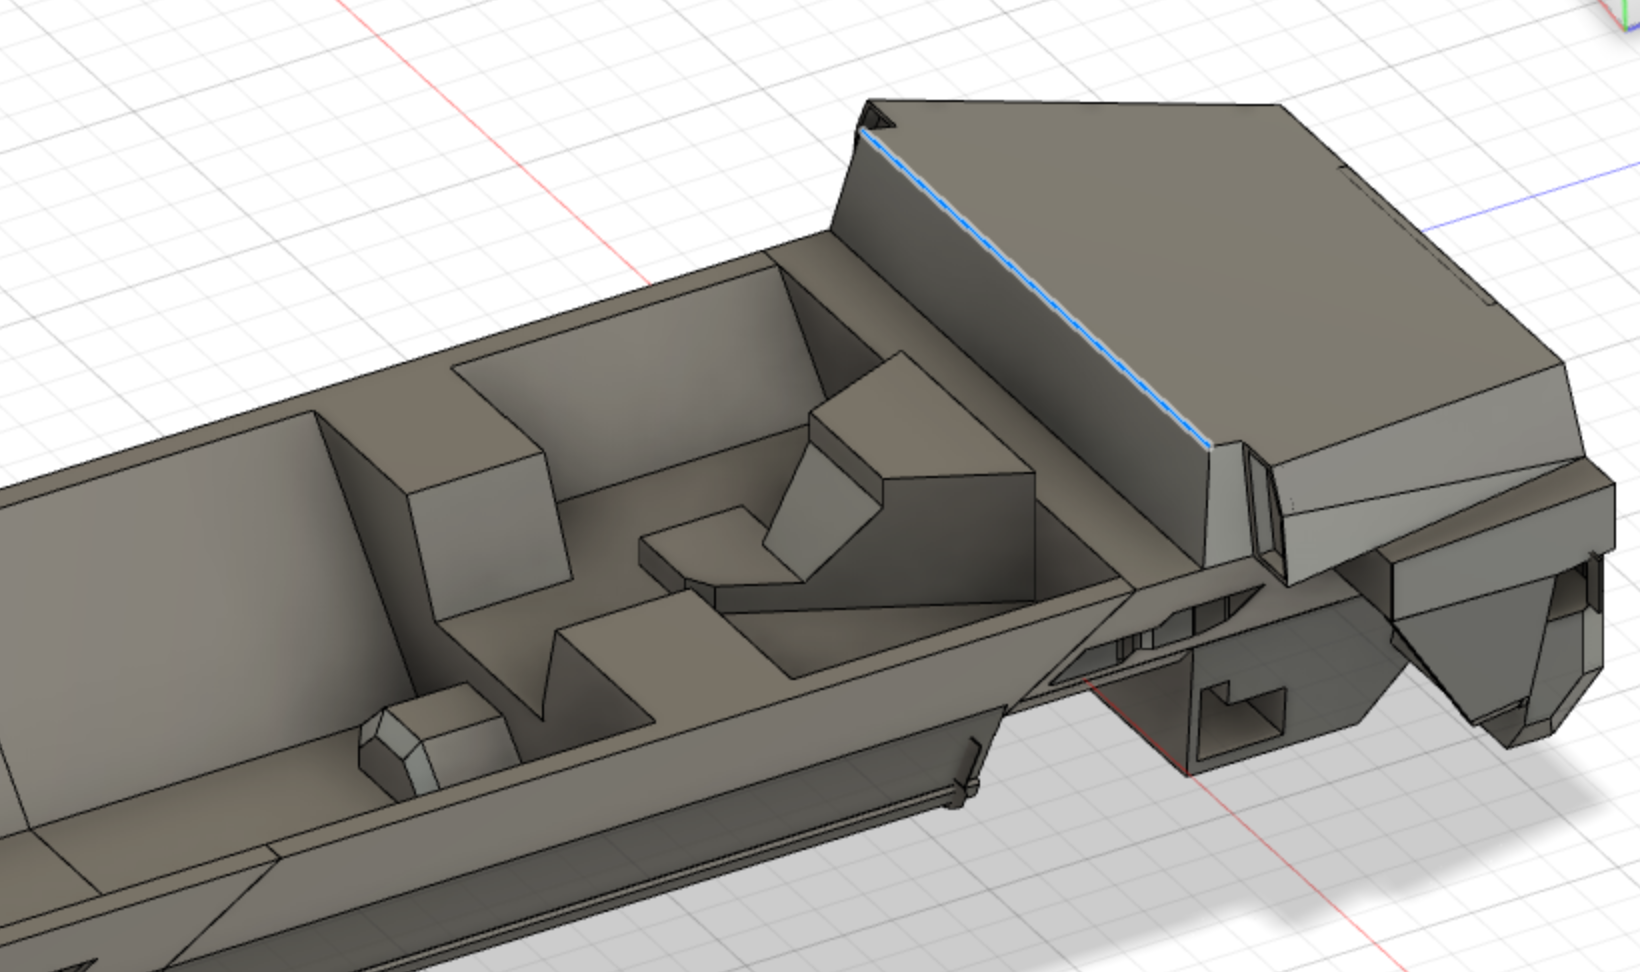
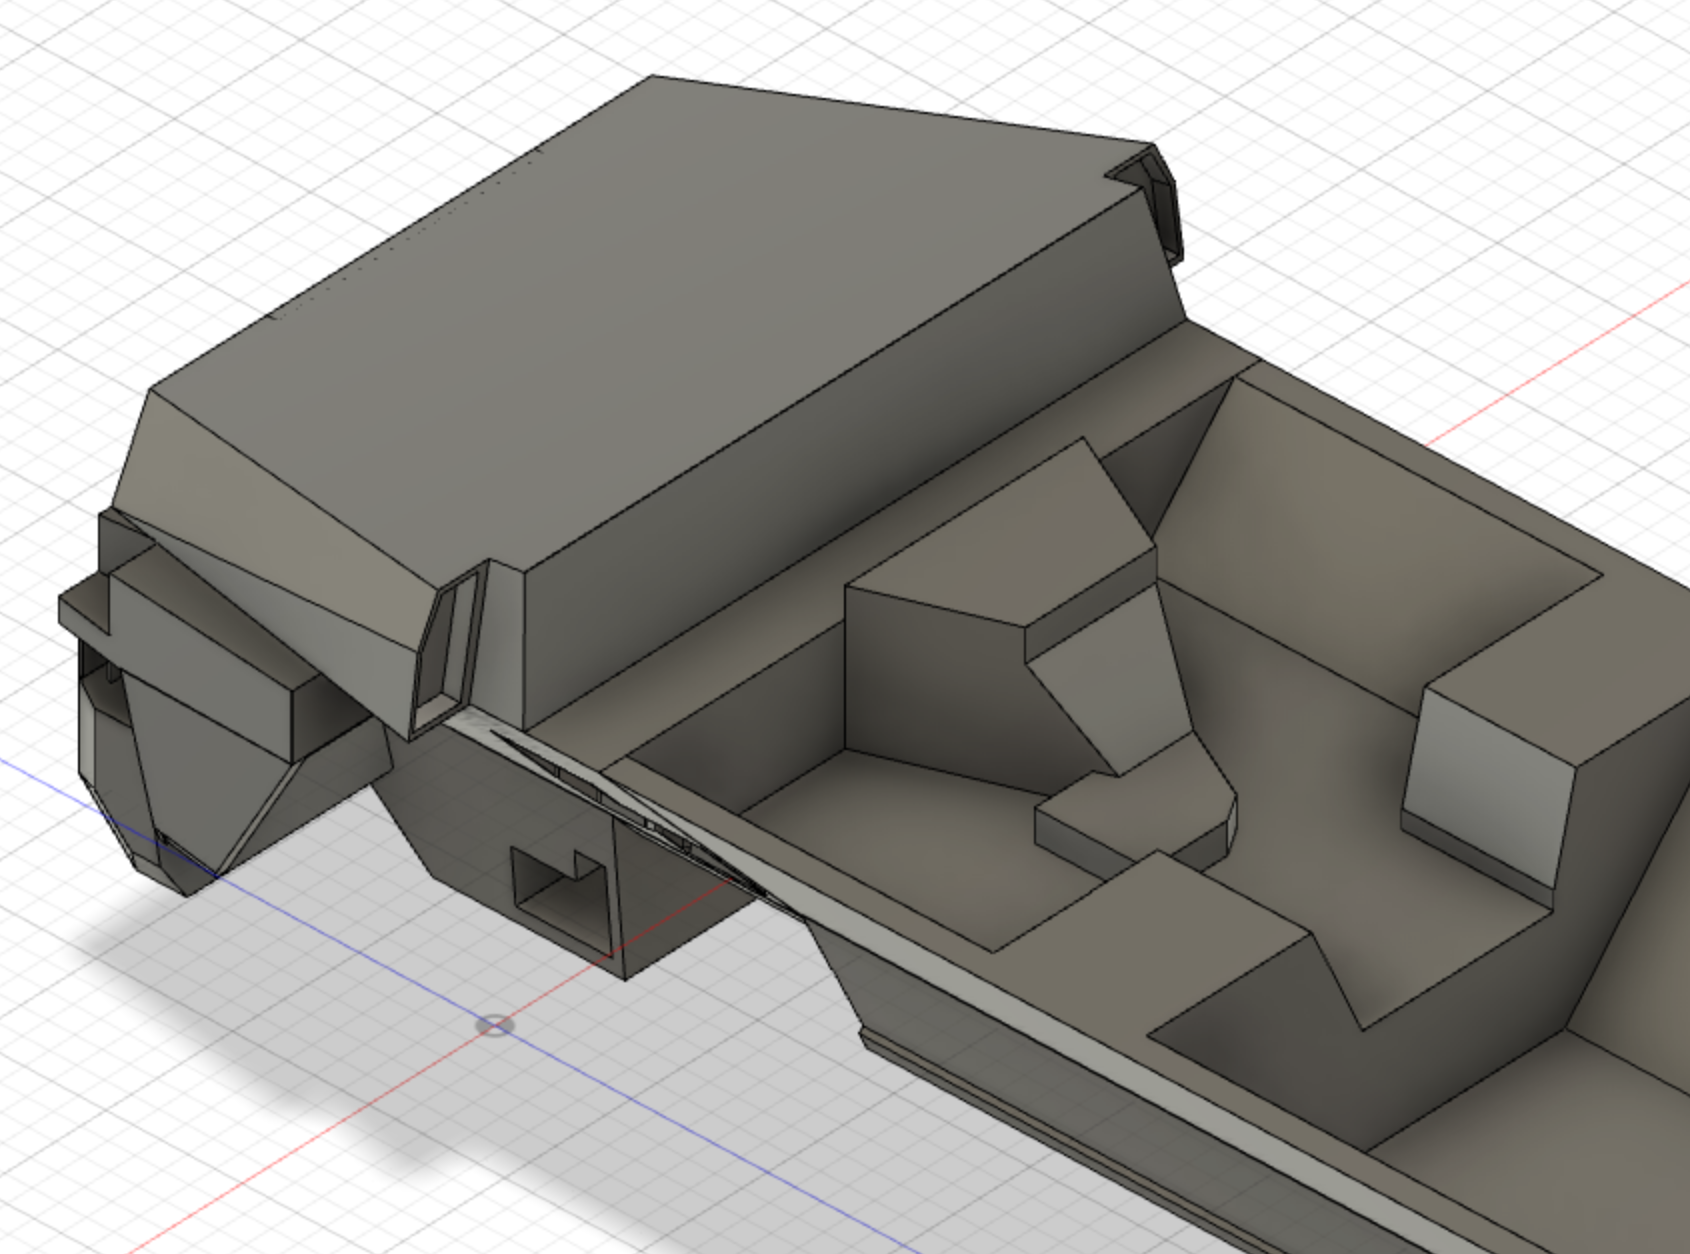
The idea is to print a lot of the structure in PLA plastic, then skin in sheet styrene. This will allow detailing with minimal use of CA.
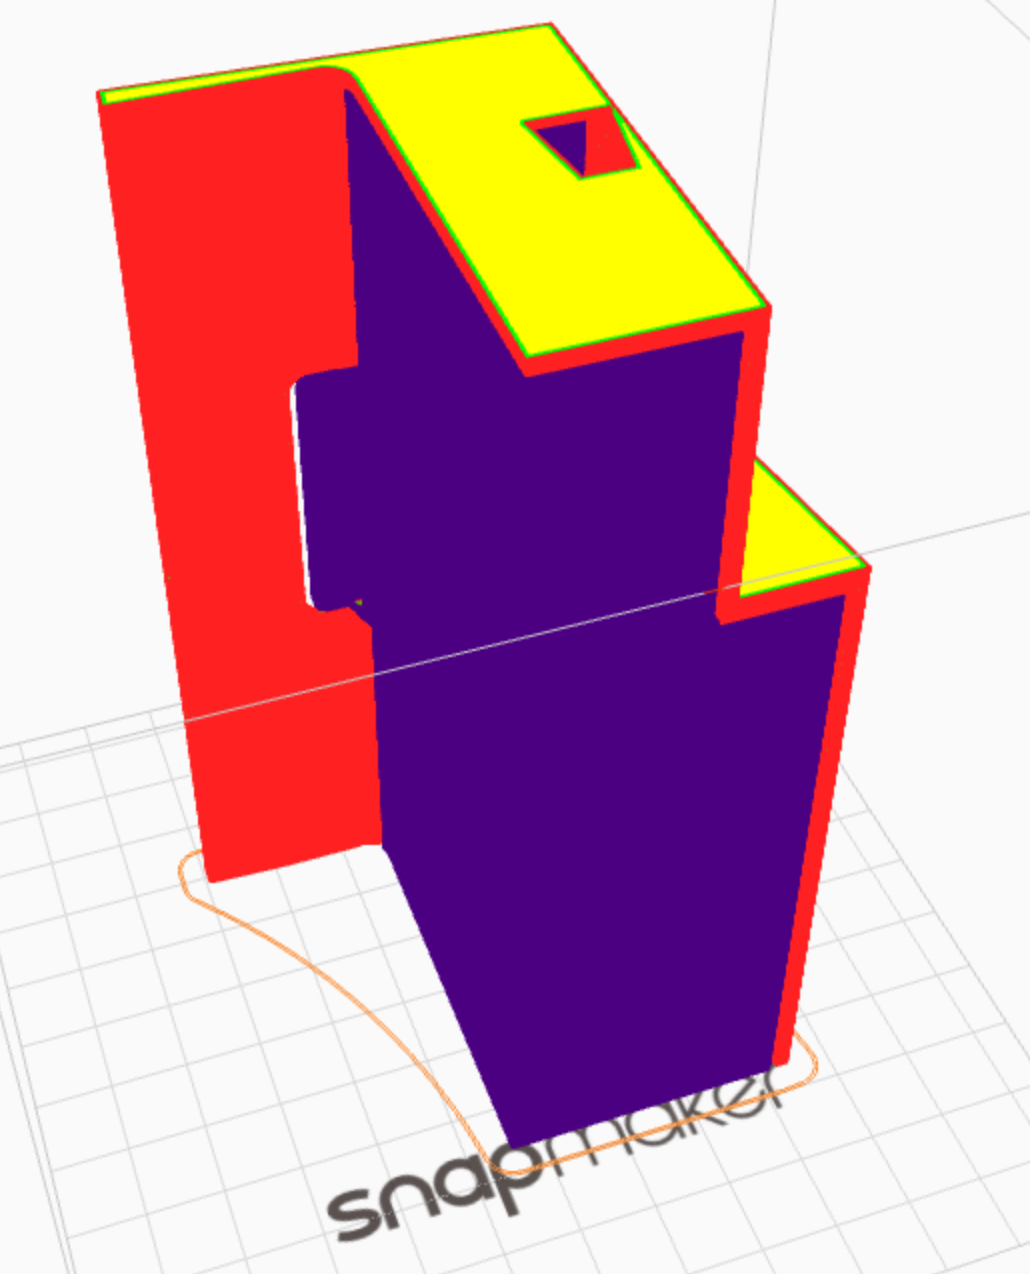
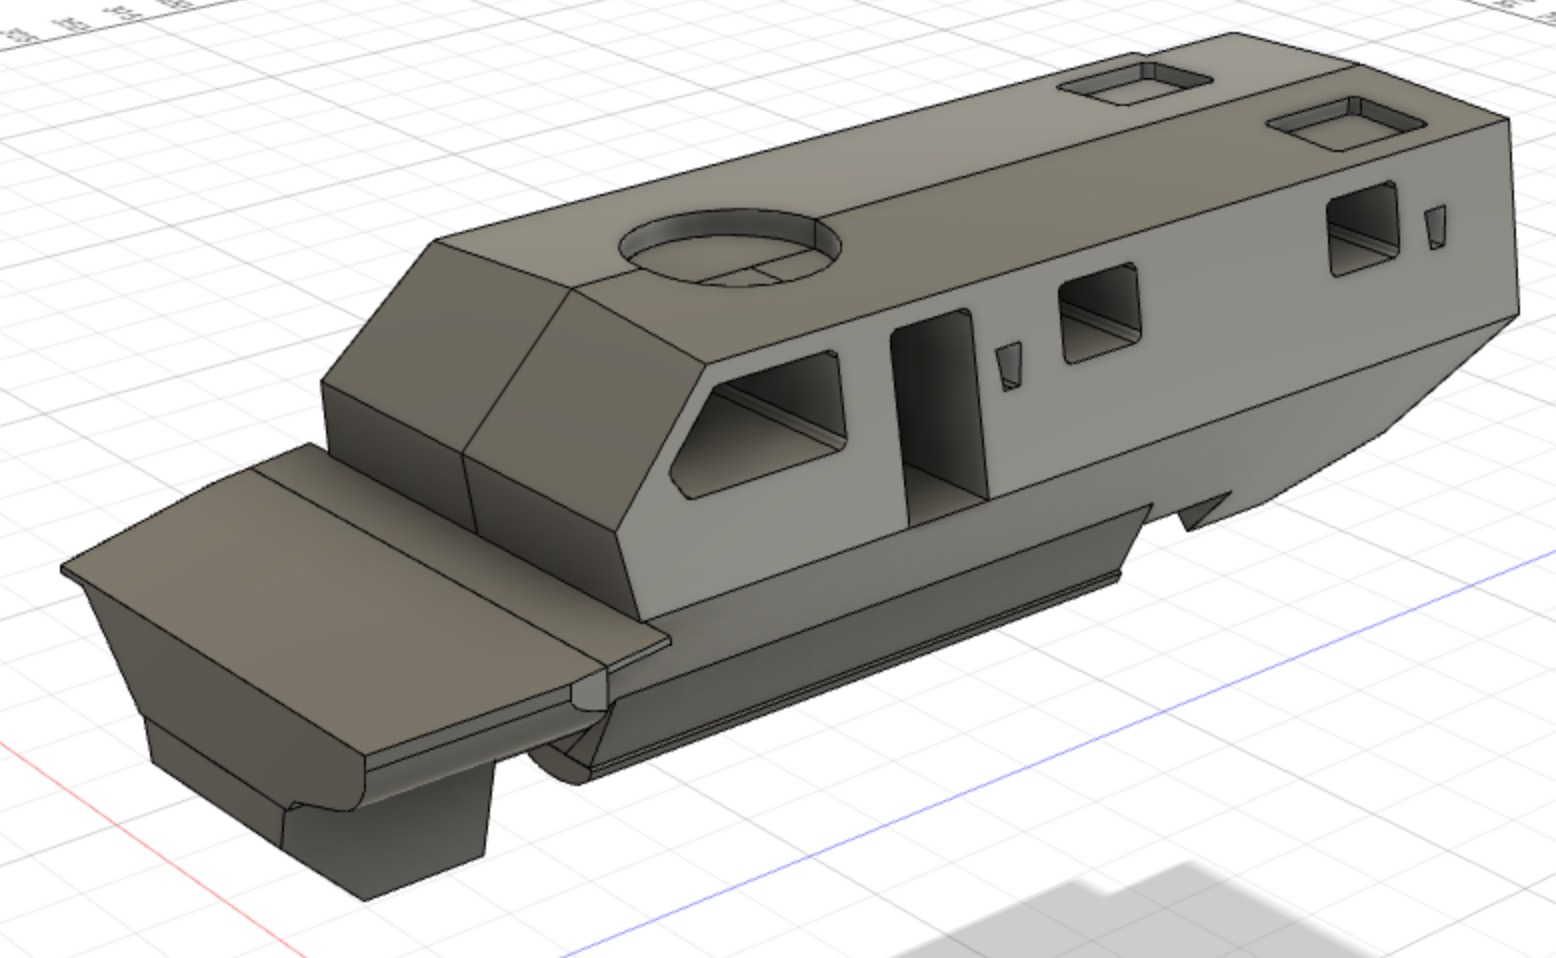
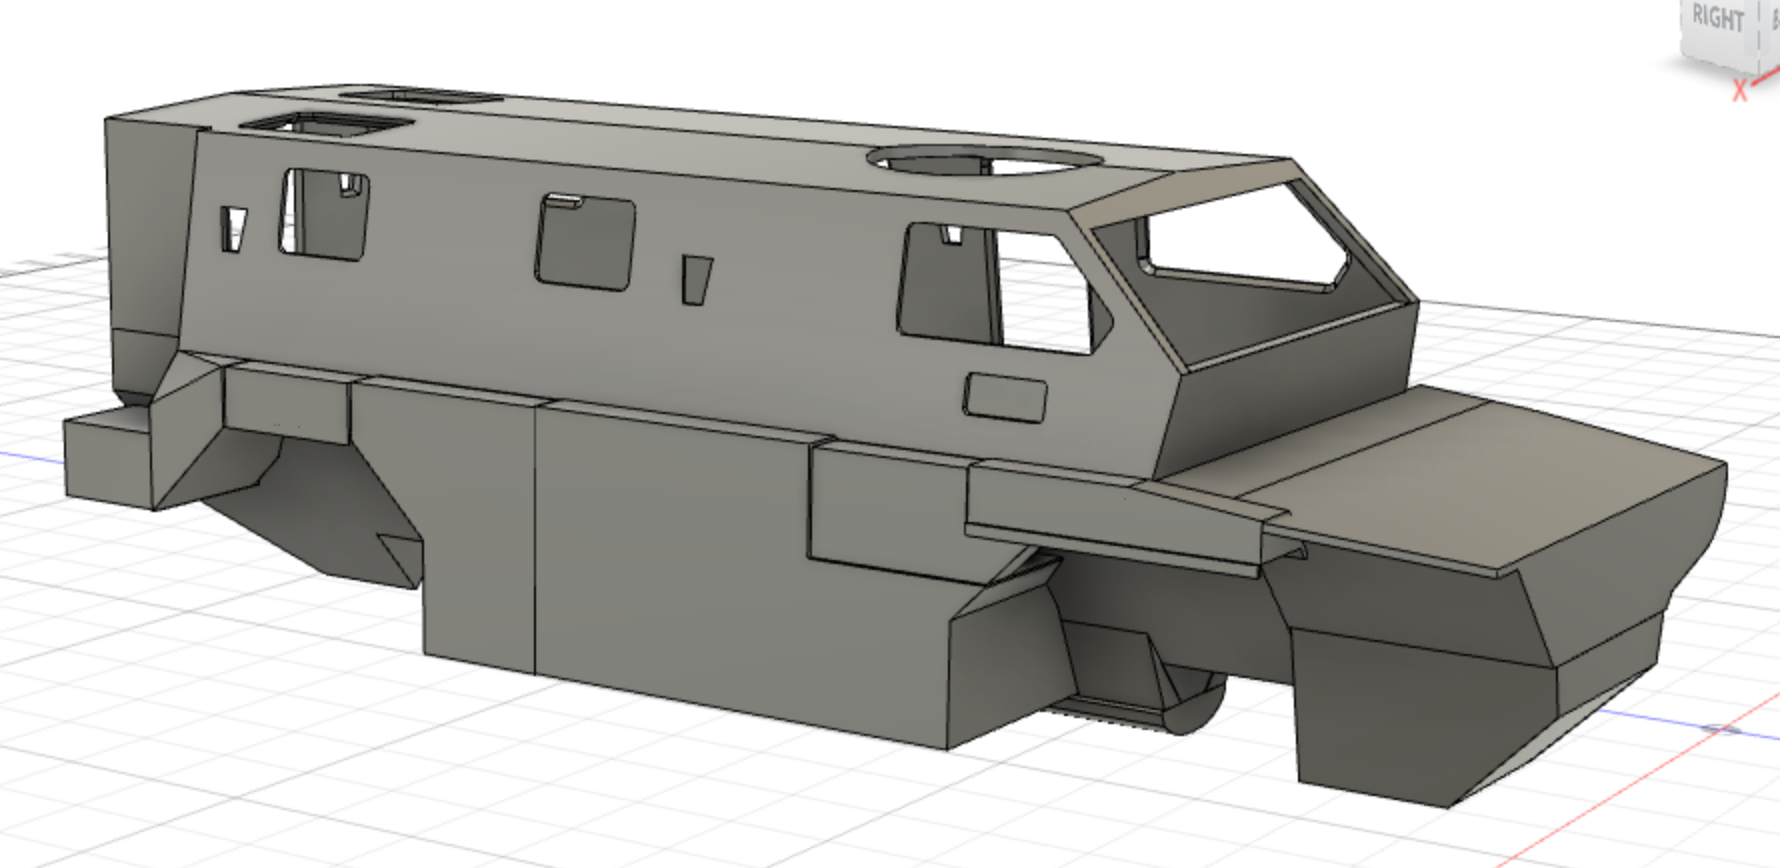
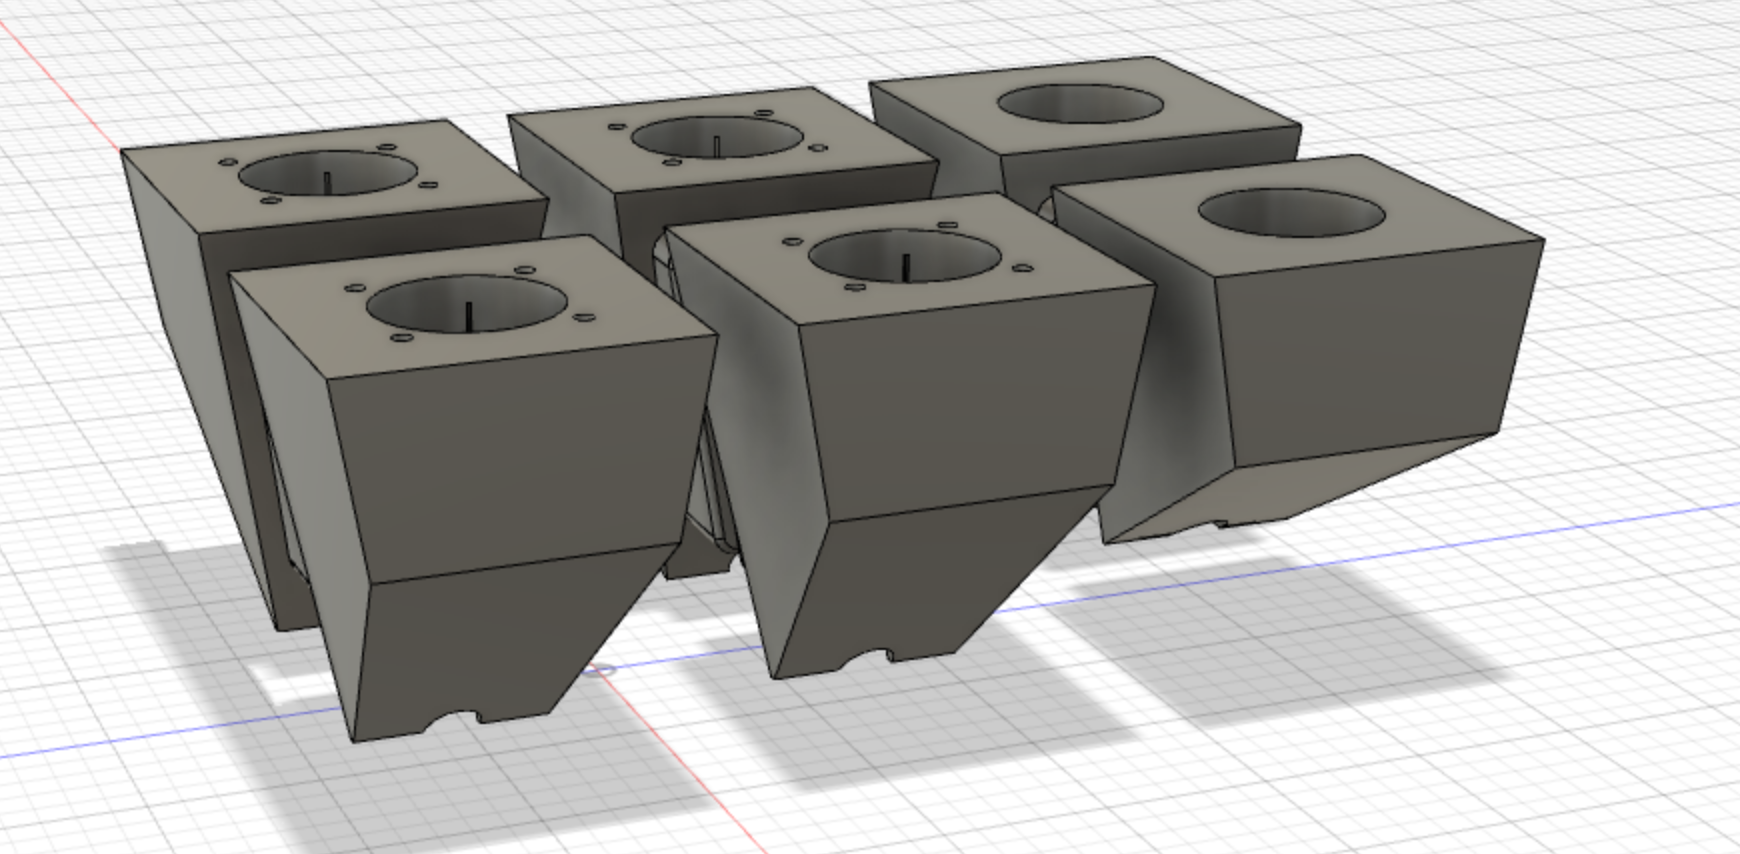
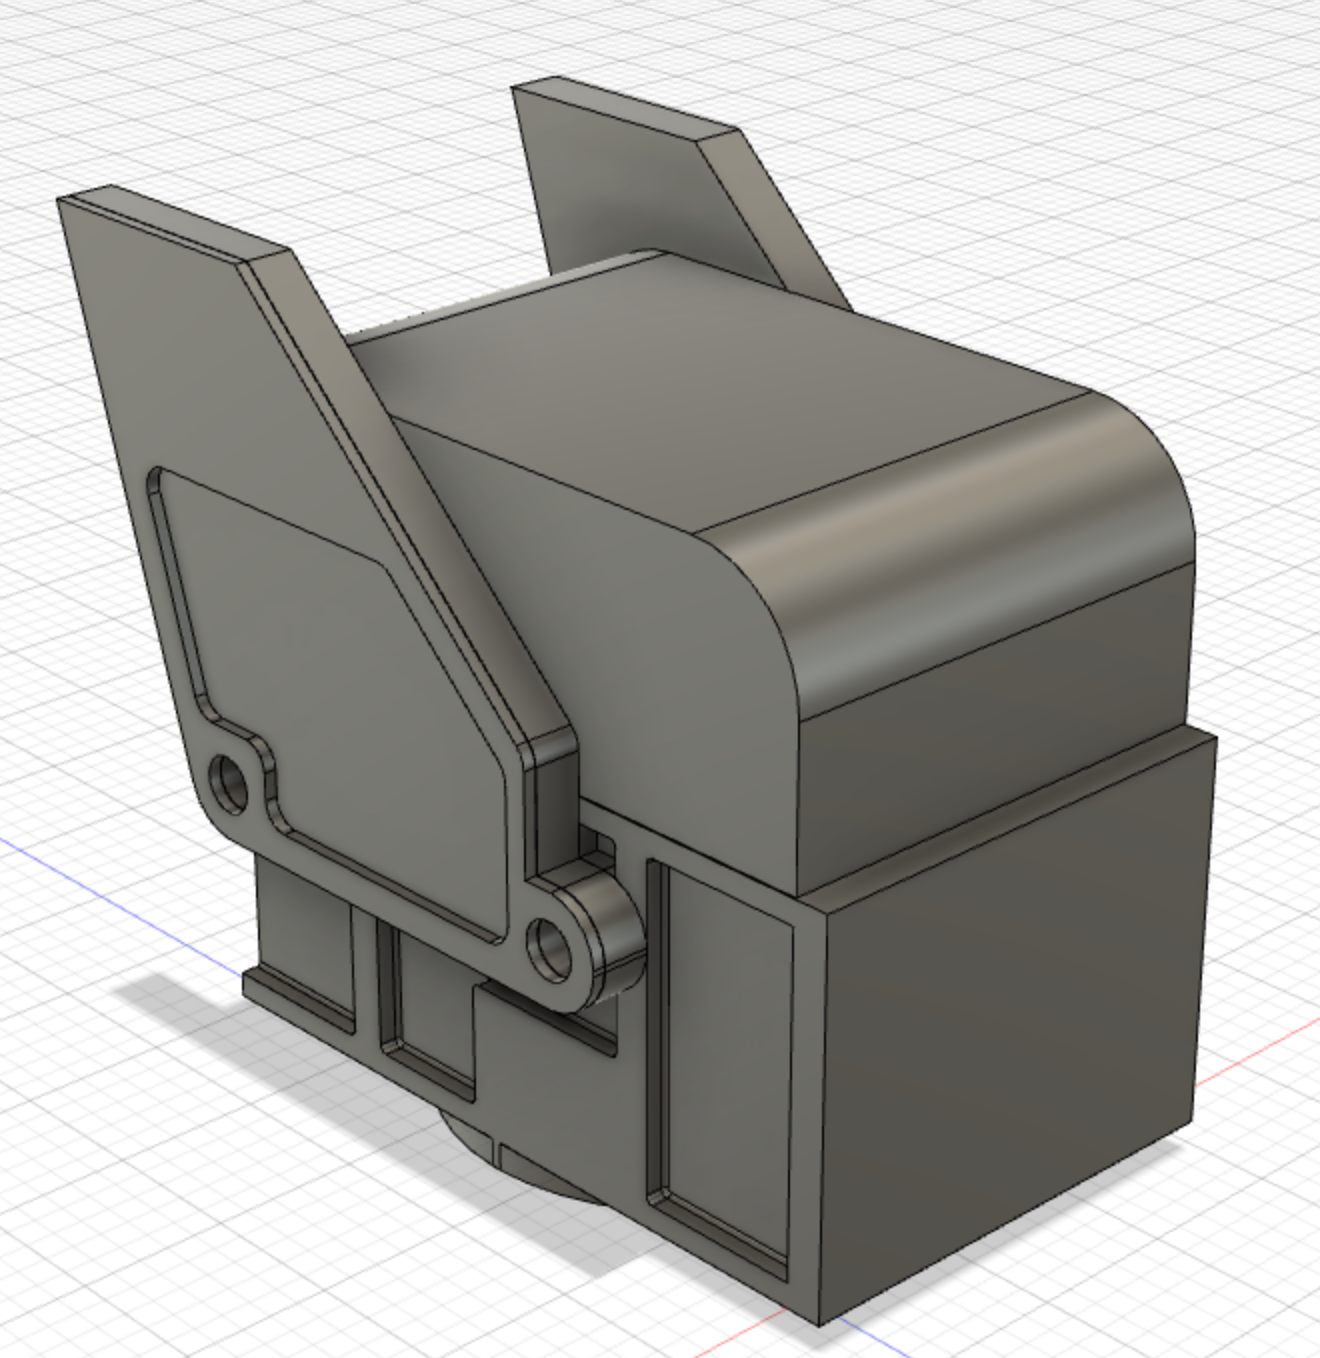
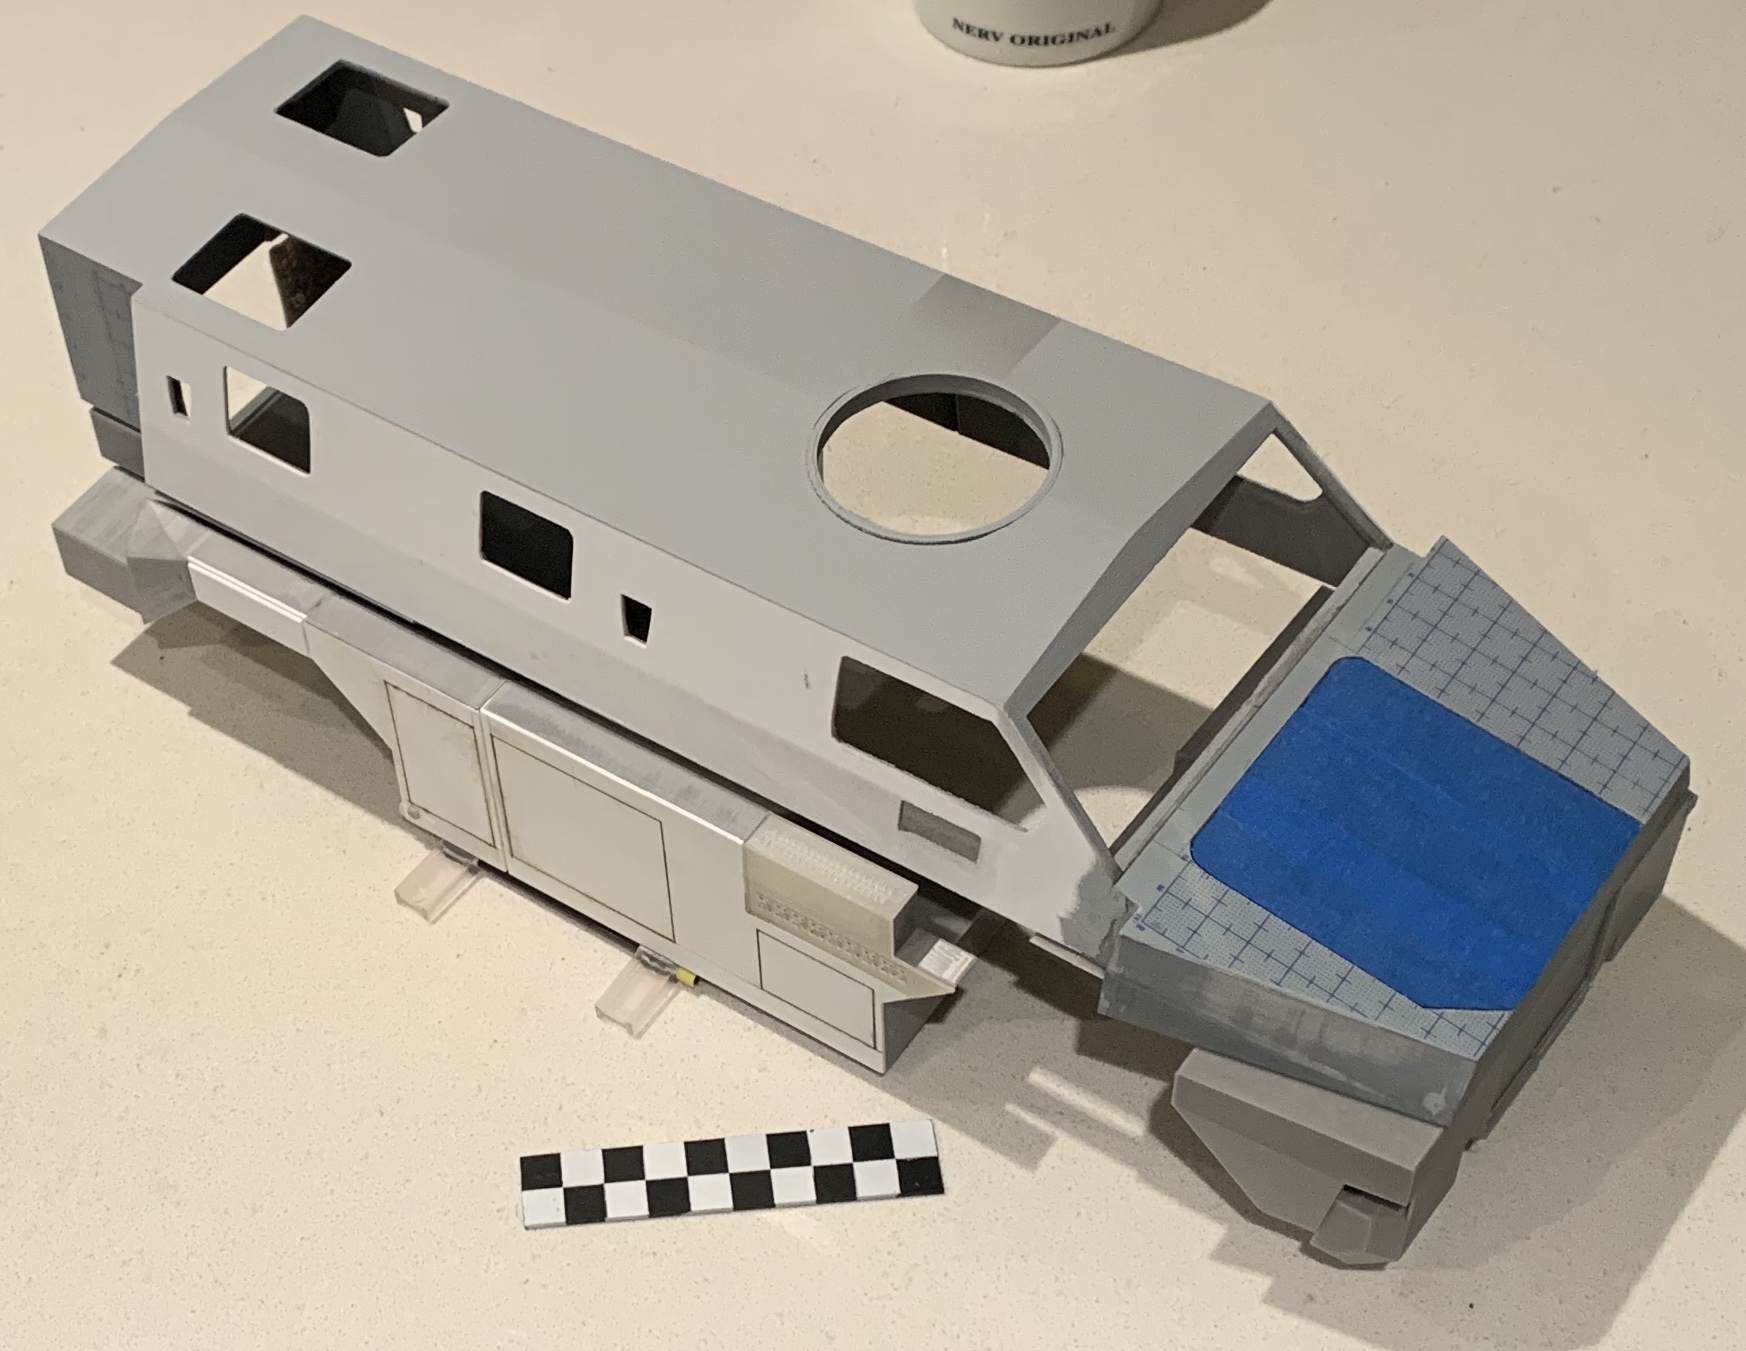
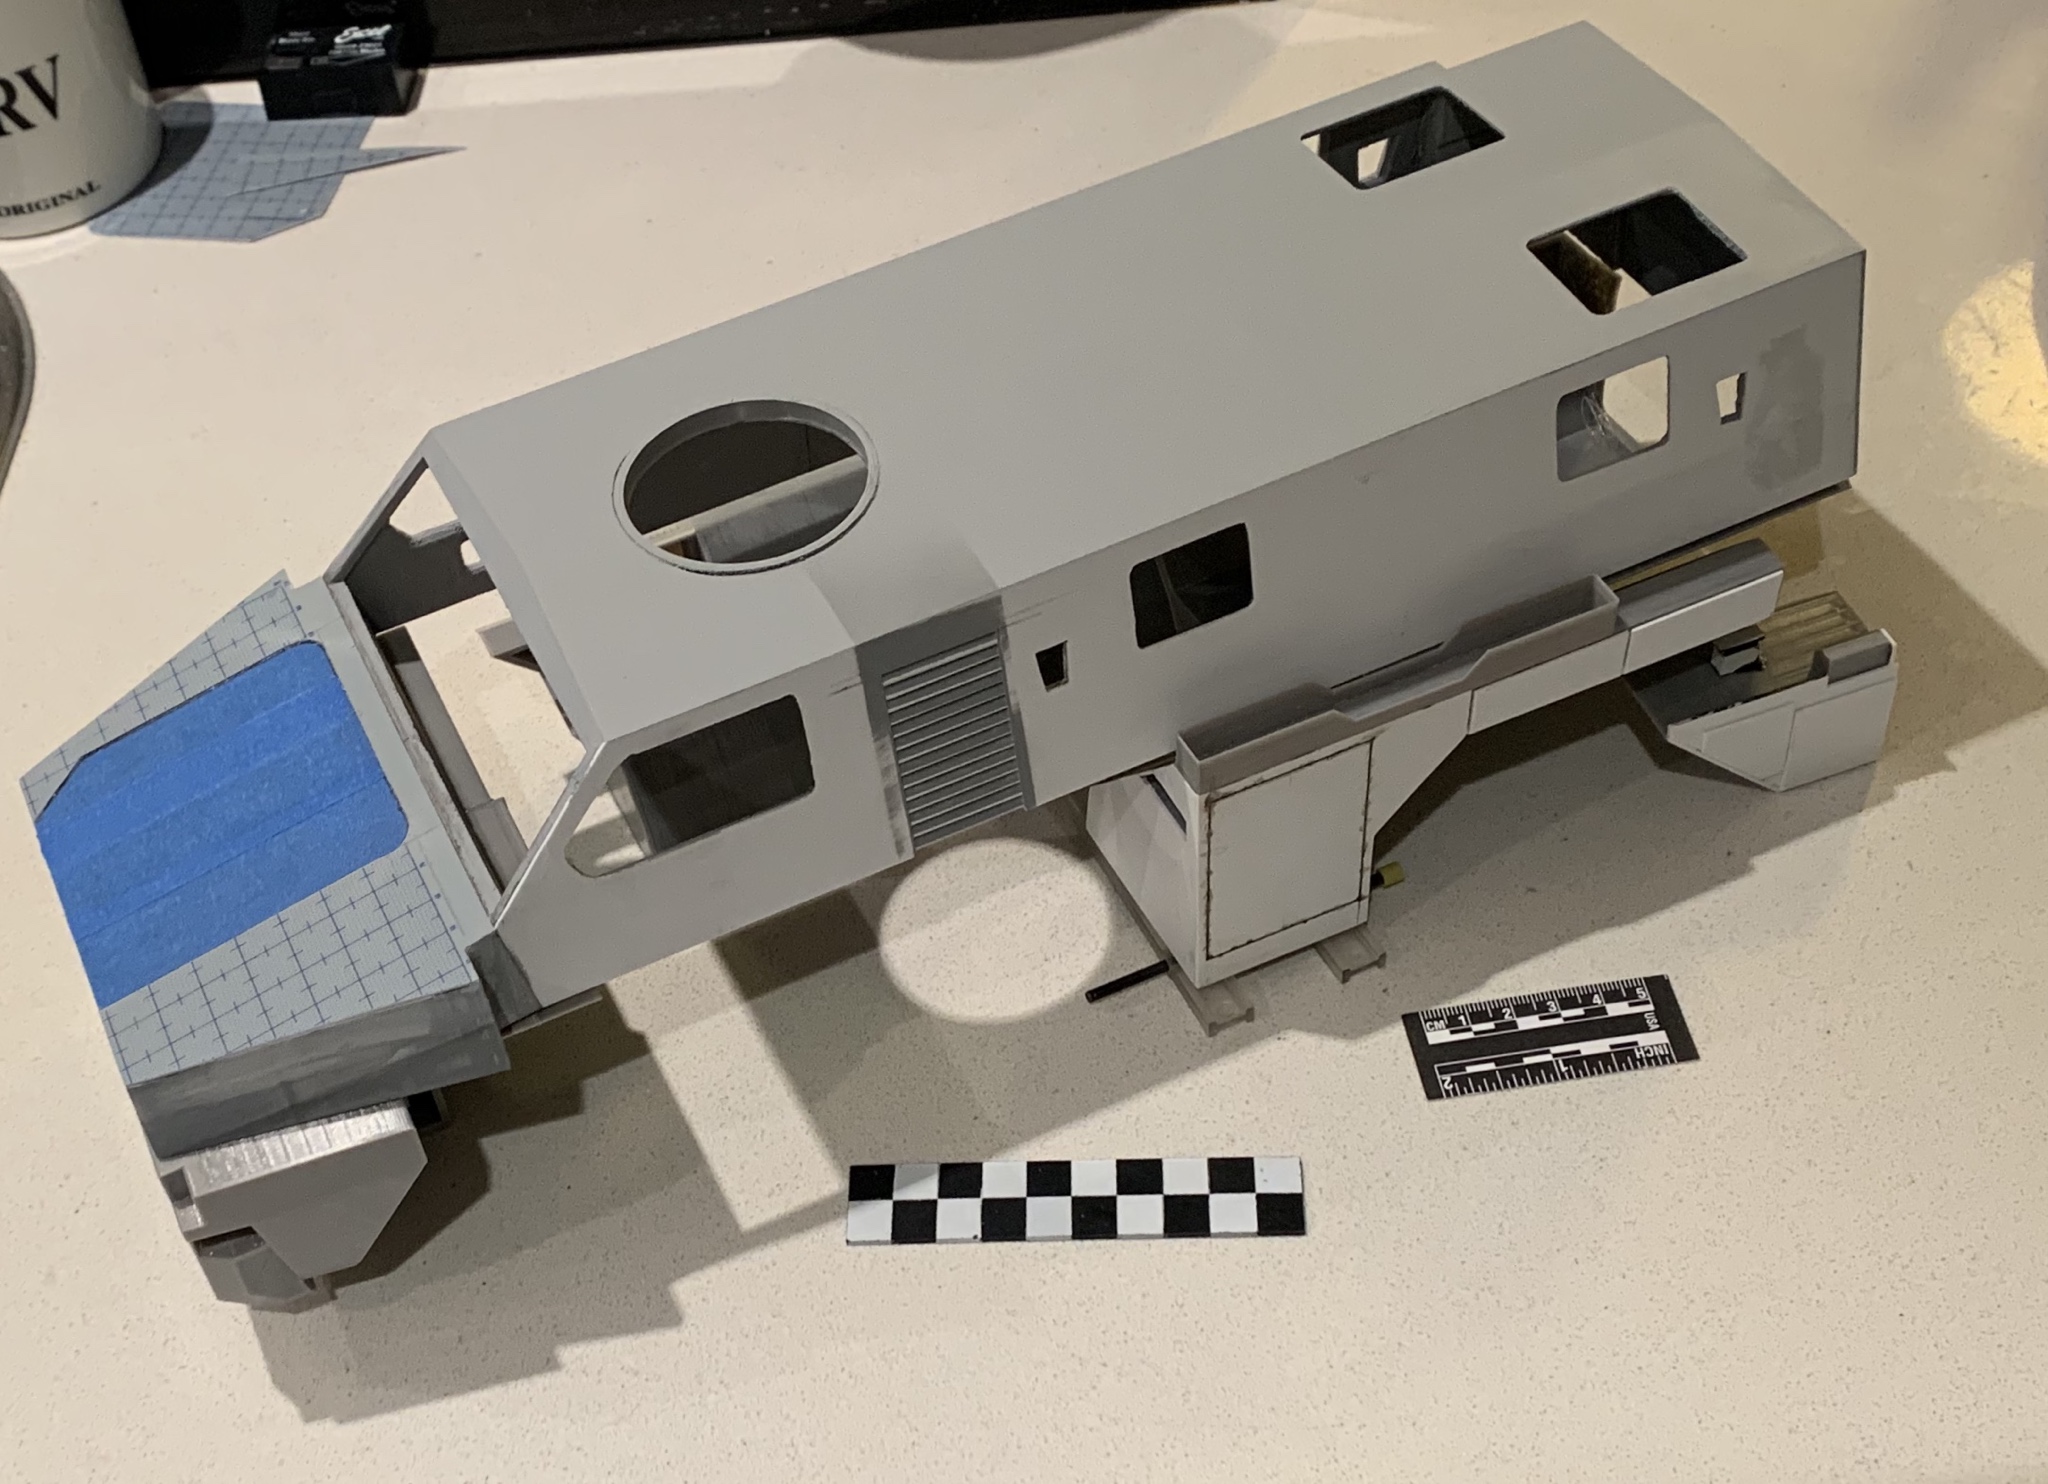
Heres the monocoque hull as of this morning. Pretty happy so far.


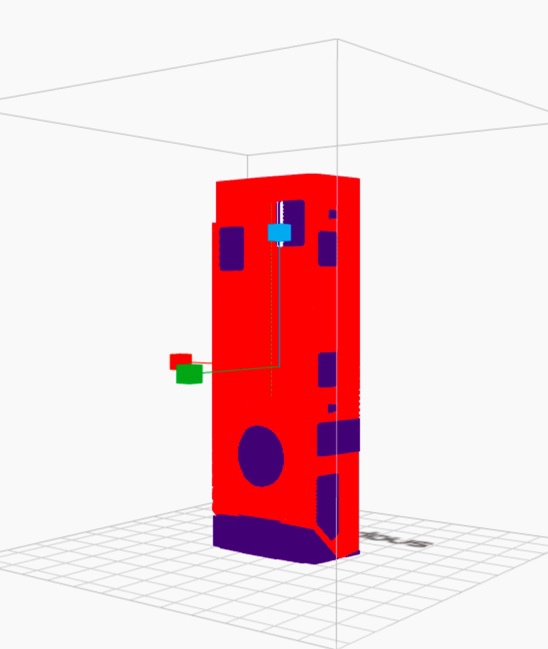
I'll sit in here, as I spent some time learning CAD, what are you using?
Also consider that your subject is mostly flat plates, & would lend itself to be cut from flat plates & LASERcut from ABS, Acrylic, Styrene, or even brass or steel!
I have sometime access (not right now though) to a laser cutter than can cope with 4 by 8 foot sheet steel up to an inch thick!
Not.jealous.at.all about the resin printer, btw!


Hi Mate,
It's looking good. Big project.
Cheers,
G


 |