Victoria, Australia
Joined: March 14, 2006
KitMaker: 1,973 posts
Armorama: 1,843 posts
Posted: Wednesday, August 18, 2010 - 10:48 PM UTC
Great link Rick

Bookmarked

I love Shermies

@ Cal - lovely progress !
@ David - that is one hell of a machine, congrats. Man that superstructure is a piece of art

Paul
OddBall: "It's a wasted trip baby. Nobody said nothing about locking horns with no Tigers"
KIlgore: " I love the smell of napalm in the morning. ...The smell, you know that gasoline smell, the whole hill. Smelled like... victory."
Victoria, Australia
Joined: March 14, 2006
KitMaker: 1,973 posts
Armorama: 1,843 posts
Posted: Thursday, August 19, 2010 - 07:08 PM UTC
117 starters now - another 33 would be nice

OddBall: "It's a wasted trip baby. Nobody said nothing about locking horns with no Tigers"
KIlgore: " I love the smell of napalm in the morning. ...The smell, you know that gasoline smell, the whole hill. Smelled like... victory."

#041
Kobenhavn, Denmark
Joined: July 20, 2006
KitMaker: 10,069 posts
Armorama: 4,677 posts
Posted: Thursday, August 19, 2010 - 08:13 PM UTC
Great link, Richard.
Took a few screen dumps of the 105mm Shermie with sandbag armour and camouflage painting. I am definitely going to build that one. I do not know if it will be for this campaign, but one day.....

Campaign'oholic - 252+ campaigns completed

#016
England - East Anglia, United Kingdom
Joined: March 18, 2009
KitMaker: 142 posts
Armorama: 138 posts
Posted: Friday, August 20, 2010 - 03:45 AM UTC
Im pritty much done now will post some more pic's tonight just got to put stowage and some more weathering.

#016
England - East Anglia, United Kingdom
Joined: March 18, 2009
KitMaker: 142 posts
Armorama: 138 posts
Posted: Friday, August 20, 2010 - 10:50 AM UTC
Removed by original poster on 08/20/10 - 21:51:32 (GMT).

#016
England - East Anglia, United Kingdom
Joined: March 18, 2009
KitMaker: 142 posts
Armorama: 138 posts
Posted: Friday, August 20, 2010 - 11:12 AM UTC
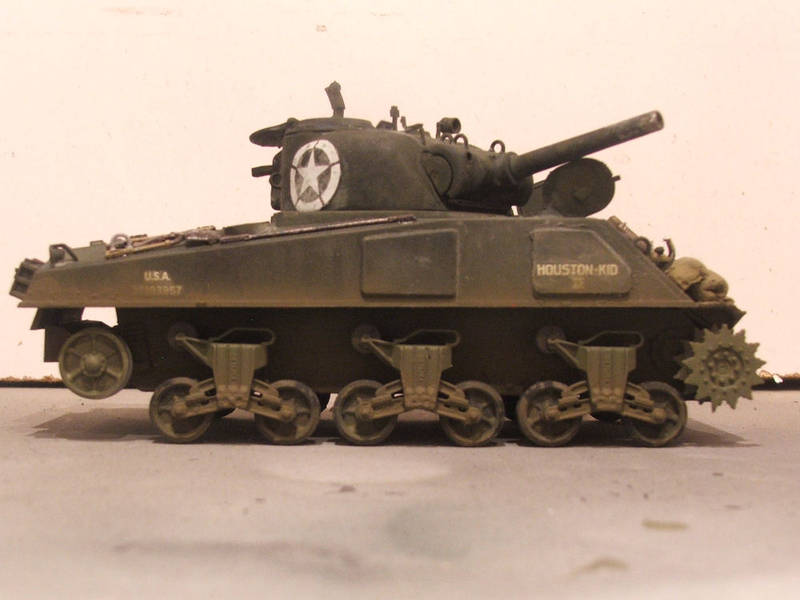
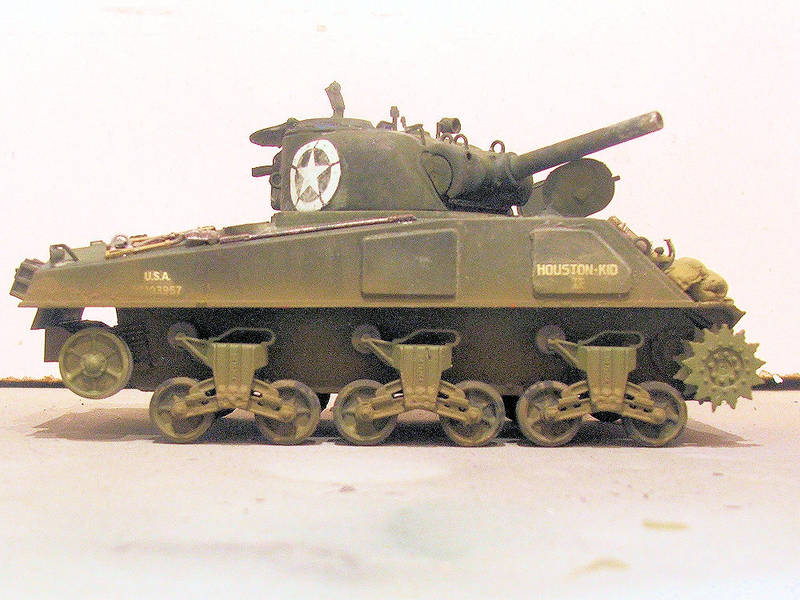
finally I have figured out how to get pics on forums.

Victoria, Australia
Joined: May 07, 2003
KitMaker: 4,002 posts
Armorama: 2,947 posts
Posted: Friday, August 20, 2010 - 12:20 PM UTC
Hey David how about some brighter pics of your build? Hard to determine your work on the dull photo. Get some extra lighting happening

Brad
"There never was a good war, or a bad peace."
Benjamin Franklin

#016
England - East Anglia, United Kingdom
Joined: March 18, 2009
KitMaker: 142 posts
Armorama: 138 posts
Posted: Friday, August 20, 2010 - 12:53 PM UTC
thats the best I can do for now as my camera is out of battery's.
Quebec, Canada
Joined: November 15, 2002
KitMaker: 3,960 posts
Armorama: 3,579 posts
Posted: Friday, August 20, 2010 - 04:59 PM UTC
Nice work David ...I'm not sure if any of these 105"s had the welded side armor but I'm not ready to say it couldn't happen... the paint and weathering look great...
Now I got a question for you guys ...As you know I'm building a sherman II DV in North Africa..Most pictures show a jerry can holder on the back end ...Question is ...Gas or Water in the jerry can...They give you both types in the Tasca kit but no clues as which one to use ..

#016
England - East Anglia, United Kingdom
Joined: March 18, 2009
KitMaker: 142 posts
Armorama: 138 posts
Posted: Friday, August 20, 2010 - 08:16 PM UTC
thanks I have enjoyed building this one. wasn't sure about the plates either but thought Id pot them on. just got to fit the tracks and fit stowage now. sorry cant help you with your Question.
Victoria, Australia
Joined: March 14, 2006
KitMaker: 1,973 posts
Armorama: 1,843 posts
Posted: Friday, August 20, 2010 - 08:20 PM UTC
Nice work David - I like the mud / dust along the bottom of the sponson

Please post more pics when you can.
Richard I believe a 'water' jerry can would be more appropriate. I'm interested to hear what the other guys say.
I've drilled the 4 holes in the sides of my Shermies bogies and now need to add the three bolt / nuts to each.
What size styrene rod would be most appropriate if I were to scratch these ?
Cheers guys, great work !!
Paul
OddBall: "It's a wasted trip baby. Nobody said nothing about locking horns with no Tigers"
KIlgore: " I love the smell of napalm in the morning. ...The smell, you know that gasoline smell, the whole hill. Smelled like... victory."
Utrecht, Netherlands
Joined: December 14, 2006
KitMaker: 2,679 posts
Armorama: 313 posts
Posted: Saturday, August 21, 2010 - 12:41 AM UTC
@ Richard, they put water in de external jerrycans.
good luck with you Sherman II DV
Martin
Texas, United States
Joined: October 17, 2009
KitMaker: 86 posts
Armorama: 82 posts
Posted: Saturday, August 21, 2010 - 03:34 AM UTC
David- Nice Sherman! Looks good, and looking forward to some more pictures.
I've started doing a little bit of the Aber PE set on my Sherman, but it's gonna take awhile, for sure. I still need to get some Gator Glue...
Victoria, Australia
Joined: March 14, 2006
KitMaker: 1,973 posts
Armorama: 1,843 posts
Posted: Saturday, August 21, 2010 - 10:02 PM UTC
G'day Guys !
Here are some pics of where I'm at on 'Oddballs' Shermie.
The hull is 90 % finished apart for the tail light guards and the hatches. I'll also add some straps to Oddball's '90 mm' tube on the RHS of the hull (the Tamiya masking tape looks a bit dodgy

), and also the nut / bolts on the lower bogies.
The DS tracks are on temporarily. I'll add the front guards after the tracks are on permanently.
The turret has yet to have any detail added (including the huge speaker

).
I haven't used PE on the headlight guards as they're covered with German helmets (from Tank).


Let me know what you think ... and keep posting

Woof, woof, woof !!
Paul
OddBall: "It's a wasted trip baby. Nobody said nothing about locking horns with no Tigers"
KIlgore: " I love the smell of napalm in the morning. ...The smell, you know that gasoline smell, the whole hill. Smelled like... victory."
barkingdigger
 Associate Editor
#013
England - East Anglia, United Kingdom
Joined: June 20, 2008
KitMaker: 3,981 posts
Armorama: 3,403 posts
Posted: Sunday, August 22, 2010 - 02:27 AM UTC
Paul,
Lookin' good!
Tom
(Still no real progress on my diesel engine - got distracted by writing a review...)
"Glue, or Glue Not - there is no Dry-Fit" - Yoda (original script from Return of the Jedi...)

#016
England - East Anglia, United Kingdom
Joined: March 18, 2009
KitMaker: 142 posts
Armorama: 138 posts
Posted: Sunday, August 22, 2010 - 07:02 AM UTC
Nice tidy build pual. its looking good. Im a bit of a messy builder but Im working on it. thanks for all the kind words guys should be finished this week. may make a diorama for it to go on as there is a lot of time left or just build anouther
Quebec, Canada
Joined: November 15, 2002
KitMaker: 3,960 posts
Armorama: 3,579 posts
Posted: Sunday, August 22, 2010 - 10:14 AM UTC
Great start Paul... No negative vibes over here....

I'm still debating if i add the tools now or wait till later .....

#020
Illinois, United States
Joined: December 28, 2006
KitMaker: 278 posts
Armorama: 231 posts
Posted: Sunday, August 22, 2010 - 10:30 AM UTC
It has been a while since I last posted. I have completed the chassis and turret and primed it using Krylon Grey Primer.
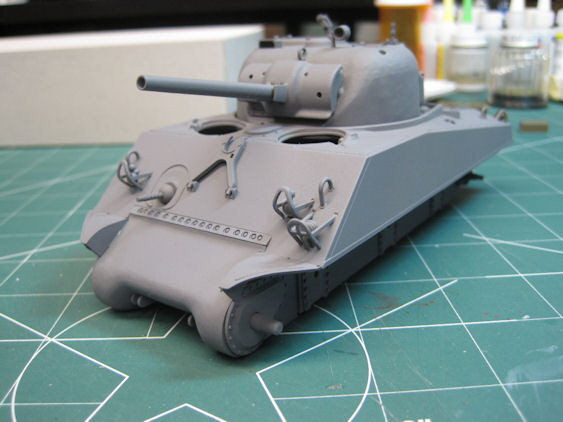
Here is a shot of the lower chassis. I mixed up Tamyia Olive Drab, Reddish Brown and some Flat Black. This was the first coat. I went back later and made it darker.
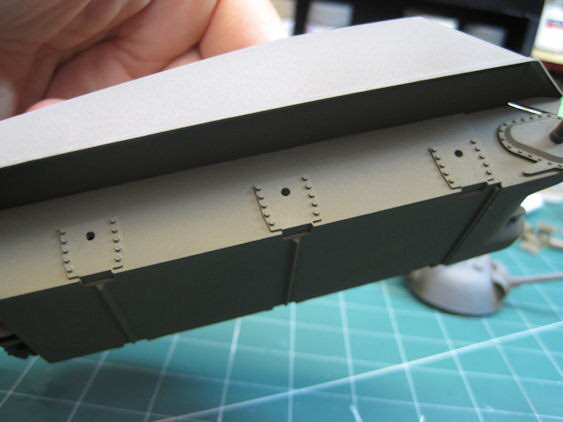
Shot of the chassis front. Again the darker color Olive Drab on the lower half.
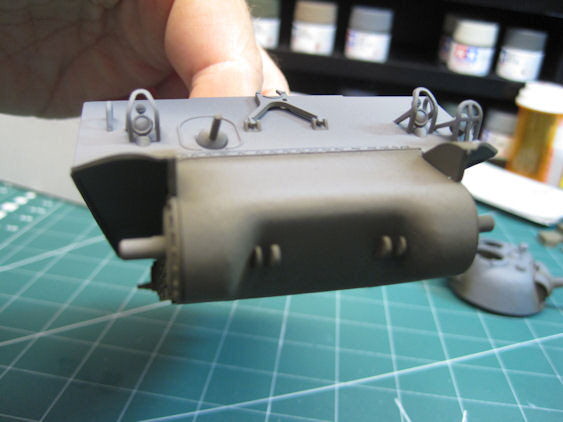
Side shot of chassis showing both the darker lower and lighter upper half's.

Shot showing the lower half of the turret. I sprayed this with the darker Olive Drab to add some variance to it.
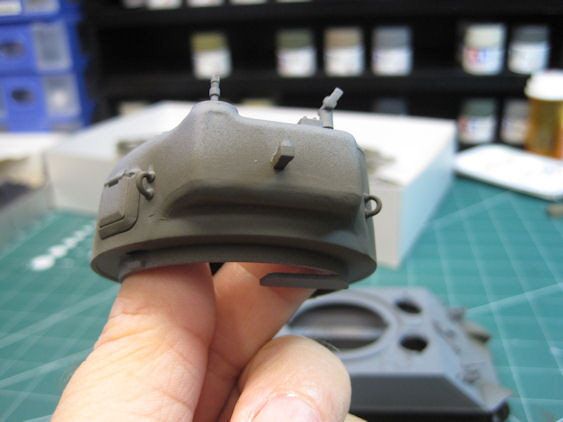
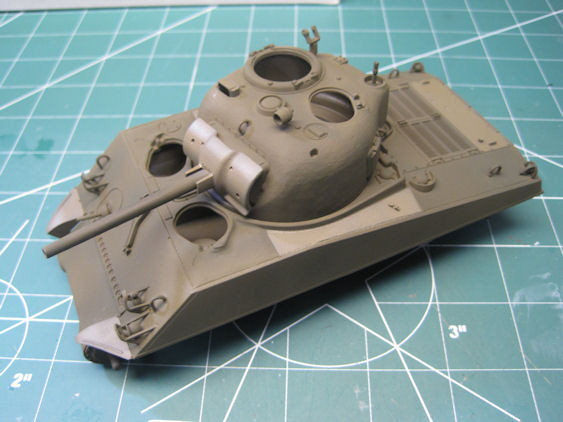
Masking off some panel areas and spraying a lighter color to again add some variance to what would otherwise be a drab surface.

Overall shot showing the color variance. It should tone down when given a wash and weathering.
"The price of freedom is eternal vigilance."
- Thomas Jefferson
Texas, United States
Joined: October 17, 2009
KitMaker: 86 posts
Armorama: 82 posts
Posted: Sunday, August 22, 2010 - 12:45 PM UTC
Hey, everyone. On the Tamiya M4A3, is the little hatch on the side of the turret supposed to be faired in with putty? From pictures I've seen, it seems that is the case, but just want to make sure!
Quebec, Canada
Joined: November 15, 2002
KitMaker: 3,960 posts
Armorama: 3,579 posts
Posted: Sunday, August 22, 2010 - 02:04 PM UTC
Hi Justin ..you are correct, it was all part of the cast turret so no line should be seen...
United States
Joined: January 07, 2006
KitMaker: 452 posts
Armorama: 271 posts
Posted: Sunday, August 22, 2010 - 02:53 PM UTC
Quebec, Canada
Joined: November 15, 2002
KitMaker: 3,960 posts
Armorama: 3,579 posts
Posted: Sunday, August 22, 2010 - 03:56 PM UTC
Good gosh man I thought that was a 1/35th scale kit till I saw your hand in the picture...even more impressive!...Don't sweat the few things you're not satisfied with just use it as a learning expirence and you'll be more careful next time ...I still haven't seen anything wrong with the stacks ...

Excellent job sir!

Victoria, Australia
Joined: March 14, 2006
KitMaker: 1,973 posts
Armorama: 1,843 posts
Posted: Sunday, August 22, 2010 - 08:53 PM UTC
@Richard - I used to addd tools later, I now prefer to get the gluing over and paint them with a nice little brush after the base coat goes on

@ Michael - lovely work... Is that a braille scale build ? Crikey !! What a great job !!
Keep up the great work team, this Campaign is going sooooo well !!
Paul
OddBall: "It's a wasted trip baby. Nobody said nothing about locking horns with no Tigers"
KIlgore: " I love the smell of napalm in the morning. ...The smell, you know that gasoline smell, the whole hill. Smelled like... victory."
barkingdigger
 Associate Editor
#013
England - East Anglia, United Kingdom
Joined: June 20, 2008
KitMaker: 3,981 posts
Armorama: 3,403 posts
Posted: Sunday, August 22, 2010 - 11:25 PM UTC
Paul,
I missed your earlier question about those bolts on the bottom of the bogies - I use Plastruct's hex-shaped rod in 0.8mm size, but you could use slightly bigger ones too. (I'm not an expert, but it looks like there were at least two sizes of nut used on the ral ones...)
Tom
"Glue, or Glue Not - there is no Dry-Fit" - Yoda (original script from Return of the Jedi...)
 Bookmarked
  I love Shermies


