Hello everybody,
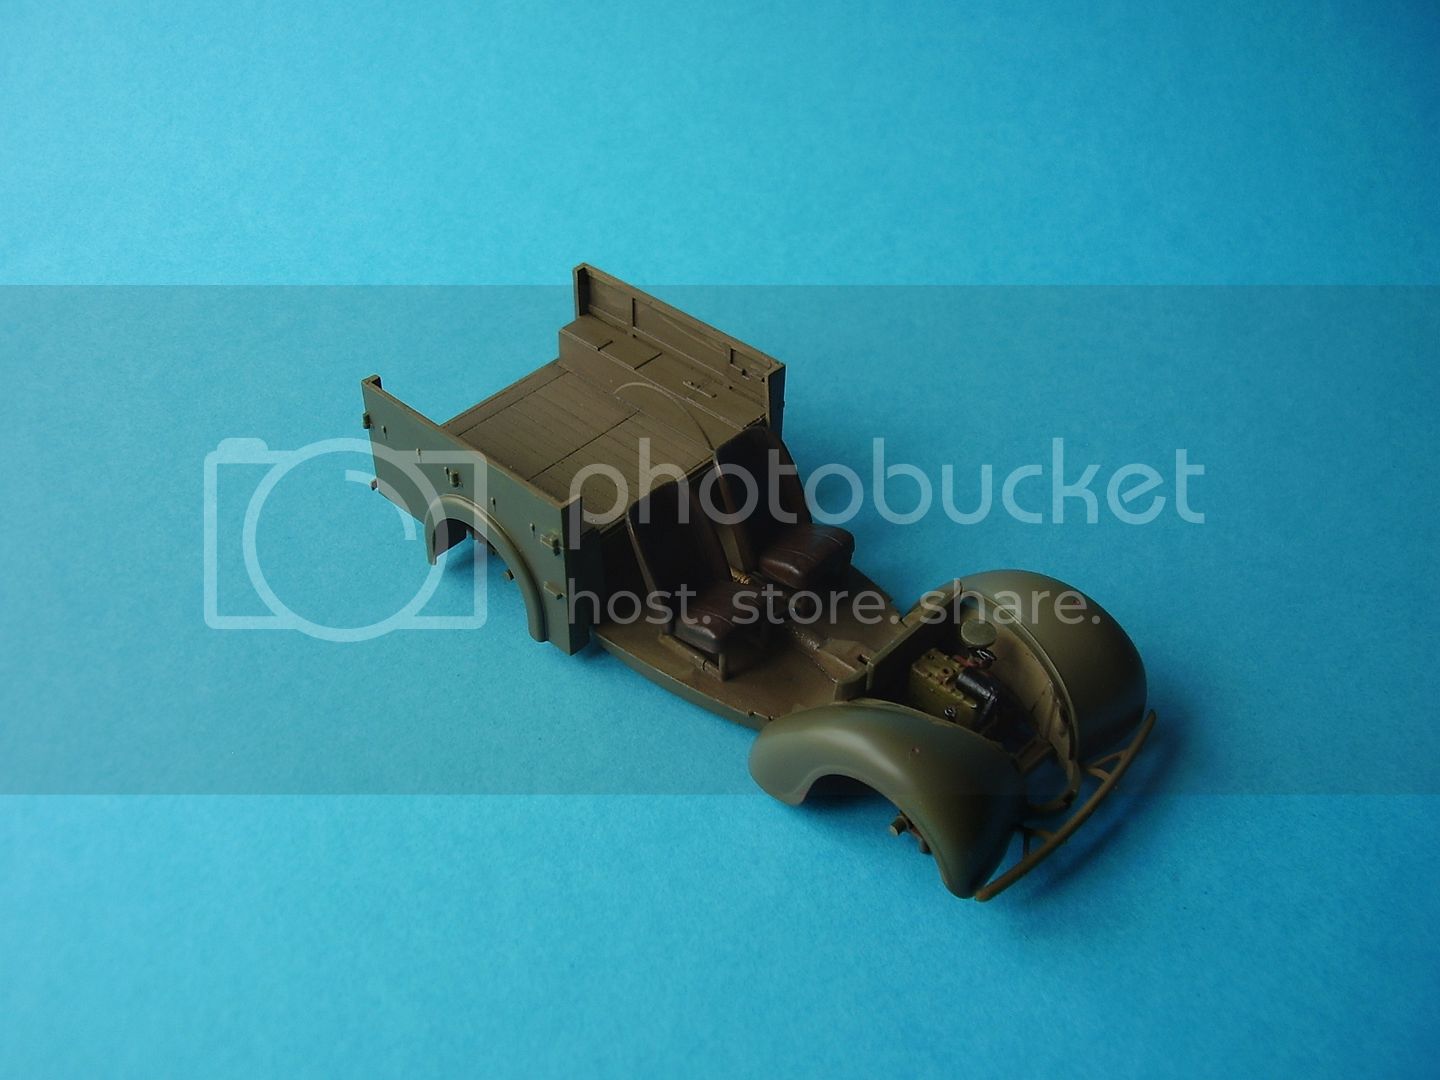
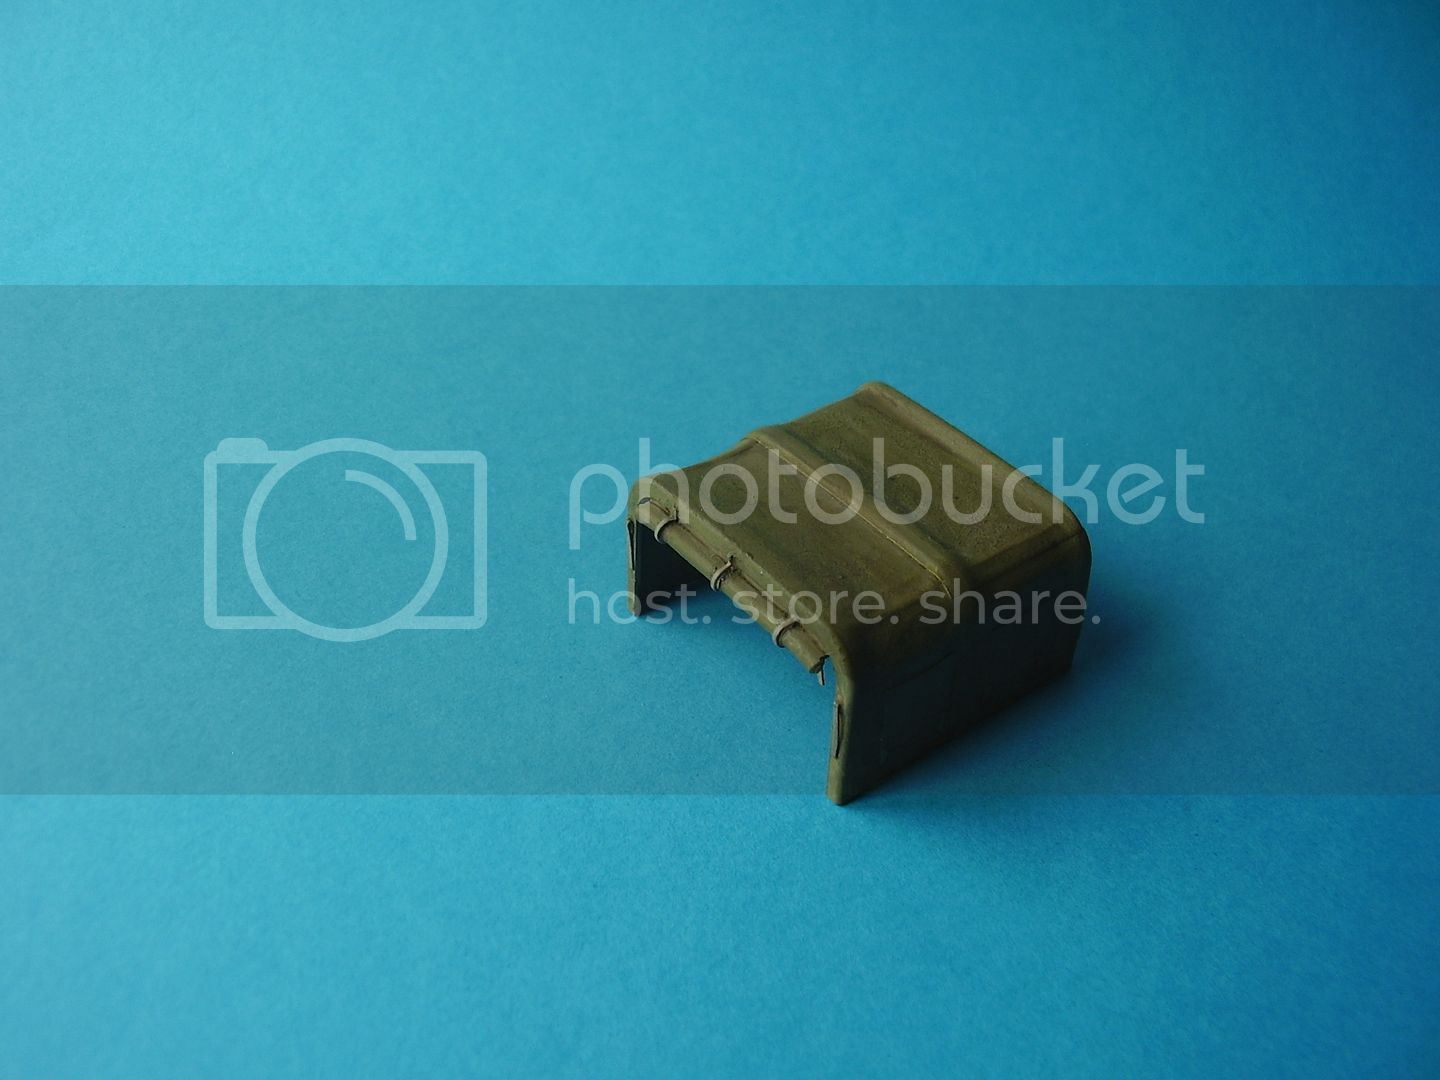
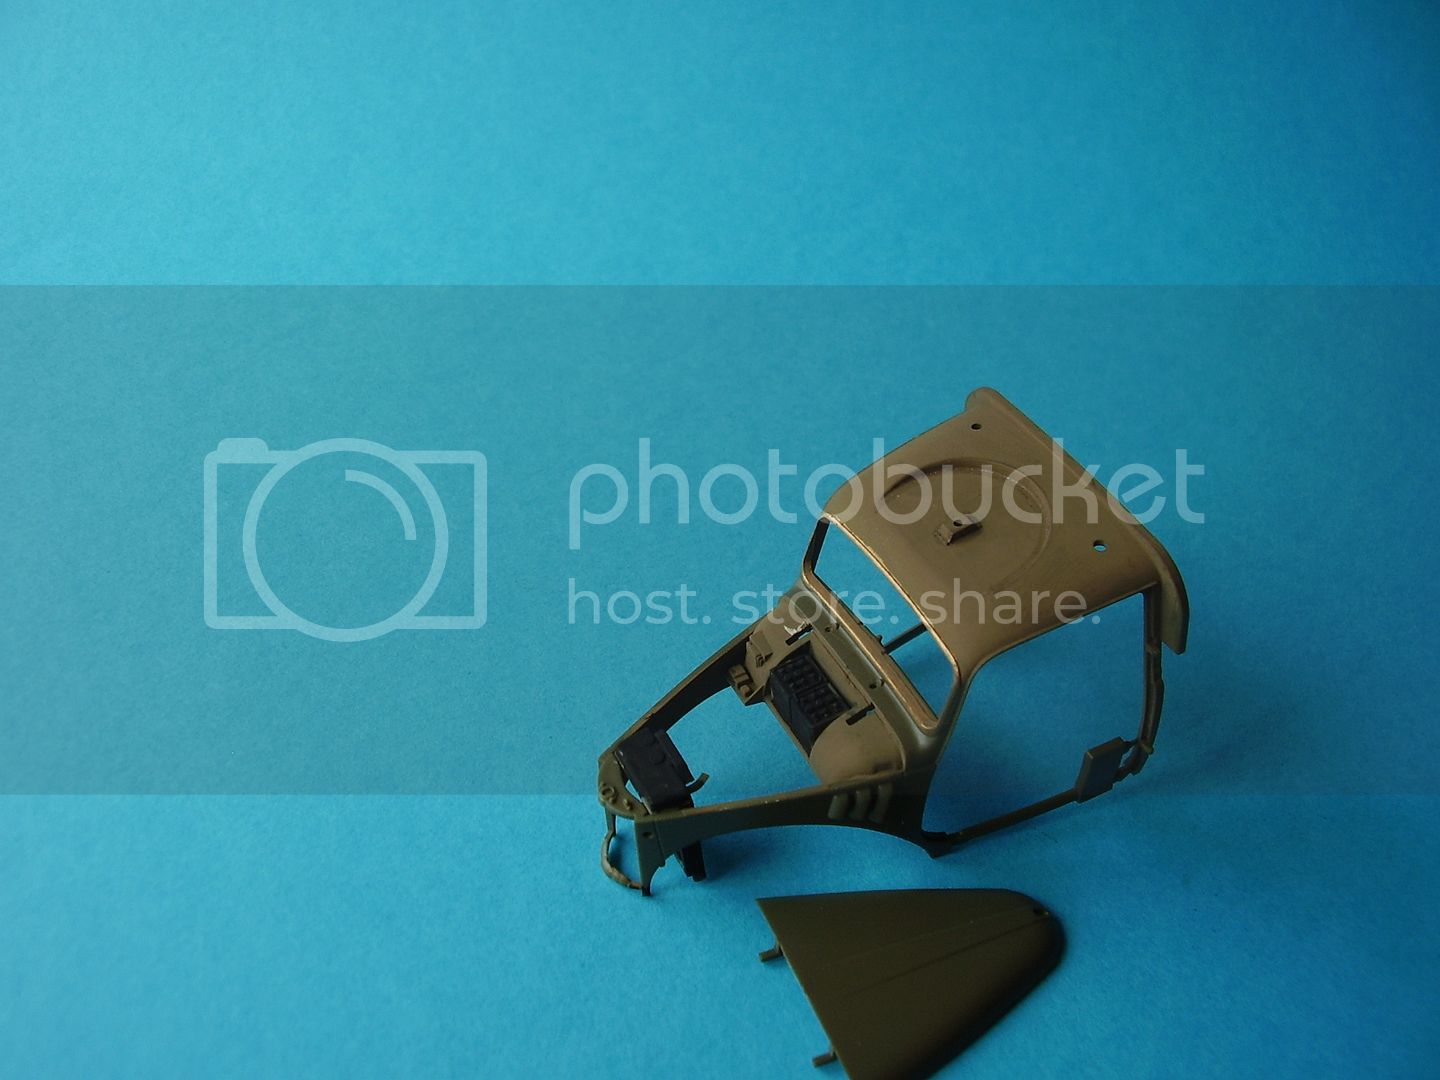
I finally managed the building process. The goat is now ready for painting.
@Neal: The Schwimmagen with all the PE-stuff looks great. Very clean build.
Regards
Sven
Campaigns
Where Armorama group builds can be discussed, organized, and updates posted.
Hosted by Darren Baker, Richard S.
Soft skinned
sheimro
Baden-Württemberg, Germany
Joined: March 14, 2010
KitMaker: 21 posts
Armorama: 20 posts
Joined: March 14, 2010
KitMaker: 21 posts
Armorama: 20 posts
Posted: Thursday, October 28, 2010 - 05:09 AM UTC
Railmen2000
California, United States
Joined: February 17, 2007
KitMaker: 87 posts
Armorama: 65 posts
Joined: February 17, 2007
KitMaker: 87 posts
Armorama: 65 posts
Posted: Friday, October 29, 2010 - 06:58 AM UTC
Hi all:
Just joined this campaign. I prefer building soft skin model kits to AFVs, so I feel right at home here.
Here is my entry, Wespe's 1/48 resin kit of a Fiat 508c 1100:
There are several internet references; and, as you can see, it is a simple kit with few parts. Here is the completed underside:
Jim
Just joined this campaign. I prefer building soft skin model kits to AFVs, so I feel right at home here.
Here is my entry, Wespe's 1/48 resin kit of a Fiat 508c 1100:
There are several internet references; and, as you can see, it is a simple kit with few parts. Here is the completed underside:
Jim
Posted: Saturday, October 30, 2010 - 04:31 AM UTC
Nice progress, Sven. Looking forward to see more.
Here is a small update on my 1/72 Dodge. Almost finished - just a little more weathering to follow. I smeared the glue on the front glass, but I hope it will not be too obvious after the weathering.
mat
Limburg, Netherlands
Joined: November 18, 2003
KitMaker: 894 posts
Armorama: 643 posts
Joined: November 18, 2003
KitMaker: 894 posts
Armorama: 643 posts
Posted: Saturday, October 30, 2010 - 10:59 PM UTC
Hi guys,
I started work on my Tatra 141 from MMK. The resin is very soft, casting quality is not so great, very little detail en terrible instructions. This will be a nice project
Posted: Saturday, October 30, 2010 - 11:29 PM UTC
Hi guys,
Nice work. I'm up and running although I have the build in a blog but this is where I'm at with the Tilly at the moment.
Al
Nice work. I'm up and running although I have the build in a blog but this is where I'm at with the Tilly at the moment.
Al
Posted: Sunday, October 31, 2010 - 09:13 AM UTC
Interesting project, Mat. Seems like you have some challenges ahead. It will be good to see the result. I am sure it will be great.
ltb073
New York, United States
Joined: March 08, 2010
KitMaker: 3,662 posts
Armorama: 3,078 posts
Joined: March 08, 2010
KitMaker: 3,662 posts
Armorama: 3,078 posts
Posted: Sunday, October 31, 2010 - 02:25 PM UTC
Hi Guys,
Lots of good work going on here, guys those Mutts are looking great
@Neal the Schwimmwagen looks great nice clean build.
@ jasper don't know how you work with the little stuff, Im still trying to master the bigger stuff
Concentrating on finishing the Targets that shoot back, so this has become sort of like a side bar work so here is where I'm at
the build is complete just need to add the details, decals, touch up some paint and weather
Again as typical with me an OOB project
Still dont know if I'm gonna use the figures that came with the kit they look lame by them self but sort of ok when i put them in the car.
comments and constructive criticism are always welcome
emroglan
Istanbul, Turkey / Türkçe
Joined: December 16, 2004
KitMaker: 1,163 posts
Armorama: 842 posts
Joined: December 16, 2004
KitMaker: 1,163 posts
Armorama: 842 posts
Posted: Tuesday, November 02, 2010 - 08:32 AM UTC
Here's a little more progress on my Mutt. It's ready for some dust and mud. The Citroen is on hold because the windshield somehow broke itself to three pieces on itself. I suspect aliens...
Firefly74
Queensland, Australia
Joined: April 15, 2010
KitMaker: 224 posts
Armorama: 205 posts
Joined: April 15, 2010
KitMaker: 224 posts
Armorama: 205 posts
Posted: Tuesday, November 02, 2010 - 07:27 PM UTC
Hi all, great looking builds everyone! lots of interesting softskins being done.
Here is my finished Colibri 1:72 GAZ-67.
I don't own an airbrush so all my builds are done with brushes, they never seem to quite have the finish I hope for... will have to get myself an airbrush one of these days!
Kit came with no decals so I managed to find some small numbers to put on,I don't think GAZ's had too much in the way of markings so have kept it pretty plain. I don't have any soviet stowage currently but might add something latter.
I'm fairly happy with it overall,it's the first windscreen i've ever done and the headlights were hollow so had to fill them in.
While i'm not new to building models, in years gone by i'd always just built straight OOB with minimal weathering, stowage etc. So have had a steep learning curve this year when I got back into things
How is the weathering? Any comments or advice for improving things are welcome!
Cheers,
Tim
Posted: Tuesday, November 02, 2010 - 11:32 PM UTC
Nice result, Tim. It looks good, although an airbrush could help make the weathering more "soft". Thanks for sharing.
Emre, nice camouflage on your mutt. Looking forward to see it muddied up.
Railmen2000
California, United States
Joined: February 17, 2007
KitMaker: 87 posts
Armorama: 65 posts
Joined: February 17, 2007
KitMaker: 87 posts
Armorama: 65 posts
Posted: Thursday, November 04, 2010 - 09:37 AM UTC
Tim, I feel for you, as I do not have an airbrush either. Most GAZ models I have seen have a red star on the sides. You may be able to find an appropriate sized one from a 144 scale russian aircraft decal sheet if you do not want to paint a couple on.
Here is a bit more work I have done on my 1/48 Wespe resin Fiat 508. I worked on the interior, including the dashboard and seats. I installed the gear shift (a kit provided straight pin which you have to cut down) and added hand brake from scratch. I got the base coloring and pin washes done for the most part. You can see I still need to work on the windshield frame when these were taken after a weekend of activity:
A couple of nights ago I carefully trimmed the flash form the inside of the windshield frame, cut the "glass" from the thin clear plastic provided in the kit, and carefully fit it into the frame using "Tacky" craft glue. I also made and added a windshield wiper and small motor box from scratch.
I also made a rough stencil for the ram's head door markings. Last night I used a black permanent ink felt tip pen to get the basic stencil down, and then finished it up with thinned black acrylic craft paint using a 20/0 Windsor & Newton brush. Here it is with the door markings and windshield added:
Next step: adding the wheels, headlight lenses, canvas top and then give it a good dusting. Any comments welcome.
Jim
Here is a bit more work I have done on my 1/48 Wespe resin Fiat 508. I worked on the interior, including the dashboard and seats. I installed the gear shift (a kit provided straight pin which you have to cut down) and added hand brake from scratch. I got the base coloring and pin washes done for the most part. You can see I still need to work on the windshield frame when these were taken after a weekend of activity:
A couple of nights ago I carefully trimmed the flash form the inside of the windshield frame, cut the "glass" from the thin clear plastic provided in the kit, and carefully fit it into the frame using "Tacky" craft glue. I also made and added a windshield wiper and small motor box from scratch.
I also made a rough stencil for the ram's head door markings. Last night I used a black permanent ink felt tip pen to get the basic stencil down, and then finished it up with thinned black acrylic craft paint using a 20/0 Windsor & Newton brush. Here it is with the door markings and windshield added:
Next step: adding the wheels, headlight lenses, canvas top and then give it a good dusting. Any comments welcome.
Jim
Firefly74
Queensland, Australia
Joined: April 15, 2010
KitMaker: 224 posts
Armorama: 205 posts
Joined: April 15, 2010
KitMaker: 224 posts
Armorama: 205 posts
Posted: Thursday, November 04, 2010 - 07:43 PM UTC
Thanks for the comments Jesper and Jim.
Jim: I will probably try and add some red stars when i come across a set.will give it a little more "life" I think.
Nice work on the Fiat and the stencils you made! The left headlight looks like it is angled down a little more than the right one? Or it could just be the way the car is sitting in the photo. Are you going to give it some camo? The Ramshead markings are for the Ariete Division yeah?
Cheers,
Tim
Posted: Thursday, November 04, 2010 - 10:00 PM UTC
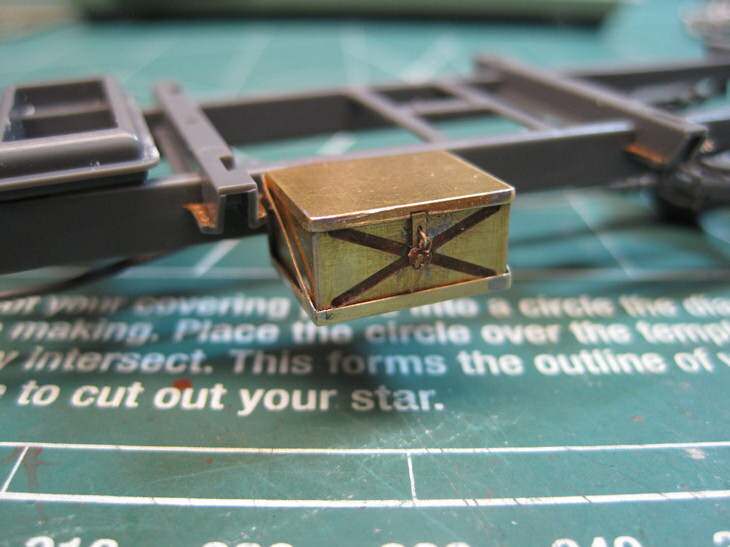
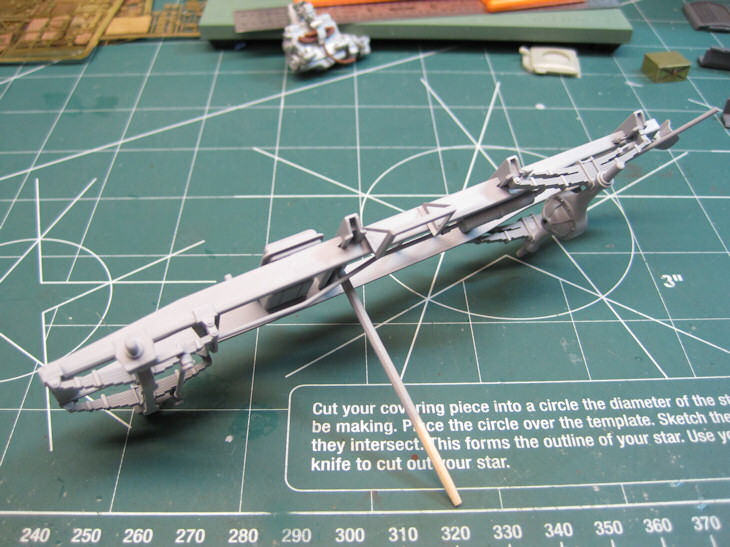
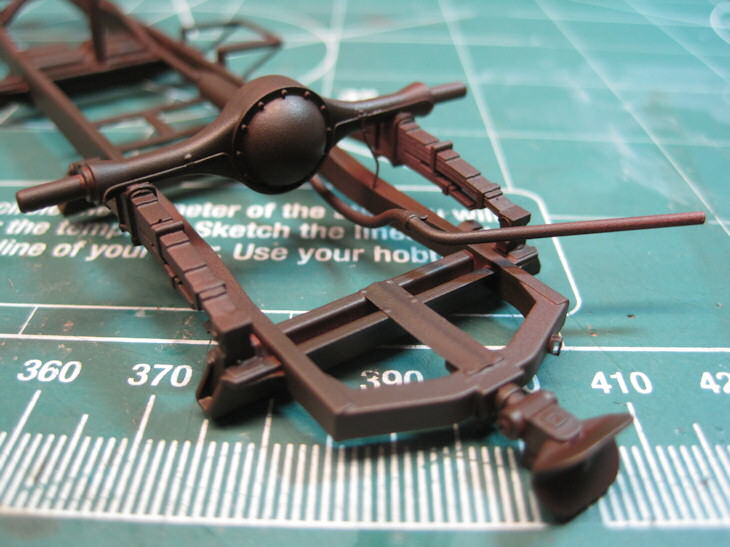
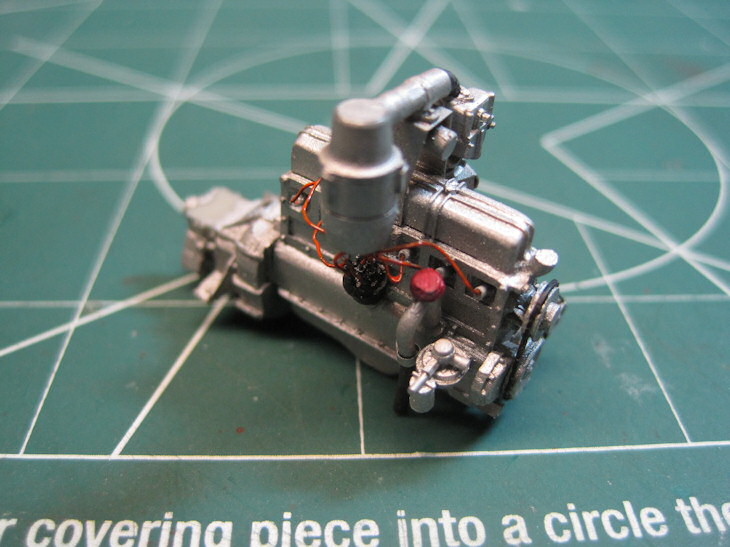
Here is a small update on my Opel Blitz build showing progress on the frame and engine.
First up is a overall shot of the frame with some pe added on. Once I get the engine installed I will adjust the exhaust system piping to match up with the engine.
Closeup of one of the PE Boxes attached to the frame. I soldered this one together. I think it came out pretty well.
Here the frame has been primed with Tamyia Rattle Can Primer. Nice stuff and really goes on silky smooth. A few imperfections showed up but I'm not to concerned with all the weathering I plan to do.
The frame painted Hull Red using Vallejo Air Paints. This is the first time I have tried their paints and really liked the concenience of the bottle and how smooth it went on.
Shot of the engine showing the wiring. It is so nice and shinny at the moment. Just wait until I get a chance to dirty it up a bit.
Shot of the other side showing the exhuast system. I will be fine tuning this and making those pipes rusty.
Well that is all for now. Going to let the frame dry a day or so and then use the hair spray method on it to show some paint chipping. That will be a new technique for me to try.
Mike
roycharnock
England - North West, United Kingdom
Joined: July 26, 2009
KitMaker: 135 posts
Armorama: 134 posts
Joined: July 26, 2009
KitMaker: 135 posts
Armorama: 134 posts
Posted: Thursday, November 04, 2010 - 10:57 PM UTC
hi guys everything on here so far is more or less ww11 era
would there be a problem if i added something a bit bigger and more modern like a chinese DF-21 Ballistic missile launcher from trumpeter?
Roy
would there be a problem if i added something a bit bigger and more modern like a chinese DF-21 Ballistic missile launcher from trumpeter?
Roy
ltb073
New York, United States
Joined: March 08, 2010
KitMaker: 3,662 posts
Armorama: 3,078 posts
Joined: March 08, 2010
KitMaker: 3,662 posts
Armorama: 3,078 posts
Posted: Friday, November 05, 2010 - 01:48 AM UTC
Quoted Text
hi guys everything on here so far is more or less ww11 era
would there be a problem if i added something a bit bigger and more modern like a chinese DF-21 Ballistic missile launcher from trumpeter?
Roy
Hi Roy,
I'm not the campaign leader and this is the the non-fighting vehicles campaign so I don't see why not Might as well join the party and post up lots of pictures of that beast
GaryKato
California, United States
Joined: December 06, 2004
KitMaker: 3,694 posts
Armorama: 2,693 posts
Joined: December 06, 2004
KitMaker: 3,694 posts
Armorama: 2,693 posts
Posted: Friday, November 05, 2010 - 02:10 AM UTC
Actually it's the "Soft-Skinned" campaign. The "Not Fighting Vehicles" campaign starts January 1.
roycharnock
England - North West, United Kingdom
Joined: July 26, 2009
KitMaker: 135 posts
Armorama: 134 posts
Joined: July 26, 2009
KitMaker: 135 posts
Armorama: 134 posts
Posted: Friday, November 05, 2010 - 02:15 AM UTC
Trumpeters Chinese DF-21 Ballistic missile launcher..im going to build it up and paint it in the 3 color camo rather than the normal green.
1st job was to build up ,paint and weather the interior of the cab
I have painted the inside of the cab body,fitted the glazing and bumpers,grills and masked up the windows ready for painting
I then built up the engine,painted and weathered it
i have built up and painted the gearbox and front axel
Last night i built up the main part of the chassie,fitting the axel,gearbox and engine
More later..Roy
GunTruck
California, United States
Joined: December 01, 2001
KitMaker: 5,885 posts
Armorama: 3,799 posts
Joined: December 01, 2001
KitMaker: 5,885 posts
Armorama: 3,799 posts
Posted: Friday, November 05, 2010 - 04:13 AM UTC
Nice start Roy! I have the Trumpy DF-21 sitting around waiting to be started, so I'll be watching you move along on yours for added motivation.
Jim
Jim
ltb073
New York, United States
Joined: March 08, 2010
KitMaker: 3,662 posts
Armorama: 3,078 posts
Joined: March 08, 2010
KitMaker: 3,662 posts
Armorama: 3,078 posts
Posted: Friday, November 05, 2010 - 08:37 AM UTC
Roy, thats some kit and the interior cap looks great is that a 1/35 scale. looking forward to seeing more of that 1
roycharnock
England - North West, United Kingdom
Joined: July 26, 2009
KitMaker: 135 posts
Armorama: 134 posts
Joined: July 26, 2009
KitMaker: 135 posts
Armorama: 134 posts
Posted: Friday, November 05, 2010 - 09:10 AM UTC
didnt put that in the title did i ....dohhh! yes sorry guys its 1:35 scale for those of you who are not sure .and an out of the box build......happy days
Railmen2000
California, United States
Joined: February 17, 2007
KitMaker: 87 posts
Armorama: 65 posts
Joined: February 17, 2007
KitMaker: 87 posts
Armorama: 65 posts
Posted: Friday, November 05, 2010 - 11:45 AM UTC
Roy: Great looking kit. I was unaware of thisTrumpeter offering, so I googled it and found a review of the similar tractor kit by Cookie Sewell from a few years ago where he classifies this as a "softskin". In 1/35 this must be massive! Looking forward to seeing it with your contemplated camo scheme.
Tim: Yes, the headlight is bent down a bit. After originally glued, it broke off when I was handling it. Being a resin kit, supergluing it back on straight proved a little beyond my fat fingers. Real ones were not always straight, so I can live with it on the model. As for any camo scheme, all the photo references for a DAK version that I have indicate they were one solid color.
I added the wheels, pennant and some stuff inside. I still need to do a little more work on the canvas top.
As always, any comments or suggestions is appreciated. Thanks for looking.
Jim
Posted: Friday, November 05, 2010 - 10:28 PM UTC
Jim, I just noticed you are building the same kit for both this and the 1/48 campaign. A build can only be entered into one campaign. So you will have to choose and then build something else for the other campaign.
I have finished my Dodge for this campaign. Seeing the pictures I might add a little pigment to the wheels to get a little more mat appearance of the weathering.
Comments welcome
I have finished my Dodge for this campaign. Seeing the pictures I might add a little pigment to the wheels to get a little more mat appearance of the weathering.
Comments welcome
mat
Limburg, Netherlands
Joined: November 18, 2003
KitMaker: 894 posts
Armorama: 643 posts
Joined: November 18, 2003
KitMaker: 894 posts
Armorama: 643 posts
Posted: Saturday, November 06, 2010 - 02:29 AM UTC
Hi all,
I've been working on my Tatra, it takes a lot of work to make something decent of all the parts. My strategy is to first make all the big parts fit, then to start adding the missing details before glueing everything together
here is a mockup:
I don't know if it's visible, but the surface of the cab had a lot of toolmarks left which I had to smooth out with putty, this is the second layer:
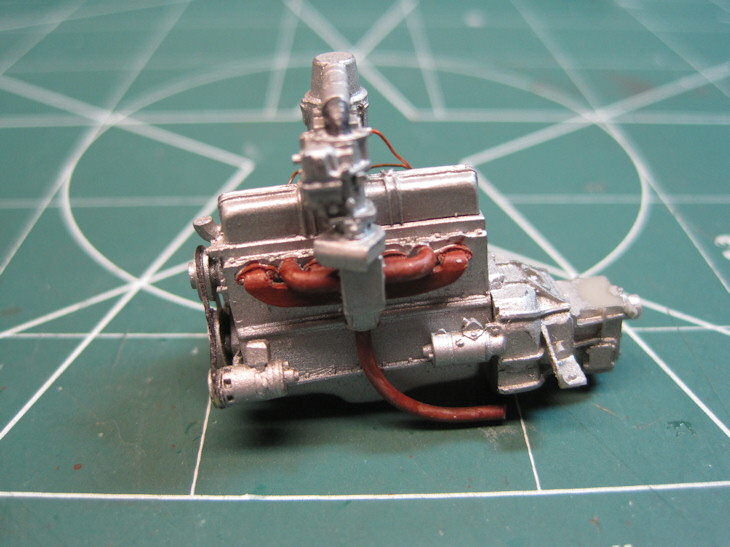
the engine, it's really big. And so were the airbubbles on the bottom, the biggest measured 5 mm in size
cheers,
Matthijs
Posted: Saturday, November 06, 2010 - 05:17 AM UTC
Tough work, Mat. I realy admire your persistence with this kit. It seems like a hard job to make a decent model from it.
Looking forward to see more.
roycharnock
England - North West, United Kingdom
Joined: July 26, 2009
KitMaker: 135 posts
Armorama: 134 posts
Joined: July 26, 2009
KitMaker: 135 posts
Armorama: 134 posts
Posted: Saturday, November 06, 2010 - 06:25 AM UTC
matt
looks like you have your work cut out there .your doing a good job. keep going with your head down ,it will be worth it in the end
who is the kit made by :
looks like you have your work cut out there .your doing a good job. keep going with your head down ,it will be worth it in the end
who is the kit made by :