#298
Hong Kong S.A.R. / 繁體
Joined: August 08, 2002
KitMaker: 1,182 posts
Armorama: 665 posts
Posted: Tuesday, December 25, 2012 - 03:41 AM UTC
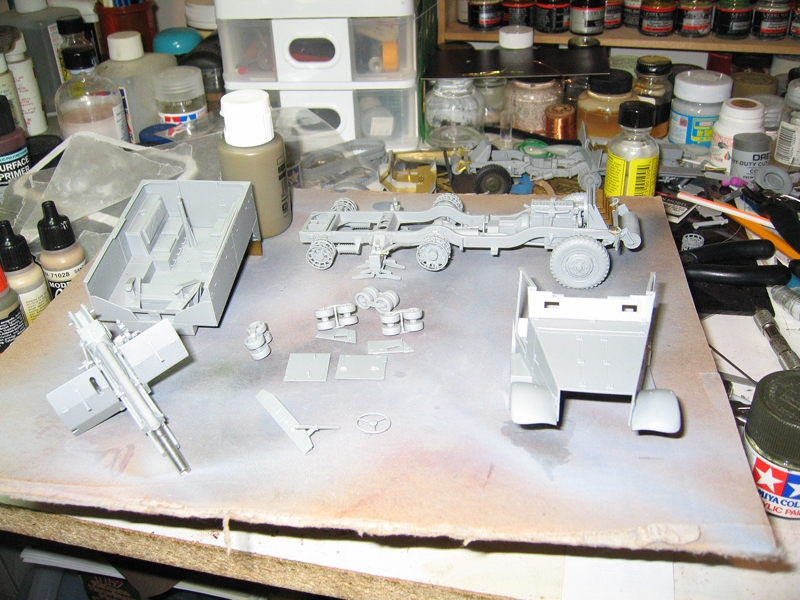
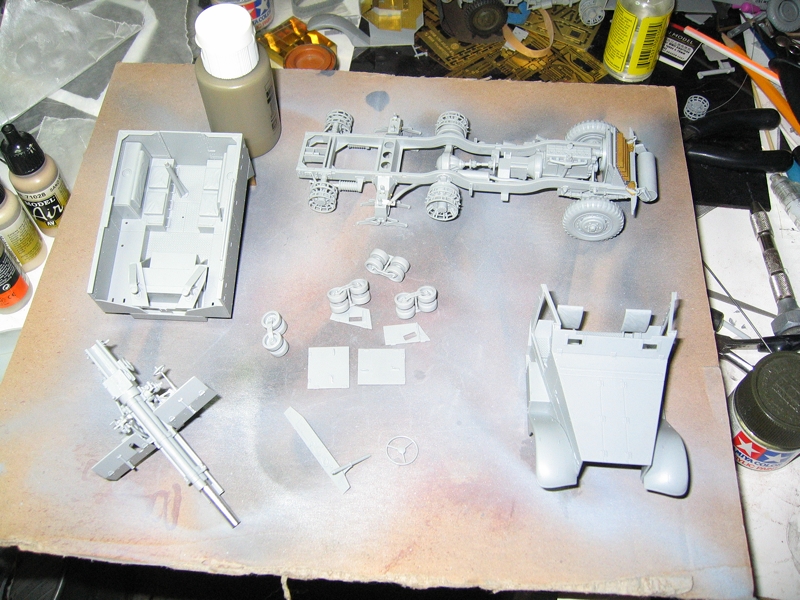
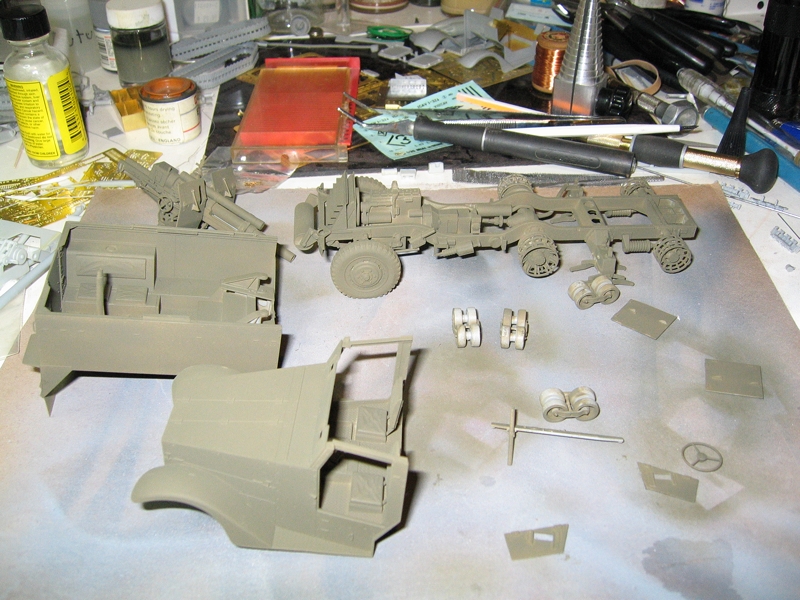
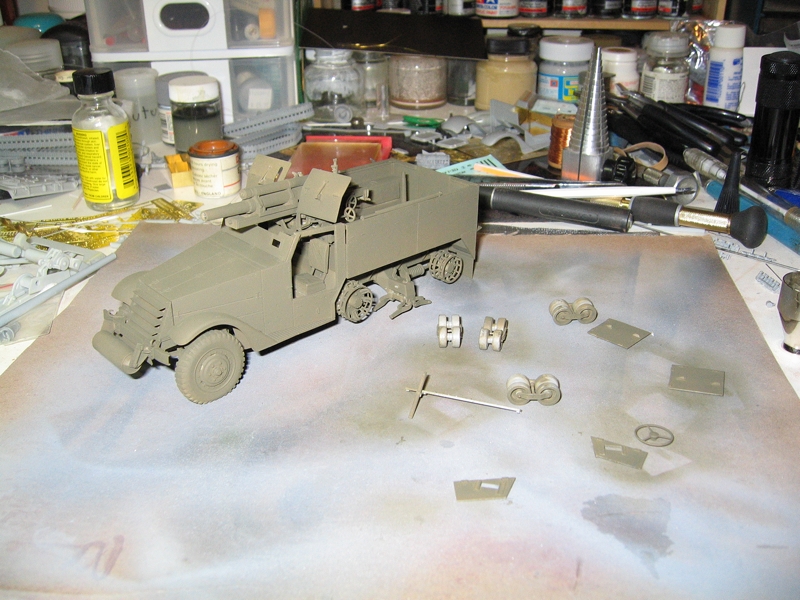
Progress update, M3 75mm Gun Mortor Carriage before weathering.


#226
British Columbia, Canada
Joined: February 20, 2012
KitMaker: 1,909 posts
Armorama: 1,066 posts
Posted: Saturday, December 29, 2012 - 12:06 AM UTC
Anything without guns is a target!
27 completed campaigns and counting :)

#298
Hong Kong S.A.R. / 繁體
Joined: August 08, 2002
KitMaker: 1,182 posts
Armorama: 665 posts
Posted: Sunday, December 30, 2012 - 06:33 AM UTC
M3 75mm Gun Motor Carriage fniished.

'A' Sqd., 27th Lancers British Army, Italy 1945.

Louisiana, United States
Joined: May 19, 2007
KitMaker: 459 posts
Armorama: 421 posts
Posted: Sunday, December 30, 2012 - 03:29 PM UTC
My finished M4 mortar carrier

Louisiana, United States
Joined: May 19, 2007
KitMaker: 459 posts
Armorama: 421 posts
Posted: Sunday, December 30, 2012 - 03:30 PM UTC
And...

Louisiana, United States
Joined: May 19, 2007
KitMaker: 459 posts
Armorama: 421 posts
Posted: Sunday, December 30, 2012 - 03:31 PM UTC
And ......

Louisiana, United States
Joined: May 19, 2007
KitMaker: 459 posts
Armorama: 421 posts
Posted: Sunday, December 30, 2012 - 03:32 PM UTC
And .........

Louisiana, United States
Joined: May 19, 2007
KitMaker: 459 posts
Armorama: 421 posts
Posted: Sunday, December 30, 2012 - 03:33 PM UTC
More

Louisiana, United States
Joined: May 19, 2007
KitMaker: 459 posts
Armorama: 421 posts
Posted: Sunday, December 30, 2012 - 03:33 PM UTC
And


#023
Zurich, Switzerland
Joined: March 13, 2009
KitMaker: 2,058 posts
Armorama: 1,656 posts
Posted: Tuesday, January 01, 2013 - 02:04 AM UTC
Lap and Irvin, great builds!
Here's my state of affairs currently. Have to get some more dust on, as well as the one and only decal.

Cheers!
Stefan
Too many models - too little time...
Michigan, United States
Joined: October 17, 2010
KitMaker: 627 posts
Armorama: 571 posts
Posted: Thursday, January 03, 2013 - 11:07 AM UTC
Hi all, I have a couple questions as I near the finish line:
1st is a Black hole problem. Anyone have a spare part A20 (rear hitch)?
2nd: On the front winch, is that a steel cable connecting to the chain? Would it be painted OD or some other color?
Thanks,
John
Michigan, United States
Joined: October 17, 2010
KitMaker: 627 posts
Armorama: 571 posts
Posted: Thursday, January 03, 2013 - 01:37 PM UTC
Okay, a couple quick shots too. I made a tarp from Milliput, first time I have done so. Was a challenge keeping it from sticking to the tile, but it is drying now and I think it came out okay. Need to add some straps to it. Any suggestions?


Oklahoma, United States
Joined: November 11, 2006
KitMaker: 710 posts
Armorama: 553 posts
Posted: Thursday, January 03, 2013 - 05:16 PM UTC
Quoted Text
Hi all, I have a couple questions as I near the finish line:
1st is a Black hole problem. Anyone have a spare part A20 (rear hitch)?
2nd: On the front winch, is that a steel cable connecting to the chain? Would it be painted OD or some other color?
Thanks,
John
John,
The steel cable on the winch does connect to the chain & hook. Chain & hook on all of our M16s are OD while the cables are bare metal.
Jon
Director, US Army Air Defense Artillery Museum
1:35 WWII US Armor and 1:48 US/Allied Tactical Aircraft
1:1 projects: 1942 Ford GPW, 47th Tank Battalion Recon, "Race Horse"
England - North East, United Kingdom
Joined: October 22, 2007
KitMaker: 971 posts
Armorama: 280 posts
Posted: Friday, January 04, 2013 - 03:32 AM UTC

#226
British Columbia, Canada
Joined: February 20, 2012
KitMaker: 1,909 posts
Armorama: 1,066 posts
Posted: Sunday, January 06, 2013 - 10:17 PM UTC
Looks Good Keith!

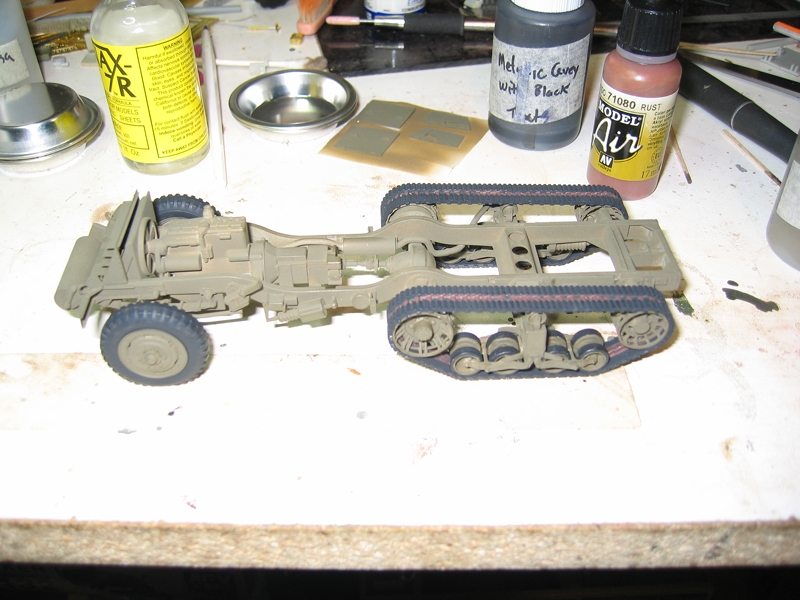
I got the running gear painted.
Cheers Rob.
Anything without guns is a target!
27 completed campaigns and counting :)

#023
Zurich, Switzerland
Joined: March 13, 2009
KitMaker: 2,058 posts
Armorama: 1,656 posts
Posted: Monday, January 07, 2013 - 12:25 AM UTC
Hi all, great looking builds! Carry on everyone, remember
the deadline has been proloinged til the end of January.
I noticed some unanswered questions from John, sorry about that...
Quoted Text
1st is a Black hole problem. Anyone have a spare part A20 (rear hitch)?
I'll see what I can find. Maybe one of the 6 HT I have in the stash doesn't use it and I can send it over the pond to you.
Quoted Text
Need to add some straps to it. Any suggestions?
I use either metal foil or masking tape. For metal foil those tea candles you can get at IKEA (and lots of other places, at least here in Switzerland) are very usefull (they come in a sort of aluminum sheet cup). Another option is the lead foil from a wine bottle. On the build for this campaign I used masking tape.
Cheers!
Stefan
Too many models - too little time...
Michigan, United States
Joined: October 17, 2010
KitMaker: 627 posts
Armorama: 571 posts
Posted: Monday, January 07, 2013 - 01:52 AM UTC
Stefan,
Thanks for looking and the strap ideas as well. I had to re-gloss my M2 so that I can do the pin wash. All the parts are attached (except A20 and the steering wheel). Got a bit more detail painting to do and half to check on individual vehicle decals... No specific markings for the M2A1, so need to research to see how, where those would go.
BTW, thanks for the extra month!
Regards,
John

#226
British Columbia, Canada
Joined: February 20, 2012
KitMaker: 1,909 posts
Armorama: 1,066 posts
Posted: Tuesday, January 08, 2013 - 12:23 PM UTC
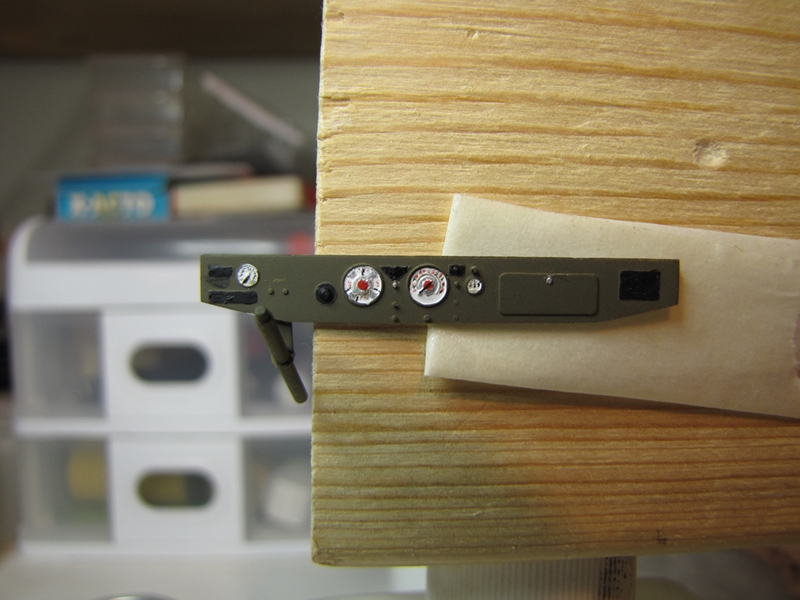
I have been painting the dash and it's coming out pretty good

although it does look better in person than this close-up.

Cheers Rob.
Anything without guns is a target!
27 completed campaigns and counting :)

#226
British Columbia, Canada
Joined: February 20, 2012
KitMaker: 1,909 posts
Armorama: 1,066 posts
Posted: Tuesday, January 08, 2013 - 03:46 PM UTC
Anything without guns is a target!
27 completed campaigns and counting :)

#023
Zurich, Switzerland
Joined: March 13, 2009
KitMaker: 2,058 posts
Armorama: 1,656 posts
Posted: Saturday, January 12, 2013 - 12:46 AM UTC
Too many models - too little time...
Isere, France
Joined: April 23, 2011
KitMaker: 735 posts
Armorama: 606 posts
Posted: Saturday, January 12, 2013 - 04:17 AM UTC
hello, I had not looked at the post, there are plenty of nice haltrack, congratulations guys.stefan, how you paint your guns, I think they do well.
steph

Michigan, United States
Joined: October 17, 2010
KitMaker: 627 posts
Armorama: 571 posts
Posted: Saturday, January 12, 2013 - 06:24 AM UTC
Stefan,
Your track came out beautiful! Nice job. I am to the weathering stage now. Going to add pin wash, mud and making the base.
Will post a pic before the base is done probably. Just over two weeks to finish!
John
Michigan, United States
Joined: October 17, 2010
KitMaker: 627 posts
Armorama: 571 posts
Posted: Saturday, January 12, 2013 - 11:14 AM UTC
Okay, spent some time today on my base. Now waiting for it to dry. The rocks are Hydrocal from a mold, then pressed into drywall spackle. Does it look okay? I know it's not painted yet...

I am planning to put that Scenic Water in the 'hole' in the center of the base with the HT's treads a little under water. Does anyone know if you can 'tint' (muddy water) that stuff with acrylics?
Once I do more with it will update.

#226
British Columbia, Canada
Joined: February 20, 2012
KitMaker: 1,909 posts
Armorama: 1,066 posts
Posted: Saturday, January 12, 2013 - 09:31 PM UTC
Stefan,
Your M3 75mm GMC looks Great!

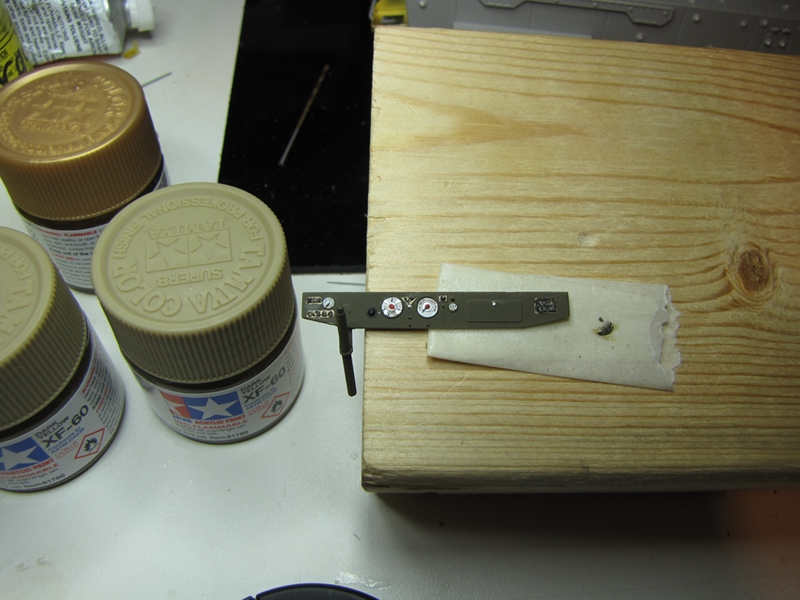
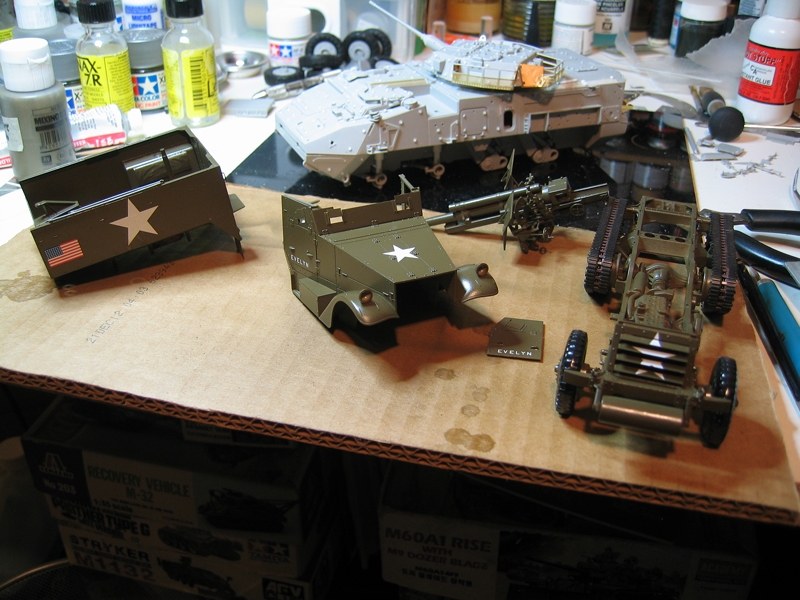
I am pretty much done on the dash and I managed to get a clear coat on and the decals.

Cheers Rob.
Anything without guns is a target!
27 completed campaigns and counting :)

#023
Zurich, Switzerland
Joined: March 13, 2009
KitMaker: 2,058 posts
Armorama: 1,656 posts
Posted: Sunday, January 13, 2013 - 12:11 AM UTC
Thanks for the comments guys!
Looking forward to a few finished builds before the end of the campaign.
Quoted Text
hello, I had not looked at the post, there are plenty of nice haltrack, congratulations guys.stefan, how you paint your guns, I think they do well.
steph 
Steph, I paint the rifles in the following steps (using Vallejo):
1.) Primer (white)
2.) Sand or buff on all the wood parts
3.) black on all the metal parts
4.) highly diluted brown on the wood parts, this takes some experimenting until you get the desired effect. It takes very little color and you have to brush it in the same direction several times. I suggest practicing on a scrap piece first
5.) dry brush of gun metal on the metal parts.
Cheers!
Stefan
Too many models - too little time...






 although it does look better in person than this close-up.

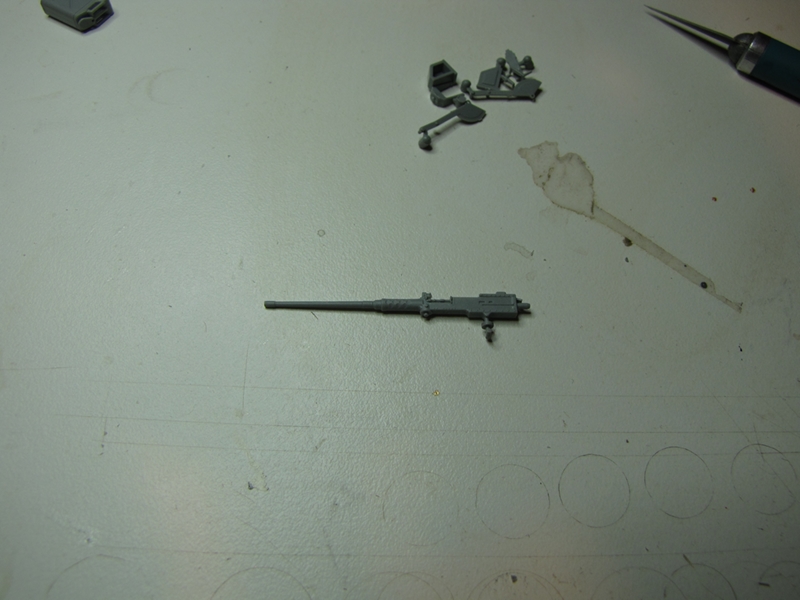
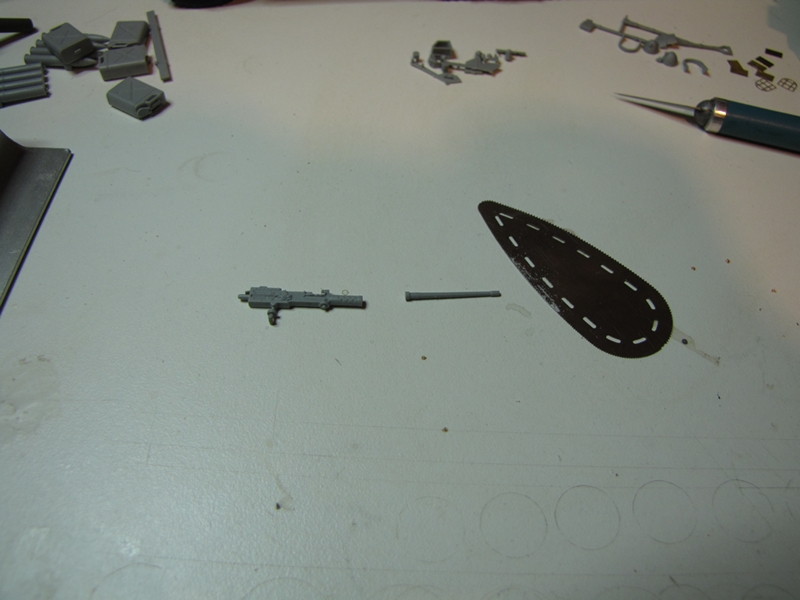
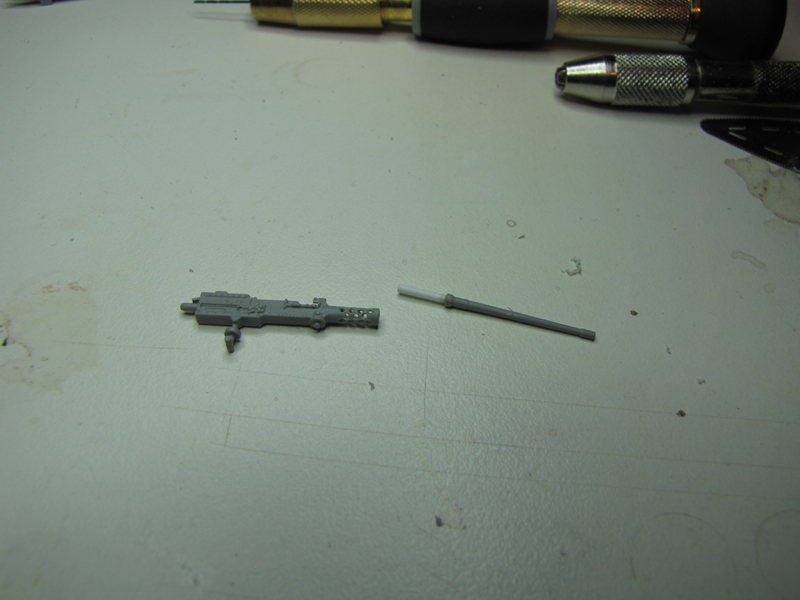
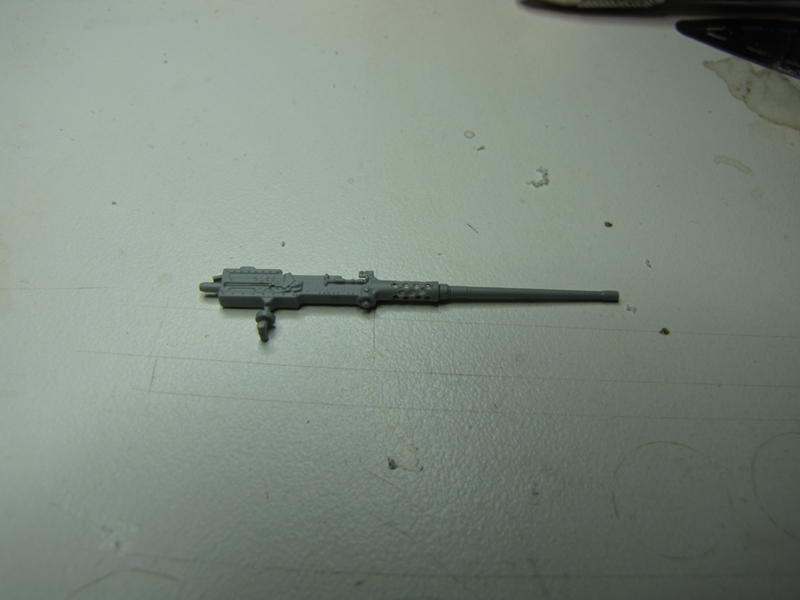
 Dragon has molded the gun with four holes running along both sides this is wrong as it should be four on one side and three on the other this is repeated three times. Well I had to add two extra rows of holes to correct this it looks alright but is not correct.
  I then added a short piece of rod to the barrel and I have a better looking gun
  even if it's not correct.
