Tank Destroyer/SPG Campaign
Alberta, Canada
Joined: October 05, 2012
KitMaker: 10 posts
Armorama: 3 posts
Posted: Sunday, October 07, 2012 - 09:17 AM UTC
i didnt take a beginning photo prior to starting this campaign, however i do have the early photos taken,
the main box

the bottom chassis

the turret area


#226
British Columbia, Canada
Joined: February 20, 2012
KitMaker: 1,909 posts
Armorama: 1,066 posts
Posted: Sunday, October 07, 2012 - 09:37 AM UTC
Sorry to hear that Phil, I hope Today is better.

Cheers Rob.
Anything without guns is a target!
27 completed campaigns and counting :)
Alberta, Canada
Joined: October 05, 2012
KitMaker: 10 posts
Armorama: 3 posts
Posted: Monday, October 08, 2012 - 09:18 AM UTC

#226
British Columbia, Canada
Joined: February 20, 2012
KitMaker: 1,909 posts
Armorama: 1,066 posts
Posted: Monday, October 08, 2012 - 05:18 PM UTC
Anything without guns is a target!
27 completed campaigns and counting :)
Illinois, United States
Joined: April 25, 2008
KitMaker: 338 posts
Armorama: 75 posts
Posted: Tuesday, October 09, 2012 - 02:14 PM UTC
A little more progress. The wheels went on very smoothly, all I had to remove to make them fit was some paint.

England - East Anglia, United Kingdom
Joined: March 21, 2012
KitMaker: 1,673 posts
Armorama: 1,640 posts
Posted: Friday, October 12, 2012 - 05:00 AM UTC
Hi all,
Iīm bored

, so hereīs a second entry


This is going to be a quicky

so itīll be done before
the next campaign kicks in in November

@ David: I know your doing this kit too (PC Screen)

but donīt worry itīs not going to be a competition


Paul
"Lord Raglan wishes the cavalry to advance rapidly to the front, follow the enemy & try to prevent the enemy carrying away the guns. Troop horse artillery may accompany. French cavalry is on your left. Immediate. R Airey."
England - East Anglia, United Kingdom
Joined: March 21, 2012
KitMaker: 1,673 posts
Armorama: 1,640 posts
Posted: Friday, October 12, 2012 - 06:29 AM UTC
well here we go,
Torsion bars taped of:

Running gear fixed together:

Hull parts fixed together and puttied. Some holes must be filled and rest is to add some texture:

Cleaned up 88mm on a tooth pick

so i donīt loose it


More tomorrow,

Paul
"Lord Raglan wishes the cavalry to advance rapidly to the front, follow the enemy & try to prevent the enemy carrying away the guns. Troop horse artillery may accompany. French cavalry is on your left. Immediate. R Airey."
Illinois, United States
Joined: April 25, 2008
KitMaker: 338 posts
Armorama: 75 posts
Posted: Saturday, October 13, 2012 - 12:38 AM UTC
@Paul, excellent choice on the Jagdpanther. I really like this kit, it went together super fast.
I started with the camo pattern last night but my camera battery died when I tried to take a picture. It seems I didn't pick colors as well as I wanted. I think all three of the paints that I selected are measurable darker than I expected but oh well. I think it will turn out okay, the details just might not show as well.

#298
Hong Kong S.A.R. / 繁體
Joined: August 08, 2002
KitMaker: 1,182 posts
Armorama: 665 posts
Posted: Sunday, October 14, 2012 - 06:57 PM UTC

#226
British Columbia, Canada
Joined: February 20, 2012
KitMaker: 1,909 posts
Armorama: 1,066 posts
Posted: Sunday, October 14, 2012 - 08:36 PM UTC
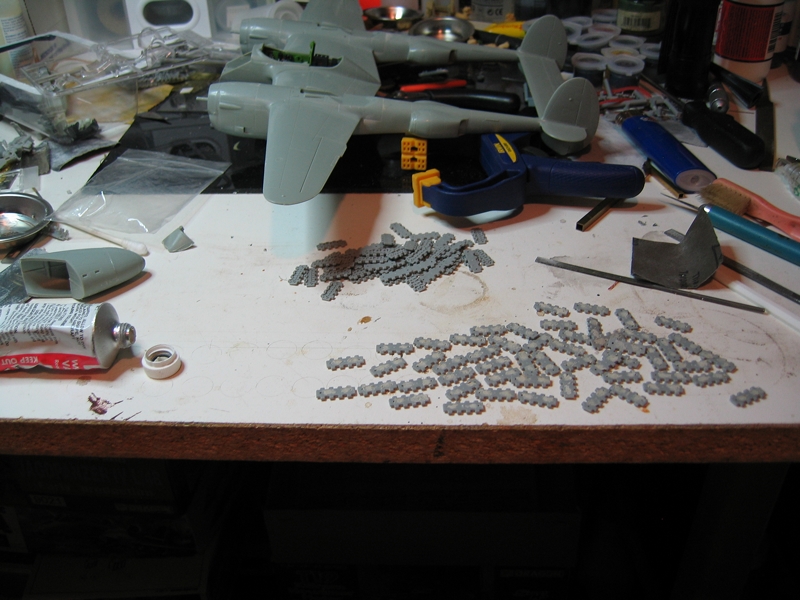
Started working on the tracks.
With some filler.

Cheers Rob.
Anything without guns is a target!
27 completed campaigns and counting :)
Auckland, New Zealand
Joined: June 01, 2011
KitMaker: 1,716 posts
Armorama: 1,638 posts
Posted: Sunday, October 14, 2012 - 08:41 PM UTC
Lap Man ,, That turned out very very nice dude ..very well done ,,the toning of the paint is really good ..ya i would be most happy with how that turned out

Rob ... Mate i don't want to be the barer of bad news but i can see two problems ..one ..those tracks will be way to heavy for that P38 and two...they won't fit

Phill

I know the voices ain't real but they do come up with some great ideas
Never trust a man who left alone with a tea cozy and doesn't try it on ( Billy Connolly )
Overkill is often very understated

#226
British Columbia, Canada
Joined: February 20, 2012
KitMaker: 1,909 posts
Armorama: 1,066 posts
Posted: Sunday, October 14, 2012 - 08:56 PM UTC
I'll make em fit.

Anything without guns is a target!
27 completed campaigns and counting :)

#330
Queensland, Australia
Joined: July 15, 2011
KitMaker: 175 posts
Armorama: 72 posts
Posted: Sunday, October 14, 2012 - 09:25 PM UTC
I have finished the interior of the M-10, now on to the warped upper hull.


Indiana, United States
Joined: June 10, 2005
KitMaker: 6,188 posts
Armorama: 5,960 posts
Posted: Sunday, October 14, 2012 - 09:28 PM UTC
Beautiful Waffentrager Lap!

~ Jeff
United States
Joined: February 01, 2009
KitMaker: 1,233 posts
Armorama: 557 posts
Posted: Monday, October 15, 2012 - 05:21 AM UTC
John-----Outstanding work on the M-10 interior. Looks like I could hop in it and drive around in it and destroy some things. Very well done.
Lap Man---Beautiful finish. Those red primer finishes are really striking when done correctly and you nailed that one! Well done indeed.
Regards, Ian


It is a fact that under equal conditions, large-scale battles and whole wars are won by troops which have a strong will for victory, clear goals before them, high moral standards, and devotion to the banner under which they go into battle.
-Georgy Zhukov
Hawaii, United States
Joined: August 27, 2006
KitMaker: 1,646 posts
Armorama: 1,557 posts
Posted: Monday, October 15, 2012 - 12:33 PM UTC
Lap Man: very nice work on the paint job. Absolutely perfect.
John: The interior looks great. Nice job.
Happy Modeling, -zon

"Certainty of death.
Small chance of sucess.
What are we waiting for?"
-Gimli, Return of the King.
Illinois, United States
Joined: April 25, 2008
KitMaker: 338 posts
Armorama: 75 posts
Posted: Monday, October 15, 2012 - 12:54 PM UTC
So it turns out that I am a goofball and missed the part in the instructions where it told me to fill in about 8 holes on the hull of my jagdpanther. I was able to get a 'seal' in the holes with paint but the holes are still very noticable and the model is fully painted.
Has anyone else done this before or have an idea of how to fix it without messing up the paint on the hull? I am tempted to leave the holes as the are.
Pennsylvania, United States
Joined: May 14, 2007
KitMaker: 219 posts
Armorama: 217 posts
Posted: Monday, October 15, 2012 - 01:34 PM UTC
The trick I used to fill some holes on my current project is stretching some sprue over a flame. Then take the stretched sprue and glue it into the hole and trim off the excess. With some careful shaving and a litte putty, you can fill the hole and then paint over the fix.
Good luck.
Kevin
On the workbench:
Dragon SdKfz 251/9 Stummel
Visit Kingfisher models from Schuylkill Haven on FB
Indiana, United States
Joined: June 10, 2005
KitMaker: 6,188 posts
Armorama: 5,960 posts
Posted: Tuesday, October 16, 2012 - 12:52 PM UTC
Here's 2 hours combined work

on my le.FH18/40/2(sf) auf G.W.Pz.Kpfw.III/IV

While this dries totally I'll roll out the FAUN.

~ Jeff
Hawaii, United States
Joined: August 27, 2006
KitMaker: 1,646 posts
Armorama: 1,557 posts
Posted: Tuesday, October 16, 2012 - 02:58 PM UTC
Jeff S: I think those road wheels are a little large?!?


Looking good, sir.
Happy Modeling, -zon

"Certainty of death.
Small chance of sucess.
What are we waiting for?"
-Gimli, Return of the King.
Auckland, New Zealand
Joined: June 01, 2011
KitMaker: 1,716 posts
Armorama: 1,638 posts
Posted: Tuesday, October 16, 2012 - 07:58 PM UTC
Totally agree with Zon Jeff ,,, those wheels are seriously wrong man


But seriously .... they not even for that tank


Very nice work so far buddy

Looking forward to seeing this one finished thats for sure .
Loving all the great work going on here guys

some fantastic builds happening .
My apologizes for not showing my ugly mug much in here .,.very busy out my way at the mo so not getting huge time and what makes matters worse ,,tooth pulled today so slowed things down a little bit .
Will be getting back to normal next week

Phill

I know the voices ain't real but they do come up with some great ideas
Never trust a man who left alone with a tea cozy and doesn't try it on ( Billy Connolly )
Overkill is often very understated
Indiana, United States
Joined: June 10, 2005
KitMaker: 6,188 posts
Armorama: 5,960 posts
Posted: Tuesday, October 16, 2012 - 11:50 PM UTC
Wow... I can't get anything past you guys. You're alert and have eyes like a hawk to notice I left my T34 STZ wheels for my 1/16 build in the way.

They were part of a trade I made to get some extra wheels to build the special version that the kit does not offer.
Maybe it will part of my Large Scale
http://armorama.com/modules.php?op=modload&name=Campaigns&file=index&req=showcontent&id=599 Campaign entry that kicks off at the first of the year.

Maybe?

~ Jeff
Tennessee, United States
Joined: March 20, 2005
KitMaker: 420 posts
Armorama: 307 posts
Posted: Wednesday, October 17, 2012 - 05:58 AM UTC
Well, I've run into a bit of a set back. I plan on putting a worn winter cammo on the Waffentrager using the hairspray method.
So I set on the hairspray and when it dries I see this

These two pictures (well there were two pictures but one was the dreaded red x so I just deleted it) are after I wet the affected areas with water to try to remove the hairspray ... but it ain't comin' off!
I'm going to just try and transform what I have here into a worn winter whitewash. It could be worse!
And LapMan ... Nice work!
Auckland, New Zealand
Joined: June 01, 2011
KitMaker: 1,716 posts
Armorama: 1,638 posts
Posted: Wednesday, October 17, 2012 - 10:32 AM UTC
Bill ,,Strange as this might sound but that looks pretty cool .. to me it has a pretty natural appearance to it ,,looks really worn like the white wash they used was pretty crap and washed off a lot faster than it should .
Either was you choose to go it looks cool to me dude

Phill

I know the voices ain't real but they do come up with some great ideas
Never trust a man who left alone with a tea cozy and doesn't try it on ( Billy Connolly )
Overkill is often very understated

#226
British Columbia, Canada
Joined: February 20, 2012
KitMaker: 1,909 posts
Armorama: 1,066 posts
Posted: Thursday, October 18, 2012 - 10:28 PM UTC
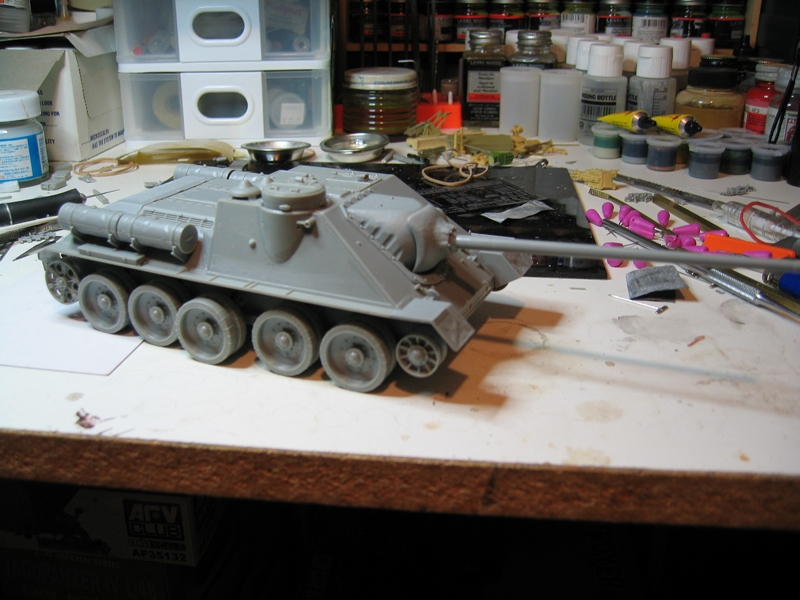
Managed to get some done on the SU-100.

Cheers Rob.
Anything without guns is a target!
27 completed campaigns and counting :)


Rod ... been a long bloody day man ...very long day and its still no way close to over yet ,,if i'm like this now what the hell am i going to be like when i go to bed


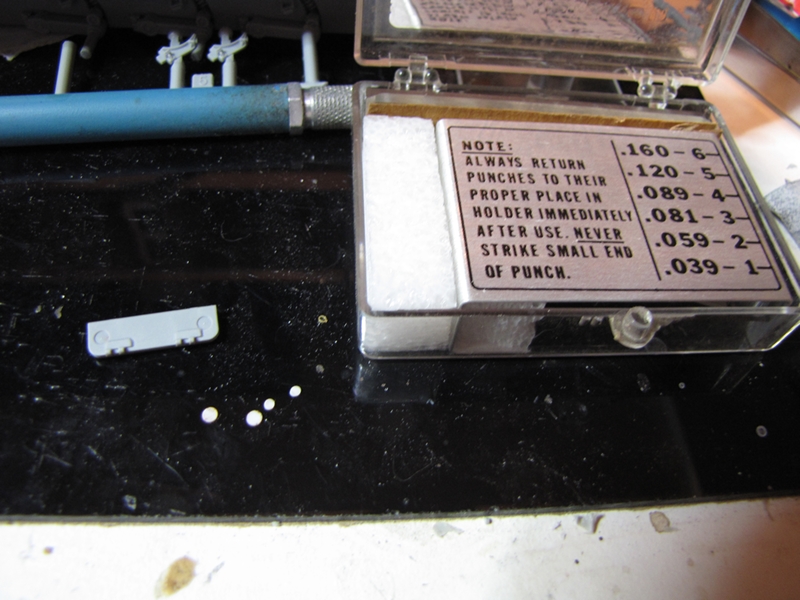
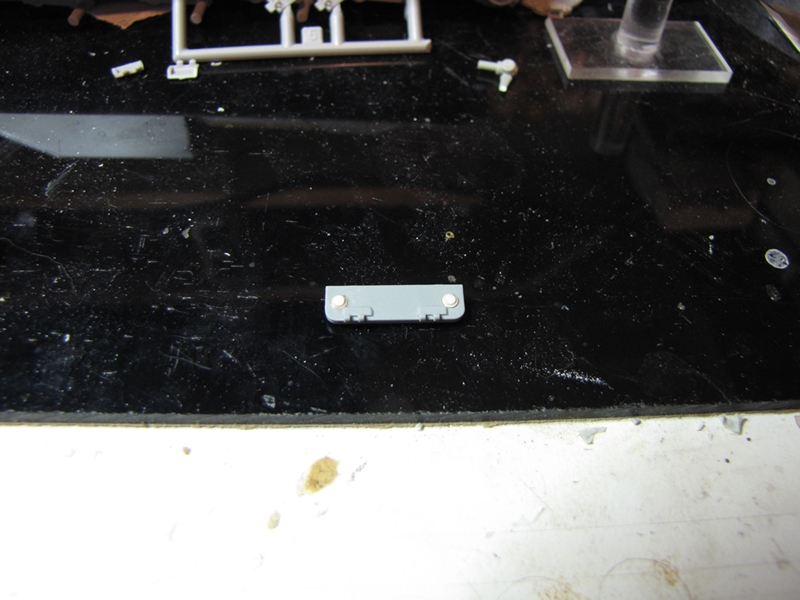
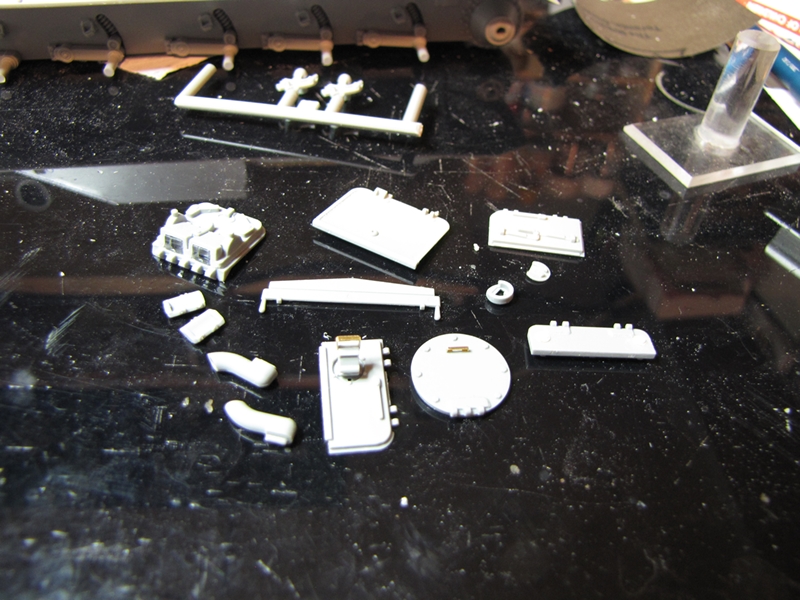
 cleaned some more parts did a bit of PE but that's all for now.


 , so hereīs a second entry


 so itīll be done before
 but donīt worry itīs not going to be a competition


 so i donīt loose it

 Paul
Paul




 some fantastic builds happening .


