Campaigns
Where Armorama group builds can be discussed, organized, and updates posted.
Tank Destroyer/SPG Campaign
anti-hero
Visit this Community
Tennessee, United States
Joined: March 20, 2005
KitMaker: 420 posts
Armorama: 307 posts
Posted: Thursday, November 08, 2012 - 01:15 PM UTC
How about a couple other pics ... maybe this time I won't click any buttons prematurely.


I think I need photography lessons.
Shuftie
Visit this Community
Western Australia, Australia
Joined: September 05, 2012
KitMaker: 74 posts
Armorama: 42 posts
Posted: Friday, November 09, 2012 - 12:28 AM UTC
My completed M10. Wash ended up being a bit heavy handed.


(Is there a gallery I need to post the final pictures to?)
Removed by original poster on 11/09/12 - 20:35:01 (GMT).
1721Lancers
Visit this Community
England - East Anglia, United Kingdom
Joined: March 21, 2012
KitMaker: 1,673 posts
Armorama: 1,640 posts
Posted: Friday, November 09, 2012 - 08:36 AM UTC

Quoted Text

This link works for me.
Tank Destroyers/SPG Campaign Gallery


This is from the so called "Big toe" of the campaigns
Thanks Gary
Bill like your waffenträger, the paint job looks really
good, even though it was a mishap

Stephen here´s the link for gallery, lovely M10 and
the wash isn´t that heavy. Try to think what they looked
like in the Ardennes, it´s perfect:
Braille
#135
Visit this Community
California, United States
Joined: August 05, 2007
KitMaker: 1,501 posts
Armorama: 1,485 posts
Posted: Friday, November 09, 2012 - 04:59 PM UTC
@anti-hero – Bill, congratulations on finishing your campaign contribution build, looks great. I have to agree with Paul ‘1712Lancers’ about the paint mishap because it really looks the part. The color contrast between the red oxide interior and exterior green base color is on the money for an end of war vehicle, super! Good job on the figure too. He looks like he’s busy checking out what damage his vehicles weapon just caused! Also like the realistic looking bent fenders, nice touch. The kits exhaust piping looks somewhat puny but the rusting looks tops. And don’t worry about your photographs they look great!

@Shuftie – Stephen, job well done – congratulations! The washing sure toned down the shinny finish that you had previously applied and it looks sharp. You did an excellent job on applying the water-slide decals. The weathering looks great too. I like the stowage and the clean rounds stored on the inside of the turret – the crews would have kept these puppies groomed and ready.

The rest of you people keep pumping away on the plastic!

~ Eddy
WARDUKWNZ
Visit this Community
Auckland, New Zealand
Joined: June 01, 2011
KitMaker: 1,716 posts
Armorama: 1,638 posts
Posted: Friday, November 09, 2012 - 05:20 PM UTC
With the way my world is right now time is not something i have any off so my time doing anything modelling wise is bloody near impossible which is annoying the hell out of me i can tell ya .
The builds going on here are blowing my mind ..so many great builds going on with mishaps turning into a truly wonderful model ie Bill's
Even the small stuff is looking brilliant ..Stephen your M10 is rockin dude and with the right amount of everything ..sweet as hell .

Keep it going guys .. cause its all your work which has turned this into one hell of a campaign

Phill
Shuftie
Visit this Community
Western Australia, Australia
Joined: September 05, 2012
KitMaker: 74 posts
Armorama: 42 posts
Posted: Friday, November 09, 2012 - 08:28 PM UTC
Hi All

Thanks for the comments on the M10 I appreciate the thumbs up.
SaxonTheShiba
Visit this Community
United States
Joined: February 01, 2009
KitMaker: 1,233 posts
Armorama: 557 posts
Posted: Saturday, November 10, 2012 - 02:50 AM UTC
Bill----Beautiful work and fantastic weathering application.


Stephen----The M-10 is badass......wash definitely NOT overdone. Very appropriate for that vehicle and great work overall.


Best wishes, Ian

anti-hero
Visit this Community
Tennessee, United States
Joined: March 20, 2005
KitMaker: 420 posts
Armorama: 307 posts
Posted: Saturday, November 10, 2012 - 03:13 AM UTC
Guys! Thanks for the kind words! They are greatly appreciated.
Seeing all of the great models in this thread really helped push me to finish this one and of course the quality of the models on here pushed me to try and keep up with the high standard that had been set.
So thanks again for the nice comments.

Stephen - The weathering is not overdone/heavyhanded. It looks like a very dusty vehicle. I think it came out good. The only places where I think might need some touching up is the bottom of the tarp. It looks like the wash kind of gathered there on the bottom of it and it looks too uniform. Maybe just take some of the tarp color, add a little bit of the dust color to it, and lightly dab it along that line of dust to break it up some. So it doesn't look so uniform. A nit pick really, but just thought I'd give my opinion.

So, my plan for this vehicle was to put it in a diorama. That's my plan for all my kits, which is why so few get completed. Here is a sneak peek at the dio for this guy.

I will TRY to get it done by the end of this campaign ... but I'm not promising anything!
SaxonTheShiba
Visit this Community
United States
Joined: February 01, 2009
KitMaker: 1,233 posts
Armorama: 557 posts
Posted: Saturday, November 10, 2012 - 04:32 AM UTC
Bill---That will be an outstanding diorama presentation.!!

Still plugging along with the M-1134 TOW STRYKER. I got the post-shading applied which was Tamiya NATO Green lightened with Tamiya dark yellow. Hopefully I will get the pin wash on this weekend and shade the panel lines and rivets with Tamiya Smoke as well. I might have to make some adjustments with the suspension to get all eight wheels level on the ground.


Regards, Ian


1721Lancers
Visit this Community
England - East Anglia, United Kingdom
Joined: March 21, 2012
KitMaker: 1,673 posts
Armorama: 1,640 posts
Posted: Saturday, November 10, 2012 - 07:22 AM UTC
@ Bill, fantastic idea hope you get it done before the campaign ends.
@ Ian, looking good there, from this angle you can´t tell
the wheels are of line.
@ Eddie, how are you getting on? Your build is an experience on its own dude, and a Bible for us scratchers.

Here´s the end of my second, I should of taken a little more time, never mind I will on the next one:


Paul
SaxonTheShiba
Visit this Community
United States
Joined: February 01, 2009
KitMaker: 1,233 posts
Armorama: 557 posts
Posted: Saturday, November 10, 2012 - 08:26 AM UTC
Thanks Paul. Actually I just got done adjusting the suspension so it has "eight on the floor" now so to speak!!!! Fantastic looking Jagdpanther, Paul. Great job on the camo.


Regards, Ian


Braille
#135
Visit this Community
California, United States
Joined: August 05, 2007
KitMaker: 1,501 posts
Armorama: 1,485 posts
Posted: Saturday, November 10, 2012 - 09:17 AM UTC
@anti-hero – Bill, you’ve been busy on the side with that diorama base, the scene looks kick-butt! Take your time and do it justice hopefully if we don’t see it finished here you could always submit your work as a feature. Looking forward to seeing more.

@streetgang6 – Ian, your faded base color on the T.O.W. Stryker looks great! Clean build too.

@1721Lancers – Paul, congratulations on your second completed build for this campaign! Another job well done. I like the weathering, camouflage pattern and colors on your Jagdpanther.


Quoted Text

@ Eddie, how are you getting on? Your build is an experience on its own dude, and a Bible for us scratchers. Paul


@1721Lancers – Paul, thanks for the kind words, I’ve gotten side tracked with my contribution build, like my two 4Lbs sized Chihuahua’s often do, but I will post an update just as soon as I get in some time on this project. I doubt that I’ll be finished with this project before the campaign is over but I will continue my work and open a build log over in the WWII – Axis forum afterwards.

~ Eddy
Shuftie
Visit this Community
Western Australia, Australia
Joined: September 05, 2012
KitMaker: 74 posts
Armorama: 42 posts
Posted: Sunday, November 11, 2012 - 11:57 AM UTC

Quoted Text

Stephen - The weathering is not overdone/heavyhanded. It looks like a very dusty vehicle. I think it came out good. The only places where I think might need some touching up is the bottom of the tarp. It looks like the wash kind of gathered there on the bottom of it and it looks too uniform. Maybe just take some of the tarp color, add a little bit of the dust color to it, and lightly dab it along that line of dust to break it up some. So it doesn't look so uniform. A nit pick really, but just thought I'd give my opinion.


Hey Bill

Thanks for the advice I will try that and see how it goes.

Cheers

Stephen
SaxonTheShiba
Visit this Community
United States
Joined: February 01, 2009
KitMaker: 1,233 posts
Armorama: 557 posts
Posted: Monday, November 12, 2012 - 06:46 AM UTC
Did some more work on the Stryker. I had dropped the model after I applied the Humbrol gloss primer because it was so slippery and I didn't realize until now that the right side PE jerry can holder had broken off never to be seen again. I scratchbuilt a new one to take it's place. I also scratchbuilt a DUKE antenna and made a DUKE antenna mount from sheet stock which is sitting on the winch housing. Got my stowage picked out and the Tamiya Smoke has been airbrushed over the rivets and panel lines on the hull.


Regards, Ian


Cam
#275
Visit this Community
Alberta, Canada
Joined: March 01, 2006
KitMaker: 174 posts
Armorama: 141 posts
Posted: Monday, November 12, 2012 - 05:40 PM UTC
Some lovely plastic already and another month and a half to go.
I got some more work done on my EBR-10 in the last while. All the vehicles that I have found pictures of have a dust cover over the gun/turret base joint. Hobby Boss gives you the canvas but not the retaining strips that hold it on. I added the retaining strips with 20 thou plastic card and strip. I had to cut down the kit part to have it clear the jerry can rack and the smoke dischargers and filled the resulting gaps with Tamiya putty. It's hard to see but there was a cut down area on top of the turret in front of the loaders inboard periscope (can you have a loader when the vehicle has an autoloader)? The handle of the pick axe on the right side of the turret runs almost parallel with the shovel not parallel with the turret top so the mounting hole was filled. Some cast texture on the front of the turret and I think I'm ready for some primer. The last pic shows the difference in the conical shape of the aux road wheels between the kit wheels and the Azimut resin ones. They are crooked because I have left things loose for painting.
Dragon164
#226
Visit this Community
British Columbia, Canada
Joined: February 20, 2012
KitMaker: 1,909 posts
Armorama: 1,066 posts
Posted: Monday, November 12, 2012 - 06:29 PM UTC
Lots of great work guys!

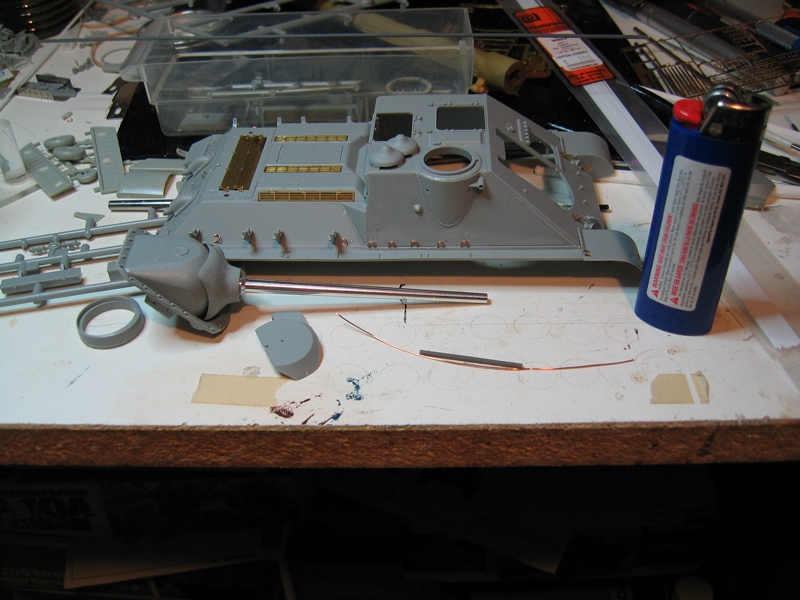
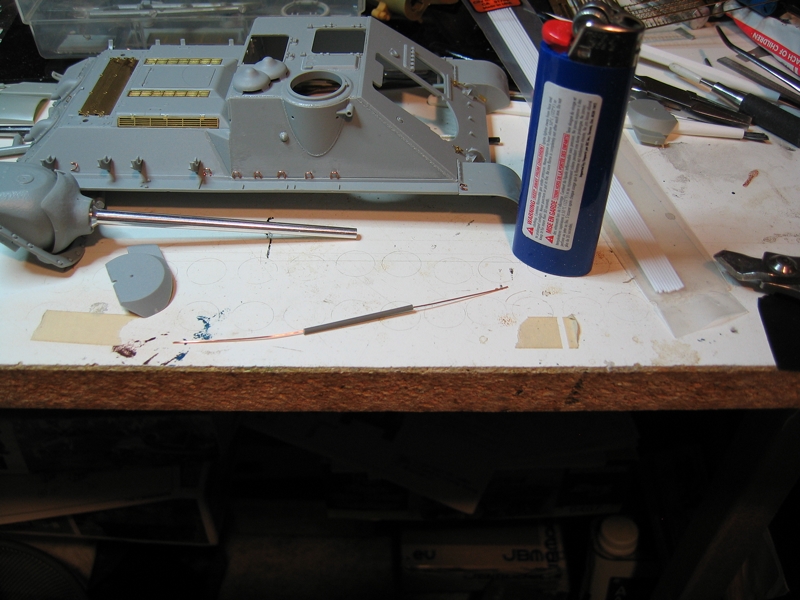
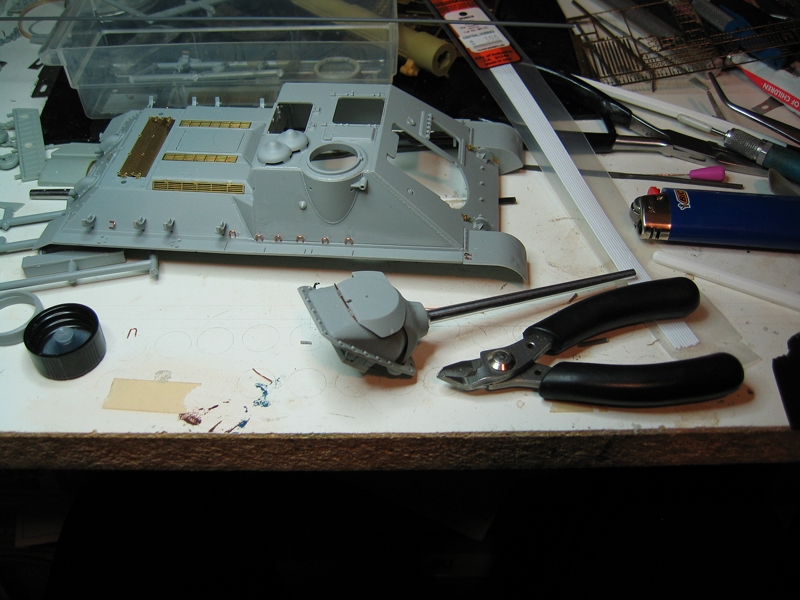
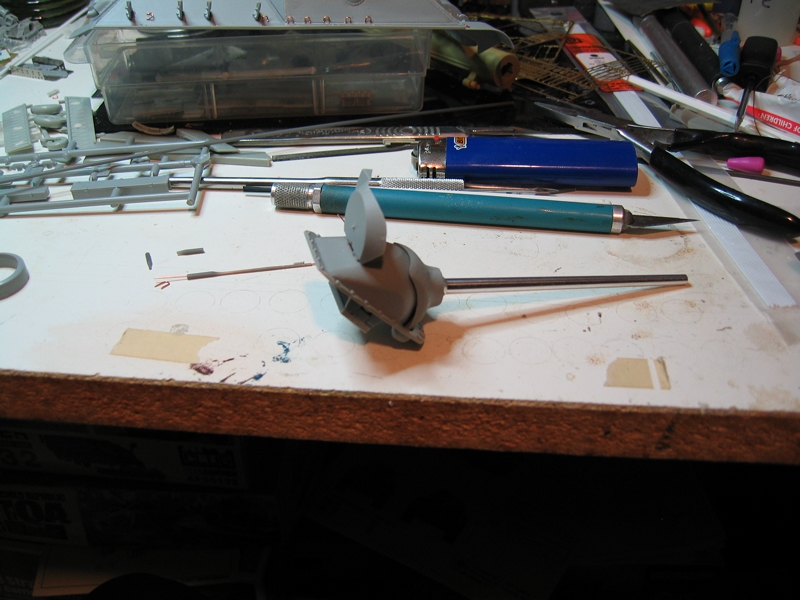
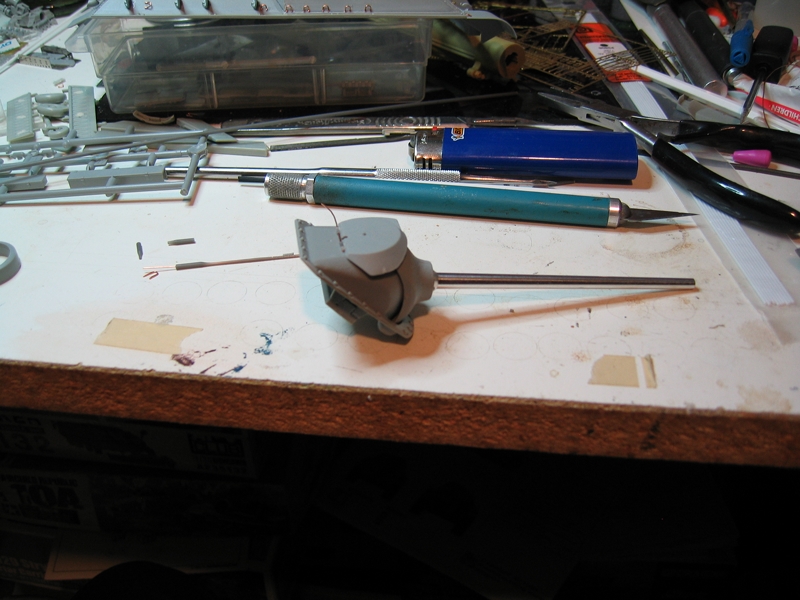
Got a bit done on mine, just finishing up the hull before painting. There is still a bunch of PE to do but I've done enough of that Today when I got to the shield above the gun I found that the hinges did not line up so seeing as I had to make new hinges anyways I decided to make them functional.

Now not looking forward to drilling holes in small round rod I looked through the stash for some tube, I found some but not nearly small enough... so I put a piece of wire through the tube the size I would use for the hinge pin and then heated and stretched the tube to make a smaller one.
As our English friends say worked a treat.

Cheers Rob.


PanzerKiel
Visit this Community
California, United States
Joined: August 20, 2004
KitMaker: 16 posts
Armorama: 14 posts
Posted: Wednesday, November 14, 2012 - 07:17 PM UTC
Ok here are my in Progress photos for the Campaign
TMoon
#152
Visit this Community
Texas, United States
Joined: December 07, 2002
KitMaker: 487 posts
Armorama: 441 posts
Posted: Saturday, November 17, 2012 - 03:22 AM UTC
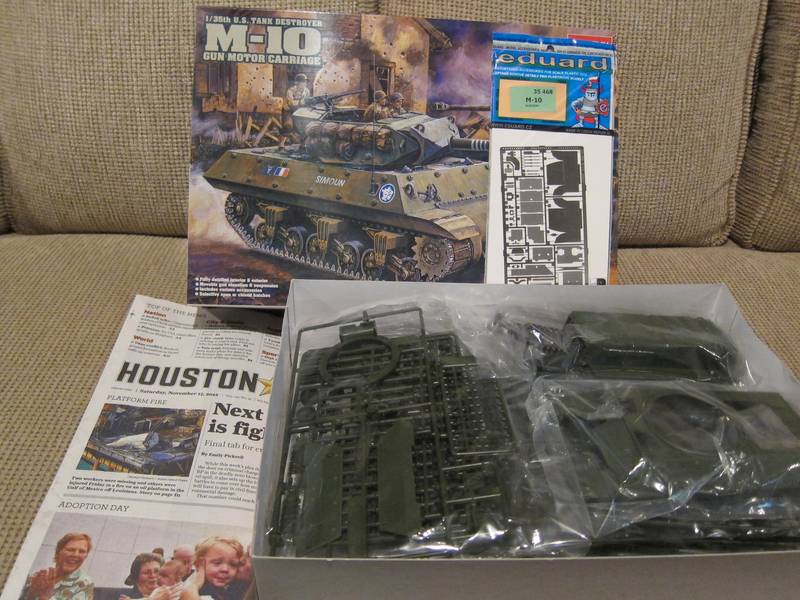
Here are my Starter photos of the M10 TD


Will have ip photos soon.

Tom
SaxonTheShiba
Visit this Community
United States
Joined: February 01, 2009
KitMaker: 1,233 posts
Armorama: 557 posts
Posted: Saturday, November 17, 2012 - 09:19 AM UTC
A couple of more progress shots on the TOW STRYKER. The vehicle has been futured and decalled. The Trumpeter decals were pretty bad, as usual, but laid down after a hefty application of MICRO SOL. I just got it flatcoated and installed the DUKE antenna and the stowage. Now comes the fun part...the weathering.


Best wishes everybody, Ian


Dragon164
#226
Visit this Community
British Columbia, Canada
Joined: February 20, 2012
KitMaker: 1,909 posts
Armorama: 1,066 posts
Posted: Saturday, November 17, 2012 - 07:10 PM UTC
Looks great Ian!

Got some more done on the SU's
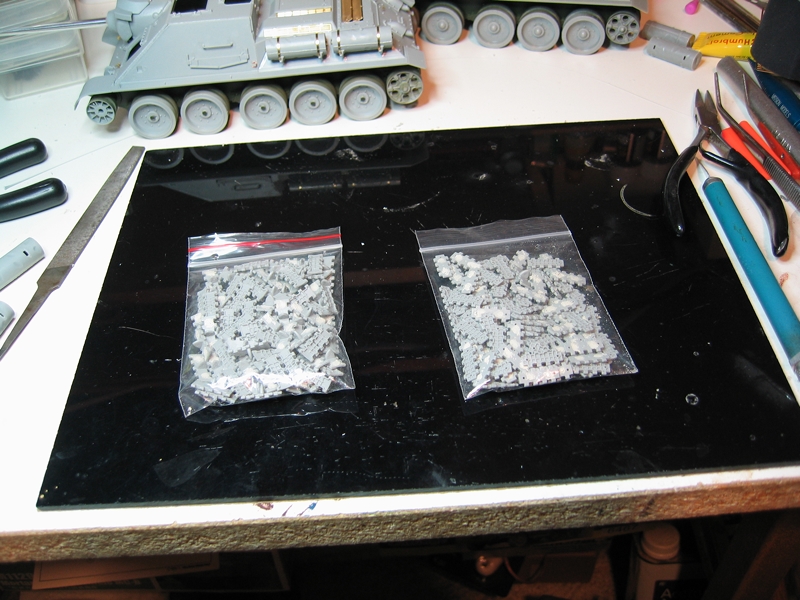
I finished off the tanks on the sides cut off the details on the ones for the 85 and added weld beads to all,I used my favorite tool for this the round chisel tip from Mission Models. Then I started on the PE for the ones on the 85 only to find that it will not work the way I had it had to break off all the brackets and switch them from one to the other I keep making more work for myself Got one side of each done, then decided to work on cleaning up the two bags of tracks that I had put putty on.
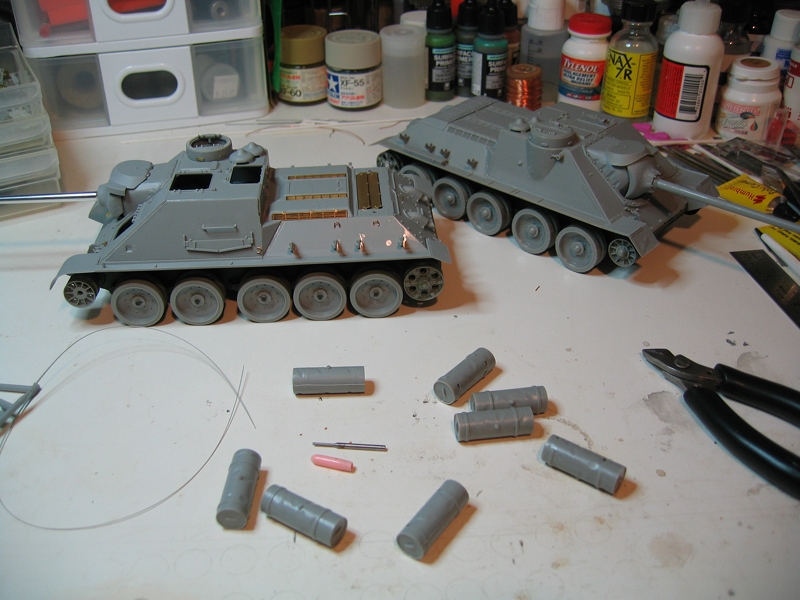
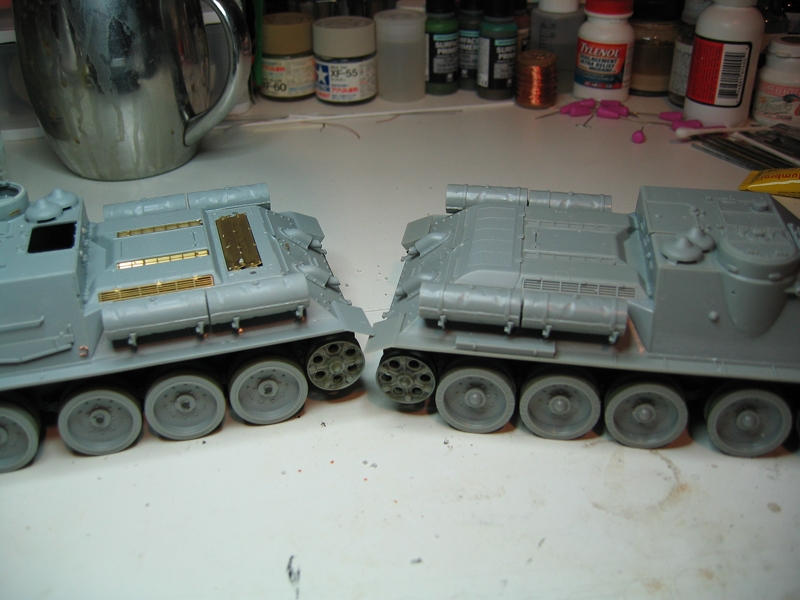
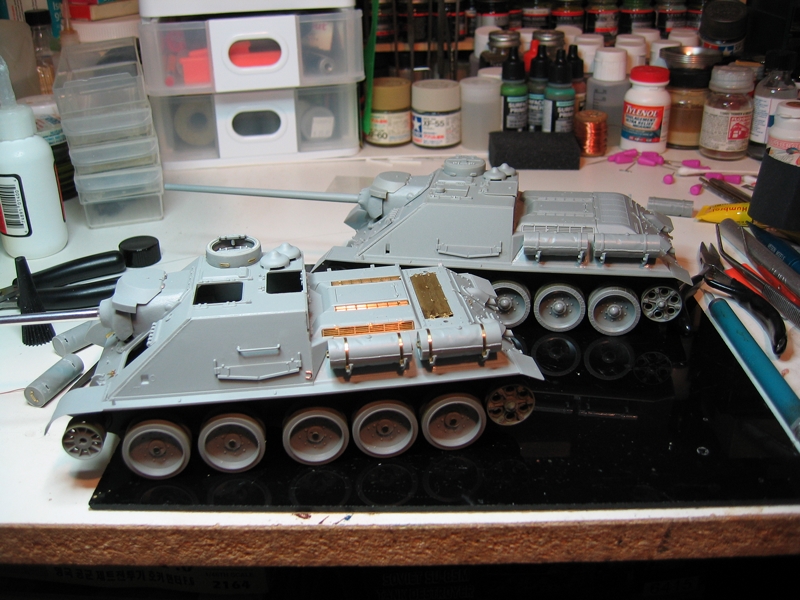
Cheers Rob.


erhntly
Visit this Community
Izmir, Turkey / Türkçe
Joined: June 11, 2004
KitMaker: 1,426 posts
Armorama: 464 posts
Posted: Sunday, November 18, 2012 - 05:53 AM UTC
Hello everyone,

Complted my model. Dragon 1/72 scale Jagdtiger..While building a lot of fun.

Regards...


other pictures are in "miniafv" : http://miniafv.blogspot.com/2012/11/dragon-172-jagdtiger-completed-by-erhan.html
PvtMutt
Visit this Community
Missouri, United States
Joined: July 01, 2006
KitMaker: 614 posts
Armorama: 601 posts
Posted: Sunday, November 18, 2012 - 06:13 AM UTC
Upper hull bolted/welded on


Even more work to be done yet
Thanks
Tony lee
Cam
#275
Visit this Community
Alberta, Canada
Joined: March 01, 2006
KitMaker: 174 posts
Armorama: 141 posts
Posted: Sunday, November 18, 2012 - 04:57 PM UTC
Nice work Tony. I've been keeping an eye on your build as the kit is definitely on my to do list. Are you going to use the perforated side screens?
WARDUKWNZ
Visit this Community
Auckland, New Zealand
Joined: June 01, 2011
KitMaker: 1,716 posts
Armorama: 1,638 posts
Posted: Sunday, November 18, 2012 - 05:19 PM UTC
Ian ,, Dude its looking seriously cool .,.hell i can't wait to see this finished ,,its really nicely done so far mate

Rob .. Su100 percent kick ass mate .. any idea how long it will be when you throw paint at it ?? its looking clean man ..real clean

Cam ,,, You win the strangest 8 wheeler contest with that
and i am enjoying watching your build mate

Tony ... Slowly but surely thats coming along brilliantly dude ,,another super clean build ,,each time i get the chance to look in on this campaign it still surprises me with you good these builds are .
Kinda wish i had time to build something else but theres no way thats gonna happen now ..keep it up guys ..lovin this

Phill