Man Gary,that is some outstanding painting.The grays look great,as well as the weathering
Anthony
Andy,I believe any German Panzer is in
Campaigns
Where Armorama group builds can be discussed, organized, and updates posted.
Where Armorama group builds can be discussed, organized, and updates posted.
Hosted by Darren Baker, Richard S.
Panzers Return!

Tojo72

Joined: June 06, 2006
KitMaker: 4,691 posts
Armorama: 3,509 posts

Posted: Saturday, July 06, 2013 - 12:36 PM UTC

Blackstoat

Joined: October 15, 2012
KitMaker: 568 posts
Armorama: 561 posts

Posted: Saturday, July 06, 2013 - 07:36 PM UTC
Thanks Anthony
Couldn't believe it was so wide, so I guess I was interpreting it stricter than it actually is.
Now to decide, jagdtiger or a pretty Jagdpanther
Couldn't believe it was so wide, so I guess I was interpreting it stricter than it actually is.
Now to decide, jagdtiger or a pretty Jagdpanther

panzerbob01

Joined: March 06, 2010
KitMaker: 3,128 posts
Armorama: 2,959 posts

Posted: Sunday, July 07, 2013 - 05:36 AM UTC
Quoted Text
I guess I'm just looking for something that isn't there. It just goes to show that the more this kind for discussion takes place about German Armor, the more muddy the waters become. It's the old "Yes, No, Maybe So, Coulda, Woulda, Shoulda" deal. Since there were only two made, you would think that you would be able to find at least one good pic showing some camo. So I guess it will be a one color build.
I still may do the red oxide barrel though
Hmmmm. Maybe consider painting a non-camo'd barrel in black. So far as I've read and heard, they did NOT send guns or finished gun-barrels for tanks out in naked red-oxide - finely-machined stuff and finished goods (and gun-barrels count as such) appear to have left the original factory in a finished coat of black enamel. PS: I doubt any completed tanks left the factory wearing only primer, either - save perhaps for a very few last-moment vehicles in say, April, 1945... (we have read and heard some discussion suggesting that last-production tanks may have been sent out with factory camo applied over red-oxide as the base - but this would be a camo'd tank and not a plain naked red-oxide thing.)
Just a couple of cents into this pot!
Bob


retiredyank

Joined: June 29, 2009
KitMaker: 11,610 posts
Armorama: 7,843 posts

Posted: Sunday, July 07, 2013 - 05:44 AM UTC
Quoted Text
Quoted TextI guess I'm just looking for something that isn't there. It just goes to show that the more this kind for discussion takes place about German Armor, the more muddy the waters become. It's the old "Yes, No, Maybe So, Coulda, Woulda, Shoulda" deal. Since there were only two made, you would think that you would be able to find at least one good pic showing some camo. So I guess it will be a one color build.
I still may do the red oxide barrel though
Hmmmm. Maybe consider painting a non-camo'd barrel in black. So far as I've read and heard, they did NOT send guns or finished gun-barrels for tanks out in naked red-oxide - finely-machined stuff and finished goods (and gun-barrels count as such) appear to have left the original factory in a finished coat of black enamel. PS: I doubt any completed tanks left the factory wearing only primer, either - save perhaps for a very few last-moment vehicles in say, April, 1945... (we have read and heard some discussion suggesting that last-production tanks may have been sent out with factory camo applied over red-oxide as the base - but this would be a camo'd tank and not a plain naked red-oxide thing.)
Just a couple of cents into this pot!
Bob
As only two were produced, I doubt they were fielded. Therefore, I believe that they could have been "naked" oxide red. I seriously doubt that a heat resistant primer would have been wasted on prototypes and one offs.
Posted: Sunday, July 07, 2013 - 08:29 AM UTC
Hi all! Finally, I can take out my "Cat". Looks a good piece, and it will be my first experience with Magic Track...and in making zimmerit!
Hope the result will please the gang...


Hope the result will please the gang...


Snorri23

Joined: March 25, 2010
KitMaker: 514 posts
Armorama: 261 posts

Posted: Sunday, July 07, 2013 - 08:43 AM UTC
Here is the start of my projeck the Selbstfahrlafette L/61 from Trump in 1/35 I gained a metal barrel from a company that was discounting it. In the process of obtaining tracks from Hobby Boss. Do not like rubber bands for tracks. This mod is based upon the VK3001(H) specs which was proposed to replace the PzIV which the whole projekt was cancelled.

Some panzer grey was applied to show flaws if present.

This build has to stall for a bit until I get a few other ones finished. With what I have seen all are of considerable finesse and I look forward to seeing their progress.

Some panzer grey was applied to show flaws if present.

This build has to stall for a bit until I get a few other ones finished. With what I have seen all are of considerable finesse and I look forward to seeing their progress.
panzerbob01

Joined: March 06, 2010
KitMaker: 3,128 posts
Armorama: 2,959 posts

Posted: Sunday, July 07, 2013 - 01:34 PM UTC
Quoted Text
Quoted TextQuoted TextI guess I'm just looking for something that isn't there. It just goes to show that the more this kind for discussion takes place about German Armor, the more muddy the waters become. It's the old "Yes, No, Maybe So, Coulda, Woulda, Shoulda" deal. Since there were only two made, you would think that you would be able to find at least one good pic showing some camo. So I guess it will be a one color build.
I still may do the red oxide barrel though
Hmmmm. Maybe consider painting a non-camo'd barrel in black. So far as I've read and heard, they did NOT send guns or finished gun-barrels for tanks out in naked red-oxide - finely-machined stuff and finished goods (and gun-barrels count as such) appear to have left the original factory in a finished coat of black enamel. PS: I doubt any completed tanks left the factory wearing only primer, either - save perhaps for a very few last-moment vehicles in say, April, 1945... (we have read and heard some discussion suggesting that last-production tanks may have been sent out with factory camo applied over red-oxide as the base - but this would be a camo'd tank and not a plain naked red-oxide thing.)
Just a couple of cents into this pot!
Bob
As only two were produced, I doubt they were fielded. Therefore, I believe that they could have been "naked" oxide red. I seriously doubt that a heat resistant primer would have been wasted on prototypes and one offs.
Matt; Seems you have some pretty strong feelings about this!

The gun in question, the Rheinmetall - Borsig 128mm PaK L/61, was developed by R-B from 1939, based on adapting their extant 128mm FlaK as a large-calibre AT gun. It was no sort of last-ditch, spur-of-moment emergency conversion or any other such - but rather a studied trials development which eventually led to the 128 PaK 44 and other derivatives. The L/61 gun was a complete and finished weapon which was seconded to the "sturer emil" project - not some unfinished barrel left in some factory yard and co-opted at the last moment as in "hey! let's put this piece together and put it on this available chassis!". All of this was done without haste, back before 1942, so there would I think have been no excuse, let alone any reason, for R-B not properly finishing the gun prior to its installation into that VK 3001 hull. And have no doubt - that was a complete and finished gun mounted in there. The real prototype in this case was not the gun, but the chassis - and that was seconded as a complete and running item - after trials as a tank - to the S.E. project once the planned-for tank was abandoned.
If anything would have been left in oxide primer, it would have been that chassis! And everything we appear to know or even publicize as thinking suggests that those 2 S.E. vehicles were properly painted per standing regulation in the specified dunkelgrau scheme. I would bet that the gun barrels were done in Dg, too.
That said, I am not - I cannot! - saying that someone cannot paint his S.E. barrel in red-oxide, if he/she so wishes - perish the thought! Just that doing so has little chance of being historically accurate or plausible. The Germans developed any number of experimental vehicles and "one-offs" and short runs of artillery during the war. These were developed by the industry leaders and manufacturers, and little evidence suggests that hardly any were ever trundled out to any test ranges or issued to troops without being painted - right up to near the end of things, when emergency ruled the day. 1942 does not, I think, count as "emergency", and the Germans were pretty meticulous in weapons development and testing.
Just saying! Hey! It would look pretty different with a red-oxide barrel... though perhaps just as interesting with a black one, I think!
Bob

robw_uk

Joined: June 22, 2010
KitMaker: 1,224 posts
Armorama: 1,207 posts

Posted: Sunday, July 07, 2013 - 10:05 PM UTC
and now with bad whitewash... gone for the more "towards the end of the winter when the white wash was rubbing off" look - more by accident than design.....


decided tools, spare wheels etc would;ve been on when the white was applied... 1 spare wheel (the vertical front one) will have been used to replace the one damaged on the RHS in the same incident that resulted in the fender damage - this will then give me 1 white wheel "for interest"...


decided tools, spare wheels etc would;ve been on when the white was applied... 1 spare wheel (the vertical front one) will have been used to replace the one damaged on the RHS in the same incident that resulted in the fender damage - this will then give me 1 white wheel "for interest"...

Tojo72

Joined: June 06, 2006
KitMaker: 4,691 posts
Armorama: 3,509 posts

Posted: Sunday, July 07, 2013 - 11:54 PM UTC
Whitewash looks good Rob,I like the dirtier beat up look myself.
I did a Whitewashed Tiger and added Mig's Cold Gray Wash,And his dirt filter to mess it up a bit
see pics in my gallery
I did a Whitewashed Tiger and added Mig's Cold Gray Wash,And his dirt filter to mess it up a bit
see pics in my gallery
robw_uk

Joined: June 22, 2010
KitMaker: 1,224 posts
Armorama: 1,207 posts

Posted: Monday, July 08, 2013 - 12:33 AM UTC
Quoted Text
Whitewash looks good Rob,I like the dirtier beat up look myself.
I did a Whitewashed Tiger and added Mig's Cold Gray Wash,And his dirt filter to mess it up a bit
see pics in my gallery
thanks Anthony, nice Tiger... need to do a bit more with rust and weathering i think (not totally sure actually, got so far but i seem to either go with the wrong colour or put it in the wrong place)...... and then pigments on the lower half, wheels, tracks.....

retiredyank

Joined: June 29, 2009
KitMaker: 11,610 posts
Armorama: 7,843 posts

Posted: Monday, July 08, 2013 - 02:55 AM UTC
Well, it took me 13 hours to work up the nerve. But, the paint went on smoothly. This is a major advance, in my build. I should have enough time to get the running gear and a filter applied, today. This field applied camo. And, I am thinking that I may make this a captured vehicle.


Tojo72

Joined: June 06, 2006
KitMaker: 4,691 posts
Armorama: 3,509 posts

Posted: Monday, July 08, 2013 - 02:58 AM UTC
looks good Matt,is that going to be salt weathering ?

retiredyank

Joined: June 29, 2009
KitMaker: 11,610 posts
Armorama: 7,843 posts

Posted: Monday, July 08, 2013 - 03:05 AM UTC
Quoted Text
looks good Matt,is that going to be salt weathering ?
Indeed it is. I also put down a couple of layers of hairspray.
imatanker

Joined: February 11, 2011
KitMaker: 1,654 posts
Armorama: 1,565 posts

Posted: Monday, July 08, 2013 - 08:27 PM UTC
Great kits, great builds everyone. Time for an update from Me 
Cleaning up the Barbette
Before
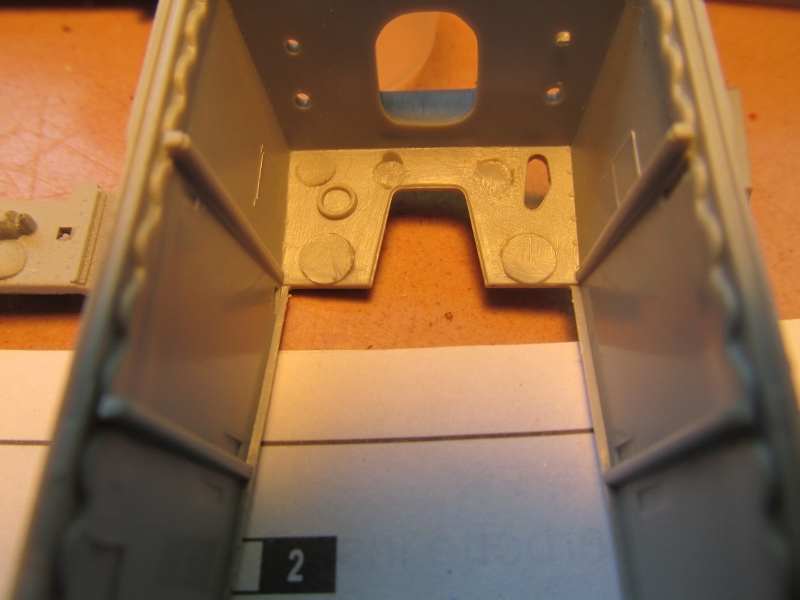
and after + primed
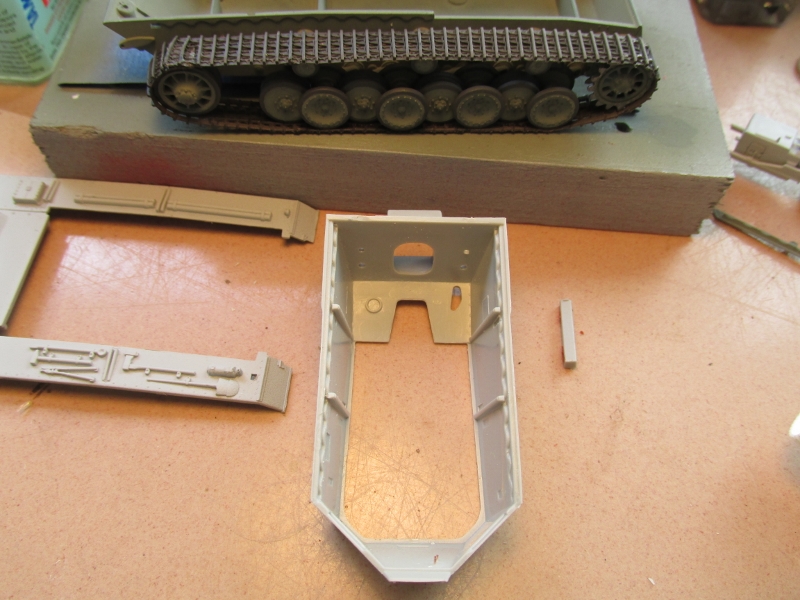
and painted
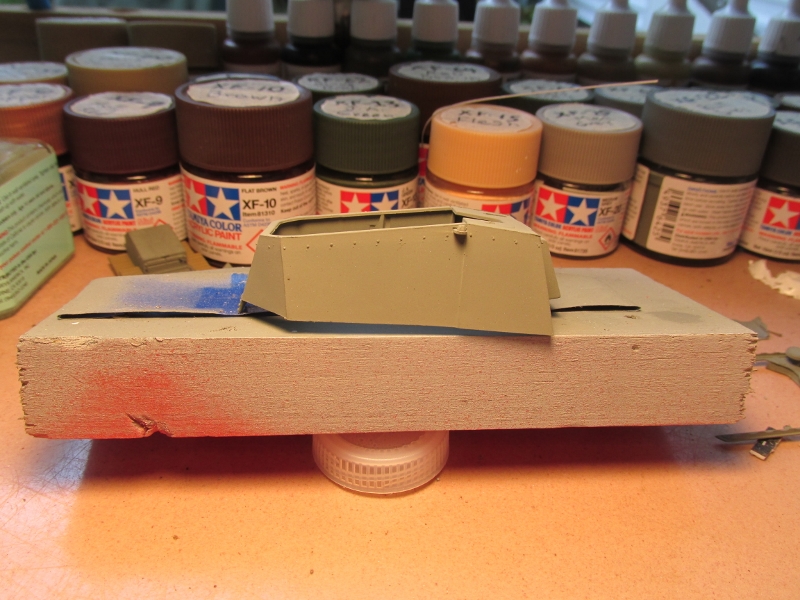
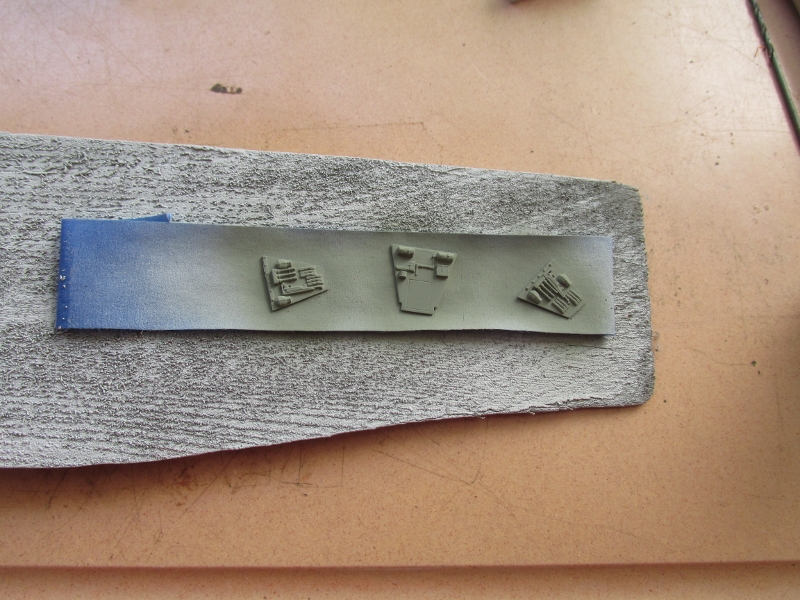
interior pieces base coated
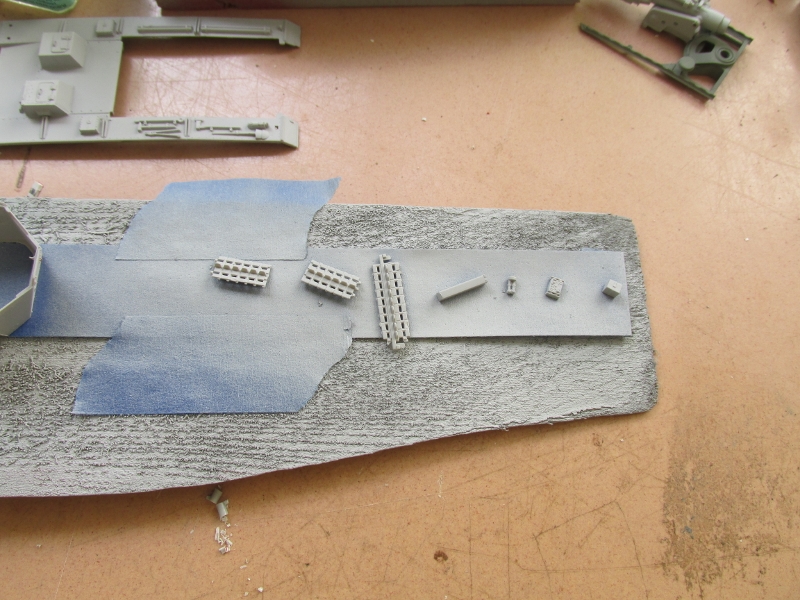
spare tracks and more int. pieces primed
That's all for now. Model on, Jeff T.

Cleaning up the Barbette
Before

and after + primed

and painted

interior pieces base coated

spare tracks and more int. pieces primed

That's all for now. Model on, Jeff T.

retiredyank

Joined: June 29, 2009
KitMaker: 11,610 posts
Armorama: 7,843 posts

Posted: Monday, July 08, 2013 - 10:32 PM UTC
Jeff T: Looking good. What happened to the rear, right tracks?
imatanker

Joined: February 11, 2011
KitMaker: 1,654 posts
Armorama: 1,565 posts

Posted: Tuesday, July 09, 2013 - 01:57 AM UTC
Quoted Text
Jeff T: Looking good. What happened to the rear, right tracks?
Matt, Not sure I follow. You mean the longer section?

PantherF

Joined: June 10, 2005
KitMaker: 6,188 posts
Armorama: 5,960 posts

Posted: Tuesday, July 09, 2013 - 02:03 AM UTC
Quoted Text
Quoted TextJeff T: Looking good. What happened to the rear, right tracks?
Matt, Not sure I follow. You mean the longer section?
He's talking about the tracks above the right idler wheel.
This is a really fun kit to build!
~ Jeff
imatanker

Joined: February 11, 2011
KitMaker: 1,654 posts
Armorama: 1,565 posts

Posted: Tuesday, July 09, 2013 - 03:06 AM UTC
Ah, now I gotcha. I'll tell ya what happened.
VINYL TRACKS that's what happened
 I washed them with Windex, Iso, enamel reducer, and tried every kind of glue, and they just would not stay stuck.
  So what I ended up doing was melting them together. They looked really good at first but have shrunk a little as you can see. I placed the seam there because with the upper hull on you can't see it. That's my story and I'm sticking to it
P.S. Nice to see you here J.S.
VINYL TRACKS that's what happened

 I washed them with Windex, Iso, enamel reducer, and tried every kind of glue, and they just would not stay stuck.
  So what I ended up doing was melting them together. They looked really good at first but have shrunk a little as you can see. I placed the seam there because with the upper hull on you can't see it. That's my story and I'm sticking to it
P.S. Nice to see you here J.S.


BBD468

Joined: March 08, 2010
KitMaker: 2,465 posts
Armorama: 2,383 posts

Posted: Tuesday, July 09, 2013 - 03:38 AM UTC
Hello Gentlemen,
Javier, Trevor - Those are some BAD A$$ kits right there! Lookin forward to your builds.
Robert - Love the white wash man! I have got to learn how to do that!
Matt - Sweet camo job buddy! Lookin forward to see the weathering ya got in store for us.
Brother Jeff - What can i say bro...you are the Braille scale yoda! Looks awesome Jeff. Hows the new AB workin out for ya?
I have apllied Flat coat (Tamiya) to everything but the tracks. Some chipping next then oil fading.


Cheers fellas,
Gary
Javier, Trevor - Those are some BAD A$$ kits right there! Lookin forward to your builds.

Robert - Love the white wash man! I have got to learn how to do that!

Matt - Sweet camo job buddy! Lookin forward to see the weathering ya got in store for us.

Brother Jeff - What can i say bro...you are the Braille scale yoda! Looks awesome Jeff. Hows the new AB workin out for ya?
I have apllied Flat coat (Tamiya) to everything but the tracks. Some chipping next then oil fading.


Cheers fellas,
Gary

retiredyank

Joined: June 29, 2009
KitMaker: 11,610 posts
Armorama: 7,843 posts

Posted: Tuesday, July 09, 2013 - 04:40 AM UTC
Jeff T: The fender should take care of it.
Gary: That is one fine panzer!
Finished the chipping. I will have to touch up a few spots. Pigment touched the water and made it look like full one paint peeling.


Criticism appreciated.
Gary: That is one fine panzer!
Finished the chipping. I will have to touch up a few spots. Pigment touched the water and made it look like full one paint peeling.


Criticism appreciated.
imatanker

Joined: February 11, 2011
KitMaker: 1,654 posts
Armorama: 1,565 posts

Posted: Tuesday, July 09, 2013 - 07:05 AM UTC
Thanks Mace, it's starting to move along now. AB is working well, I haven't really tried to get too fine with it, but it's great for general stuff so far 
Matt, Yes I got lucky the fender does cover it I think the chipping looks fine, when you get that one spot fixed, you'll be golden. Jeff T.

Matt, Yes I got lucky the fender does cover it
 I think the chipping looks fine, when you get that one spot fixed, you'll be golden. Jeff T.
 robw_uk

Joined: June 22, 2010
KitMaker: 1,224 posts
Armorama: 1,207 posts

Posted: Tuesday, July 09, 2013 - 09:19 AM UTC
Quoted Text
Robert - Love the white wash man! I have got to learn how to do that!
From you, Gary, praise indeed. Just the hair spray technique, perhaps a bit too faded vs what I wanted. Still need to put the decals on and look at more rusting....

retiredyank

Joined: June 29, 2009
KitMaker: 11,610 posts
Armorama: 7,843 posts

Posted: Tuesday, July 09, 2013 - 11:45 AM UTC
And, she's glossy. I use lacquer. So, no more updates for a few days.


imatanker

Joined: February 11, 2011
KitMaker: 1,654 posts
Armorama: 1,565 posts

Posted: Tuesday, July 09, 2013 - 10:57 PM UTC
Matt:Looking pretty sharp there Buddy  Do you have anything in mind for weathering?
More progress on the Mini-Emil
Projectiles painted
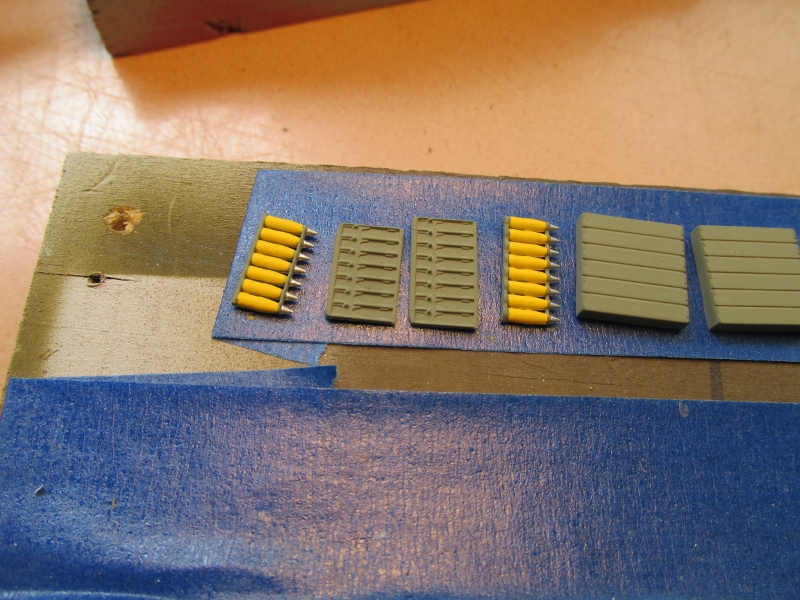
Interior stuff done
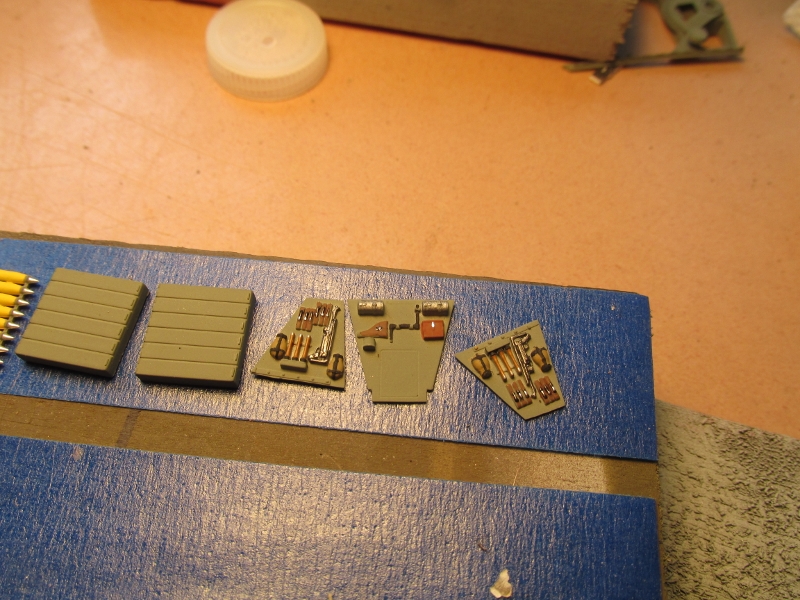
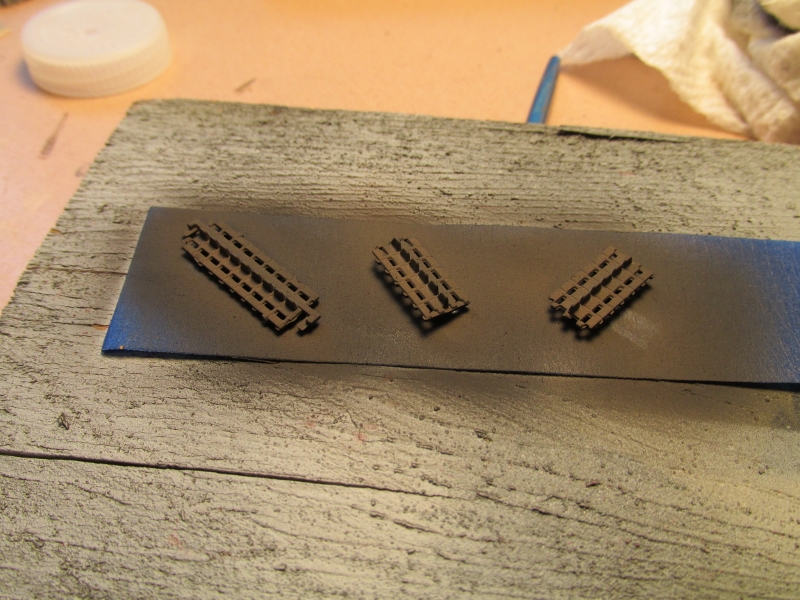
Spare tracks painted
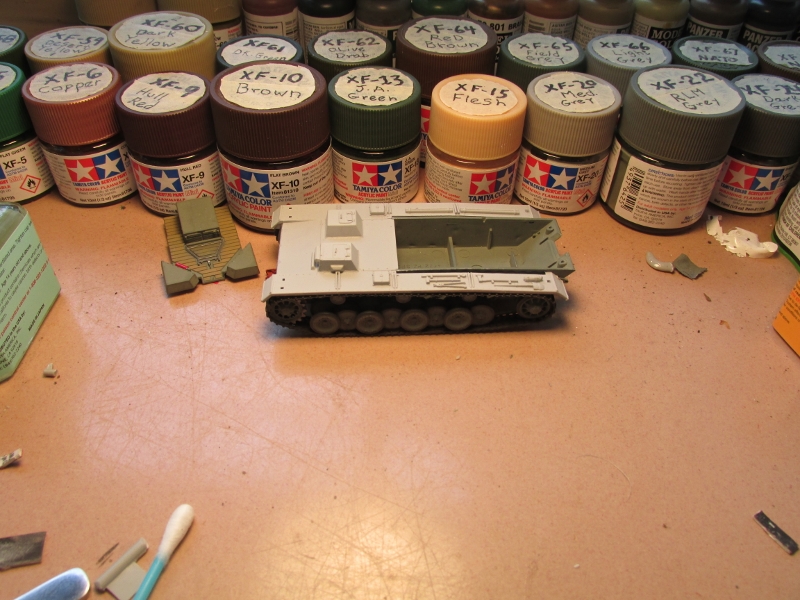
Upper hull glued in place
And interior in place
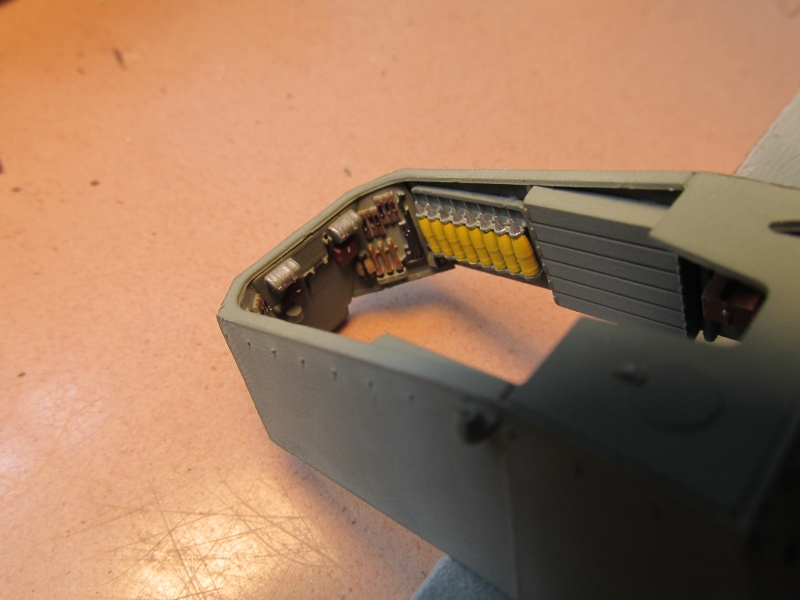
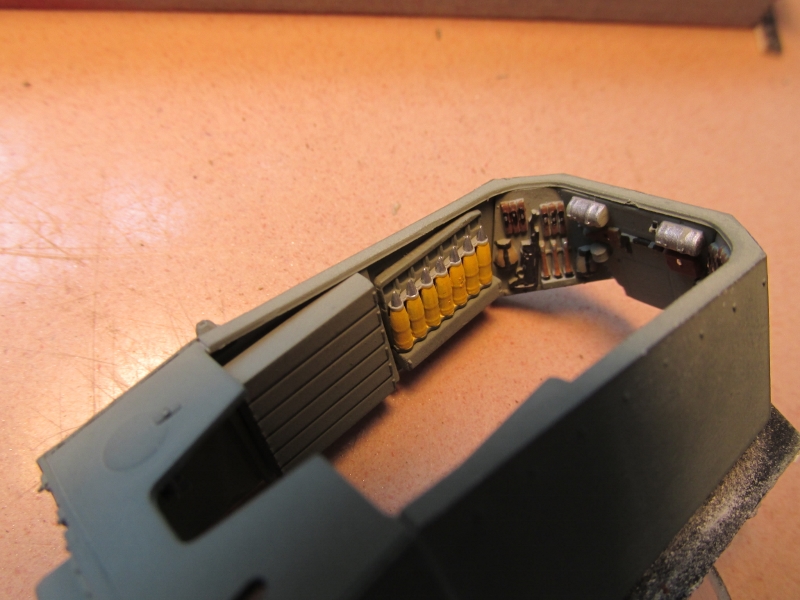
That's all for now. Keep up the good work Men. Jeff T.
 Do you have anything in mind for weathering?
More progress on the Mini-Emil
Projectiles painted

Interior stuff done

Spare tracks painted

Upper hull glued in place

And interior in place


That's all for now. Keep up the good work Men. Jeff T.

retiredyank

Joined: June 29, 2009
KitMaker: 11,610 posts
Armorama: 7,843 posts

Posted: Tuesday, July 09, 2013 - 11:06 PM UTC
Thank you for the kind comments. I will be doing a pin wash, tracing some corners with graphite and using my technique of mud application. Oh, I will also be using pigment to represent rust on the mufflers. I may damage the rubber on the road wheels.
Jeff T: Nice progress. It is really looking the business.
Jeff T: Nice progress. It is really looking the business.
 |


