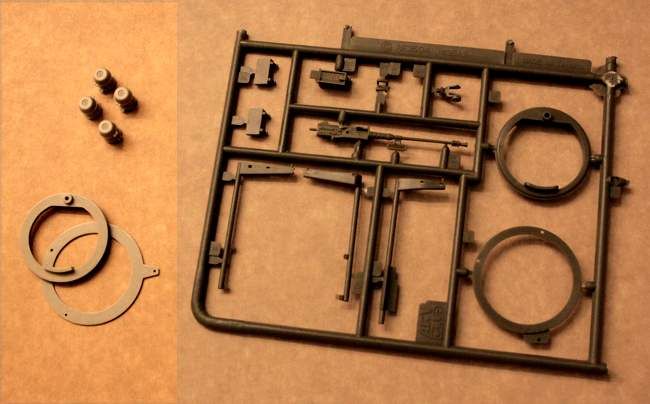
My first HEMTT - the Italeri LHS

#521
Kentucky, United States
Joined: April 13, 2011
KitMaker: 9,465 posts
Armorama: 8,695 posts
Posted: Monday, August 22, 2016 - 07:34 PM UTC
Quoted Text
I will post a thread here when I start. 
I also have the new Trumpeter kit on the way! 
Cheers Rob.
Look'n forward to it Rob! - Time to start cutt'n plastic!

#521
Kentucky, United States
Joined: April 13, 2011
KitMaker: 9,465 posts
Armorama: 8,695 posts
Posted: Monday, August 22, 2016 - 08:31 PM UTC
. . . and I posted this one just because I thought it looked cool!
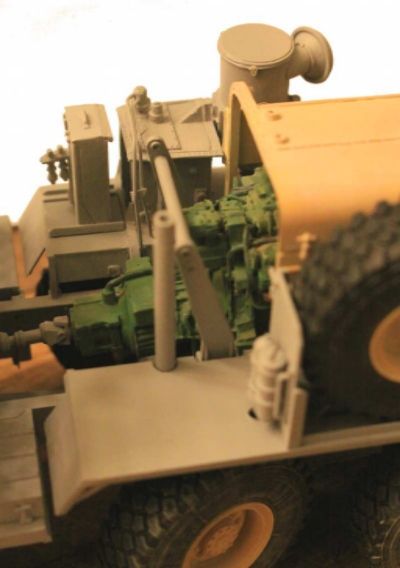
Definitely gotta' get busy doing some plumbing. Right now it looks way too empty back there!
Tennessee, United States
Joined: January 10, 2005
KitMaker: 337 posts
Armorama: 332 posts
Posted: Monday, August 22, 2016 - 09:16 PM UTC
Looking like the real thing!
I wanted to throw out a question concerning the frame, since I havent had time to search the net yet. I noticed your frame is stepped down over the 3rd axle. I noticed my Trumpy kit has a straight frame. Have you ran across any info on why the difference in frames?
In Memory of Cpl. Cecil T. Nicholson, U.S. Army, 1931-2006

#521
Kentucky, United States
Joined: April 13, 2011
KitMaker: 9,465 posts
Armorama: 8,695 posts
Posted: Monday, August 22, 2016 - 11:05 PM UTC
That's a darn good question that I don't have an answer to!
Rechecked the TM but that was inconclusive b/c they only illustrate the frame in roughly six foot long sections so it is difficult to compare the frame member height from drawing to drawing.
Tennessee, United States
Joined: January 10, 2005
KitMaker: 337 posts
Armorama: 332 posts
Posted: Monday, August 22, 2016 - 11:38 PM UTC
Unless someone chimes in on the frame, I will try to search it tonite. I'm curious if I will need to step the Trumpy frame down to match the Italeri kit.
In Memory of Cpl. Cecil T. Nicholson, U.S. Army, 1931-2006

#521
Kentucky, United States
Joined: April 13, 2011
KitMaker: 9,465 posts
Armorama: 8,695 posts
Posted: Tuesday, August 23, 2016 - 12:06 AM UTC
In the battle for model correctness Italeri wins this round!There IS a step down in the frame approximately around the third axle and about 2 & 1/2 feet in front of the rear LHS mounting bracket!
F.Y.I. -
The two bars mounted in clips to the edge of the frame in the foreground are load locks. Ratchet bars that can be locked between the two inside walls of a container to lock a partial load from shifting around.WRONG - Those two bars are actually a folding ladder used for engine access from each fender and to clean & check the windshield.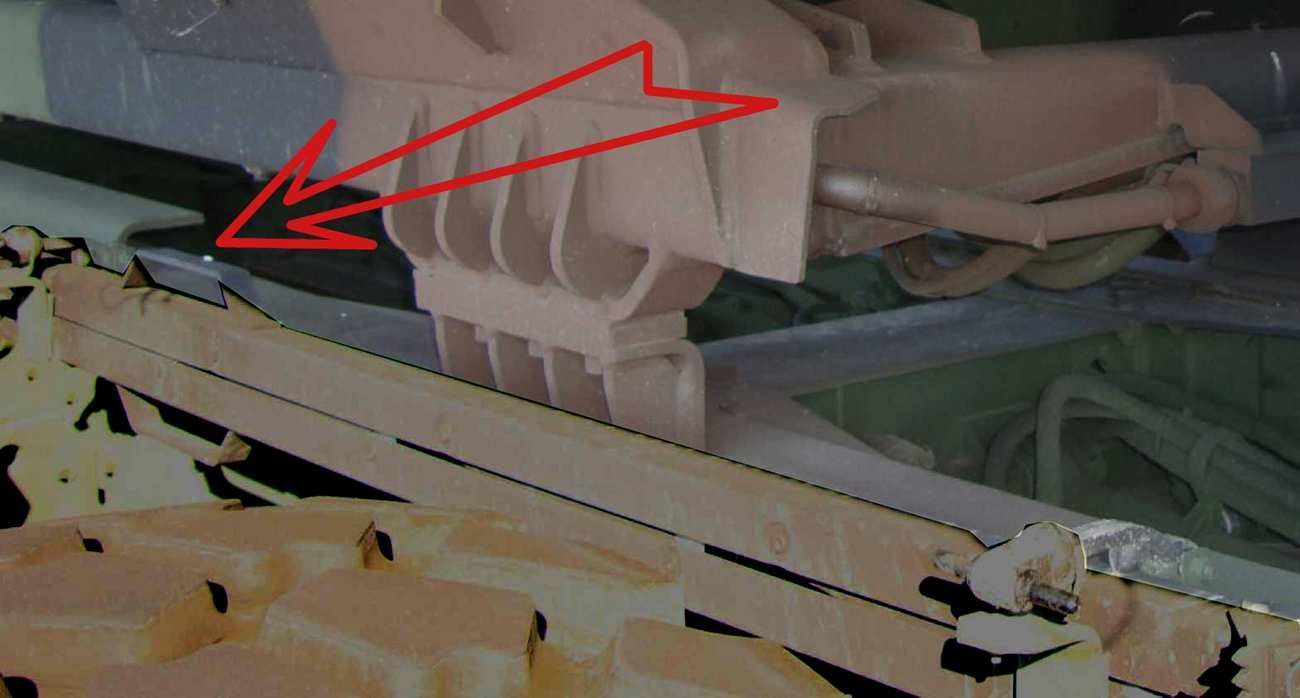 Original un-cropped photo credited to TacAir Publications and Michael Benolkin - Used here for discussion purposes ONLY.
#521
Kentucky, United States
Joined: April 13, 2011
KitMaker: 9,465 posts
Armorama: 8,695 posts
Posted: Tuesday, August 23, 2016 - 12:32 AM UTC
Sorry Taylor if that proves to be bad news in your case! - You could use the Italeri frame with all the Trumpeter parts but on the other hand a step down should be easy enough to build into the Trumpy frame.

#521
Kentucky, United States
Joined: April 13, 2011
KitMaker: 9,465 posts
Armorama: 8,695 posts
Posted: Tuesday, August 23, 2016 - 08:03 AM UTC
Working tonight on the forward power steering gearbox and starting on some plumbing duties.
F.Y.I. - That is the first U-joint and linkage of the steering column coming out the top of the gearbox.
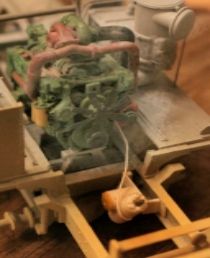
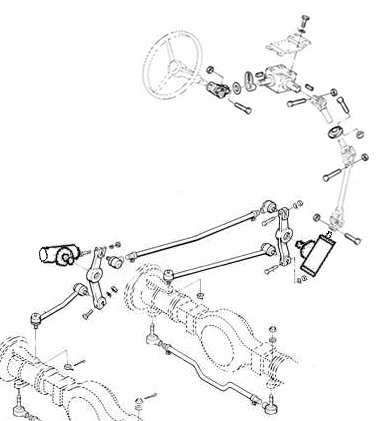
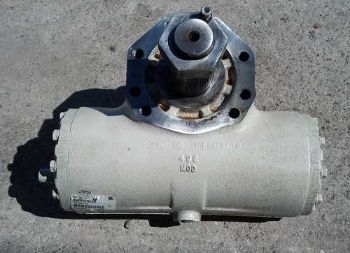
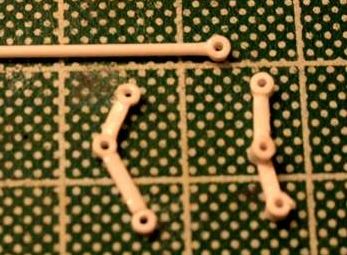
. . . . . . . . . . . Slave Steering Unit . . . . . . . . . . . . . Double Pitman Arms & First Drag Link Under Construction . . . . . . . . . .

#521
Kentucky, United States
Joined: April 13, 2011
KitMaker: 9,465 posts
Armorama: 8,695 posts
Posted: Tuesday, August 23, 2016 - 01:36 PM UTC
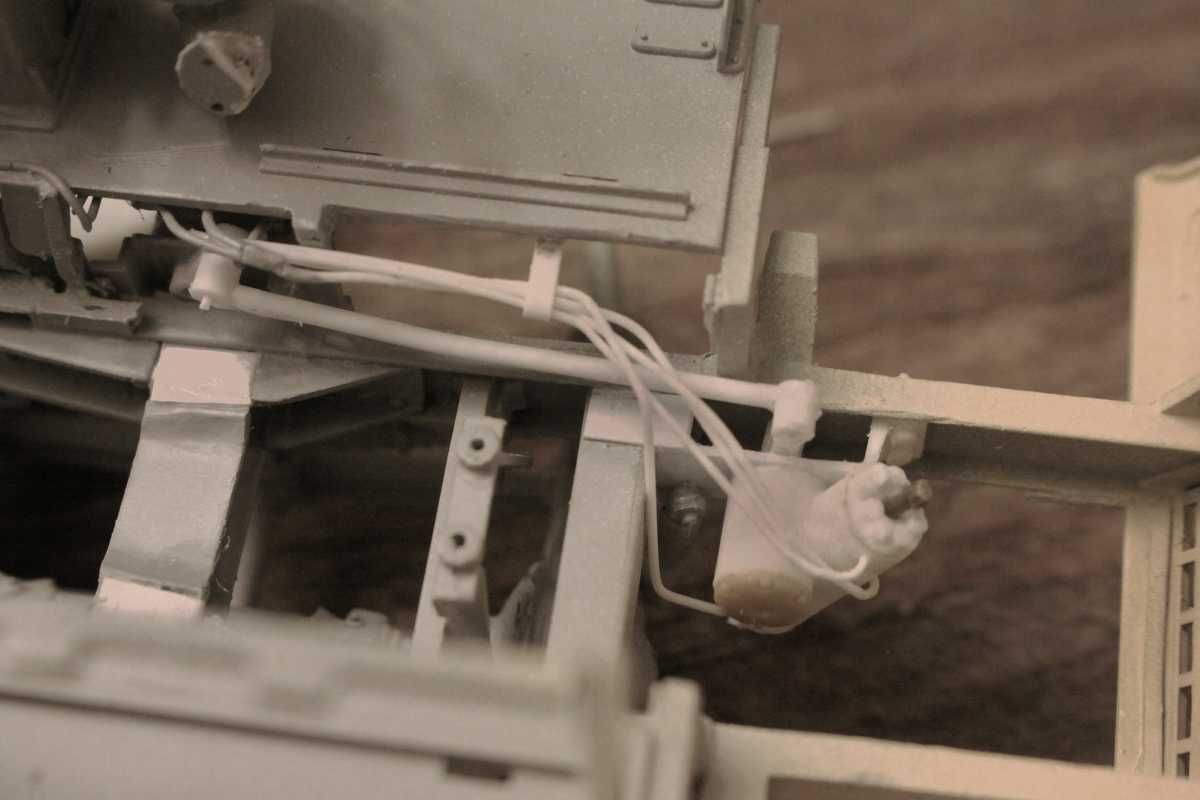
A little more progress - both steering gearboxes are in, all hydraulic piping is in, the double Pitman arms are installed and the first drag link that mechanically connects the two gearboxes is built and installed.
New Jersey, United States
Joined: January 05, 2005
KitMaker: 2,185 posts
Armorama: 1,813 posts
Posted: Tuesday, August 23, 2016 - 02:06 PM UTC
Mike , that's some dam fine beautiful engineering you've got going on .
Watching with great interest !!!

#521
Kentucky, United States
Joined: April 13, 2011
KitMaker: 9,465 posts
Armorama: 8,695 posts
Posted: Tuesday, August 23, 2016 - 09:44 PM UTC
Thanks Cheyenne. Guy I really appreciate it.
Sometimes I think that my real dream job would have been to be a machinist in a 1930-40's railroad engine house. Making wooden patterns, sand casting parts and machining them to work!
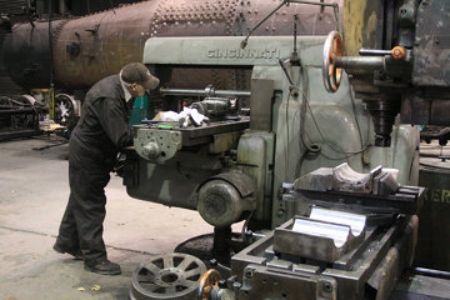
Truing up new babbitt bearings on the horizontal milling machine.
Stripped down Shay Locomotive in background getting its' Federal Boiler Inspection. -
RIP my friend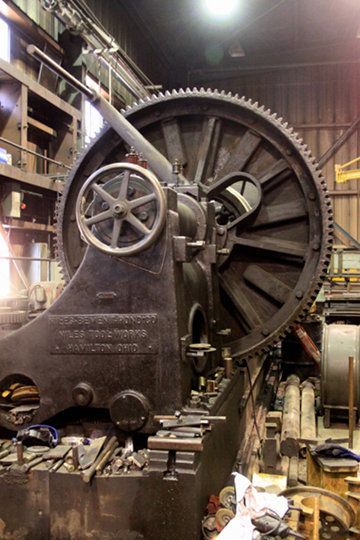
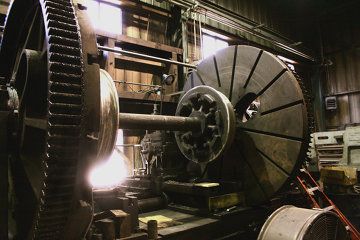
BIG wheel and driver lathe.
All photos CASS Scenic Railroad Enginehouse; Cass, W. Virginia - Copyright Michael Koenig
#521
Kentucky, United States
Joined: April 13, 2011
KitMaker: 9,465 posts
Armorama: 8,695 posts
Posted: Tuesday, August 23, 2016 - 10:59 PM UTC
Not really new progress but just another view of the new steering gear from 5am this morning.
Still need to add the two trailing arms connecting the Pitman arms to the steering levers on the axles. However I feel I need to do my final "front end alignment" before I cut those trailing arms to final length.
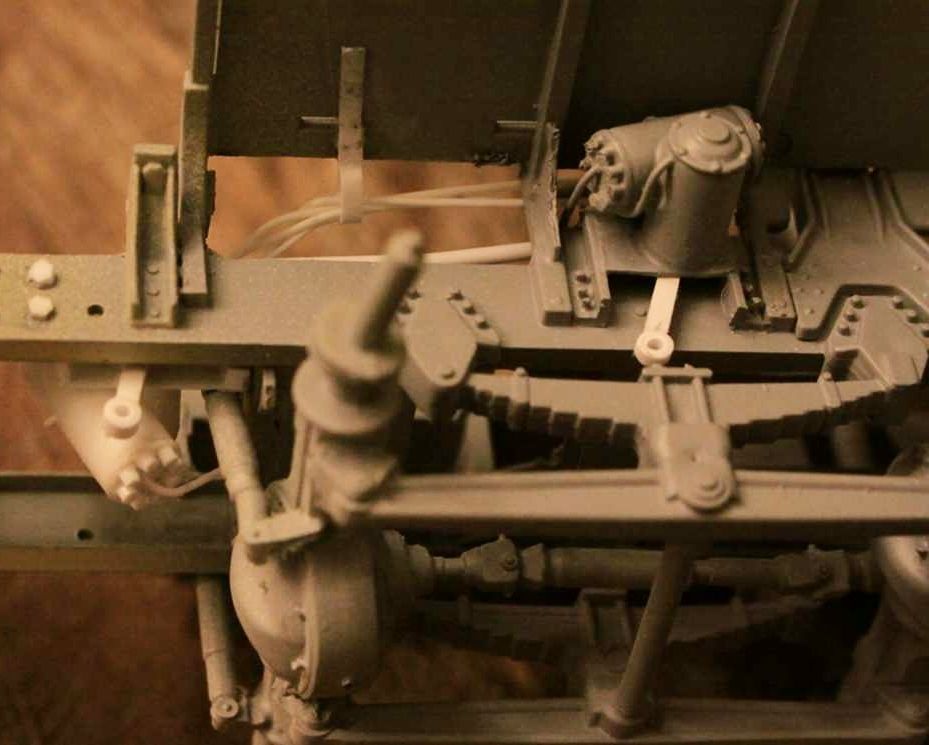
Here you can see both the steering boxes (really inexcusable that Italeri did not provide at least the rear steering box which is much more visible.) Then you can also see how the gearboxes mount and how the Pitman arms work with the gearboxes.
F.Y.I. - I always wondered what amazing mechanism made the #2 axle set of wheels turn just a little more than the front one??
Duh - Stupid - They just make the rear Pitman arm a little longer than the front one! - Problem Solved!

#521
Kentucky, United States
Joined: April 13, 2011
KitMaker: 9,465 posts
Armorama: 8,695 posts
Posted: Wednesday, August 24, 2016 - 02:59 AM UTC
Quoted Text
Mike , that's some dam fine beautiful engineering you've got going on .
Watching with great interest !!!
The remark about the fine engineering is about the highest compliment you could have paid me!
Thank You
Mike
165th Signal Photo Reenactor Company
Tennessee, United States
Joined: January 10, 2005
KitMaker: 337 posts
Armorama: 332 posts
Posted: Wednesday, August 24, 2016 - 03:10 AM UTC
Quoted Text
Sorry Taylor if that proves to be bad news in your case! - You could use the Italeri frame with all the Trumpeter parts but on the other hand a step down should be easy enough to build into the Trumpy frame.
Yep, looks like I will need to step down the frame and add the top rail back to it. Not sure if the thicker frame is a tractor specific thing or if Trumpy missed the mark.
Your steering boxes look great, as well as the rest of your work. First class!
In Memory of Cpl. Cecil T. Nicholson, U.S. Army, 1931-2006

#521
Kentucky, United States
Joined: April 13, 2011
KitMaker: 9,465 posts
Armorama: 8,695 posts
Posted: Wednesday, August 24, 2016 - 03:21 AM UTC
Tennessee, United States
Joined: January 10, 2005
KitMaker: 337 posts
Armorama: 332 posts
Posted: Wednesday, August 24, 2016 - 04:03 AM UTC
Glad to help out. I cant think of a better person to put the parts to good use.
In Memory of Cpl. Cecil T. Nicholson, U.S. Army, 1931-2006
Texas, United States
Joined: December 22, 2001
KitMaker: 3,586 posts
Armorama: 2,556 posts
Posted: Wednesday, August 24, 2016 - 05:26 AM UTC
Pete Becerra, Jr. SGT(RET)
HHC, 71st BfSB - TEXAS
HHB, 36th ID DIVARTY -TEXAS
B Co.(-), 949 FSB, 56th BCT, 36th ID - TEXAS
B Co., 324th FSB, 3rd Brigade, 24th INF DIV(MECH)
563rd ORD Co. - GERMANY

#521
Kentucky, United States
Joined: April 13, 2011
KitMaker: 9,465 posts
Armorama: 8,695 posts
Posted: Wednesday, August 24, 2016 - 06:21 AM UTC
Beautiful walk-around of the M66 add-on gun ring kit for the HEMTT is on Prime Portal at:
http://www.primeportal.net/odds_ends/m66_ring_walk.htm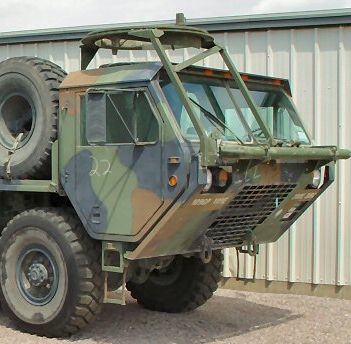

#521
Kentucky, United States
Joined: April 13, 2011
KitMaker: 9,465 posts
Armorama: 8,695 posts
Posted: Wednesday, August 24, 2016 - 06:52 AM UTC
Epi you mentioned that you might be able to help me decipher some of the hose runs on this HEMTT.
The electro/hydraulic control module (the vertical box on the left immediately behind the power steering reseviour) where do those larger primary feed hoses go? I see them heading for the rear of the engine but that is as far as I can trace them in the photos I have access to.
Is there a second hydraulic pump on the accessory gearbox for the LHS? Can they shift over the output of the power steering pump when they need to? Finally I have seen a LHS HEMTT equipped with a self-recovery winch. What pump powers that??????

#521
Kentucky, United States
Joined: April 13, 2011
KitMaker: 9,465 posts
Armorama: 8,695 posts
Posted: Wednesday, August 24, 2016 - 07:18 AM UTC
Ok, I found a few answers on my own: First, the hydraulic LHS is powered off a pump attached to the transmission PTO. Also, there is a "hydraulic selector switch" in the cab. Clearly a number of accessories can be selectively powered off this pump, which would include the winch if present!
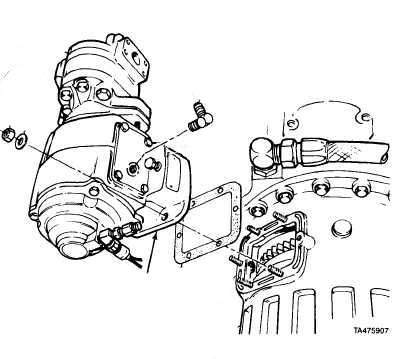
Shown here: Transmission, PTO unit and the Hydraulic Pump on top of the PTO.
Texas, United States
Joined: December 22, 2001
KitMaker: 3,586 posts
Armorama: 2,556 posts
Posted: Wednesday, August 24, 2016 - 07:48 AM UTC
I used Pascal's pictures from Prime Portal as weel for my M983 along with the same manuel you are using. Here is the best picture I found of that part:
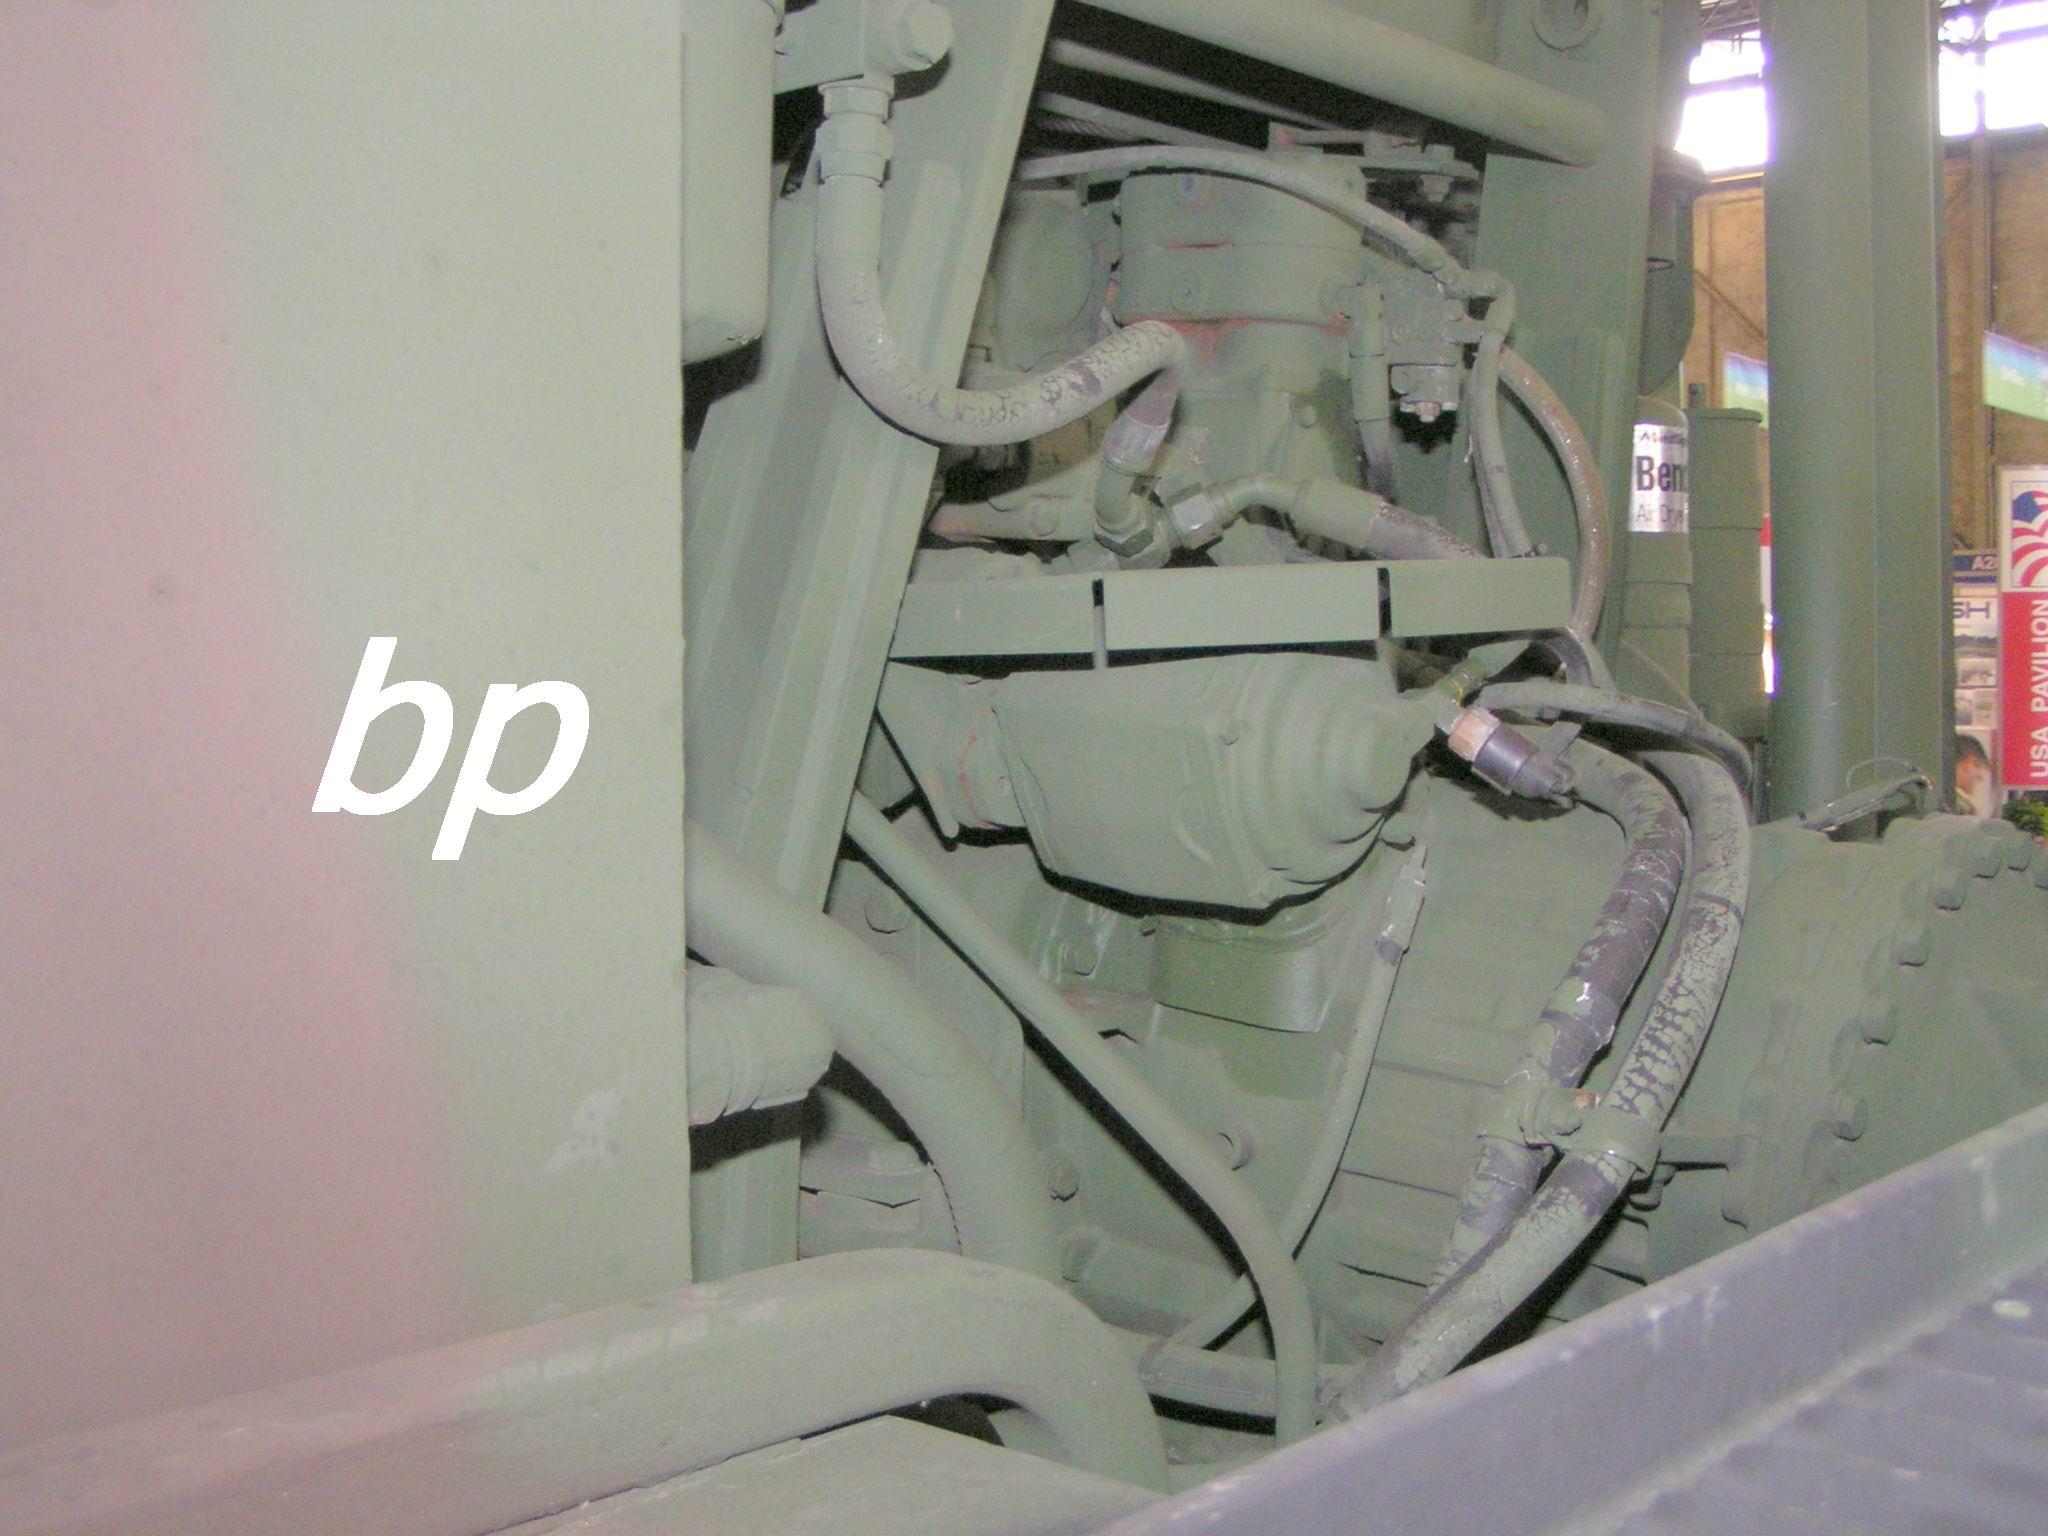
I was an electronic and commo geek while i was in the Army. The closest I got was on;y driving HEMTT's and breaking down tires.

Pete Becerra, Jr. SGT(RET)
HHC, 71st BfSB - TEXAS
HHB, 36th ID DIVARTY -TEXAS
B Co.(-), 949 FSB, 56th BCT, 36th ID - TEXAS
B Co., 324th FSB, 3rd Brigade, 24th INF DIV(MECH)
563rd ORD Co. - GERMANY

#521
Kentucky, United States
Joined: April 13, 2011
KitMaker: 9,465 posts
Armorama: 8,695 posts
Posted: Wednesday, August 24, 2016 - 08:18 AM UTC
Epi, thanks. I am starting to piece all this together with a lot of help!
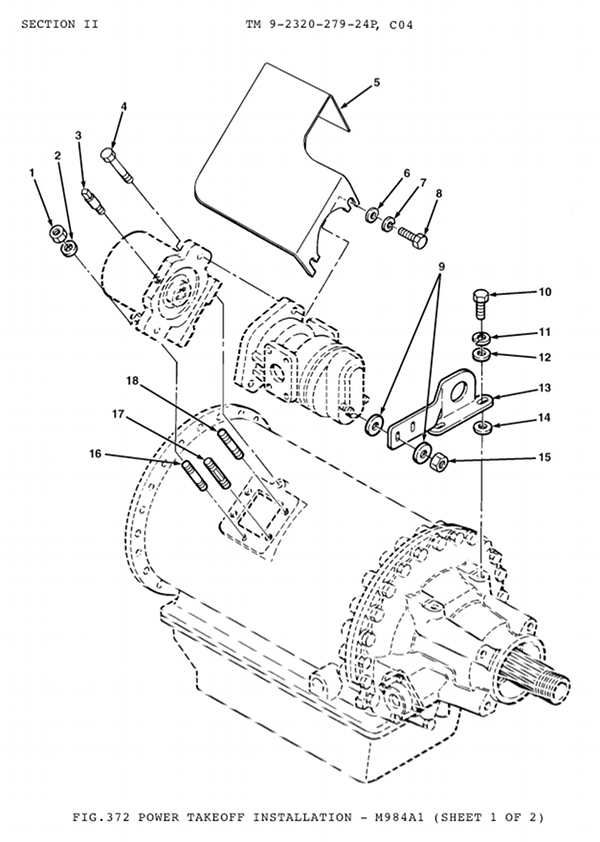
Texas, United States
Joined: December 22, 2001
KitMaker: 3,586 posts
Armorama: 2,556 posts
Posted: Wednesday, August 24, 2016 - 08:58 AM UTC
The Trumpeter kit has something that resembles that Hydraulic pump but doesn't come with the metal cover, part #5 in the drawing.
Pete Becerra, Jr. SGT(RET)
HHC, 71st BfSB - TEXAS
HHB, 36th ID DIVARTY -TEXAS
B Co.(-), 949 FSB, 56th BCT, 36th ID - TEXAS
B Co., 324th FSB, 3rd Brigade, 24th INF DIV(MECH)
563rd ORD Co. - GERMANY

#521
Kentucky, United States
Joined: April 13, 2011
KitMaker: 9,465 posts
Armorama: 8,695 posts
Posted: Wednesday, August 24, 2016 - 09:03 AM UTC
Yes, I caught that too. Don't know why the PTO would need a rain/dust cover???
Texas, United States
Joined: December 22, 2001
KitMaker: 3,586 posts
Armorama: 2,556 posts
Posted: Wednesday, August 24, 2016 - 09:08 AM UTC
It could be used as a step and also protecting those hose connections from getting stepped on.
Quick question, are you using plastic rod for your hoses? How do you get them to bend with out braking?

Pete Becerra, Jr. SGT(RET)
HHC, 71st BfSB - TEXAS
HHB, 36th ID DIVARTY -TEXAS
B Co.(-), 949 FSB, 56th BCT, 36th ID - TEXAS
B Co., 324th FSB, 3rd Brigade, 24th INF DIV(MECH)
563rd ORD Co. - GERMANY


