I have signed up for PMY campaign
Being so late, I decided on LAV-25 with OOB build. Have started my build last weekend.
Will post some updates ASAP
Campaigns
Where Armorama group builds can be discussed, organized, and updates posted.
Hosted by Darren Baker, Richard S.
Desert Fever - PMY Official Thread
newnikonian
India / भारत
Joined: July 28, 2005
KitMaker: 279 posts
Armorama: 233 posts
Joined: July 28, 2005
KitMaker: 279 posts
Armorama: 233 posts
Posted: Wednesday, May 16, 2007 - 07:02 PM UTC
newnikonian
India / भारत
Joined: July 28, 2005
KitMaker: 279 posts
Armorama: 233 posts
Joined: July 28, 2005
KitMaker: 279 posts
Armorama: 233 posts
Posted: Wednesday, May 16, 2007 - 07:08 PM UTC
My LAV-25 getting ready. Here it is primed.
Brigandine
Dunedin, New Zealand
Joined: July 12, 2006
KitMaker: 553 posts
Armorama: 312 posts
Joined: July 12, 2006
KitMaker: 553 posts
Armorama: 312 posts
Posted: Friday, May 18, 2007 - 08:54 AM UTC
Quoted Text
Brigandine--that's a nice looking LRDG. What did you use for the sand dust?
I used a combination of pale yellow and white chalk pastels and cement powder applied with a soft, long bristled paintbrush. For the crew areas I was able to give the paint a sand-ground and worn look by applying cement powder with a short, coarse bristled old paint brush.
I emphasise, once again that I didn't read the rules properly, and a pink LRDG doesn't fit the desert yellow theme.
plstktnkr2
Maryland, United States
Joined: October 10, 2002
KitMaker: 352 posts
Armorama: 309 posts
Joined: October 10, 2002
KitMaker: 352 posts
Armorama: 309 posts
Posted: Tuesday, May 22, 2007 - 08:16 AM UTC
how do we post pics in our post?
Removed by original poster on 05/23/07 - 10:35:04 (GMT).
plstktnkr2
Maryland, United States
Joined: October 10, 2002
KitMaker: 352 posts
Armorama: 309 posts
Joined: October 10, 2002
KitMaker: 352 posts
Armorama: 309 posts
Posted: Tuesday, May 22, 2007 - 08:37 AM UTC
[img]http:///image.file[http://photos.kitmaker.net/showphoto.php/photo/196966/cat/500/ppuser/1375/img]
lets try this
lets try this
plstktnkr2
Maryland, United States
Joined: October 10, 2002
KitMaker: 352 posts
Armorama: 309 posts
Joined: October 10, 2002
KitMaker: 352 posts
Armorama: 309 posts
Posted: Tuesday, May 22, 2007 - 08:38 AM UTC
[[http://photos.kitmaker.net/showphoto.php/photo/196966/cat/500/ppuser/1375/img]
lets try this
ok I give up
lets try this
ok I give up
Brigandine
Dunedin, New Zealand
Joined: July 12, 2006
KitMaker: 553 posts
Armorama: 312 posts
Joined: July 12, 2006
KitMaker: 553 posts
Armorama: 312 posts
Posted: Tuesday, May 22, 2007 - 08:51 AM UTC
Quoted Text
[[http://photos.kitmaker.net/showphoto.php/photo/196966/cat/500/ppuser/1375/img]
lets try this
ok I give up
Right click on your open image on your photopage, look for Image properties in the box which comes up. Left click on Image properties and look for address
Right click on ..http://photos.kitmaker...until the entire url is highlighlighted - the sequence should end in .jpg. Right click on Copy in box which appears.
Go to 'reply' box , click on img button at lower right, which will then show img[in brackets]'http://put.url.here...[in brackets]/img
right click BETWEEN the brackets and paste. Your url should then read something like this;
img[in brackets] https://gallery.kitmaker.net/data/500/kubel_nth_af_3.jpg [in brackets]/img
plstktnkr2
Maryland, United States
Joined: October 10, 2002
KitMaker: 352 posts
Armorama: 309 posts
Joined: October 10, 2002
KitMaker: 352 posts
Armorama: 309 posts
Posted: Wednesday, May 23, 2007 - 08:36 AM UTC
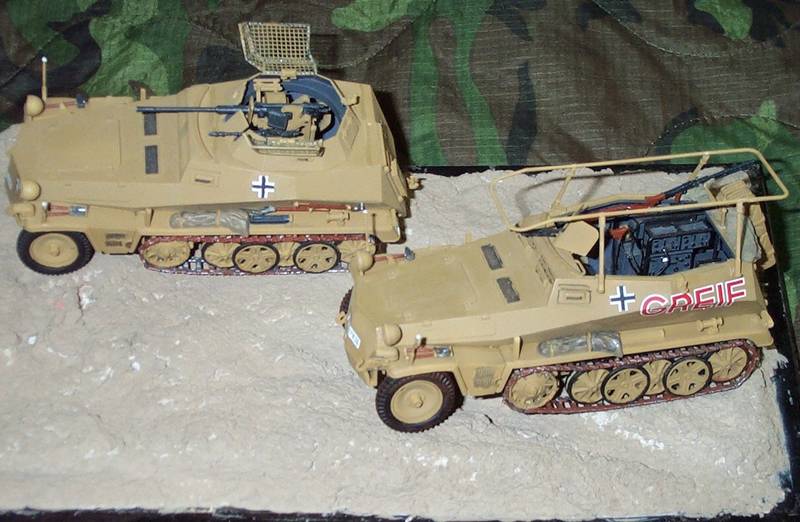
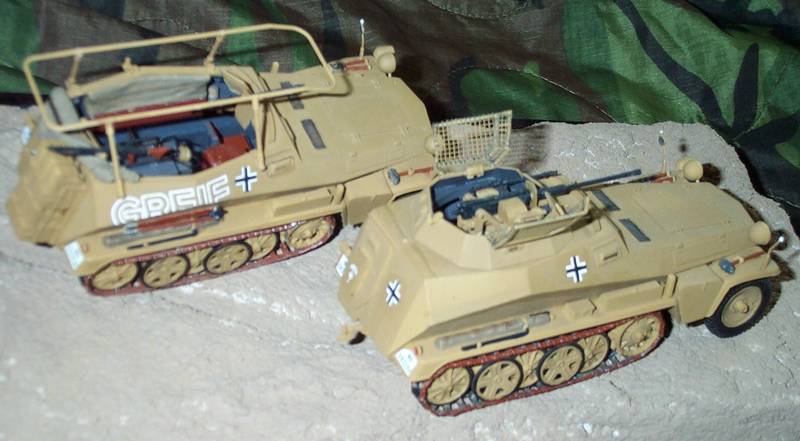
ok here goes my entry:
maybe this:
maybe this:
Removed by original poster on 05/24/07 - 11:48:22 (GMT).
plstktnkr2
Maryland, United States
Joined: October 10, 2002
KitMaker: 352 posts
Armorama: 309 posts
Joined: October 10, 2002
KitMaker: 352 posts
Armorama: 309 posts
Posted: Wednesday, May 23, 2007 - 09:47 AM UTC
ok I think we have it now
CaptainA
Indiana, United States
Joined: May 14, 2007
KitMaker: 3,117 posts
Armorama: 564 posts
Joined: May 14, 2007
KitMaker: 3,117 posts
Armorama: 564 posts
Posted: Wednesday, May 23, 2007 - 06:49 PM UTC
My Panzer IV is moving along and will most likely be completed on time. Going to the workshop now.
Removed by original poster on 05/28/07 - 23:16:32 (GMT).
trucker
England - North West, United Kingdom
Joined: January 01, 2005
KitMaker: 60 posts
Armorama: 54 posts
Joined: January 01, 2005
KitMaker: 60 posts
Armorama: 54 posts
Posted: Sunday, May 27, 2007 - 09:21 PM UTC
repainted an old kit for campaign ,looks better than it did.
DeskJockey
Virginia, United States
Joined: July 17, 2006
KitMaker: 1,558 posts
Armorama: 1,159 posts
Joined: July 17, 2006
KitMaker: 1,558 posts
Armorama: 1,159 posts
Posted: Wednesday, May 30, 2007 - 05:50 AM UTC
Well, I managed to find the time to clearcoat and wash the M1A2 I'm building for the campaign. I'm probably about 80% done--I just need to finish final assembly, drybrush, and add stowage. Here are some pics. Let me know what you guys think.
Posted: Wednesday, May 30, 2007 - 04:32 PM UTC
Well, shock of shocks, I actually got some modelling done last night (!)
Here are some bedrolls I painted - from the Tamiya allied accessories set. Note that I haven't washed/highlighted the green one yet.
Here is the commander figure. Again, basic colours have been applied, but no washes/highlights yet. For the flesh I mixed Humbrol Flesh with some Khaki to try and get that sun-tanned look. I'm pretty pleased with how it turned out.
So not a great deal more to show, but I'm just so happy to have done some modelling after about 3 weeks absence
NebLWeffah
Alberta, Canada
Joined: October 13, 2004
KitMaker: 1,683 posts
Armorama: 1,248 posts
Joined: October 13, 2004
KitMaker: 1,683 posts
Armorama: 1,248 posts
Posted: Wednesday, May 30, 2007 - 08:37 PM UTC
@DeskJockey - great looking Abrams Lucas, how did you do the periscopes?, they look cool....
Bob
Bob
Roy
Alvsborgs, Sweden
Joined: April 21, 2003
KitMaker: 230 posts
Armorama: 64 posts
Joined: April 21, 2003
KitMaker: 230 posts
Armorama: 64 posts
Posted: Friday, June 01, 2007 - 05:42 AM UTC
Hello, here is my contribution to the Desert Fever Campaign:
a desertised Challenger II....
gbkirsch
Ohio, United States
Joined: June 04, 2005
KitMaker: 627 posts
Armorama: 455 posts
Joined: June 04, 2005
KitMaker: 627 posts
Armorama: 455 posts
Posted: Friday, June 01, 2007 - 07:18 AM UTC
Quoted Text
Hello, here is my contribution to the Desert Fever Campaign:
a desertised Challenger II....]
Awesome!
Gary
DeskJockey
Virginia, United States
Joined: July 17, 2006
KitMaker: 1,558 posts
Armorama: 1,159 posts
Joined: July 17, 2006
KitMaker: 1,558 posts
Armorama: 1,159 posts
Posted: Saturday, June 02, 2007 - 05:40 AM UTC
Quoted Text
@DeskJockey - great looking Abrams Lucas, how did you do the periscopes?, they look cool....
Bob
The vision blocks are made of reflective confetti that I got at a craft store (Michaels). You get a little bag for a dollar, and it comes with enough material for at least four or five tanks, plus it comes in a range of colors (blue, purple, green, red, reddish purple, etc.). I'm still not very good at photography, so they show up a bit bluer and less reddish than they are in real life. I'll post a how-to on this one later this weekend.
Phantom2
Östergötland, Sweden
Joined: April 18, 2006
KitMaker: 708 posts
Armorama: 11 posts
Joined: April 18, 2006
KitMaker: 708 posts
Armorama: 11 posts
Posted: Friday, June 08, 2007 - 03:24 AM UTC
Hi all!
@ Christer;
You Challenger looks awsome, good job!
I´m about 80% done with my Abrams.
Costruction is almost done and now it´s time to let this tank turn yellow!
I painted the tracks with Alclad steel and painted the rubber pads with Humbrol 33 matt black.
Then I made some lengths for upper and lower track runs and used seperate links to run around the sprockets.
This was the trickiest part of the whole build, but It turned out OK in the end.
A test fit with turret and chassis;
This is one of the best kits I have built!
Detail is incredible, crisp and clear, and the anti-slip texture will be wonderful after some washes.
I have painted the visionblocks in a clear blue color;
Now It´s time for the tank to get into the paintshop.
What color should I use on the clear hubcaps, and the hubs behind?
Cheers!
Stefan E
@ Christer;
You Challenger looks awsome, good job!
I´m about 80% done with my Abrams.
Costruction is almost done and now it´s time to let this tank turn yellow!
I painted the tracks with Alclad steel and painted the rubber pads with Humbrol 33 matt black.
Then I made some lengths for upper and lower track runs and used seperate links to run around the sprockets.
This was the trickiest part of the whole build, but It turned out OK in the end.
A test fit with turret and chassis;
This is one of the best kits I have built!
Detail is incredible, crisp and clear, and the anti-slip texture will be wonderful after some washes.
I have painted the visionblocks in a clear blue color;
Now It´s time for the tank to get into the paintshop.
What color should I use on the clear hubcaps, and the hubs behind?
Cheers!
Stefan E
Tobar
Arizona, United States
Joined: October 17, 2002
KitMaker: 192 posts
Armorama: 96 posts
Joined: October 17, 2002
KitMaker: 192 posts
Armorama: 96 posts
Posted: Friday, June 08, 2007 - 08:32 AM UTC
D O N E ! ! ! !
Here is my contrabution to this campaign....
My full gallery of this Panzer IV is here:
http://photos.kitmaker.net/showgallery.php/cat/19028
Here are just a few pics:
Here is my contrabution to this campaign....
My full gallery of this Panzer IV is here:
http://photos.kitmaker.net/showgallery.php/cat/19028
Here are just a few pics:
plstktnkr2
Maryland, United States
Joined: October 10, 2002
KitMaker: 352 posts
Armorama: 309 posts
Joined: October 10, 2002
KitMaker: 352 posts
Armorama: 309 posts
Posted: Friday, June 08, 2007 - 12:32 PM UTC
gee do we get a medal for this hard work??? LOL
DeskJockey
Virginia, United States
Joined: July 17, 2006
KitMaker: 1,558 posts
Armorama: 1,159 posts
Joined: July 17, 2006
KitMaker: 1,558 posts
Armorama: 1,159 posts
Posted: Friday, June 08, 2007 - 01:20 PM UTC
Quoted Text
What color should I use on the clear hubcaps, and the hubs behind?
Cheers!
Stefan E
I'd say paint the inside of the hubcaps grimy black or with Tamiya Smoke and leave the outside unpainted.
Your M1A1 is looking good!
Phantom2
Östergötland, Sweden
Joined: April 18, 2006
KitMaker: 708 posts
Armorama: 11 posts
Joined: April 18, 2006
KitMaker: 708 posts
Armorama: 11 posts
Posted: Saturday, June 09, 2007 - 02:11 AM UTC
Quoted Text
Quoted Text
What color should I use on the clear hubcaps, and the hubs behind?
Cheers!
Stefan E
I'd say paint the inside of the hubcaps grimy black or with Tamiya Smoke and leave the outside unpainted.
Your M1A1 is looking good!
Hi Lucas!
Ok, I´ll use Tamiya smoke on the hubs.
Thanks for your advice!
More pics coming soon!
Cheers!
Stefan E