

1⁄35King Tiger
6
Comments


About the Author


FROM: ENGLAND - NORTH, UNITED KINGDOM
Like most members of Armorama I built models in my childhood: 1/72 Airfix & matchbox aircraft and armour. As I got older and discovered pubs and girls, the hobby went by the wayside. When my son was born in 2004 I realised I'd be getting out less and I needed a hobby and so took up modelling ag...
Comments

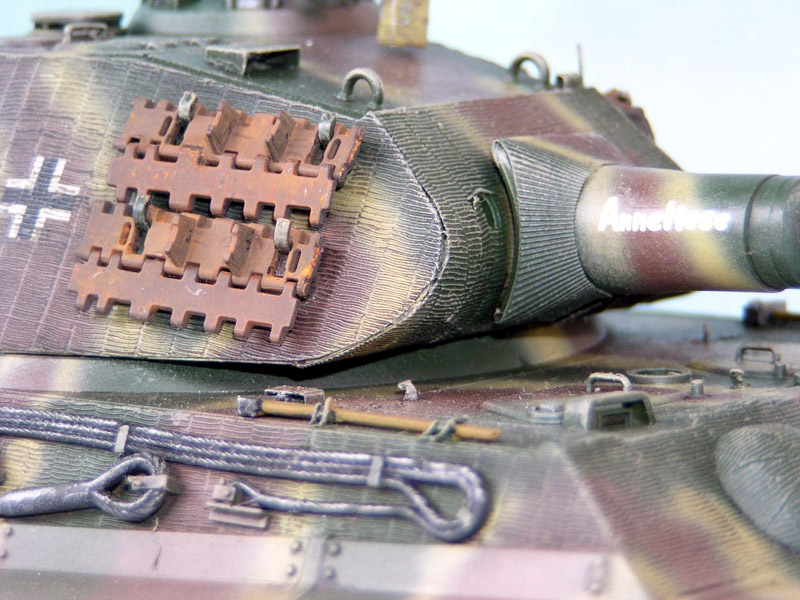
Very nice model, the only thing that detracts from it is the non-filled gaps around the resin zim add ons.
Steve
AUG 03, 2006 - 09:02 PM
Might be able to fix it a bit with some elmer's glue and a damp swab, does wonders for ship superstructure gaps.
AUG 03, 2006 - 09:06 PM

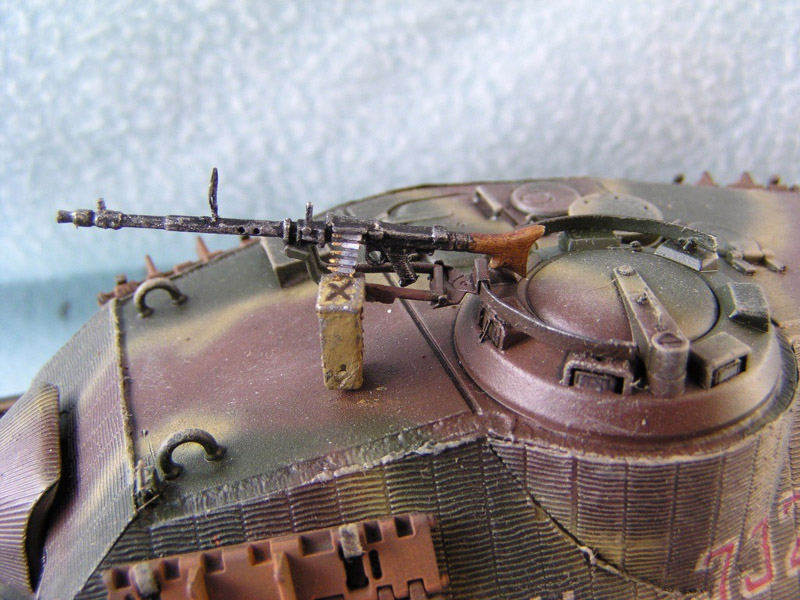
Nice paint work Sean. One other thing you might want to fix (if you haven't already) the hull ventilator cover, between the driver's and the radio op's hatches, is missing in the pics. If this is the Dragon kit it's part # E3
Cheers,
Mike
AUG 04, 2006 - 07:56 AM

Love the finish on the rusty spare track links. Very nicely done. What's your secret?
AUG 07, 2006 - 01:27 AM

Thanks for posting this Vinnie - I'd only submitted the zip file as part of the rules for MoM at the time. Still, it was a nice surprise to see it as a feature on my return from holiday!
Thanks for the feedback everyone.
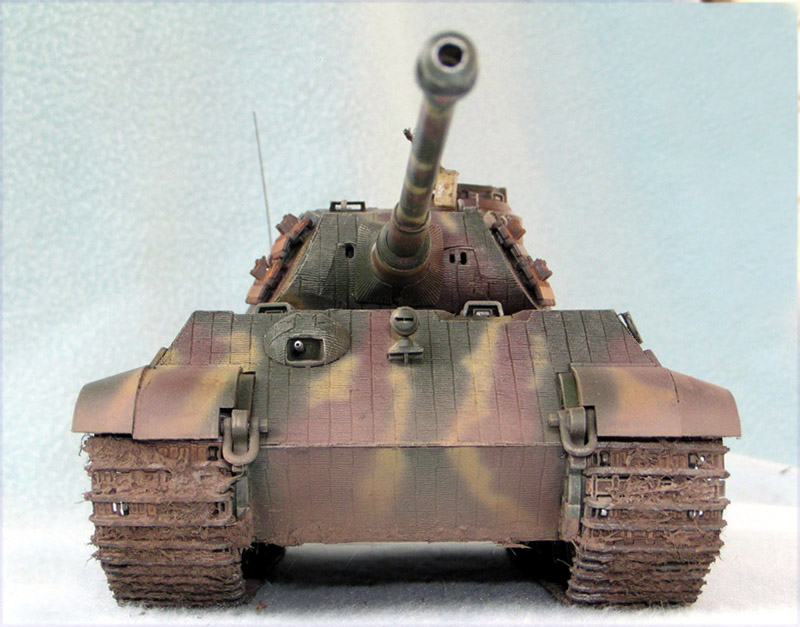
I can't believe I missed the ventilator cover! :-) I've just gone back to the instructions and spotted it. I reckon it shouldn't be too difficult to paint and weather in. It's the Tamiya kit, BTW - I missed out part D15.
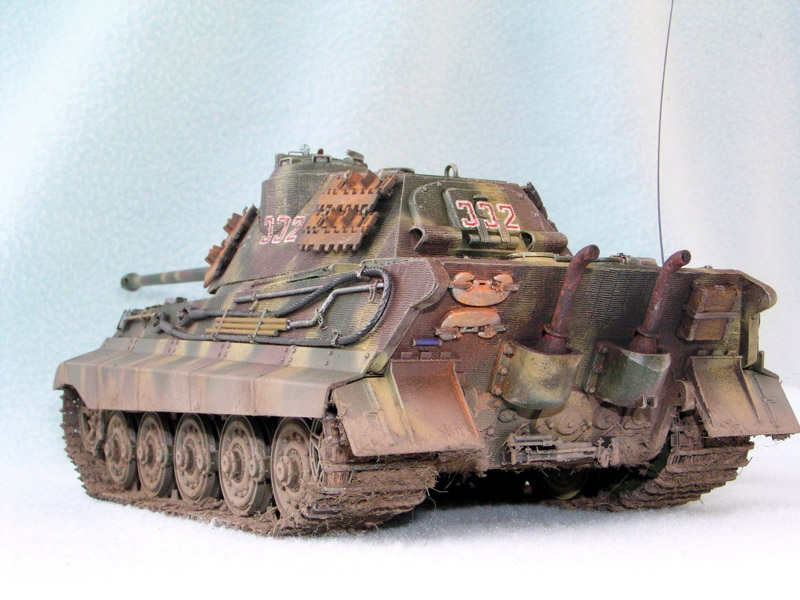
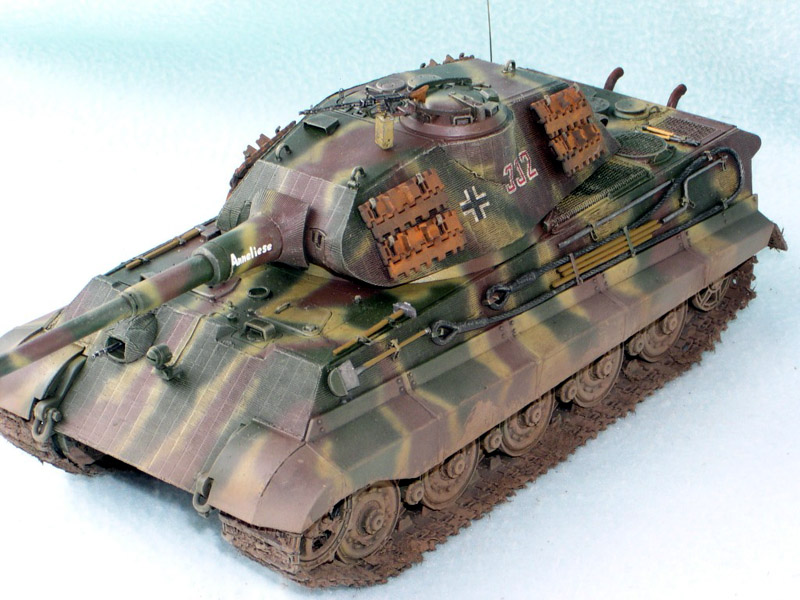
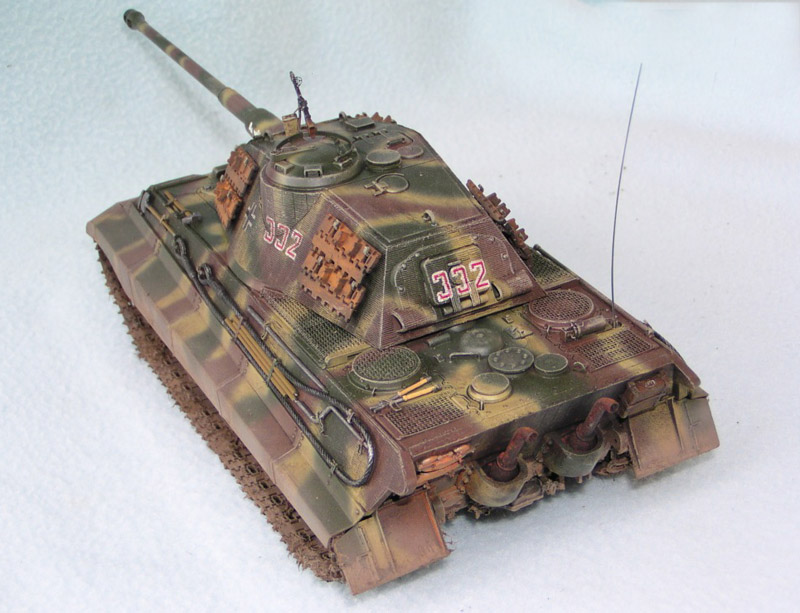
I accept the need for filler at the edges of the zimm - I was too worried about filling the grooves in the zimm as well. I won't be using PE zimm again, now I've tried other techniques.
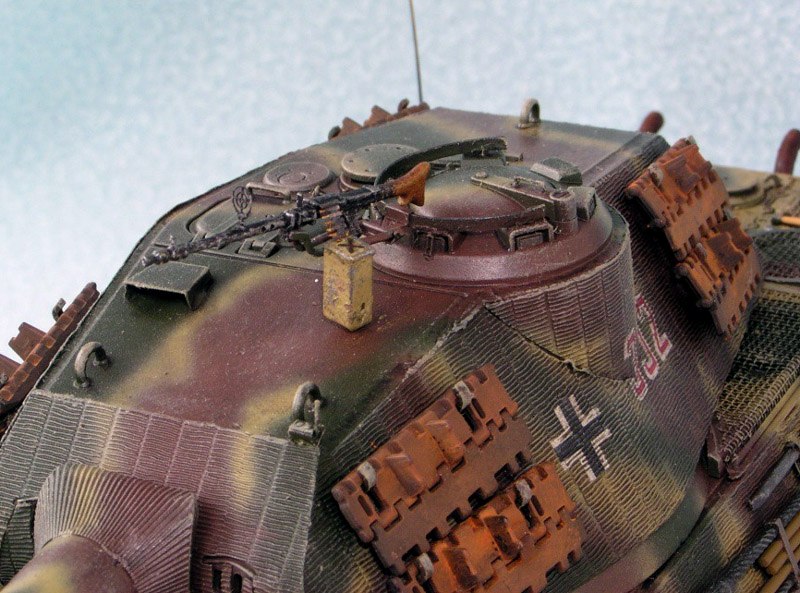
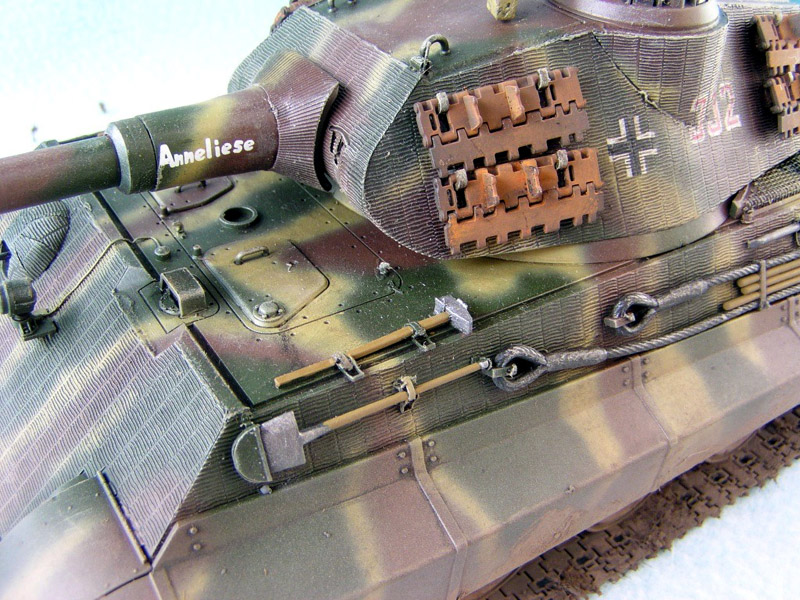
I was pleased with how the links on the turret turned out. I've struggled with these before on 2 Tiger I's that I've done, here and here. They looked too red - something Vinnie commented on when I posted pics of them. They were done with a black base coat, then burnt umber oils with Mig medium rust pigment. To get this, better, finish was much easier. I just painted them Tamiya red brown, washed with a mix of black and burnt umber oils and then applied Mig light rust pigment.
Since these pics were taken I've added a grain to the pioneer tools and darkened and matted the metal on them.
It's set to go in a diorama, once I've finished the last few figures, a Kubel and associated supplies and stowage.
Thanks again for the feedback lads, and to Vinnie for posting the feature.
Sean
AUG 13, 2006 - 04:54 PM
Copyright ©2021 by Sean. Images and/or videos also by copyright holder unless otherwise noted. The views and opinions expressed herein are solely the views and opinions of the authors and/or contributors to this Web site and do not necessarily represent the views and/or opinions of Armorama, KitMaker Network, or Silver Star Enterrpises. All rights reserved. Originally published on: 2006-08-04 00:00:00. Unique Reads: 13605

WEB HOSTING BY


Copyright ©2021 Armorama and Kitmaker Network, a subsidiary of Silver Star Enterprises
All Rights Reserved. Please read our Conditions of Use and Privacy Policy.
All Rights Reserved. Please read our Conditions of Use and Privacy Policy.