

1⁄35Changing the Gepard's Spots
5
Comments
FlaK38
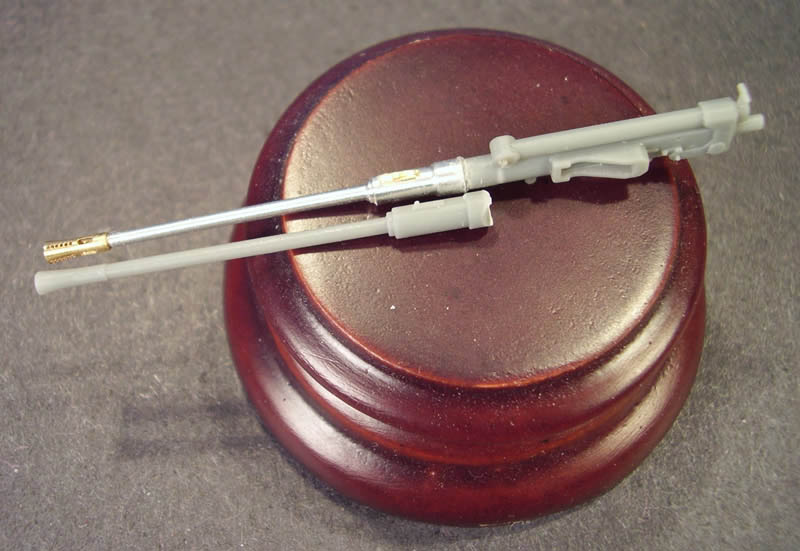
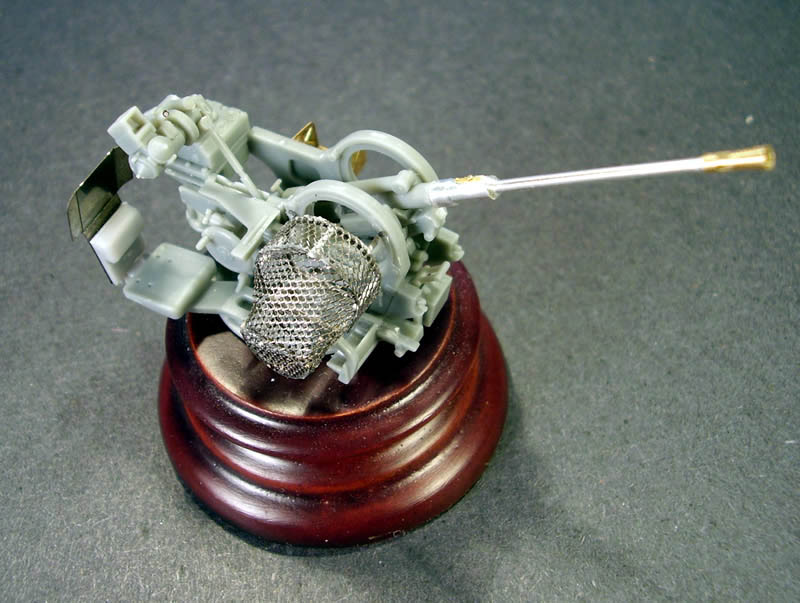
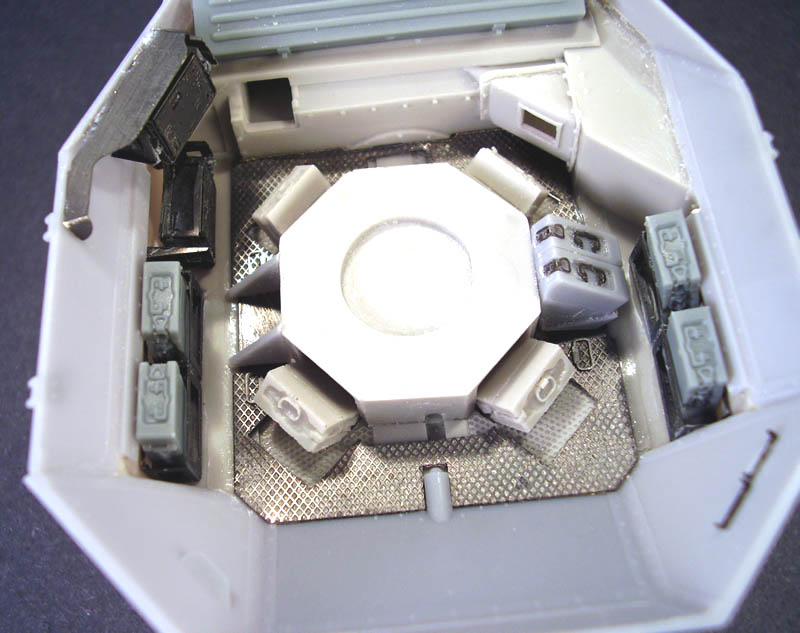
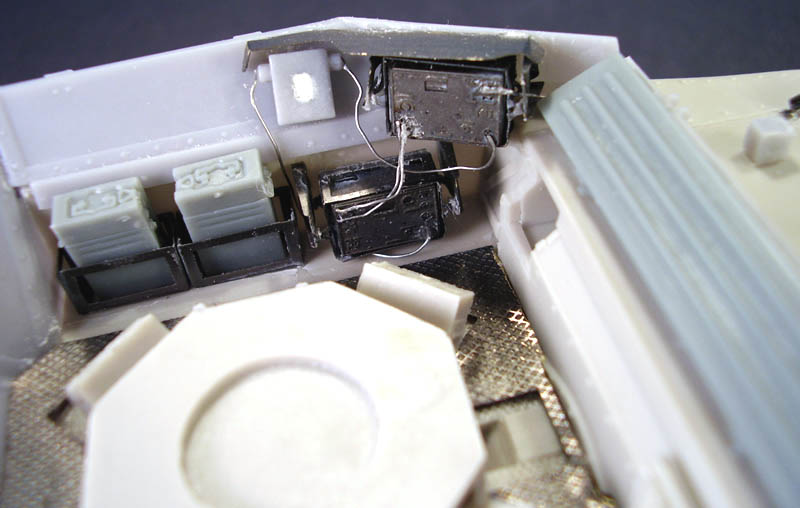
The kit parts for the Flak 38 were lacking in detail and accuracy and were discarded in favor of the Flak 38 kit from Tristar in combination with the Armorscale replacement aluminum barrel with turned brass flash suppressor. The Tristar barrel has been shown to be too long dimensionally as molded and the barrel base was retained and drilled out to accept the Armorscale barrel, which has the correct length, without issue. Reference photos show that some Gepard crews removed the splinter shields from their Flak 38s to presumably allow more room in the compartment for the crew and lower the visibility profile once the compartment sides were lowered. Just to be different, I chose this option for the Flak 38 and did not fit the shields which also required the removal of the mount arms from the bearing housings as well as modification to the gun mount tray and base areas where the shields would normally attach. The Eduard PE set includes detail pieces to construct the lobster pot style of spent shell catch basket and this was modified to include a support frame for the semicircular attachment using 0.5mm styrene rod.upper hull
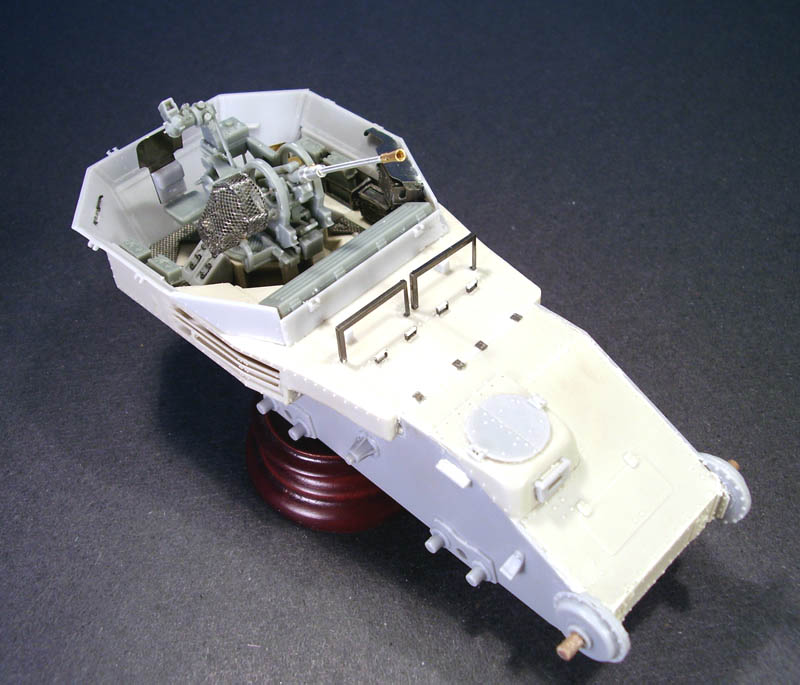
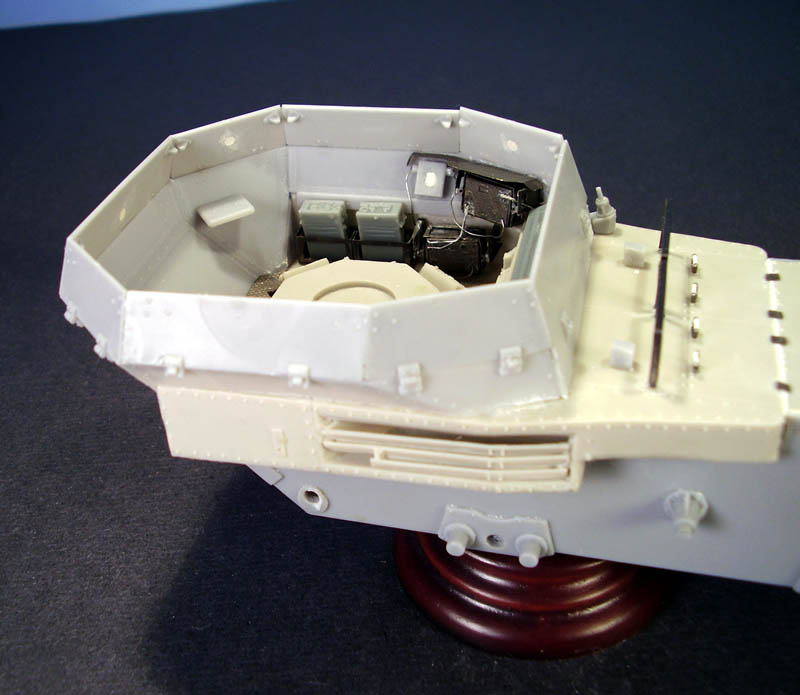
The upper hull fighting compartment sides were fitted, requiring some sanding and putty work to obtain a good fit all around on the upper works as well as to the front base plate. Each of the fold-down panels on the superstructure had a deep sink mark in the middle of each panel which also required filling and sanding to correct. All of the pioneer tools, fire extinguishers, jack, and jack block had their molded on clamps/mounts removed and replaced with items from the Eduard set. The Eduard grouser box was also used in place of the Alan kit PE item. The kit supplied spare track mounts on both the front hull and glacis were also replaced in favor of the Eduard items and small holes drilled out with a pin vise to accept the Eduard wing-nuts with the spare tracks installed at a later point. The largest modification required came in the form of the muffler/exhaust which was molded in the appropriate way for mounting to a Grille hull and compartment dimensions, but did not fit properly to the Gepard hull, requiring modification to the exhaust pipe and mount bracket into the side of the hull. While not 100% accurate in terms of final layout, it presented a suitable compromise under the circumstances. The exhaust was also drilled out with a pin vise and mounted using Eduard brackets to the hull.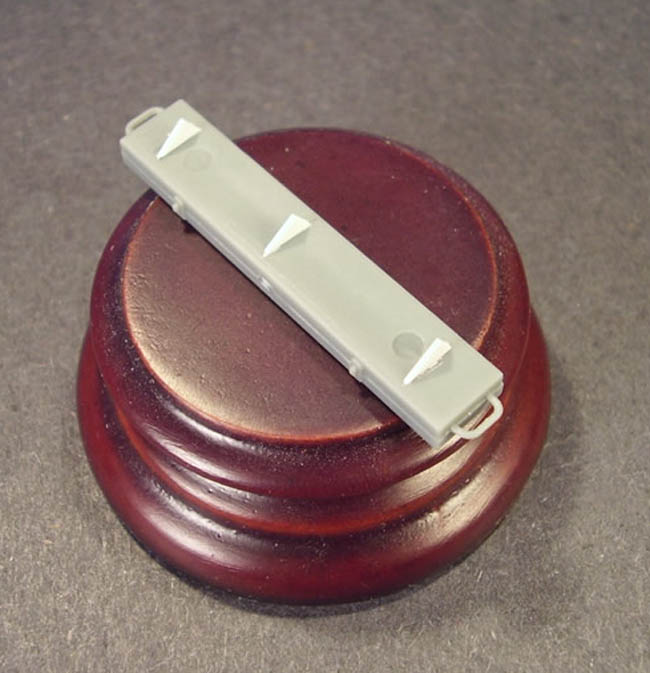
About the Author


FROM: TEXAS, UNITED STATES
Like many, I started out in the hobby as a kid building airplanes to hang from my bedroom cieling. I took a long break from the hobby, returning in 2001 with an interest in armor inspired mostly by online gaming. WW2 armor, 1/35 scale, is my preferred genre with a special taste for the stranger vehi...
Comments


Interesting & informative article & nice finished model. I didn't realise the Alan model had so many errors on it! Puts my OOB build in perspective, mind you I thought that was hard enough!
JAN 06, 2007 - 01:39 AM

Thanks for the comments Dave!
Hohenstaufen,
I originally picked up the Alan kit on a sale for around $15 if memory serves me correctly...and then it quietly sat for a while until the moment was right and I felt ready to build it. It wasn't until I started to look into the history and features of the Gepard that I realized where the areas for potential improvement were and then had to decide if I wanted to take the plunge or not to correct it or just build it as is. Turned out to be the most involved $15 project I've ever worked on, at least the story I've kept to for my wife at any rate. :-)
JAN 06, 2007 - 03:01 AM

Copyright ©2021 by Bill Plunk. Images and/or videos also by copyright holder unless otherwise noted. The views and opinions expressed herein are solely the views and opinions of the authors and/or contributors to this Web site and do not necessarily represent the views and/or opinions of Armorama, KitMaker Network, or Silver Star Enterrpises. All rights reserved. Originally published on: 2007-01-06 00:00:00. Unique Reads: 25001

WEB HOSTING BY


Copyright ©2021 Armorama and Kitmaker Network, a subsidiary of Silver Star Enterprises
All Rights Reserved. Please read our Conditions of Use and Privacy Policy.
All Rights Reserved. Please read our Conditions of Use and Privacy Policy.