

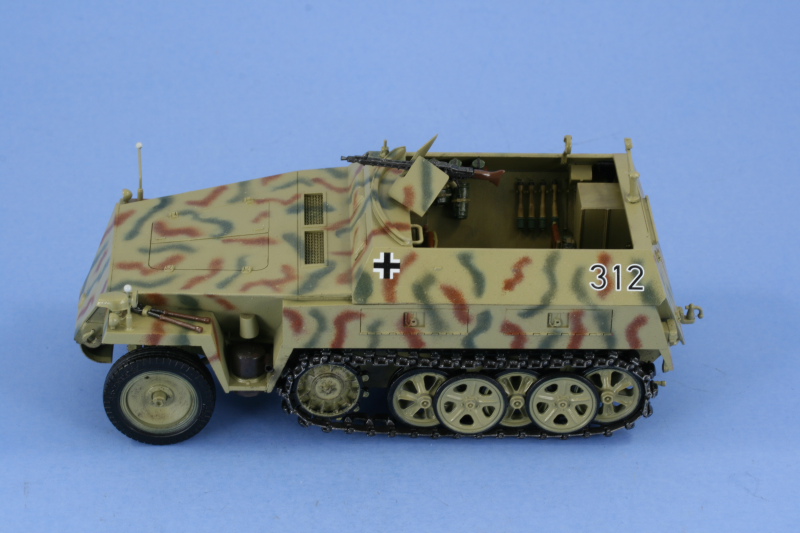
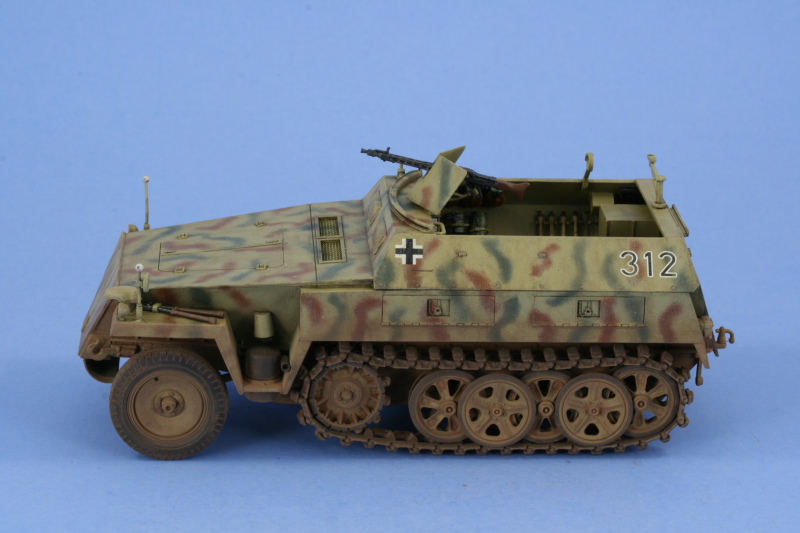
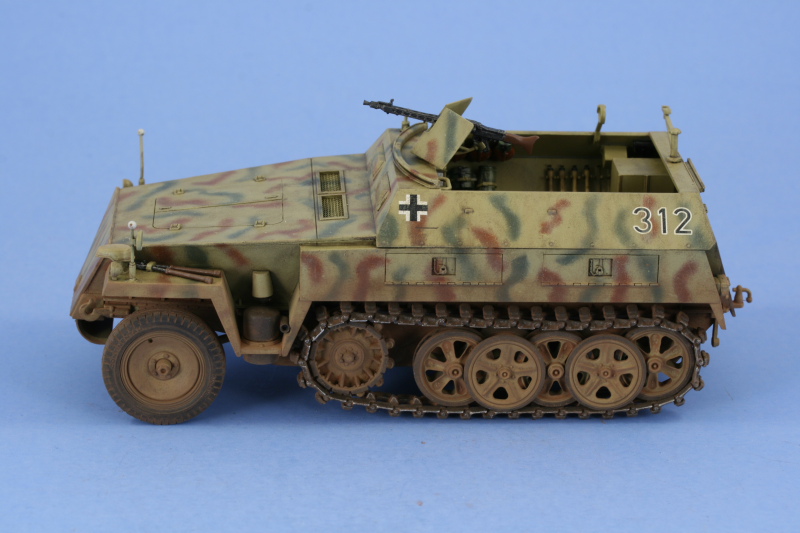
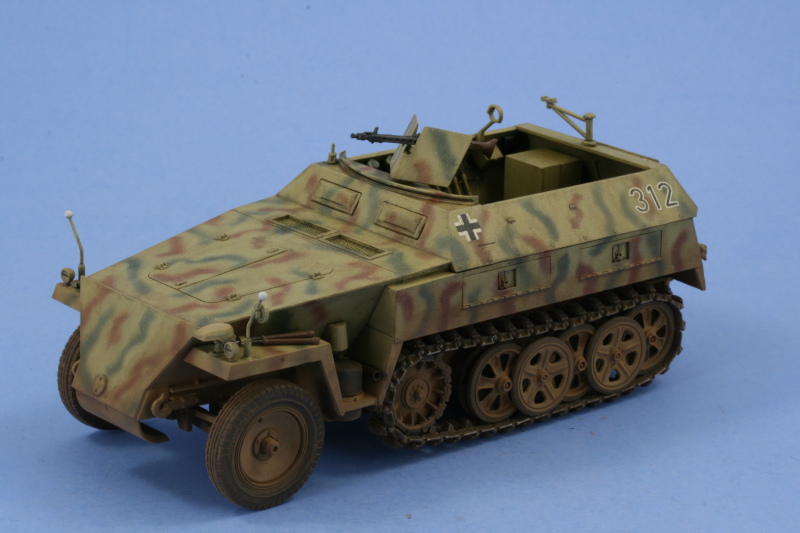
1⁄35Sd.Kfz. 250/1 Neu
12
Comments
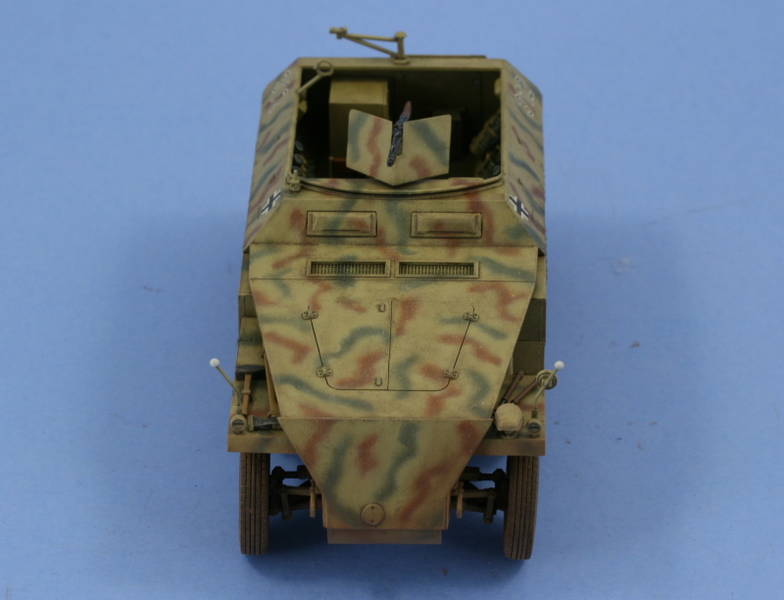
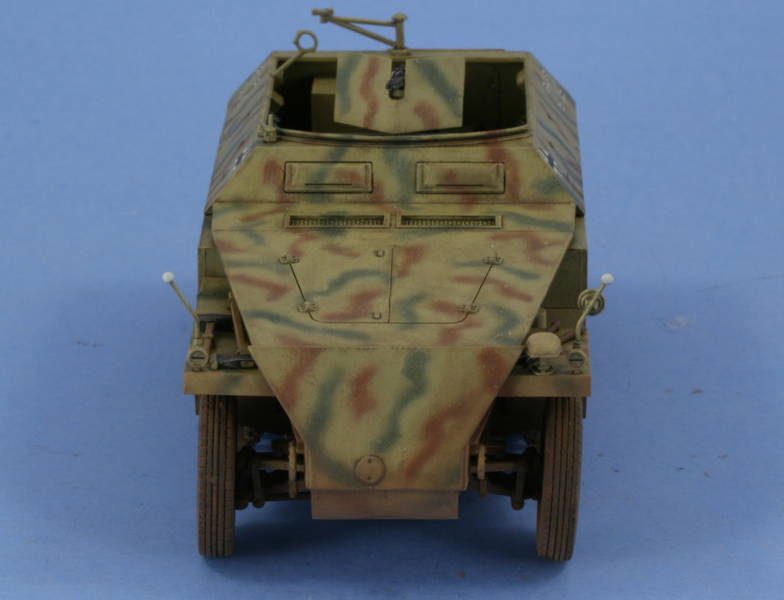
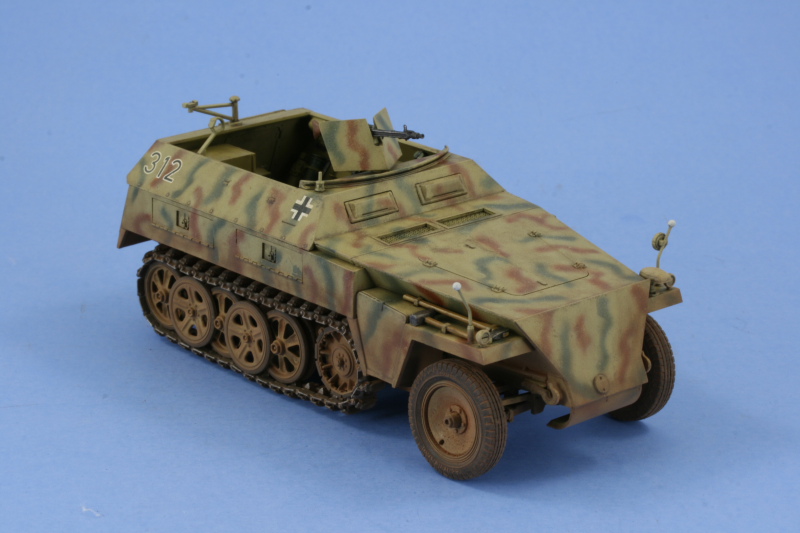
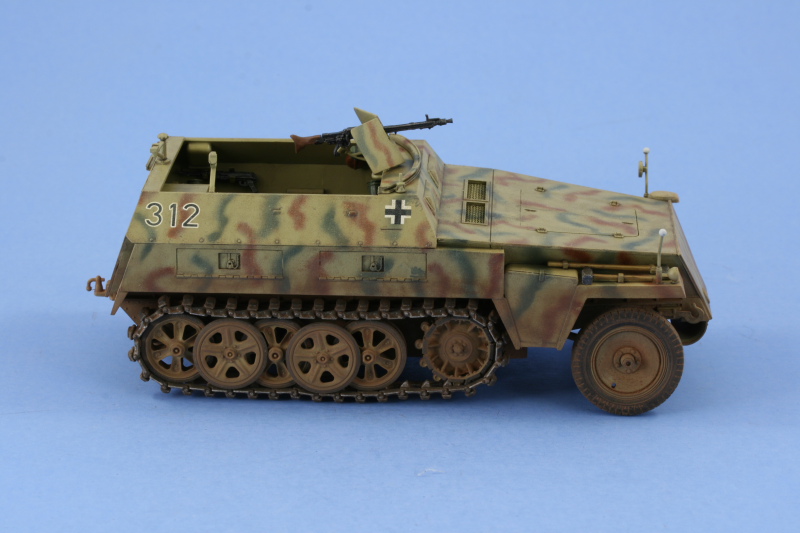
Markings and Weathering
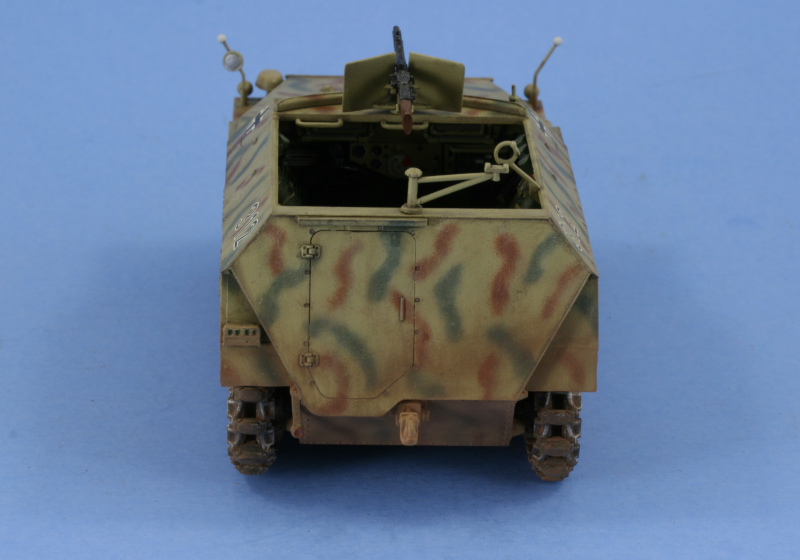
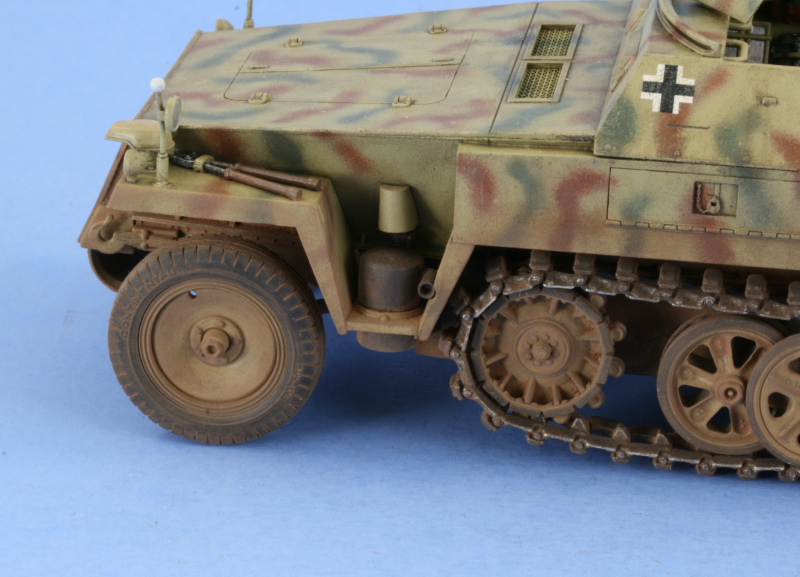
In preparation for the decals, the entire vehicle was given a protective coat of Future and allowed to dry for about 1-2 hours before the decals were applied. The markings were simple with just a balkenkreuz and the vehicle number on either side. These were given a careful coat of Walthers Solvaset to get them to snug down uniformly to the hull and, once settled, another coat of Future was applied to protect them during the weathering process. The weathering began with an overall wash of Raw Umber applied to the whole exterior with the exception of the running gear. The wash was adjusted where needed using a clean brush and thinner, then dot filters of Raw Sienna and the lightened Dunkelgelb applied for some variation. A pin wash of Burnt Umber was then applied to all the raised details and the running gear to bring out the details. Everything was then sealed with a coat of Testors Lusterless Flat in the spray-can. Once that had set up overnight I dry-brushed some additional lightened Dunkelgelb over the hull surfaces and the decals in various places. For the suspension, I mixed up a combination of Mig Dark Mud, African Earth, and Europe Dust as dry powder in the top of an old prescription bottle. Once the pigments were mixed together, I added ordinary tap water and applied the wet mixture by brush all over the running gear, fenders, lower hull, and rear hull where desired. The mixture air-dried over the space of about an hour and once dry, the excess was removed using several different stiff-bristled brushes. On the hull areas, the pigment was further blended in using a combination of wet and dry q-tips to carefully work it into the finish. The tracks received a light dry-brushing of Steel and some small touch-ups to various places were all that was required to wrap things up.


About the Author


FROM: TEXAS, UNITED STATES
Like many, I started out in the hobby as a kid building airplanes to hang from my bedroom cieling. I took a long break from the hobby, returning in 2001 with an interest in armor inspired mostly by online gaming. WW2 armor, 1/35 scale, is my preferred genre with a special taste for the stranger vehi...
Comments
Very nicely done Bill !!! Makes me want to take a crack at my kit
Darryl
JAN 17, 2008 - 01:29 PM

Thanks Bill
accualy what I was thinking wa how to get those nice clean lines on the outside of the visors
Thanks for any help Mark
JAN 18, 2008 - 11:44 AM

Mark,
Ah, sorry, didn't understand the question. If I understand you this time, the outlines around the exterior is achieved using a pin wash. Highly thinned paint applied with a small detail brush and allow the capillary action to pull it in.
JAN 18, 2008 - 12:24 PM
Yes, same idea. I use Burnt Umber thinned about 90% with thinner as my preferred pin wash.
JAN 18, 2008 - 02:58 PM

Bill, WOW ! I just picked one up recently and when I'm ready to build I hope mine turns out well also. Thanks for sharing your 250/1 with all of us.
JAN 30, 2008 - 03:24 PM

Darn Bill I think you have to much "free" time.
Care to shoot up to OK. and build a few for me got a closet and a half full.
Great Job BTW.
Thanks for sharing.
FEB 24, 2008 - 11:53 PM
Thanks Jeff, tempting offer to be sure but I've got a full closet of my own that needs attention!
FEB 25, 2008 - 02:26 AM
Copyright ©2021 by Bill Plunk. Images and/or videos also by copyright holder unless otherwise noted. The views and opinions expressed herein are solely the views and opinions of the authors and/or contributors to this Web site and do not necessarily represent the views and/or opinions of Armorama, KitMaker Network, or Silver Star Enterrpises. All rights reserved. Originally published on: 2008-01-14 00:00:00. Unique Reads: 37979

WEB HOSTING BY


Copyright ©2021 Armorama and Kitmaker Network, a subsidiary of Silver Star Enterprises
All Rights Reserved. Please read our Conditions of Use and Privacy Policy.
All Rights Reserved. Please read our Conditions of Use and Privacy Policy.