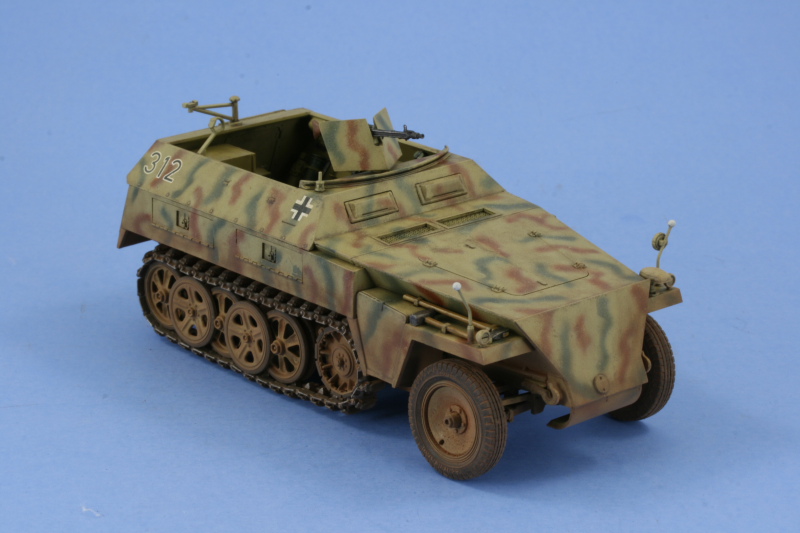
1⁄35Sd.Kfz. 250/1 Neu
12
Comments
Introduction
The Sd.Kfz. 250 is the smaller cousin to the well-known Sd.Kfz. 251 and was produced throughout the war in multiple different variants. In order to simplify production and speed up delivery of vehicles to the Army, the design was simplified to reduce the amount of time required for manufacture and the new design is referred to as the “Neu” vs. the original or “Alte”. The Neu design incorporated many features common to the Sd.Kfz. 251 Ausf D in terms of the hull-side storage boxes, fender layouts, etc. and DML’s kit #6427, a “Premium” upgrade of their previous kit #6100, aims at replicating a /1 variant and is the subject of this build.Initial Construction
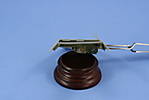
Work began on the lower hull by installing the sprocket hubs along with the elements of the front wheel suspension. The suspension assembled smoothly without issues and, since it’s not workable, I took care to make sure that it set level by installing the Y-shaped brace arm last. The individual main wheels were assembled using the multi-part “slice” design, incorporating the wheel hub in with the first two slices first, then building the rest of the wheel up from there, resulting in a fantastic level of detail on the tread pattern. I also assembled the sprockets, using locking tweezers to get a solid join on the teeth where they meet, the road wheels, and idlers. The idlers have a slightly larger diameter vs. the road wheels, so I carefully marked them on their hubs with a Sharpie for future reference after painting to avoid installation errors.Interior Modules
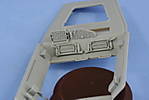
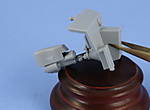
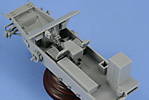
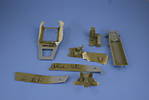
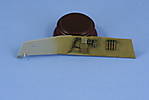
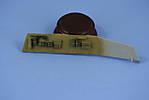
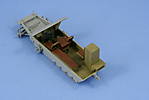
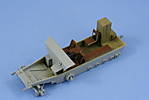
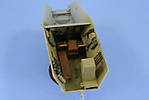
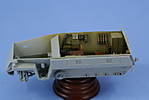
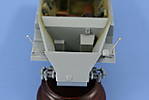
This area gets the Premium treatment in full and as such, it’s a busy one. I approached the interior in a modular fashion to assist in painting and detailing as well as final assembly. The first module consisted of the driver and radio operator seat area with the two-part seats attached directly to the floor plate. The next module was the dashboard/firewall with the steering column and transmission housing and leather MG gunner’s cushion. The kit does not include parts for the transmission itself, so I scrounged a spare transmission from a previous Sd.Kfz. 251 build and, while not a perfect match, served as a stand-in. The transmission fit perfectly with the mount hole in the cover on the firewall and the seat cushion was modified by removing its long support post with sprue cutters and carefully gluing it directly to the transmission. Next up was the rear module, dealing with the long bench seat along the left side and the single seat and ammo locker along the right side. The single seat’s pedestal mount required two holes to be opened up for it to be installed and I used a small piece of blue-tack poster putty to secure the seat in place to allow for its removal later for easier detail painting. All of the lower hull modules were test fit together into the lower hull tub to make sure everything had a good fit before moving on to the hull sides. Each side comes with molded-in locator markings for the different items but also contains markings that are relics from the earlier kit. The un-needed markings were removed with a sharp #11 blade and sanded down carefully with a sanding twig. The markings for the two PE storage boxes that are included were also removed as the boxes are not for a /1 variant but rather a /5 variant and would not be installed on this build. The right side gear was installed first, starting with the PE grenade holders and working forward to insure everything fit properly. The MP40 clips were carefully shaped and positioned to allow for the guns to be removed and detailed separately and positioning of the clips had to be accurate as the molded-in locator marks were larger than the parts themselves, so test-fitting was a must on this side as well as the left. The left side interior is more crowded, with a small margin for error as a result. Due to the tight spaces, it was necessary to leave the 3rd mess-tin bracket empty for sufficient space to be available for the fire extinguisher, gas mask canister, and MP40 magazine. The rear hull plate was also assembled with the hatch in the closed position and set off to the side as a “sub-module”. The final module for the interior was the hull top itself since it houses the driver’s instrument panel, the vehicle radio, and the armored visors for the front and sides as well as some other small details. The kit includes the familiar clear visor parts from the 251 kits but test-fits showed that those visors were too small for the openings by about 1mm. Fortunately the kit does include the older parts with the solid molded-in viewing ports for the interior but doesn’t have the older visor parts with the right dimensions for the exterior. I happened to have kit #6100 in the stash and it contains 4 visors, leaving 2 spares, which I used in place of the clear visors. With all the modules assembled, each one was then given a base coat of straight Model Master enamel Dunkelgelb and the different details picked out as the case required. The visor blocks were painted with Silver and then given a coat of Tamiya Clear Smoke to simulate their glass portions as best as possible under the circumstances. All of the leather seat cushions were first painted with MM Leather then given a very light wash of MM Gunmetal. The floor panel received consecutive washes of Gunmetal and Burnt Umber followed by a light dry-brushing of Dunkelgelb. All of the Dunkegelb surfaces were given a light wash of Burnt Umber to add some wear. The lower hull modules were installed first and allowed to set up before the hull sides were attached. I used a combination of Testor’s black bottle glue and Testor’s liquid glue for the joins as the hull sides play a critical role and have to be aligned just so. This went off without a hitch and the rear hull and front nose plates were next. I also noticed at this point that I had the hand grenades in upside-down in their holders and easily fixed that since they were held in by their clips and weren’t glued down, securing them in place right-side up with small dots of CA gel.Comments
Very nicely done Bill !!! Makes me want to take a crack at my kit
Darryl
JAN 17, 2008 - 01:29 PM
Thanks Bill
accualy what I was thinking wa how to get those nice clean lines on the outside of the visors
Thanks for any help Mark
JAN 18, 2008 - 11:44 AM
Mark,
Ah, sorry, didn't understand the question. If I understand you this time, the outlines around the exterior is achieved using a pin wash. Highly thinned paint applied with a small detail brush and allow the capillary action to pull it in.
JAN 18, 2008 - 12:24 PM
Yes, same idea. I use Burnt Umber thinned about 90% with thinner as my preferred pin wash.
JAN 18, 2008 - 02:58 PM
Bill, WOW ! I just picked one up recently and when I'm ready to build I hope mine turns out well also. Thanks for sharing your 250/1 with all of us.
JAN 30, 2008 - 03:24 PM
Darn Bill I think you have to much "free" time.
Care to shoot up to OK. and build a few for me got a closet and a half full.
Great Job BTW.
Thanks for sharing.
FEB 24, 2008 - 11:53 PM
Thanks Jeff, tempting offer to be sure but I've got a full closet of my own that needs attention!
FEB 25, 2008 - 02:26 AM
Copyright ©2021 by Bill Plunk. Images and/or videos also by copyright holder unless otherwise noted. The views and opinions expressed herein are solely the views and opinions of the authors and/or contributors to this Web site and do not necessarily represent the views and/or opinions of Armorama, KitMaker Network, or Silver Star Enterrpises. All rights reserved. Originally published on: 2008-01-14 00:00:00. Unique Reads: 37975


