

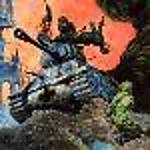
1⁄35hold on...hold on...
26
Comments
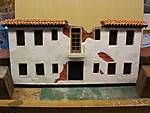
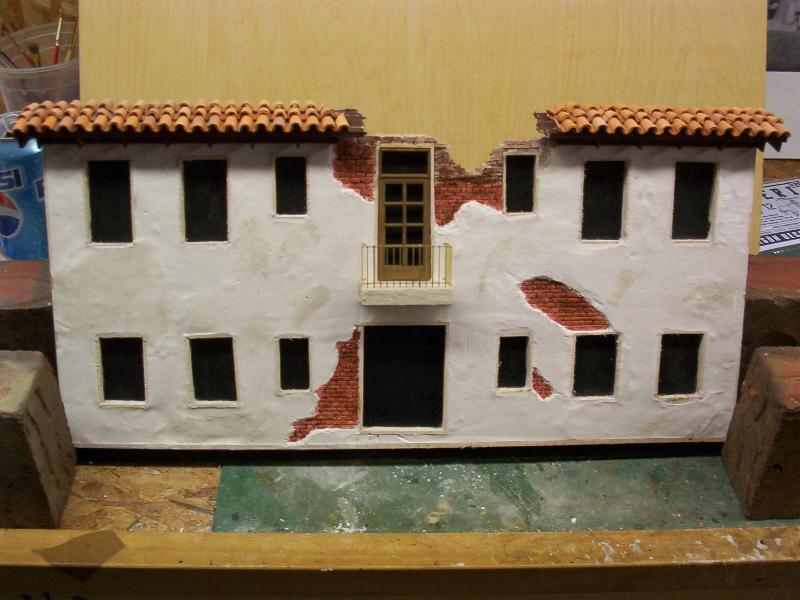
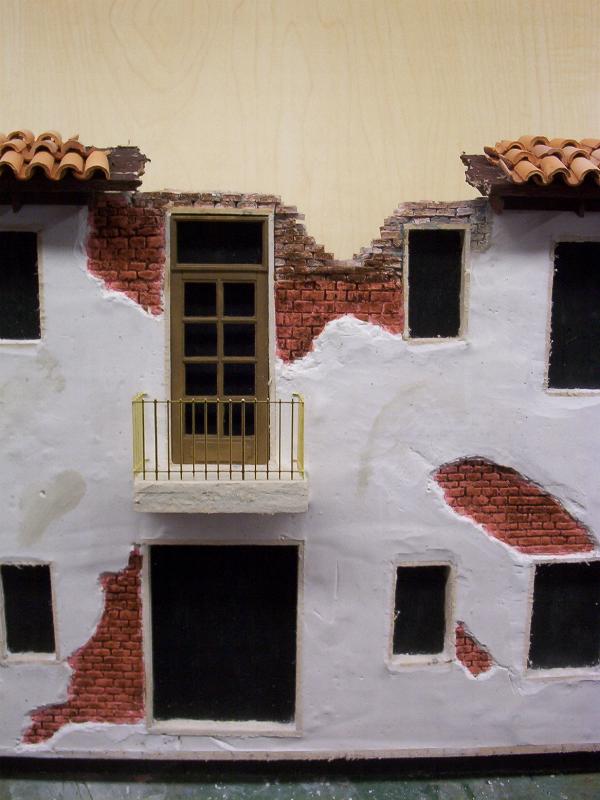
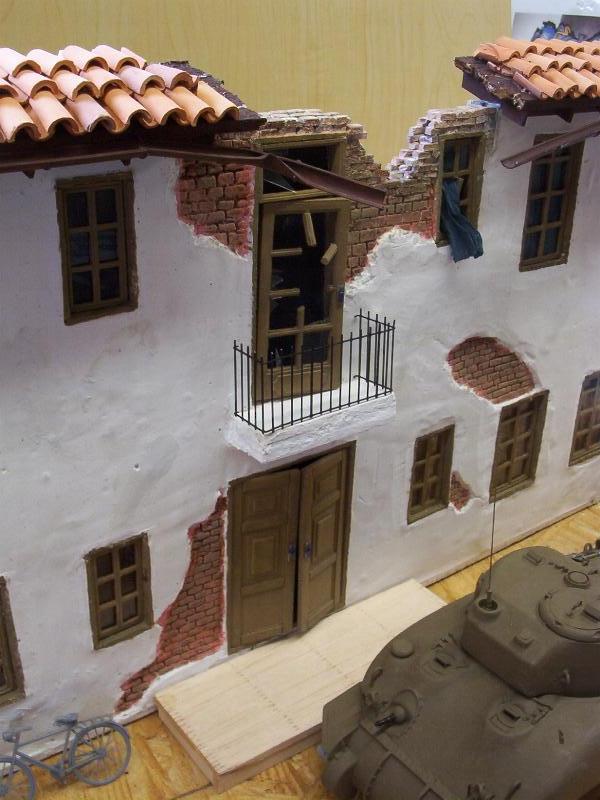
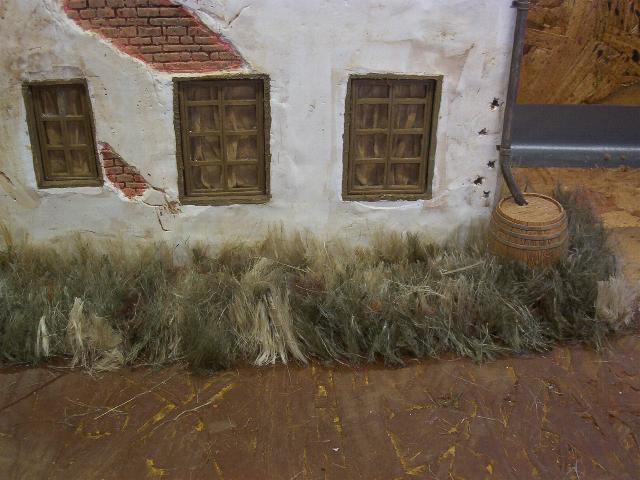
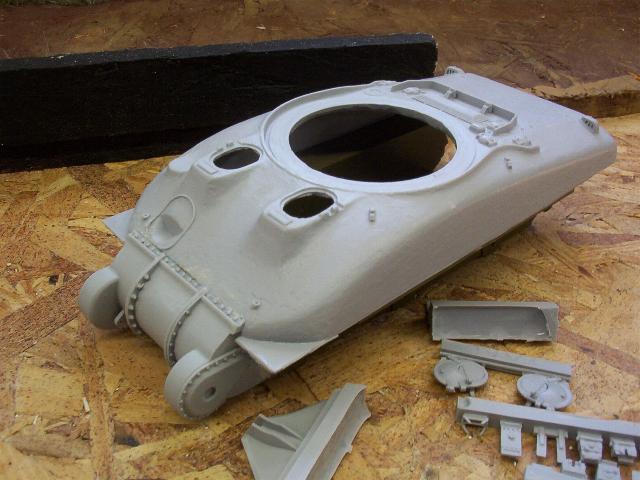
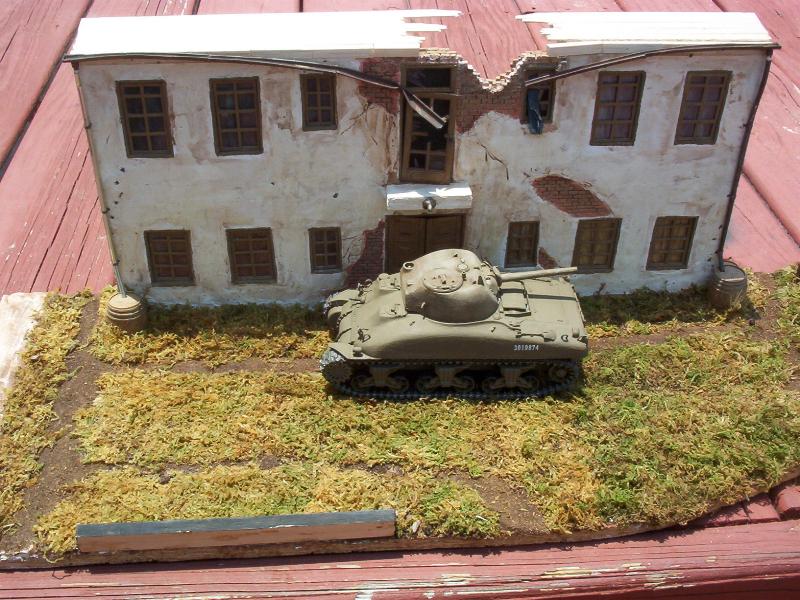
Continuing to work on the wall, I painted the inside of the windows and doors, base white coat for the wall and a little brick coloring. I didn't want any open window or door to be viewed through, I wanted the main view point on #11 sitting in front and not having anyone attempting to peak through a window. I constructed the open area with 1/35 scale bricks showing some damage. On the roof I decided to use balsa wood framing and 1/35 scale ceramic tiles. And test fitted the balcony railing.
Photo 0008 and 0008b
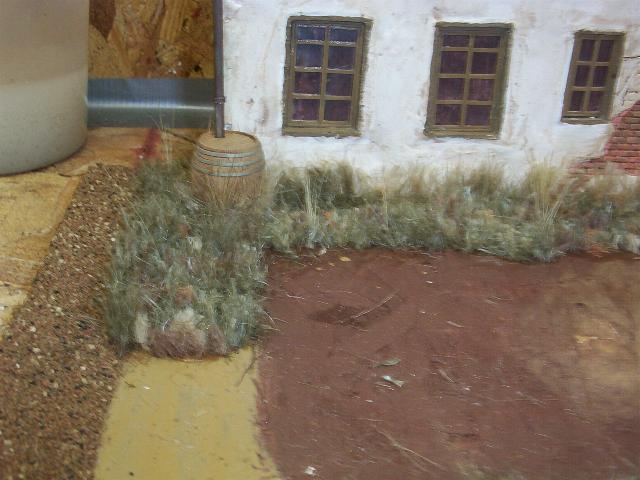
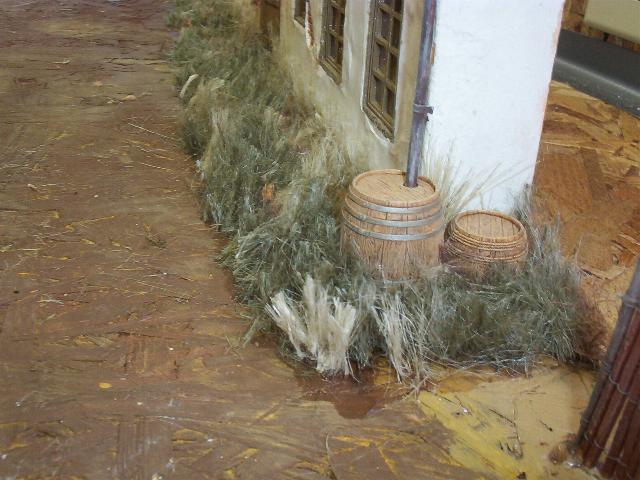
Before placing the windows in their locations I wanted to block the view of the board past them and placed curtains in each. This was accomplished using paper towels and liquid starch, once dry the towels become hard and sturdy. I also cut-out and glued the house to the base. I dry fitted the down spouts and rain barrels (Verlinden 0379 Wooden Barrels), placed the rain gutters and constructed a small porch/step. Placed both doors on the entryway, and broke and placed the balcony door, where I used clear plastic cut up to simulate broken glass. I took this a step further and opened the window next to the door and pulled out the curtain to simulate additional damage.
Photo 0009 and 0009a
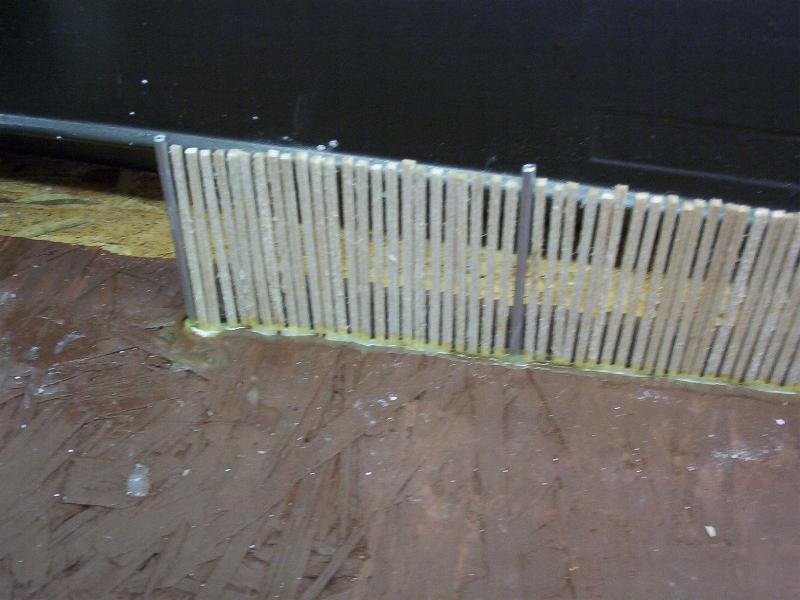
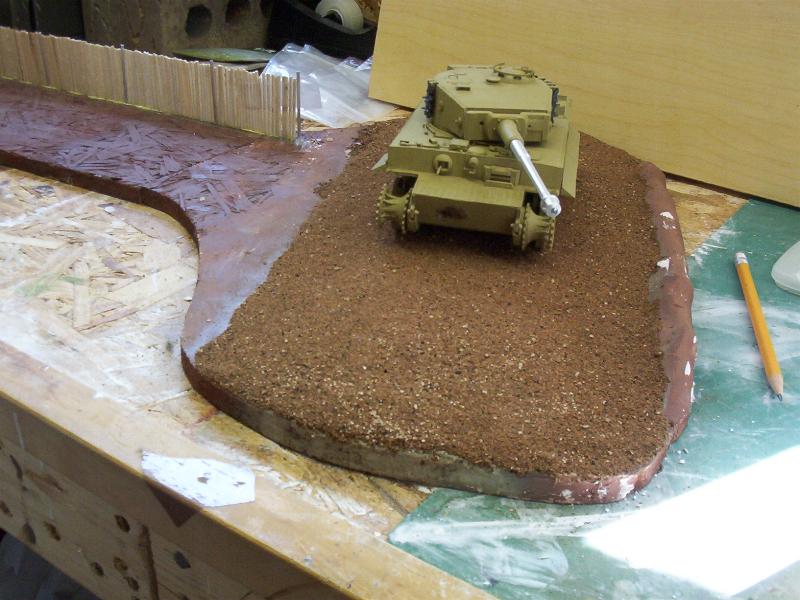
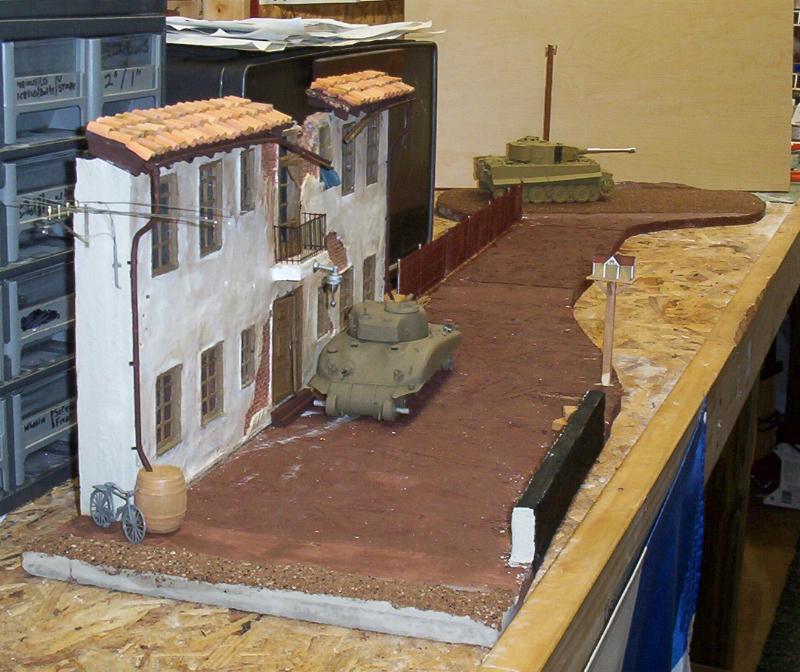
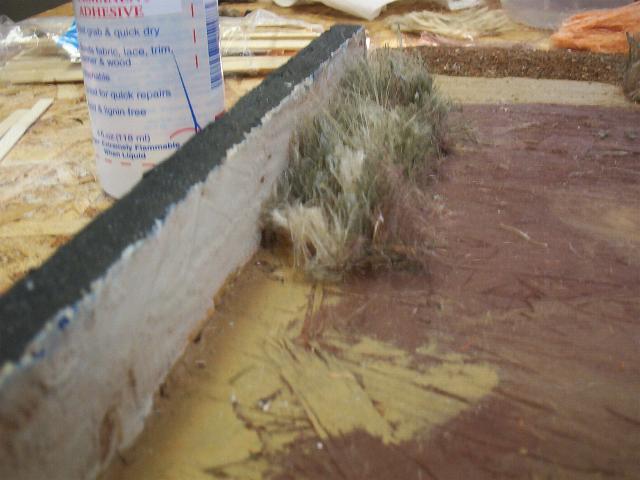
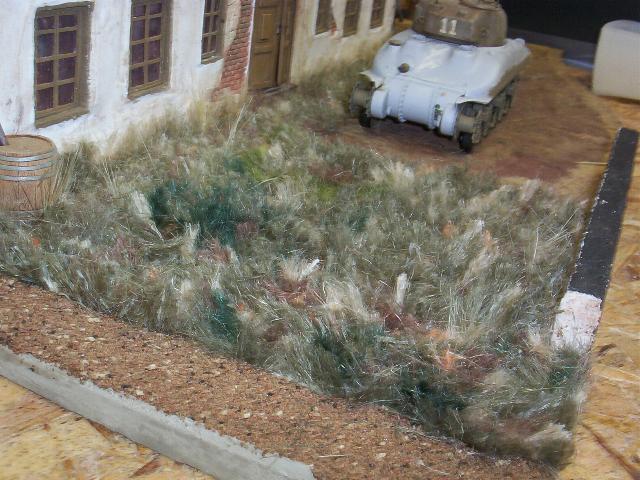
Next session resulted in staining up the house wall, placement of some stray bullet holes and cracks in the plaster, bending and test fitting of the down spouts, and blending brick colors. On the base I decided on installing the fence where it overlapped onto all 3 sections. Cutting balsa wood pieces, I laid them out on the bench onto a piece of tape. I drilled and placed my end posts on the base and drew a line of glue between them. I lifted the fence in one piece and following the glue line I taped the fence to both end posts. I also started staining the gutters and shingles. After raising the road bed with plaster I laid the first layer of gravel on the road beds. I used a color combination of ballast used in Rail Road displays.
Photo 0010, 0010a, 0010b, 0010c
Now all the real fun began. No good plan goes unpunished. Receiving various information and suggestions from some of the great members of Armorama, a number of planning errors started creeping up. I will address them separately.
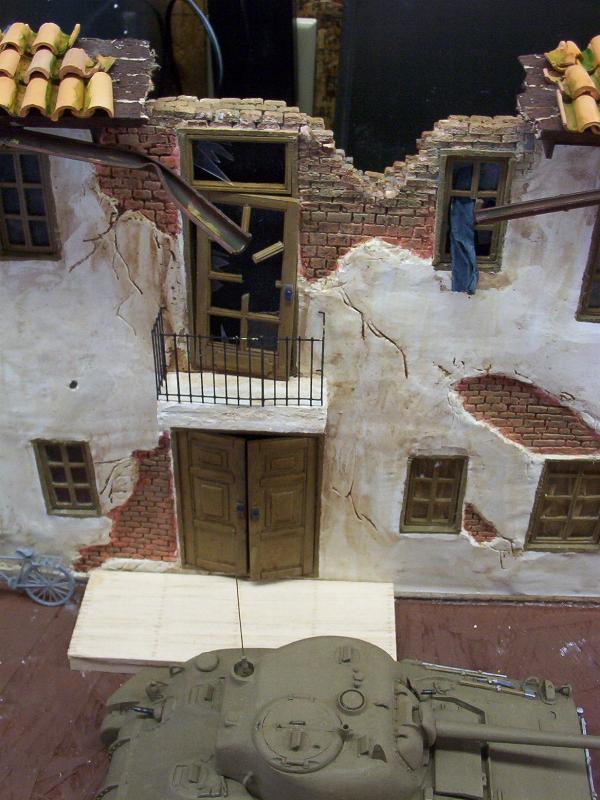
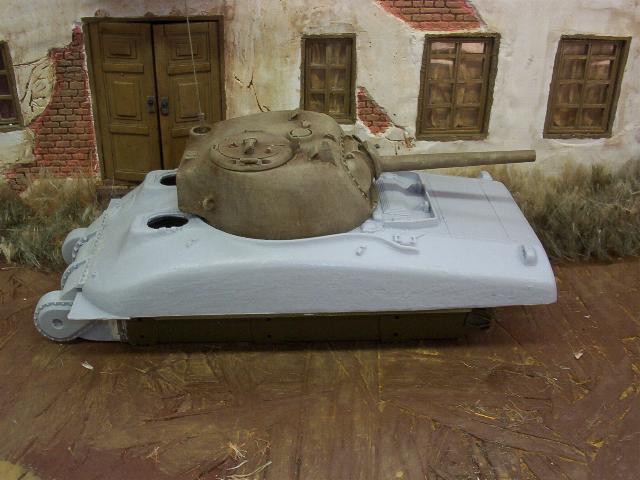
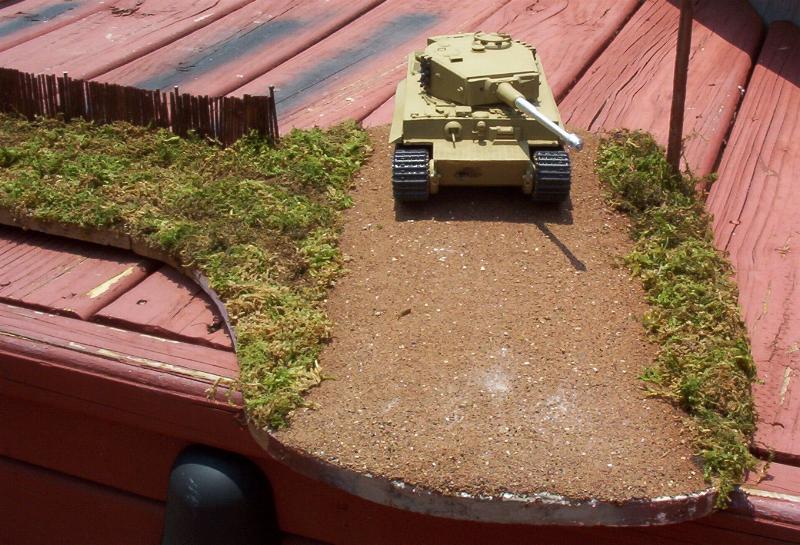
- First is the porch step. #11 was too far away from the wall, and I totally forgot that in Italy they hadn't started using gas grills, so I had to reduce the steps way down. Photo 0011
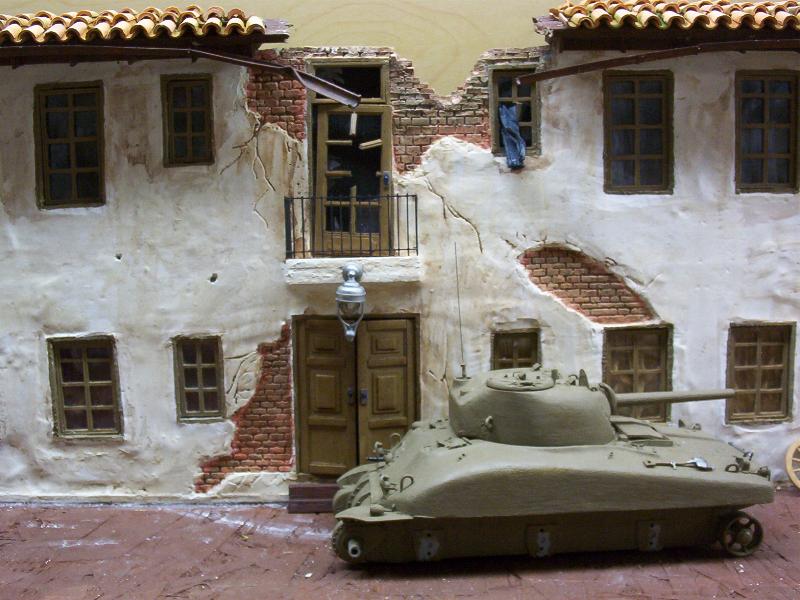
- Where #11 was to be parked looked as if the yard was a large field. Too bring this more into perspective I added the foundation wall of the other house to show the space as a little more restrictive. Photo 0012
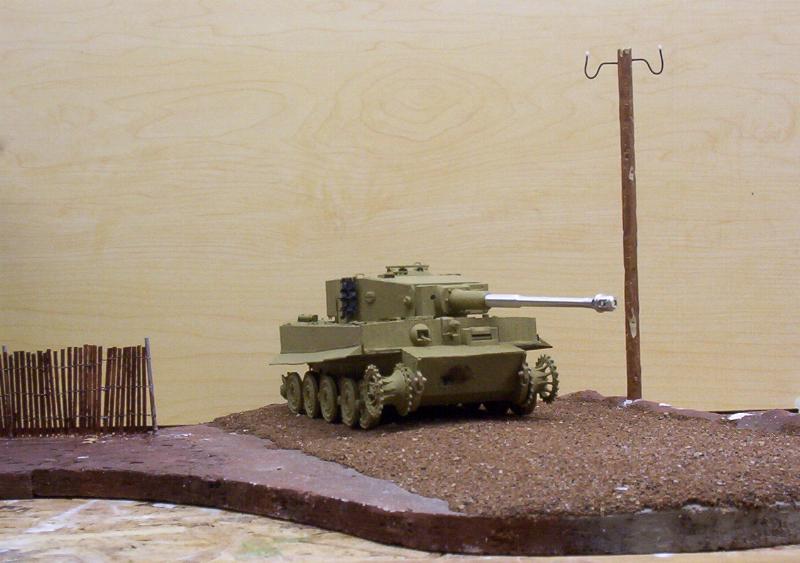
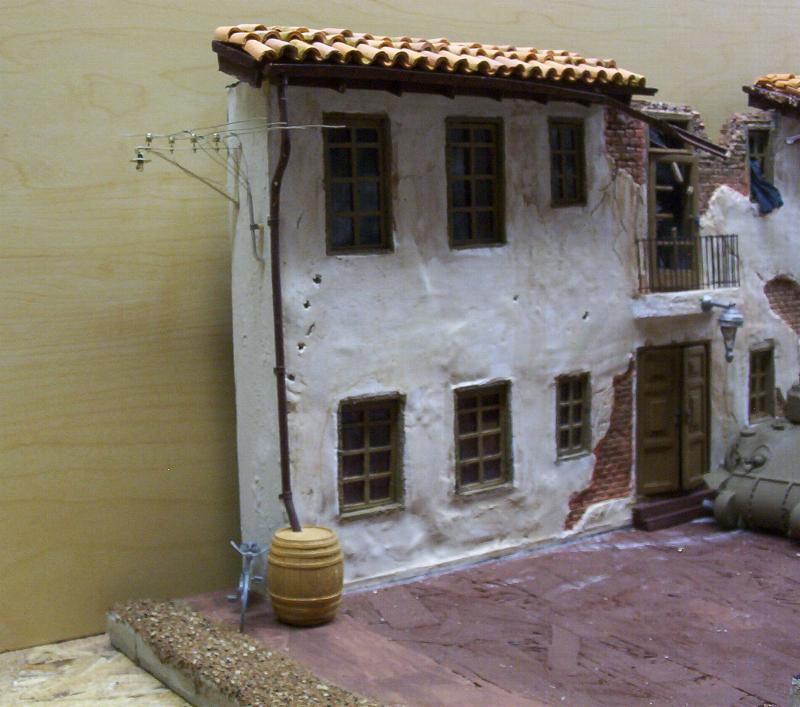
- Electricity was missing, so I decided to add the power connections to the side of the house using Aber AB35D24 Power Line Wall Mount with Light included the lamp to the balcony roof. The lamp consists of broken lamp post pieces from a Tamiya kit and a melted blob from a clear sprue piece. Photo 0014 and 0015
 8
8 8b
8b 9
9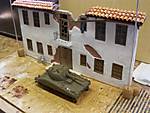 9a
9a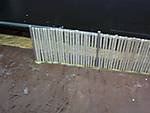 10
10 10a
10a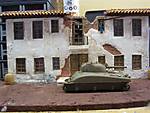 10b
10b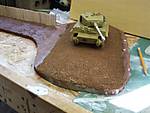 10c
10c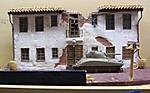 12
12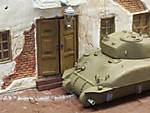 11
11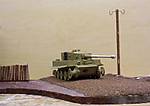 16
16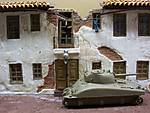 15
15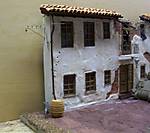 14
14


About the Author


Comments

hi bob, wow...very nice. i like the historical facts and details of your work. and the photography is perfect..the eye level shot and the sight waiting to fire on the tiger is beautifully done. seconds on making a history. thanks for sharing. ed
thanks henk for the thread. ed
DEC 25, 2008 - 12:59 PM


A bit late catching this feature, but it is very well done. It catches all the details of the story very well, while the layout focuses on the action. Nicely done.
JAN 04, 2009 - 03:00 PM
I read over the write up and looked over the photos of the build and WWII after the action. Let me add my compliments on a job well done and great write up.
As mentioned in the write up, the Tiger's main gun was in full recoil.out of battery. If one did look at the photo without researching the back ground, it does look as the crew destroyed the tank, not knock out from combat. In the book Tigers in Combat I, it did mentioned the loss of Tiger 211 in combat, but no details.
So how did the main gun get into its after action 'out of battery?' Were there any ammunition 'cook offs' after the Tiger was on fire? One possiblity is the recoil fluid leaked out from the hits and then the round in the main gun breach went off from the fire and the main gun went into full recoil.
An idea for a follow on diorama is to have the knock out Tiger with the Sherman crew member in front of it getting his photo taken, as in the picture.
JAN 08, 2009 - 03:25 AM
First thanks Alan, Kent and Duane for the comments.
Duane, The ammo did cook off, In one of the photos of 221 you can see a 2inch gap on the deck plate where it seperated. The idea of making an after Tiger is a good one because of the excellent photos. Just way to much to do with so little time.
Thanks again everyone for taking the time to comment,
Bob
JAN 08, 2009 - 09:24 AM

Copyright ©2021 by Robert Card. Images and/or videos also by copyright holder unless otherwise noted. The views and opinions expressed herein are solely the views and opinions of the authors and/or contributors to this Web site and do not necessarily represent the views and/or opinions of Armorama, KitMaker Network, or Silver Star Enterrpises. All rights reserved. Originally published on: 2008-12-24 00:00:00. Unique Reads: 23812

WEB HOSTING BY


Copyright ©2021 Armorama and Kitmaker Network, a subsidiary of Silver Star Enterprises
All Rights Reserved. Please read our Conditions of Use and Privacy Policy.
All Rights Reserved. Please read our Conditions of Use and Privacy Policy.