

1⁄35hold on...hold on...
26
Comments
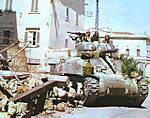
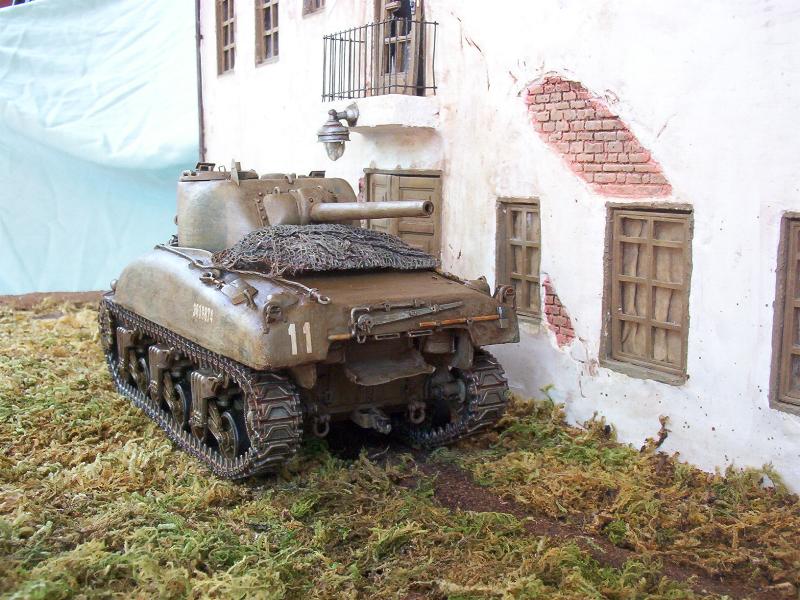
Part 2 "#11- M4A1"
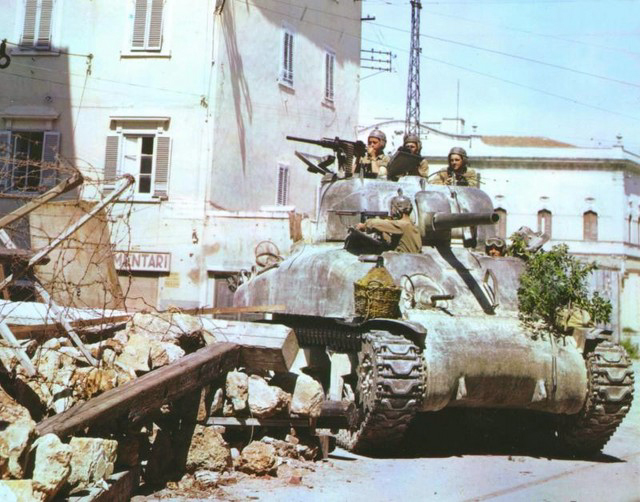
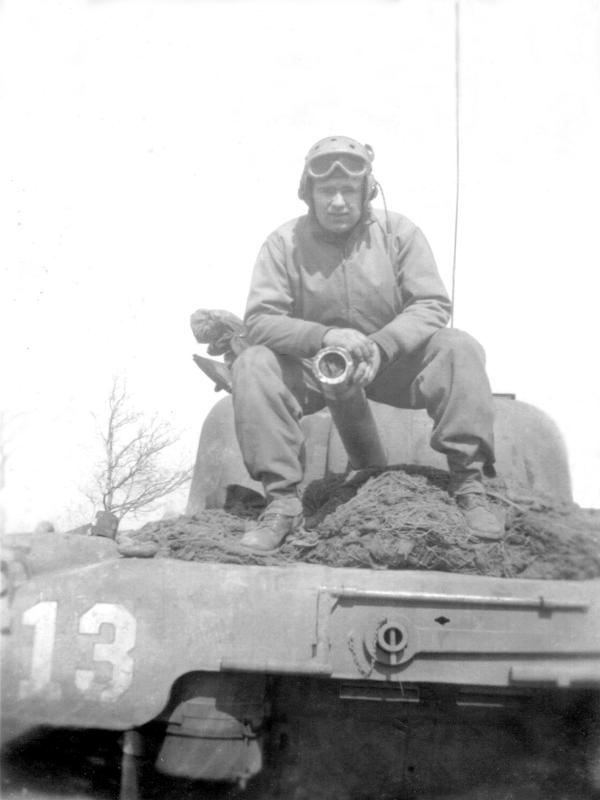
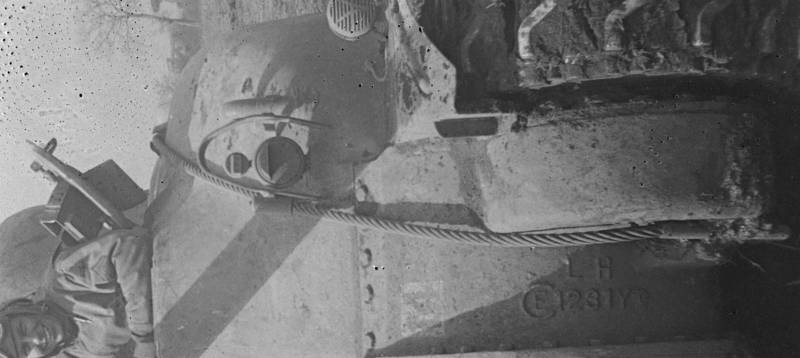
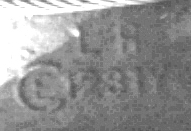
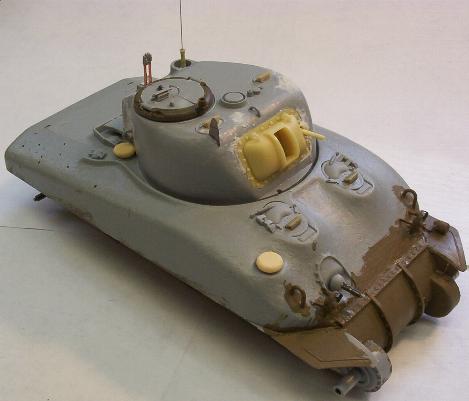
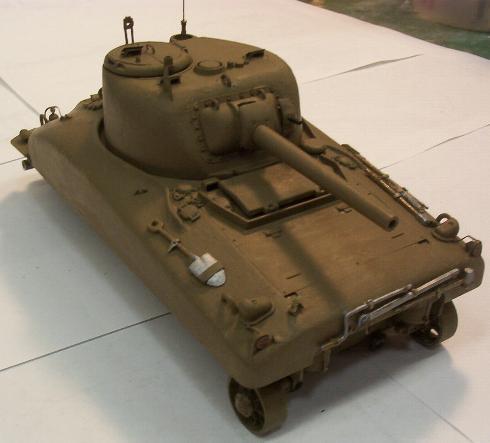
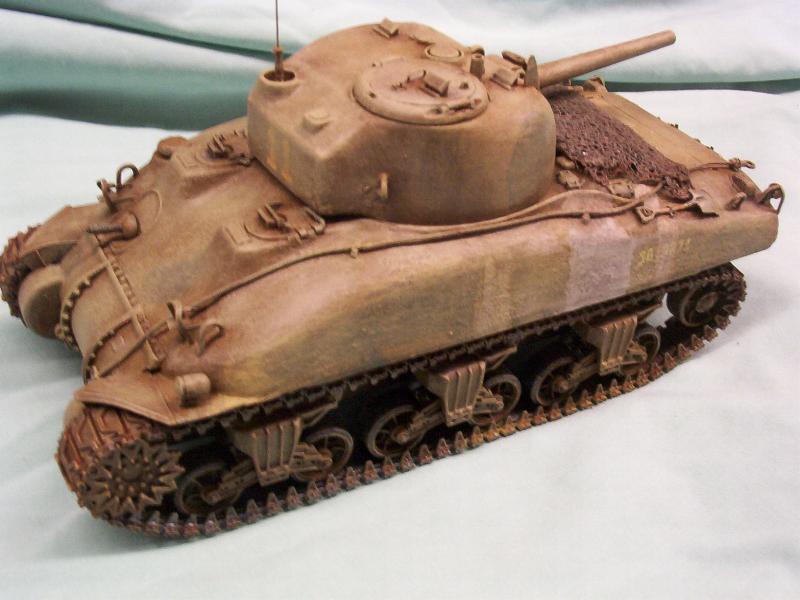
There are a couple of things that must be remembered; I had an excellent reference source for how exactly the tank would look, plans always change, and things happen. Details of #11 were discussed at length between viewing the photos, reviewing Mr. Holt's Fathers Diary, and reviewing veteran's accounts. Included in the discussion was the type of headlights, casting marks, tank markings, camouflage, tools, stowage and damage. These are some of the reference photos: Photos 0025, 0025a, 0025b, 0025c and 0025d Construction of M4A1 #11 of A Company of the 752nd Tank Battalion For my 1st attempt I used the Dragon M4A1 Early #6048, Fruilmodel T54E1 Tracks, Edward PE Detail #35339 and the Czech Master 75mm Gun with Late Mantlet and MG Shield #CMKHB058. Scary isn't it. My 1st attempt. To make a long story short this is the point where I dropped the tank on the floor and stepped on it as recalled in Part 1 "The Base". For my second and final attempt, I used the following list of kits- Dragon M4A1 Early #6048 (Just the turret was left)
- Italeri M4a1 Early #0225
- Tiger Model Designs M4A1 Early Hull with Hatches
- Edward PE M4A1 Detail #35339
- Formations Models:
- Round Air cleaner's #F023
- 3 Piece Transmission Cover #F024
- Siren Assortment #F046
- Headlights #F050
 25
25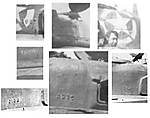 25a
25a 25b
25b 25c
25c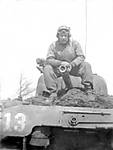 25d
25d


About the Author


Comments

hi bob, wow...very nice. i like the historical facts and details of your work. and the photography is perfect..the eye level shot and the sight waiting to fire on the tiger is beautifully done. seconds on making a history. thanks for sharing. ed
thanks henk for the thread. ed
DEC 25, 2008 - 12:59 PM


A bit late catching this feature, but it is very well done. It catches all the details of the story very well, while the layout focuses on the action. Nicely done.
JAN 04, 2009 - 03:00 PM
I read over the write up and looked over the photos of the build and WWII after the action. Let me add my compliments on a job well done and great write up.
As mentioned in the write up, the Tiger's main gun was in full recoil.out of battery. If one did look at the photo without researching the back ground, it does look as the crew destroyed the tank, not knock out from combat. In the book Tigers in Combat I, it did mentioned the loss of Tiger 211 in combat, but no details.
So how did the main gun get into its after action 'out of battery?' Were there any ammunition 'cook offs' after the Tiger was on fire? One possiblity is the recoil fluid leaked out from the hits and then the round in the main gun breach went off from the fire and the main gun went into full recoil.
An idea for a follow on diorama is to have the knock out Tiger with the Sherman crew member in front of it getting his photo taken, as in the picture.
JAN 08, 2009 - 03:25 AM
First thanks Alan, Kent and Duane for the comments.
Duane, The ammo did cook off, In one of the photos of 221 you can see a 2inch gap on the deck plate where it seperated. The idea of making an after Tiger is a good one because of the excellent photos. Just way to much to do with so little time.
Thanks again everyone for taking the time to comment,
Bob
JAN 08, 2009 - 09:24 AM

Copyright ©2021 by Robert Card. Images and/or videos also by copyright holder unless otherwise noted. The views and opinions expressed herein are solely the views and opinions of the authors and/or contributors to this Web site and do not necessarily represent the views and/or opinions of Armorama, KitMaker Network, or Silver Star Enterrpises. All rights reserved. Originally published on: 2008-12-24 00:00:00. Unique Reads: 23812

WEB HOSTING BY


Copyright ©2021 Armorama and Kitmaker Network, a subsidiary of Silver Star Enterprises
All Rights Reserved. Please read our Conditions of Use and Privacy Policy.
All Rights Reserved. Please read our Conditions of Use and Privacy Policy.