

1⁄35Sdkfz 10/5 Flak 38
10
Comments
Suspension and Road Wheels
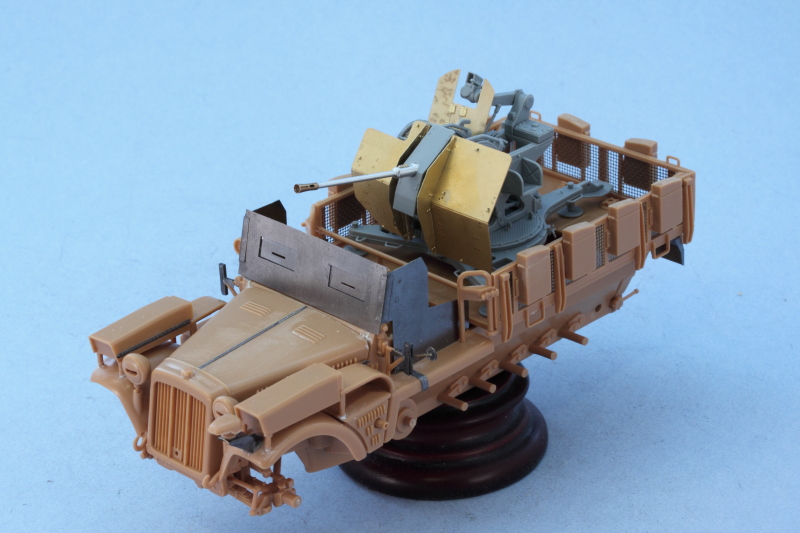
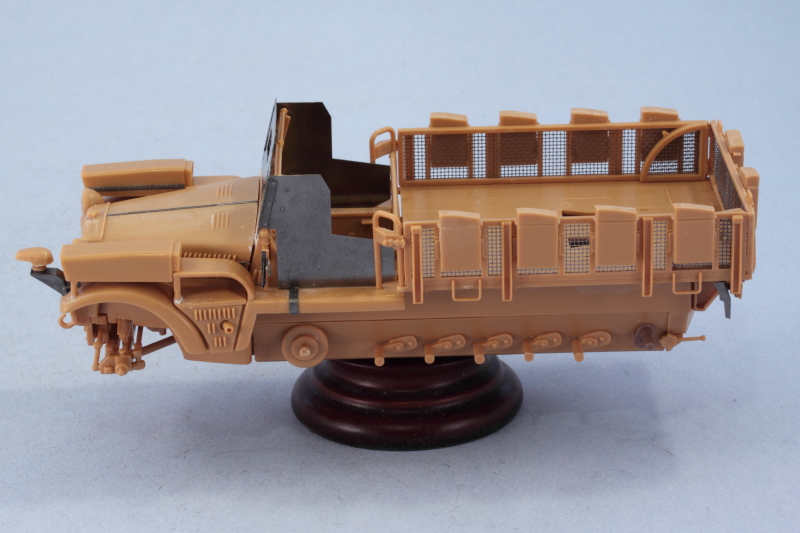
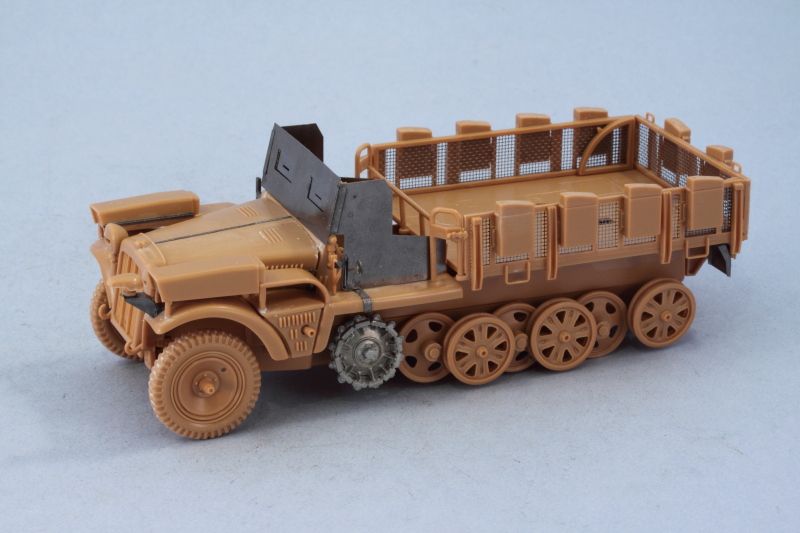
In preparation for painting, I removed all the road wheels from their sprues and sanded down their mold seams with a sanding twig. The inner road wheels were assembled while the outer wheel halves were left separate. The front steering wheels were also assembled, taking care to offset their tread patterns in the correct alignment, and liquid glue used on their join seams to insure a solid bond. Once the glue had set, the join seams were sanded down to create an accurate look/feel for used tires. I installed the lower hull suspension inserts on both sides and removed the molded on idler mount. I used a large drill bit to open up a hole where the mounts had been molded to allow the MK adjustable idler mount to be fitted which would allow for the workable tracks to be properly tensioned later on. A test fit with the front steering wheels showed that the vehicle would sit level later once the tracks were added so it was time for paint!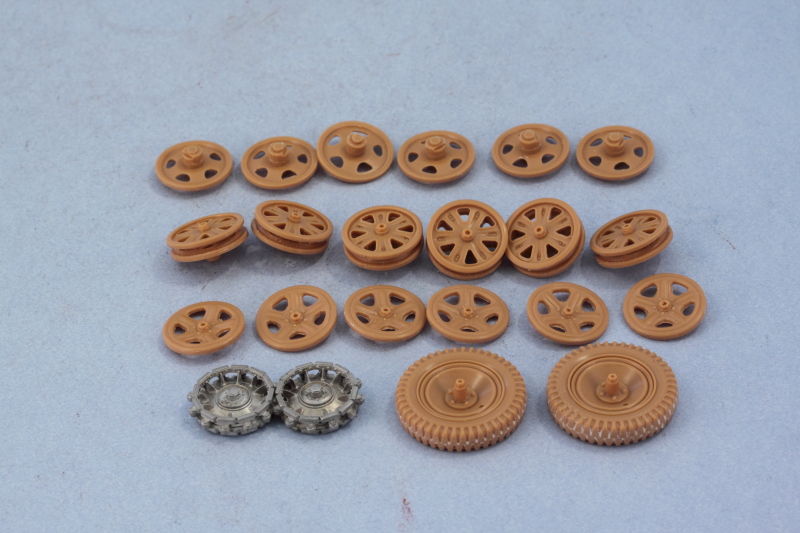
About the Author


FROM: TEXAS, UNITED STATES
Like many, I started out in the hobby as a kid building airplanes to hang from my bedroom cieling. I took a long break from the hobby, returning in 2001 with an interest in armor inspired mostly by online gaming. WW2 armor, 1/35 scale, is my preferred genre with a special taste for the stranger vehi...
Comments

Thanks Bill and of course thanks to Darren as well for the effort in putting this one together.
DEC 06, 2010 - 12:55 PM

Bill,
Excellent Work!!!! Looks fantastic! So just out of curiosity, I have a question for you. What did the completed kit cost with all the AM/PE and the DML 20mm AA gun versus what the base kit itself cost? I only ask out of curiosity and amusement. Over on the New CH Tiger I topic there's a bunch of chatter about the cost of new kits, but when you stop to think about all the money spent on extras for these kits it makes the newer kits look down right cheap in comparison. Thanks and again, outstanding job!
DEC 07, 2010 - 03:04 AM
Sean,
That's a great question to ask and thanks for the comments! The kit itself IIRC I picked up for around $20 a few years back and the rest of the stuff I accumulated here and there until I had it ready and ultimately was ready to build it. All told, including the original kit purchase, the cost of this one came to around $80 or so give or take since I used MK tracks and also included a replacement AM barrel for the DML Flak 38.
DEC 08, 2010 - 11:38 AM

Good article again Bill. Lots of little bits of useful info and what to look out for. Don´t suppose theres any point mentioning a figure for this one????
DEC 08, 2010 - 12:26 PM
I'd think someone had snatched you and replaced you with an impostor if you didn't at least make the suggestion Frank!
DEC 08, 2010 - 02:55 PM

Another great kit by Bill !!
It's been awhile since I got a look at your builds !
I have 3 Demags on stash, not that one, I agree with the cost benefit issue with the AM parts.
Great work on that old Italeri kit
DEC 09, 2010 - 09:16 AM
I think its high time all us armor/figure/diorama guys got together and had an intervention so you get the push/support needed!
DEC 09, 2010 - 01:29 PM
I think its high time all us armor/figure/diorama guys got together and had an intervention so you get the push/support needed! [/quote]
I'll second that! Come on Bill, all the COOL kids are doing it!
DEC 10, 2010 - 02:30 AM
Copyright ©2021 by Bill Plunk. Images and/or videos also by copyright holder unless otherwise noted. The views and opinions expressed herein are solely the views and opinions of the authors and/or contributors to this Web site and do not necessarily represent the views and/or opinions of Armorama, KitMaker Network, or Silver Star Enterrpises. All rights reserved. Originally published on: 2010-12-06 00:00:00. Unique Reads: 20781

WEB HOSTING BY


Copyright ©2021 Armorama and Kitmaker Network, a subsidiary of Silver Star Enterprises
All Rights Reserved. Please read our Conditions of Use and Privacy Policy.
All Rights Reserved. Please read our Conditions of Use and Privacy Policy.