

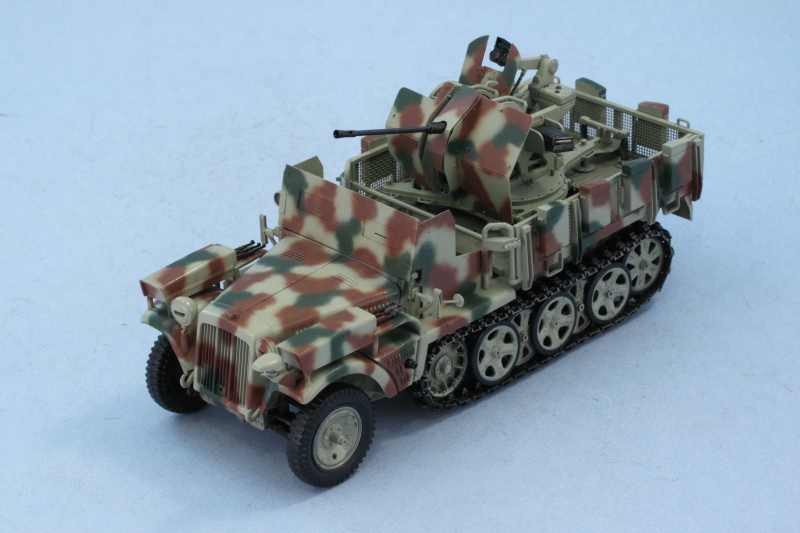
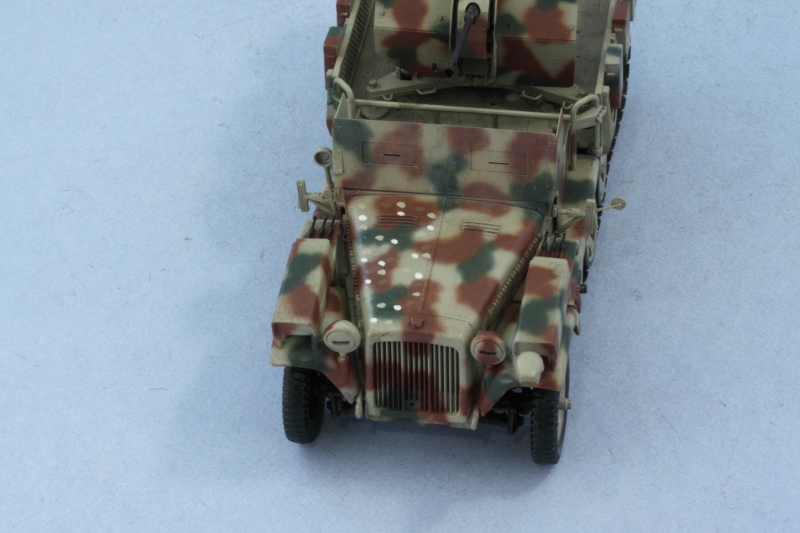
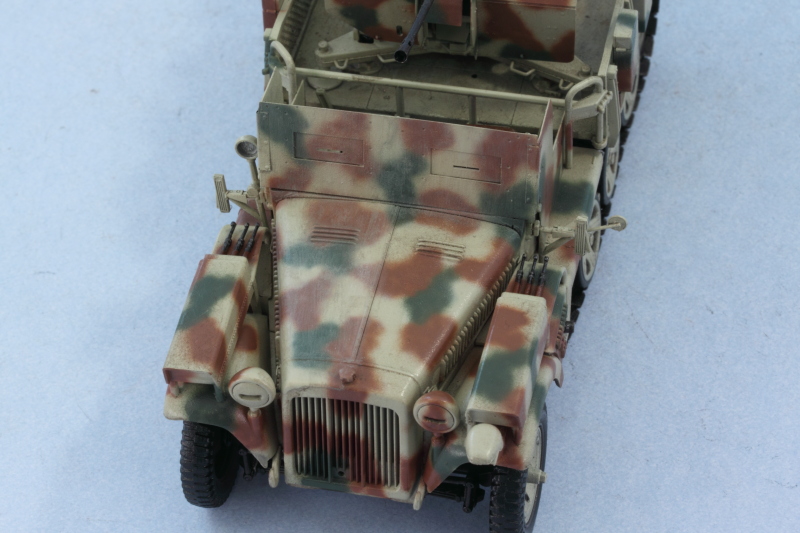
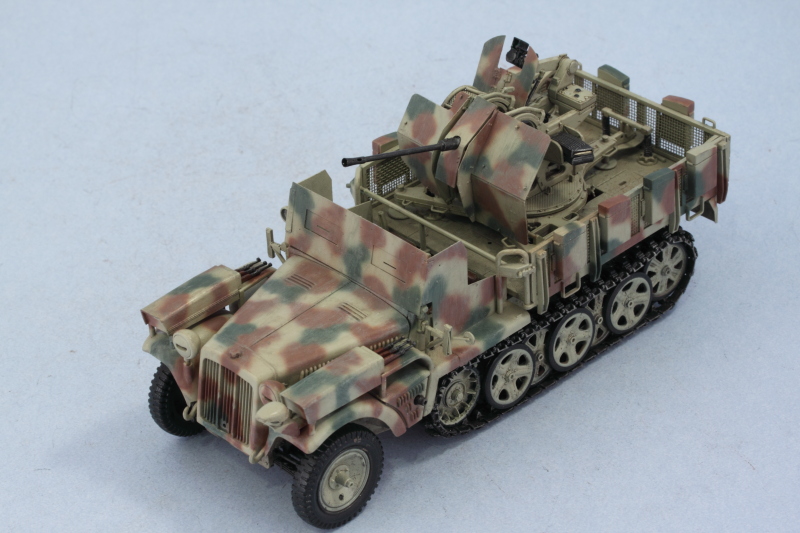
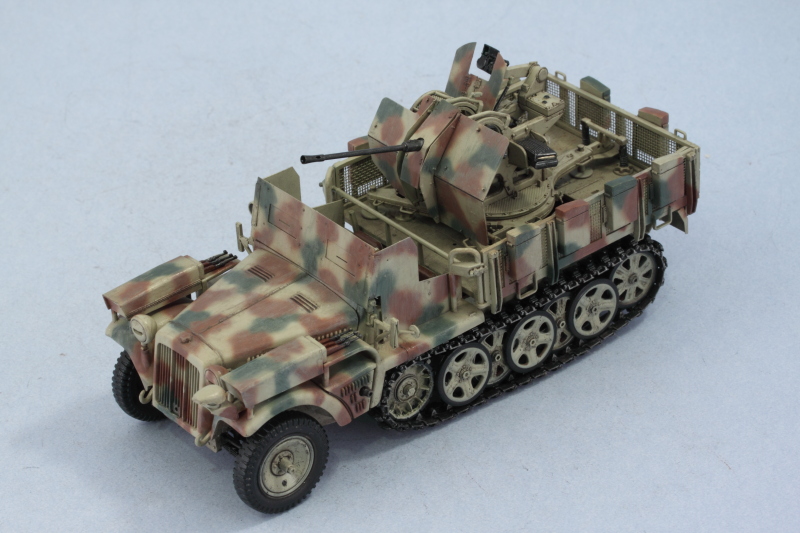
1⁄35Sdkfz 10/5 Flak 38
10
Comments
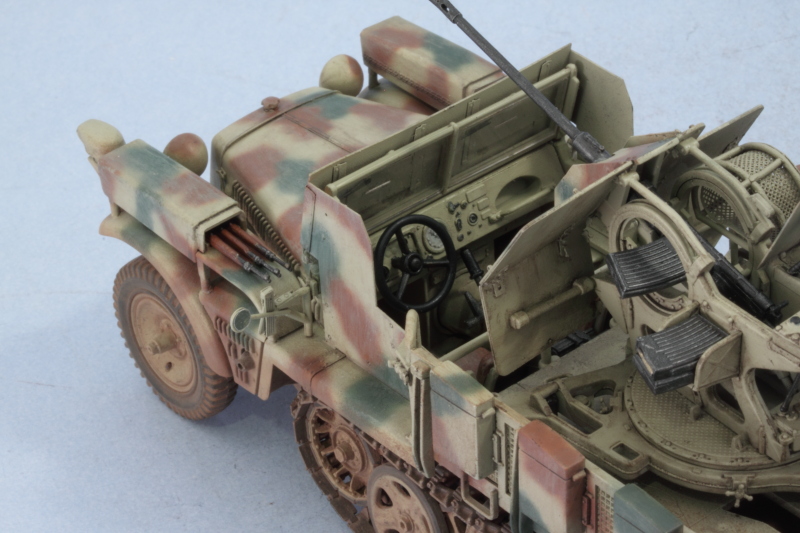
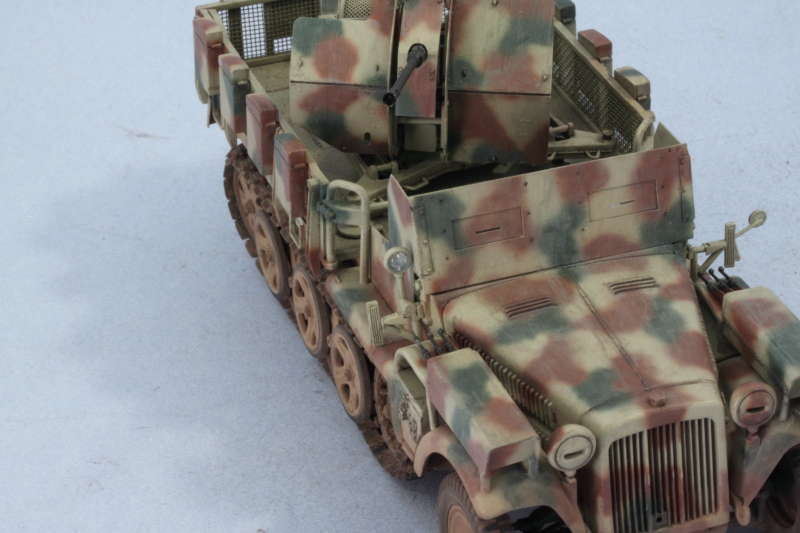
Weathering and Finishing
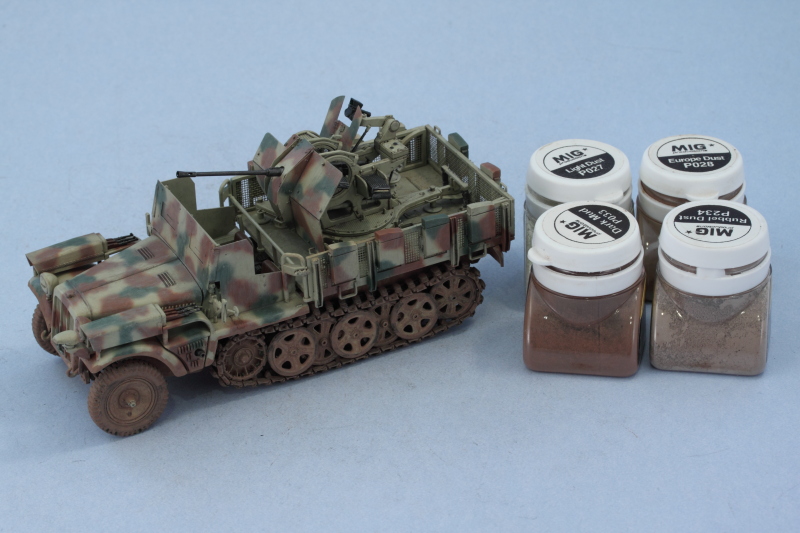
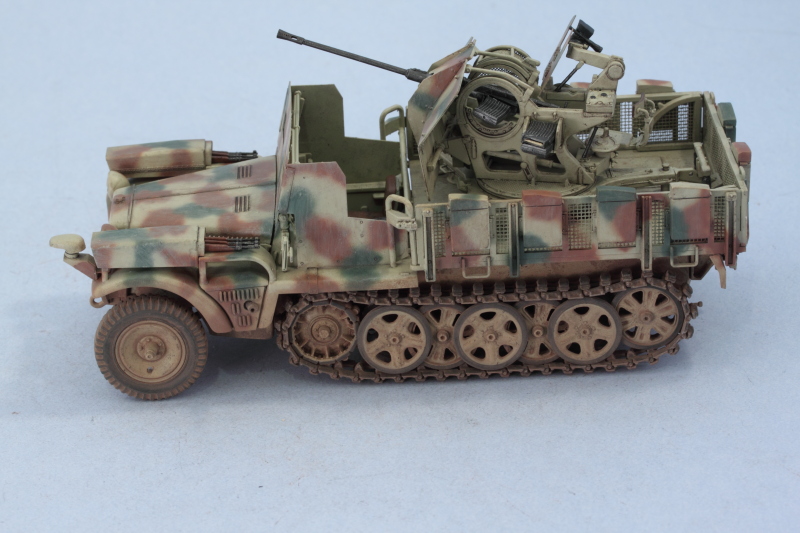
In order to protect the underlying finish and detail work during the weathering process, the entire vehicle was sealed with Johnsons Klear Floor Polish with Future Shine to provide an acrylic barrier. I opted not to apply any decals or markings as these vehicles often went without them on a routine basis and proceeded directly to the weathering stages. First step was an overall application of an MM enamel raw umber wash. This was followed by the application of dot filters consisting of MM enamel flat white, panzer olivegrun, raw sienna, and the original 50-50 basecoat mix. I worked in small sections at a time while wearing a paint breather mask due to the high thinner exposure that results. Using a square tip brush dampened with thinner, the dots of enamel paint were blended together using a series of repeated strokes until the dots virtually disappear. The end result is a nicely faded and blended overall scheme complete with dust/dirt streaking. This was followed up by an application of a pin wash of thinned MM enamel burnt umber to pick out the details and add depth to the finish. Excess wash was cleaned up where needed using clean thinner and a fine pointed 10/0 detail brush. I let this set overnight and then checked for any further adjustments before sealing everything in with an overall coat of Testors lusterless flat in the spray can to dull the finish. The next step was to apply pigment weathering to the lower hull, suspension, and tracks. I mixed up a dry powder combination using Mig Productions dark mud, Europe dust, light dust, and rubble dust pigment powders. Using tap water with a drop of dishwashing soap added to break its surface tension, I converted the powder into a wet mix and applied this with a round 0 sable brush and let it air dry. Once dry, I donned a sanding/dust mask and removed the excess powder using stiff bristled brushes and wet and dry q-tips until I had the look I wanted. That took me to the final remaining details including the long-delayed installation of the clear wind shields for the drivers cab. These were cleaned up and installed using liquid glue and careful pressure with tweezers. I also added the drivers mirror using Echelon peel-and-stick silver decals. Last but not least the passengers side spot light was detailed using another of the peel-and-stick decals for its reflector insert and the lens created using Testors Window Maker/Clear Glue applied with a toothpick. The Sdkfz 10/5 Flak 38 was now ready to take on all comers.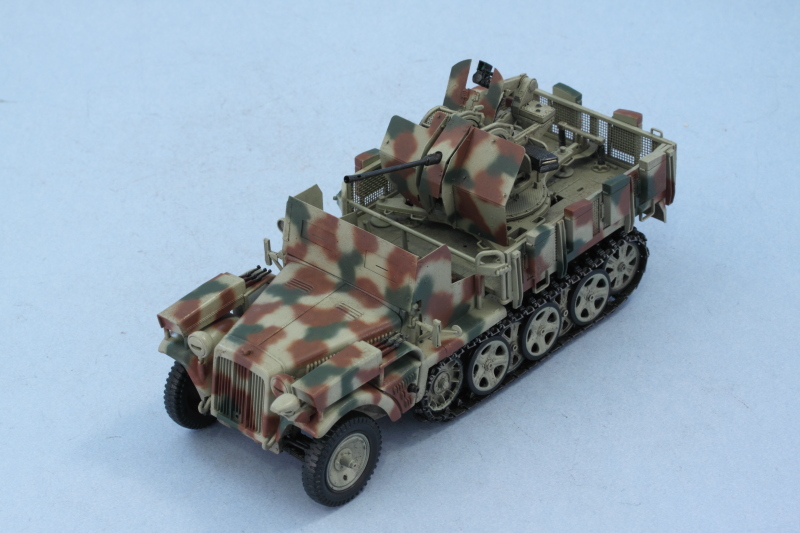
About the Author


FROM: TEXAS, UNITED STATES
Like many, I started out in the hobby as a kid building airplanes to hang from my bedroom cieling. I took a long break from the hobby, returning in 2001 with an interest in armor inspired mostly by online gaming. WW2 armor, 1/35 scale, is my preferred genre with a special taste for the stranger vehi...
Comments

Thanks Bill and of course thanks to Darren as well for the effort in putting this one together.
DEC 06, 2010 - 12:55 PM

Bill,
Excellent Work!!!! Looks fantastic! So just out of curiosity, I have a question for you. What did the completed kit cost with all the AM/PE and the DML 20mm AA gun versus what the base kit itself cost? I only ask out of curiosity and amusement. Over on the New CH Tiger I topic there's a bunch of chatter about the cost of new kits, but when you stop to think about all the money spent on extras for these kits it makes the newer kits look down right cheap in comparison. Thanks and again, outstanding job!
DEC 07, 2010 - 03:04 AM
Sean,
That's a great question to ask and thanks for the comments! The kit itself IIRC I picked up for around $20 a few years back and the rest of the stuff I accumulated here and there until I had it ready and ultimately was ready to build it. All told, including the original kit purchase, the cost of this one came to around $80 or so give or take since I used MK tracks and also included a replacement AM barrel for the DML Flak 38.
DEC 08, 2010 - 11:38 AM

Good article again Bill. Lots of little bits of useful info and what to look out for. Don´t suppose theres any point mentioning a figure for this one????
DEC 08, 2010 - 12:26 PM
I'd think someone had snatched you and replaced you with an impostor if you didn't at least make the suggestion Frank!
DEC 08, 2010 - 02:55 PM

Another great kit by Bill !!
It's been awhile since I got a look at your builds !
I have 3 Demags on stash, not that one, I agree with the cost benefit issue with the AM parts.
Great work on that old Italeri kit
DEC 09, 2010 - 09:16 AM
I think its high time all us armor/figure/diorama guys got together and had an intervention so you get the push/support needed!
DEC 09, 2010 - 01:29 PM
I think its high time all us armor/figure/diorama guys got together and had an intervention so you get the push/support needed! [/quote]
I'll second that! Come on Bill, all the COOL kids are doing it!
DEC 10, 2010 - 02:30 AM
Copyright ©2021 by Bill Plunk. Images and/or videos also by copyright holder unless otherwise noted. The views and opinions expressed herein are solely the views and opinions of the authors and/or contributors to this Web site and do not necessarily represent the views and/or opinions of Armorama, KitMaker Network, or Silver Star Enterrpises. All rights reserved. Originally published on: 2010-12-06 00:00:00. Unique Reads: 20781

WEB HOSTING BY


Copyright ©2021 Armorama and Kitmaker Network, a subsidiary of Silver Star Enterprises
All Rights Reserved. Please read our Conditions of Use and Privacy Policy.
All Rights Reserved. Please read our Conditions of Use and Privacy Policy.