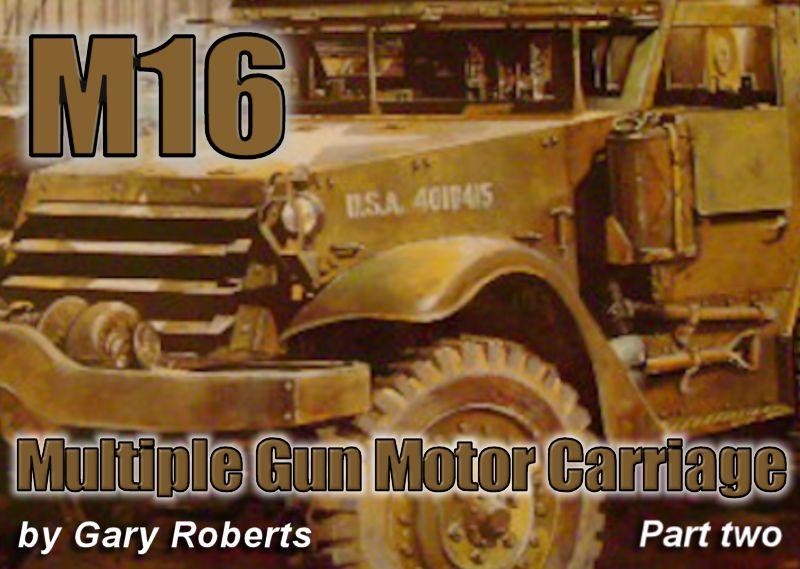
1⁄35M16 Multiple Gun Motor Carriage Part Two
5
Comments
Hey…did ya miss me?
Let’s continue our journey into building the excellent Dragon Models 1/35 scale US M16 Multiple Gun Motor Carriage with Part 2. Back in Part 1, the process of building and adding detail to the chassis and drivetrain was shown and described. This was a fairly straightforward process and except for a few details added from the Griffon Models and Eduard PE sets, this sub assembly went together pretty much out of the box, and looks marvelous, I might add. We left our chassis and drivetrain, including tires and tracks, sitting with its basic paint, patiently waiting for me to build the armored bodywork to mount on it. Now, however, it’s time…and the build continues. Unlike Part 1, in Part 2 we’re going to get seriously into the Griffon Models photo etch detail set, and even pull some selected items from the Eduard PE set. I use both because the Eduard set adds some items that Griffon chose to not cover; most of the PE on this model is Griffon, but I found that certain items were better represented by Eduard. We’re going to cover the assembly, detailing and basic paint on the crew compartment / cab in this installment. Now, this is not meant to be a “tutorial”, even the great and powerful me could not be so presumptuous as to imagine myself “teaching” anyone about modeling. Just as with any Art (I am a professional illustrator) it cannot be taught; each Artist brings his or her own talent and skill level to the work, and does their best with it. Each Artist approaches their subject in a different and unique way. Do not think I intend to “teach” or imply that mine is the “way” to do this. This is my unique experience, and my method, and I share it with you at face value. Your mileage may vary, no warranties are express or implied. With our chassis patiently standing by...now we’ll get into the cab
Dragon molds the cab floor and front fenders all together in one piece. The traction plate surface is also molded in, and this is the first place we’ll go to work. Griffon provides thin PE panels with a sharp and correct traction plate pattern, and we’re going to use them all. First, the plastic floor and running boards have to be stripped of the molded in plate pattern. I use X-acto blades both in the handle and hand held for such tasks. Once the floors are smooth, you get your first real good feeling here by finding that all the Griffon PE floor panels fit perfectly. Griffon makes this just too easy. In no time you’ll have your rather weak plate pattern totally replaced with excellent metal floor, and you’re ready to move into serious work. I proceeded to move right to the pedals, shift levers, firewall mounted tank and brackets, all went together smoothly. I tend to use my airbrush as I go along, spraying a base color coat just to see how well it all fits together, and so I did with the floor. I then found it was time for seats, and Griffon goes all out to represent the sheet metal seat boxes and frames just as in the real vehicle. You must take the styrene seat lower sections from the kit and cut the cushions away neatly and keep them for later use. Take a small strip of styrene from your cut up bases and glue it inside the PE seat boxes where the two square holes for the seat back braces are to go; you’re going need something to glue the seat backs on to.Comments
Nice progress Gary! Love the added MG mount.
I just finished my M-16 (it's blogged on Armorama as well) and it was an enjoyable six months!
Keep up the good work!
Terry
JUL 24, 2012 - 12:57 PM
These intense PE builds are fun to watch! I've used one of the smaller Griffon halftrack sets, and it was enough to stress me out. This is really looking great!
AUG 05, 2012 - 11:08 AM
Yeah, Terry, I was looking at yours..very nice! I actually asked James about putting mine up because yours was so well done, didn't want to be redundant! But as it turns out, I'm going to do several things differently, and add some interesting detail, especially in the weapons. Also, the vehicle is for a big action diorama I am planning, so lots of toys n goodies will be added..crew in action, gear, weapons, belt links and shell casings everywhere! Now that I'm fully moved to Europe, I can get on with it! Thanks to all you guys for your kind words of support!
JAN 15, 2013 - 11:16 PM
UPDATE on M16 HT build: Major issue of accuracy has come up, which I hope to resolve soon..it is holding the build at dead stop until resolved.
The drum mags for the quad .50s don't fit in the rear body correctly. this may be a major error from Dragon, working on answers now..stay tuned!
APR 30, 2013 - 10:30 PM
Copyright ©2021 by Gary Roberts. Images and/or videos also by copyright holder unless otherwise noted. The views and opinions expressed herein are solely the views and opinions of the authors and/or contributors to this Web site and do not necessarily represent the views and/or opinions of Armorama, KitMaker Network, or Silver Star Enterrpises. All rights reserved. Originally published on: 2012-07-22 00:00:00. Unique Reads: 15185


