

1⁄35Building Dragon's Tiger I (#6252)
Lower Hull
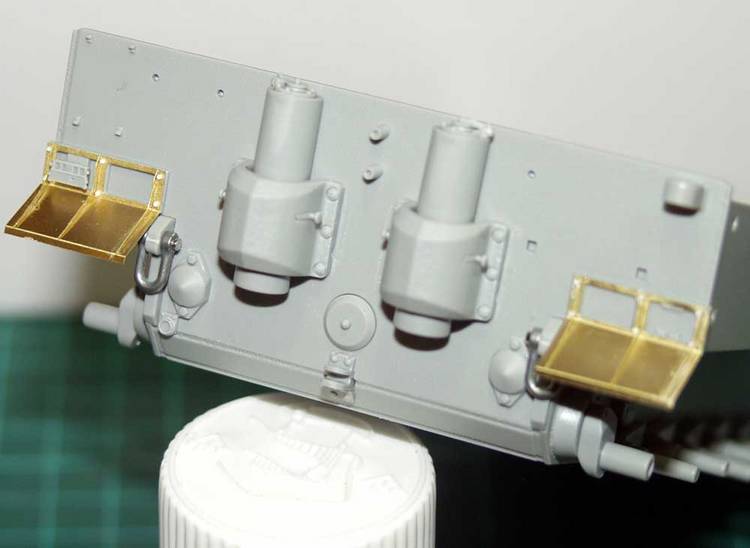
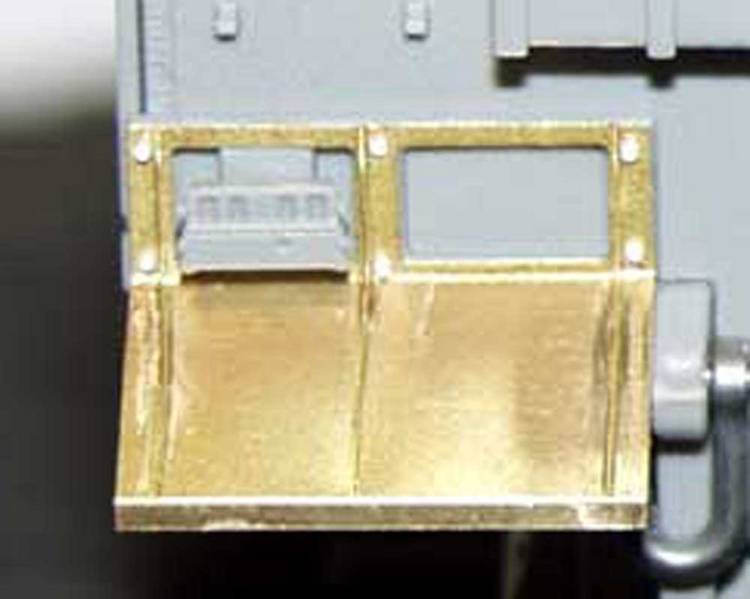
Stage 5 to 7 of the Dragon instructions, details the construction of the lower hull. Construction begins with fitting the rear plate. When you dry fit this to test it you will notice two large gaps at the bottom, down either side. These are intentional! In the next step of the instructions you will fit the brackets for the towing shackles into these gaps. Dragon has generously supplied the shackles themselves not only in styrene or metal, but a choice of which type - so check your references for which to use, or if you're like me, go for the ones you like the look of most! Each of the two exhausts are made up of seven parts and are incredibly detailed. Be careful not to get them mixed up as they are left and right-handed.Various pieces can now be cemented to the rear, none of which require assembly or any major cleanup, just a quick swipe again with some fine wet and dry. Then you will have to make a decision between utilising the styrene rear mudguards or the photo-etched ones - both of which are supplied in the kit. I decided to use the photo-etched ones.
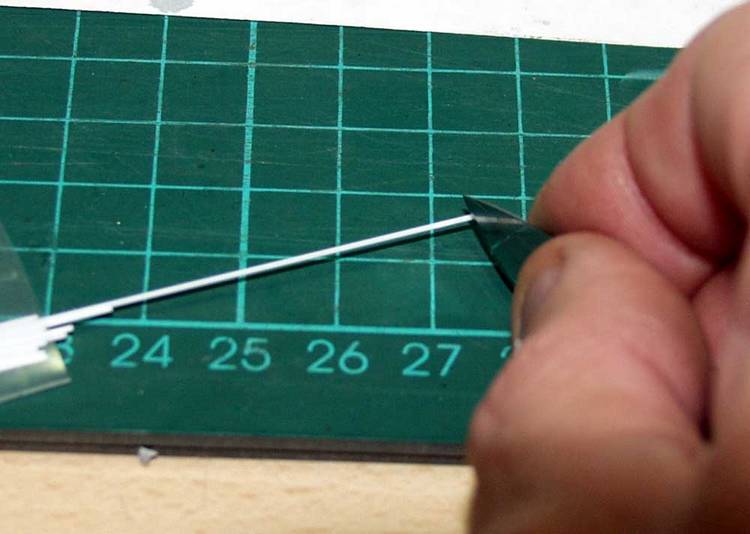
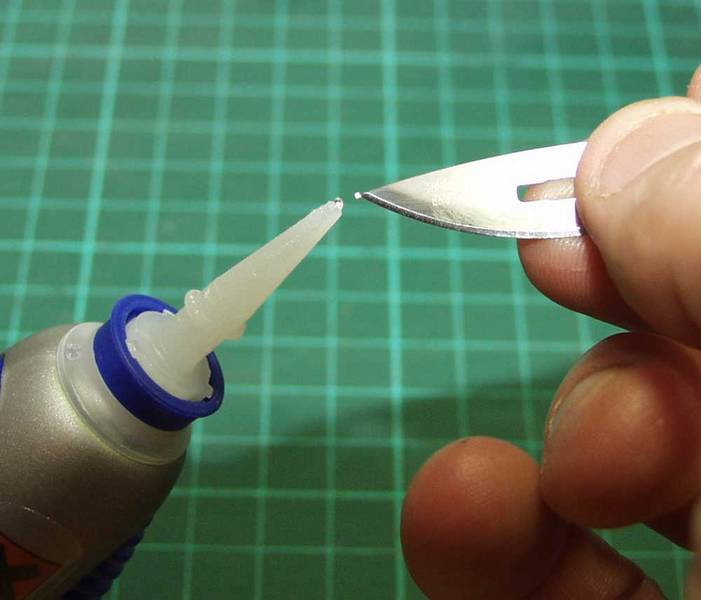
These are fiddly to assemble. I decided to first fold the back main plate and then hold this with some Blu-Tac whilst I cemented the very small fillets in place with some very low viscosity superglue. Although present on the guards, I felt that the mounting bolts were not prominent enough and decided to add bolts made from some stock hexagonal rod. After producing a suitable number with a new scalpel blade, I used the tip to pick up the new bolt, added a speck of super glue gel and fitted them in place.
Construction of the Jack begins next. This is certainly the finest jack I have ever seen supplied in a kit. For that matter I haven't seen a jack supplied from even the after market guys better than this. In total, including photo-etched brackets, there are 15 parts that go together to make it. But don't worry, if you don't feel up to it there are styrene alternative brackets supplied, as with all photo-etched parts! With the fitting of the convoy distance light the rear of the hull is now complete. Moving to the inside there are good representations of the fans and fuel tanks to fit, which if you're thinking of putting this Tiger into a diorama will certainly come in handy.
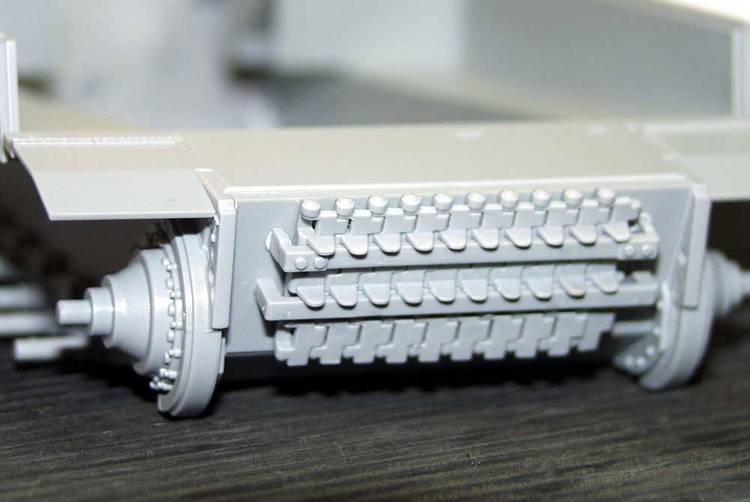
Next the glacis plate is fitted, and just drops into place. Dragon have produced a handy little plate here for lining up the brackets for the spare track links. Part Number G10 is used to position the bottom bracket, which is cemented in place, G10 is then removed, and the top bracket fitted after the spare track links are fitted, after painting obviously. This then completes the lower hull, before we move on to the construction of the upper hull.


About the Author


All Rights Reserved. Please read our Conditions of Use and Privacy Policy.