

1⁄35Building Dragon's Tiger I (#6252)
Upper Hull Construction
I began the construction of the upper hull with Stage 8 of the Dragon instructions, the hull machine gun.This is a work of art, coming as it does with an ammo bag, the placing of which could have been better indicated on the instructions themselves. Part J26 has to be bent at right angles, as per the instructions, and being styrene, it promptly broke. A tiny spot of super glue solved this problem.
It is at this stage in the instructions that I had to decide which of the three versions possible with the kit I was going to make. I decided on sPzAbt 502, the first version. This meant I could omit the snorkel gear, leave out the blanking plate over the machine gun port, and build the engine cover as B2 in the instructions indicated. Dragon supplies some absolutely fantastic photo-etched bits and pieces with this kit, including wing nuts for holding on the ring around the machine gun port.
Next come the driver and co-drivers hatches, which can be left open if desired. The internal detail on these is excellent, and full periscopes for both are supplied in clear plastic. I masked off the portion I wanted to remain clear and fixed both in place as I want both hatches to be displayed open.
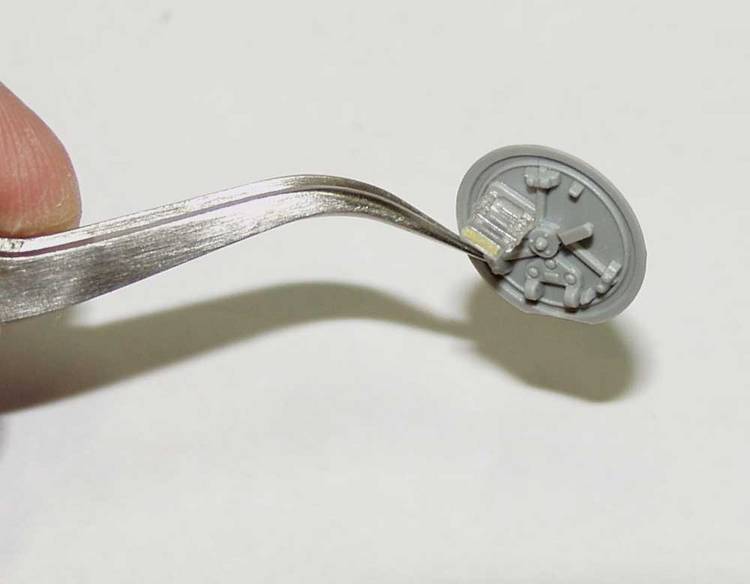
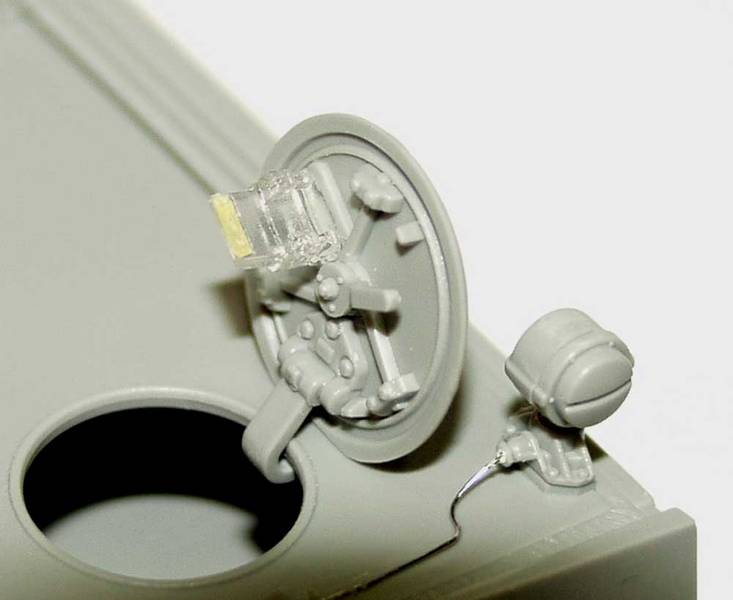
Stage 10 of the Dragon instructions includes fitting of the brackets for the Bosch headlamps. By the way, even though these are blackout covered, the bulbs are included on the clear sprue! Fantastic! Be careful, as although the instructions indicate the choice of J5 or J9, one is a bracket meant to mount the lamp, and the other is one meant to be blanked off, without the lamp. I fitted the incorrect one and had to adjust the lamps afterwards when I had realised my mistake!
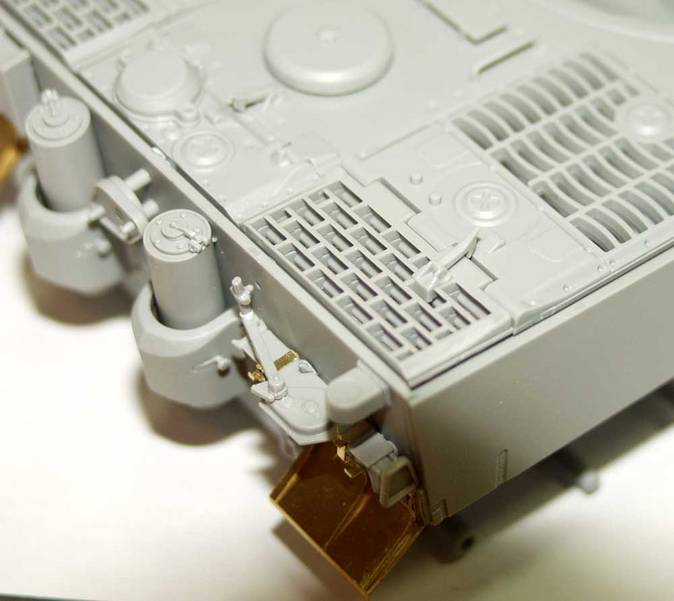
Although this stage also details the fitting of the tools on the hull, I have left these off until later since I wish to paint the hull without them in place. Dragon again comes up trumps here, since they supply two versions of the tools, with and without clamps. If you wish to fit the ones without clamps, a set of photo-etched clamps are provided, and a former to help build them!
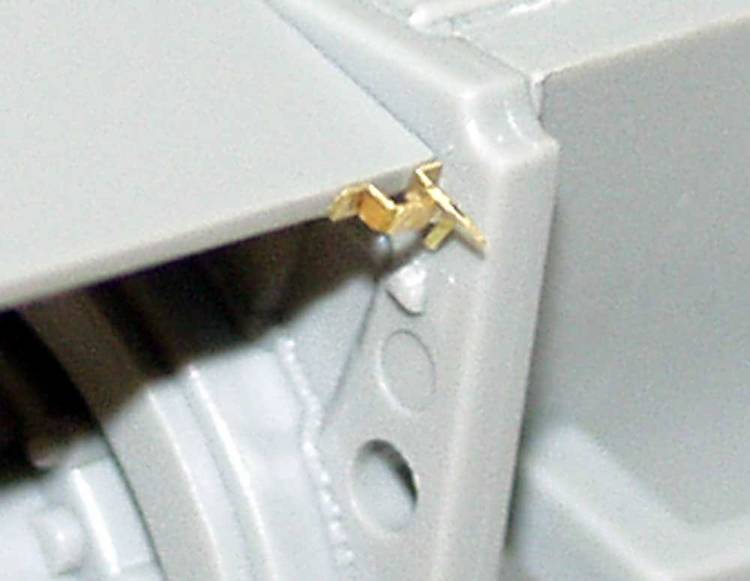
Stage 11 also deals with the front fender clasps. These are actually moulded on to the hull sides just under the front of the fenders, but Dragon supplies them in photo-etch also, it being first necessary to remove the moulded items.
The last thing for me to do at this stage was to fix the slatted engine covers in place. These even have the correct cross-sectional shape, and each comes in two parts, upper and lower. You will find here that it's impossible to fit the stays, Parts J19, without removing a sliver of plastic either side of the stays themselves, as they will not fit into the hinges on the grids without this.
This then completes the upper hull, and construction now moves on to the turret assembly.


About the Author


All Rights Reserved. Please read our Conditions of Use and Privacy Policy.