

1⁄35Building Dragon's Tiger I (#6252)
conclusion
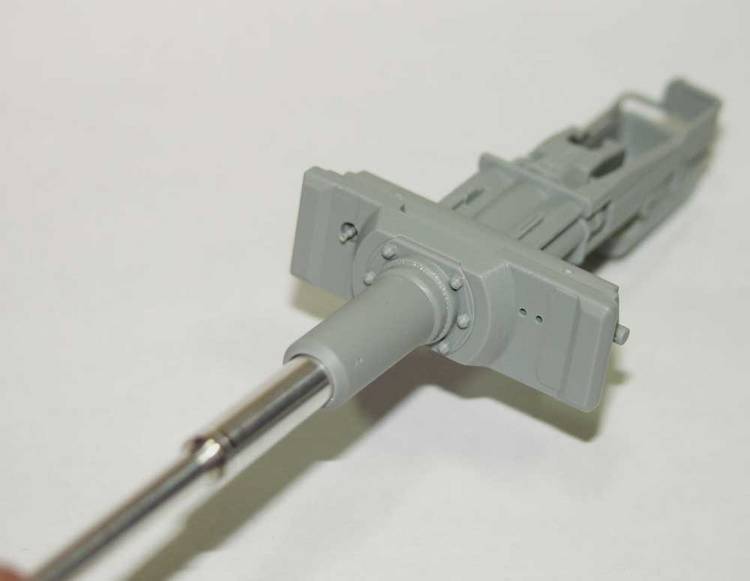
The construction of the turret begins with the main Gun Barrel, Mantlet, etc. Dragon has made this spring-loaded to mimic the recoil of the real thing. On a static model this feature is of course redundant, but nice none the less. A beautifully turned aluminium barrel is included in the kit, and again Dragon has thoughtfully included styrene parts for those not wishing to use this. They even include a version, which doesn't come in two halves for those wishing to avoid sanding seams!The muzzle brake is a little work of art, complete with locking nut, courtesy of their sliding mould technology. They have also included some numbers on Sprue P that can be shaved off to use as casting numbers on the mantlet.
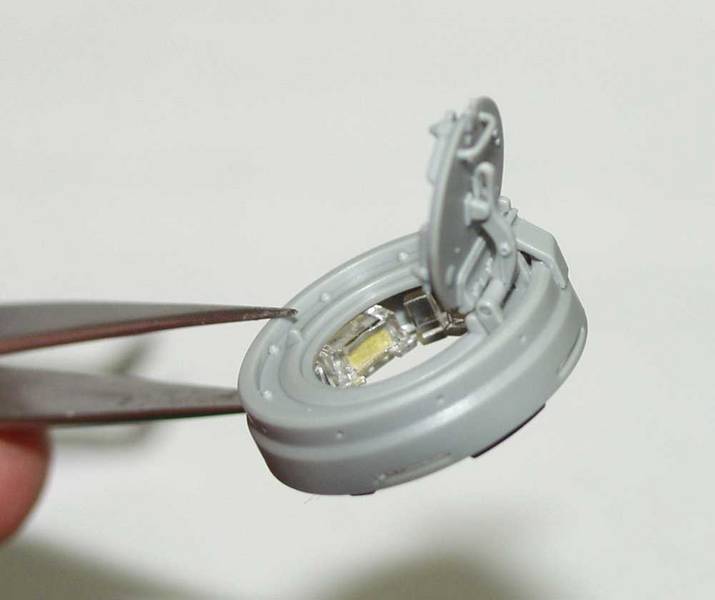
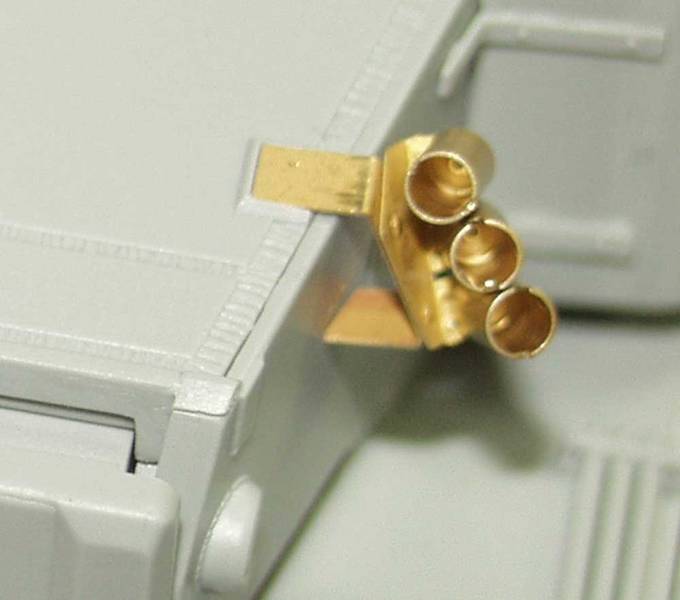
As with all hatches on the kit, the cupola hatch can be posed open, which is what I decided to do, although it can be made workable without too much trouble. The periscope ring inside the cupola is provided in clear plastic, so don't forget to mask off before assembly if you want them to remain clear! Next were the smoke dischargers, and I had really been looking forward to building these. They did not disappoint me. Two part etched brackets, three brass dischargers on each, and photo-etched firing mechanisms for the back - Wow! These really need careful assembly, but really are worth it when complete. They don't even need to be cemented in place, as they slide between the moulded on weld seams to stay firmly in place, if you want to assemble fully before painting, as I have.
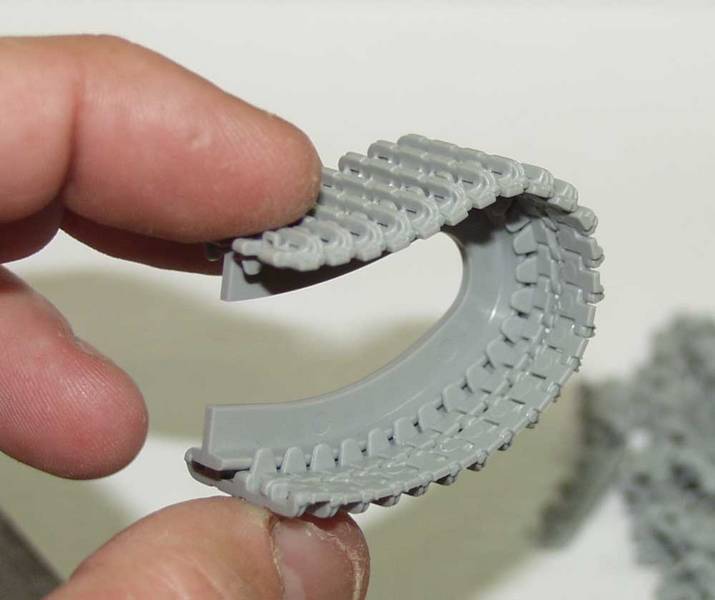
The tracks are next, and although fiddly to build, Dragon have included a plastic former to ease the process, although you have to be careful to use the correct former with the correct track pieces, as they are handed. I did have some difficulty with pieces popping out before I had a chance to cement them, but found that by shaving the tiny dimples from the inside of the track on each piece, I cured the problem. It's a lot of pieces to shave, but I felt it was worth it for the final effect.
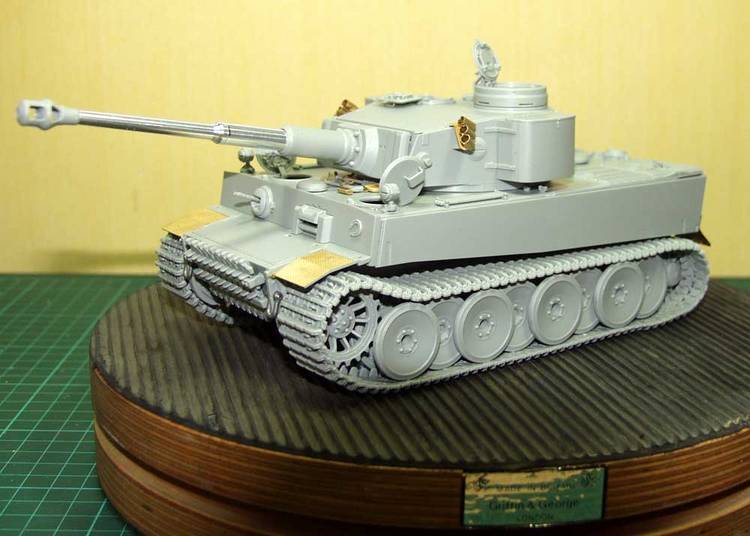
To finish things off, the tracks were eased over the drive sprocket and the idler wheel and appropriate lengths were cemented in between. Finally, the tools were placed using the photo-etched clamps provided by Dragon. They also provide a small former for these on one of the sprues, and again, although it's fiddly to use, it is worth it for the final finish.
In conclusion, in my opinion, this must surely be kit of the year, even this early! Dragon hasn't merely raised the bar... they've broken it. Everything goes together as it should - beautifully. It looks accurate to me, and it includes so many extras the after market boys will be tearing their hair out trying to think of something they can make for it, that isn't already in the box. All I have left to do is paint it - something I want to take my time with because this kit deserves it. Oh, and try to decide what to do with all the goodies I have left - the hanging jackets, the two figures, the cameras, the brass bucket, cleaning rods, a few tools, all that lovely brass ammunition...awww, why go on? Go out and get three kits, I'm going to!
Vinnie concludes his coverage of Dragon's Tiger I (#6252 3 in 1 Initial Production) with painting and finishing techniques at this link.


About the Author


All Rights Reserved. Please read our Conditions of Use and Privacy Policy.