

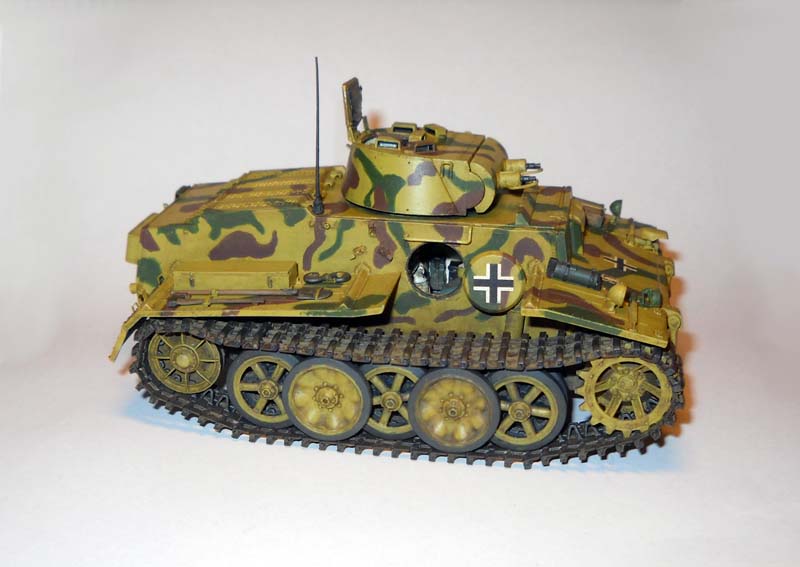
1⁄35Pz.Kpfw I Ausf .F (VK18.01) Build
7
Comments
No guts, no glory
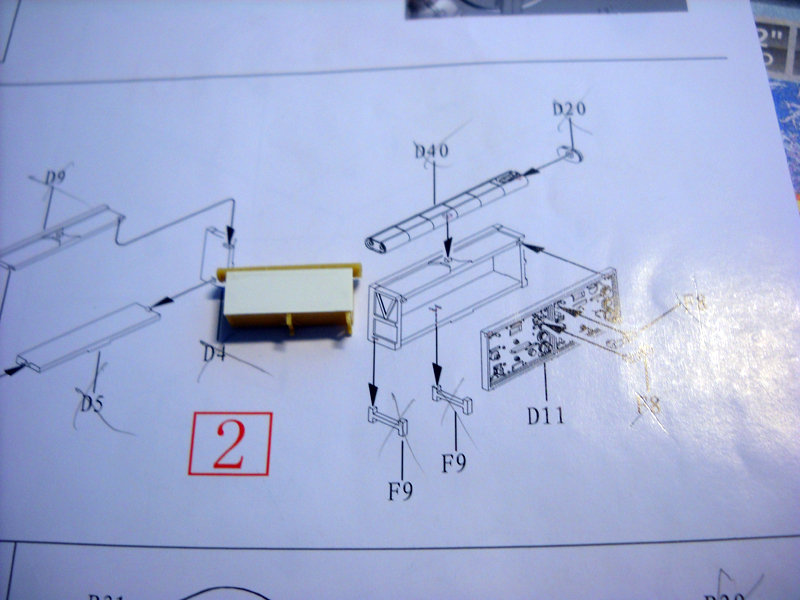
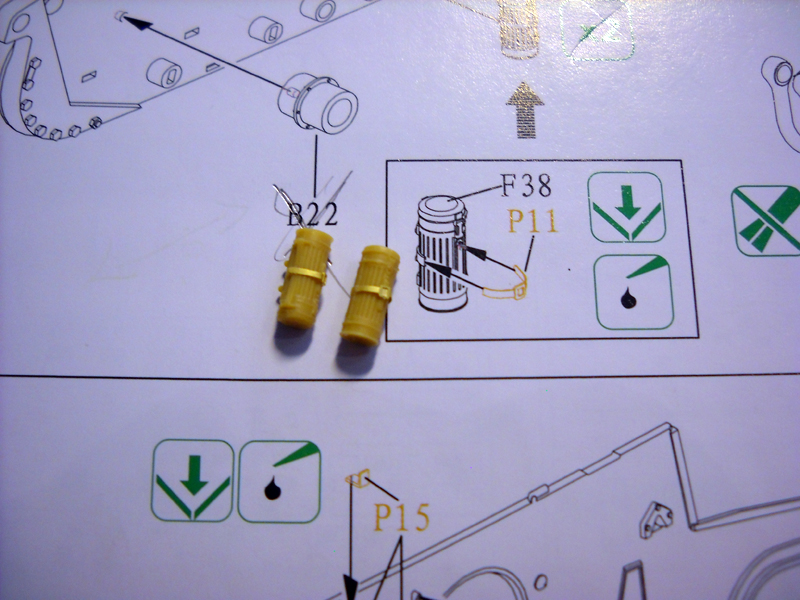
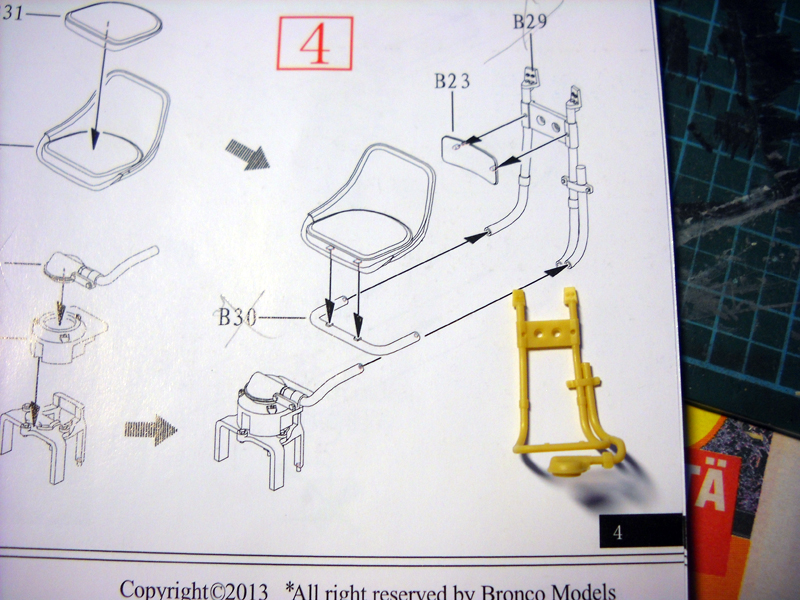
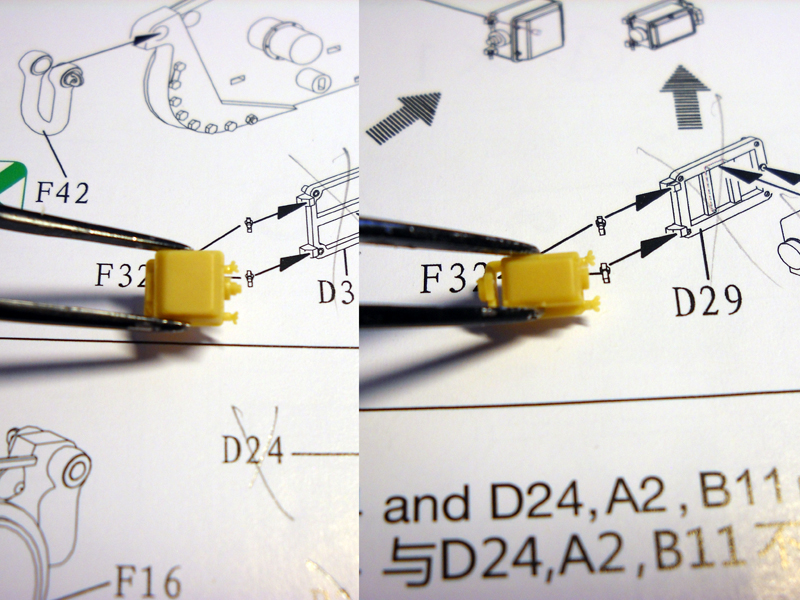
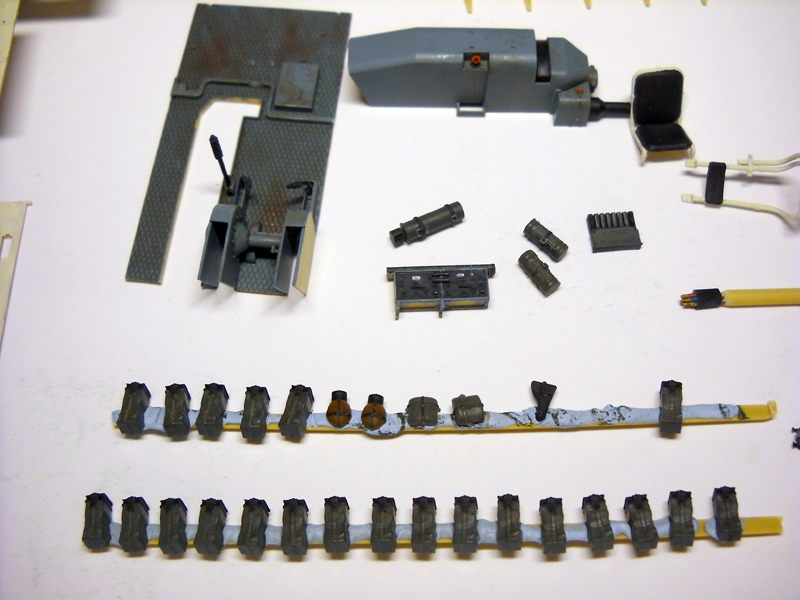
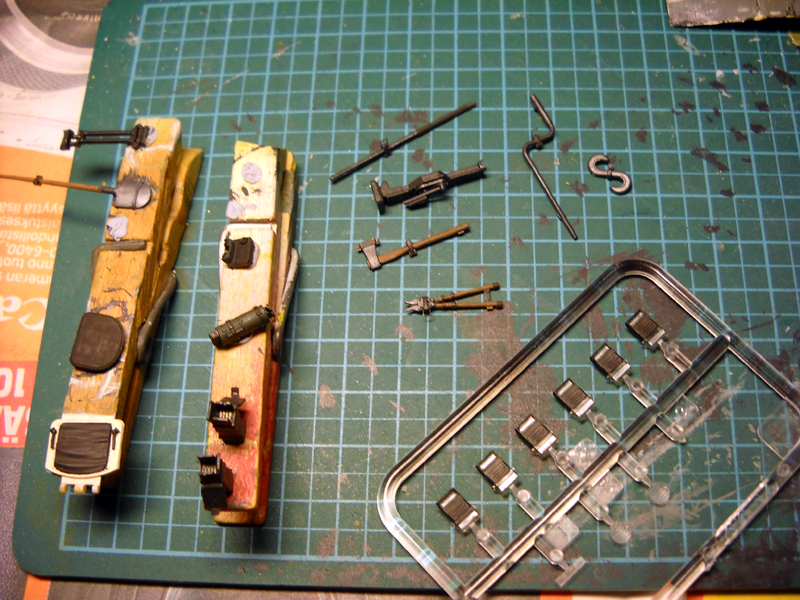
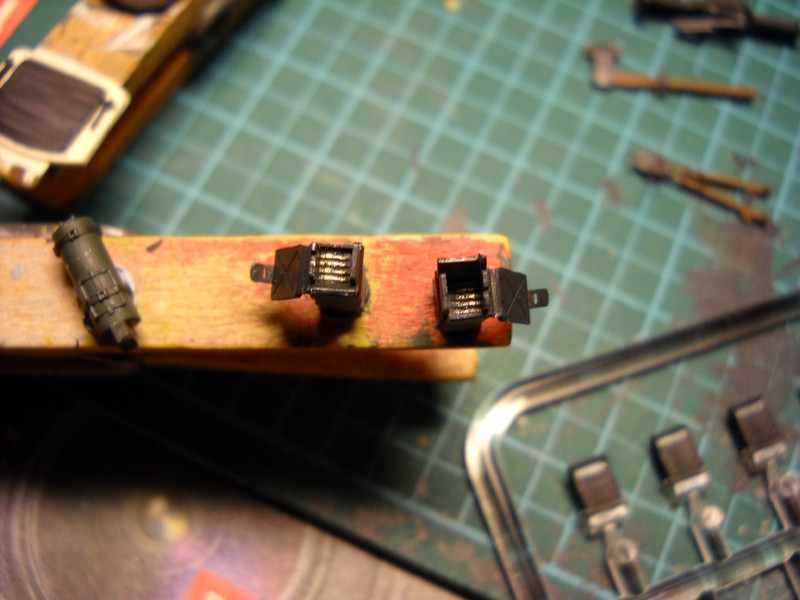
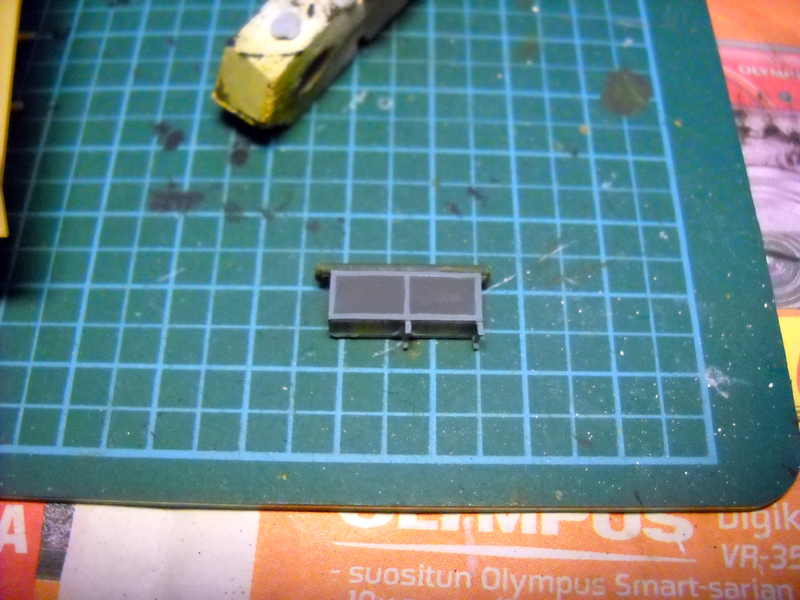
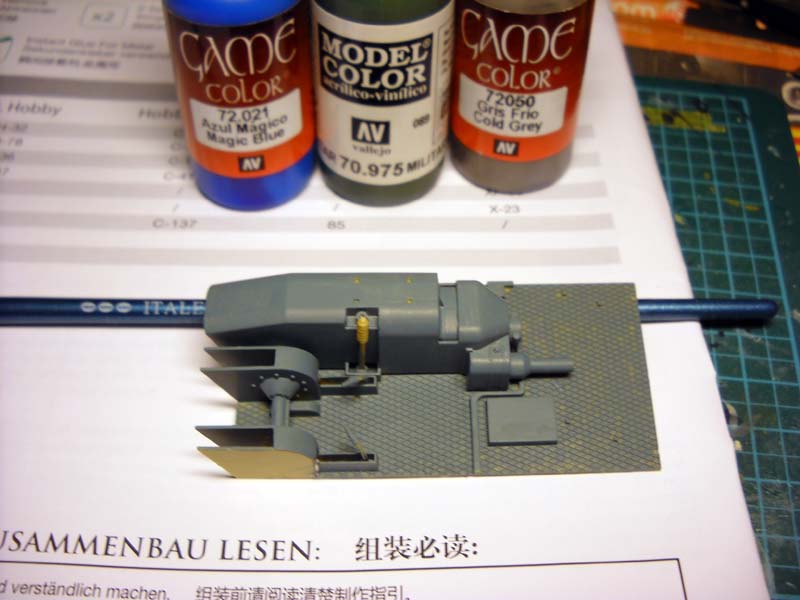
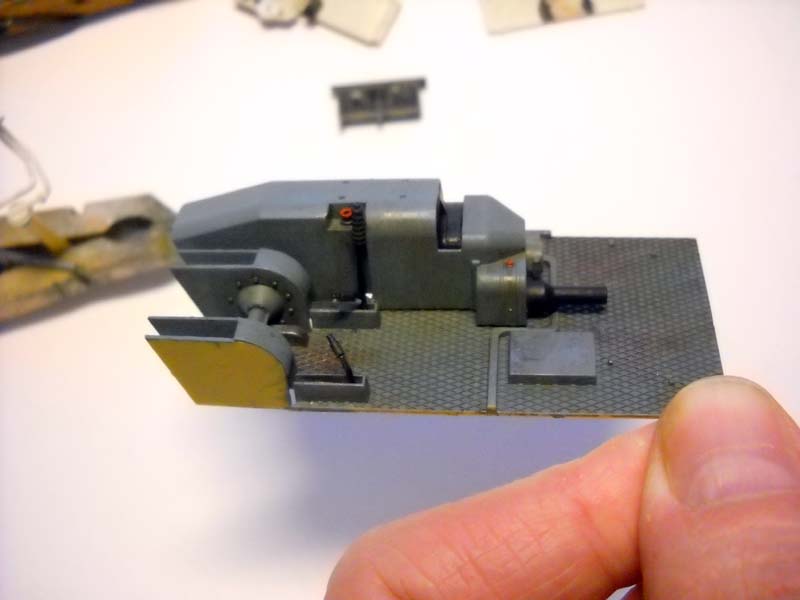
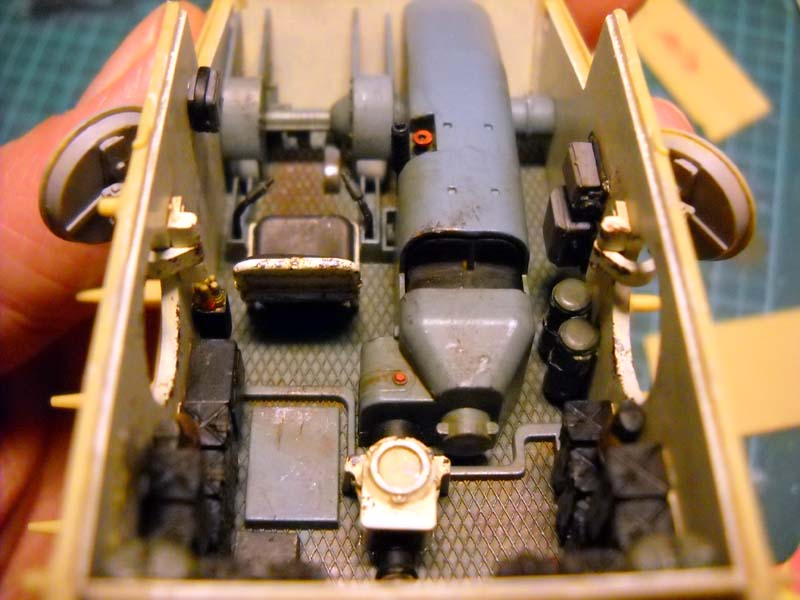
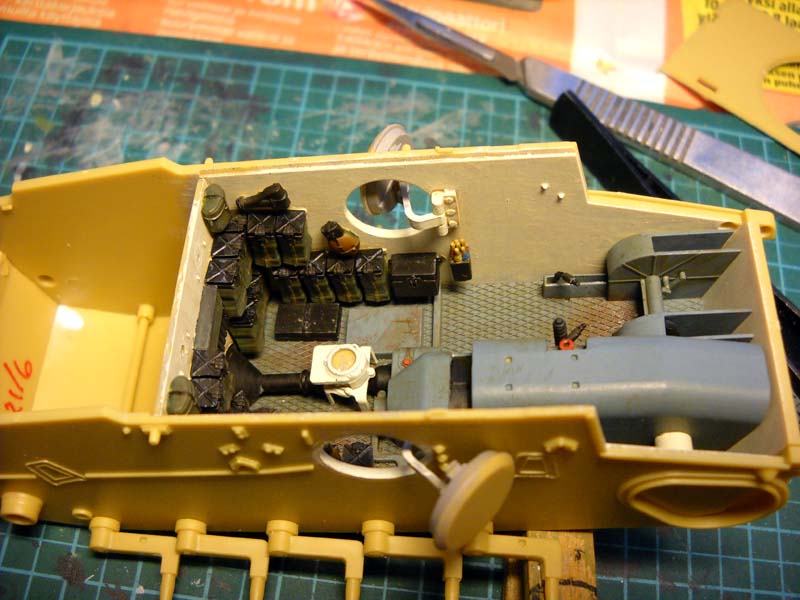
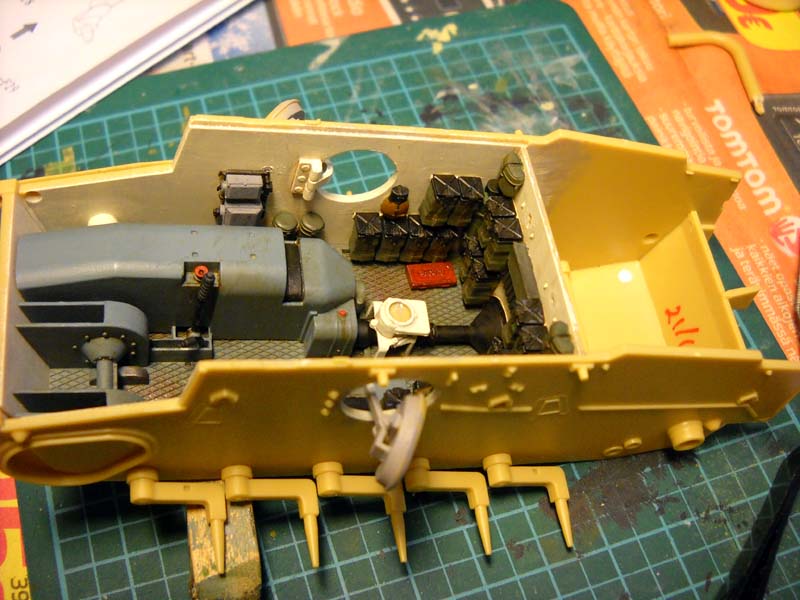
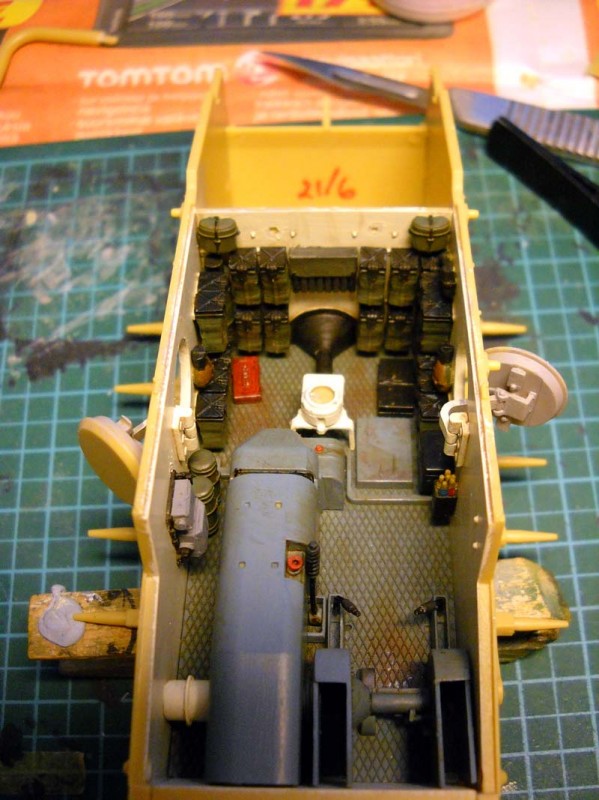
Getting to the interior proper, the firewall mounting stubs need a bit of sanding to get a good sit with the floor pan. The firewall doesn't have any locating guide on the hull walls, so when you do glue it to the floor, make sure you get it as square as possible. I added the firewall after I had painted all the major interior bits, and added all the details after they had been painted in turn. I figured I'd have a better chance at success this way because I brush paint. Be prepared to spend quite a bit of time with the interior, there is a ton of detail here and some very delicate parts too. The electrical boxes and radio equipment have very fine parts (including some miniscule wing nuts, one of which went flying at some point after I managed to get it attached!) and crisp detail. An excellent chance to practice detail painting and feed the carpet monster. The back of the radio unit is hollow, so blank it off as a wee bit will be visible through the escape hatch, or all of it if you leave the roof off. Getting all the pieces in place after painting went smoothly enough. The ammo bags have tiny mounting stubs to help with placement. The instrument panel and glacis plate were painted up, no decals for the dials unfortunately. Add the drivor's visor glass (in reality this should be a block rather than a pane), you can leave the binocular sight off until you've got everything painted and weathered. B39 is also molded hollow, but won't be seen through the hatch unless perhaps you leave the roof off, so I filled it just in case. The diver's seat will need some careful gluing; allow it to set, paint first and then add to the floor. The radio units are quite nice with some tiny parts, and I mounted the radio rack after weathering and painting was complete to keep it from getting knocked about. No colour call-outs for any of the interior bits or accessories, so you'll need to dig through your references. The seat / turret mount was a bit tricky. Firstly, you need to glue together the lower frame to the upper; not much of an attachment point here, so use plenty of glue and make certain you have a good bond and let it set overnight. The instructions are a little vague on how all this gets attached to the turret race. Initially I glued it to the notches in the ring and realized this wasn't going to work properly, so I carefully popped it off, removed the mounting stubs on the rear posts and glued it in a more logical position. It still looks a little off, the frame mounts sit too proud for my liking. The whole assembly wanted to sit too high until I realized that you should probably glue the hub arm to the lower seat frame (see pics in the turret section). This mostly fixed the height issue, though a light sanding of the seat frame hub wouldn't hurt. Another thing I discovered was that the whole seat frame has a bit of flex and doesn't want to sit in its socket without a little persuasion. This means that if you want a rotating turret, you'll have to drill a hole in both the floor mount and frame mount hub and then pin it together so that it rotates. It's not as difficult as it may sound, at least in theory. Oh, and if I wasn't clear, pop the roof in place as an aid. Add the seat cushion after painting and weathering. The fit of the front hull and roof plates are spot on, almost a bit too tight. I glued the glacis assembly in place first, let it set, then glued A22 after a bit of sanding for a better fit. After that had set, I sanded the slight lip that had formed from the earlier slip. A layer of tape helped to keep everything nice and even. You can spend an eternity painting and weathering the interior and adding missing cables and the like. You can't see much of it through the escape hatches, although the roof plate can be left unglued so you can pop it off to display all that lovely detail. Speaking of the roof plate, add the periscope after you're done with painting and weathering. This will go for the periscopes in the turret as well. They all slip in nicely after the fact and will stay in place with a drop of white glue or flat varnish. You can add the PE grille now should you wish.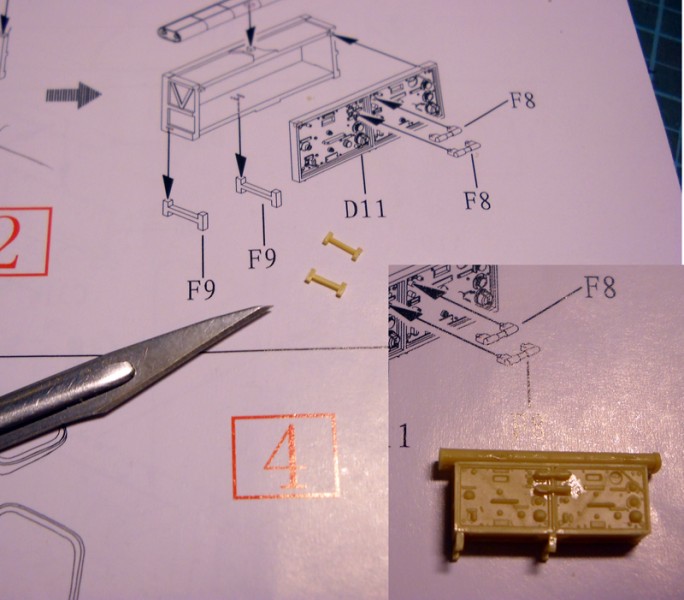


About the Author


FROM: UUSIMAA, FINLAND
I got my first kit when I was about 7 or 8 and was immediately hooked. Magazines such as Fine Scale Modeler helped to push me to go beyond what kits had to offer before photo etch and resin were commonplace. I took a break of about 8 years and now I'm back at it making up for lost time. When I'm not...
Comments


Very nice build and build-review! You have done a great job on the Tiny Tiger and taken advantage of what looks to be wealth of detail.
The pointers will be helpful to those who tackle this beast - like ME!
Thanks for posting this - very inspirational! Now all I have to do is set aside perhaps 3 - 4 months for to do this one in (what takes others a week is my fiddling for a month or more - "speed, you know, kills!")
Bob
MAR 04, 2014 - 05:34 AM

Thanks Dan and Bob. I was surprised at how long this took to build and above all, paint all that great, detailed stuff you get. Even if I had an airbrush to use, I figure I wouldn't have saved that much time, maybe 5 hours? So yes, set aside plenty of time when you do get around to building it.
Kimmo
MAR 04, 2014 - 06:34 AM

Copyright ©2021 by Kimmo Happonen. Images and/or videos also by copyright holder unless otherwise noted. The views and opinions expressed herein are solely the views and opinions of the authors and/or contributors to this Web site and do not necessarily represent the views and/or opinions of Armorama, KitMaker Network, or Silver Star Enterrpises. All rights reserved. Originally published on: 2014-03-04 13:22:26. Unique Reads: 14889

WEB HOSTING BY


Copyright ©2021 Armorama and Kitmaker Network, a subsidiary of Silver Star Enterprises
All Rights Reserved. Please read our Conditions of Use and Privacy Policy.
All Rights Reserved. Please read our Conditions of Use and Privacy Policy.