

1⁄35Pz.Kpfw I Ausf .F (VK18.01) Build
7
Comments
Onwards and upwards
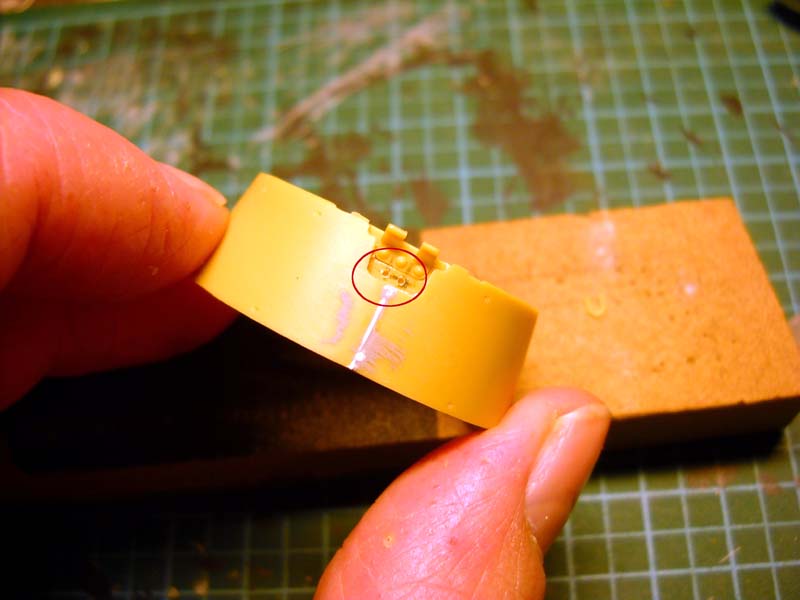
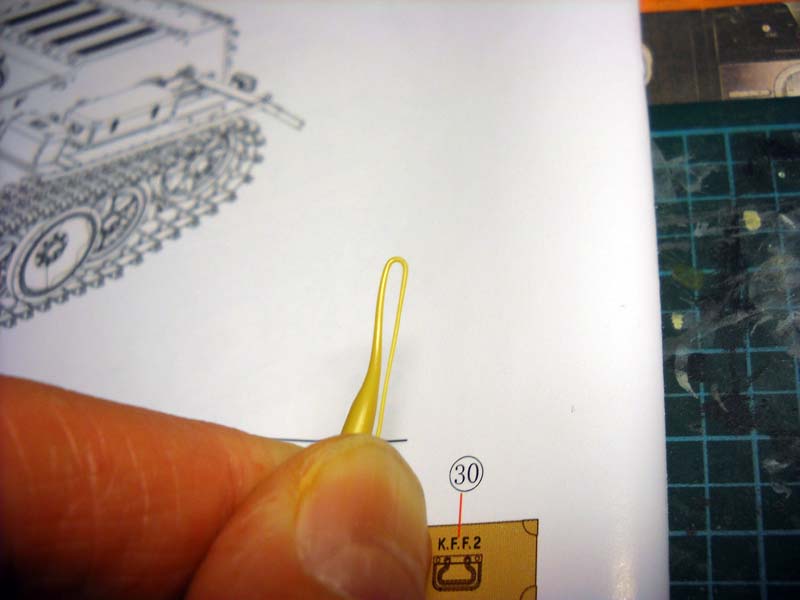
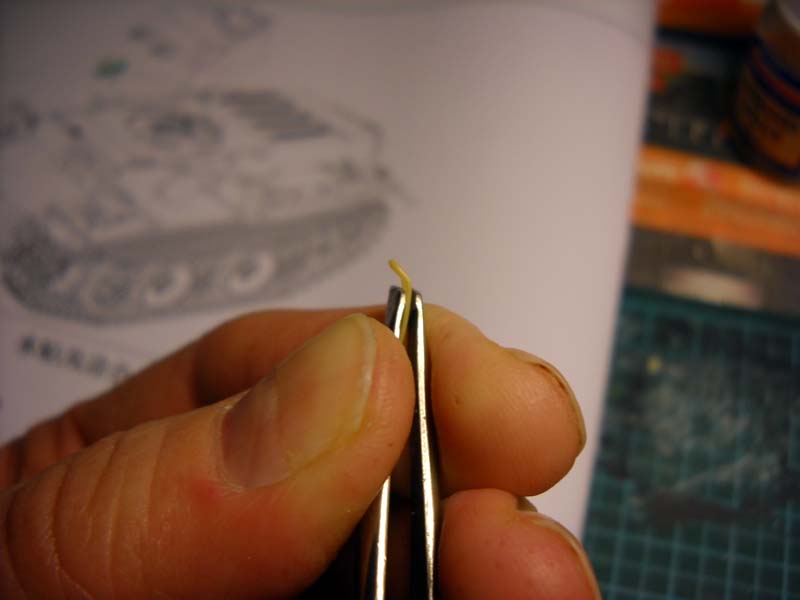
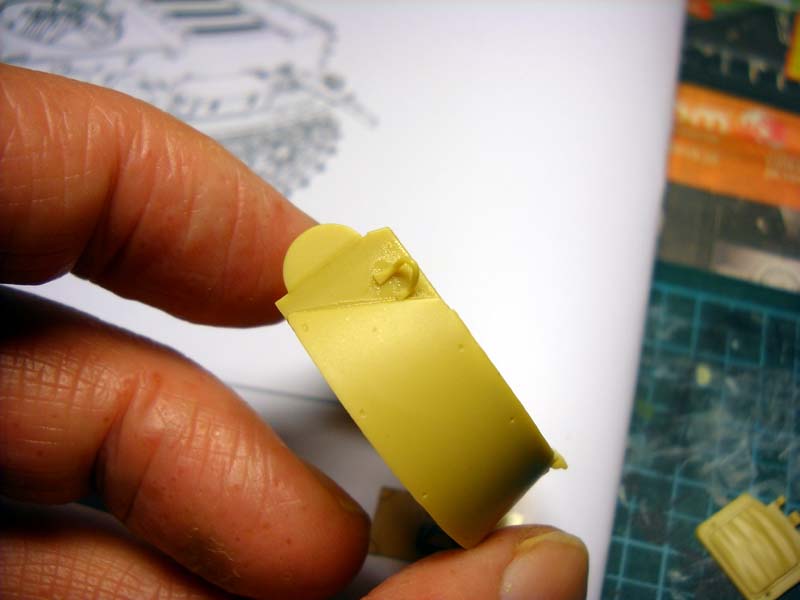
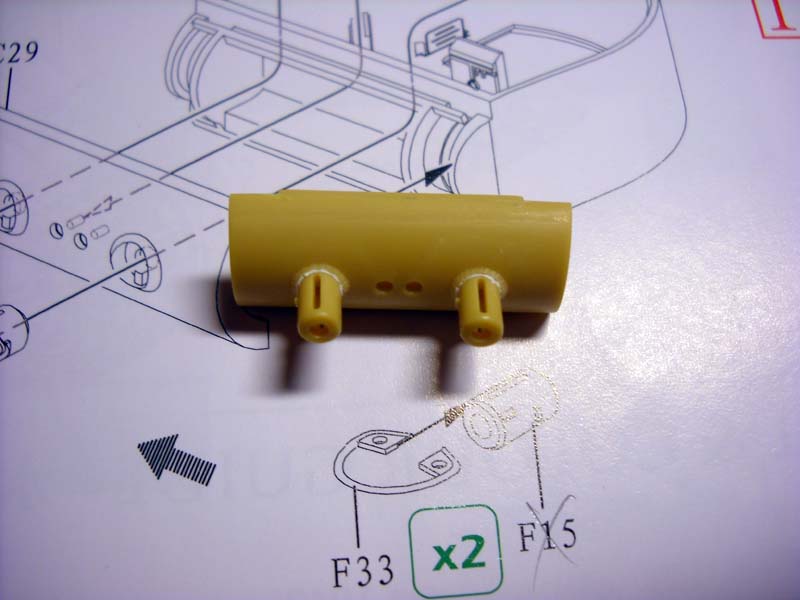
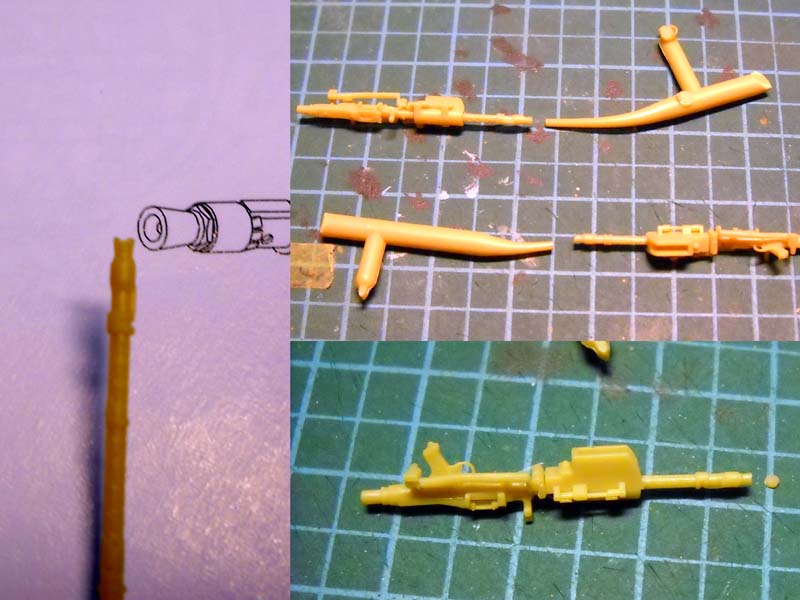
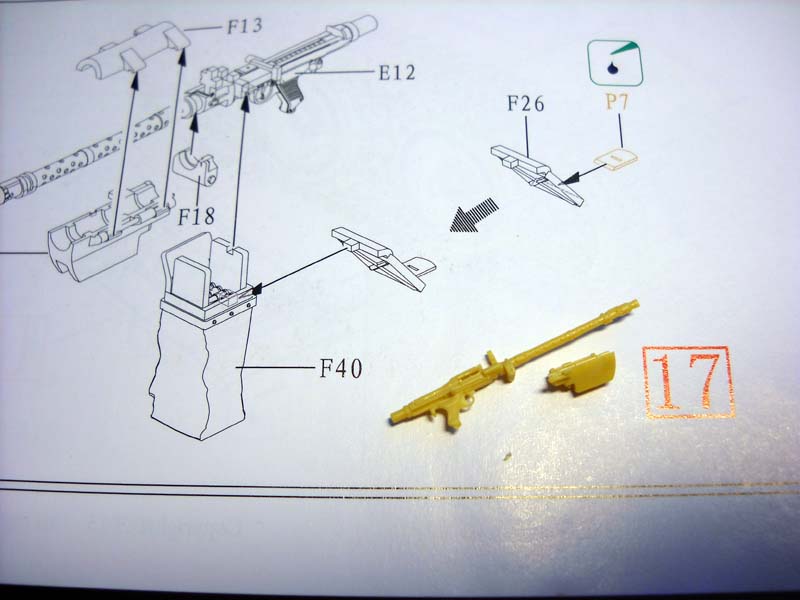
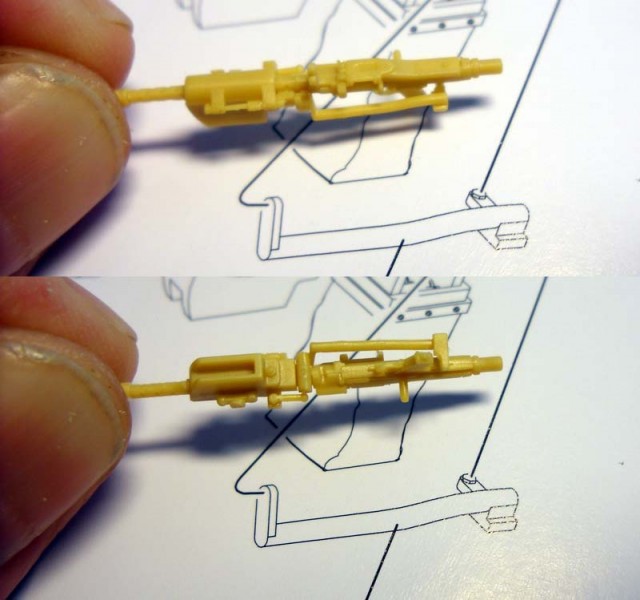
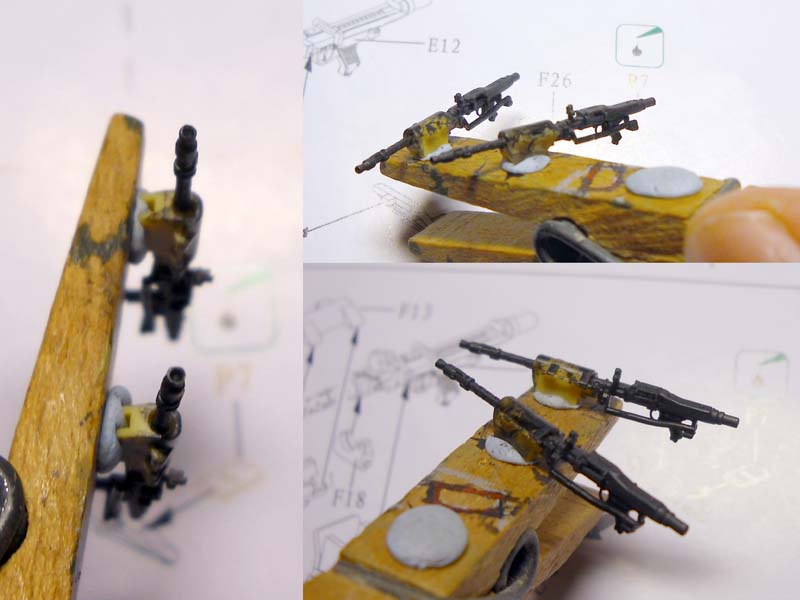
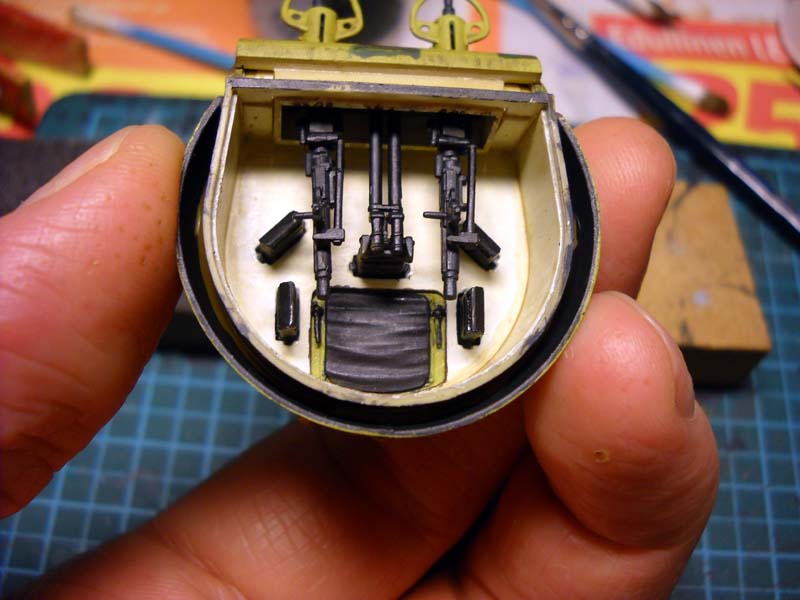
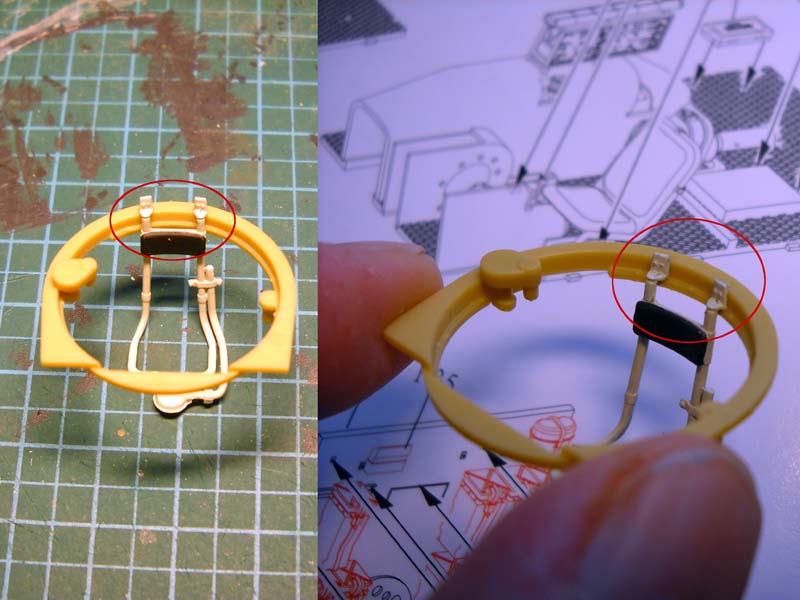
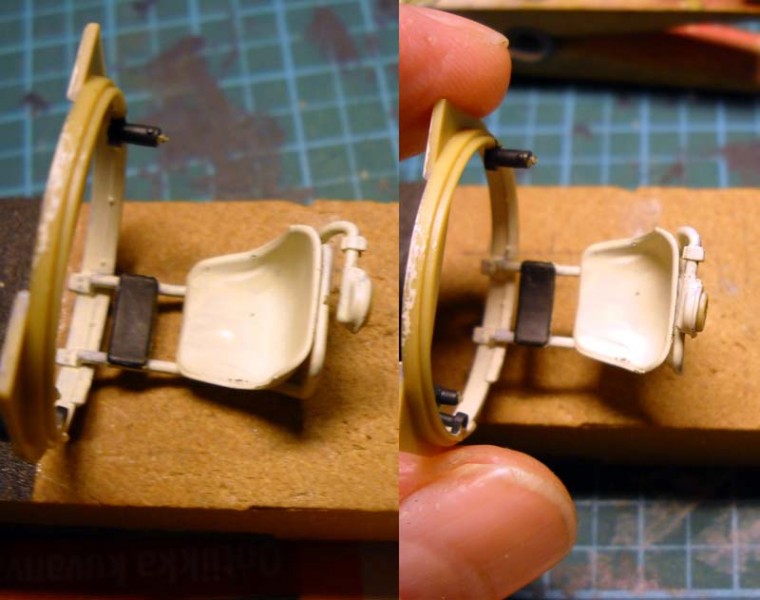
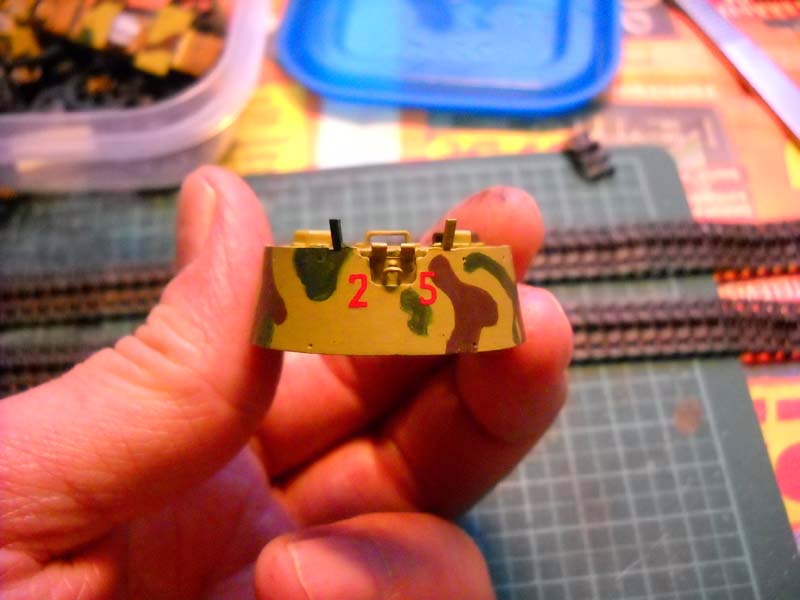
The turret is a very spartan affair compared to the rest of the kit. This doesn't mean detail is lacking. I added the spaced armour to the sides first. The fit at the rear was a little off. The way the pieces sit may cause some headaches, so dry fit and take your time before gluing. A gap at the rear is easily fixed, so don't worry too much about the seam there. Add the hatch hinge mount when you have the seam cleaned up. The lifting rings posed a wee problem. First off, the instructions are vague as to where they go and there aren't any locating marks on the turret, though the painting guide comes in handy here. I drilled some holes for the rear ring to make sure it stayed in place. The front rings had both snapped at some point. I managed to get the right side in place by gluing one piece at a time, but lost one half of the left ring, so I scratched one from sprue (see pics). I decided to add the mantlet to the mounting frame first and then glued it all in place after painting and so on. I don't think it will make any real difference either way. There was a slight gap around the armoured sleeves and weld beads, but a little Perfect Putty solved that. If you haven't tried this stuff (or other water soluble putties) get some. It makes life easier in these kinds of situations. One of the guard rings had also snapped, but I managed to get it glued back in place. Add the periscope guards, latches for the hatch and hatch supports and leave the hatch off until everything is painted and weathered if you wish. The hatch supports and hatch sit weird. If you leave the hatch sitting up against the supports, the hatch leans forward and obviously wouldn't stay in place in the real world. I ended up resting the hatch on the outside corners of the supports. I imagine the hatch might just squeeze by and sit there. As mentioned earlier, leave the periscopes until after painting and weathering; they're molded in clear styrene which isn't brittle so they clean up nicely. Now the real fun starts. The machine guns and mounts are the nicest bit of plastic I have ever seen, even with the problem of the misaligned muzzle hole. I shaved off the offending piece and replaced it with stretched sprue and re drilled. Take your time assembling the mounts and the sight. Pay particular attention to parts F6 and B37 and how it all goes together (see pics for a bit of help). F6 is a locking lever of some kind, remove it carefully from the sprue, enlarge the mounting pinhole slightly with a blade tip (it is very tiny!), glue and let set, then go back and remove the stub. The ammo bags are nicely done, complete with a length of ammo molded in place, which will unfortunately not be seen when all is said and done. Glue the bags in place after you have the guns installed. The rotating levers and gear mounts are again very finely done and very petite. Pay attention to the orientation of D34. The instructions aren't a big help in alignment so do what you feel is best here. The fit of the turret to the race is beautiful, no need for glue and this will allow you to remove the turret at will to show off the interior.Make up!
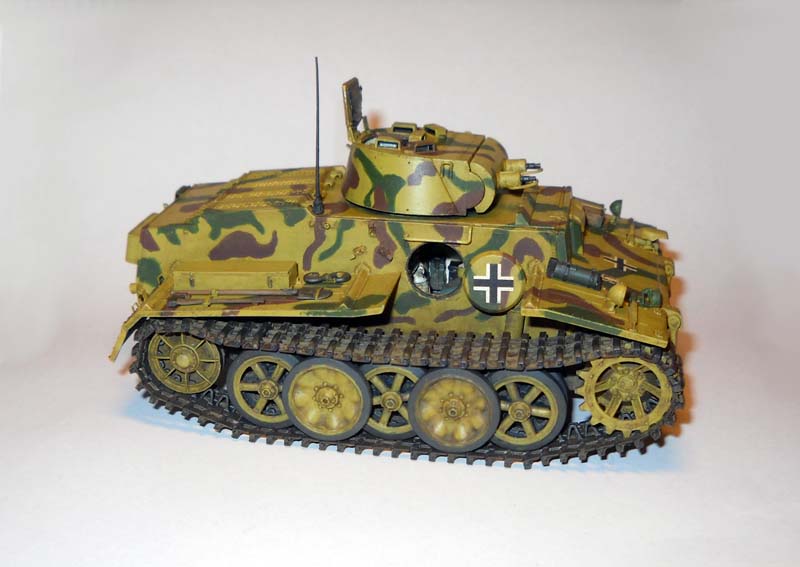
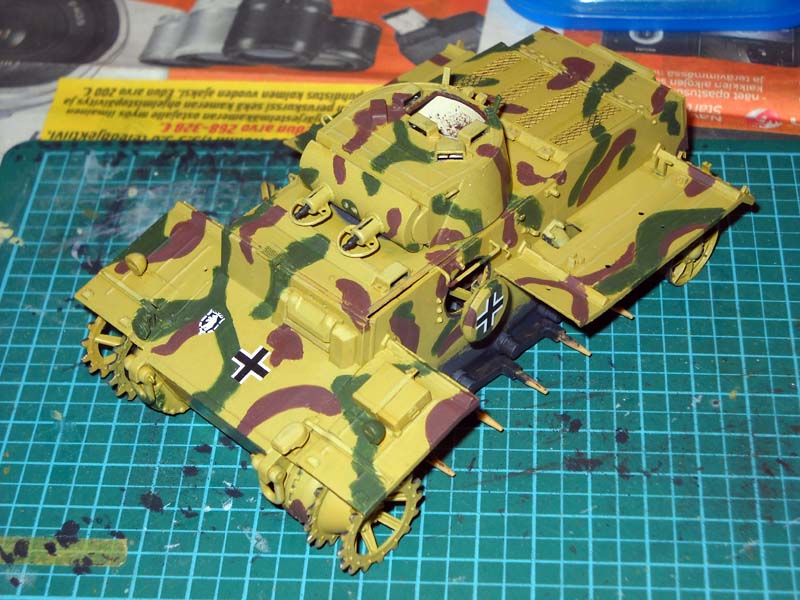
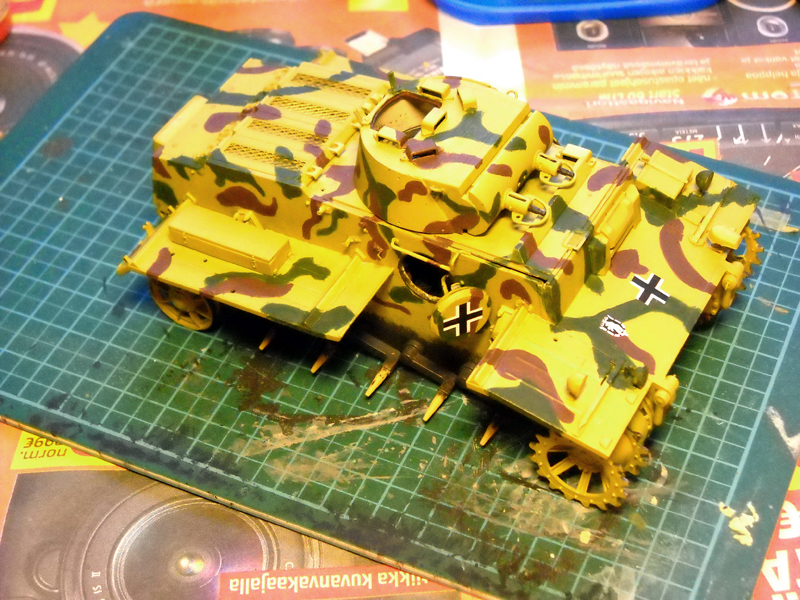
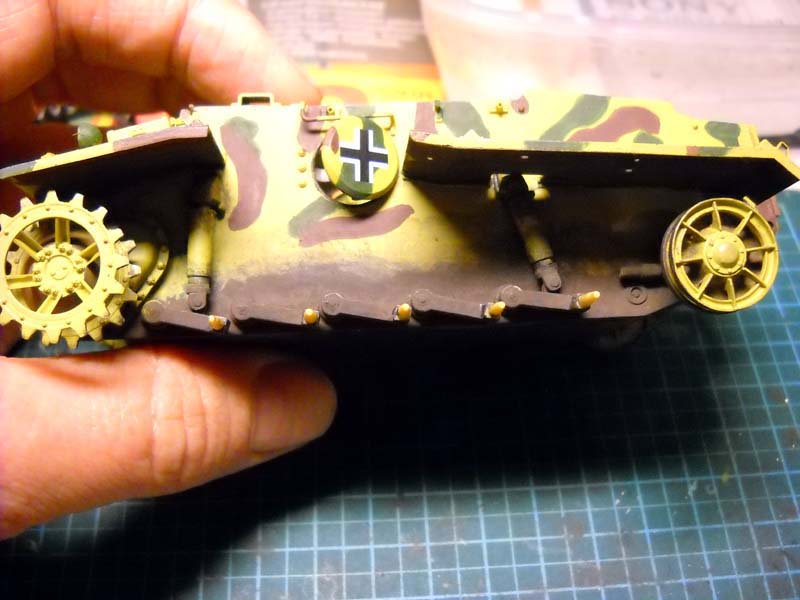
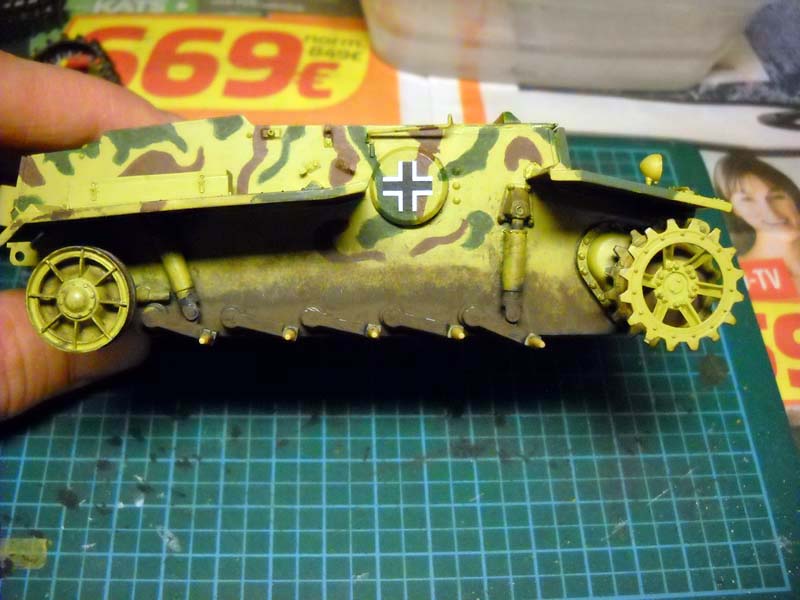
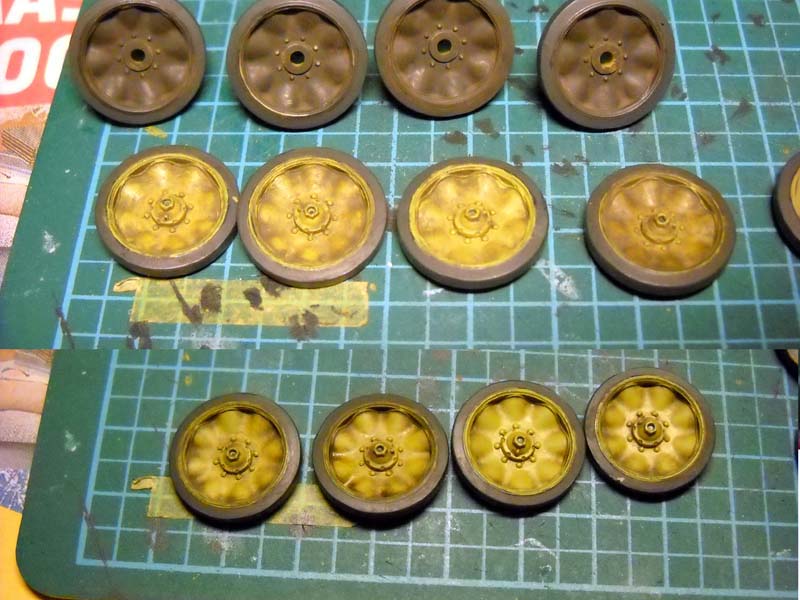
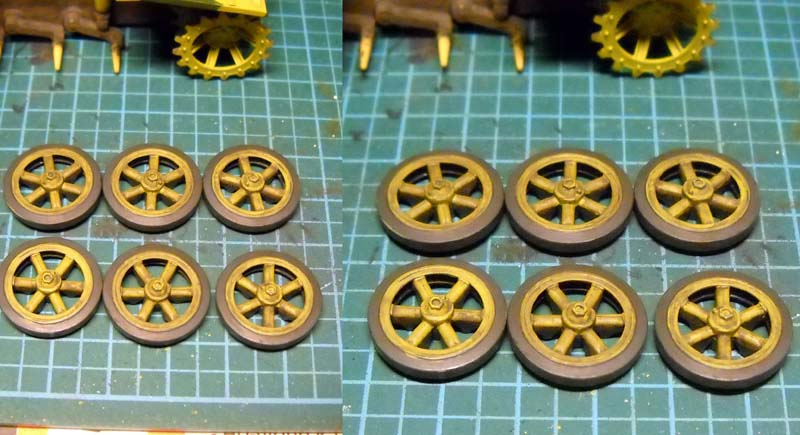
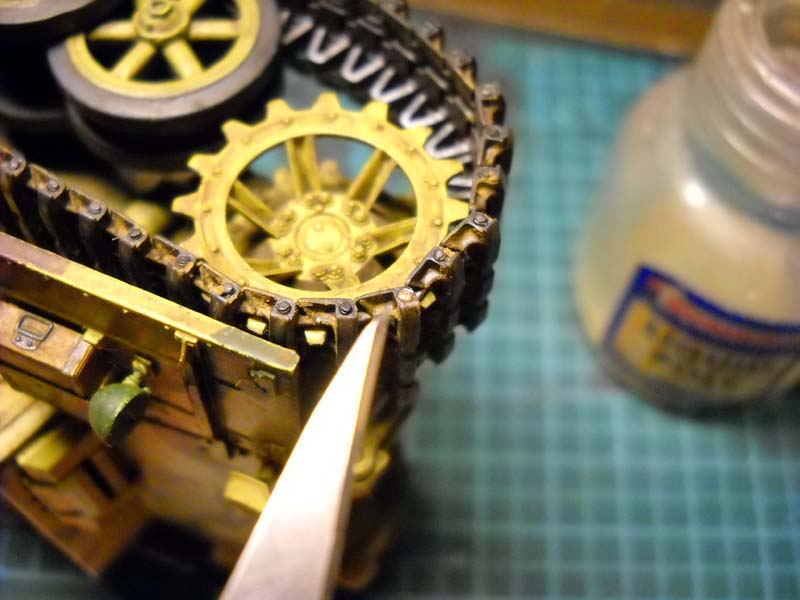
I custom mixed a green and brown and free-handed the patterns with a small brush. The painting guide is of little use except as inspiration. The plan views don't really match the patterns and no top view is provided. You get several marking options. The decals are in good register but some of the unit markings aren't really all that crisp, and the red of the 25 was so translucent that the white undercoat gives the numbers a bordered fluorescent look. I touched up the red to give it a more uniform look. The decals aren't the thinnest around but settle down well enough. I used Vallejo's decal medium with no adverse results. One oddity with the marking guide was the front cross; I believe that the crosses should all be of the same type and not the thinner version as shown for the camouflaged options? I also chose to leave the stencils off the boxes, I figured the stencils weren't around when the repaint was done. Weathering was done mainly with pigments, and pin washes added here and there to accentuate detail. Close the track by running it around the gear with the openings at the sprocket end. Line up the open links, place a pin and glue, repeat on the other side and paint when the glue has set. The final touch was to plop the antenna in place, the tip had been slightly bent but not broken off. Surprisingly, cleaning the attachment nubs went quite smoothly, again thanks to the harder plastic used.Highs
Excellent detail, crisp molding, well engineered considering the number of small pieces and fit is generally excellent. There is a wealth of detail throughout the kit, working tracks and suspension and a very complete interior.Lows
Misaligned molds for the headlights and machine guns. The lack of tow ropes is a bit of a let down, the decal sheet could be of a higher standard. The photo etch is too soft and has a few oversights or omissions. The instructions could use a little more clarity in a few instances and the way the running gear is designed could have been better executed.Conclusions
Overall, I would have to say that I am well and truly impressed with this kit, even with some of the niggles and oversights. The level of detail is fantastic, molding and fit is generally excellent. Thinner parts are suitably thin, I only had to do a little thinning on the fenders and exhaust guard for example. On the minus side, we have: the omission of tow ropes, a few issues with the etch (the softness the biggest bugaboo) and the instructions, misaligned slide molds, a so-so decal sheet and the finicky business with the road wheels. This kit will easily keep you busy for the better part of a month at least, so it is excellent in terms of time spent vs. cost if you like to use that metric. Definitely not a kit for beginners, even advanced modelers will have their hands full at times, but well worth it in the end. Highly recommended for advanced modelers. My thanks to Armorama and Bronco Models.


About the Author


FROM: UUSIMAA, FINLAND
I got my first kit when I was about 7 or 8 and was immediately hooked. Magazines such as Fine Scale Modeler helped to push me to go beyond what kits had to offer before photo etch and resin were commonplace. I took a break of about 8 years and now I'm back at it making up for lost time. When I'm not...
Comments


Very nice build and build-review! You have done a great job on the Tiny Tiger and taken advantage of what looks to be wealth of detail.
The pointers will be helpful to those who tackle this beast - like ME!
Thanks for posting this - very inspirational! Now all I have to do is set aside perhaps 3 - 4 months for to do this one in (what takes others a week is my fiddling for a month or more - "speed, you know, kills!")
Bob
MAR 04, 2014 - 05:34 AM

Thanks Dan and Bob. I was surprised at how long this took to build and above all, paint all that great, detailed stuff you get. Even if I had an airbrush to use, I figure I wouldn't have saved that much time, maybe 5 hours? So yes, set aside plenty of time when you do get around to building it.
Kimmo
MAR 04, 2014 - 06:34 AM

Copyright ©2021 by Kimmo Happonen. Images and/or videos also by copyright holder unless otherwise noted. The views and opinions expressed herein are solely the views and opinions of the authors and/or contributors to this Web site and do not necessarily represent the views and/or opinions of Armorama, KitMaker Network, or Silver Star Enterrpises. All rights reserved. Originally published on: 2014-03-04 13:22:26. Unique Reads: 14889

WEB HOSTING BY


Copyright ©2021 Armorama and Kitmaker Network, a subsidiary of Silver Star Enterprises
All Rights Reserved. Please read our Conditions of Use and Privacy Policy.
All Rights Reserved. Please read our Conditions of Use and Privacy Policy.