

1⁄35Building a base for a 1/16 scale figure
9
Comments
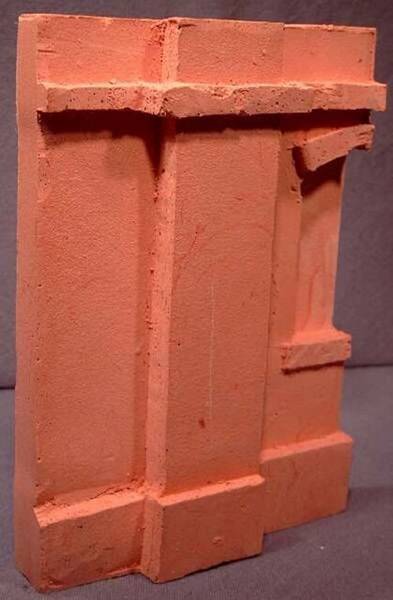
Casting
The casting compound was bought in the local toyshop. Its practically the same stuff as comes with casting-toys where a latex mould and powder are included. You just need to add water. This spackle-type stuff sets pretty quickly, but needs a few days to dry out properly. I added a good-sized splash of white glue and some acrylic red colour to the water before mixing. The white glue gives strength to the casting and the colour makes it easier to see what youre doing, and also if little chips break off at corners after painting, the white would be very noticeable.I added this mixture to the spackle, and stirred it in well. The colouring helps here as well, because any un-mixed spackle is easily seen. When mixed properly, I filled the mould. Using the edge of a steel ruler and the sides of the mould, I dragged the mixture over and back until it levelled. I also hit it from the sides hoping to knock out any air bubbles, and make sure all the corners were filled out. The excess mix was poured into an old brick mould that would be used later for rubble.
I let this sit for 24 hours before removing it from the cast, and then another 48 hours, to let it dry out completely, before scribing.
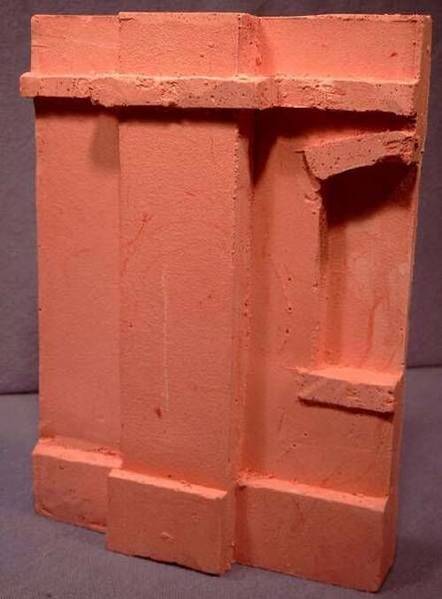
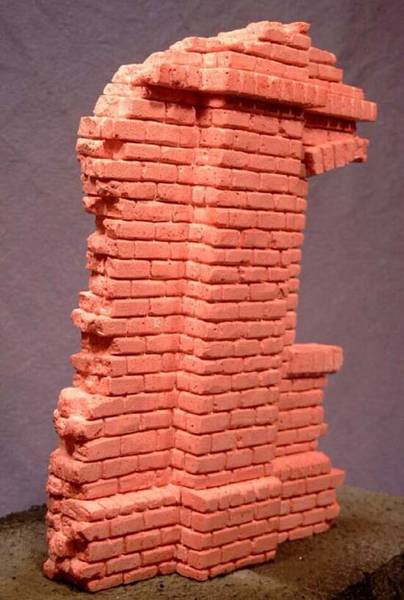
Scribing
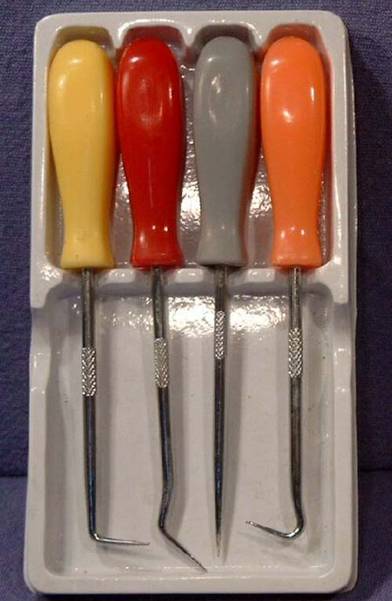
As no care was taken when making the mould, there was quite a bit of spackle-flash at edges and between where two layers of polystyrene foam made up the thickness needed. This took all of two minutes to clean away with an old file.The brick measurements were decided by the width of my steel ruler. It was 14mm wide so this was used for the brick width. Brick height would be half of this. I measured and marked points up each side of the wall at 7mm and drew the lines between them with a pencil first, and then scribed them. The individual bricks were then scribed in, by moving the ruler over half its own width each time, and scribing at alternate levels. I used a cheap set of scribing tools from a local hardware store but sharpening the point of a screwdriver could make a similar tool. No great care was taken here either as extra chips taken out, added to the old wall effect.
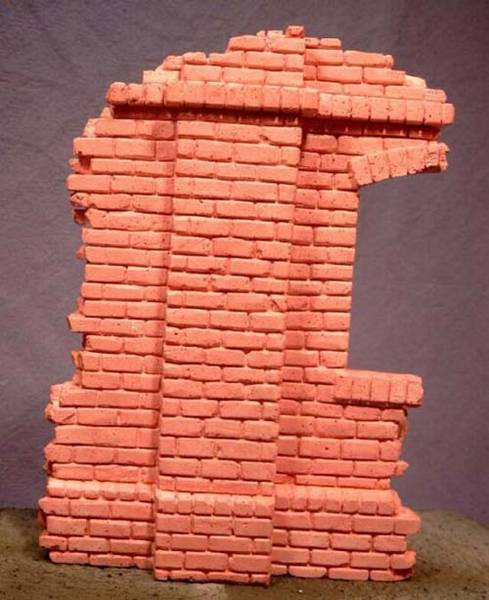
I used a hacksaw to cut away bits of the edges to resemble battle damage and then scribed these new sides, joining with the front, to detail the side profile. Lastly I scribed above and below the window and along the upper ledge.
About the Author


Comments

Frank,
A very well done base and very helpful article. Thanks for sharing your tehnique with us.
JUN 06, 2005 - 02:47 AM

Thanks Danny for doing the presentation. Cheers.
Thanks to you too, Alguhan. Hopefully somebody finds it useful.
JUN 06, 2005 - 10:41 AM

PB - nice article! Nice to see large scale dioramas addressed
Thanks Danny - nice job (as always)
JUN 06, 2005 - 12:37 PM
Thanks Scott. Its cool to have something published on the site. Hopefully I´ll have something again shortly. Cheers.
JUN 06, 2005 - 07:44 PM

now i know what to do wif my styrofoam and polystyrene...thanx a lot dude....
JUN 06, 2005 - 10:36 PM


Nice - but I cannot help wonder why 5 of the 11 photos are of the figure when the article is about the base ??
SEP 07, 2008 - 10:50 PM
Hi Jan. Firstly this was posted more than 3 years ago ... its not new.
There are several in-progress shots of the base and how it was made, and there are only so many angles you can show the same piece of wall from.
The title of the piece is called "Building a base for a 1/16 scale figure" so I thought .... silly me .... that a few pics including the figure would be suitable for this article.
SEP 07, 2008 - 11:28 PM
Yeah, well somebody brought it up again
I agree that 1-2 pictures of the fully painted figure (which is nice too) would be fine - but why the unpainted pictures etc....
N/M - just a thought
SEP 07, 2008 - 11:57 PM
Copyright ©2021 by Frank Glackin. Images and/or videos also by copyright holder unless otherwise noted. The views and opinions expressed herein are solely the views and opinions of the authors and/or contributors to this Web site and do not necessarily represent the views and/or opinions of Armorama, KitMaker Network, or Silver Star Enterrpises. All rights reserved. Originally published on: 2005-06-04 00:00:00. Unique Reads: 19855

WEB HOSTING BY


Copyright ©2021 Armorama and Kitmaker Network, a subsidiary of Silver Star Enterprises
All Rights Reserved. Please read our Conditions of Use and Privacy Policy.
All Rights Reserved. Please read our Conditions of Use and Privacy Policy.