

1⁄35Building the Panzer 1
7
Comments
assembly
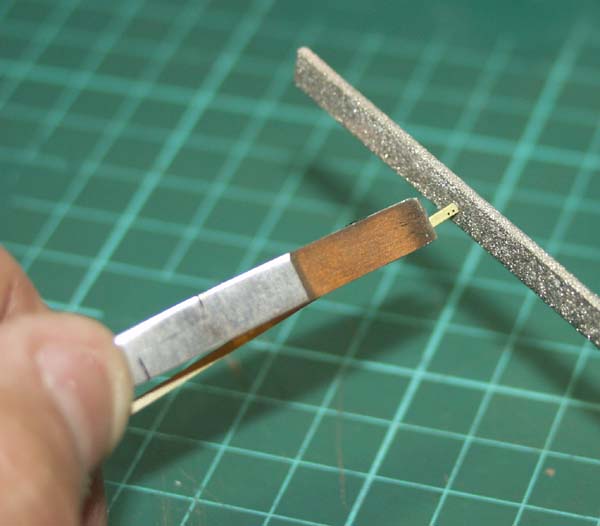
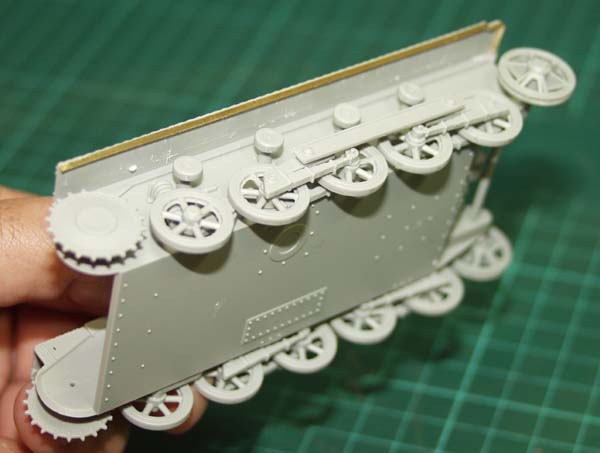
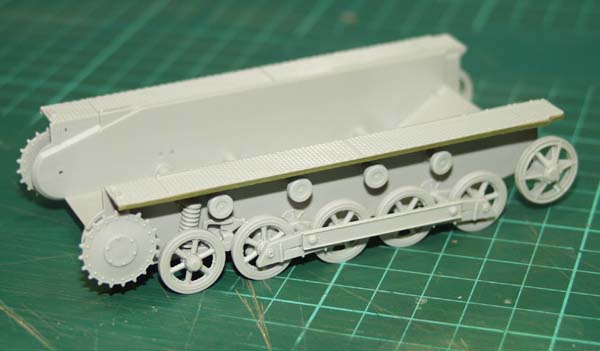
Construction begins with the running gear onto the lower hull. The running gear itself presents no problems; just ensure its the correct way up! Step #1 is building the bogies, two each side, and the first problem with the build presented itself in step # 2. The idler housings drawn on the instructions are actually different to the ones supplied in the kit. There is a small hole missing on each one, and to mount the assembly correctly, it is necessary to drill out the hole on each one that part # A10 fits into. It IS possible to fit this part without doing this, but in so doing it will present problems later on, so take great care with this part! Step #2 also requires that the photo etched strips that represent the lips on the fenders are added, and as these are fitted edge-on as it were they could create problems. I found the best way to fit them was to bend them to the exact shape, hold them in place, and then, from underneath run a little runny superglue into the join. Capillary action should draw the glue along the join, and then if necessary, some accelerator can be touched to the join to instantly cure it.steps 3&4
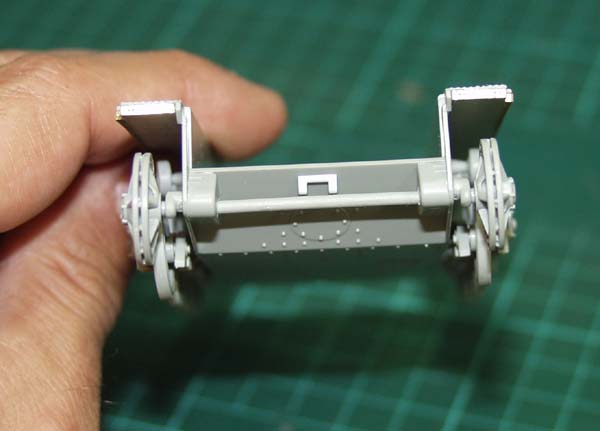
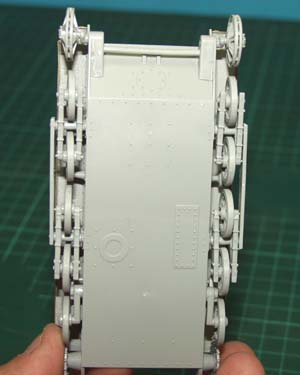
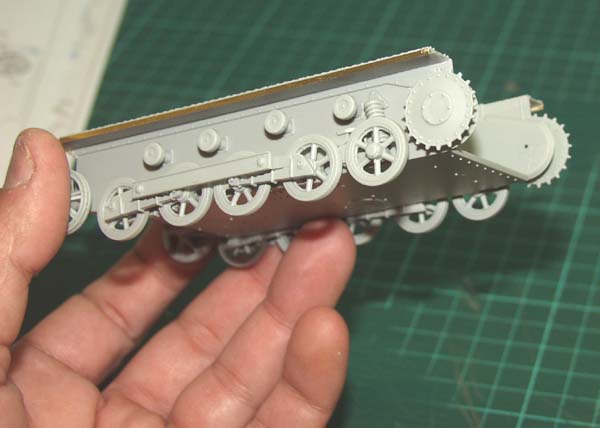
These 2 steps concern actually attaching the running gear to the lower hull. There is a choice of early or late idler wheels, so check the references! I didnt encounter any problems whatsoever with these steps.... which set me up nicely for the individual links of the tracks next!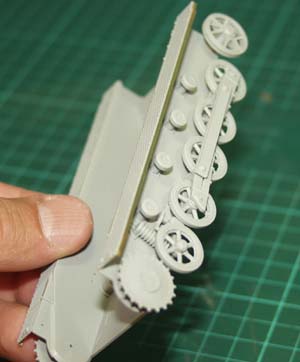

About the Author


Comments

Thanks for sharing and Thank you Vinnie!
It's a most enjoyable reading and you make it look very simple (after all)! Even with the mentioned difficulties it turned out excellent - and I must congratulate you on the color effect that you produced - it looks great!
Looking forward to see the other variants - specially the desert one
Keep up the good work
Skipper
SEP 21, 2005 - 03:25 AM

Vinnie i do love reading your build articles,always well written and your pictures are spot on.
i like the way your Panzerbefehlswagen 1 turned out.
colour is nice and the weathering well you can write a book on your weathering vinnie,top notch.
keep them coming as i love to see your work,
may sound a bit sad but your the man that sort of gave me a kick up the arse and am starting to produce better models.and i was going to pack it all in at the begining of this year
nice one mate
cheers karl
SEP 21, 2005 - 04:05 AM

Nice article Vinnie,
Keep writing them, so I can learn to improve mine.
Nice build, just happen to have the kit, and may get around to building it someday, so the article will surely help.
SEP 21, 2005 - 04:41 AM
Thanks Vinnie for a nice article. I plan to try out that chipping technique, I really liked the results and seems easier than some of the others I've read. Very nice end product, I can see one of those in my future.
Steve
SEP 21, 2005 - 05:59 AM

very nice article and I esp loved the way you described your painting method.. I may try out your technique in the future..
SEP 21, 2005 - 11:22 AM

Excellent.!!!
From the artical and pictures...
It is as if it took you 2 days to build, one day on the model and one day on those damn-individual links....
I too, plan on using your tech for chipped paint...
Keep it up!
SEP 25, 2005 - 05:48 AM

Vinnie you an amazing modeler, i read all of your articles and use many of your tecneques, (i'm playing on using your chipped paint one). Panzer 1 looks great, planning on buying one myself.
OCT 13, 2005 - 06:36 AM
Copyright ©2021 by Vinnie Branigan. Images and/or videos also by copyright holder unless otherwise noted. The views and opinions expressed herein are solely the views and opinions of the authors and/or contributors to this Web site and do not necessarily represent the views and/or opinions of Armorama, KitMaker Network, or Silver Star Enterrpises. All rights reserved. Originally published on: 2005-09-21 00:00:00. Unique Reads: 26849

WEB HOSTING BY


Copyright ©2021 Armorama and Kitmaker Network, a subsidiary of Silver Star Enterprises
All Rights Reserved. Please read our Conditions of Use and Privacy Policy.
All Rights Reserved. Please read our Conditions of Use and Privacy Policy.