

1⁄35Building the Italeri 232 6-Rad
9
Comments
stage 2
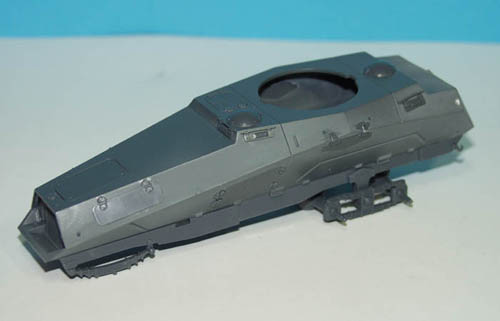
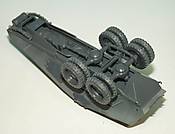
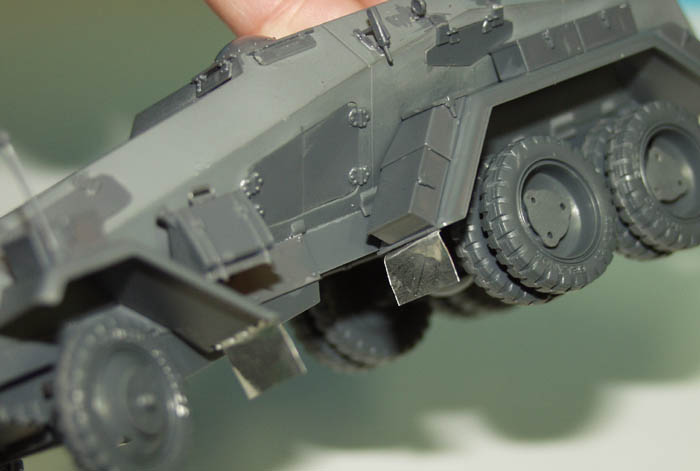
The drive train and axles get assembled in this stage. Once the mould seams are all cleaned up with a nice new scalpel blade, these really look the part, although a bit simplified. The double leaf-spring suspension units on the rear proved difficult to clean up as the mould was ever so slightly mis-aligned. Part 51B, the main drive shaft, was also a little long, and wouldnt go near until I had removed 2mm from it.stages 3, 4 & 5
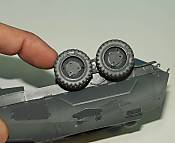
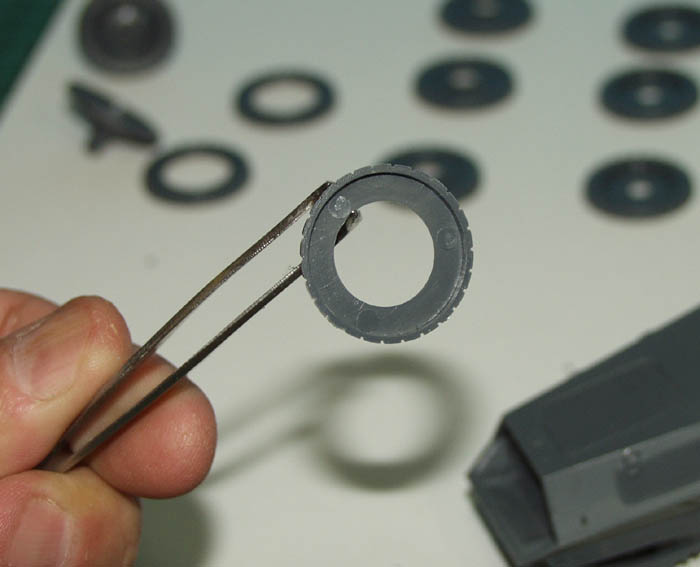
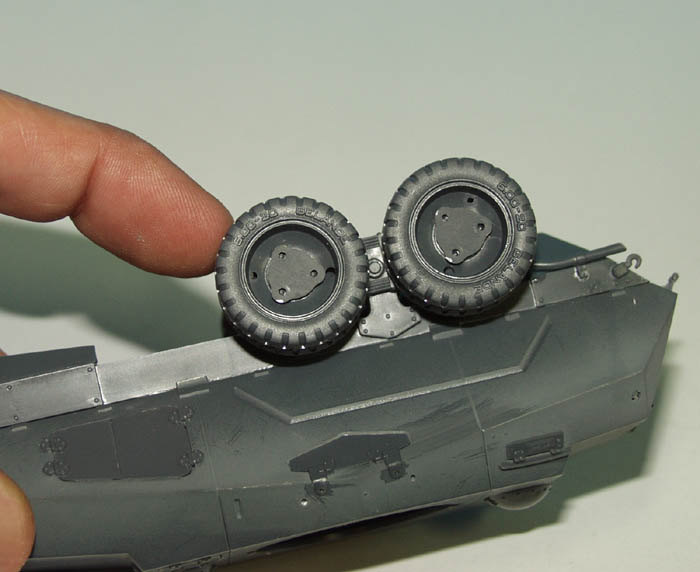
These three stages deal with completion of the suspension and wheels. There are 12 wheels in this kit. I have to say these wheels were a pleasure to assemble. They look good. Great tread pattern, make sure you align them properly, as there are no locating pins to help, and you will probably find that the two halves that make up the front wheels will not sit properly until you remove two tiny ejector marks from inside each half. Dont forget to hollow out the end of the exhaust which is assembled in stage 3.stages 6, 7, 8 & 9
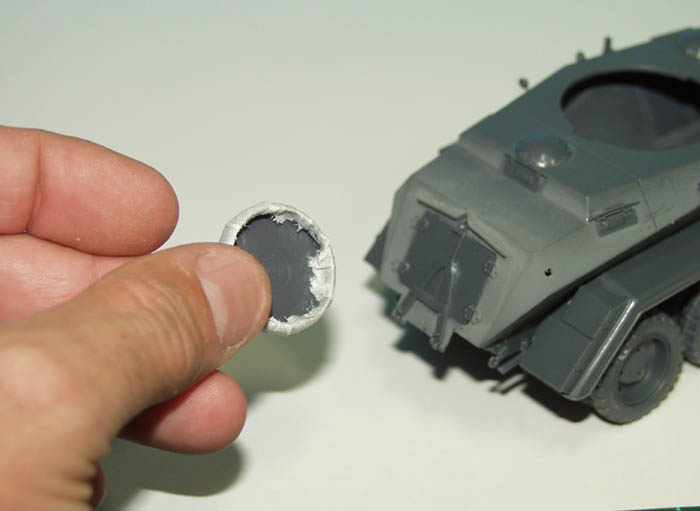
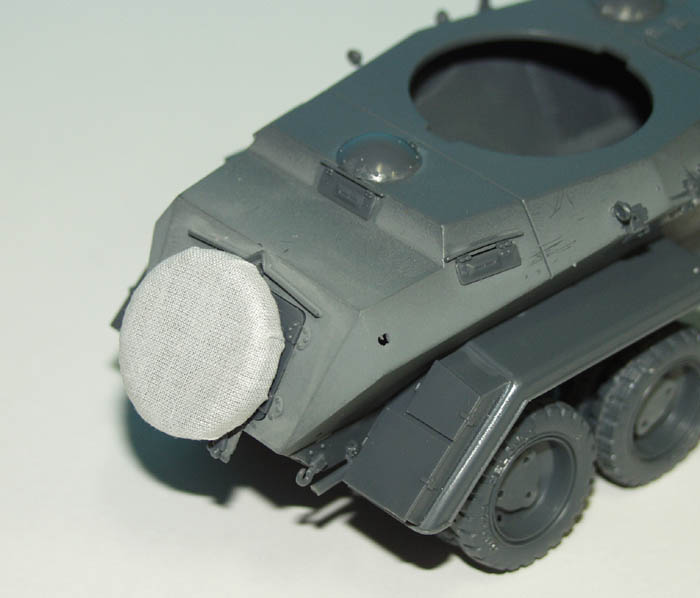
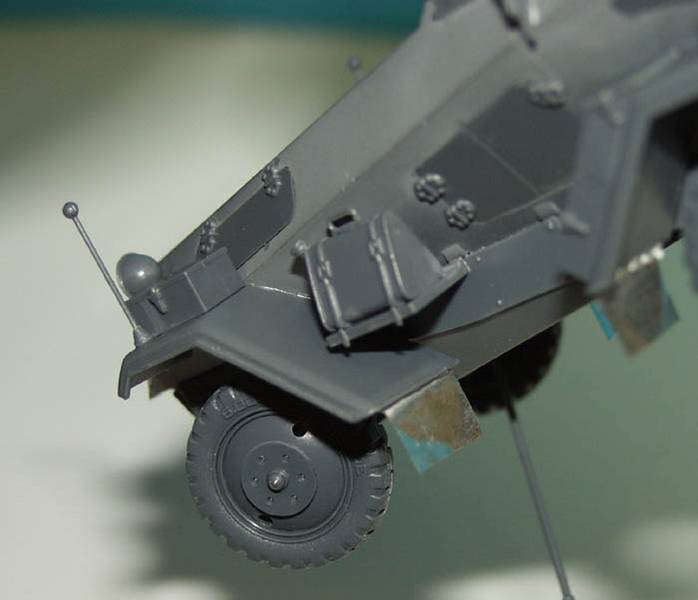
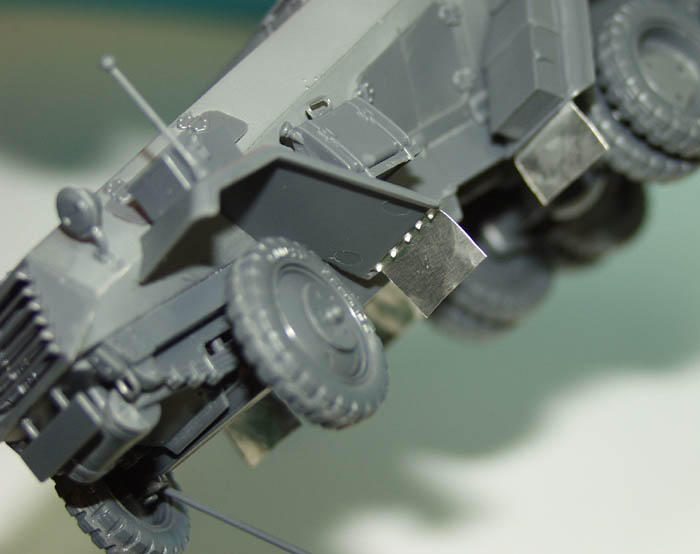
Here we assemble the fenders and all their stowage boxes, attach tools, width indicators and so on. There are a number of things I did here to try an improve the look of the finished kit. In stage 7 I left off the Notek light. Its not a very good one, and I dont think its correct for a vehicle this early. The spare wheel carried on a special bracket over the rear doors has a moulded cover, but I replaced this by wrapping it in fine Irish linen. The tools I swapped for slightly better ones I found in the spares box, without brackets. The brackets are photo etched ones from an Eduard set of early German tool clamps. The rubber mud flaps do have a slight surface texture, but foil ones look even better and are easy to cut out from any spare aluminium foil you have lying around, the corners can be bent up and really give them a bit of life!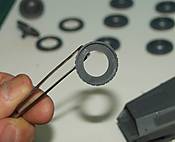
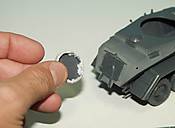
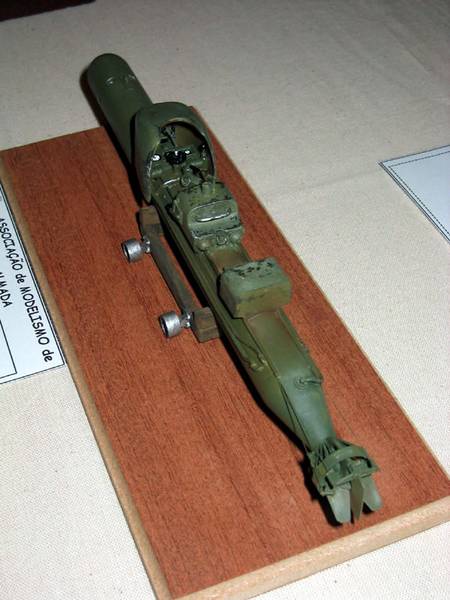
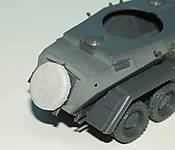 Canvas Cover

About the Author


Comments


I agree, nice little build and article. Thanks for sharing Vinnie!
NOV 02, 2005 - 04:54 PM

Nice build Vinnie
As with Jim's AB41 build review , it seem italeri are really coming on strong.
And thankyou for explaining the oil paint spotting filter method , Ive heard of this before but was never sure exactly how to do it , now i cant wait to try it (on an old kit first though :-) )
Ian
NOV 02, 2005 - 05:40 PM

nice work there. it made very interesting reading.. I have this kit along with several other early german thingies that should be gray.. I may try your filter technique on one of them it looks interesting...
NOV 03, 2005 - 02:00 AM

Very nice article Vinnie, thanks for sharing. I have the same kit in the stock and your article will be very helpful.
NOV 03, 2005 - 08:33 PM

Great article Vinnie. Loads of good tips and things to be aware of in advance, and is exactly what is needed for anybody wishing to build this. If a good article means you are inspired enough to want to build the vehicle afterwards, then you succeded! Nice one.
NOV 03, 2005 - 11:18 PM
Great article Vinnie. Very nice build, very nice indeed.
Applying filters, using small dots of oil's, I definitely have to try.
NOV 03, 2005 - 11:23 PM

Excellent article Vinnie (and excellent 6 Rad too)
Skipper
EDIT: still on the filter technique:
You can also "cheat" on this using the base colour of the inicial spots according to the type of colour break that you need; meaning if you pretendo to have the top surfaces more "sun burned" white and yellow dots should be more - for areas where there's more darkened colours, reds and burned sienna outnumber the other colours.
This is great to break the monocromatic colours of some craft, vehicles whatever you are working on!
I don't want to change focus on Vinnie's 6 Rad but here are some examples:
NOV 04, 2005 - 12:01 AM

Nice article Vinnie, Ive been looking at this kit for a while i love those six and eight rads, also thanks for explaining the filter tech, now i understand how its done.
NOV 11, 2005 - 09:17 AM
Copyright ©2021 by Vinnie Branigan. Images and/or videos also by copyright holder unless otherwise noted. The views and opinions expressed herein are solely the views and opinions of the authors and/or contributors to this Web site and do not necessarily represent the views and/or opinions of Armorama, KitMaker Network, or Silver Star Enterrpises. All rights reserved. Originally published on: 2005-11-03 00:00:00. Unique Reads: 18131

WEB HOSTING BY


Copyright ©2021 Armorama and Kitmaker Network, a subsidiary of Silver Star Enterprises
All Rights Reserved. Please read our Conditions of Use and Privacy Policy.
All Rights Reserved. Please read our Conditions of Use and Privacy Policy.