

1⁄35Building the Italeri 232 6-Rad
9
Comments
Painting & Weathering
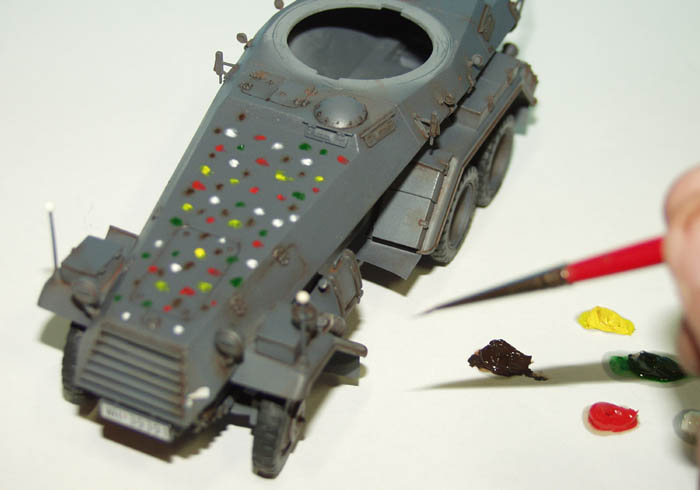
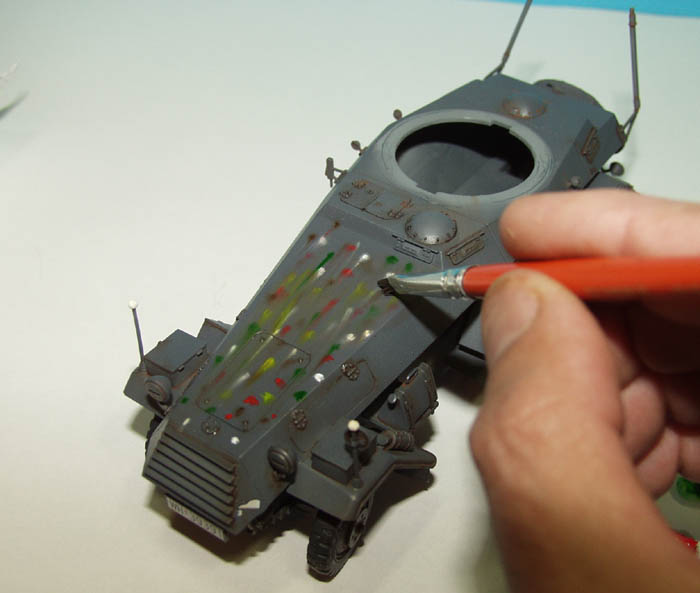
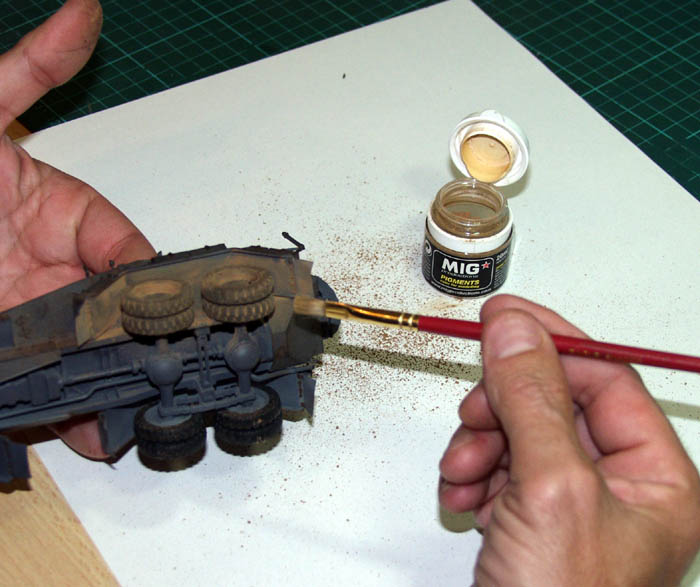
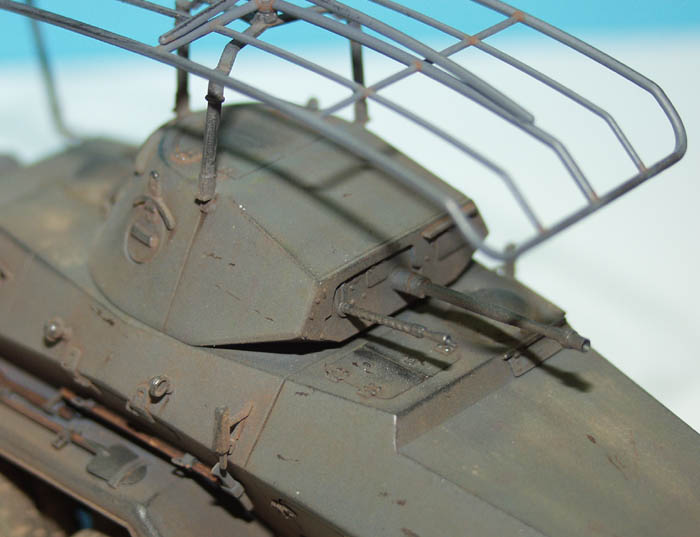
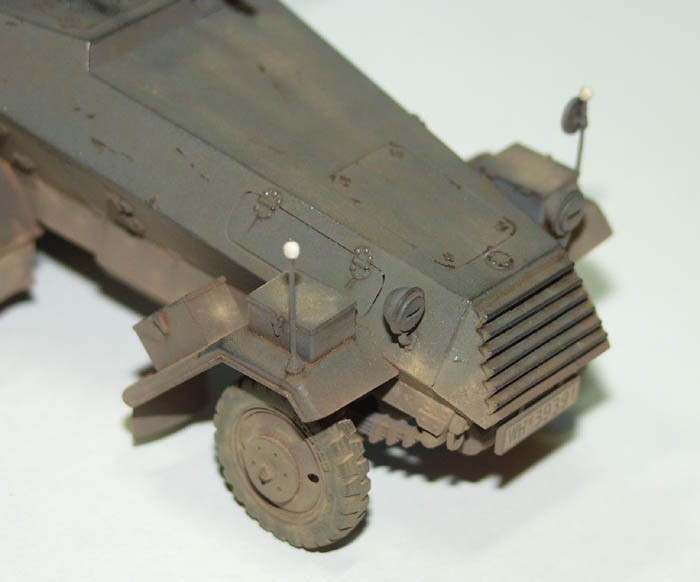
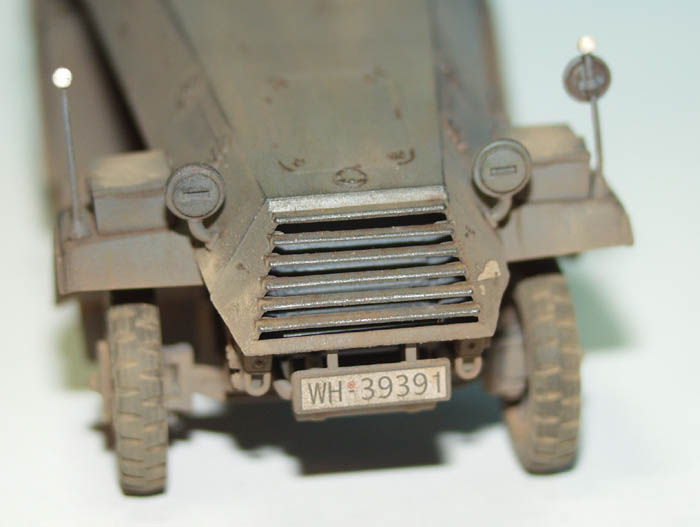
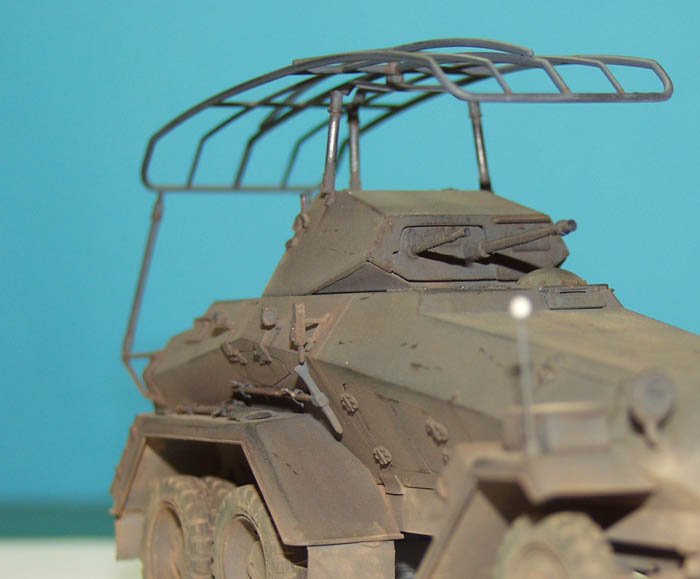
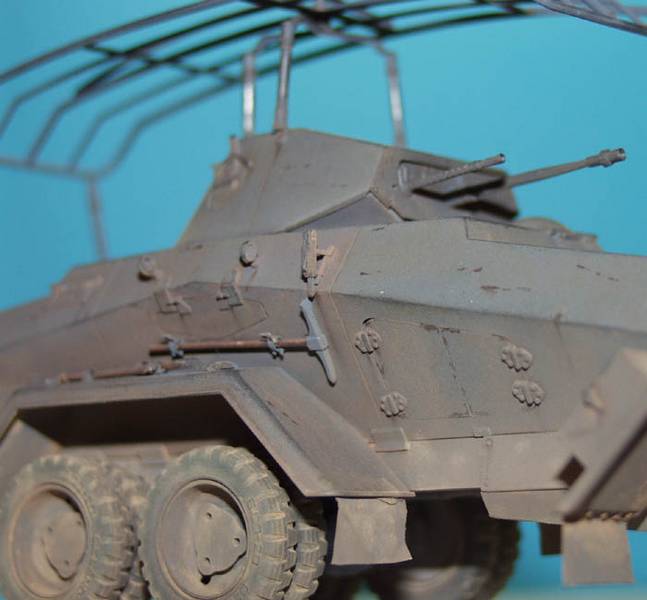
I decided early on to try something different with this model. I did this because I planned to depict it in Panzer grey, and Ive found before that pre-shading is ineffective. Instead I primed everything in light grey before applying a medium grey coat over this. Since there was no pre-shade I planned to apply a heavy wash to bring out all the detail, but I didnt want an all over wash, I wanted to be selective in where I applied it. With this in mind I gave the vehicle an all over coat of Tamiya acrylic X22 clear. This would serve to seal the acrylic underneath, and would remain unaffected by any washes I applied that were to be diluted with white spirit. If you try to apply a wash to a matt coat, the colour will be drawn out by capillary action and spread too far. The matt paint in effect acts like blotting paper, so I always apply a gloss coat before doing any washes. It was at this point that I also applied the decals. I had decided to model the Unknown Unit on Training Germany 1937, so no national markings were required. The decals went on perfectly with a little drop of Microsol being placed on each decal after it had been applied. If you havent used this before, try it! It will makes most decals settle down perfectly over almost any surface. It can be a shock the first time though as it usually makes them wrinkle, but leave it, and in half an hour the results are incredible! After the decal had settled I began to apply my pin wash around the detail on the vehicle. In an old paint bottle I placed a generous lump of burnt umber oil paint, filled the bottle with white spirit and vigorously shook it until the lump of oil paint had dispersed. I can then put the top back on and save it for my next model. Using a very fine tip paint brush, I dipped it in my wash, and touched it to the detail part. The paint is drawn around the detail by capillary action, and if too much is applied I keep a clean brush and some tissue to quickly remove as much as I want. This can be a time-consuming process....but the results are worth it. The next technique I used was to apply filters to the vehicle. I have only used this technique a few times, but it does look effective. The main idea is to impart tonal variation to the surface of the model, and this is accomplished by using tiny spots of different coloured oils. First, only do one surface or panel at a time. Wet the surface with some white spirit, and then place spots of different coloured oil paints at random over the surface. Then using a clean wide, flat brush soaked in white spirit, drag the spots down repeatedly until they have all but disappeared. If you can still see a spot, then you need to do it again with more white spirit! The surface should now appear to be composed of different hues and tones, rather than just the one basecoat colour. Try it, it works! The next thing for me to do was to dry brush the vehicle. I never, ever dry brush with lighter tones on armour. It makes details stand out, but in a completely unrealistic manner. In reality the edges of metal appear darker, not lighter. I nearly always use Humbrol matt black to dry brush armour, I think it gives it a real heavy, metal look. After this I applied Mig pigments European dust liberally to the tyres, under the vehicle, and around the fenders and lower parts of the vehicle. After this I was left with only the odd rust streak to apply using a tiny spot of burnt umber oil paint under for example, a bracket, and then dragging it down using a clean brush to make it resemble a rust streak.in conclusion
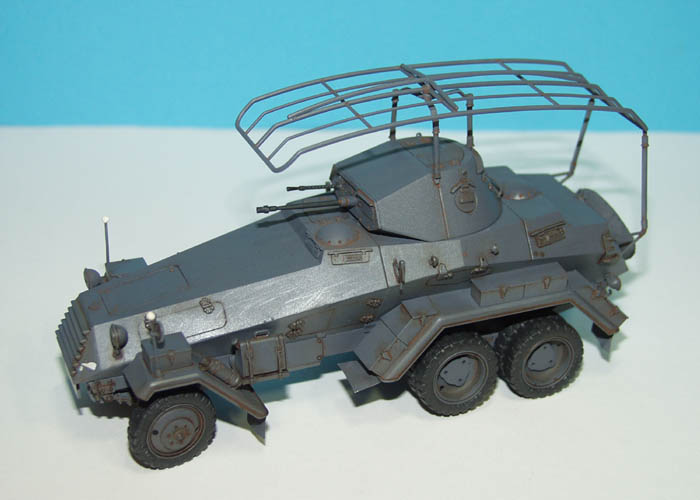
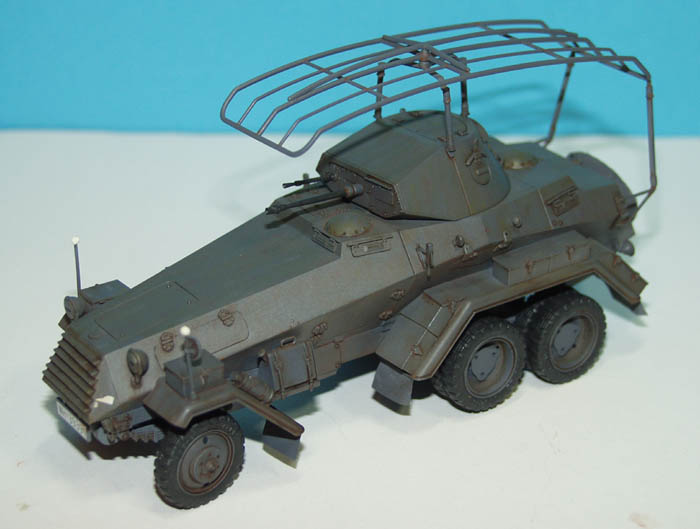
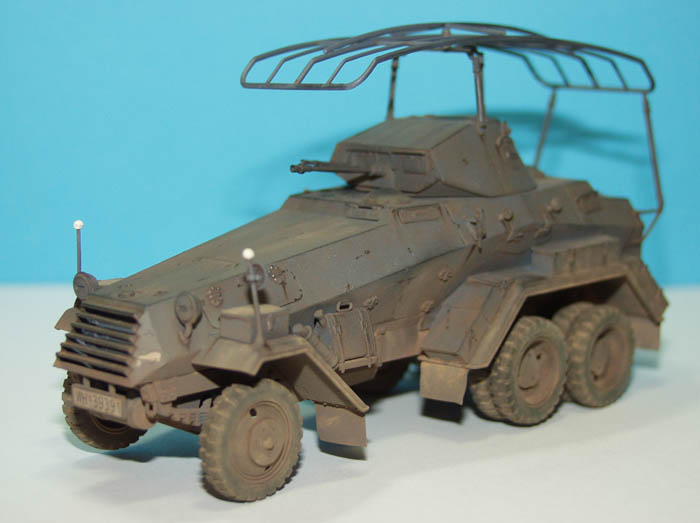
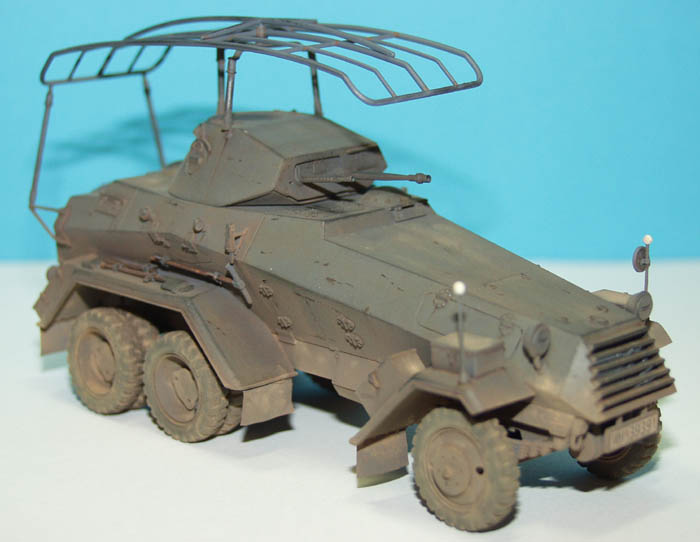
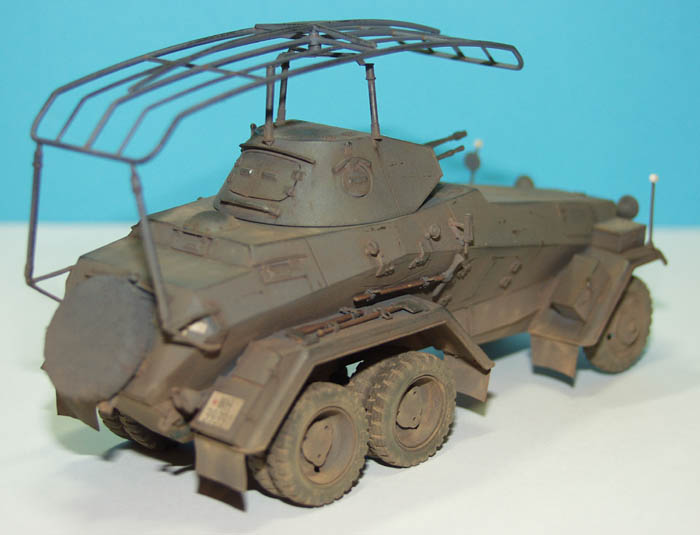
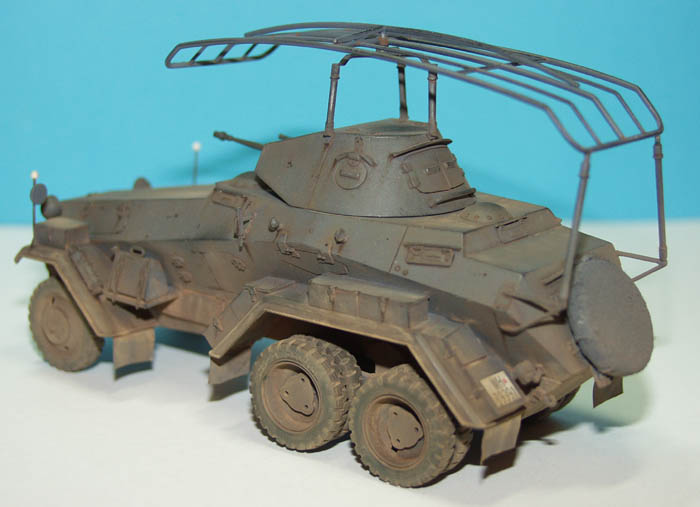
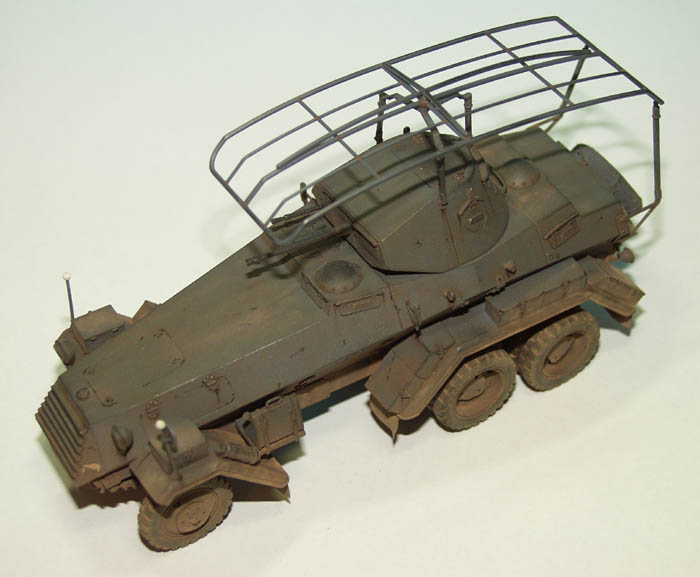
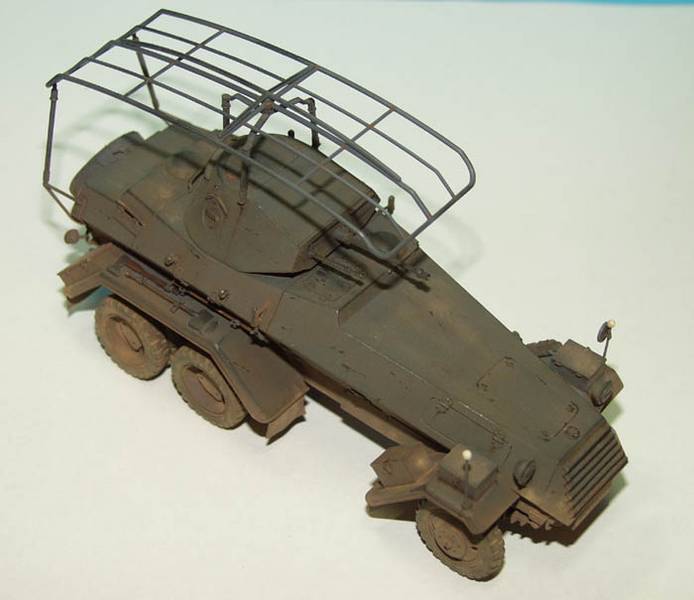
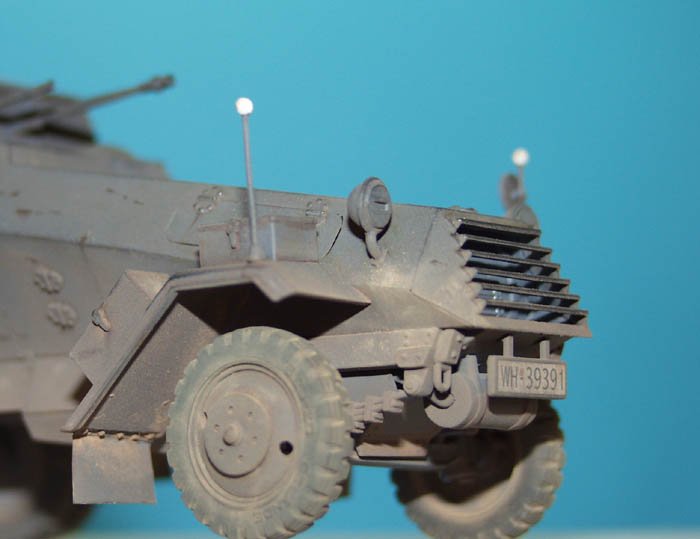
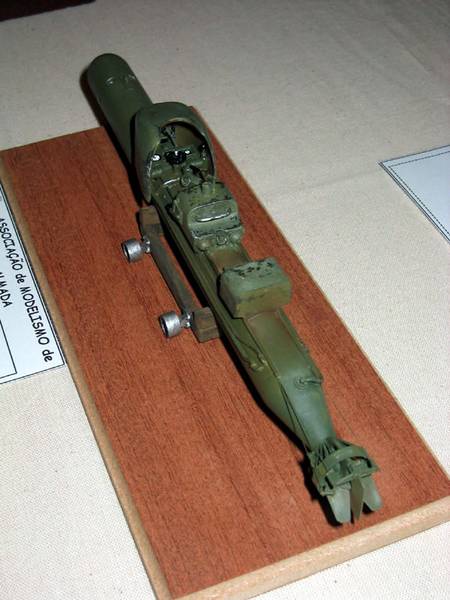
There you have it, the finished Italeri Sd.Kfz. 232 6-Rad. It makes into a decent looking kit at the end of the day, although it requires some work along the way. It is not up to the standard of the latest offerings from the likes of Trumpeter or Dragon, but Italeri are to be commended for their choice of subject, and it can look great if youre prepared to work at it!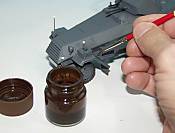 Adding A 'Pin' Wash
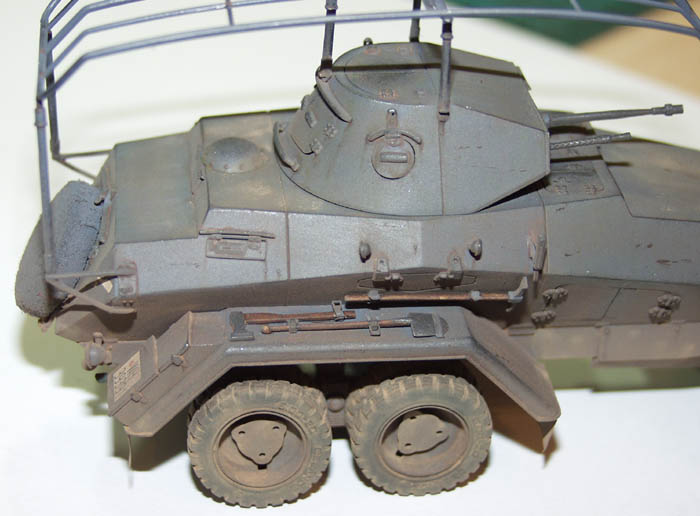
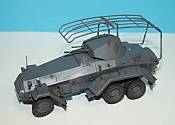 Pin Washed
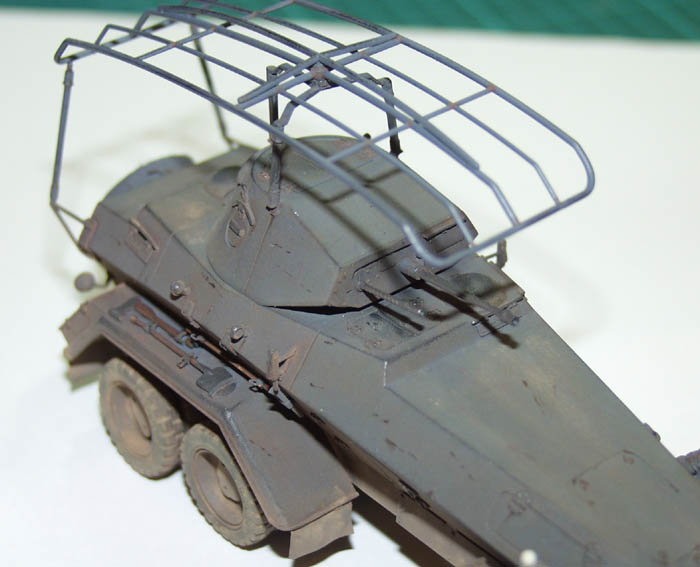
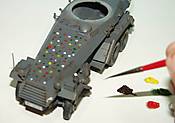 Applying Filters
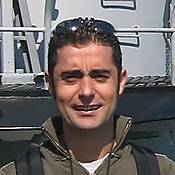
 Decals Added
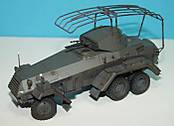 Dry Brushed with Black


About the Author


Comments


I agree, nice little build and article. Thanks for sharing Vinnie!
NOV 02, 2005 - 04:54 PM

Nice build Vinnie
As with Jim's AB41 build review , it seem italeri are really coming on strong.
And thankyou for explaining the oil paint spotting filter method , Ive heard of this before but was never sure exactly how to do it , now i cant wait to try it (on an old kit first though :-) )
Ian
NOV 02, 2005 - 05:40 PM

nice work there. it made very interesting reading.. I have this kit along with several other early german thingies that should be gray.. I may try your filter technique on one of them it looks interesting...
NOV 03, 2005 - 02:00 AM

Very nice article Vinnie, thanks for sharing. I have the same kit in the stock and your article will be very helpful.
NOV 03, 2005 - 08:33 PM

Great article Vinnie. Loads of good tips and things to be aware of in advance, and is exactly what is needed for anybody wishing to build this. If a good article means you are inspired enough to want to build the vehicle afterwards, then you succeded! Nice one.
NOV 03, 2005 - 11:18 PM
Great article Vinnie. Very nice build, very nice indeed.
Applying filters, using small dots of oil's, I definitely have to try.
NOV 03, 2005 - 11:23 PM
Excellent article Vinnie (and excellent 6 Rad too)
Skipper
EDIT: still on the filter technique:
You can also "cheat" on this using the base colour of the inicial spots according to the type of colour break that you need; meaning if you pretendo to have the top surfaces more "sun burned" white and yellow dots should be more - for areas where there's more darkened colours, reds and burned sienna outnumber the other colours.
This is great to break the monocromatic colours of some craft, vehicles whatever you are working on!
I don't want to change focus on Vinnie's 6 Rad but here are some examples:
NOV 04, 2005 - 12:01 AM

Nice article Vinnie, Ive been looking at this kit for a while i love those six and eight rads, also thanks for explaining the filter tech, now i understand how its done.
NOV 11, 2005 - 09:17 AM
Copyright ©2021 by Vinnie Branigan. Images and/or videos also by copyright holder unless otherwise noted. The views and opinions expressed herein are solely the views and opinions of the authors and/or contributors to this Web site and do not necessarily represent the views and/or opinions of Armorama, KitMaker Network, or Silver Star Enterrpises. All rights reserved. Originally published on: 2005-11-03 00:00:00. Unique Reads: 18131

WEB HOSTING BY


Copyright ©2021 Armorama and Kitmaker Network, a subsidiary of Silver Star Enterprises
All Rights Reserved. Please read our Conditions of Use and Privacy Policy.
All Rights Reserved. Please read our Conditions of Use and Privacy Policy.