

1⁄35Building the Eduard Hetzer!
11
Comments
detailing
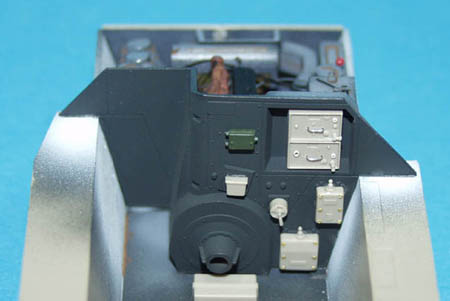
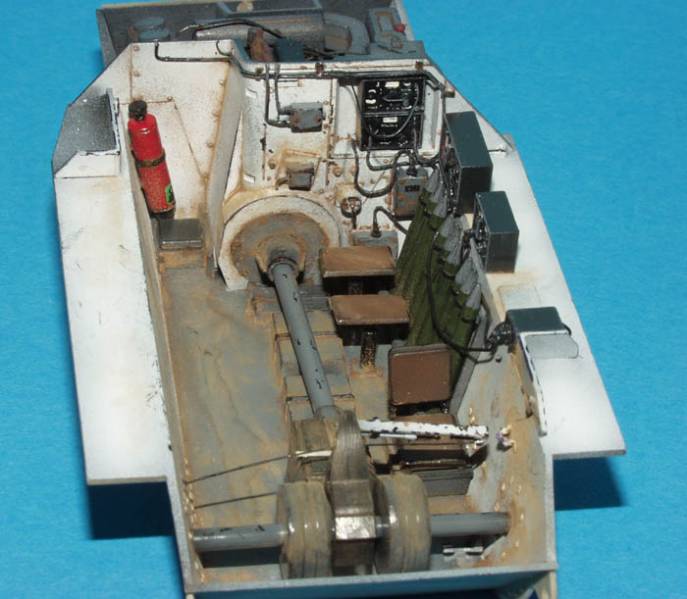
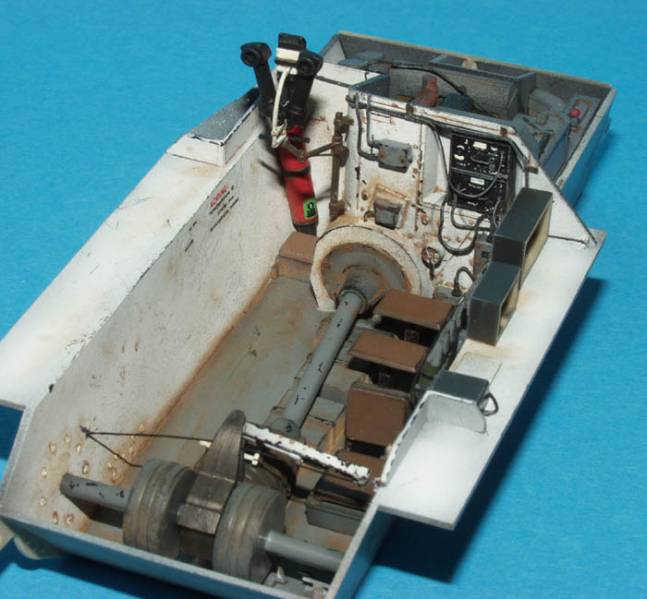
Construction continues with the crew compartment. On the rear of the engine firewall, there is a radio set fitted in a small recess, so I decided to add wiring etc. that with hindsight I feel I shouldnt have bothered with as very little is visible when the model is finished. That seemed a common theme as I continued the build, since very little of what I added could be seen at all at the end of the build! I even added various bolt heads along the inside of the hull walls. These proved not just difficult to see but totally impossible, but at least they gave me the chance to try out the Nutter! Ah well! The old adage... I know its there! Whilst building the crew compartment, youll find that part L11 on the instructions is actually part L46, and its here that I found the biggest problem with the kit. Misaligned mould halves. They plagued the kit. You are given a full load of ammunition for the racks that line the inside walls. Very little of this is actually useable. I began by trying to clean the seams off, but quickly gave up when I realised that I was only going to end up with oval shells or very thin ones! I sorted out the best few and positioned them so they wouldnt be a problem. As mentioned, the inside detail is very difficult to see anyhow, so leaving some of the racks empty turned out not to be a problem. Construction proceeded with all parts being painted and weathered separately before being installed in the hull tub. Various bits of wiring were added, to and from the junction boxes supplied by Eduard, and when all finished and the decals added, it certainly looked good, at least with the hull superstructure off! The drivers controls are supplied as an injection moulded piece or photo etch with a paper insert. I used the styrene one, which in my opinion looks just as good, and yes..... youve guessed it......once that hull top goes on youll never see it again anyway.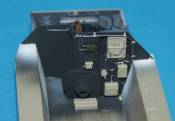 Added Wiring
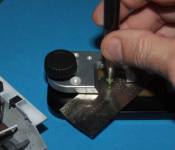 Using the Nutter
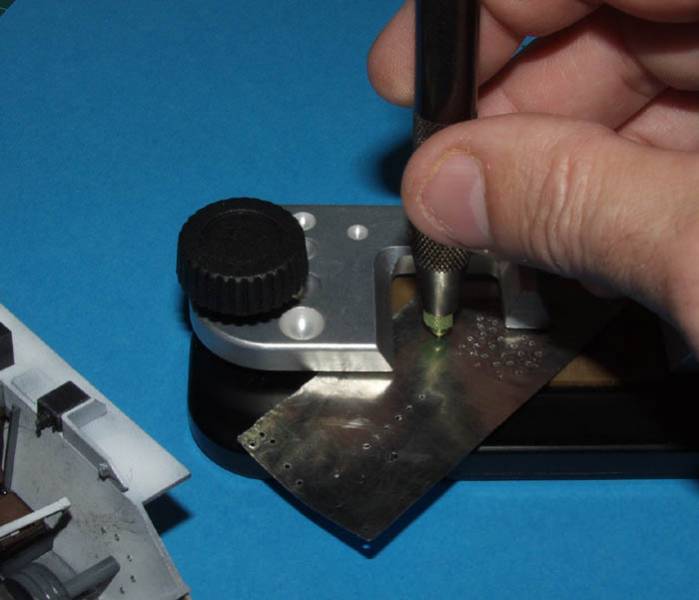
 Adding Bolts
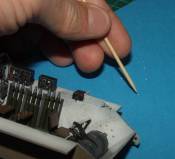 Adding bolts
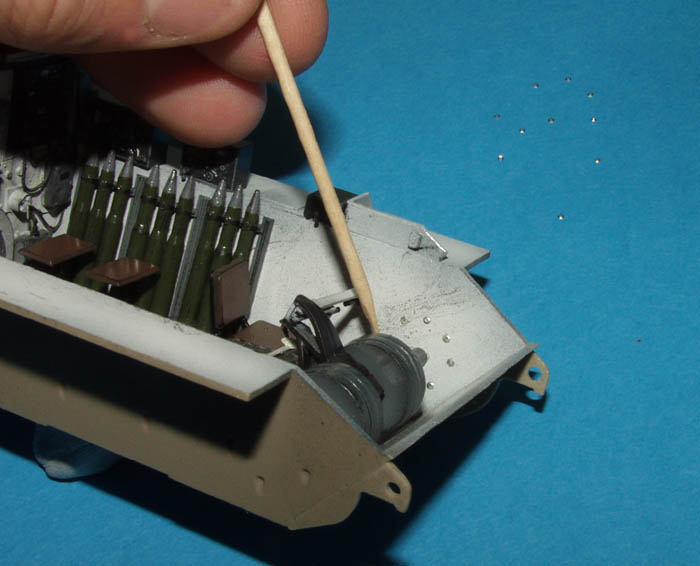
 Ammo Racks


About the Author


Comments

Hello vinnie,well you builds just get better
i do like this one,i was looking at your pics for some time thinking how the hell does he do it (lol).
i have to say its one of your best,how long did it take from start to finish?
big pat on the back mate,and thanks for shearing.
cheers karl
DEC 28, 2005 - 03:36 AM

Great Article there,
I esp enjoy those that show how you paint and finish a model like you did on this one as it helps all of us improve our skills.
Keep up the good work.
DEC 28, 2005 - 04:36 AM

Excellent build review, Vinnie ! Looks like a great kit to build. The Hetzer is one of my favorite AFV's and having a new-tool kit like this is awesome
Perfect timing too. I have had these on pre-order for some time now, and as of this coming Friday, I will have them in stock. In addtition to the Eduard Early Hetzer, I will have the new Late Hetzer kits in as well.
The world of 1/35th armor kits continues to enlighten us all
Cheers !!
Alpen
DEC 28, 2005 - 07:25 AM

Great work Vinnie, great interior...you've given me great reference material.... thanks..............
Frank
DEC 28, 2005 - 09:38 AM

Nice to see the your Hetzer finished Vinnie , great job as allways. Nice touch with the barbed wire on the rear hull.
It looks a great kit but it does seem wierd not including the PE for the schurzen ( maybe to keep the cost down on what is an allready pricey kit ) who knows
The instructions are a little vauge as you say , but then again anyone whos built a DML kit will be familiar with that
Ian
DEC 28, 2005 - 10:42 AM
Vinnie, these build stories are always great, you can learn so much from them. Keep 'em coming!
Thanks
Dave
PS: 600th post! At this rate, I'll be at 1000 by about, well, July.
DEC 30, 2005 - 02:52 AM

Finally got around to reading this Vinnie.....
Very nice article.....
DEC 30, 2005 - 05:19 PM

Hi Vinnie;
Is there any photos of the engine for the Hetzer that show proper wiring and placement of the wires themselves
Graham Ross
MAY 08, 2009 - 06:57 AM

Graham im affraid Vinnie is no longer with the site so you will have to sorce the photos somewhere else Im affraid.
MAY 08, 2009 - 10:49 AM
Copyright ©2021 by Vinnie Branigan. Images and/or videos also by copyright holder unless otherwise noted. The views and opinions expressed herein are solely the views and opinions of the authors and/or contributors to this Web site and do not necessarily represent the views and/or opinions of Armorama, KitMaker Network, or Silver Star Enterrpises. All rights reserved. Originally published on: 2005-12-28 00:00:00. Unique Reads: 32606

WEB HOSTING BY


Copyright ©2021 Armorama and Kitmaker Network, a subsidiary of Silver Star Enterprises
All Rights Reserved. Please read our Conditions of Use and Privacy Policy.
All Rights Reserved. Please read our Conditions of Use and Privacy Policy.