

1⁄35Building the Eduard Hetzer!
11
Comments
the fiddly bits!
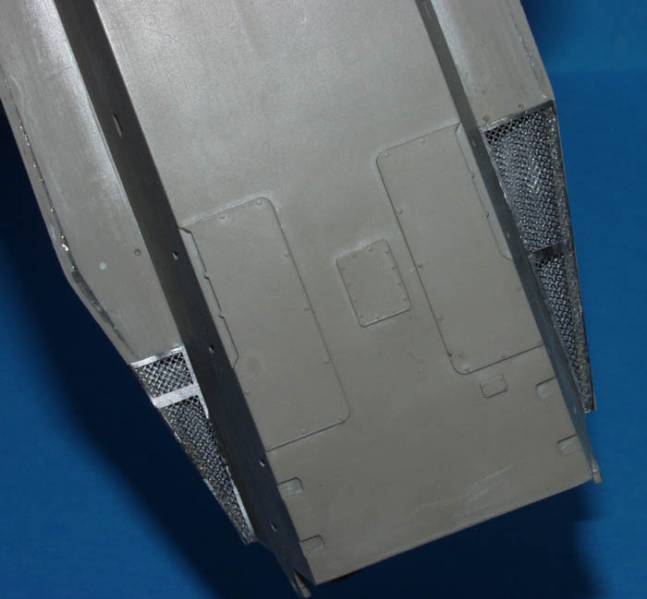
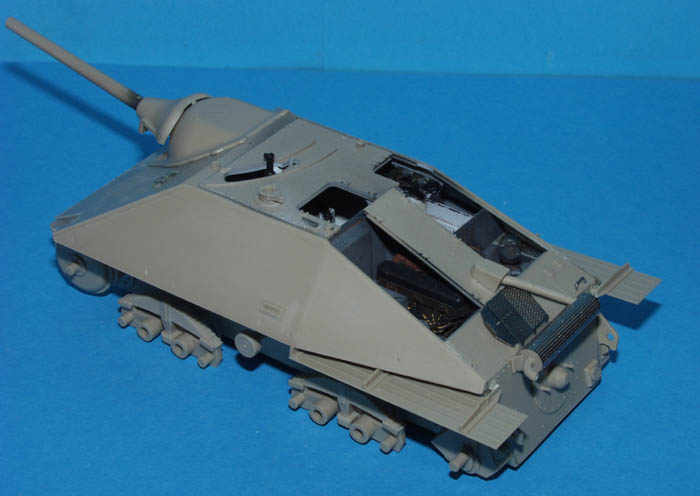
In the kit all the periscopes are supplied in transparent plastic, and so these had the lens areas masked off with some art masking fluid using a sharpened cocktail stick. When the upper hull was complete and the gun and all its associated mechanisms fitted, it was placed on the lower hull to see what fit problems I had to deal with. I have to say Eduard have done a great job here. The upper hull lowered into place perfectly, with everything lining up as it should, even the complicated sights for the gun peeking out of the exactly the right place in the roof, without any pushing being necessary! The fitting of all the tools are next. Eduard supply all the tool clamps as photo etch. Now this is something I like, but I realise that not all modellers like to mess around with etch tool clamps as they are sometimes very complicated to get looking right. They could have gone down the road other manufacturers have taken and provided tools with and without clamps. As it happens these are some of the easiest clamps I have fitted, just requiring bending and no complicate assembly. I did find it necessary at this point to cut a thin strip off both photo etched triangular engine grills as they were slightly too big and would have protruded slightly. I also fitted the rear fenders at this point, and again these are something I would have thought Eduard would have provided as photo etch along with the two small front fenders. There are numerous tools, brackets, and other bits and pieces that could have been left off the main structure for separate painting, but I decided to fit everything I could to the main hull and then paint them all in one go.the running gear
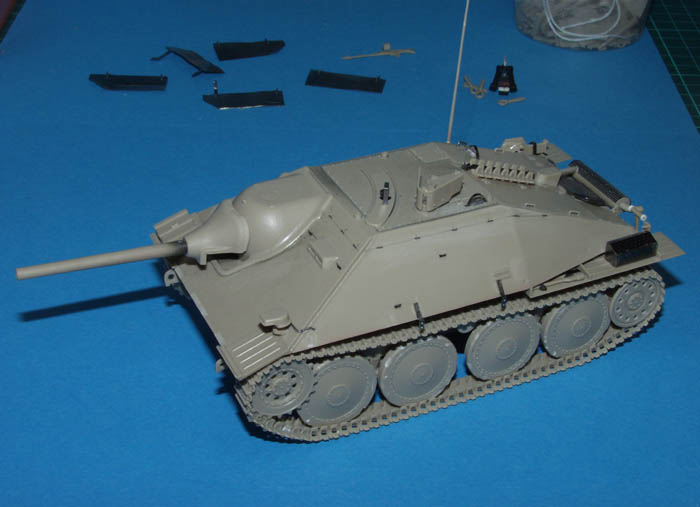
Next came the running gear. Eduard give very clear instructions for which sections of the link and length type tracks to use, and they fitted very well indeed without exception. I had decided to fit all the running gear before painting also, as I find this the easiest way to paint this type of track. Be careful to cut of the small tabs of styrene that cover the outside of the guide horns on some of the sections as these are artefacts of the moulding process and not meant to be on the finished track. I added a wire to the Notek light on the front of the hull, and replace the antennae with some stretched sprue since I thought the kit-supplied one a little too thick. Since I had decided to use the Eduard photo etch schurzen I left off the brackets as new ones are supplied in the set, and these obviously wouldnt be fitted until after painting. Inside Upper Hull
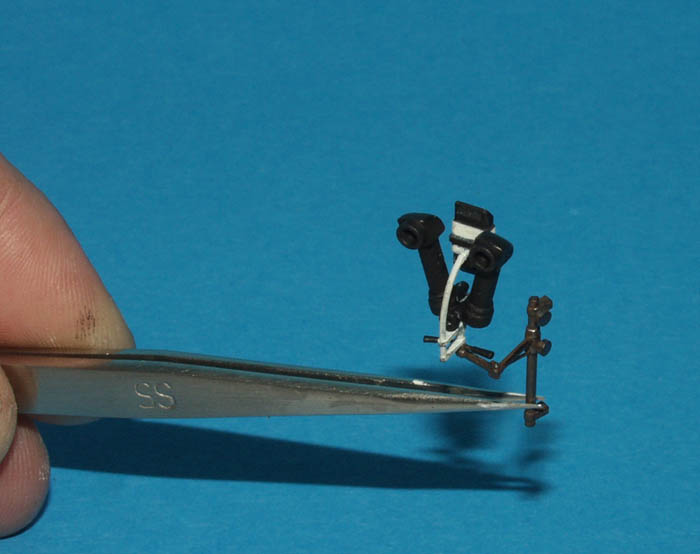
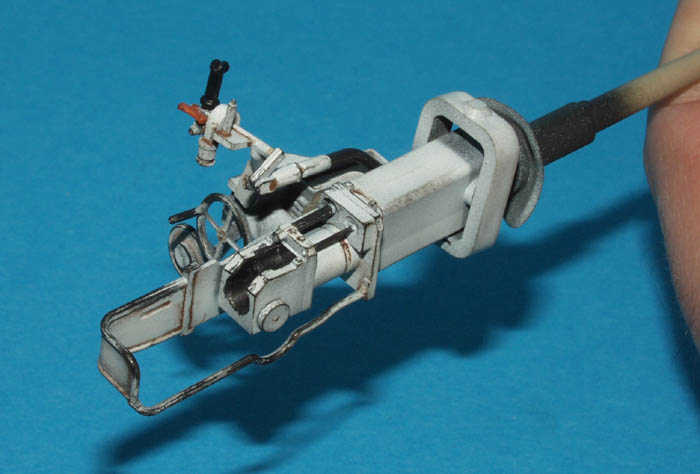
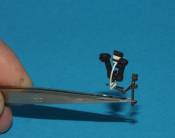 Rabbits Ears Scope
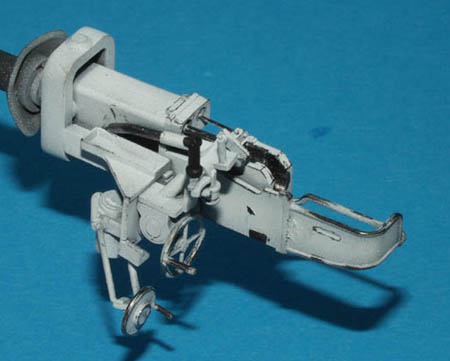
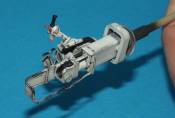 Gun Assembly
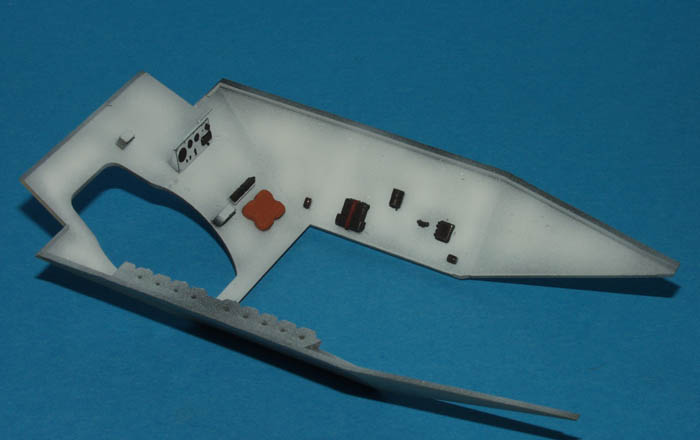
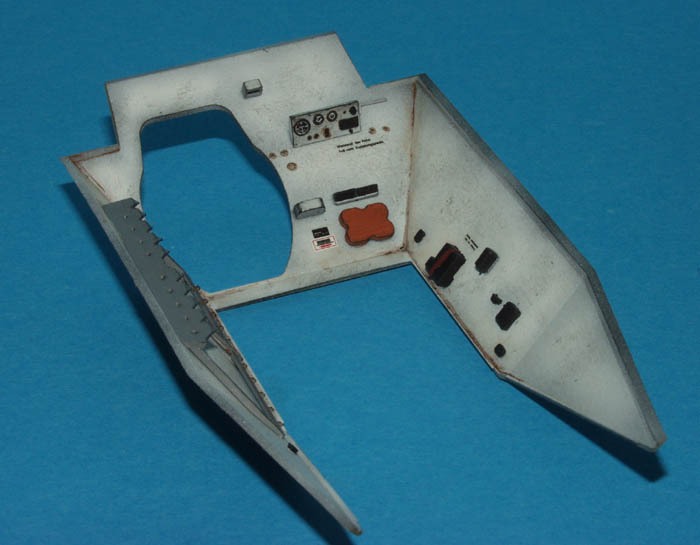
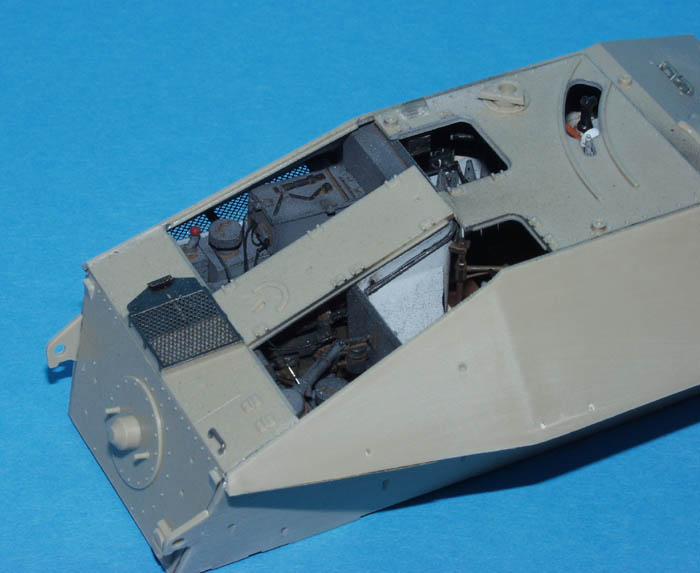
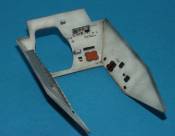 Upper Hull - Inside
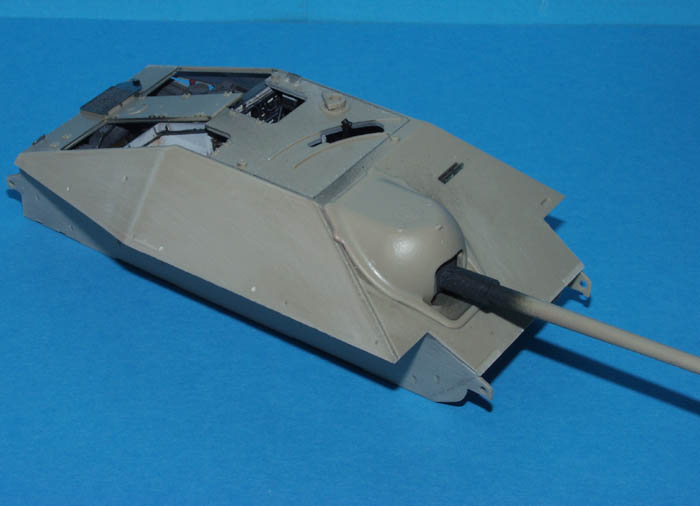
 Hull Complete
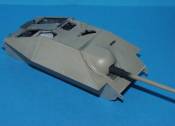 Hull Complete
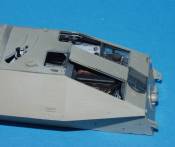 Rear Hull


About the Author


Comments
Hello vinnie,well you builds just get better
i do like this one,i was looking at your pics for some time thinking how the hell does he do it (lol).
i have to say its one of your best,how long did it take from start to finish?
big pat on the back mate,and thanks for shearing.
cheers karl
DEC 28, 2005 - 03:36 AM

Great Article there,
I esp enjoy those that show how you paint and finish a model like you did on this one as it helps all of us improve our skills.
Keep up the good work.
DEC 28, 2005 - 04:36 AM

Excellent build review, Vinnie ! Looks like a great kit to build. The Hetzer is one of my favorite AFV's and having a new-tool kit like this is awesome
Perfect timing too. I have had these on pre-order for some time now, and as of this coming Friday, I will have them in stock. In addtition to the Eduard Early Hetzer, I will have the new Late Hetzer kits in as well.
The world of 1/35th armor kits continues to enlighten us all
Cheers !!
Alpen
DEC 28, 2005 - 07:25 AM

Great work Vinnie, great interior...you've given me great reference material.... thanks..............
Frank
DEC 28, 2005 - 09:38 AM

Nice to see the your Hetzer finished Vinnie , great job as allways. Nice touch with the barbed wire on the rear hull.
It looks a great kit but it does seem wierd not including the PE for the schurzen ( maybe to keep the cost down on what is an allready pricey kit ) who knows
The instructions are a little vauge as you say , but then again anyone whos built a DML kit will be familiar with that
Ian
DEC 28, 2005 - 10:42 AM
Vinnie, these build stories are always great, you can learn so much from them. Keep 'em coming!
Thanks
Dave
PS: 600th post! At this rate, I'll be at 1000 by about, well, July.
DEC 30, 2005 - 02:52 AM

Finally got around to reading this Vinnie.....
Very nice article.....
DEC 30, 2005 - 05:19 PM

Hi Vinnie;
Is there any photos of the engine for the Hetzer that show proper wiring and placement of the wires themselves
Graham Ross
MAY 08, 2009 - 06:57 AM

Graham im affraid Vinnie is no longer with the site so you will have to sorce the photos somewhere else Im affraid.
MAY 08, 2009 - 10:49 AM
Copyright ©2021 by Vinnie Branigan. Images and/or videos also by copyright holder unless otherwise noted. The views and opinions expressed herein are solely the views and opinions of the authors and/or contributors to this Web site and do not necessarily represent the views and/or opinions of Armorama, KitMaker Network, or Silver Star Enterrpises. All rights reserved. Originally published on: 2005-12-28 00:00:00. Unique Reads: 32606

WEB HOSTING BY


Copyright ©2021 Armorama and Kitmaker Network, a subsidiary of Silver Star Enterprises
All Rights Reserved. Please read our Conditions of Use and Privacy Policy.
All Rights Reserved. Please read our Conditions of Use and Privacy Policy.