

1⁄35Building the Eduard Hetzer!
11
Comments

painting & weathering
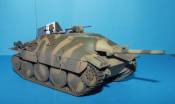
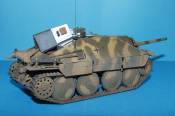
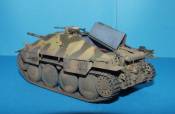
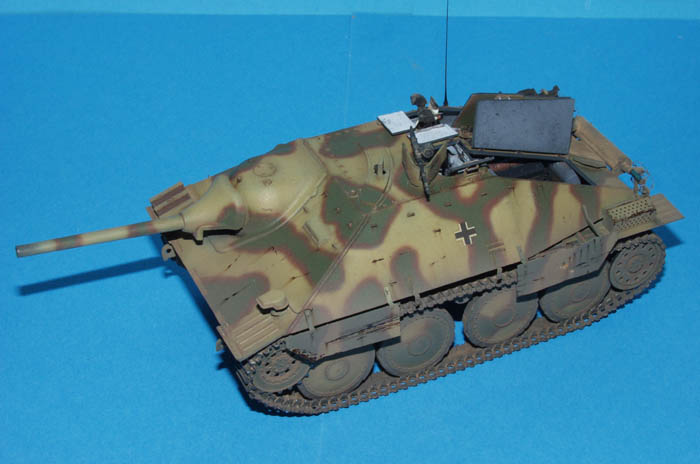
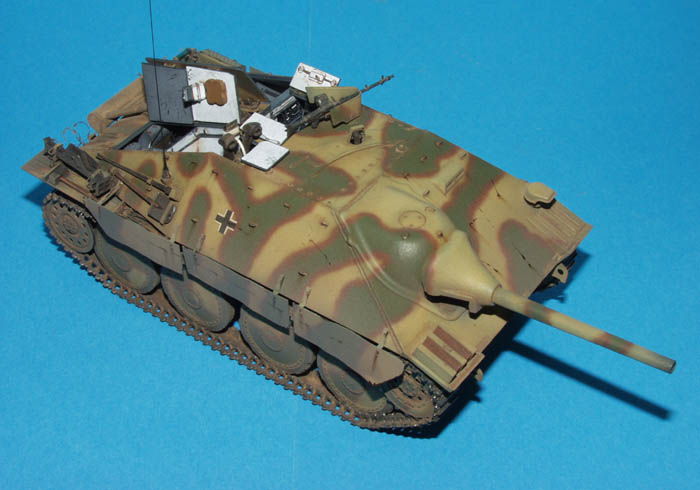
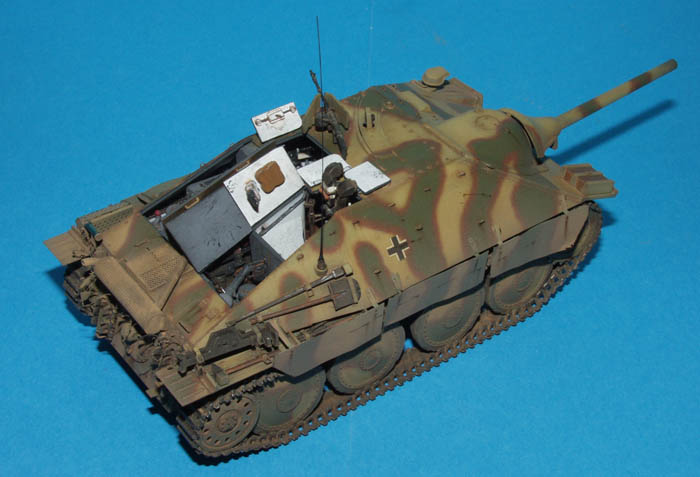
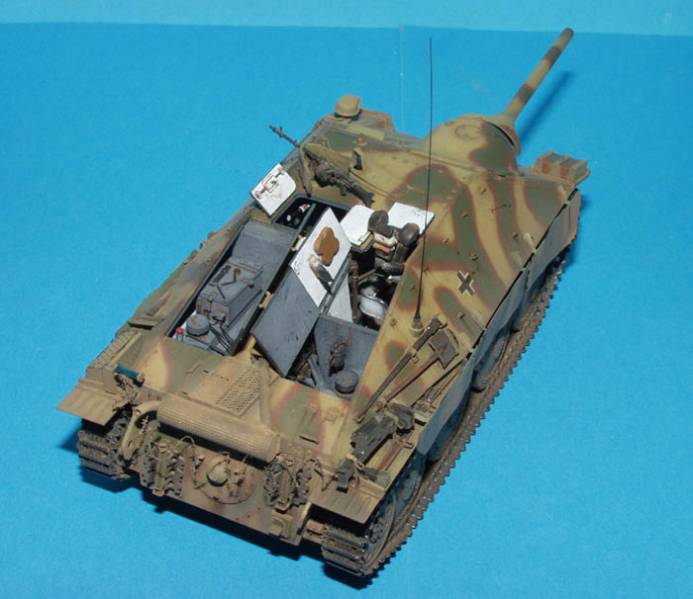
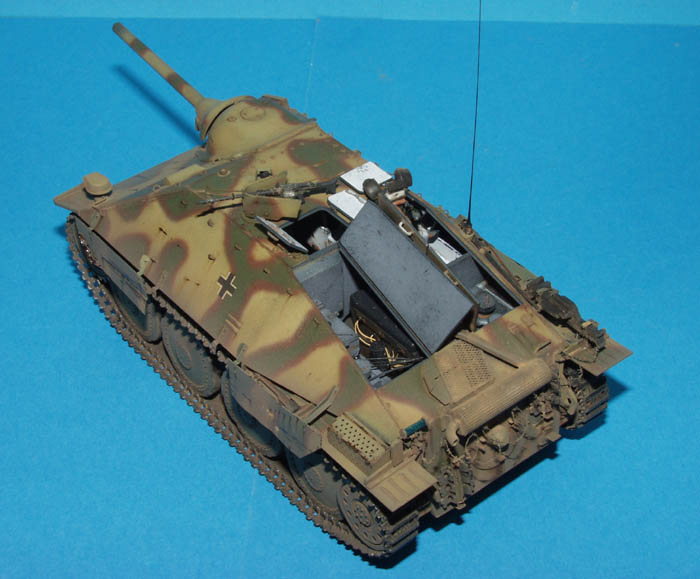
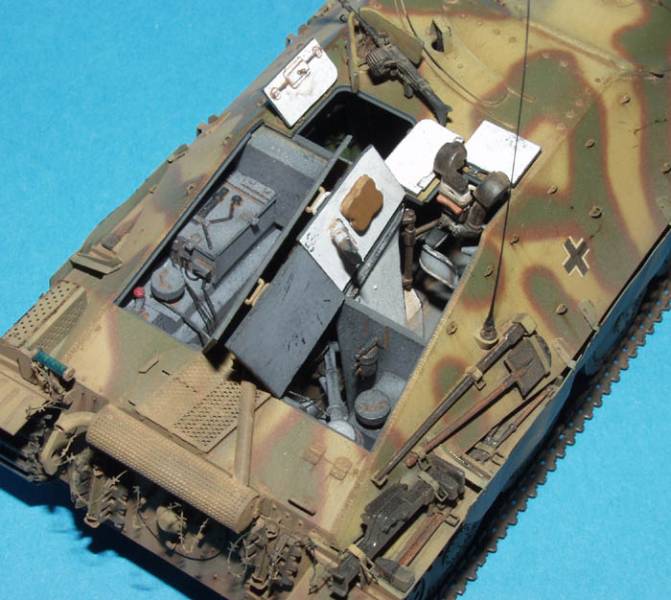
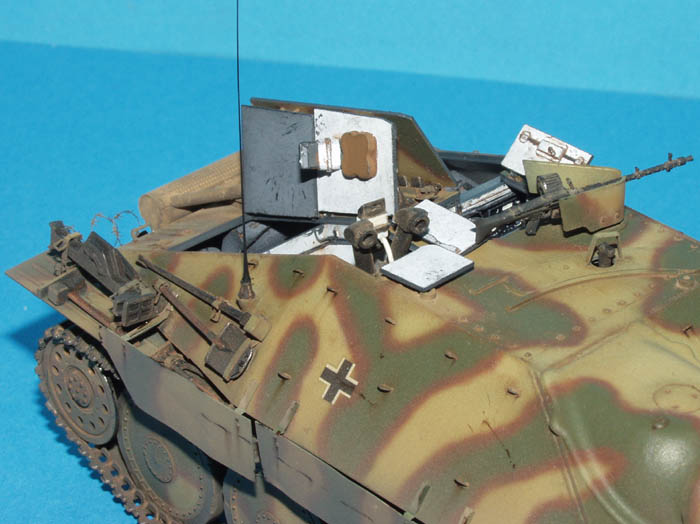
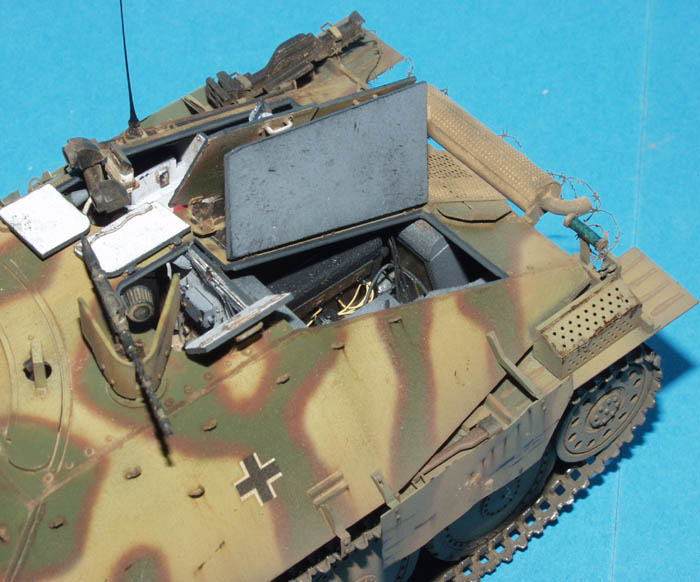
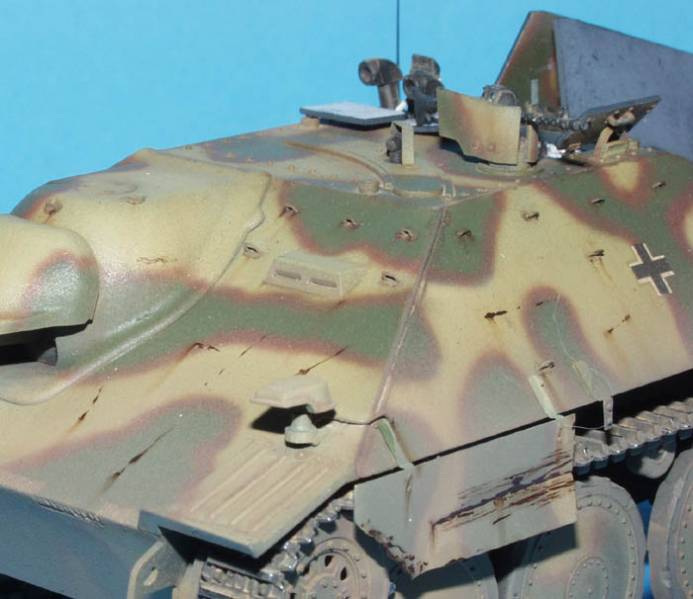
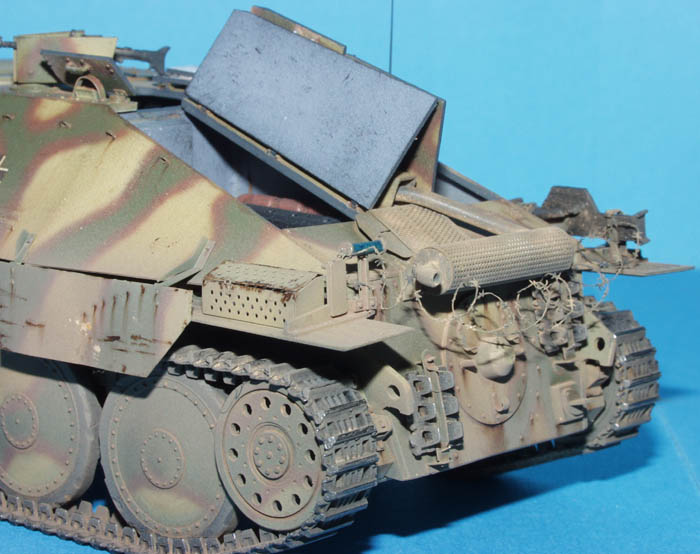
The model was complete, except for the MG34 and all the side schurzen. All the hatches were held in place by very thin sausages of blutack inside the hatches. I gave the model an all over coat of Tamiya Nato black XF-69, followed by a light misting of Tamiya XF-60 Dark Yellow. Then the dark yellow was reapplied in a heavier coat towards the centre of panels and around details etc. Then it was time to apply the camouflage scheme. I had decided to go with the first version in the marking schemes offered by Eduard, that is a Hetzer of Pz.Jg.Abt.743. This was the one eventually captured and remarked by Polish insurgents, but since I wanted to include this Hetzer in a diorama setting later I went with the scheme of its original owners. There is some argument as to whether this scheme consisted of irregular brown patches with a green outline or green patches with a brown outline....I decided to go with the latter. With the air pressure turned up and the paint turned down, I applied the patches to closely resemble those on the Eduard instructions, using Tamiya XF-67 Nato Green. The outlines in brown were also airbrush applied using Tamiya XF-68 Nato Brown. Then all the details were brush painted using Vallejo acrylics, and the whole vehicle given an all over coat of Tamiya X-22 Gloss Varnish in preparation for decals and weathering. Initial weathering consisted of a pin wash of burnt umber oil heavily diluted in white spirit. This was applied with the tip of a very fine brush and allowed to flow around the rivets and details etc. The gloss coat helps this as without it, the matt paint tends to act in a similar way to blotting paper, and any wash applied tends to spread out. When this was complete a liberal dusting with Mig pigments P028 European Dust was applied, especially to the tracks. A flat wide brush, dampened with white spirit was then used to drag the dust downwards and give the appearance of streaks. The whole vehicle was then sprayed with Hannants Xtracrylix flat varnish. The schurzen were at this point unpainted, and needed to be temporarily attached to mark out the camouflage scheme. This was done and then the side schurzen were painted in the same way and attached permanently. The vehicle was then given a light dusting with Tamiya XF-52 Flat Earth, more heavily applied towards the bottom of the vehicle, before adding scratches etc. using neat burnt umber oil paint and dragging it down at random to represent rust streaks.in conclusion
There you have it. Displayed with the hatches open it looks quite impressive, although not much of that interior can actually be seen clearly. There are things that could be improved by Eduard, such as the inclusion of the photo etched schurzen, and I must admit to being puzzled as to why one of the premier photo etch companys cant include things like photo etched fenders, which the sort of fenders in this kit lends themselves to. It is an expensive kit, but I do like the finished result! Thankyou to Eduard for the sample.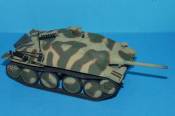 Camouflage Applied Right
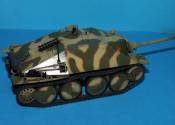 Gloss Applied
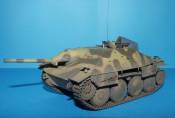


About the Author


Comments
Hello vinnie,well you builds just get better
i do like this one,i was looking at your pics for some time thinking how the hell does he do it (lol).
i have to say its one of your best,how long did it take from start to finish?
big pat on the back mate,and thanks for shearing.
cheers karl
DEC 28, 2005 - 03:36 AM

Great Article there,
I esp enjoy those that show how you paint and finish a model like you did on this one as it helps all of us improve our skills.
Keep up the good work.
DEC 28, 2005 - 04:36 AM

Excellent build review, Vinnie ! Looks like a great kit to build. The Hetzer is one of my favorite AFV's and having a new-tool kit like this is awesome
Perfect timing too. I have had these on pre-order for some time now, and as of this coming Friday, I will have them in stock. In addtition to the Eduard Early Hetzer, I will have the new Late Hetzer kits in as well.
The world of 1/35th armor kits continues to enlighten us all
Cheers !!
Alpen
DEC 28, 2005 - 07:25 AM

Great work Vinnie, great interior...you've given me great reference material.... thanks..............
Frank
DEC 28, 2005 - 09:38 AM

Nice to see the your Hetzer finished Vinnie , great job as allways. Nice touch with the barbed wire on the rear hull.
It looks a great kit but it does seem wierd not including the PE for the schurzen ( maybe to keep the cost down on what is an allready pricey kit ) who knows
The instructions are a little vauge as you say , but then again anyone whos built a DML kit will be familiar with that
Ian
DEC 28, 2005 - 10:42 AM
Vinnie, these build stories are always great, you can learn so much from them. Keep 'em coming!
Thanks
Dave
PS: 600th post! At this rate, I'll be at 1000 by about, well, July.
DEC 30, 2005 - 02:52 AM

Finally got around to reading this Vinnie.....
Very nice article.....
DEC 30, 2005 - 05:19 PM

Hi Vinnie;
Is there any photos of the engine for the Hetzer that show proper wiring and placement of the wires themselves
Graham Ross
MAY 08, 2009 - 06:57 AM

Graham im affraid Vinnie is no longer with the site so you will have to sorce the photos somewhere else Im affraid.
MAY 08, 2009 - 10:49 AM
Copyright ©2021 by Vinnie Branigan. Images and/or videos also by copyright holder unless otherwise noted. The views and opinions expressed herein are solely the views and opinions of the authors and/or contributors to this Web site and do not necessarily represent the views and/or opinions of Armorama, KitMaker Network, or Silver Star Enterrpises. All rights reserved. Originally published on: 2005-12-28 00:00:00. Unique Reads: 32606

WEB HOSTING BY


Copyright ©2021 Armorama and Kitmaker Network, a subsidiary of Silver Star Enterprises
All Rights Reserved. Please read our Conditions of Use and Privacy Policy.
All Rights Reserved. Please read our Conditions of Use and Privacy Policy.