 |
Part 3 : Adding more Track |
Once that is dry, I build another flat section of
track about 10 links long (figure 3.1). I take the dried section off the
sprocket and glue the new section to it. I let it sit for about 1 min. You
can see in the picture how I used a bottle of paint to help hold up the
curved dry section (figure 3.2).
Then I put the track back on the sprocket and put the sprocket with the
track on it on the model (figure 3.3).
Then I bend the track however I want it (figure 3.4).
I let that sit for 1 hour before I continue. When it's dry I make another
section of track 10 links long and add it to the already dried tracks, the
same way as mentioned above.
 |
Part 4 : Extending Track from Drive Wheel to Road
Wheels |
I like to build the top section of a track first but
here I built the section that finishes the track on the sprocket and goes
under the road wheels first (figure 4.1). This helps to hold the drive
sprocket in place (figure 4.2 and 4.3). Continue by clicking the forward arrow below. Copyright ©2002 - Text and
Photos by Bob Lester (Sohcahtoa) All Rights Reserved. |
| Project Photos
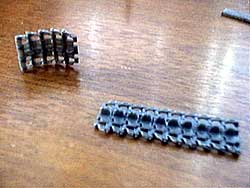
figure 3.1
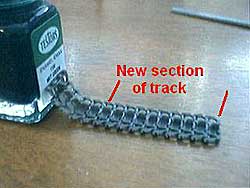
figure 3.2
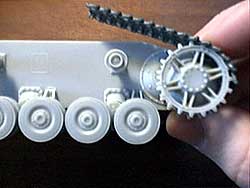
figure 3.3

figure 3.4

figure 4.1
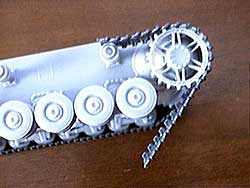
figure 4.2
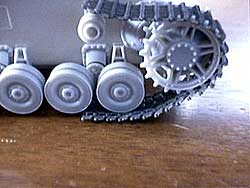
figure 4.3
|
 |
Copyright ©2021 by Bob Lester. Images and/or videos also by copyright holder unless otherwise noted. The views and opinions expressed herein are solely the views and opinions of the authors and/or contributors to this Web site and do not necessarily represent the views and/or opinions of Armorama, KitMaker Network, or Silver Star Enterrpises. All rights reserved.


