1⁄35Make Tracks!
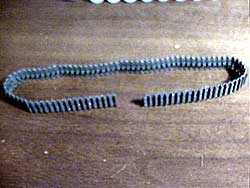
Now the track is almost done, except for a few links at the bottom (figure
7.1).
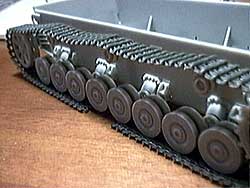
I always finish at the bottom on purpose because sometimes you get fitting
problems at this stage. Sometimes adding an extra link is too much and makes
the tracks look loose and sometimes taking one away makes them too short
(figure 7.2).
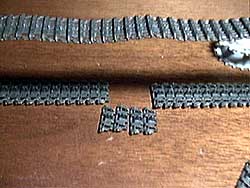
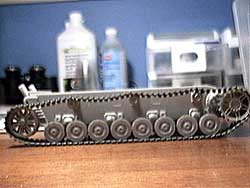
Here I just had to guess how many links would finish the track (figure 8.1). I tried 4 (figure 8.2), but found when I put the track on the model it was too short and the newly glued links broke apart (figure 8.3). This is ok at this stage, I just took the track back off and added one more link. This fixed the problem.
Painting the tracks is simple compared to all the other parts of
the construction. If you followed the instructions carefully you
should be able to get the entire built track off the model, which
makes for easy painting and detailing. For German tracks I use
Tamiya’s XF-64 Red Brown, which best matches the colour
they would have been during WW2. The paint is applied with
an airbrush at a fairly high psi. Once the tracks are painted I
give them a wash using red oil paint followed by another wash
with brown oil paint. I have found that to get the best results I
apply the wash and then tap the whole track a few times on a
hard surface. This works well to remove any of the excess
wash. Once that’s all done I do some dry-brushing to all raised
areas. The amount of dry-brushing depends on what particular
model you are doing and your personal preference. Copyright ©2002 - Text and Photos by Bob Lester (Sohcahtoa) All Rights Reserved. |
|


