

1⁄35Panzer IV D
11
Comments
stages 13 to 20
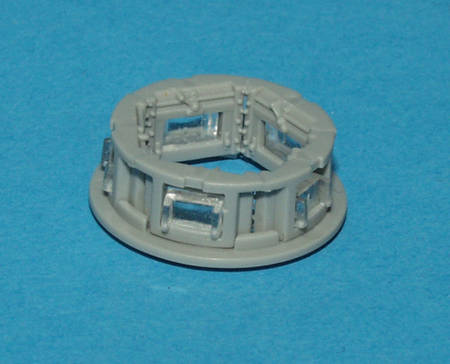
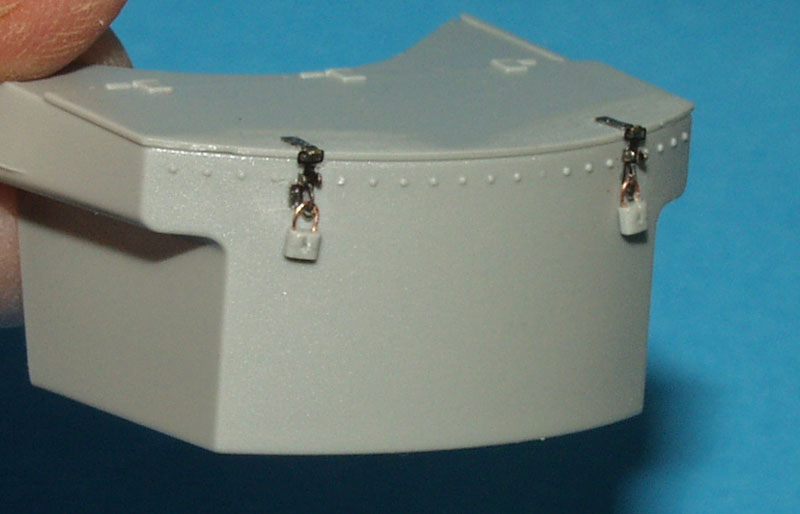
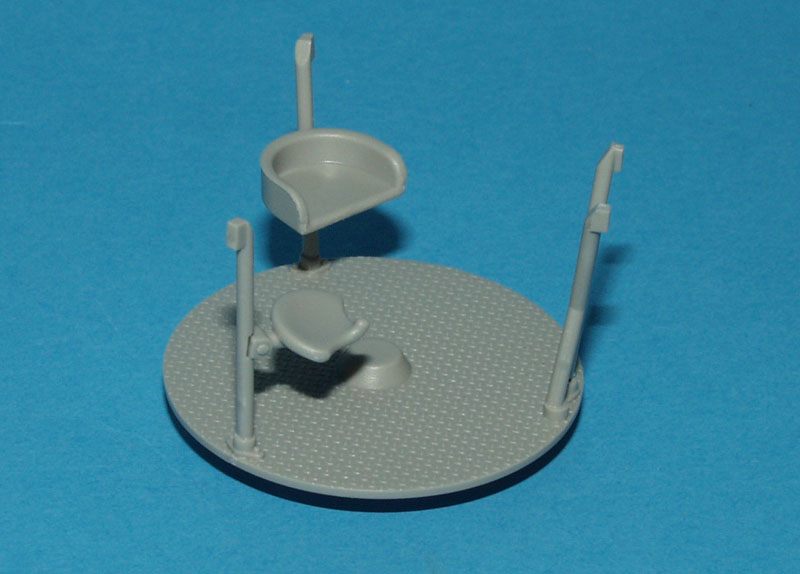
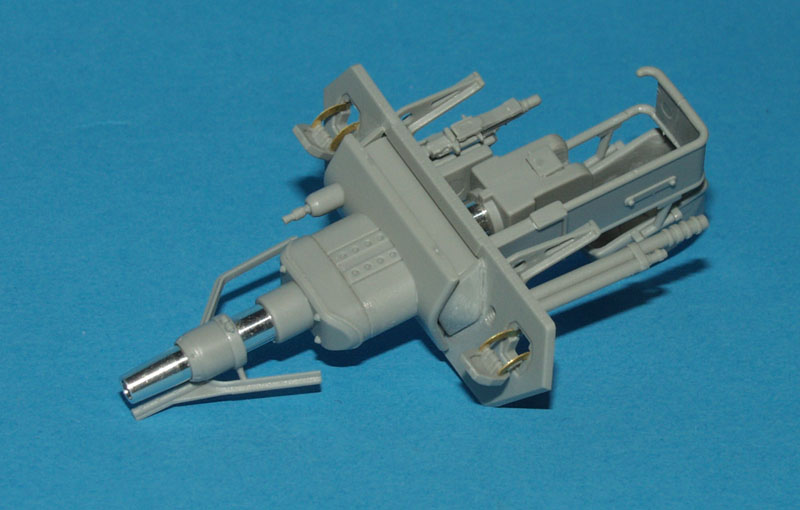
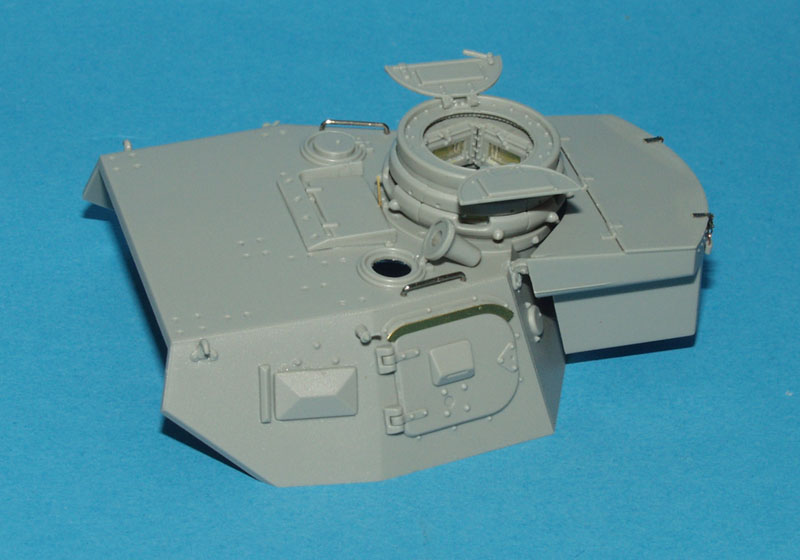
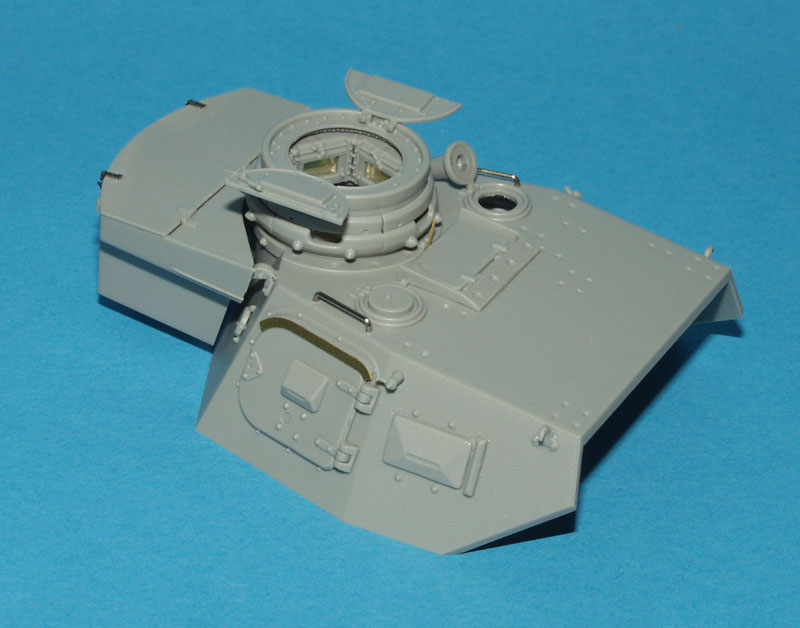
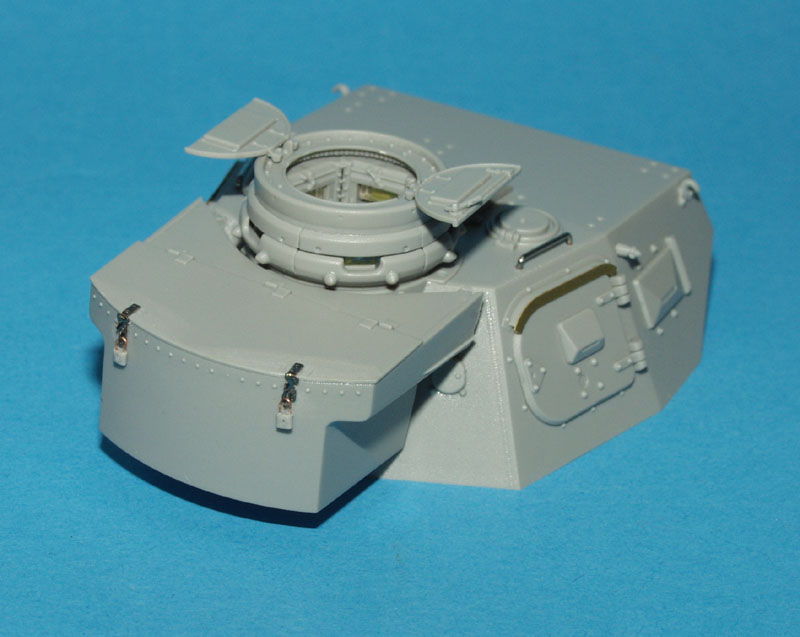
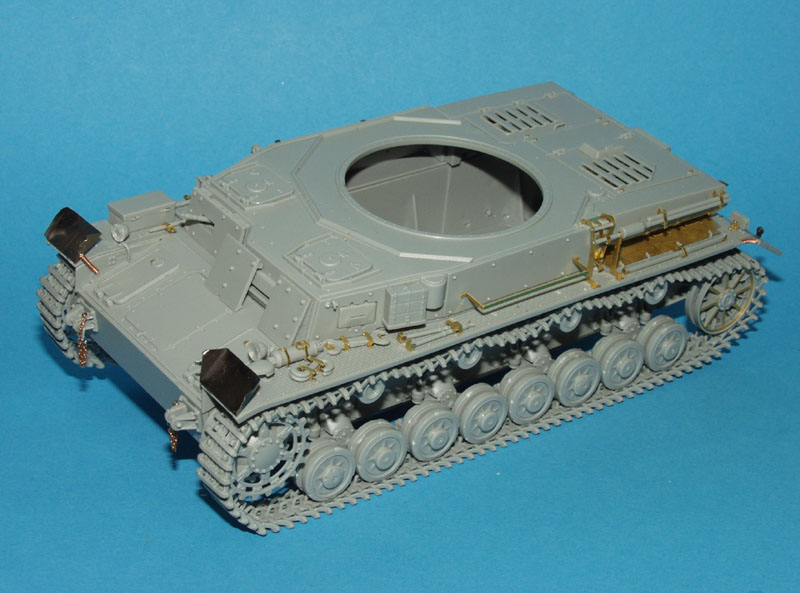
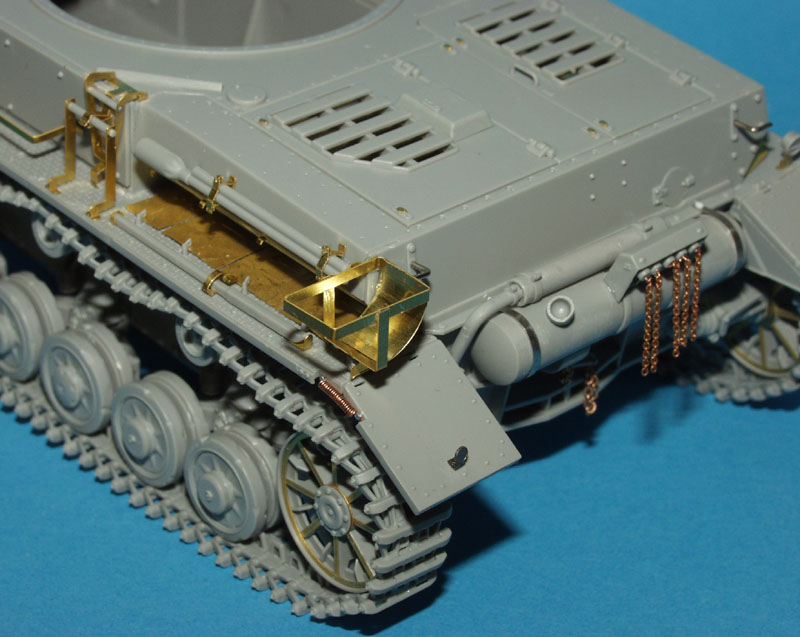
These stages deal mainly with the construction of the turret, exhaust assembly, and tracks. To begin with the cupola has to be assembled. This is a work of art. The vision ports are all supplied in clear plastic, and fit in a ring around the hatch itself. Then they can be displayed open or closed, and of course the hatch itself has full interior detail. I built the main inner ring with the clear blocks in place, and then before fitting the rest together I used a toothpick and some masking fluid to mask off both the inner and outer surfaces of the blocks. After painting later, the masking fluid would be easy to remove with another toothpick even through the smallest opening. The stowage bin on the rear of the turret is detailed even on the underside of the lid, which opens up some nice possibilities, even though I had planned to have mine closed. The hasps on the lid were another story though . This is not the first time I have tried to make these according to Dragons instructions. Take my advice ..dont. The styrene padlocks are great! Use a 0.2 mm drill for the keyhole in them and they cant be beat for appearance. There was no way however, that I could get the hasps to look right, or the padlock bar itself. In the end I again turned to the Eduard set, and the hasps in this are incredible. They look perfect! For the padlock bar itself I used a short length of fine copper wire. Stage 14 begins the construction of the turret basket. I was worried about this, since after construction it has to lock into the guide, cemented earlier to the hull floor. However, if you follow the instructions carefully, everything just falls into place perfectly. Since the turret basket has to be fitted to the turret itself it seemed appropriate to paint it before attaching it. I gave it a basecoat of dark grey, before applying a light coat of a custom acrylic mix to represent red oxide. I then stippled it with masking fluid using a torn piece of scotchbrite, and also covered the entire floor with masking fluid, before spraying with white. The construction of the main gun proceeded as per the instructions. Dragon offer a very difficult choice here, since they supply an aluminium barrel and a styrene one, unfortunately the metal one does not have rifling whilst the plastic one does. I elected to use the metal one anyway. The inside of the turret and the main gun breech assembly both received the same treatment with a dark grey basecoat, followed by a coat of white. I didnt bother with weathering the inside of the turret since not much of it would be visible once the model was complete. It should also be noted here that part J38 in step 19 ahould actually read J28. The chains on the smoke candle rack were again replaced with real chain, and the brackets holding the exhaust to the rear plate were replaced with new foil ones. Although there is a former included in the kit for achieving the correct sag of the track, I elected not to use this, instead I built the two required track lengths, brushed liquid poly cement into the join between links, and before they had completely set I applied them to the wheels. The tracks are right and left-handed, but you would need a magnifying lens to tell the difference between the two of them.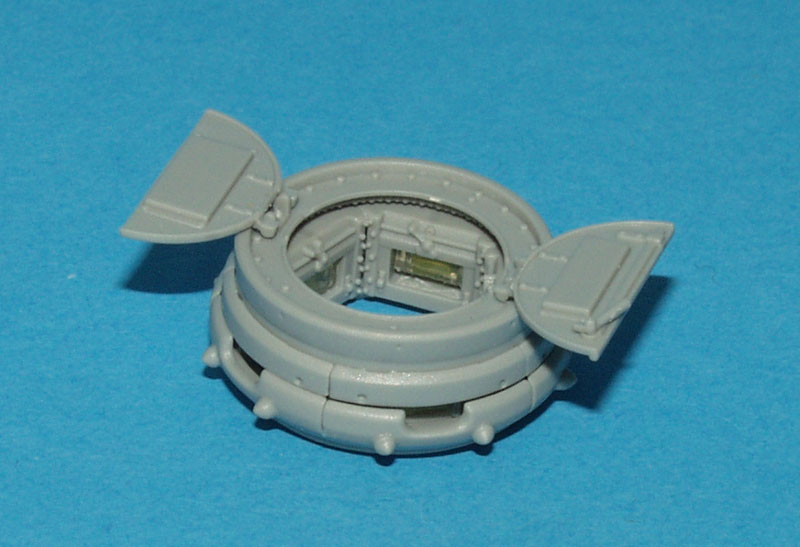

About the Author


Comments

Excellent Vinnie. This will be handy when building the kit. The finish and weathering look great. Another nice model for your collection.
What chain did you use, (Links per inch) and where did you get it? I agree that etched chain does not look the part .. I´d rather go with some slightly out of scale chain instead!
APR 29, 2006 - 05:08 AM

Amazing work as allways Vinnie
Thanks for the tips and hints , it will be great help as im building a DML Panzer IV as we speak
Ian
APR 29, 2006 - 05:09 PM

Thanks for the Review. Looks great & you make it seem so easy. So, Like I could do it in a weekend right? :-) :-) :-)
APR 29, 2006 - 06:48 PM

Brilliant Vinnie,
another first class build,the weathering is top notch.
I think the D.A.K tanks with the yellow over grey are one of the most difficult to get right,and you got it spot on
Is this going in a dio? with a zundapp :-) :-) ???
Must do one of these IV's soon, what one?,B,C,D, Vorpanzer...aaahhhh can't choose :-) :-) but when I do I will follow your review
Cheers mate
Andy
APR 30, 2006 - 12:07 AM

LOved the article Vinnie!! Especially since I am in the throes of building the Tristar version. So many parts, so many opportunities to goof. Glad to see I'm not the only one having a few difficulties. What I found amazing is that areas I have struggled with are the same ones you had problems with even though they are different brands....hhmmmm. My biggest complaint on the Tristar is that in several areas it is not clear how parts are suppossed to go togehr and that has caused me the most problems. LIke that chain, I use the stuff for anchor chain on my 350 scale ships, I'll have to see if what I have can be used to substitute or go fid some finer chain soeplace
APR 30, 2006 - 12:49 AM

Vinnie i can say only one thing, "damn good job " sir.
And also a perfect review.
043
APR 30, 2006 - 12:57 AM
Steve, I get some strange looks when going in cheap girly accessory shops looking for earings with very fine chain,and tell the nosey assistants "They not for me,they for my model tank!!" :-) :-) :-)
APR 30, 2006 - 01:35 AM

[quote]Here''s a full build of the DML Panzer IV Ausf.D, finished in tropical scheme!
Vinnie
Please forgive my lack of knowledge....
But which modification , would be needed , in order to represent the " Up - gunned " Panzer IV Ausf.D , as shown at the Bovington museum ?
Cheers...
Mike
APR 30, 2006 - 09:05 PM

Hi Vinnie, great job as usual
If I can say something... I don't like the desert yellow tone. In my opinion it should be pale and lighter cause the sun, and the wear and tear of dust and sand....
But it's only my personal opinion!!!
ciao
tom
MAY 04, 2006 - 01:02 PM

Vinnie
Another superb project. Got some really good tips from the article as well. I don't know where you get the time to do the project AND the article!!
MAY 12, 2006 - 12:46 AM
Copyright ©2021 by Vinnie Branigan. Images and/or videos also by copyright holder unless otherwise noted. The views and opinions expressed herein are solely the views and opinions of the authors and/or contributors to this Web site and do not necessarily represent the views and/or opinions of Armorama, KitMaker Network, or Silver Star Enterrpises. All rights reserved. Originally published on: 2006-04-29 00:00:00. Unique Reads: 24081

WEB HOSTING BY


Copyright ©2021 Armorama and Kitmaker Network, a subsidiary of Silver Star Enterprises
All Rights Reserved. Please read our Conditions of Use and Privacy Policy.
All Rights Reserved. Please read our Conditions of Use and Privacy Policy.