


Here's what I will be entering with, as soon as I get my table cleared a bit...

I will add two softskins to that and at least two figures, probably three.
Cheerio!


 OK Just Joking!


 ) the rest of the building from that.
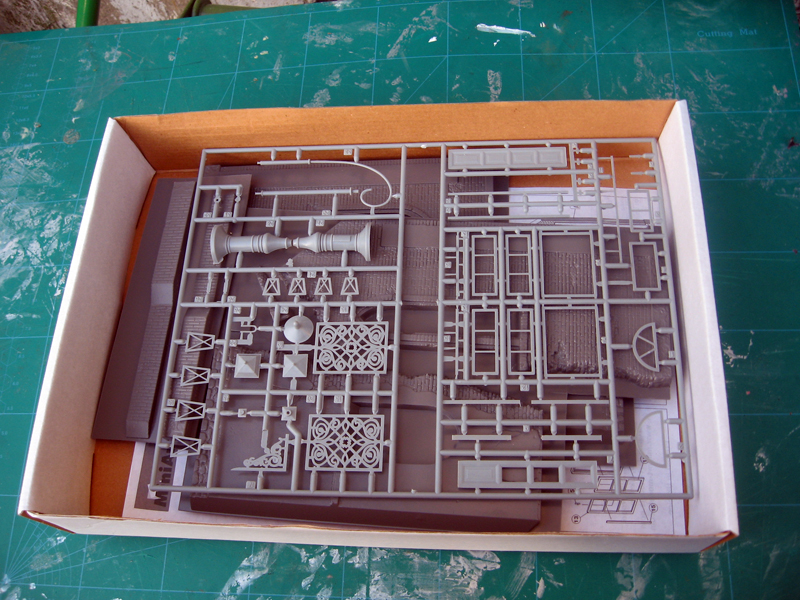
How is everyone else doing?

How is everyone else doing?
I have another Project on the go (M36B1) that I want to finish the build phase first. Tentative date for a start is next week... 


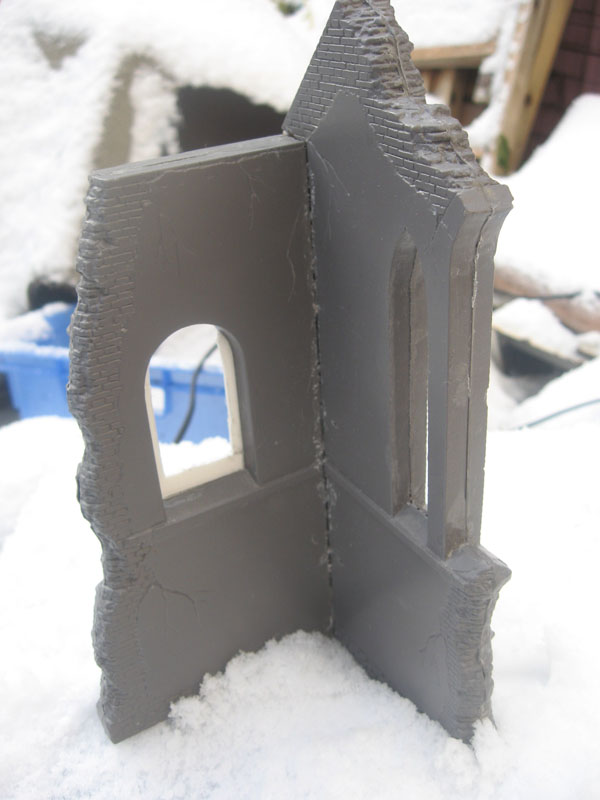
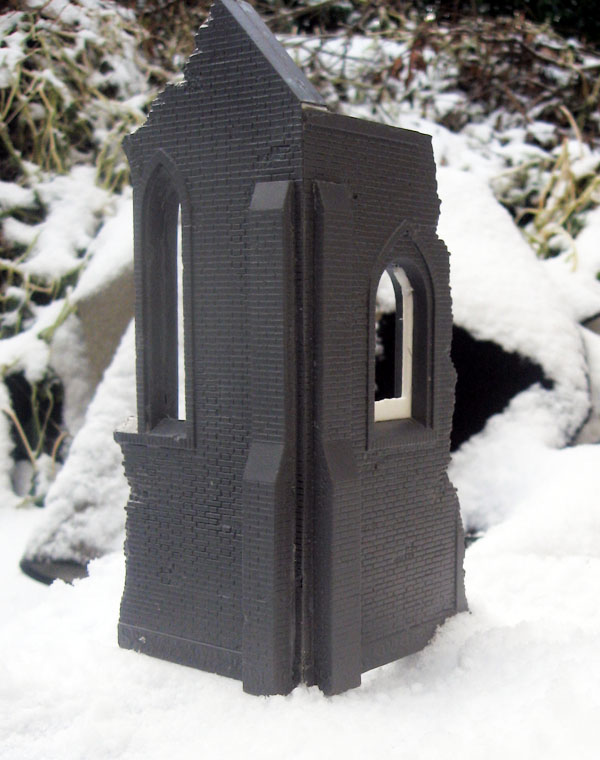
I glued the back and front of each section together but then when I tried to glued the two walls together I had no way of clamping the innner joint and was left with a gap. I'll have to fill it and live with it.
 so here 's the link to the Miniart instructions for anyone who hasn't seen them yet. What I mean to explain is on the second page.
 Ah, so that's probably why in the Miniart instructions on their homepage it directs you to first install the front halves and then put the back halves on.


As far as the window frames, are these normally added now and detail painted later, or added later after the building is painted?
Just goes to show you're never too old to read the instructions lol.
BTW, wonder why that link doesn't work in my post, the url is correct... 


I finally got my house and I shall be showing the first pictures this week!
Stay tuned!


Also Pat is there a Gallery set up for this build or have I missed it in the thread

 |


