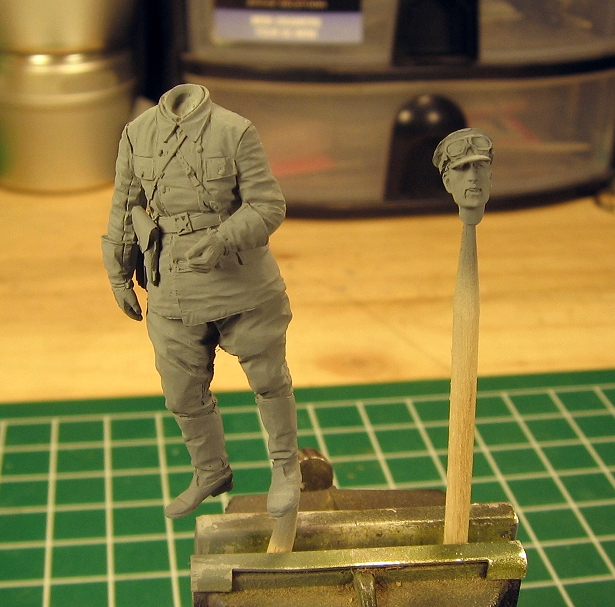
@Tat; The detail on this figures is quite soft. It'll be a challenge getting that painted.
@Jim; Welcome aboard! You have the honour og being nr. 50 in our campaign!


Hey all, heres my first update!
Been painting these with oils and I like the results. One question though.....How do you get oils to dry faster???? I really need to find a way....and Im sure one of you have one!lol
Ok time for pictures-
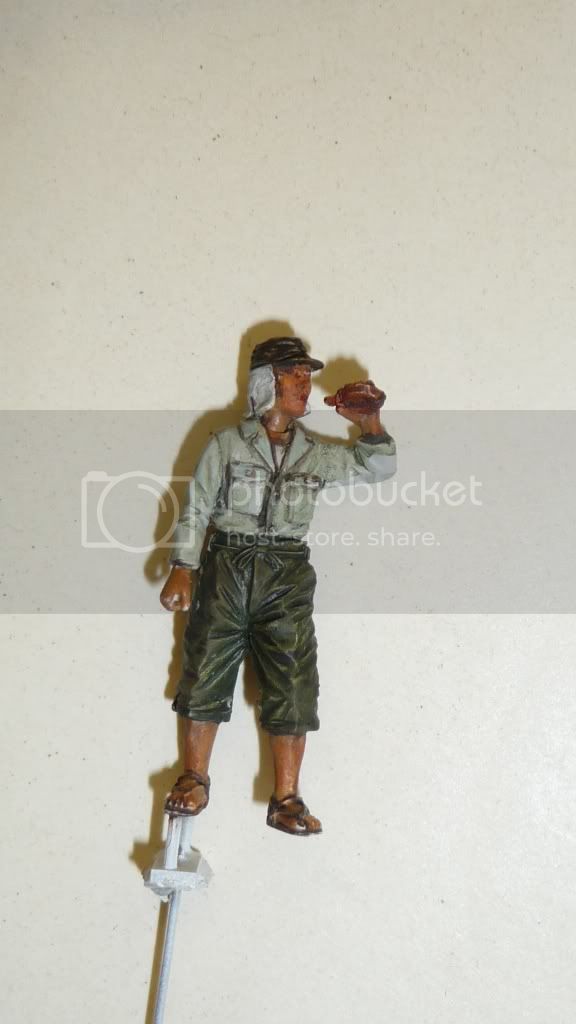
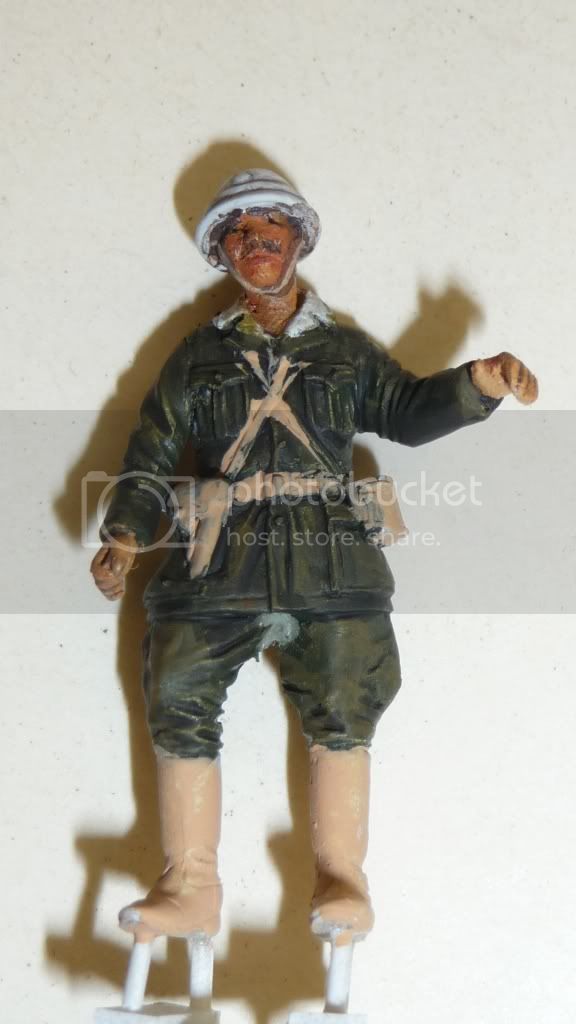
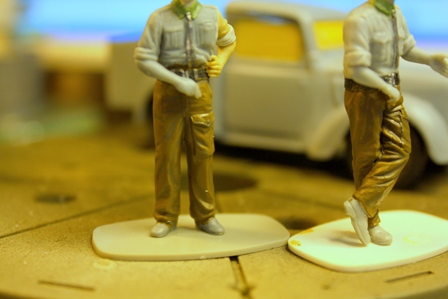
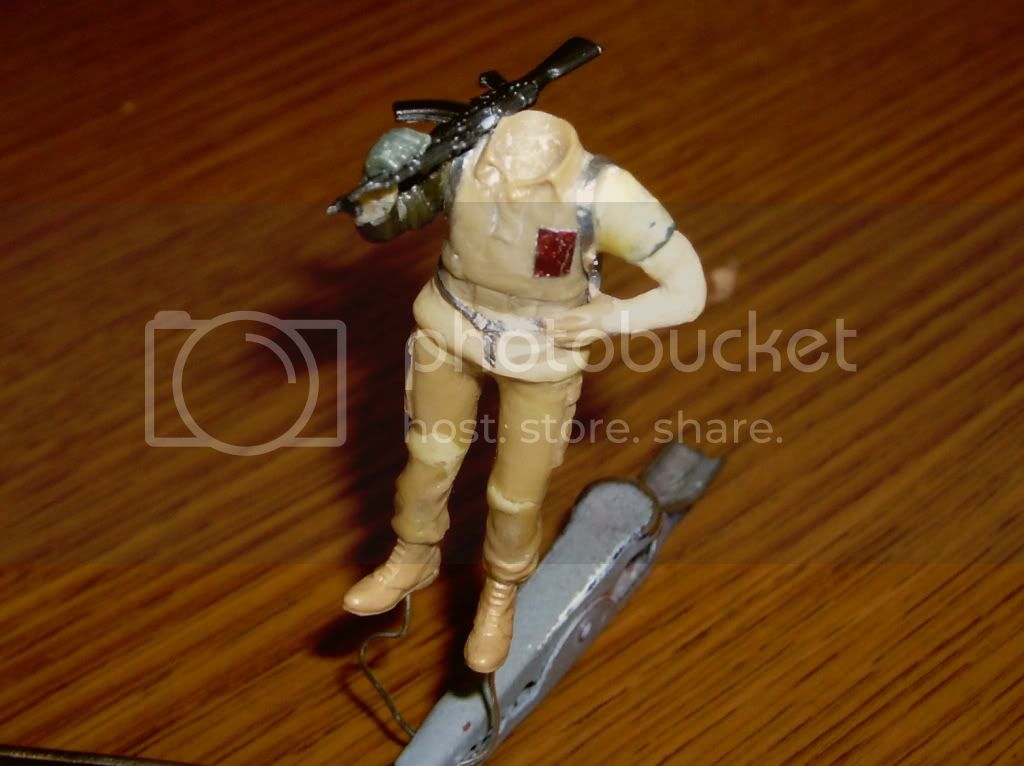
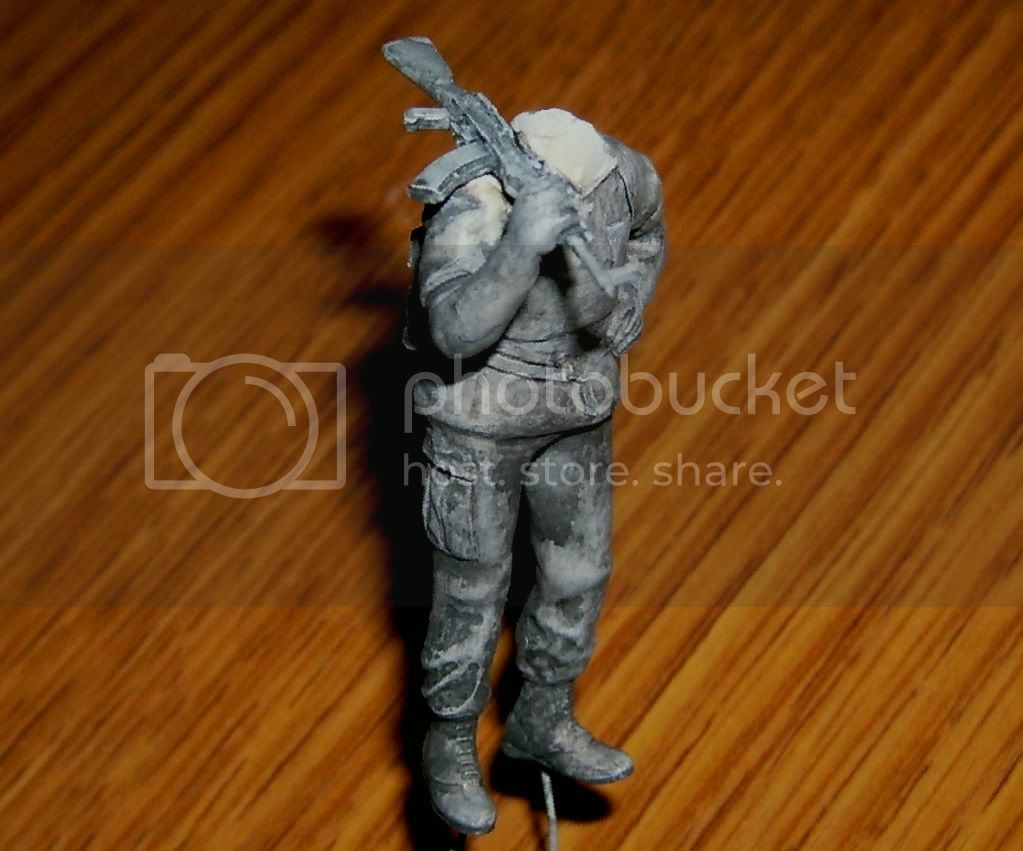
This first figure needs his head repainted and trousers too. His shirt needs a few more highlights/shadows.

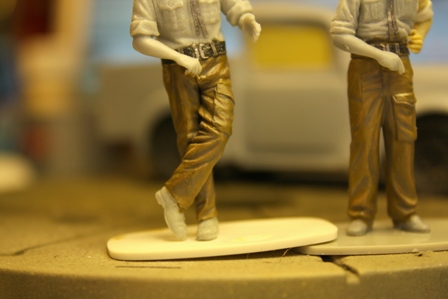
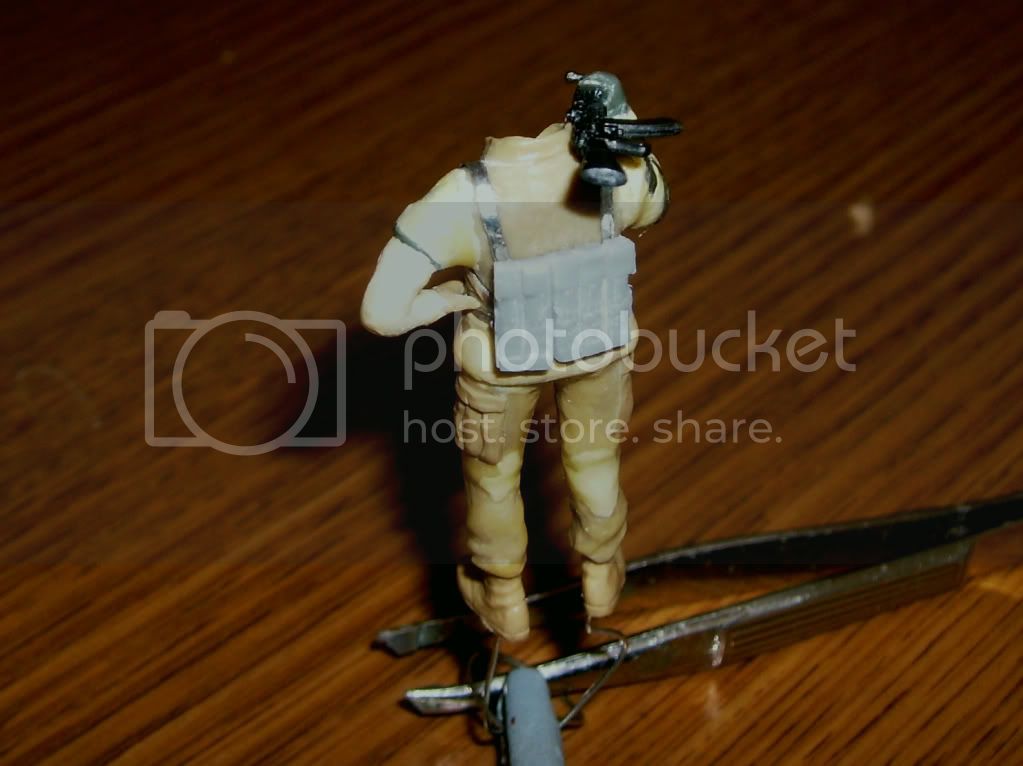
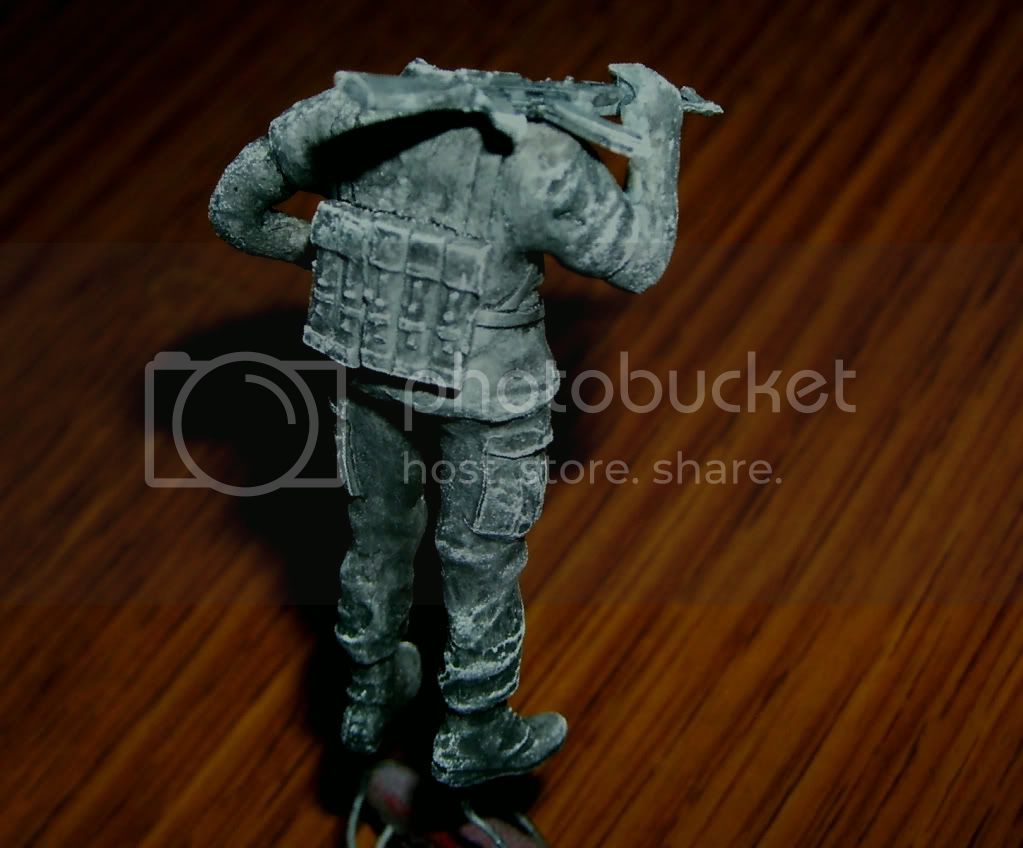
back image- gear needs painted and straps and belt.

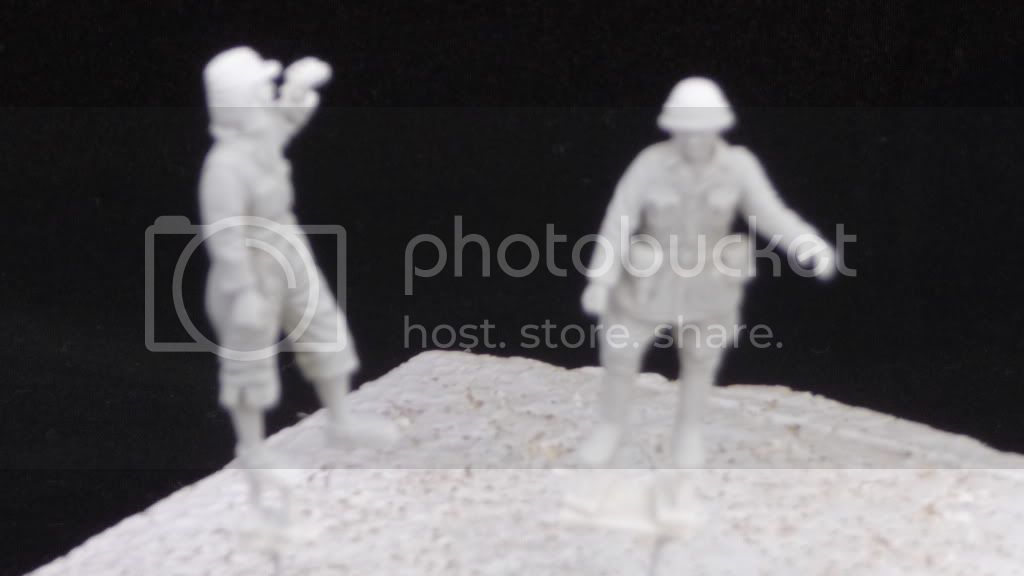
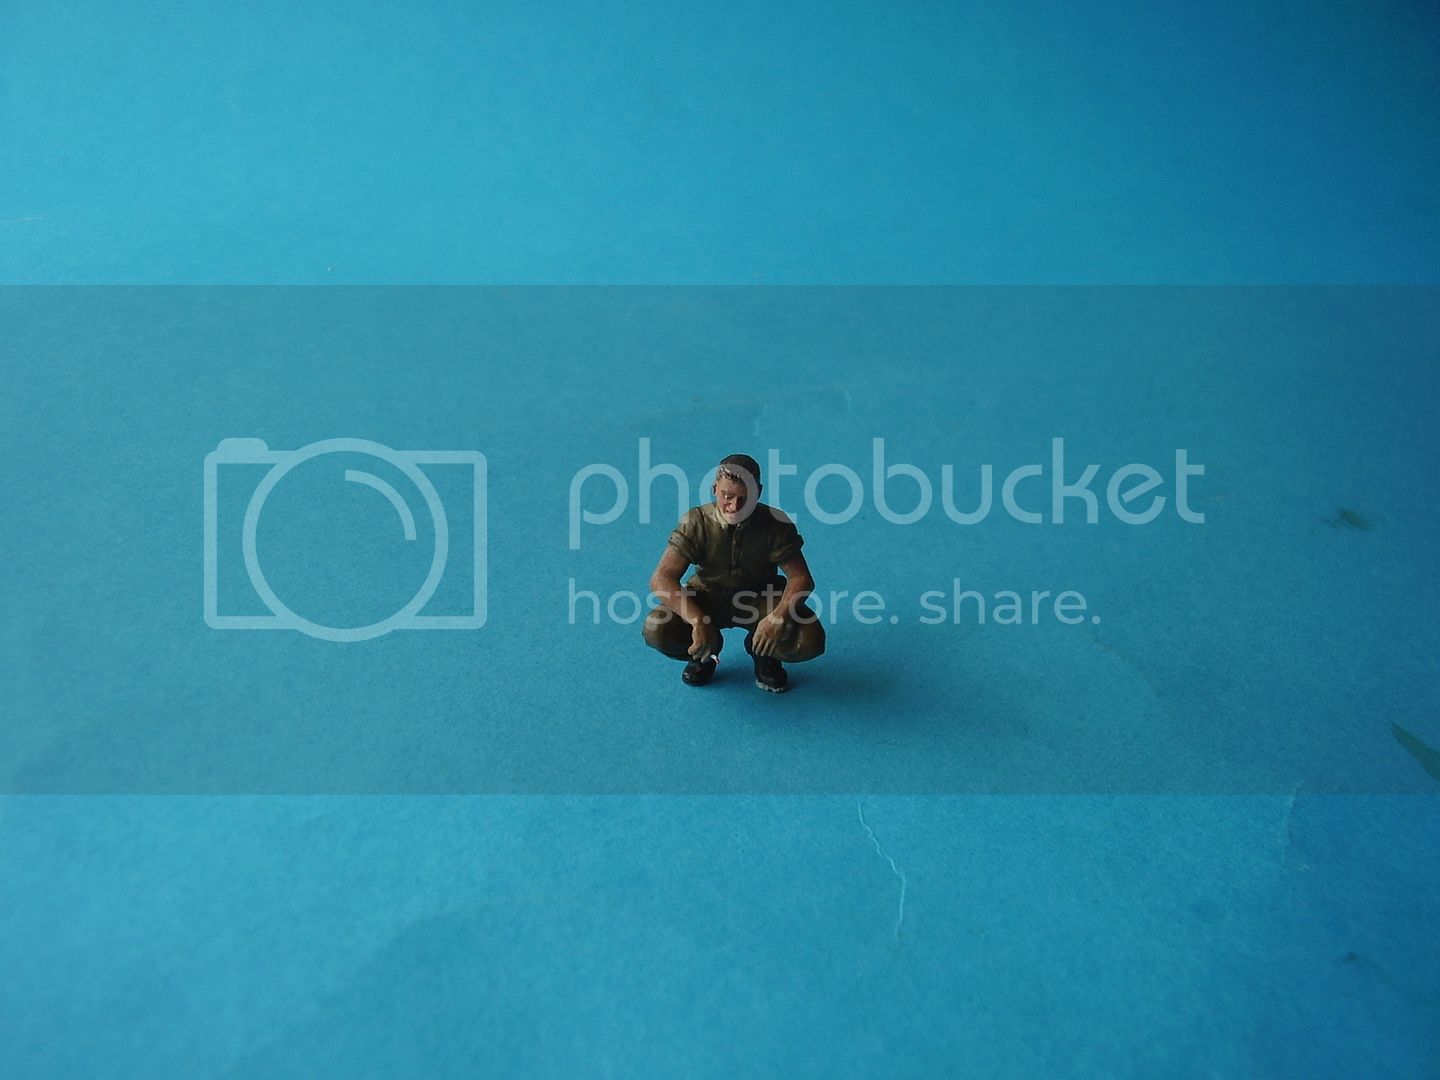
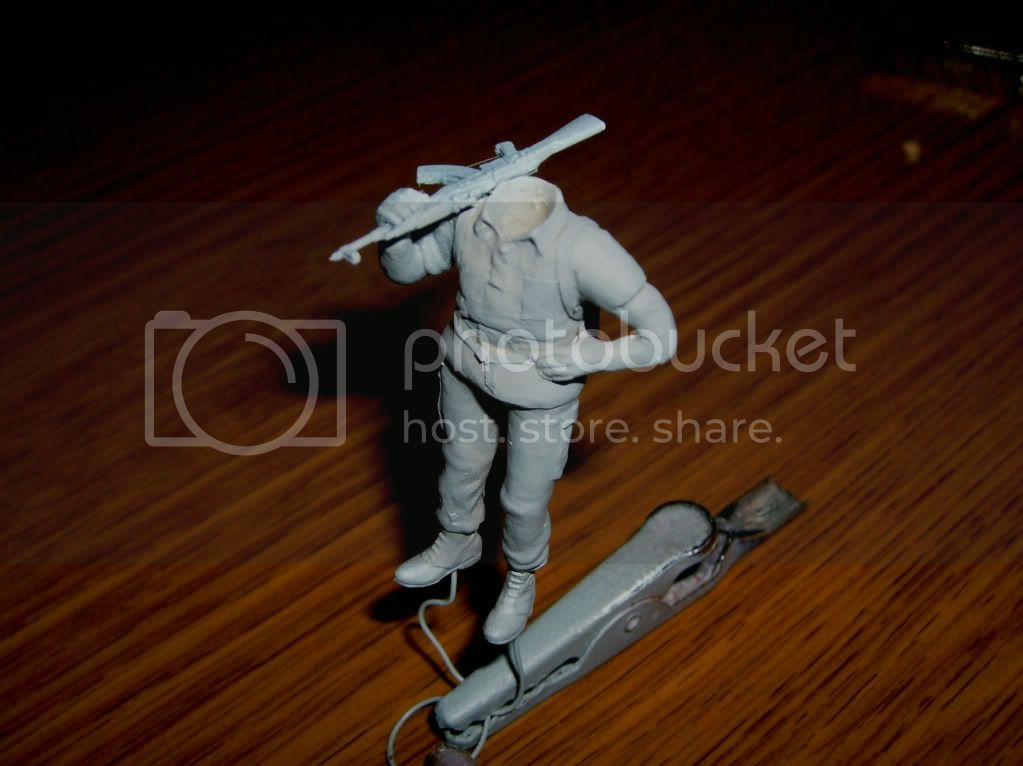
This guy needs complete painting.....

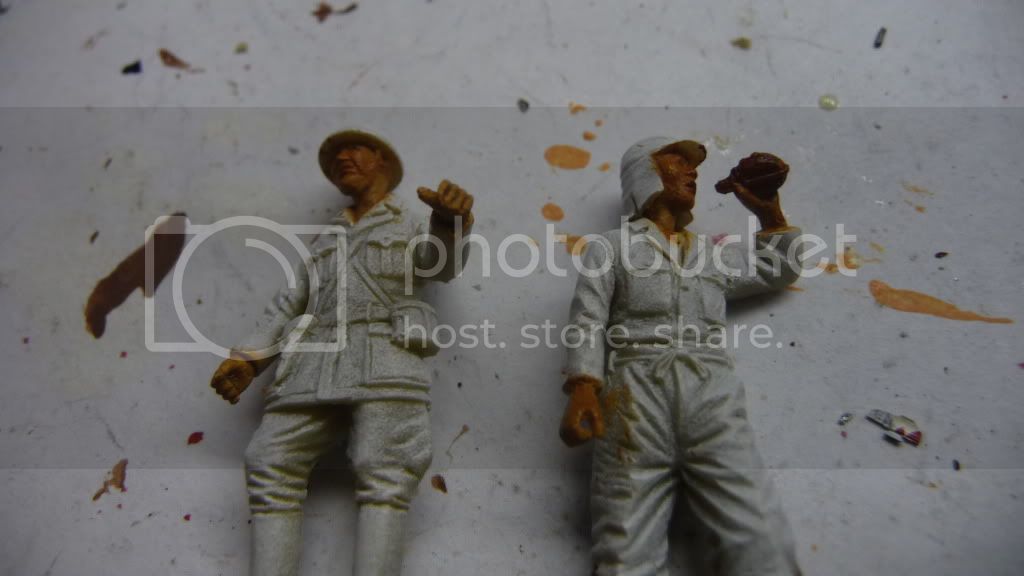
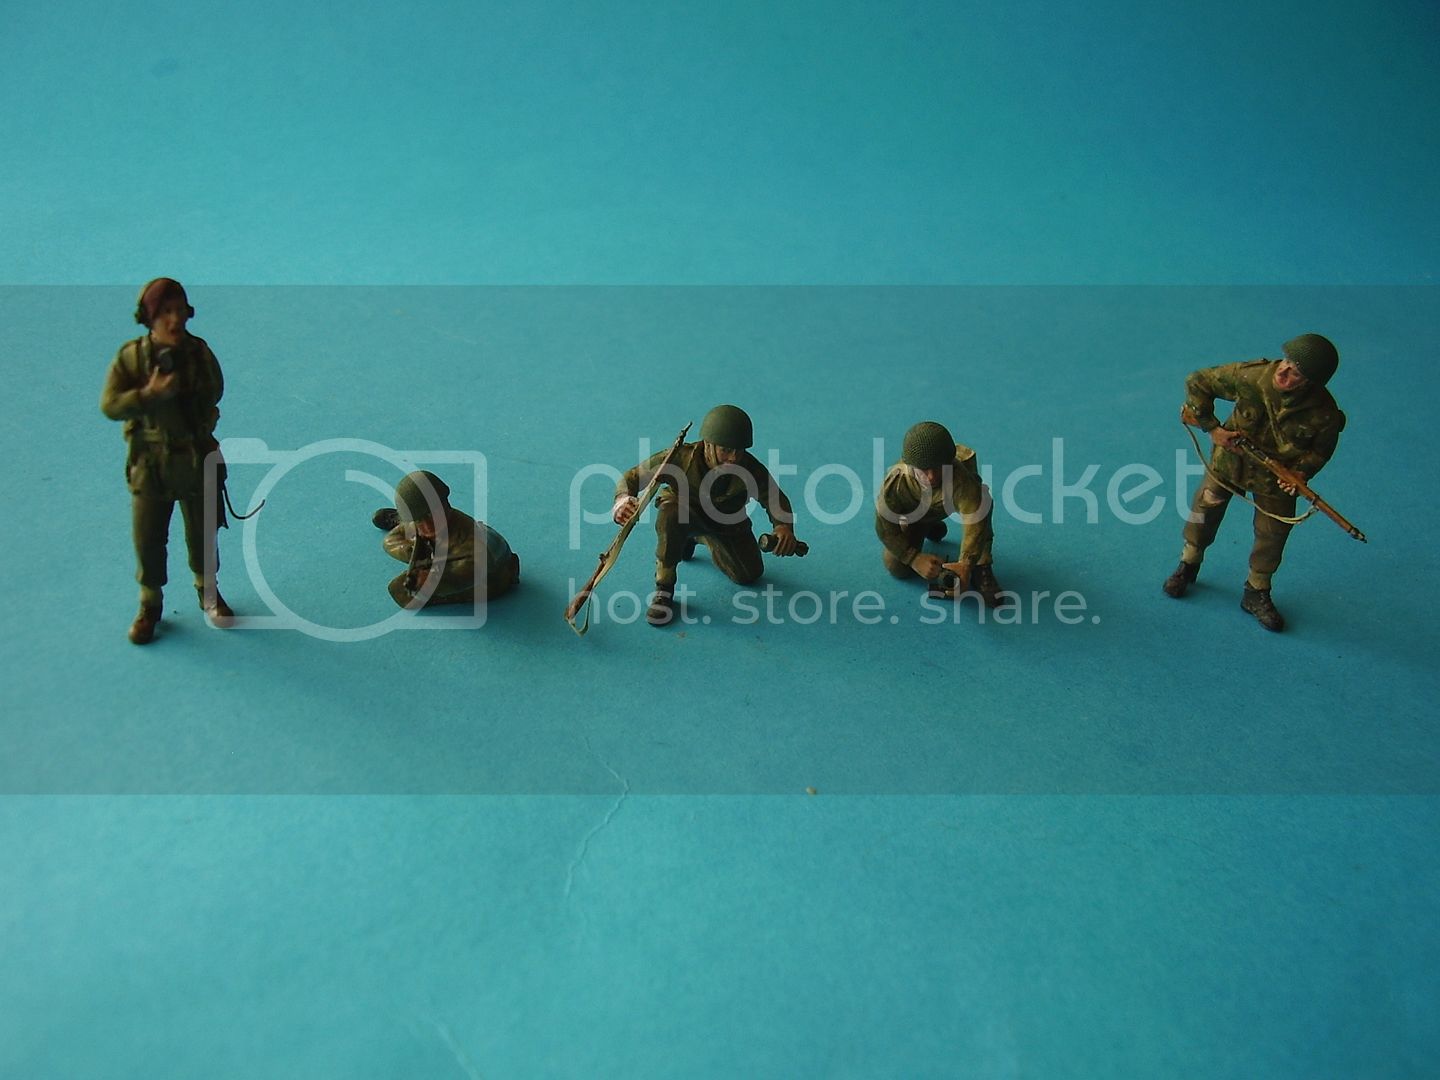
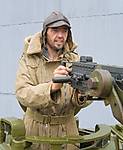
The guy on the left is completely done(not part of campaign), but I just wanted people to see it. Guy on right still needs details done and his MG. I painted his arms today so they arent dry yet.

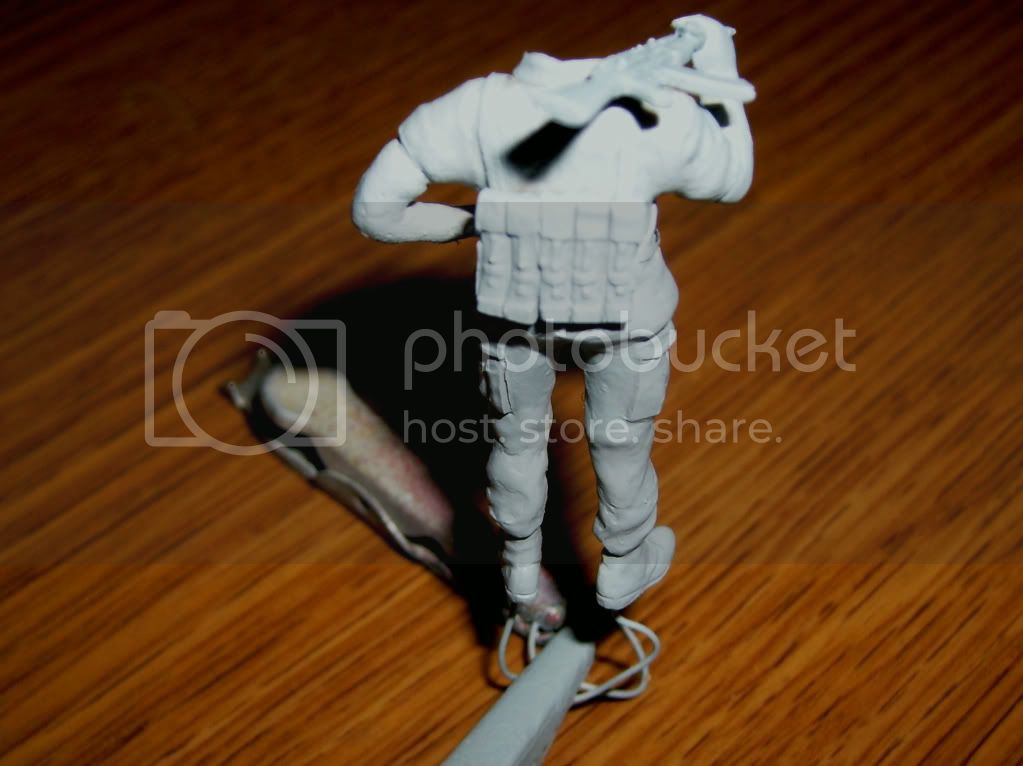
Back image-

......alright thats it for now! Hope to see others progress starting up.
Johnathon


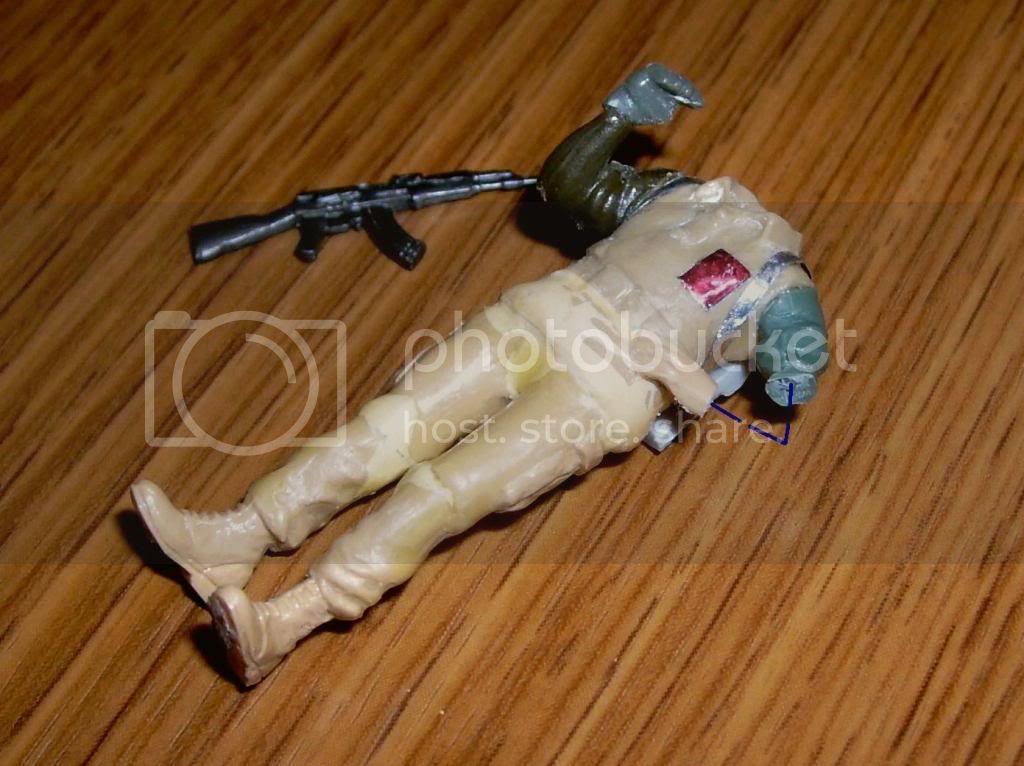
@Tom; you have quite some filling to do with that one!
@Tat; The detail on this figures is quite soft. It'll be a challenge getting that painted.
@Jim; Welcome aboard! You have the honour og being nr. 50 in our campaign!


 , This looks like a great campaign. I see that the time frame was 1/1 - 1/7, do you think you might run this campaign again? I didn't see it until it was almost over
  . Thanks,Vince


Hi Ron


 |