_GOTOBOTTOM
Armor/AFV: Modern - USA
Modern Armor, AFVs, and Support vehicles.
Hosted by Darren Baker
Trumpeter M1117 Guardian Step-By-Step
sgtsauer
#065
Visit this Community
Missouri, United States
Joined: March 30, 2002
KitMaker: 2,605 posts
Armorama: 1,814 posts
Posted: Saturday, June 05, 2010 - 05:14 PM UTC
This is the final update for this project. I finally have it done.

My wash ended up being a lightly applied 'Burnt Umber' oil wash thinned with Turpenoid. I sealed the wash in with two coats of Model Master Acryl Flat. I didn't want this vehicle to look too used or abused since the real vehicle in the previously attached photo looked pretty good.

I completed all of the final assembly which consisted of:
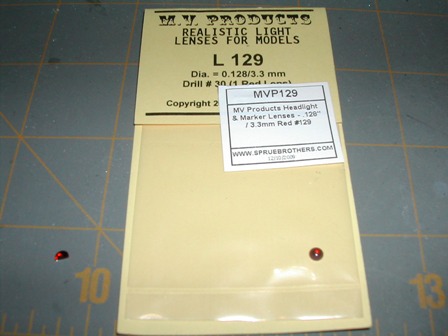
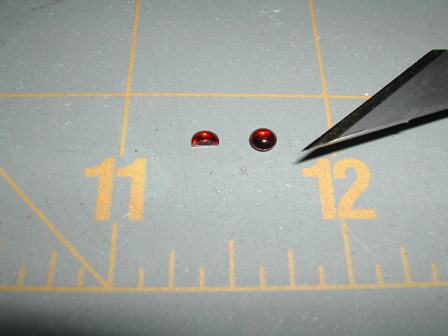
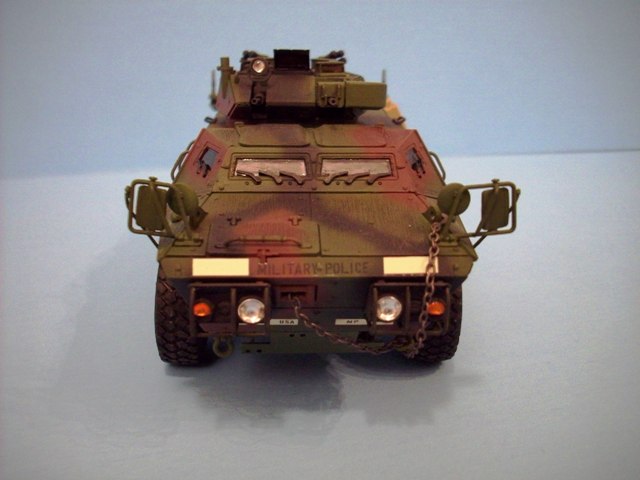
1. Installing headlights/drive lights and tail lights.
2. Painting and installing wipers.
3. Painting of periscope interiors and installation of periscope 'glass'. Since no interior is visible all of the periscope glass was painted with Tamiya 'smoke' to try to give the glass some depth. Overall, I was happy with the result.
4. Installation of winch chain.

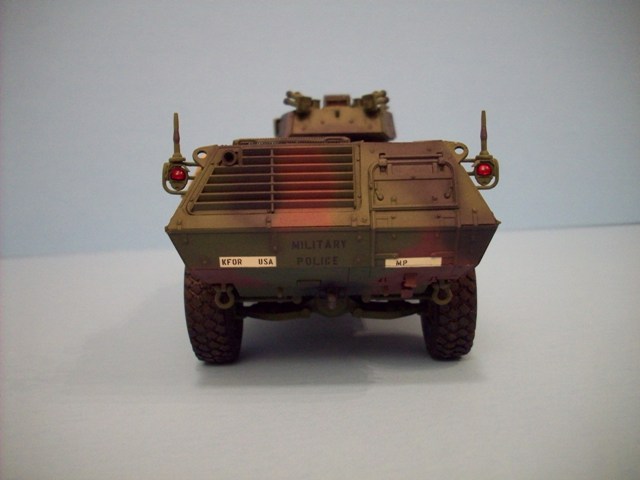
Here are a few pictures of the tail lights.


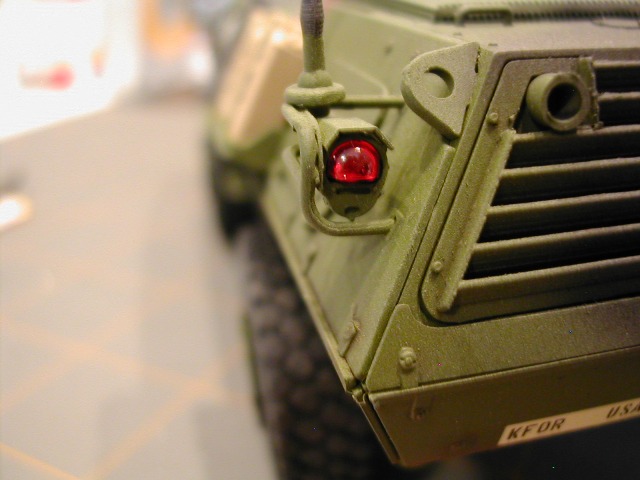
Although the visual effect of the tail lights is good, they stick out of the housing too much. Real tail lights sit flatter in the light body as show in this picture from Prime Portal (for reference only)


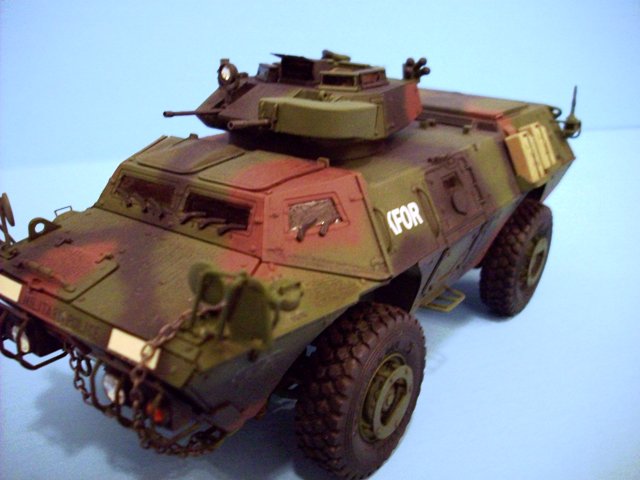
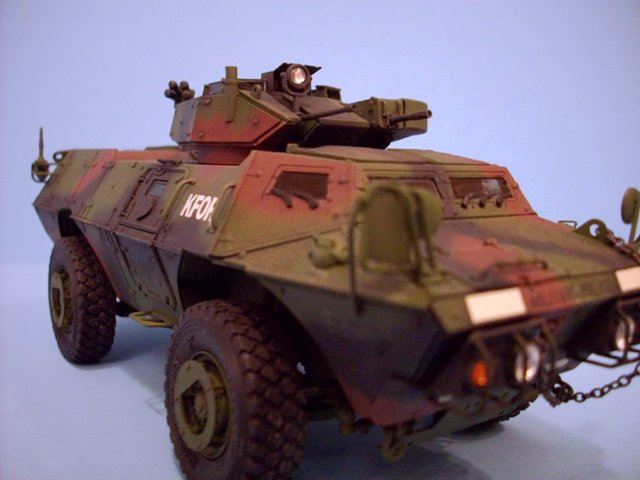
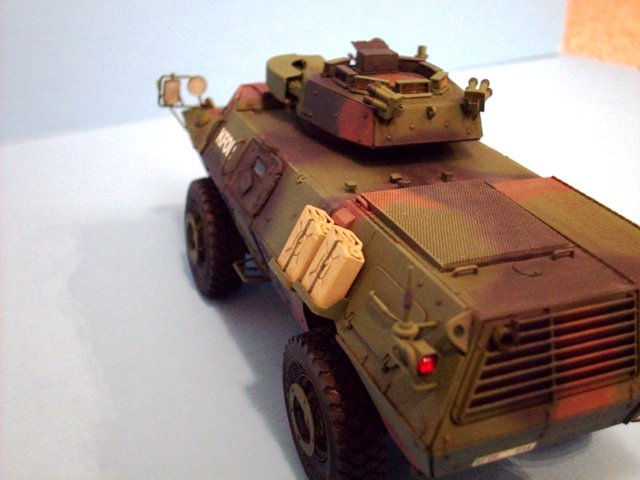
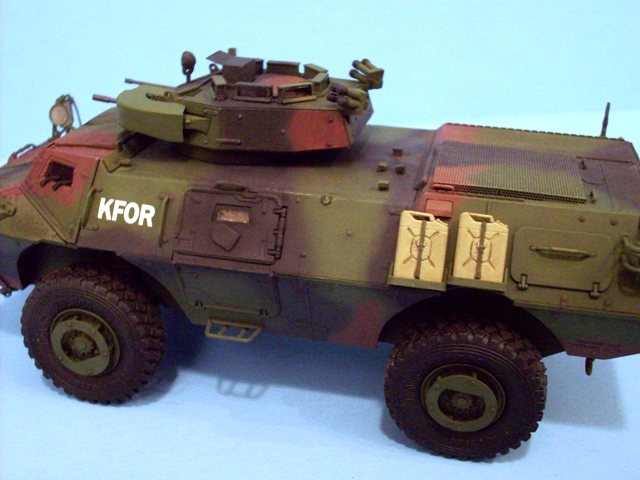
Here is a serious of photos of the the completed M1117 Guardian.


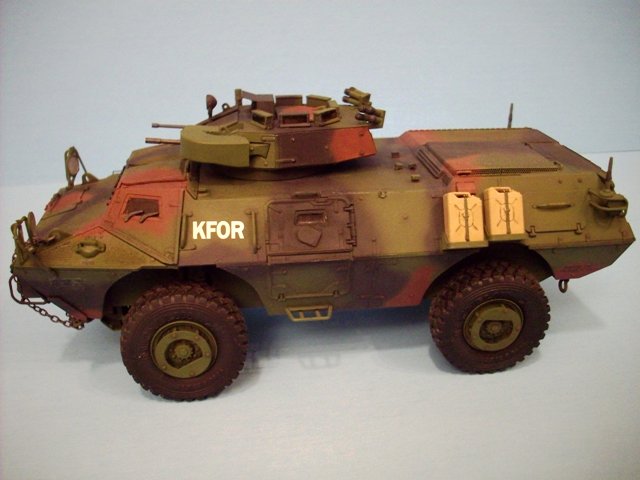
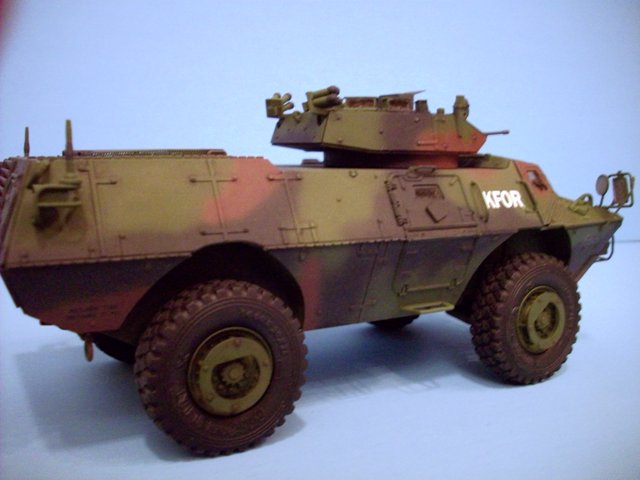
I hope everyone that has looked at this build log has enjoyed it. It has been fun for me to do. I sure wish I could have got it done faster.

Overall, I highly recommend this kit. It was a fun build.

Thanks again to Stevens International and Armorama for the review sample that made this build possible.
Herchealer
Visit this Community
Indiana, United States
Joined: July 31, 2003
KitMaker: 1,523 posts
Armorama: 710 posts
Posted: Sunday, June 06, 2010 - 02:34 AM UTC
Turned out pretty good Brent. Glad to see you finally got it done. Now you can get back the the Humvee kitbash I assume? I think the MV Lenses came out looking pretty good.

Jeremy
m75
Visit this Community
California, United States
Joined: July 20, 2002
KitMaker: 666 posts
Armorama: 661 posts
Posted: Sunday, June 06, 2010 - 05:47 AM UTC
Although the MV red lenses don't sit as flush as the 1:1 items, using the full lens and cutting to the desired shape was an idea that I had not considered before! Sure looks better than the multi-layer white or silver under transparent red paint.

Regarding the masking of the vision blocks: Since I painted mine the overall sand color, I did not have any of the challenges of trying to maintain patterns over the applique panels that contain the blocks. I left those panels off the hull, while still painting and weathering all at the same time. After the paint and all, I ran a thin coat of gray on the inside of the blocks, helping to hide the empty interior. I attached the block lenses to the inside of the panels, then attached the panels to the hull. For the turret, I simply applied the gray and then attached the periscope lenses to the frames.

This method may not have worked so well with the tri-color camo scheme, but worked fine for me. I had recently "finally" finished my V-100, and had to mask ALL of the vision block lenses after they were in place (masked inside and outside, due to the interior work). My eyes are still recovering from that.

Overall, Brent, looks very good.
gcdavidson
Visit this Community
Ontario, Canada
Joined: August 05, 2003
KitMaker: 1,698 posts
Armorama: 1,563 posts
Posted: Monday, July 19, 2010 - 12:47 PM UTC
*smacks head*

That MV lens cut in half trick, that is just brilliant in its simplicity. Cannot believe I have not seen it done before!

Great build & SBS too!
 _GOTOTOP