Hi folks,
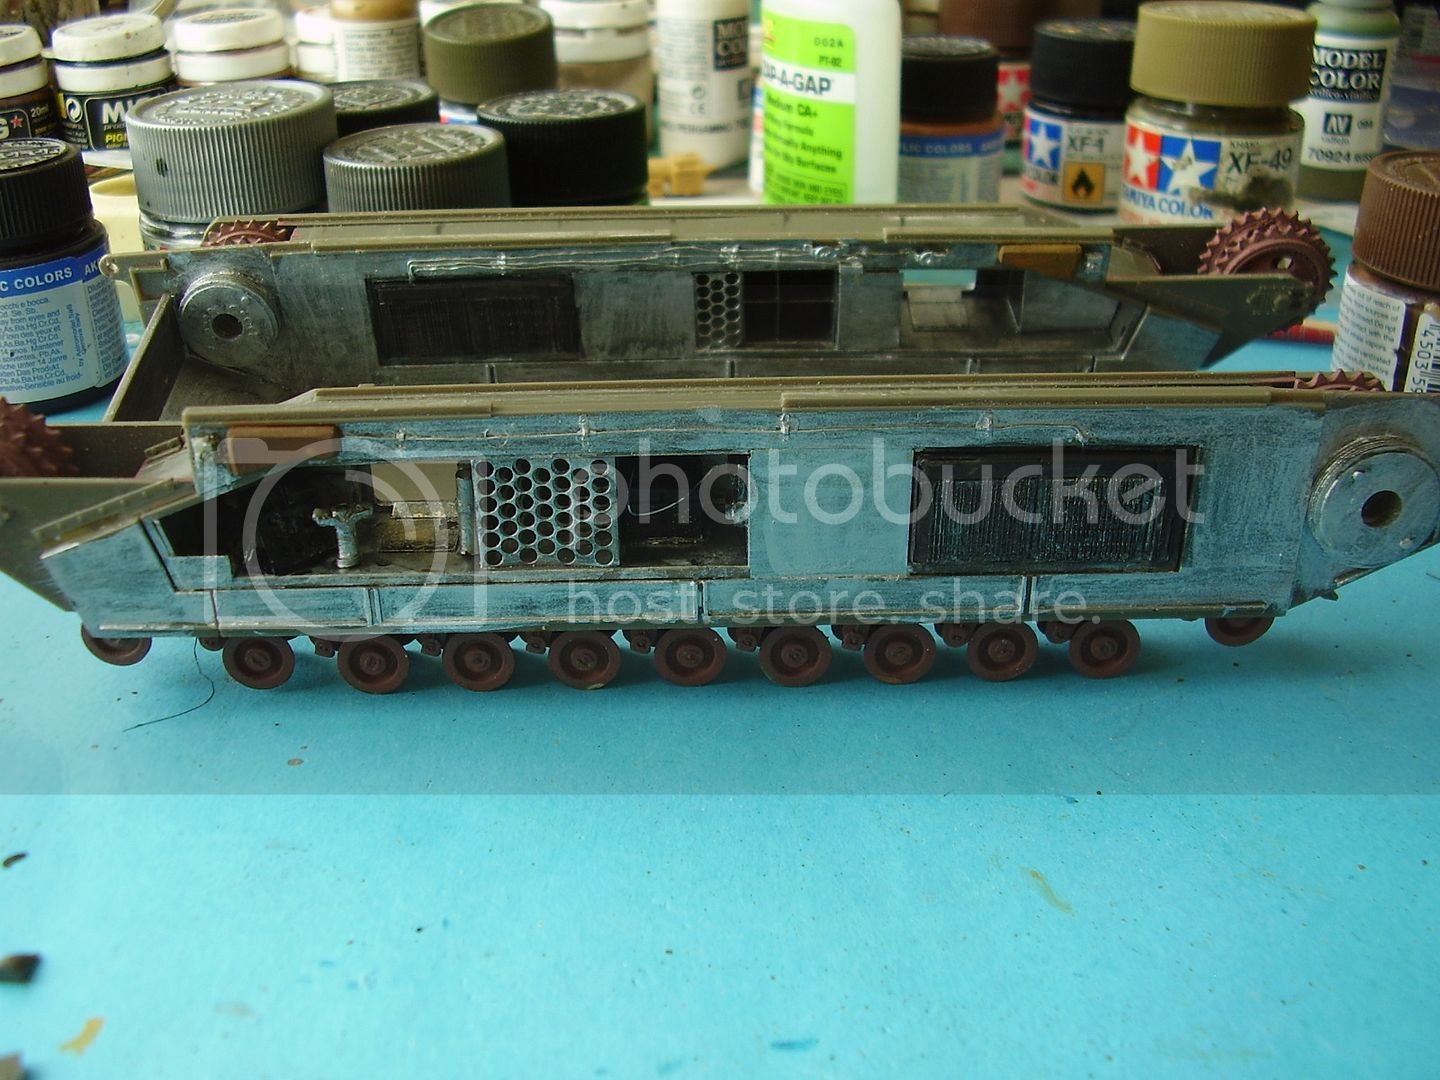
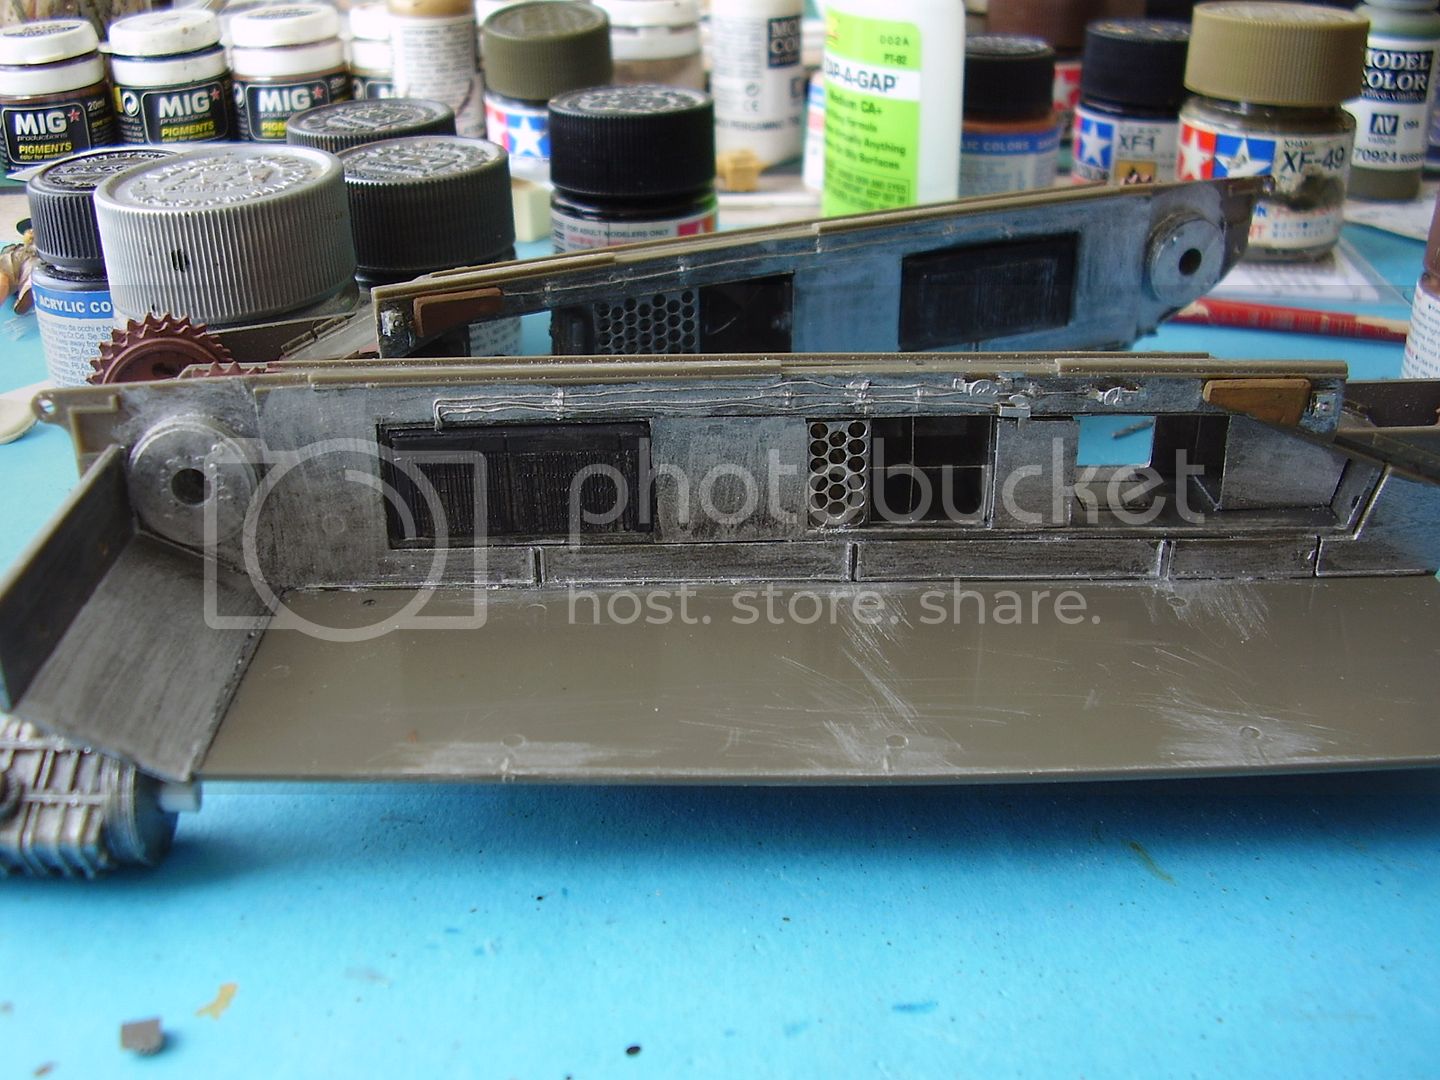
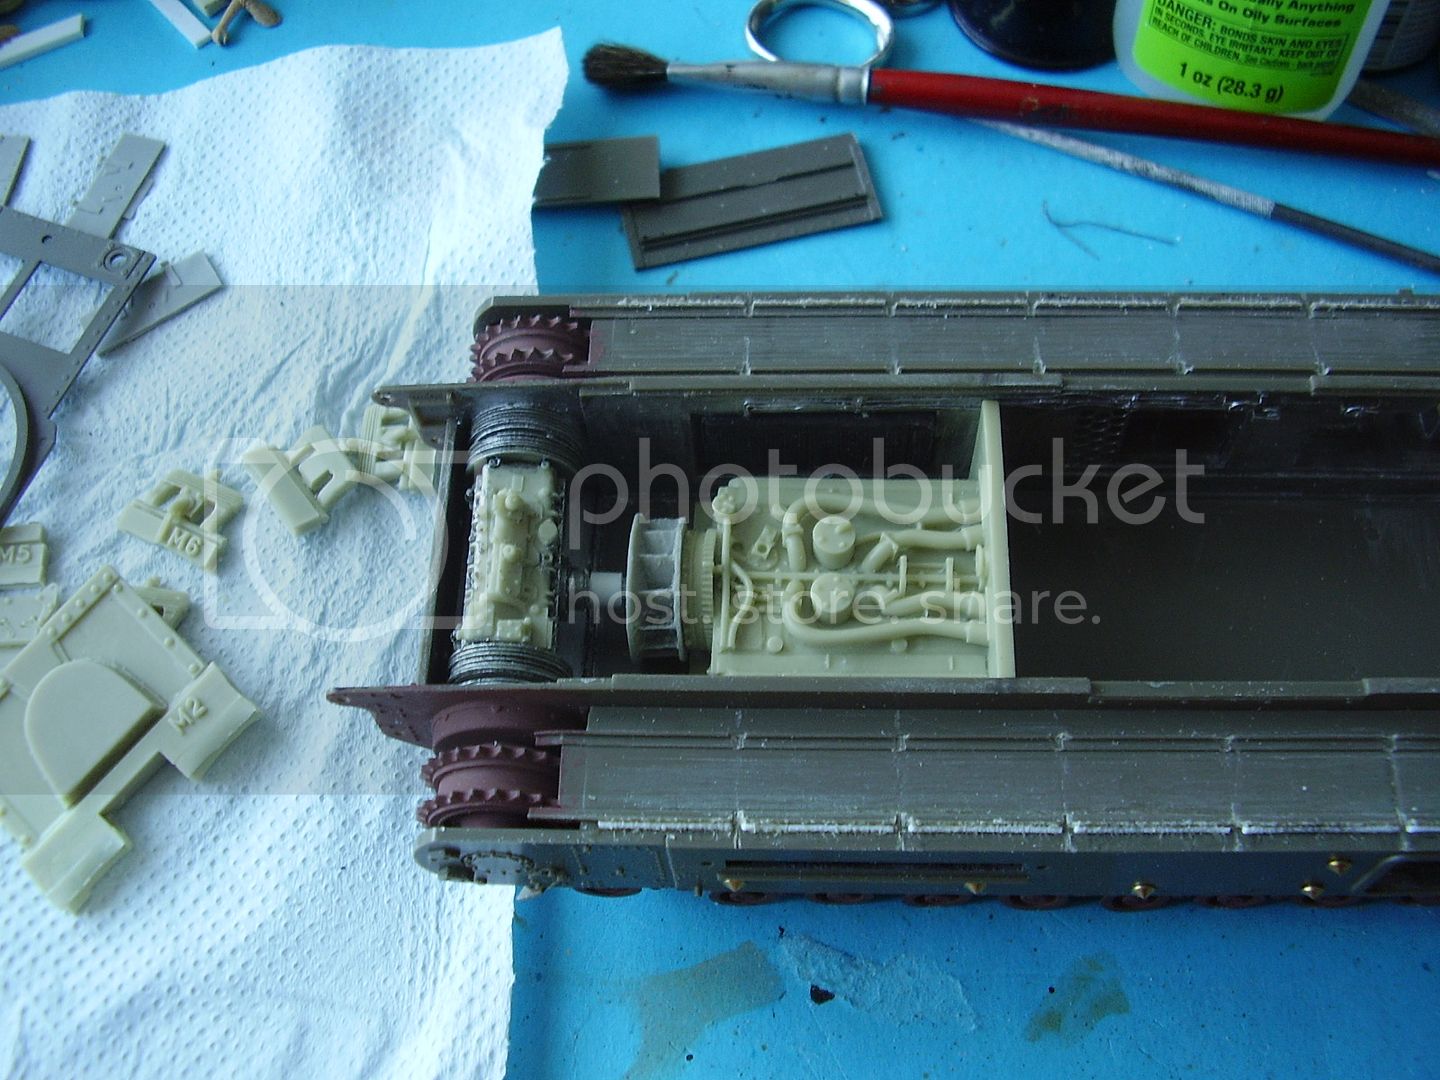
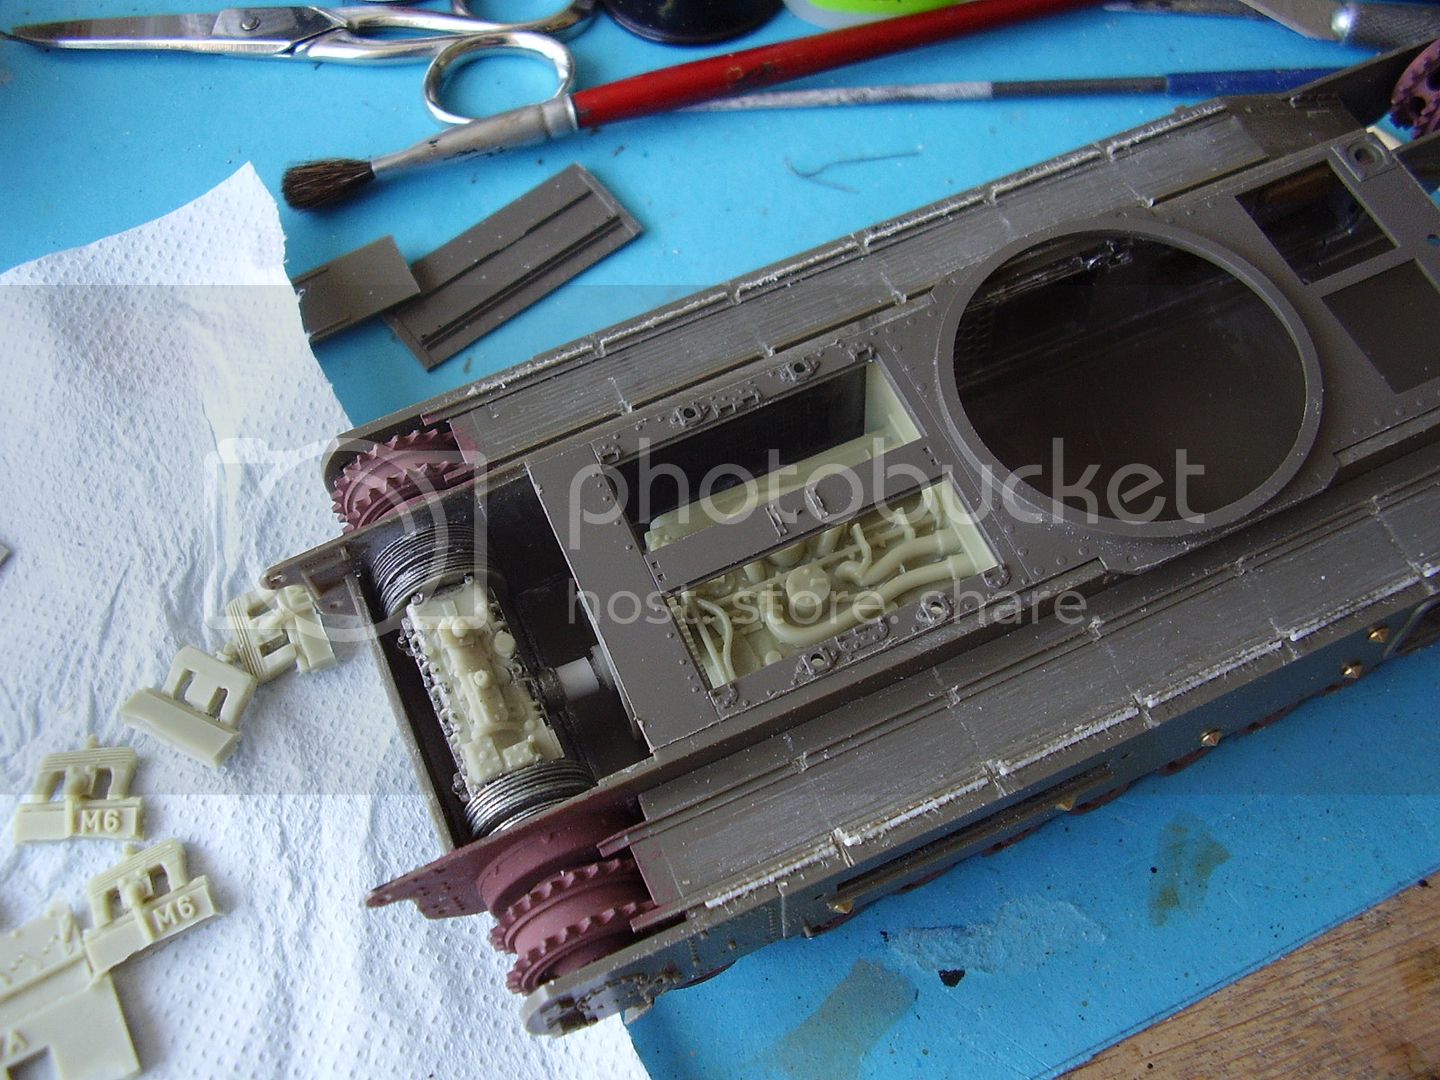
Got a bit more done on the Churchill, radiators mounted, battery and some boxes installed and some more wiring on the RHS.
Cheers
Al
Hosted by Darren Baker
AFV Club Churchill Mk IV with ITA Interior
Posted: Friday, June 29, 2012 - 06:27 AM UTC
Posted: Friday, June 29, 2012 - 11:21 PM UTC
Hi Chris,
Hopefully these look right now.
Al
Hopefully these look right now.
Al
Posted: Saturday, June 30, 2012 - 02:32 AM UTC
Hi folks,
A little work on the track runners.
Al
A little work on the track runners.
Al
Posted: Saturday, June 30, 2012 - 05:47 AM UTC
Hi folks,
A test fit of the engine and transmission, you need a small spacer to links the parts.
Cheers
Al
A test fit of the engine and transmission, you need a small spacer to links the parts.
Cheers
Al
Posted: Sunday, July 01, 2012 - 01:19 AM UTC
Hi folks,
The base of the engine was thankfully quite thin and only needed sanding flat. The top of the firewall needs to site almost level with top of the hull, so I added some styrene to the bottom. There was another good reason for doing this in so much as my past exepriences with setting engines, resin to plastic, was that they tened to set hard almost instantly making adjustment difficult.
I also left the transmission so that it could rotate, this will allow me to line things up properly without the need to panic on the silly glue end of life.
The other thing you need to add if you plan on leaving the hatches open is the missing cross member in the hatch openings.
Al
Posted: Monday, July 02, 2012 - 05:40 AM UTC
Hi folks,
I was missiung part 1 form the transmission build so I cut out part M2 which was not necessary when fitting the transmission. On the rebuild pics I looked at this had a square shape but the kit part is rounded so I went with that style.
Sorry the 2nd pic is a bit out of focus but you'll get the idea. I might need to thin the top edges down a little more.
Al
steph2102
Isere, France
Joined: April 23, 2011
KitMaker: 735 posts
Armorama: 606 posts
Joined: April 23, 2011
KitMaker: 735 posts
Armorama: 606 posts
Posted: Monday, July 02, 2012 - 09:28 AM UTC
hello,Alan beautiful mount. looking forward to more.
steph
steph
Posted: Monday, July 02, 2012 - 10:44 AM UTC
I have to say Alan your builds are bringing me around to your way of thinking where interiors are concerned.
Posted: Monday, July 02, 2012 - 04:38 PM UTC
Hi Steph and Darren,
Thanks. I'm starting to get back into the swing of this one, it's alwasy a problem restarting a kit you set aside for a while.
I forgot to mention once the hull sides had set I removed the kit locating points on the lower inside hull as they wouldn't be there and just get in the way.
I'll also need to roughen up the interior and exterior hull a little at soem point.
Cheers
Al
Posted: Monday, July 02, 2012 - 11:32 PM UTC
Hi Al
The missing part is on its way
Chris
The missing part is on its way
Chris
Posted: Tuesday, July 03, 2012 - 02:22 AM UTC
Many thanks Chris.
Al
Al
Posted: Tuesday, July 03, 2012 - 04:22 AM UTC
Hi folks,
Added in some plumbing form the gear box to the transmission.
Cheers
Al
Added in some plumbing form the gear box to the transmission.
Cheers
Al
Posted: Tuesday, July 03, 2012 - 05:48 AM UTC
Hi Folks,
Chris has done a nice PE firewall to fit onto the front of the engine. It's in 3 parts, and quite thin but just glues onto the front of the engine block. It over hangs a little so my raised platform came in handy. I strengthened the over hang with a little styrene along the underside.
This was a much easier fitting than with the MK III as he has incorporated the Resicast engine into the overall design of the new set.
Cheers
Al
Posted: Tuesday, July 03, 2012 - 10:13 PM UTC
I'm loving this build Al.
But get on with it will ya? I want to start mine and you've not found all the pitfalls yet...
Posted: Wednesday, July 04, 2012 - 04:42 AM UTC
Hi Ken,
Thanks, I'll do my best.
Question for Chris.
Chris, parts 71 the filters on the firewall - do you have a picture of these in the Mk IV? I have this one but form a Mk III or earlier I think which is slightly different.
Do the filters face inwards or outwards and should they be attached to a small backing plate?
Also Part 10 from the engine build - are these the two filters for either side of the fan?
Thanks
Al
Brobru
Warszawa, Poland
Joined: October 10, 2011
KitMaker: 95 posts
Armorama: 86 posts
Joined: October 10, 2011
KitMaker: 95 posts
Armorama: 86 posts
Posted: Wednesday, July 04, 2012 - 11:00 AM UTC
Great bulid you have here Alan!
Also good advertisement as I am seriously tempted to get one of those engines for my build.
Keep it up!
Nice photos in last post. Are there more from this walkaround? Could you share them with us?
Cheers
Also good advertisement as I am seriously tempted to get one of those engines for my build.
Keep it up!
Nice photos in last post. Are there more from this walkaround? Could you share them with us?
Cheers
Posted: Wednesday, July 04, 2012 - 02:19 PM UTC
Hi Al
The air filters in the crew compartment came in two types. unfortunately I went for a less common type in the original interior kit. Both however should be located as per your picture above
Actually, looking at your picture above they are different again! (a third type?) as the bracket/pipes that hold the vertical filter angle more on your picture than most
I do include the more common ones in the ARV Kit and will in all future interior kits
Posted: Wednesday, July 04, 2012 - 04:21 PM UTC
Thanks Chris,
I'll go from there.
Cheers
Al
Hi BroBru,
Thanks, glad you're enjoying the build. I'll add the links in later, off to work now.
Cheers
Al
I'll go from there.
Cheers
Al
Hi BroBru,
Thanks, glad you're enjoying the build. I'll add the links in later, off to work now.
Cheers
Al
Posted: Thursday, July 05, 2012 - 03:14 AM UTC
Hi BroBru,
The conversion set is a good one. I built the earlier conversion kit and Chris has made many improvemnts, changes and additions to it.
There is a build article of the Mk III conversion here:
https://armorama.kitmaker.net//features/3258
Both these links are extremely useful
http://www.armourinfocus.co.uk/churchill/ctracks.htm
http://www.churchilltank.com/Churchill_Tank_Project_-_working_Churchill_Tanks.html
and there are walkabouts here on site, at Toadmans and Prime Portal, all ow which are useful.
Cheers
Al
Posted: Thursday, July 05, 2012 - 04:00 AM UTC
Hi folks,
This is the completed firewall, I wasn't sure if small brackets were needed behind the filters or not so I've gone with the easy option for now.
I think the two small parts from the engine should fit behine the rear wall and close to the fan? It might be necessary to add a little piping here from the look of the engine pic.
Thoughts welcome.
Al
IrishGreek
Michigan, United States
Joined: October 17, 2010
KitMaker: 627 posts
Armorama: 571 posts
Joined: October 17, 2010
KitMaker: 627 posts
Armorama: 571 posts
Posted: Thursday, July 05, 2012 - 04:55 AM UTC
Al,
The build looks great so far. Excuse my dumb question, (if you explained earlier I must have missed it) but why did you paint all the running gear the oxide red color? Were Churchill's notorious for rust here? Or are you doing like many German armor modelers to show a primer (not sure if British armor used red primer too).
Thanks,
John
Posted: Thursday, July 05, 2012 - 05:41 AM UTC
Hi John,
It'just primer and makes for a solid base to paint on. Being emamel it's thicker and I use it on engines, wheels, tracks, welds etc or any area I want a slightly thicker base coat on.
Cheers
Al
It'just primer and makes for a solid base to paint on. Being emamel it's thicker and I use it on engines, wheels, tracks, welds etc or any area I want a slightly thicker base coat on.
Cheers
Al
IrishGreek
Michigan, United States
Joined: October 17, 2010
KitMaker: 627 posts
Armorama: 571 posts
Joined: October 17, 2010
KitMaker: 627 posts
Armorama: 571 posts
Posted: Thursday, July 05, 2012 - 03:33 PM UTC
Al,
Thanks. That clears that up!
John
Thanks. That clears that up!
John
Posted: Thursday, July 05, 2012 - 07:27 PM UTC
Quoted Text
Al,
The build looks great so far. Excuse my dumb question, (if you explained earlier I must have missed it) but why did you paint all the running gear the oxide red color? Were Churchill's notorious for rust here? Or are you doing like many German armor modelers to show a primer (not sure if British armor used red primer too).
Thanks,
John
Just as a hint on modelling churchills and weathering; there should not be any rust on churchill running gear at all. Accordig to the vehicle handbook issued to every driver/mechanic, greasing and cleaning the bogeys was a daily maintenance task. I imagine this is because the design would cause the suspension to get very dirty during driving
In practice it would be possible to carry this out almost every day as it was british practice for tanks to retire from contact from the enemy every night to go into 'laager' away from possible infiltration and attack (as tanks at the time were more or less blind and therefore useless at night)
The infantry would be required to hold the line in their absence
Tanks retired after dark and went up to the line before dawn, partly to avoid being targeted while moving and partly because it was German practice to commence attacks at either false dawn (the light before the sun rises) or dusk
regardless of how short the night was (and in summer it is very short in NWE of course) crews were required to prioritise thus: 1. replinishment (fuel and ammunition) 2. daily maintenance 3. Food, 4. Sleep
So crews were compelled to, and had the opportunity to maintain their vehicles every day; in this case greasing and cleaning the bogeys
A lot of waffle I know; but it means no rust on Churchill running gear
Posted: Friday, July 06, 2012 - 03:09 AM UTC
Hi Chris,
That is true all operational Military vehicles, certainly in the British Army. Vehicles would be regularly maintained, be they cars, MC, trucks, tanks or guns.
That would be part of normal routine. Being a Driver was a trade (extra pay) and vehicle maintainence would be taken serioussly.
Add to that the fact that tanks had a short life expentencey and the only rusty vehicles you might see were those damaged and abondoned or stock piled for repair.
Failing to maintain you vehicle would be a punishable offence and still is I believe.
Cheers
Al